W2"Computer-Aided Design
This document is under Construction
- lets go with the steps, one by one:
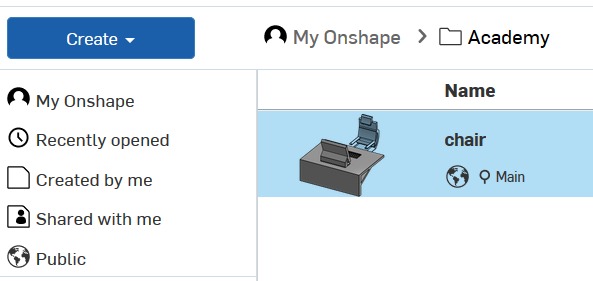
1- open onshpe, and login your account, link to onshape
1- open onshpe, and login your account
-
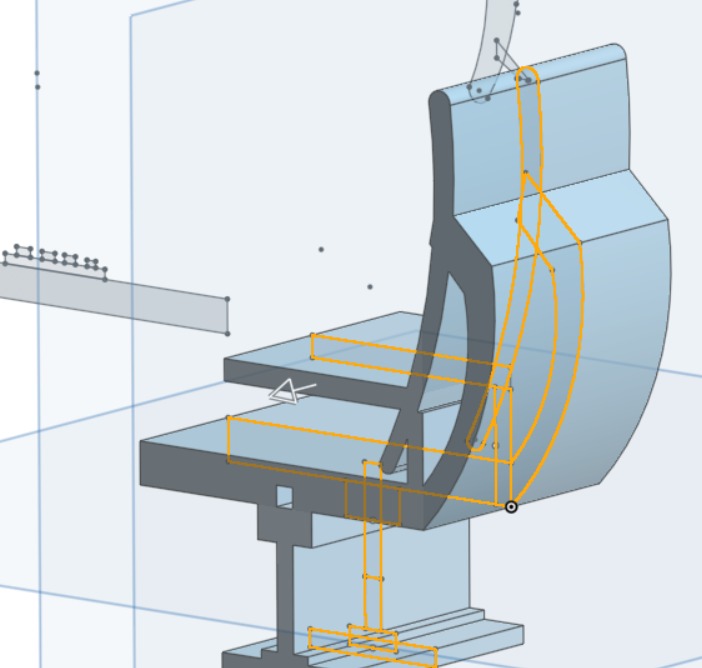
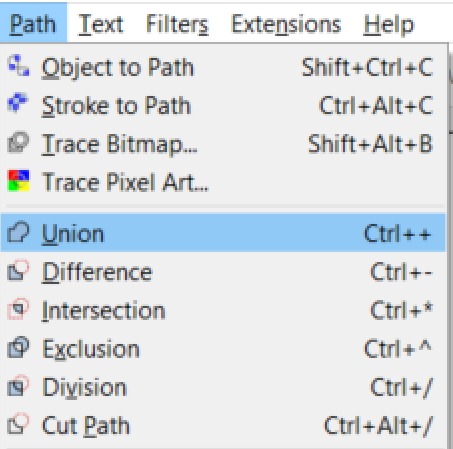
- 5- the by clicking on extruding, the body will have the depth and the 3D shape to it
- 6- cutting, adding and more, I changed the shape of the desk to by more dicraible to my project using the (fillet and remove) and tools:
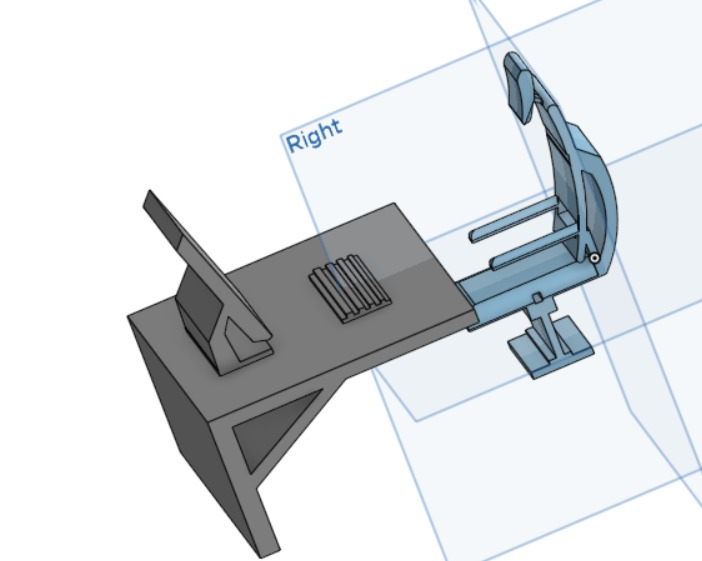
- 7- and the final shape of the design is:
Some problems I faced:
- how to design 2D fitting chair in inkscape:
You have the idea in your head, but you can not expalne it to others?
That is simple, all you need is to use a "computer aided design (CAD)" to convert your ideas to a "real" showable prototype, and with that, your ideas will be more visable to you and others.
I am using Onshape program to convert my idea and to show the "possible " final project:


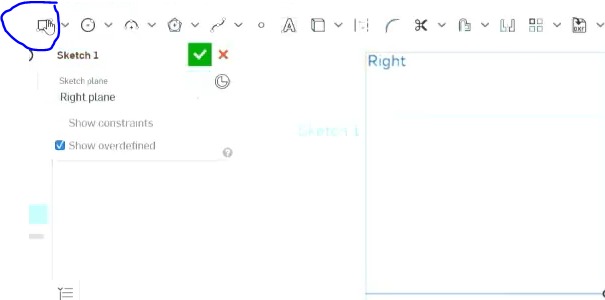
2- create a new design
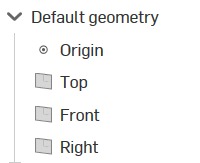
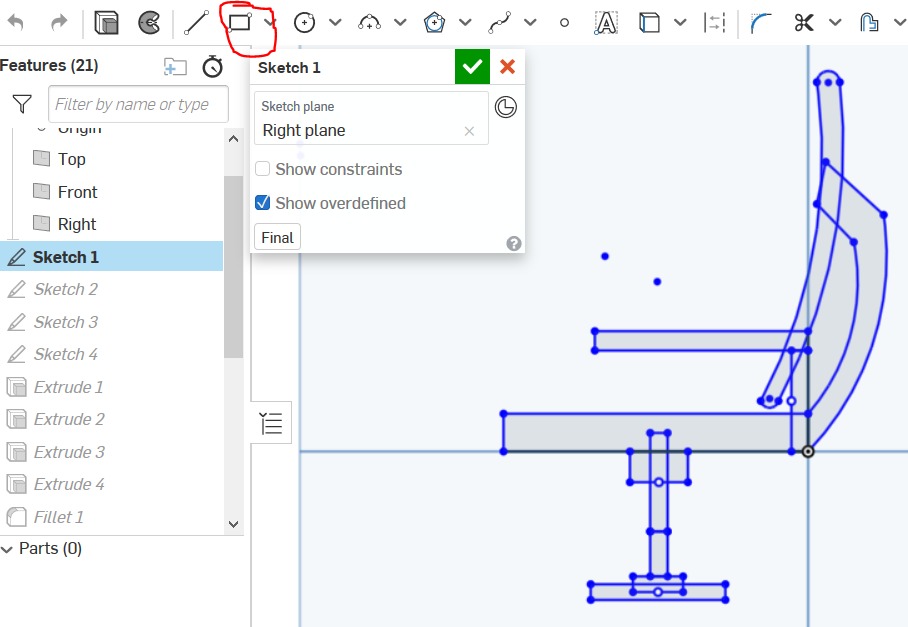
3- chose the plane you will desgin on, and pick sketch order

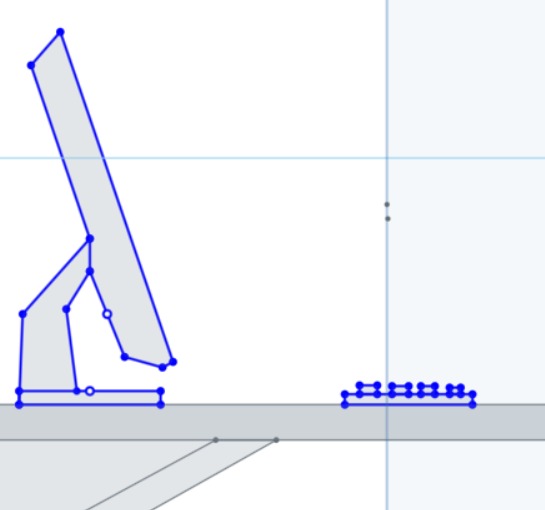
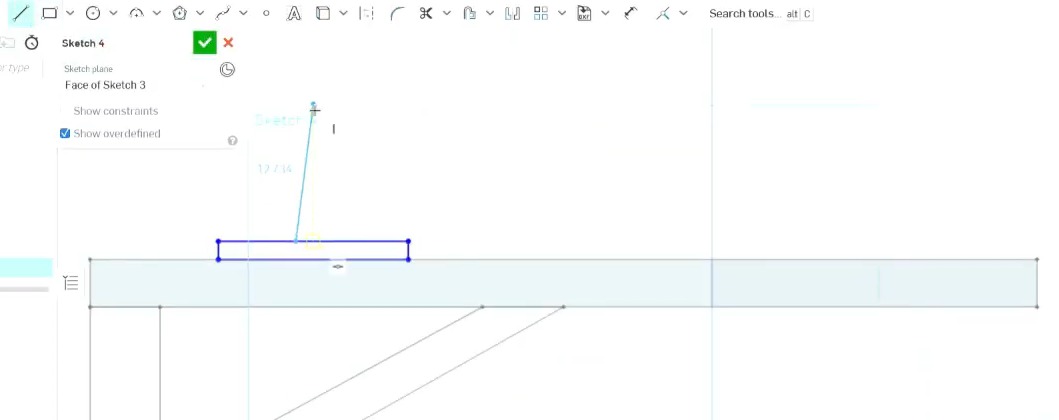
4- first, draw the side section of the desk and chair

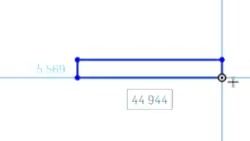
using this tool "draw rectangulars, corner" ,we can draw squars and other shapes:
lets draw thefirst one with the shown size:
make others with thea same tool to make the basic shape of the miidle of the chair

now, lets swith co center posint rectangle:
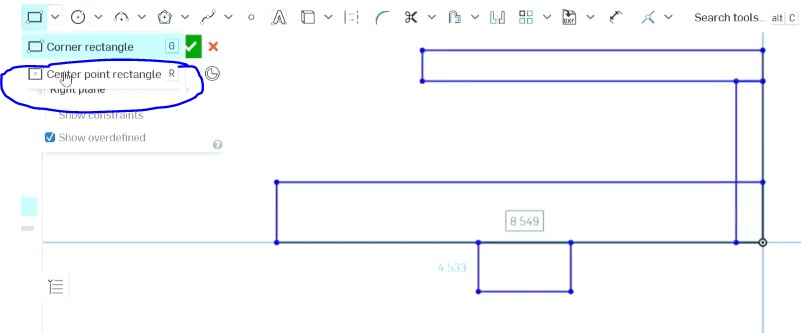
and draw the bar and the base :

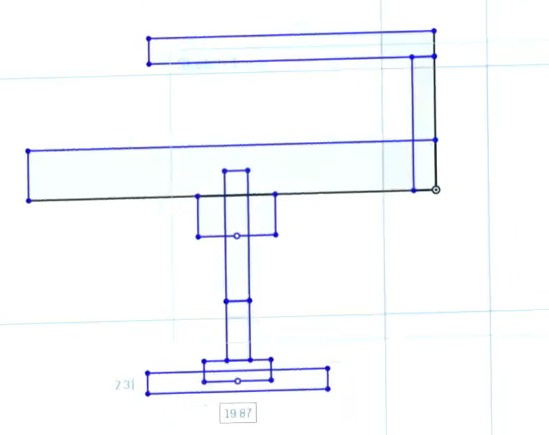
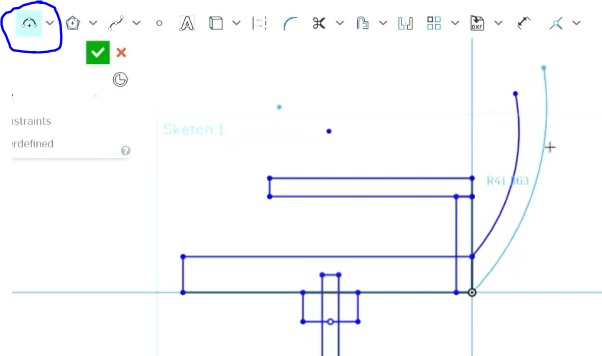
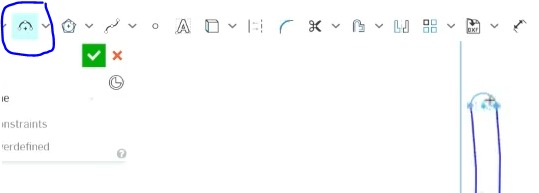
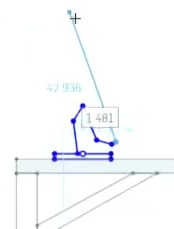
lets draw the back ark of the chair that hold the tuching back of the user, using this tool:
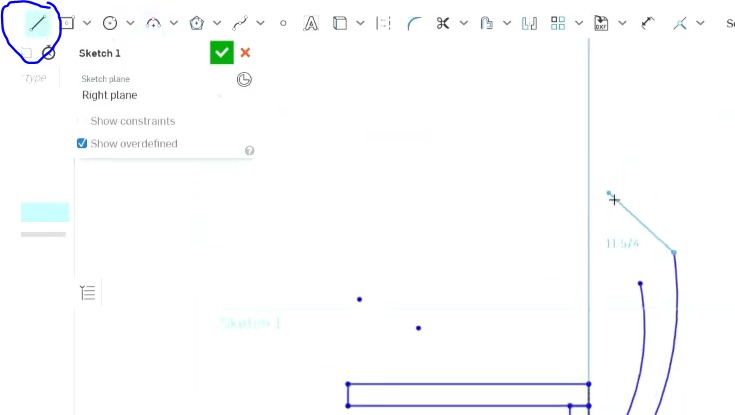
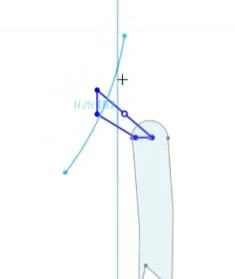
add lines tp the back, to connect it to the head plate that touch the back directlly
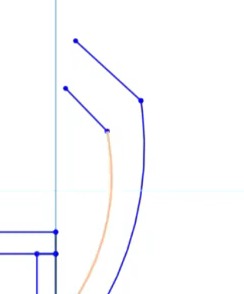
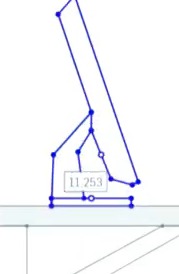
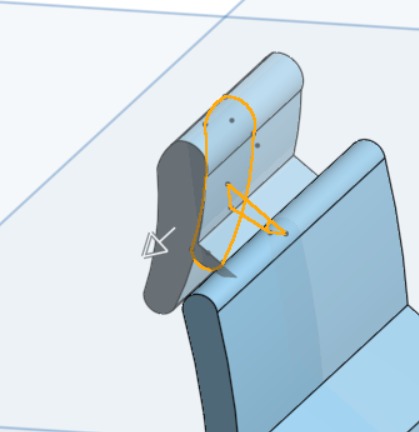
now, draw the part that tuch the back of the user directlly
add some curves to it, pointy things are bade in the chair!
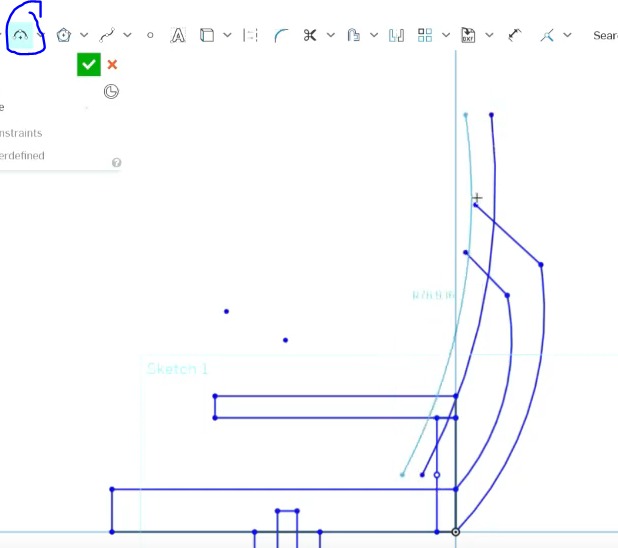
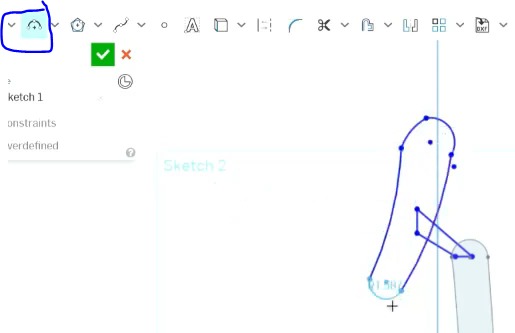
more connections to the hear holder
and draw the head holder
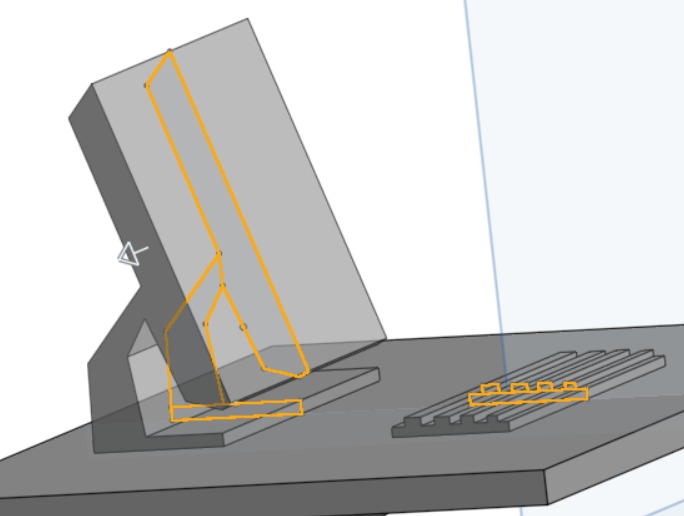
lets drwa the table, using the same tools:
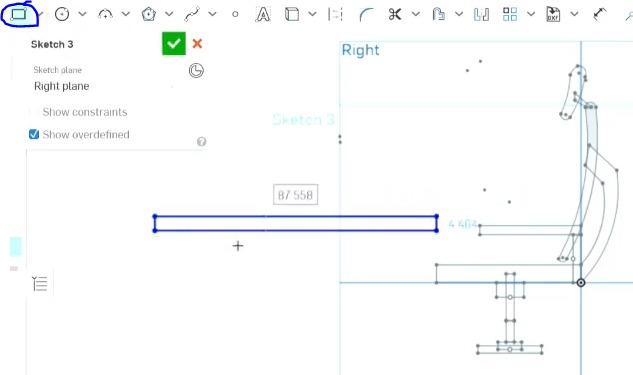
make sure that the table is table and powerfull enogh to carry havy things

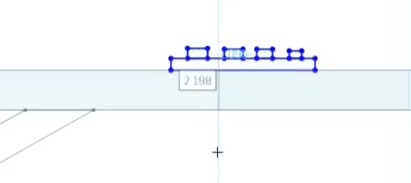
draw the screen base and other parts:
and the keyboard
as you can seen, we can sue one tool to draw alot of shapes, just need to know how to use it, and learn the ather tools to create more shapes
look at my desktop, is the screen 4K?!? mine is 1080p...


see the video to see how I designed the chair , or check the link
To open or download file for 3D chair and desk:
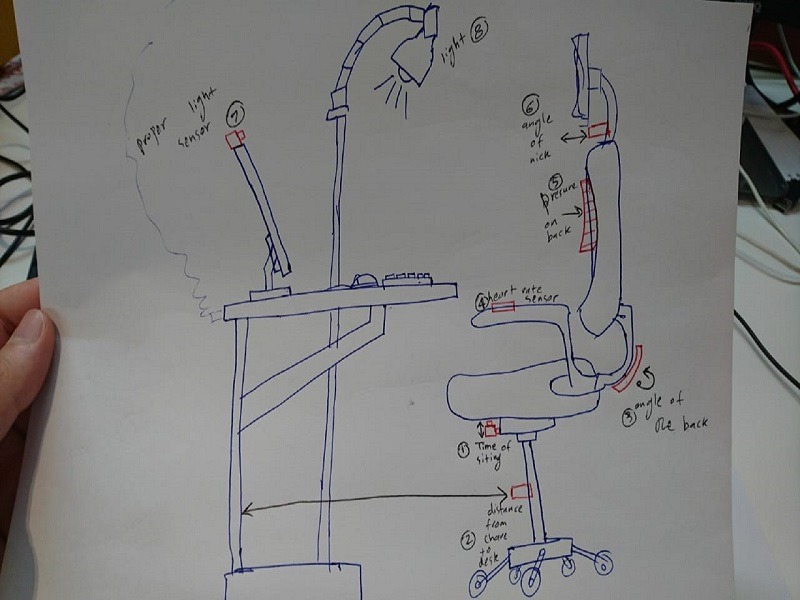
mainly, to how can I show my idea to others, without a real shap, and for that I used onshape, and angain, putting your idea to a disain is not that simple, and that is why I normaly start drwaoing everything in paprer and sketch it : A
what about 2D, raster and vectors, I am using another program fro explaining that, to be excact, I am using inkscap"only to expain verctor an raster".
the design is (fitting chair) that can be build without any glow and scrows and can be connected by its own self, it has some empty scaces to cennect parts together, as prototypePlease check the link for my video about the fitting chair :
To open or download file for fitting chair:
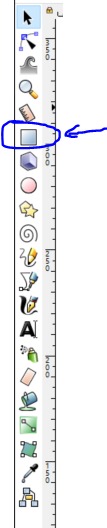
lets start with drawing a cube:

you can find the tool to the right side of the program :
draw the main parts of the chair, using the sam tool for now..
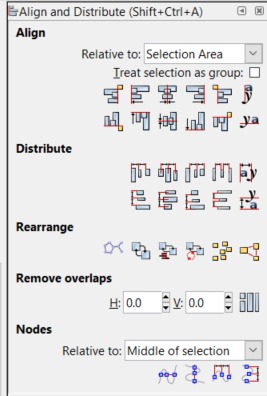
you can resize it from driging the corners of it directly:

or by the size bar and position bar in the top:

resized:
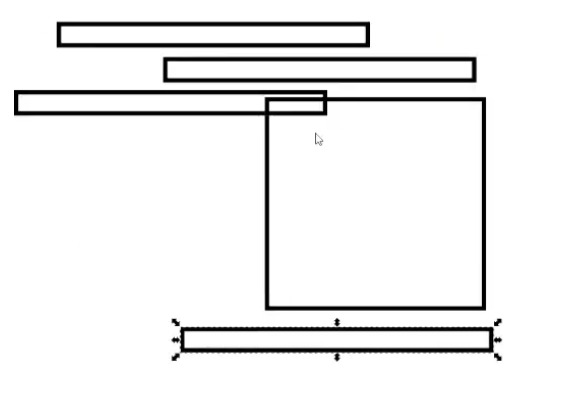
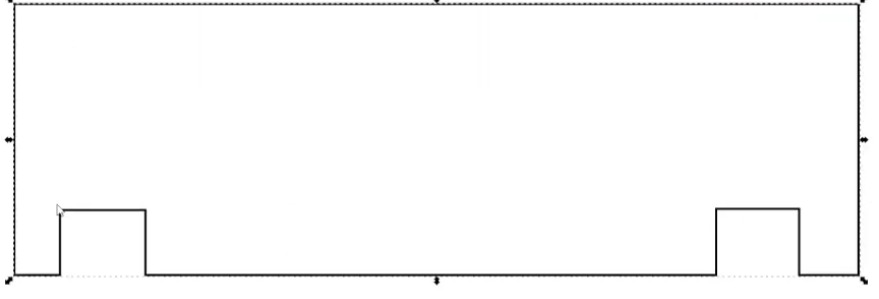
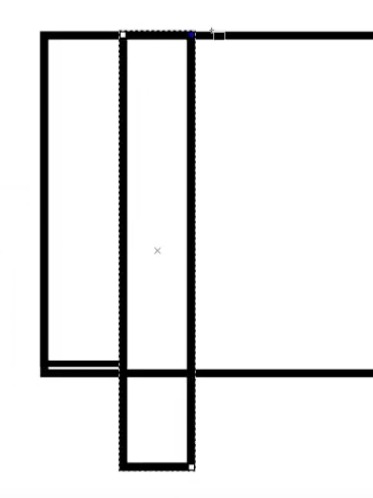
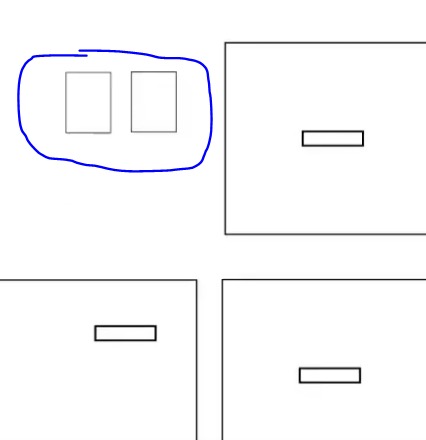
lets make some empty spaces in the base for the legs of the chair to go through :
you can change the prespactive of the parts suing this tool:
and the sitting of both ligh thikness, vector and raster from this tool, more info in the next week W3:
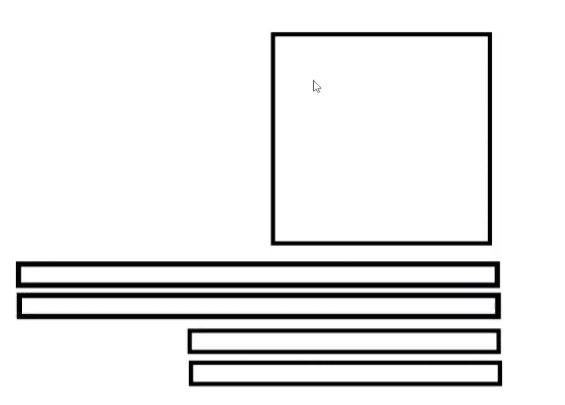
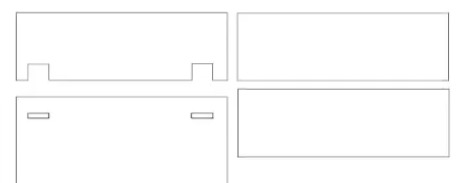
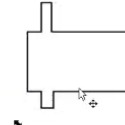
lets make a copy of the base :
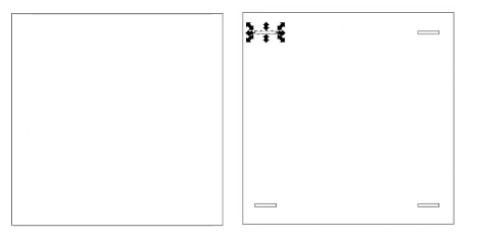
and add 2 holes for the long legs that is connected to the back of the chair:
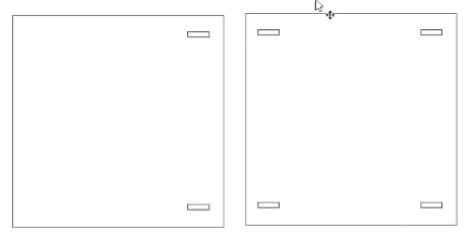
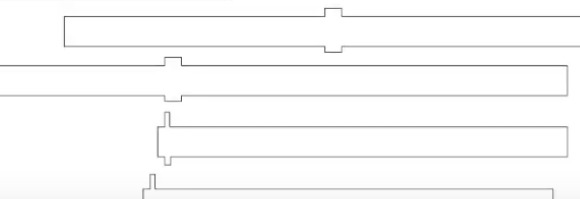
now make a holes in the back part, to be connected in the future to the long legs:
you can make the holes by uisng this tool:
make some copies of the back:
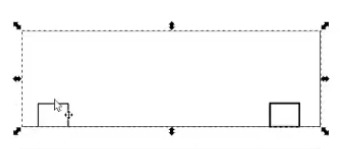
now and to make sure that all legs con hold each of the base and tha back in place, we will make a tooth that holes both:

and make some holes in the back after making 3 copies of to, so all 3 parts can be connected by a new small legs between the back:
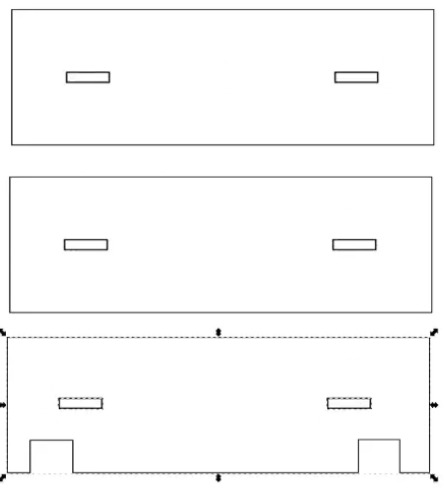
2 small legs of the back:
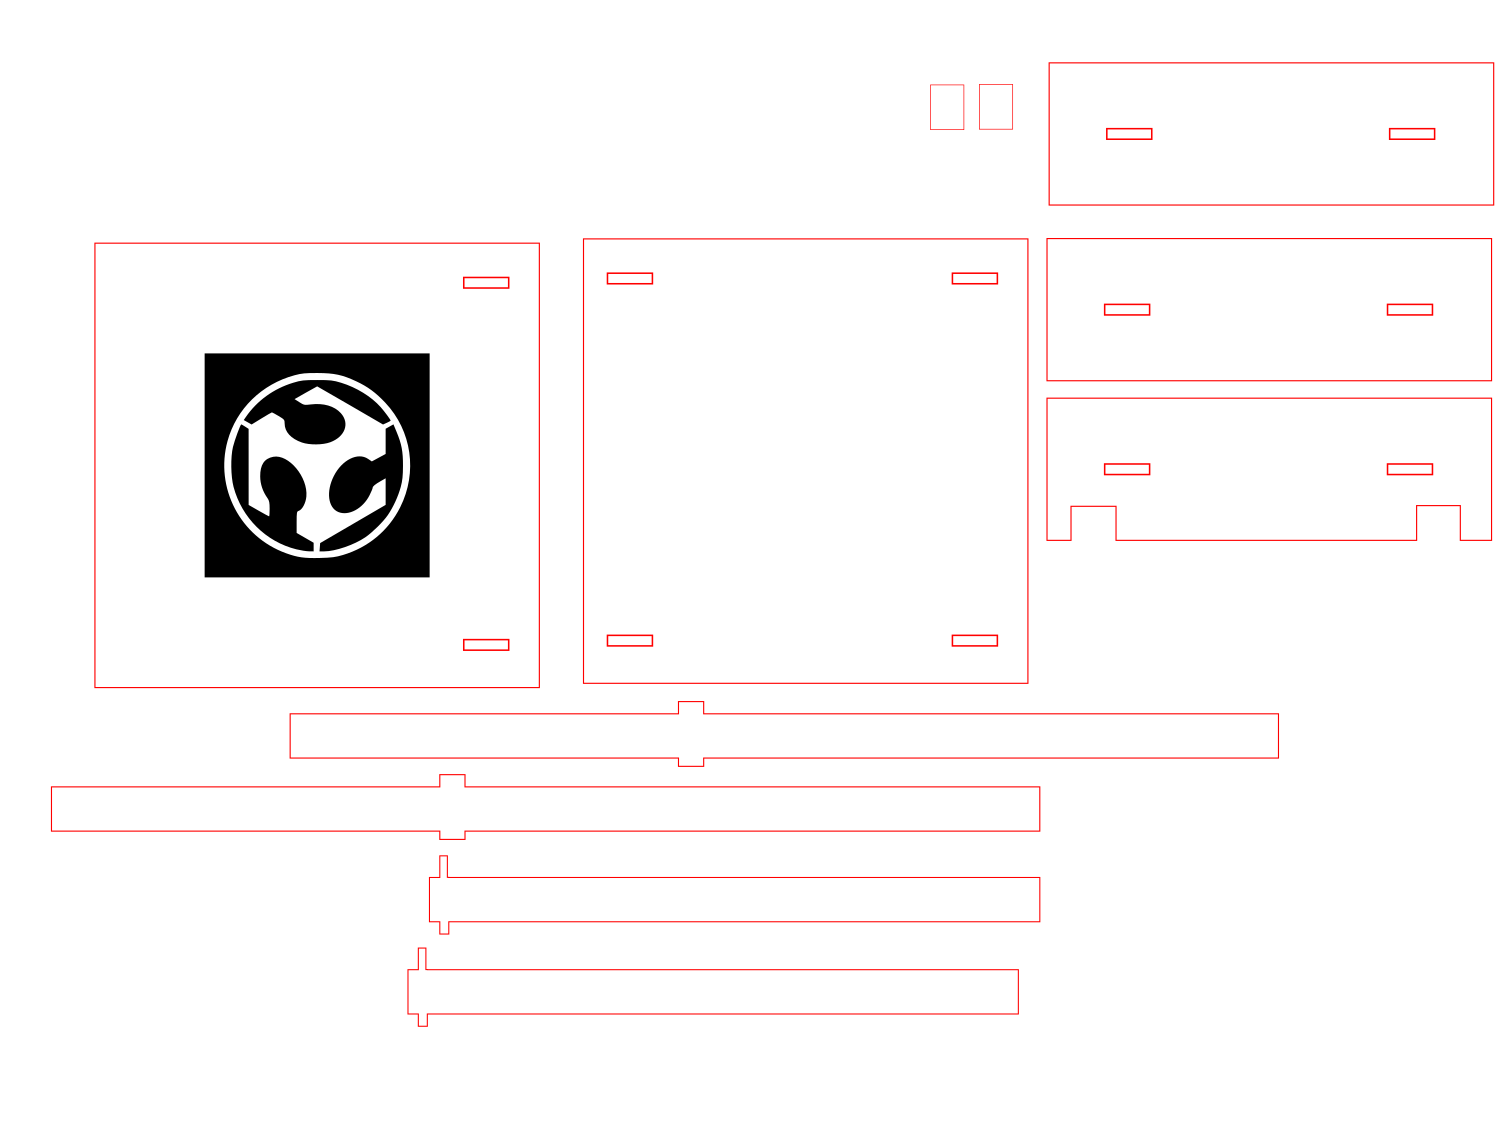
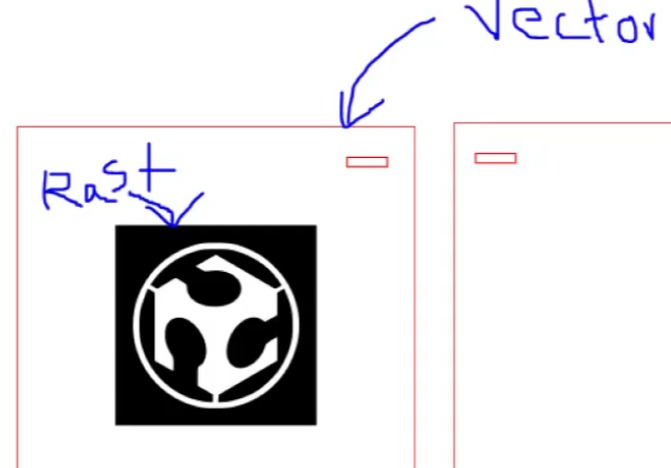
very nice, now lets add some rast parts to the design, hwo about adding the fablab logo to the base?:
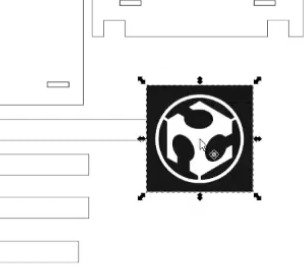
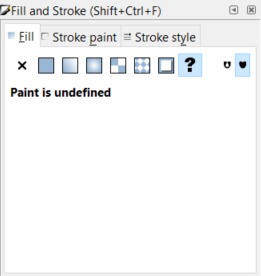
as you can see, this logo is pixilate, we will change it to a vector shape, by using this tool

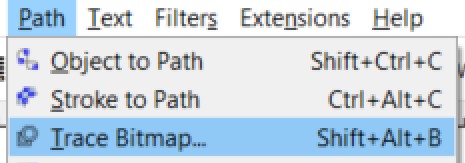
control the specs of the vector by chinging thies sittings
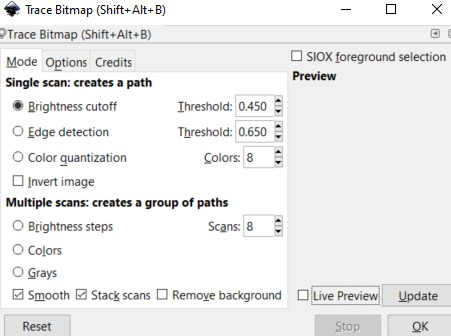
all clean and VECTORY!! -_-....

this part is from next week, but to make it visible, my laser machine need this sitting to work, color and line thikness, next week will be more detailed:
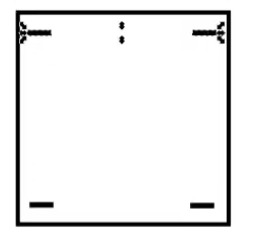
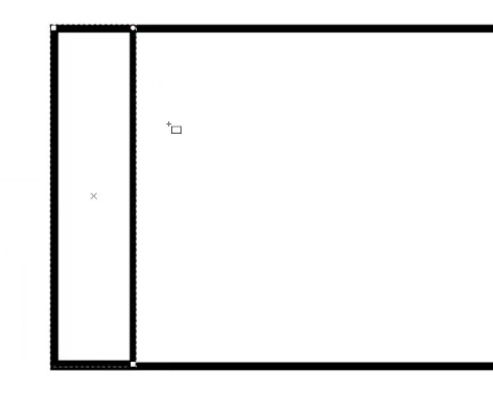
now, lets empty some space in the back plate so the legs can be connected to it
lets make another sitting base, this part will be in the top, so the ligs can not tuch you directly!