Final Project
Automated Ambu-bag
Background
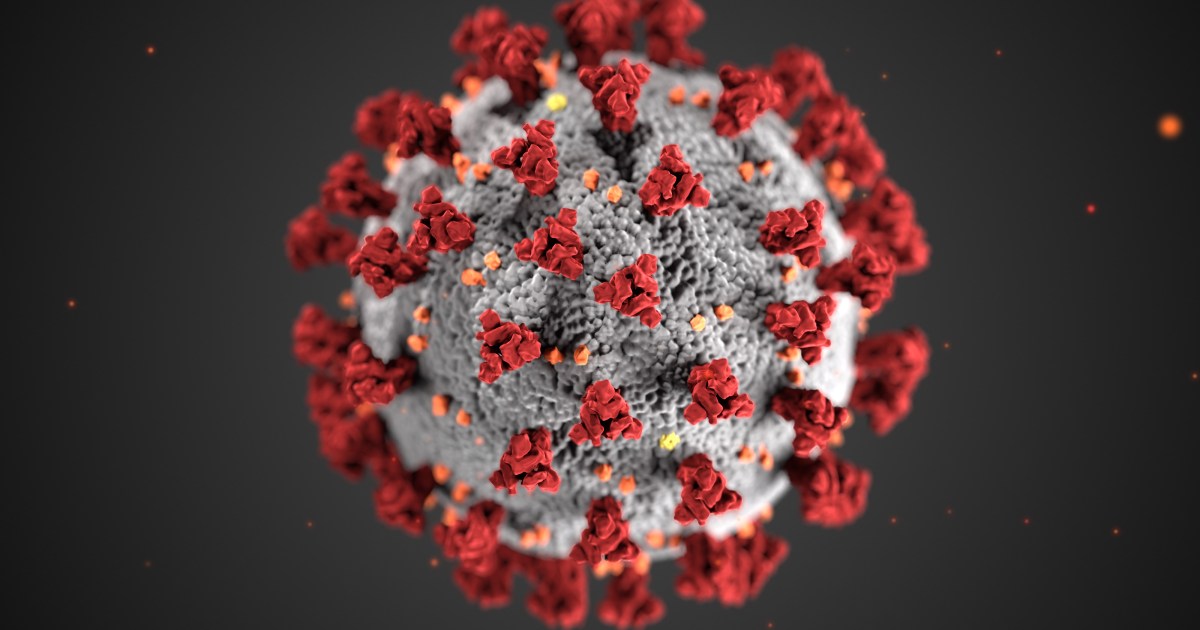
On December 31, 2019, the World Health Organisation (WHO) China office heard the first reports of a previously-unknown virus behind a number of pneumonia cases in Wuhan, a city in Eastern China with a population of over 11 million. What started as an epidemic mainly limited to China has now become a truly global pandemic. The disease has been detected in more than 200 countries and territories, There have been now 10/5/2020 over 4,024,737 confirmed cases and 279,313 deaths, You can follow the statistics HERE.
This created a major problem in medical needs, and one of these needs is the ventilator where there is an acute deficiency in the world in it. So the global competition now is about who can make a cheaper ventilation device
here in Egypt the situation is not assuring the number is increasing rapidly There have been now 10/5/2020 over 8,964 confirmed cases and 514 deaths so we need to start take countermeasures to save as many people as we can in case of break out.
The idea is simple now it's the time we use our knowledge to help saving others
The Automated Ambu-bag it's not an invention neither than an original idea and there is a lot of medical concerns about it, However we didn't choose this solution by ourselves we empathize with number of docotor first in order to choose the best solution.
A portable ventilator utilizing a manual resuscitator was introduced in 2010 by a student team in the MIT class 2.75 Medical Device Design his original paper here.
Now there are many designs and prototype you can find all of them in this amazing tracking sheet
And one of the best prototype now is the MIT E-Vent | MIT Emergency Ventilator
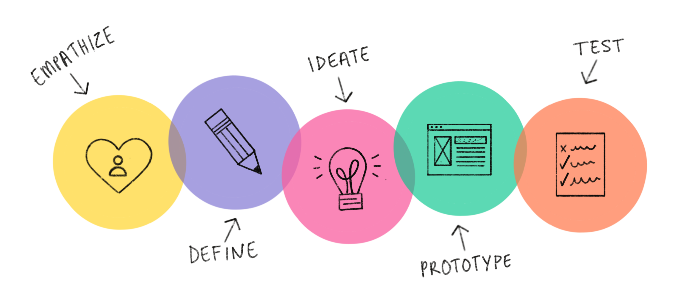
Design thinking
Empathy
Here are the findings of our interviews with number of doctors in Egypt.
Is there a really shortage of ventilators?
Yes, we only have 15000 ventilator in whole Egypt and probably some of them aren't functioning any more.
What is the virus cycle in our bodies?
When we get infected our immunity systems produce antibodies to fight the virus in this case we have 2 options:
- our antibodies are strong enough to recognize the virus and be able to eliminate it.
- our antibodies aren't strong enough so it need time to fight the virus which cause overstimulation and lung phones.
However if we have time the normal body is able to overcome these effects and eliminate the virus and that's why we need ventilators.
If we cann't make a ventilator what is the best next thing to do?
the second best thing is to automate the proccess of using the Ambu-bag not only to face covid19, but also to face Sudden cardiac death which caused by loss of heart function
What are the parameters we should be concern about in the Automated Ambu-bag?
- Adjust flow rate, how much volume of the Ambu-bag is going to be squized.
- Pressure, peak and plateau pressure
- Breath/minutes. normal from 16:24.
- Oxygenation sensor, in order to increase the oxygen instead of increase the respiratory rate which is gonna cause a muscle faique in the lung.
Which cases can we address ?
we have 3 cases:
Ideate
Goal
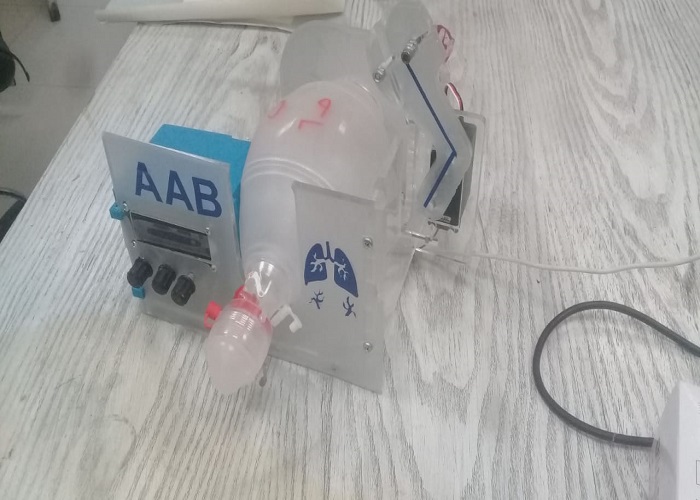
The ambu bag is a manual resuscitator or "self-inflating bag", it is a hand-held device commonly used to provide positive pressure ventilation to patients who are not breathing or not breathing adequately ,So The idea is to automate the process of using the ambu-bag, as a potential means for longer-term ventilation max (24hr).
So we hope that such systems may serve as bridge devices and help with the triage of available respirators and clinicians trained in respiratory therapy.
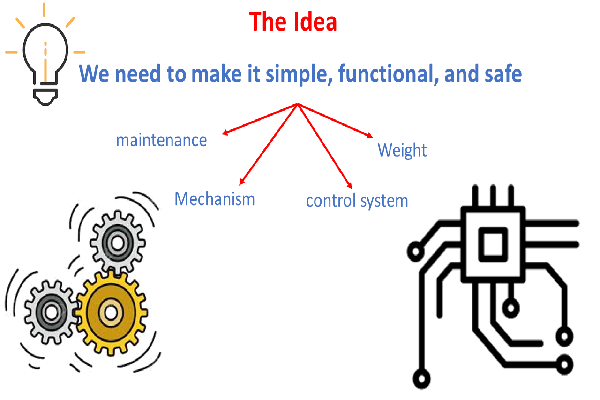
Prototyping
The journey
Process
Rapid prototyping for Automated Ambu-bag
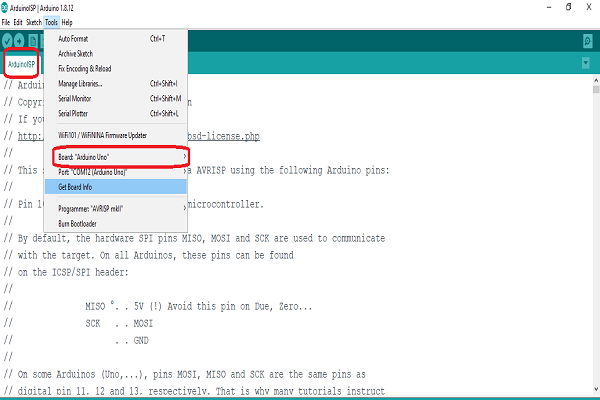
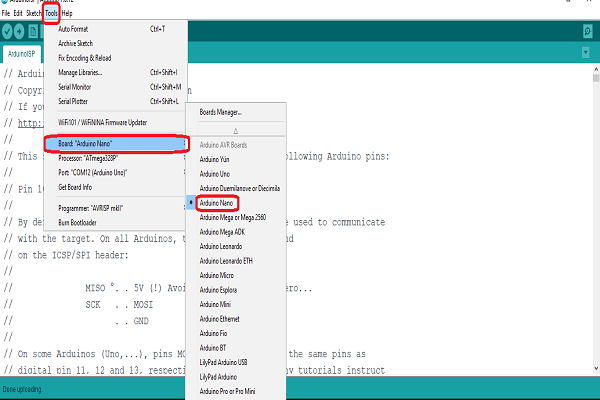
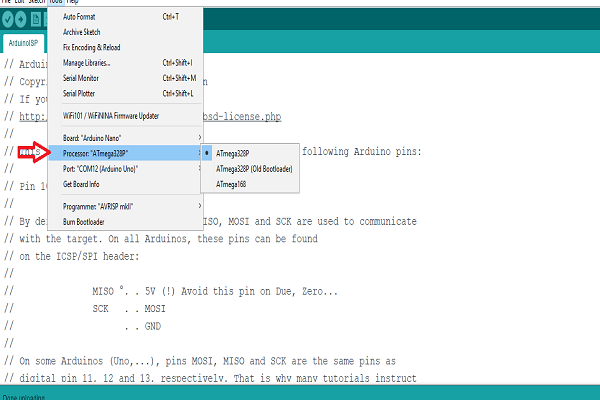
In able to prove the concept of the automated Ambu-bag we choose to make a quick prototype using arduino board.
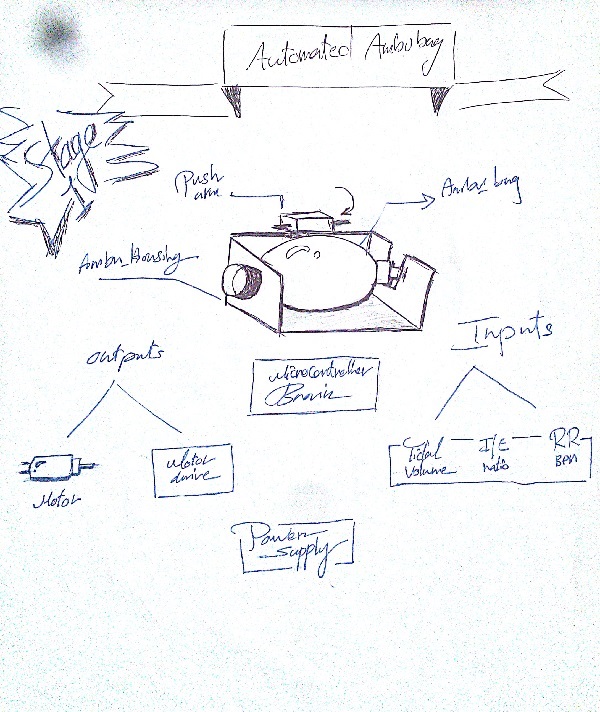
in Stage One we have the following parameters to control
Version 0
The idea is: As we know, we need to squeeze an ambu bag, and I planned to do that with a simple mechanism
So I chose a reciprocating-rack-and-pinion mechanism, you can take a look here
in this mechanism we convert the rotation motion into linear motion, and the arm will push the ambu bag
- I used Nema17 stepper motor for this try
- I couldn't combine the mechanism and the ambu bag in a good looking frame
- there is a problem in the slider fixation
- we have 2 levels of connections: from motor to gear,nthen from gear to slider arm,later on, this may result in mechanical problems
first prototype
Failures&constraints
Version 01
- the torque moves from motor to the arm directly
- Stable structure and good looking frame
- Portable
- We need relatively high torque, and Arm fixation method
- You can find the Bill of materials here
In this release, I relied on an open source mechanism Darren Lewis then I modified it
Advantages of this mechanism:
Disadvantages:
Motor Selection and power calculations
As I said for the first time we use the Nema17 without any calculations we did that actually for two reason
- we want to test to concept fast with what we have in the lab
- Nema17 was the motor that have the biggest torque in our lab ~=0.4N
So as much as we hoped it will work it didn't of course and Nema17 wasn't able to squeeze the Ambu-bag as you can see in the video ->
Now it was to take step back and start to consider the power and torque calculations in order to choose the motor. which by the way wasn't that bad and I think if we could back in time we would do it from the beginning.
Motor Selection
In order to choose the right motor this time we need to run our calculations in the worst case in which the device will work
Worst case:
we assume the motor will squeeze the bag at maximumPressure= 40cmH2O,RespiratoryRate= 40bpm and inhaleTime=0.3sec.
when A:Ambu-Bag contact area & P=40cmH2O
when F:squeeze force & L:lenght of the squeeze arm
when RPM:angular velocity of squeeze arm= θ/inhaleTime
From the calculation we need a motor with torque =0.7N ~= 1N
However here in egypt we can only find a Motor
with much torque
= 24.5 kg.cm = 2.40262925 Nm
Stages of building version 01
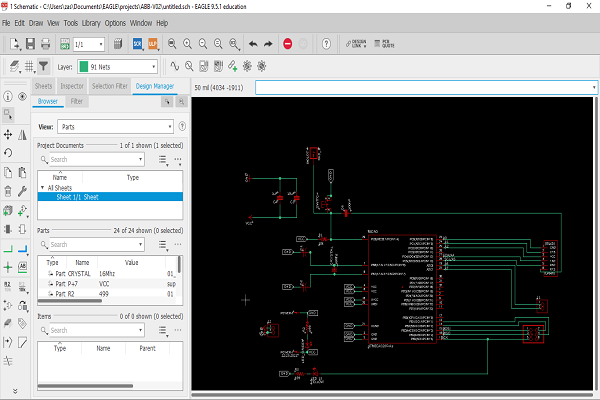
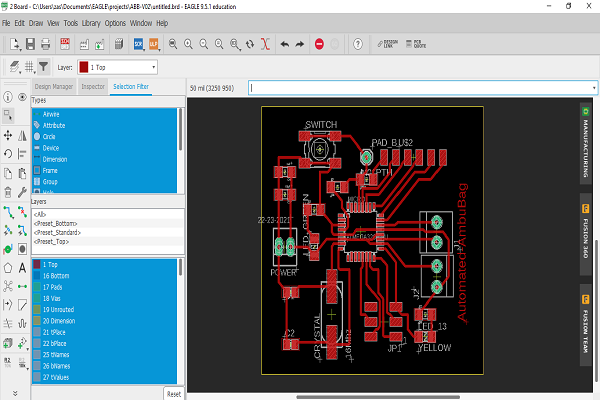
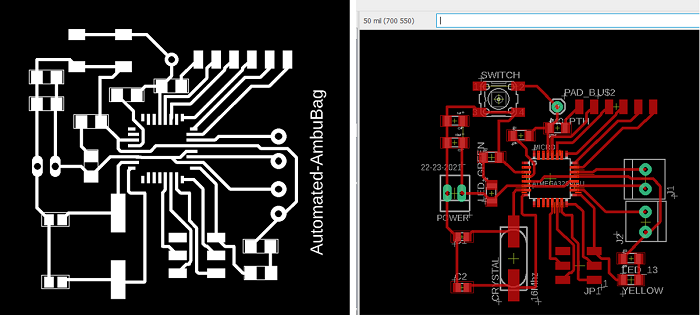
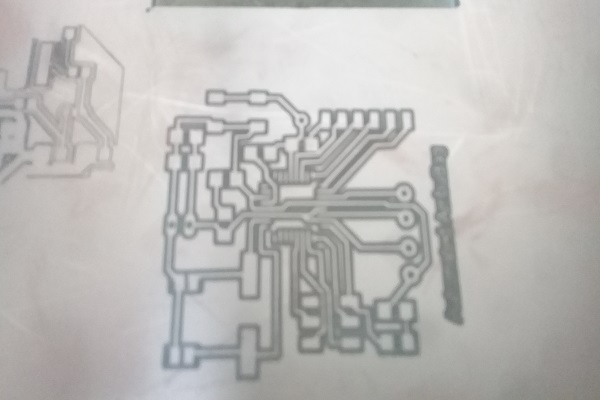
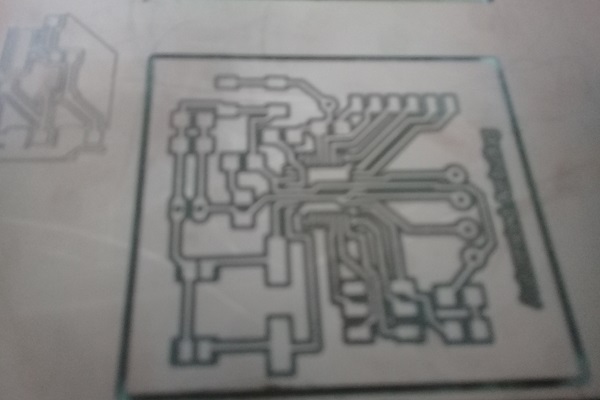
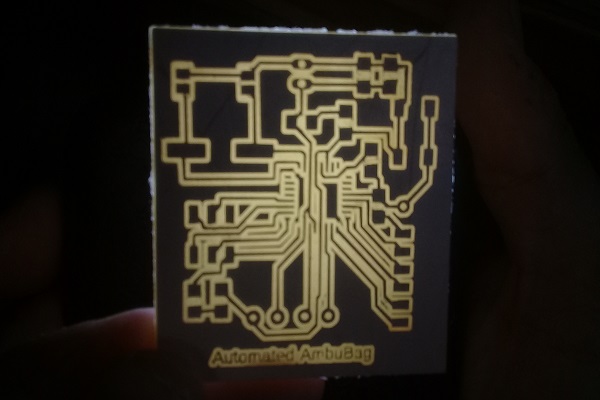
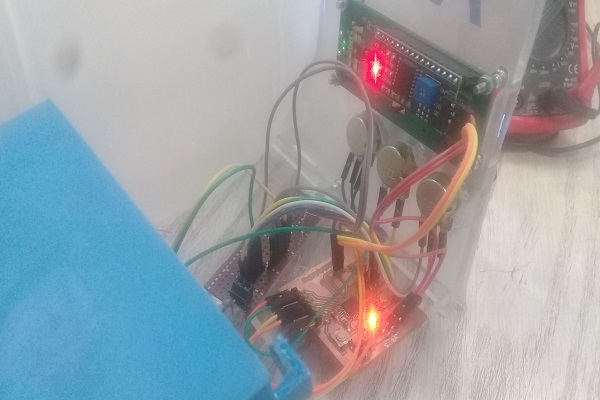
Electronics Design and production
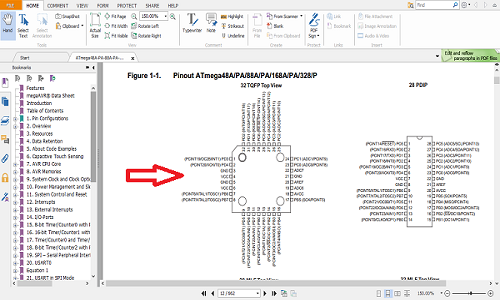
- Before I start, I have read ATMEGA328 Datasheet carefully, you can find it here
- High Performance, Low Power AVR® 8-Bit Microcontroller Family
- Six PWM Channels
- 8-channel 10-bit ADC in TQFP
- 32-lead TQFP
- Operating Voltage:̶ 1.8 - 5.5V
- Speed Grade: 0 - 4MHz@1.8 - 5.5V, 0 - 10MHz@2.7 - 5.5.V, 0 - 20MHz @ 4.5 - 5.5V
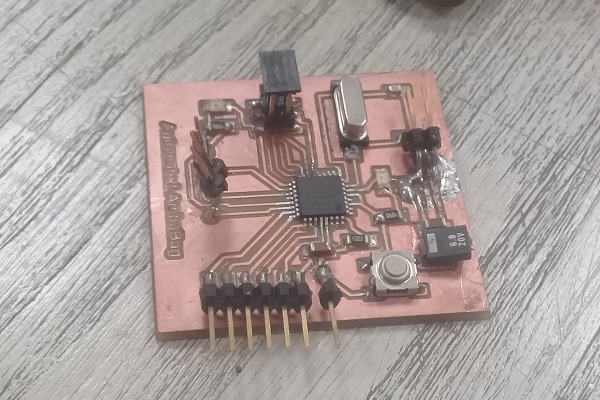
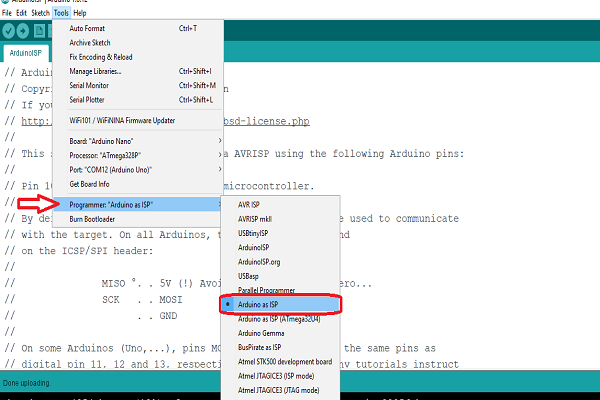
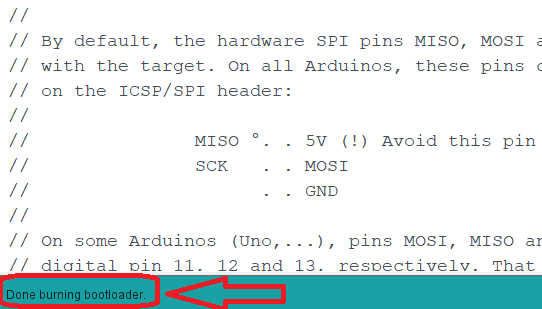
The Code
// include the library code: //#include#include LiquidCrystal_I2C lcd(0x27,20,4); // set the LCD address to 0x27 for a 16 chars and 2 line display #include //const int rs = 12, en = 11, d4 = 5, d5 = 4, d6 = 3, d7 = 2; //LiquidCrystal lcd(rs, en, d4, d5, d6, d7); Servo myservo; // create servo object to control a servo int pos = 0; // analog pin used to connect the potentiometer int val=0; // variable to read the value from the analog pin int potpin = 0; int a=0; int value=0; int T=0; int dn=0; int val2=0; int hold=0; void setup() { lcd.init(); // initialize the lcd // Print a message to the LCD. lcd.backlight(); myservo.attach(9); // attaches the servo on pin 9 to the servo object // set up the LCD's number of columns and rows: //lcd.begin(16, 2); Serial.begin(9600); // Print a message to the LCD. lcd.print("Breathing"); T=millis(); } void loop() { val=analogRead(A0); val = map(val, 0, 1023, 0, 25); value=val+9; Serial.println(value); lcd.setCursor(0, 1); lcd.print(value); val2=analogRead(A1); hold= map(val2, 0, 1023, 0, 500); lcd.setCursor(11, 0); lcd.print("Hold"); lcd.setCursor(12, 1); lcd.print(hold); INH(); delay(hold/2); EXH(); delay(hold); lcd.setCursor(3, 1); lcd.print(millis() / 1000); dn=((millis()-T)/1000); if(dn>=60){ a=0; millis(); T=millis(); dn=0; }else{ a++; lcd.setCursor(7, 1); lcd.print(a);} } void INH(){ for (pos = 0; pos <= 90; pos += 1) { // goes from 0 degrees to 90 degrees // in steps of 1 degree myservo.write(pos); // tell servo to go to position in variable 'pos' delay(val-4); // waits (val value)for the servo to reach the position } } void EXH(){ for (pos = 90; pos >= 0; pos -= 1) { // goes from 90 degrees to 0 degrees myservo.write(pos); // tell servo to go to position in variable 'pos' delay(val+5); // waits (val value)for the servo to reach the position // lcd.setCursor(0, 1); // lcd.print(pos); } }
Design and Implementation
- as i mentioned above, I relied on an open source mechanism Darren Lewis then I modified it
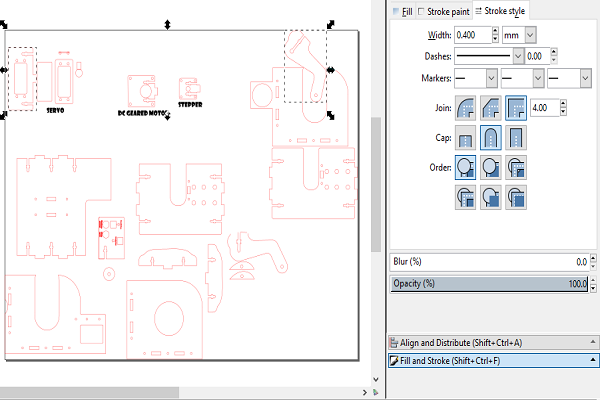
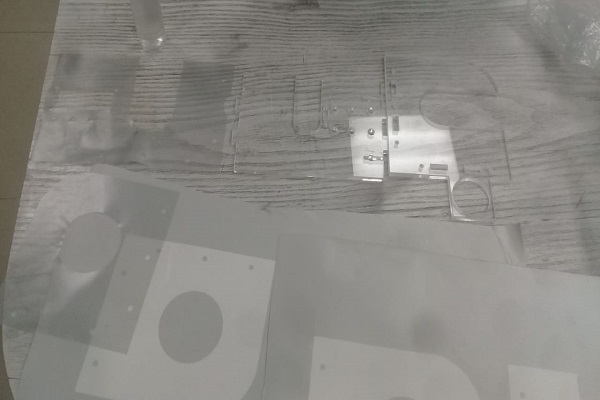
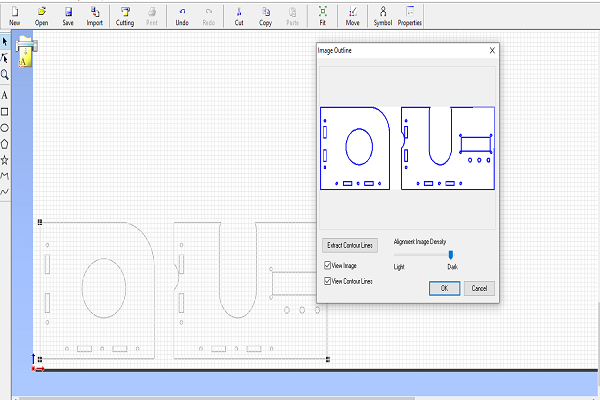
- 2D Design using Inkscape, you can learn more here
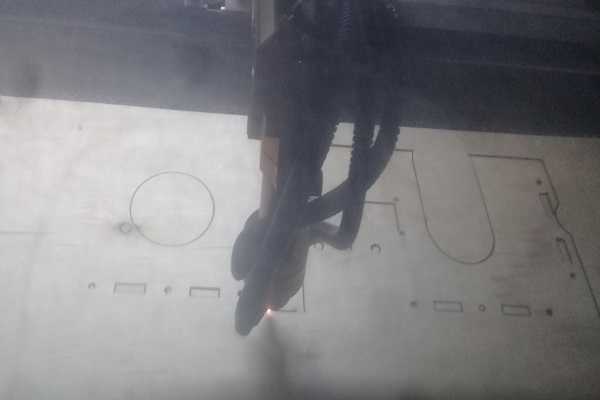
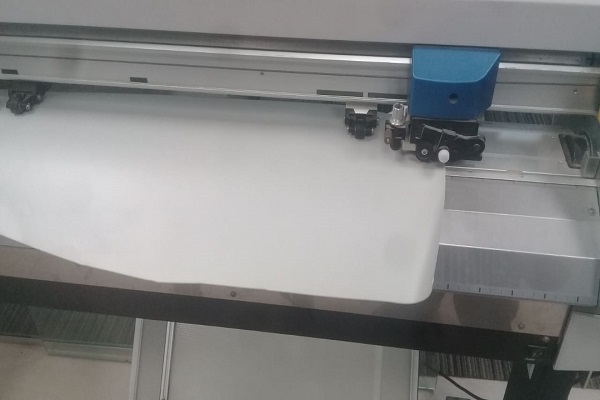
- export the file as dxf, then run it on your laser cutter machine
- using vinylcutter
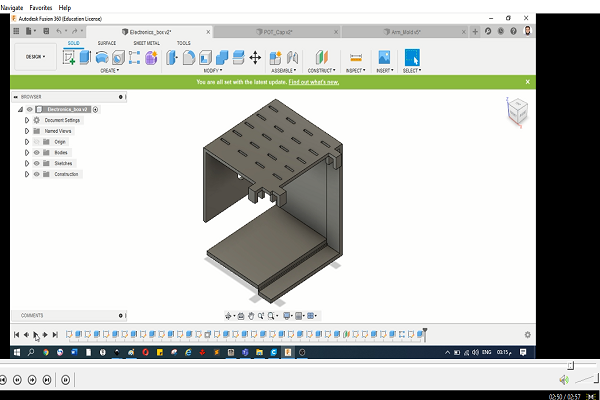
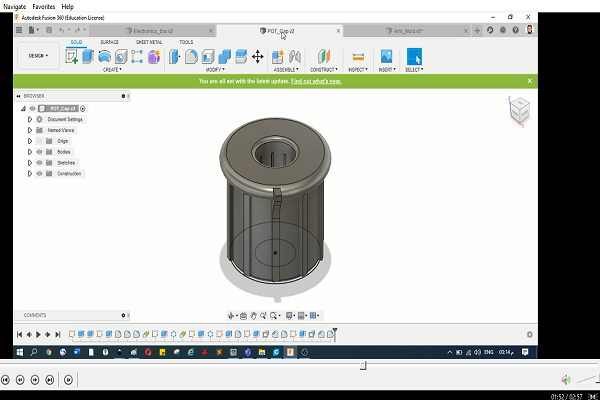
- 3D Design for electronics case and POT cap -using Fusion360-, you can learn more here
- then I exported the design as .stl file
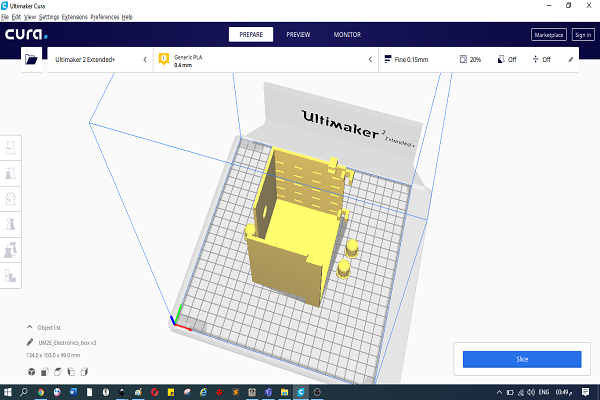
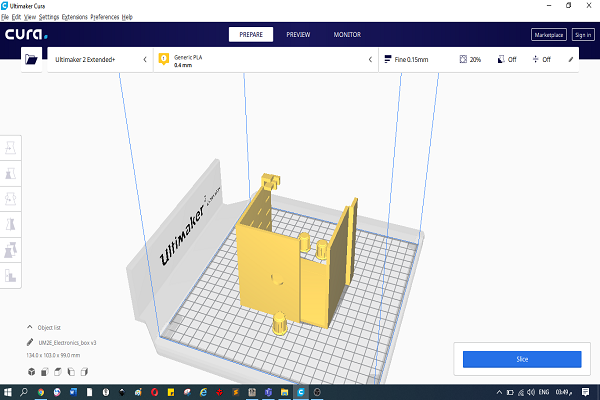
- then I used Cura to edit and print my parts
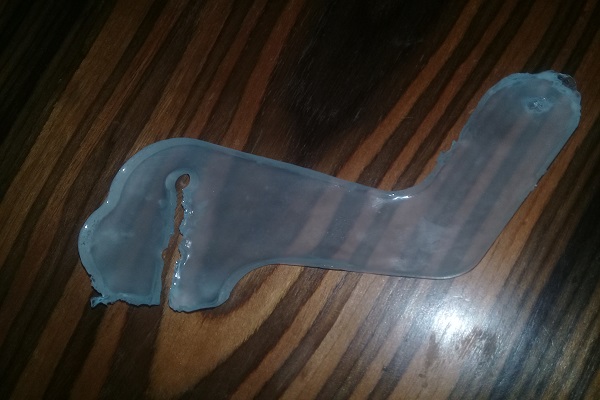
- Molding and casting here

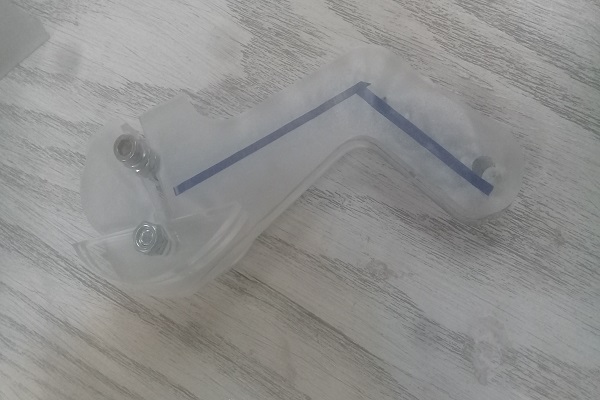
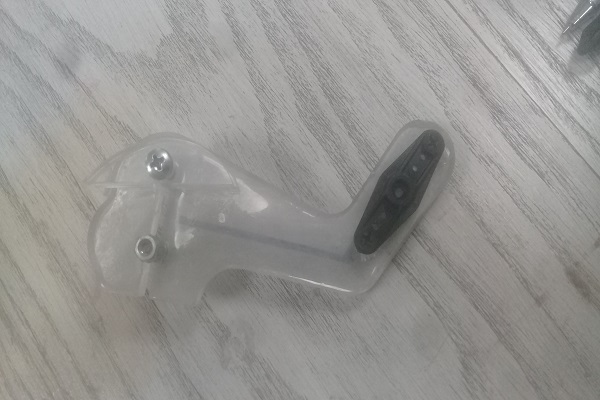
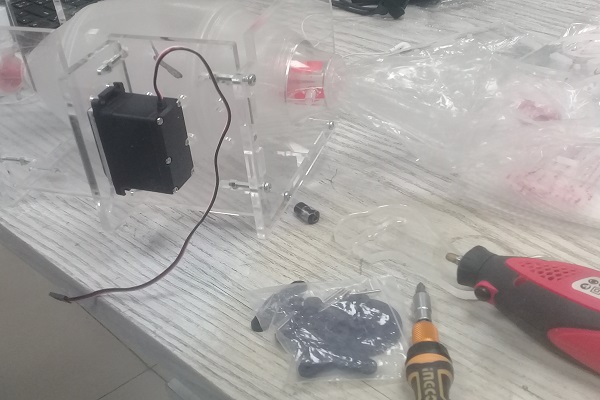
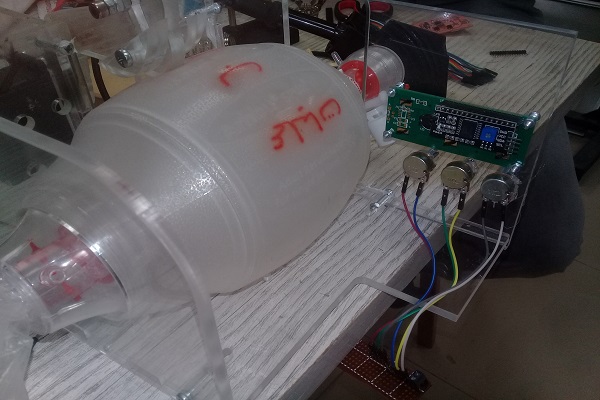
assembly and installation
- Push_Arm
- Servo_Motor
- Electronics box
- First Test
- Finally
- After obtaining the approval, the project will be available under the MIT License
- 1- Work to bring a motor with more torque than the user.
- 2- Doing a test under the supervision of specialized doctors.
presentation: [Video], [Slide]
What is the next plan?