WEEK 15 - molding and casting
INTRODUCTION
In my project I used a arm to squeeze the ambu bag, so I tried to use wood or acrylic but it failed, so now I try to use epoxy
Assignment Description
- review the safety data sheets for each of your molding and casting materials,then make and compare test casts with each of them
- design a mold around the stock and tooling that you'll be using,mill it (rough cut + (at least) three-axis finish cut), and use it to cast parts
group assignment:
individual assignment:
components
- 1 x Machinable Wax
- 1 x CMB Kemapoxy 150
- Milling machine
- 1 x pair of rubber gloves

Molding
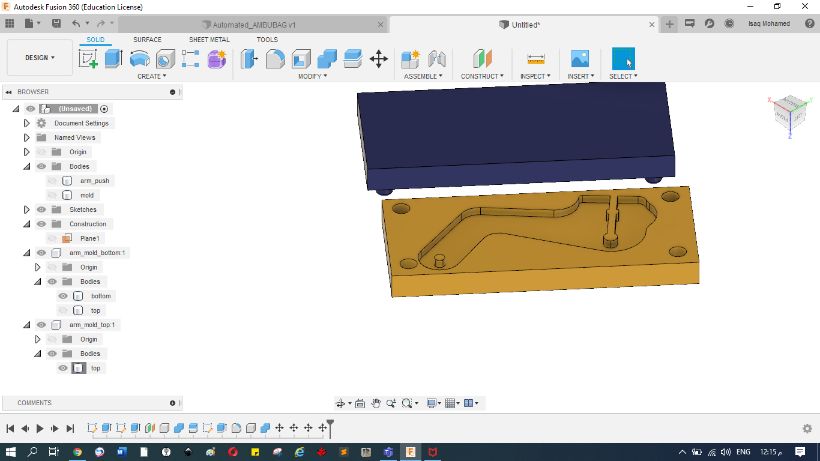
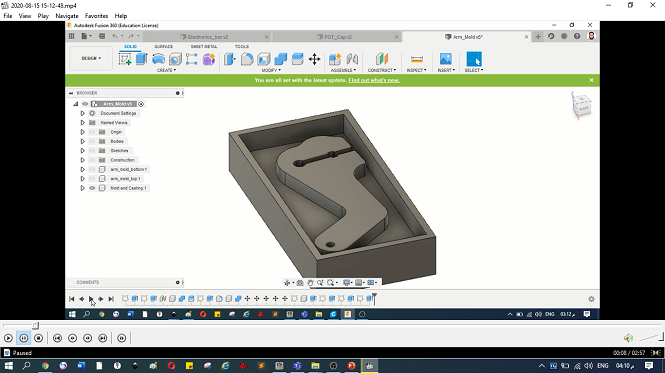
- i used fusion 360
- open 2d sketch
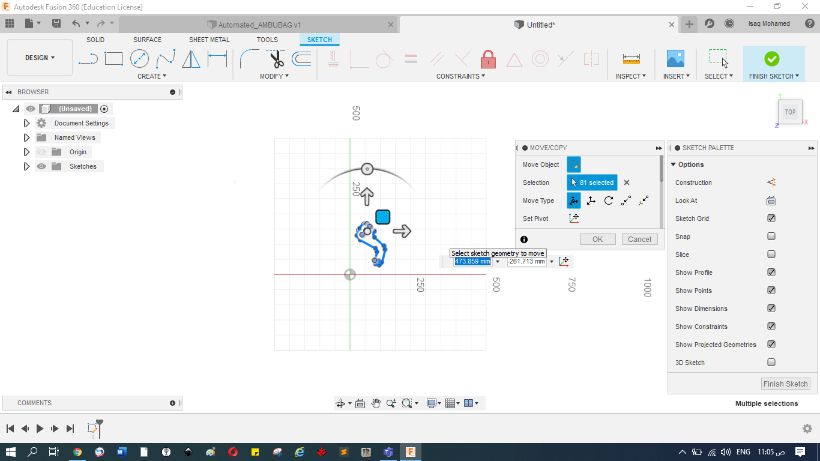
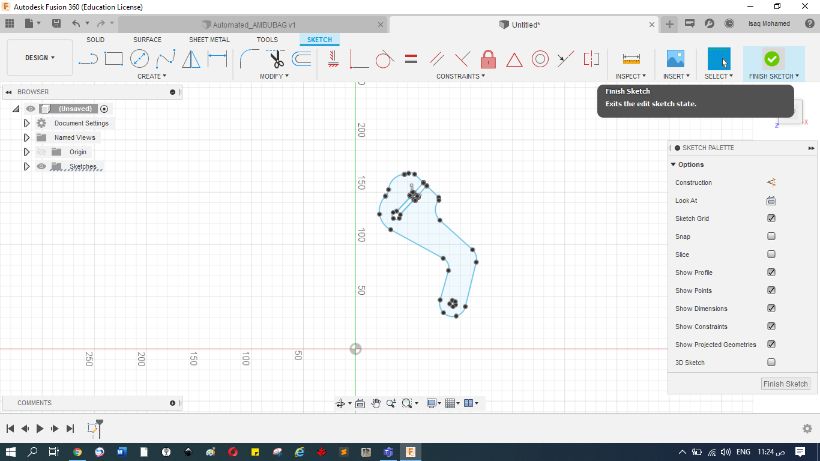
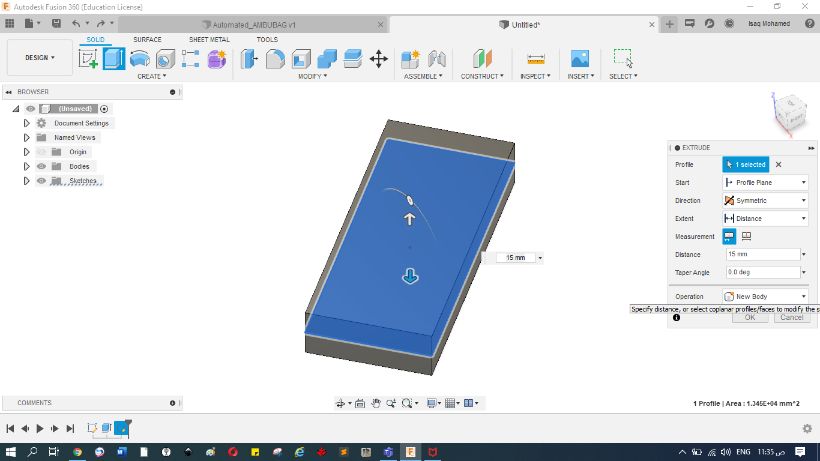
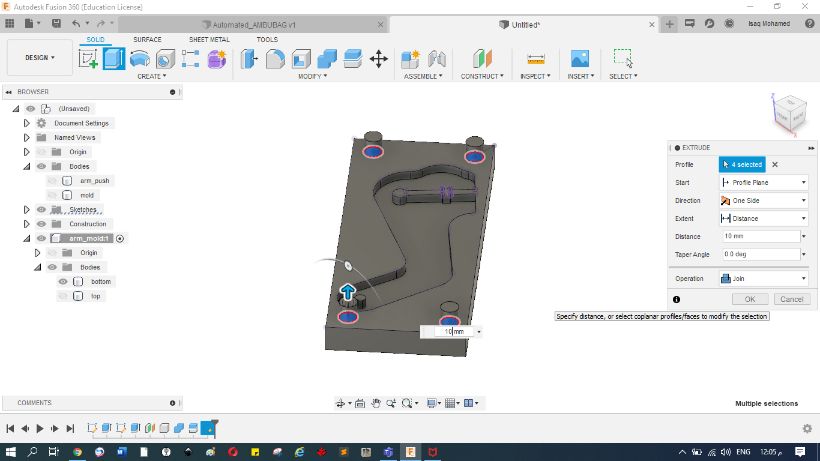
- Sketch your own design, for me was na Arm to push my Ambu_bag
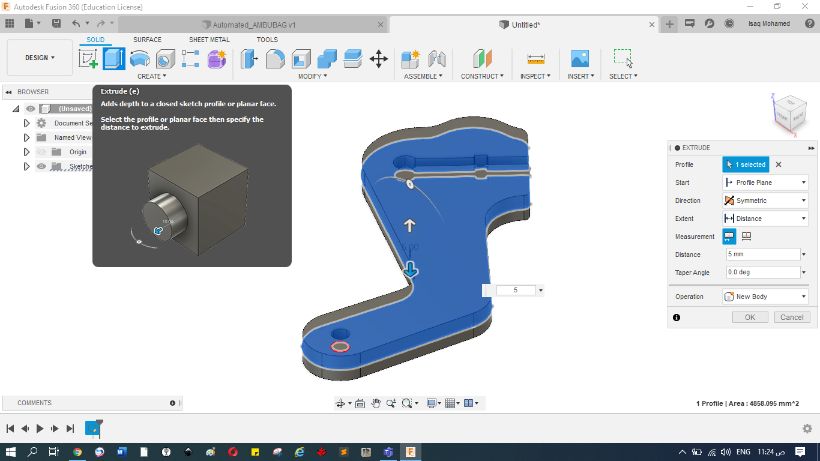
- Then extrude it
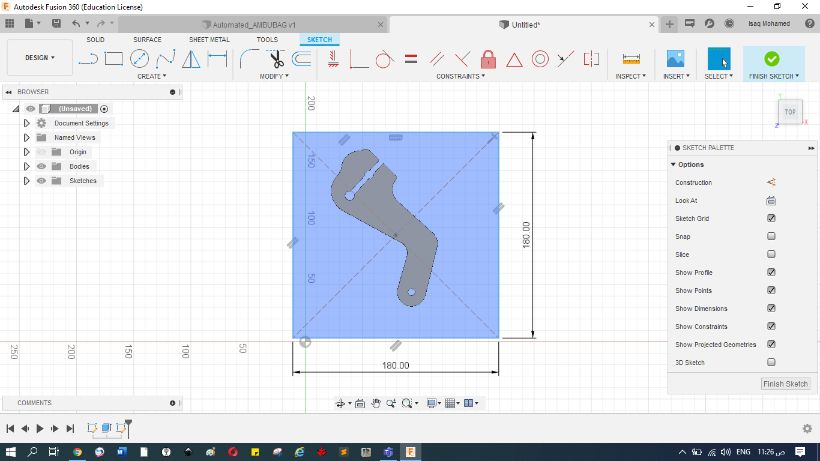
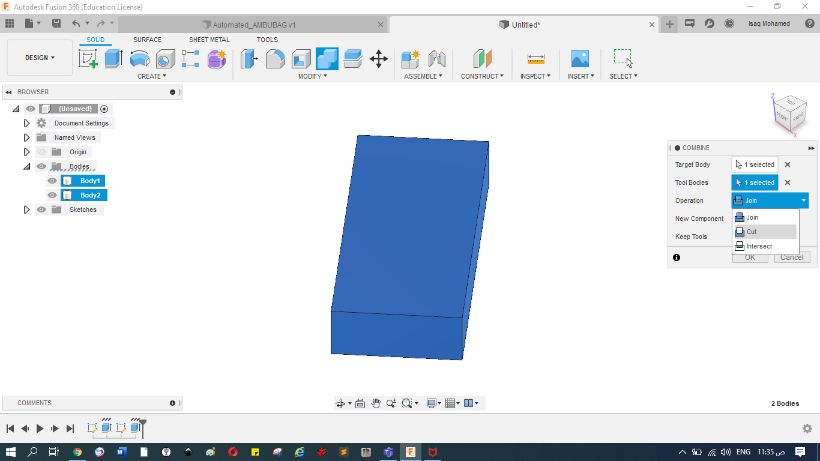
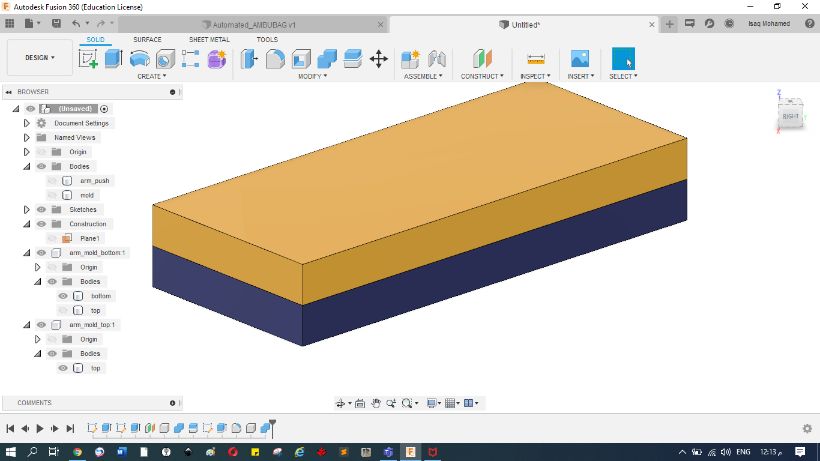
- Now we need to design a block to subtract our design from it
- Now choose combine, to combine the Arm with the Block
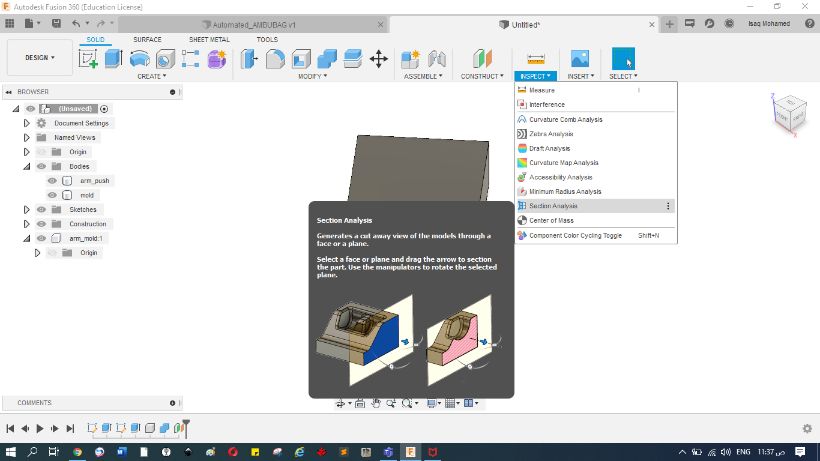
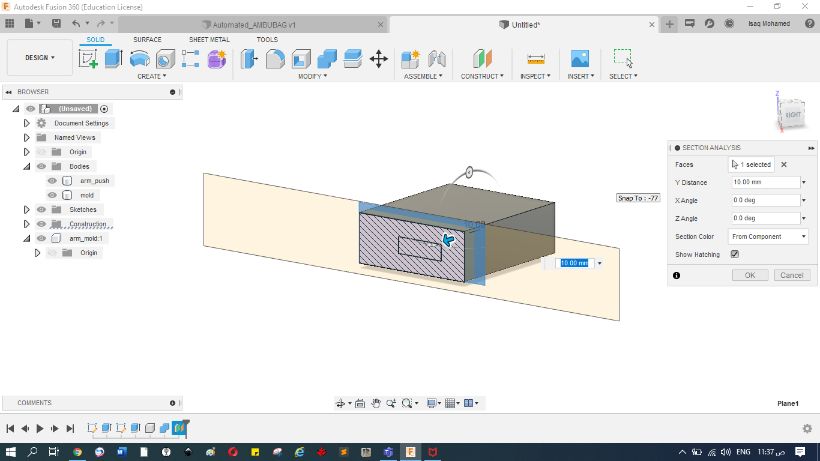
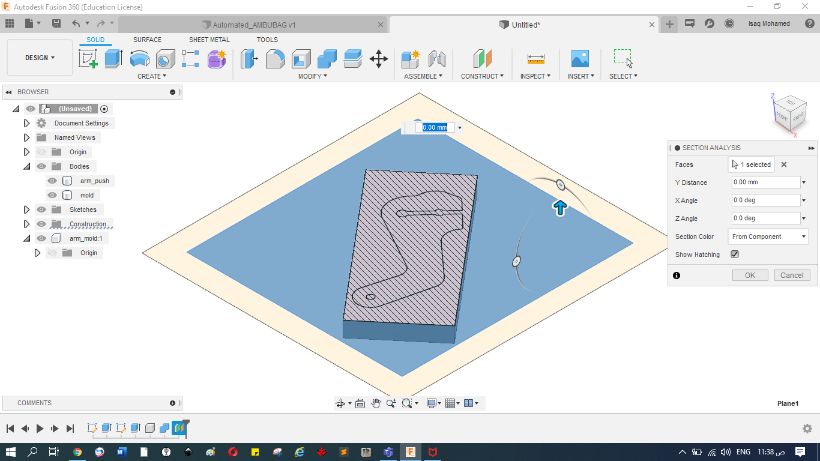
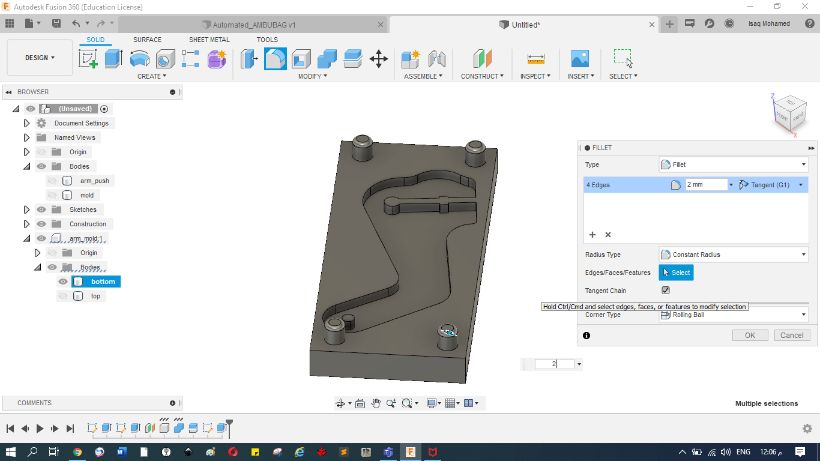
- we can take a section to ensure that all is good
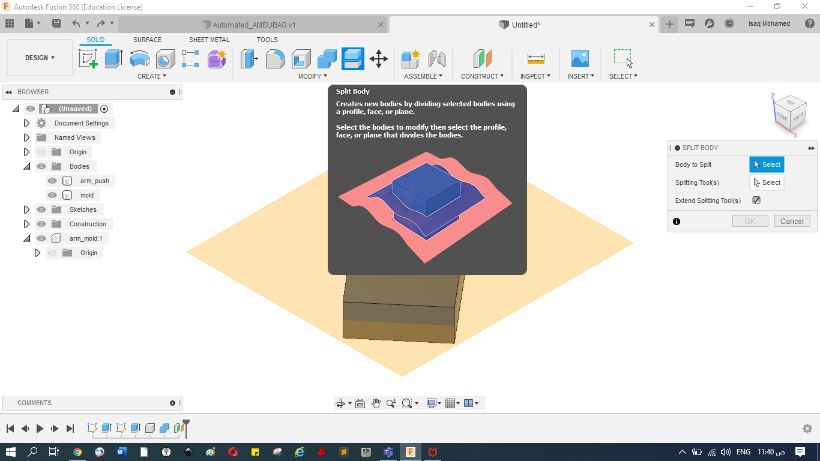
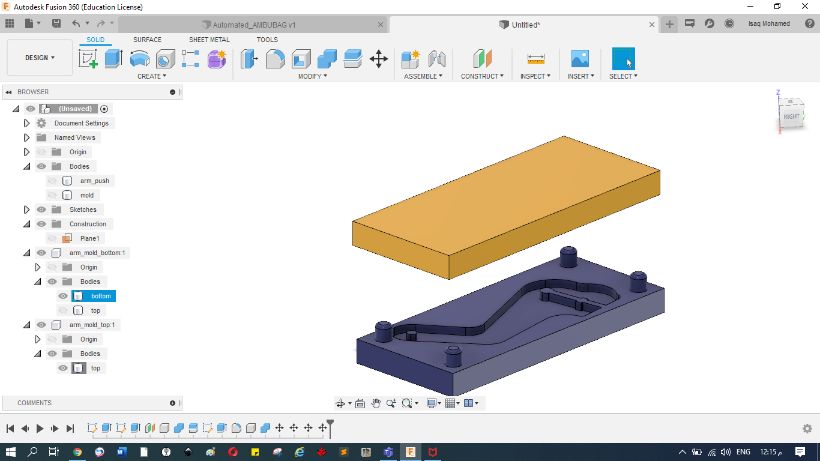
- Now choose the split, to make a core and cavity
- Pins to close and open easily
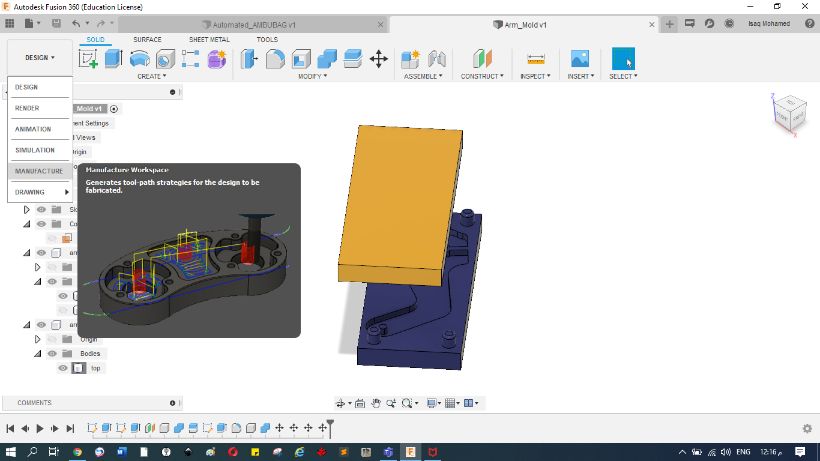
- Finally
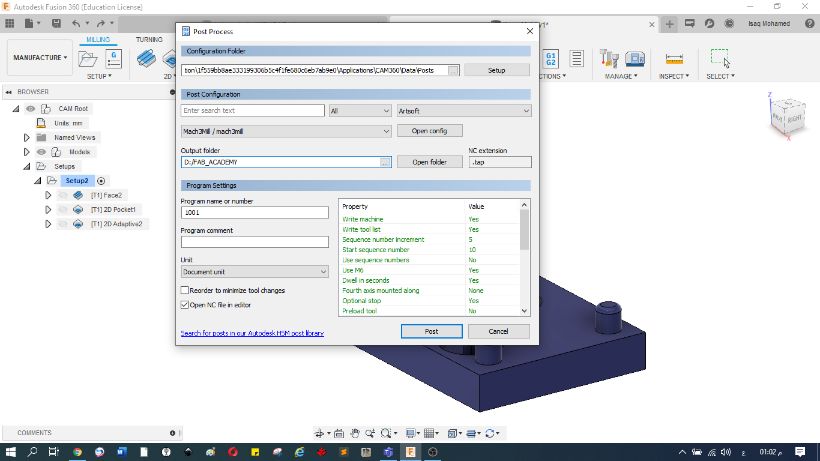
- Now go to manufacture
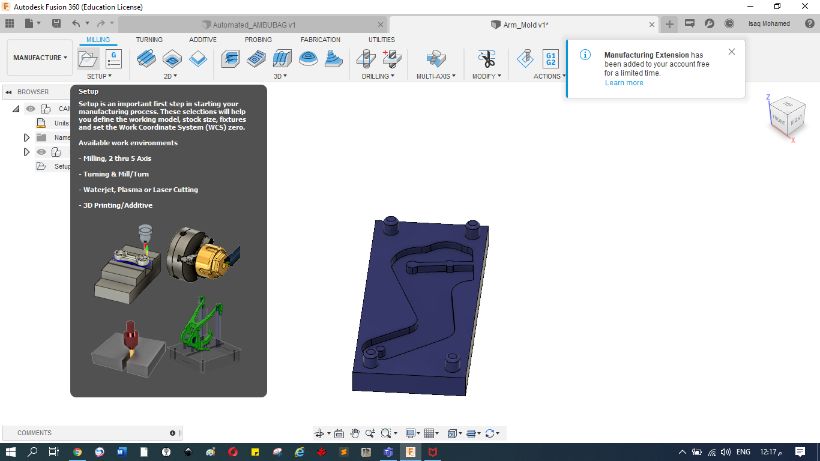
- choose setup
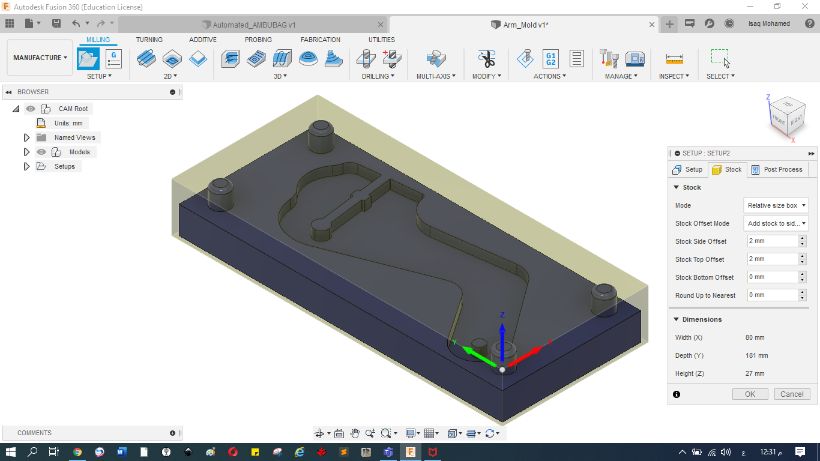
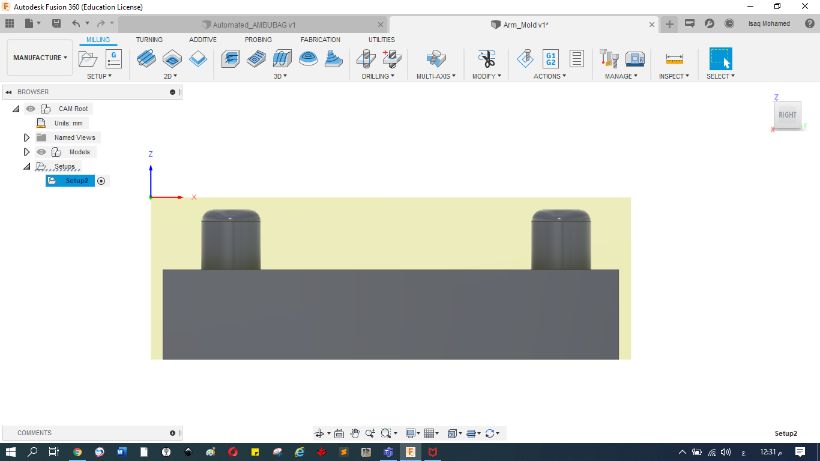
- set your stock dimensions and orientation
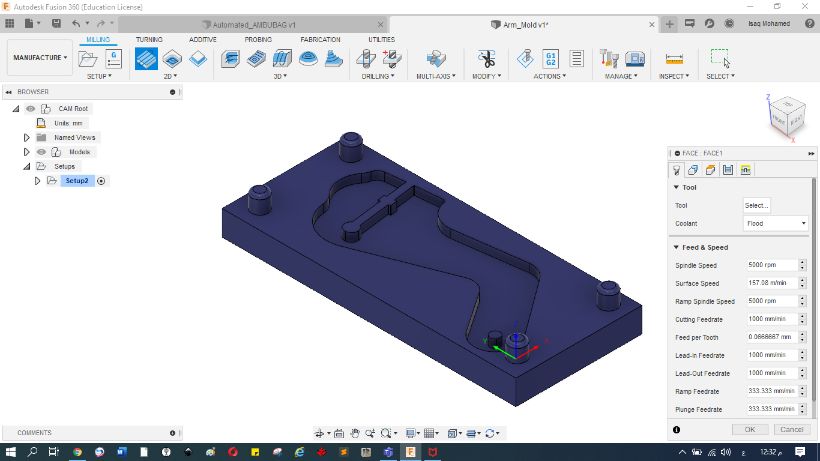
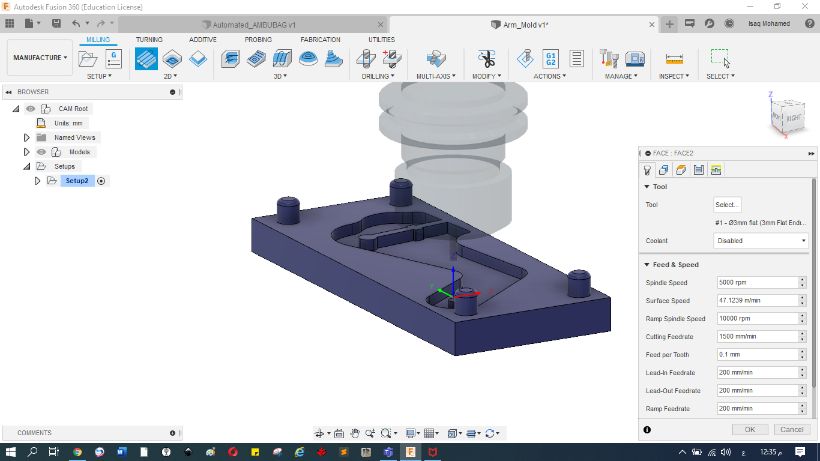
- from milling choose 2D, then choose FACE
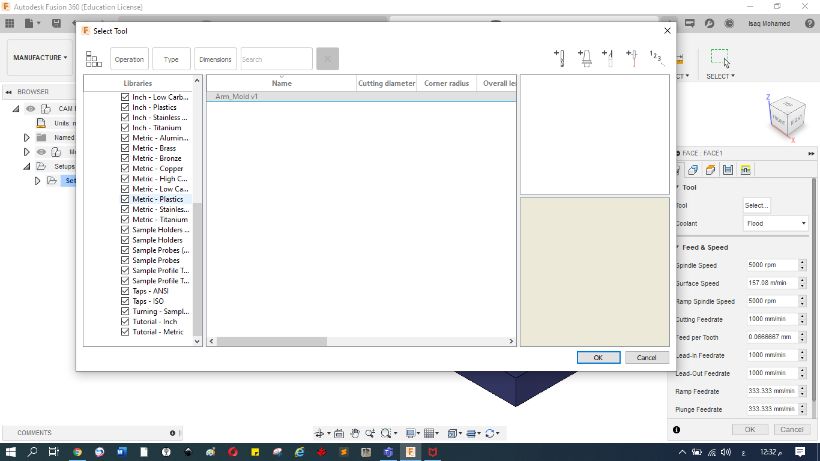
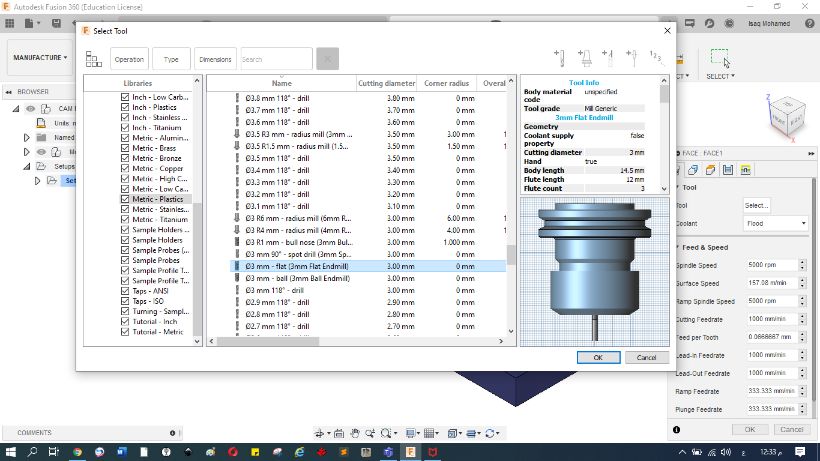
- Choose your tool, for me was endmill flat 3mm
- set your machine speed and feed rate
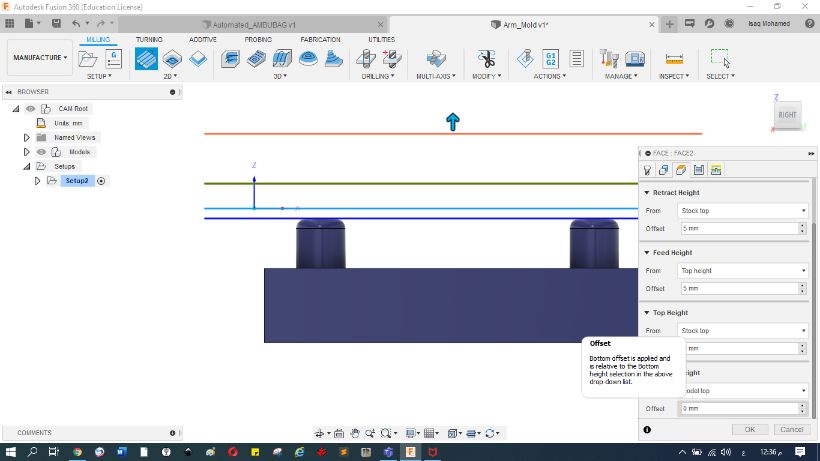
- enter your stock hights
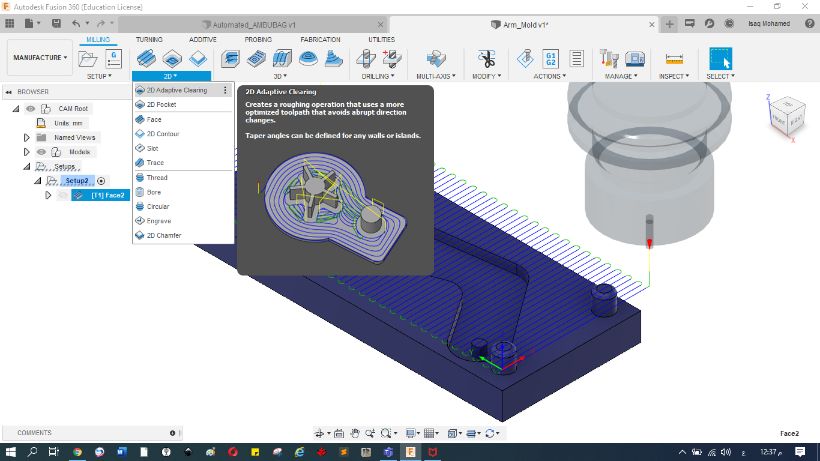
- from 2D choose 2D pocket
- repeat the previous steps

Alarm :)
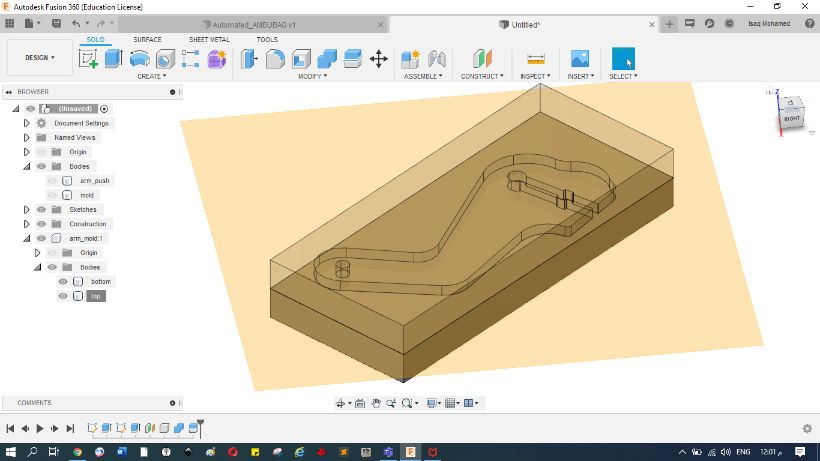
- Good what I did, but unfortunately I don't need it.
- I don't need core and cavity for this molding and casting method
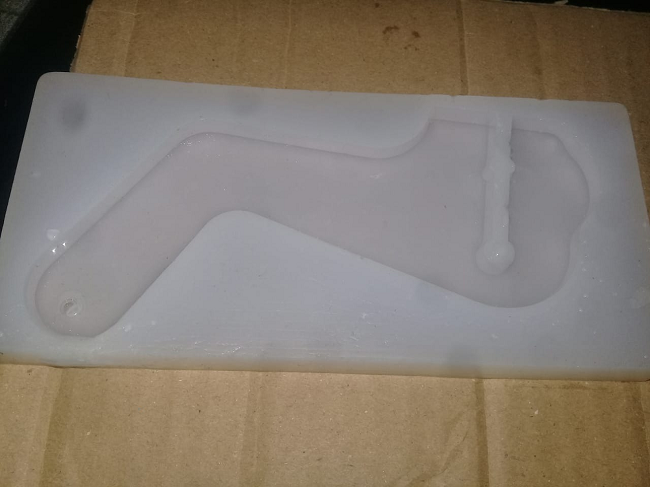
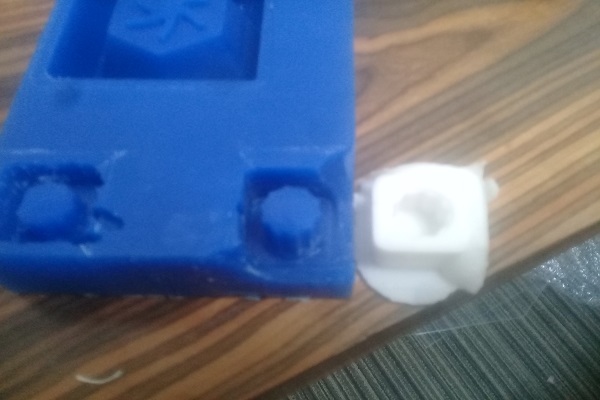
- Just I need the postive shape for my part
- Then, i'll get the negative from silicone
- finally i'll get the postive from epoxy.
Clacket second time
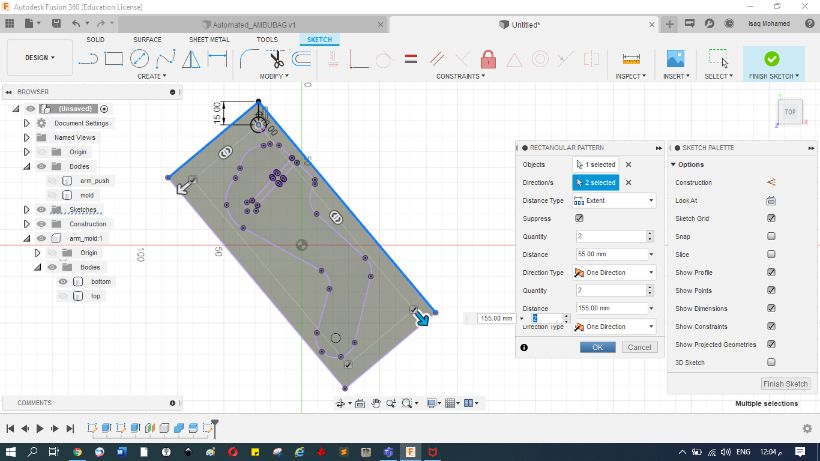
- Design the postive phase
- and just i used 2D pocket strategy, as in the instructions above
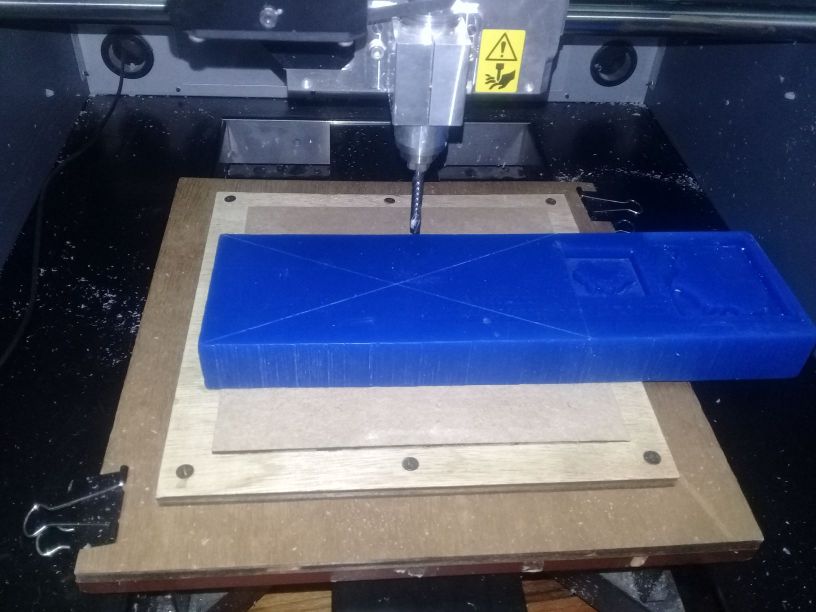
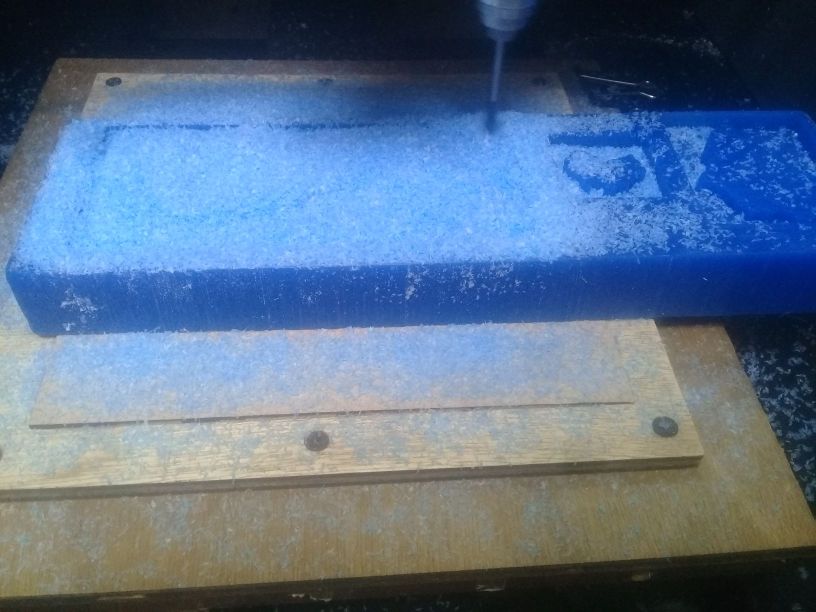
- setup my machinable Wax on Roland milling machine
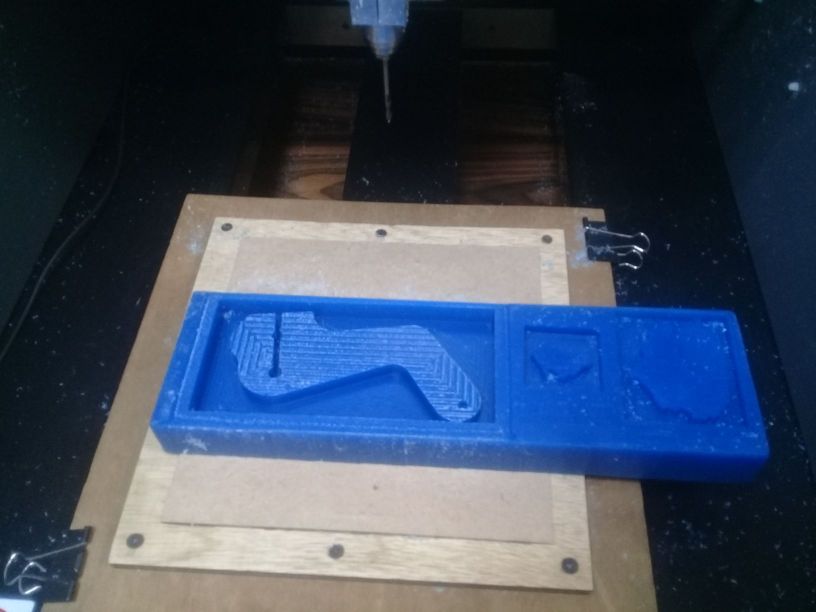
- then..my postive arm
- Proper ventilation
- Wear disposable gloves
- Wear protective clothing
- Designate items as resin only
- Wear a respirator
- For more instructions, please visit this site
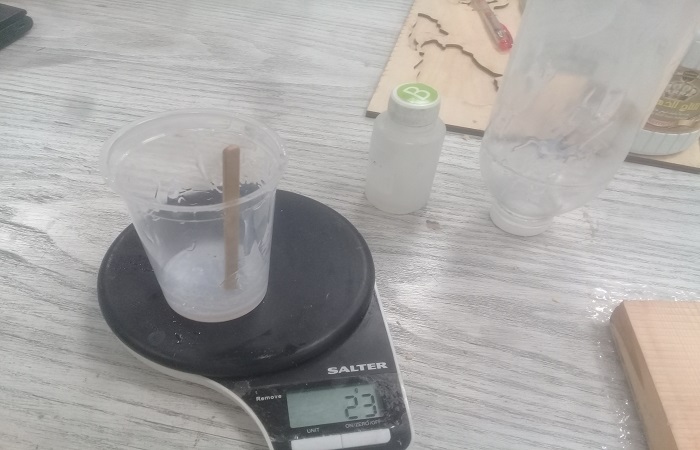
The Ratio of silicone that I used is: (A)10 silicone : (B)1 hardener
- Try to stick to this Ratio, otherwise you will find the silicone is hard before you pour it.
Try to calculate the volume of the product first before mixing in an amount of silicone so that you do not waste it.
- and the Ratio is: 2 epoxy: 1 Hardener
- It takes approximately 48 hours to harden completely

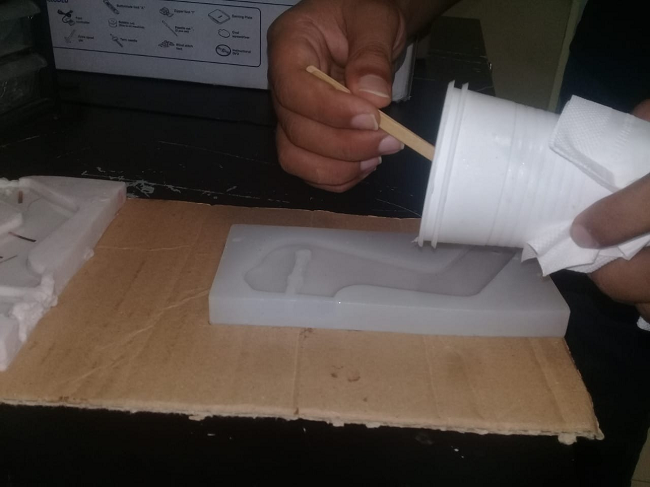
Casting
To take safety precautions first
silicone
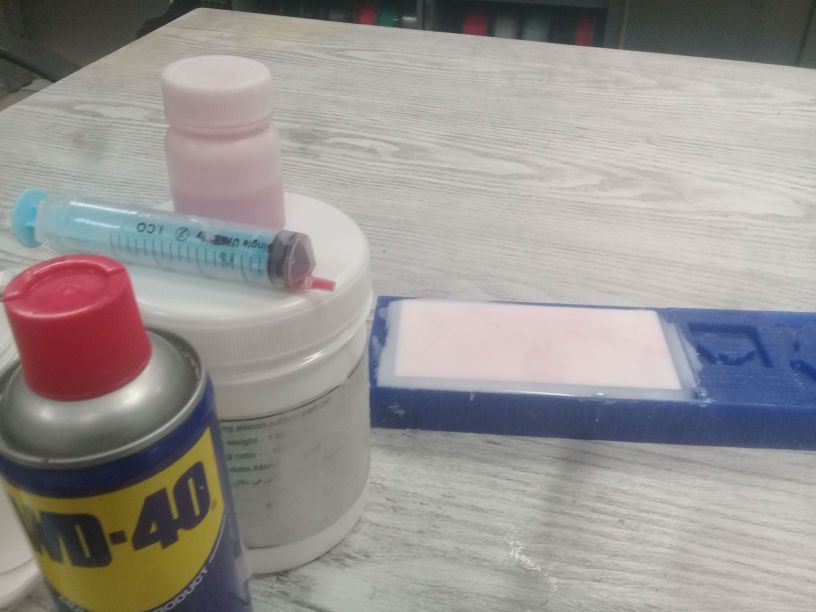
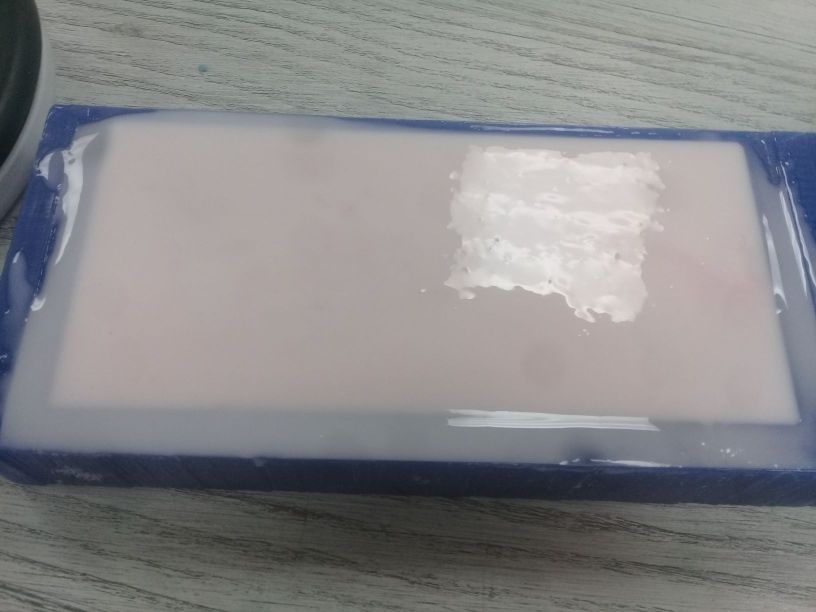
Tips:
Epoxy
I used CMB Kemapoxy 150
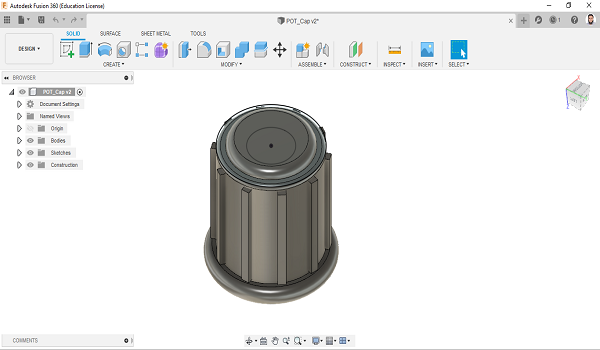
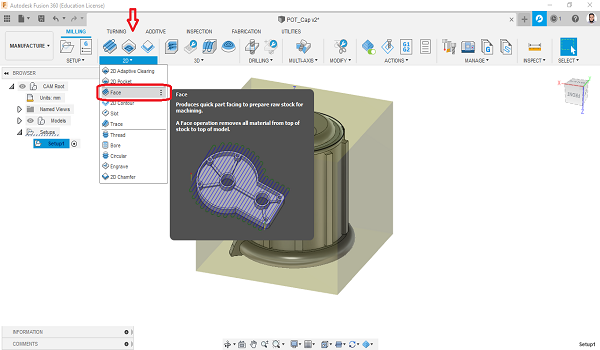
CAP of POT
Now I need to redo the same previous processes for the Cap of potentiometer
So, Let's start :)
- I designed the CAP of POT on fusion 360
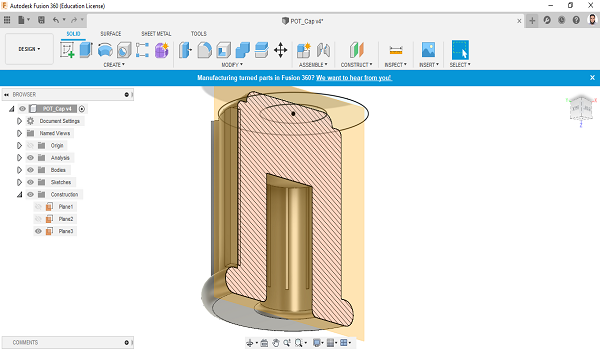
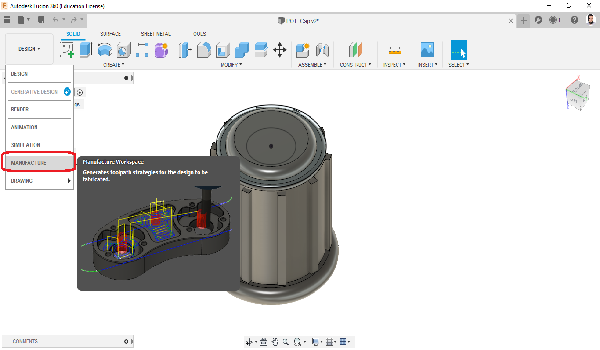
- Then, i switched to the CAM process
- choose setup, then put your stock dimensions and orintation
- from 2D milling choose Face
- then set the parameters, I used flat Endmill 3mm
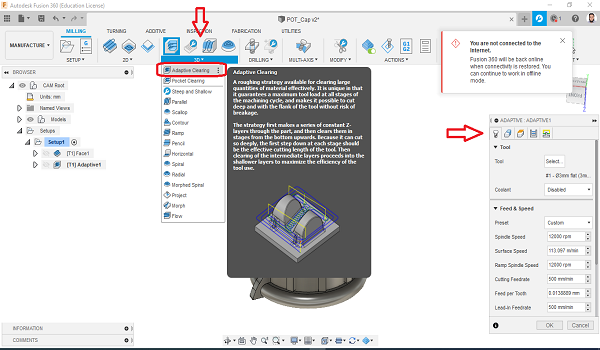
- well, our product is 3D, so we need to make 3D milling
- from 3D milling tap, choose 3D Adaptive, then set the parameters, and take care for your Hights
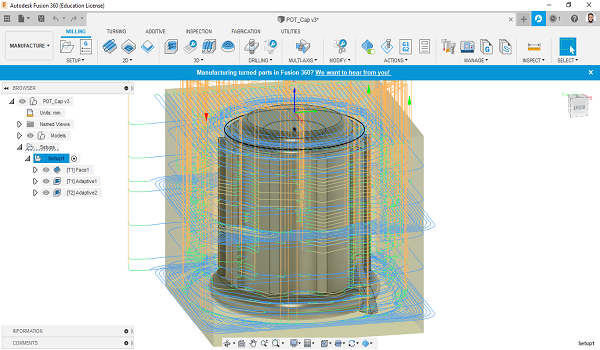
- for the finishing, I chose 3D Adaptive also, but this time i used Bullnose Endmill 3mm
- simulation
- Fabrication
- Silicone A:B 10:1
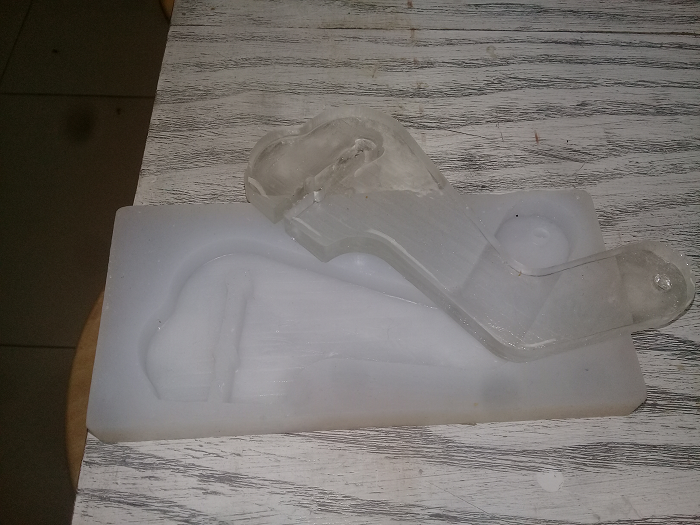
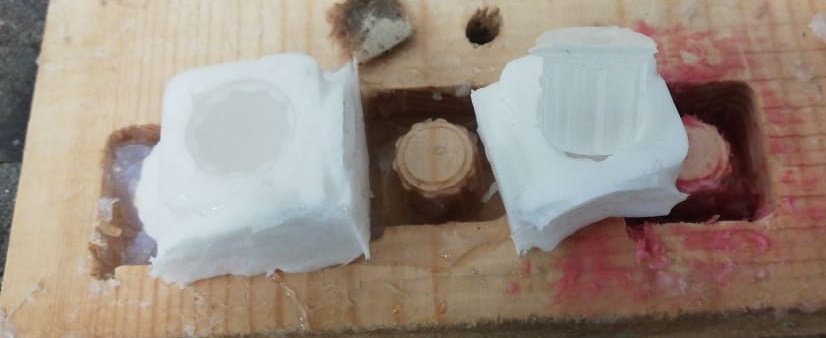
- failure: Unfortunately, I couldn't get the silicone out of the wood
- So, I made it again with Machinable Wax
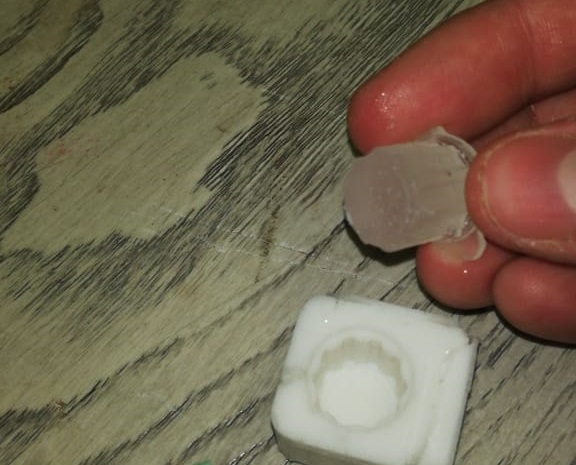
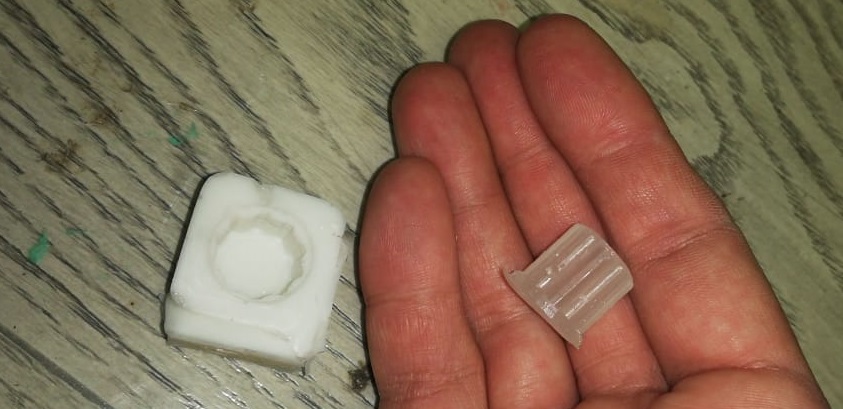
- Casting
- Epoxy: I used CMB Kemapoxy 150, Ratio 2A:1B
- Finally


Roland file for Arm here
Roland files for CAP of POT here