WEEK 7 - Computer-Controlled Machining
INTRODUCTION
This week we had no access to the CNC Router, Because of the Coronavirus that is currently circulating in the world, we hope that the world will become good soon.
Assignment Description
- characterize the CNC machine we have in our lab. There is something wrong with the machine that needs maintenance, we could not operate it.
- Make something big (on a CNC machine).
group assignment:
individual assignment:
Design
I decided to design the Parametric Bookshelf
- I watched this tutorial before I started.
- so i decided to design with FreeForm
- i used fusion 360, if you did not use it before you can follow my tutorial Computer-Aided Design
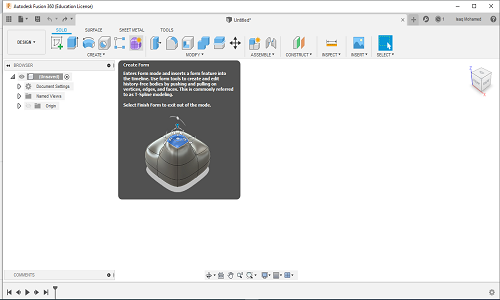
- open fusion 360 software
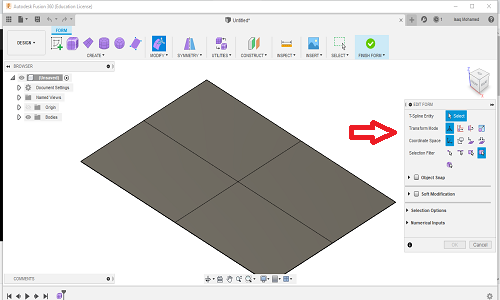
- from the main bar choose create form
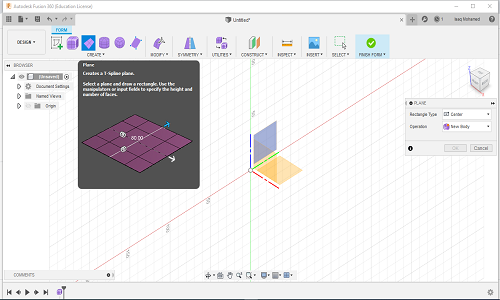
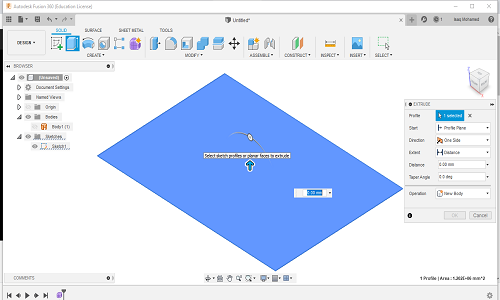
- I used plane to create my design and click on any palne you need then OK
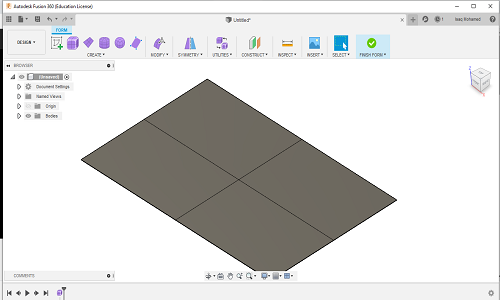
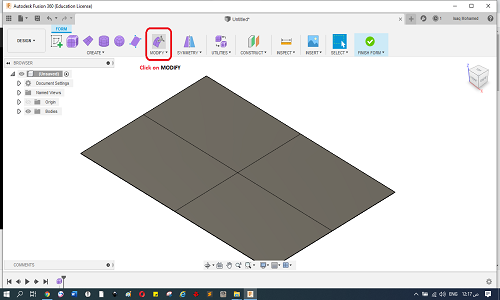
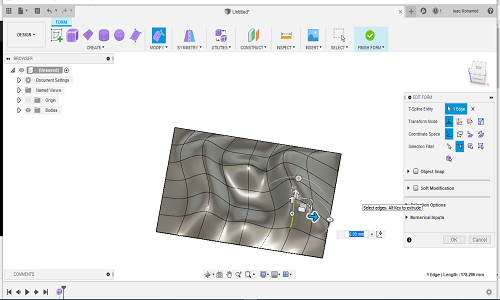
- Click on Modify to control the shape
- in the right side window, you can move and rotate any line or face
- Click on"Finish Form" after editing is finished
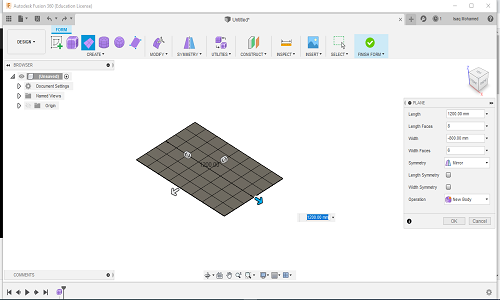
- then choose a new sketch, and choose the same plane to draw a rectangle
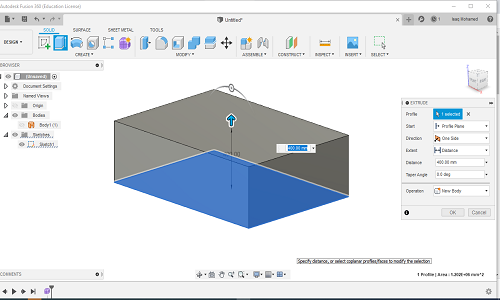
- Click finish and extrude it
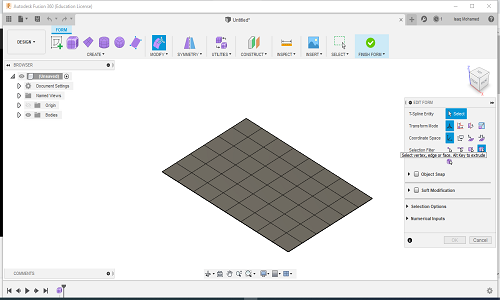
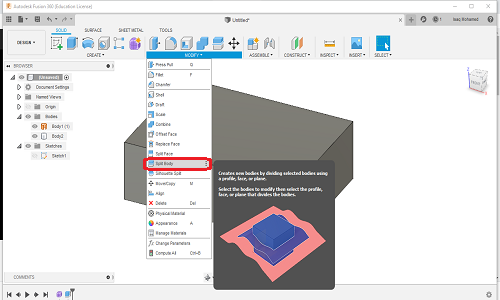
- from MODIFY choose split body
- then choose the first body as a split plane
- finally you get it
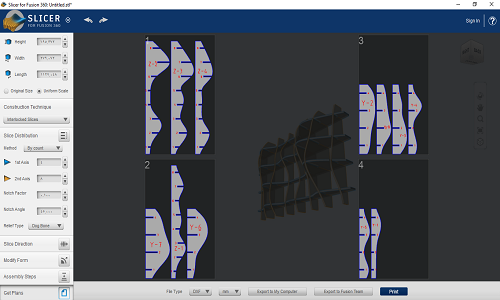
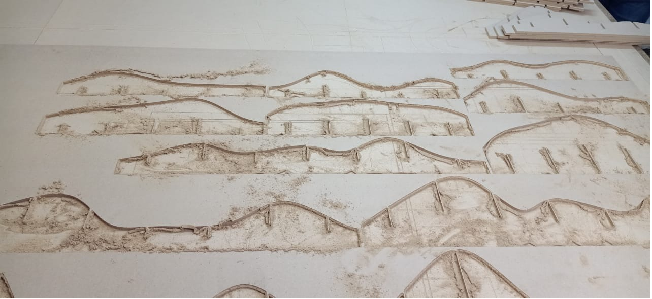
slicing
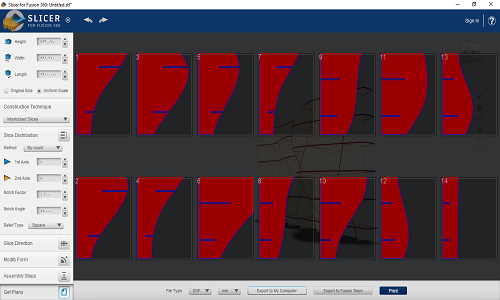
You need to convert this design to 2D, so you can cut it on the CNC router
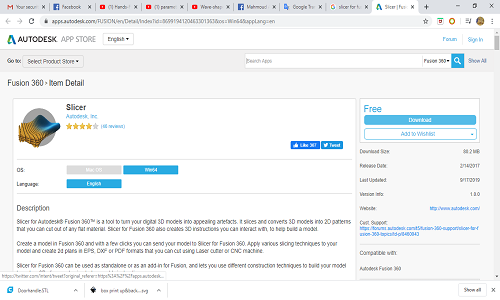
- So I used Slicer software, it is compatible with "Fusion 360"
- You can download it from here
- and you can go through this tutorial
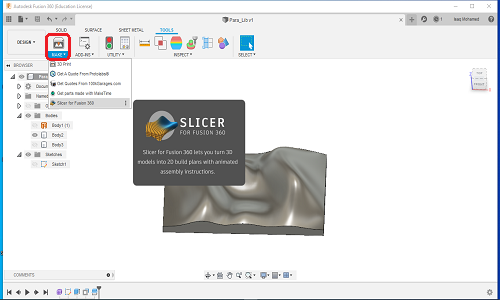
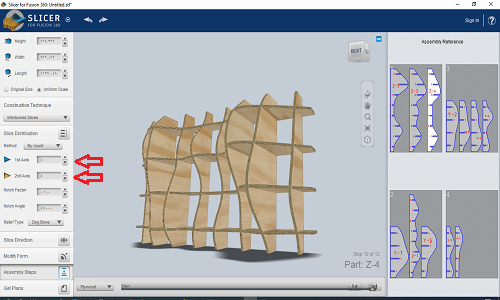
- after installing, restart Fusion then go to MAKE and choose Slicer
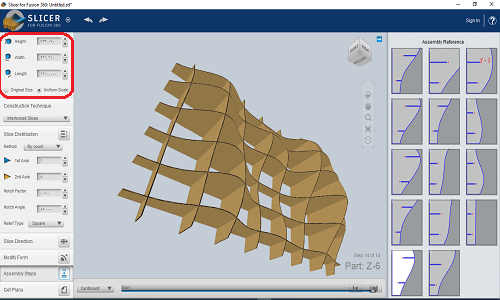
- enter your dimensions here
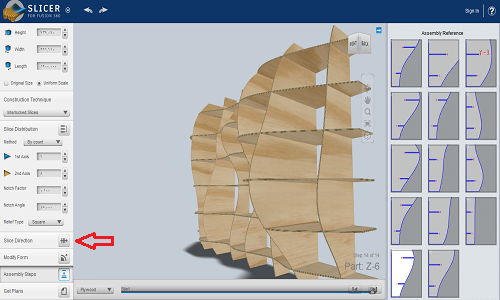
- You can control the shape of your output with the Direction button
- You can control the number of sheets with the Axis numbers
- also, you can control the clearance between sheets
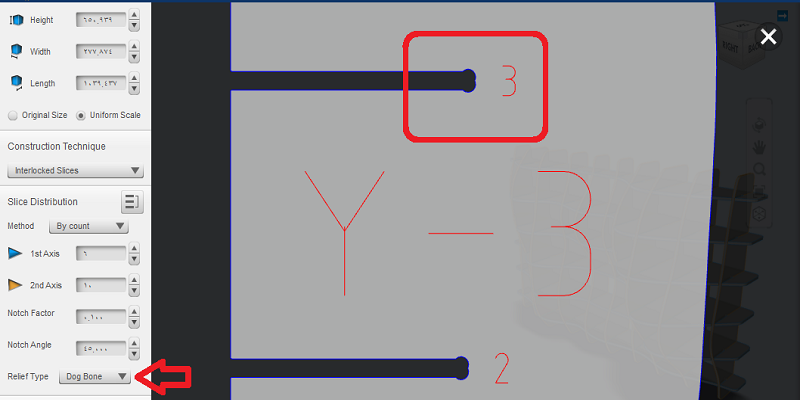
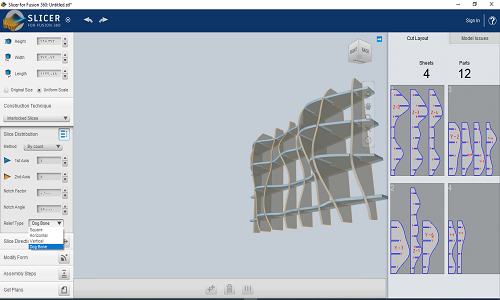
- choose the Dog Bone style from Relief type to fitting easily
- Finally export your design as a dxf
CAM
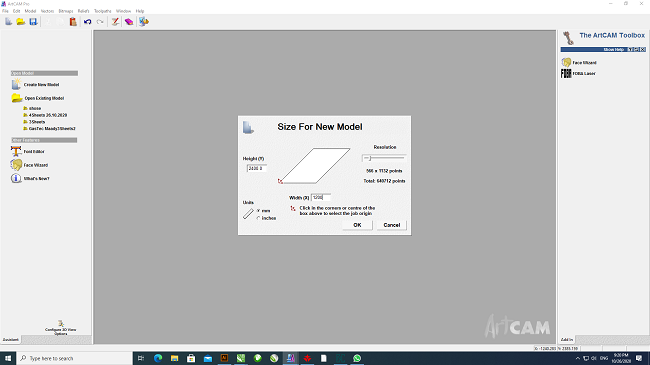
I used ArtCam, I think it's not available anymore, so you need someone who has the software to be able to use it. I followed this Tutorial
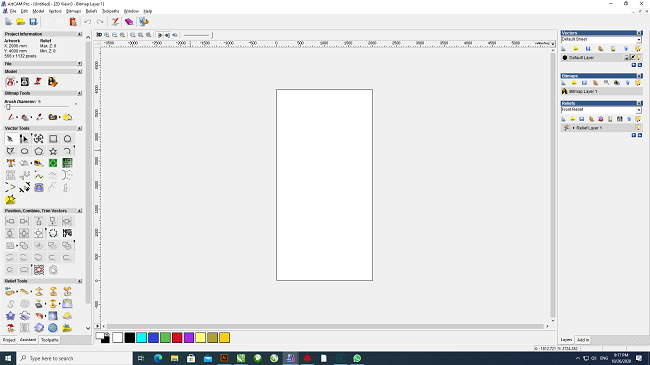
- Open ArtCam, and set your dimensions, for me was 2400*1200
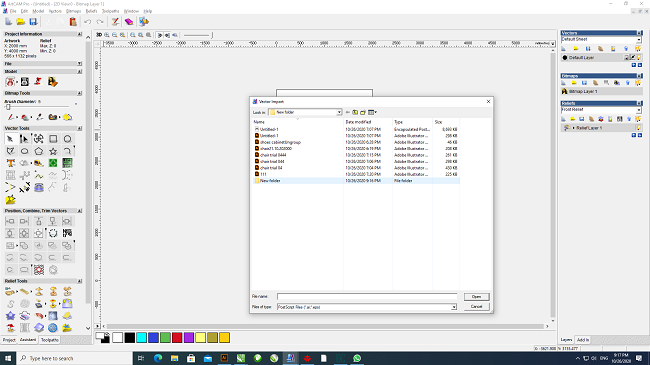
- import your file
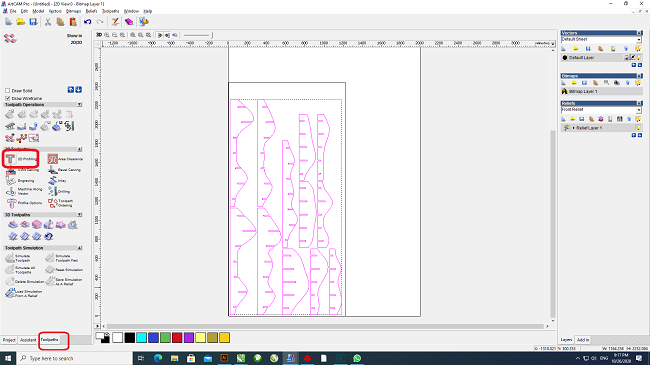
- Choose ToolPaths, then 2D ToolPath
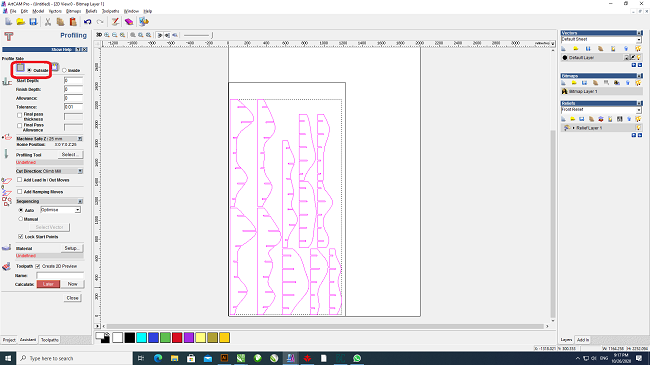
- Choose the Outside cutting, and set the Depth:10
- Choose your tool, for my case I chose 4mm Endmill
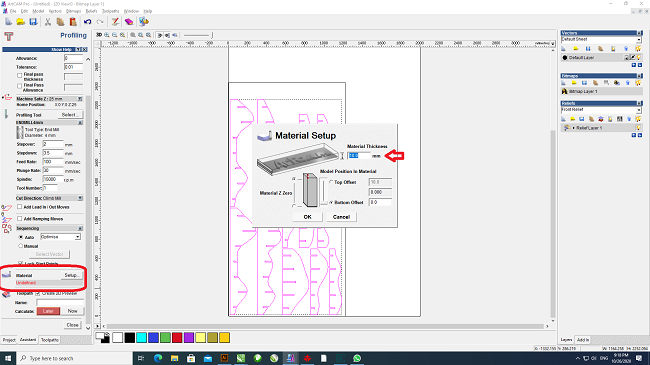
- Set the spindel speed:15000, Feedrate:100, stepdown:35
- Set the specifications of the material used
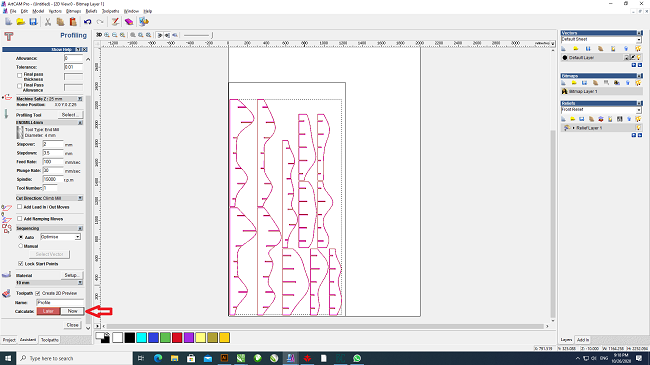
- then give it name, and click on Calculate
- Check your path


Machining
Our Machine specifications
HH-CR 1325 cnc router
X/Y Axis Working Size: 1300mm*2500mm
Z-Axis working Size: 200mm
Working Materials: Wood,MDF,Acrylic,stone, iron,alum,copper,bamboo,jade,etc.
Working Table: Aluminum working table.
Max travelling speed: 30m/min
Max working speed: 20m/min
Spindle speed: 0-24000rpm
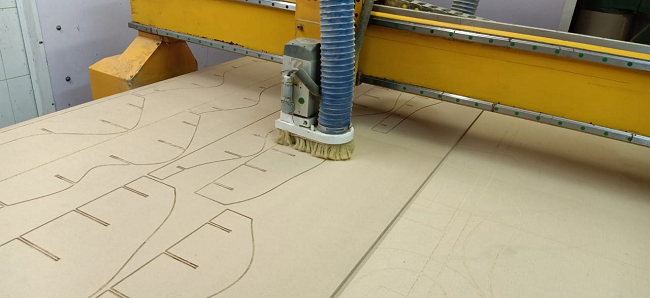
Machining step by step
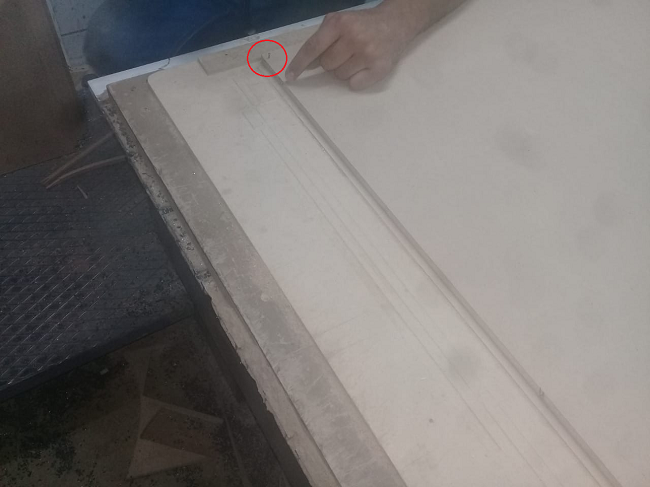
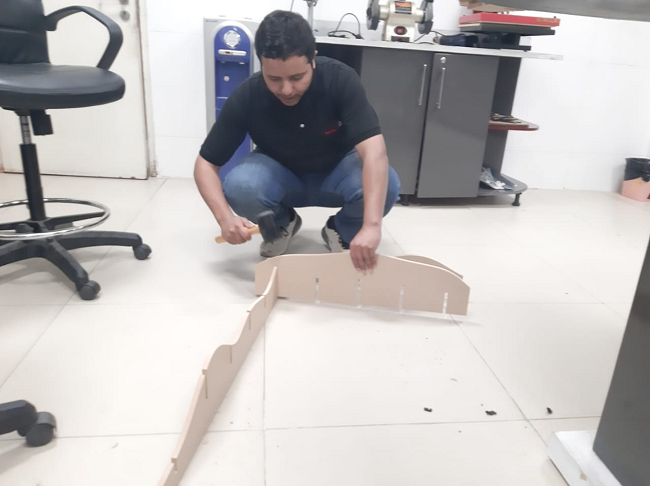
- Set our wood plank, and attach it well with nails
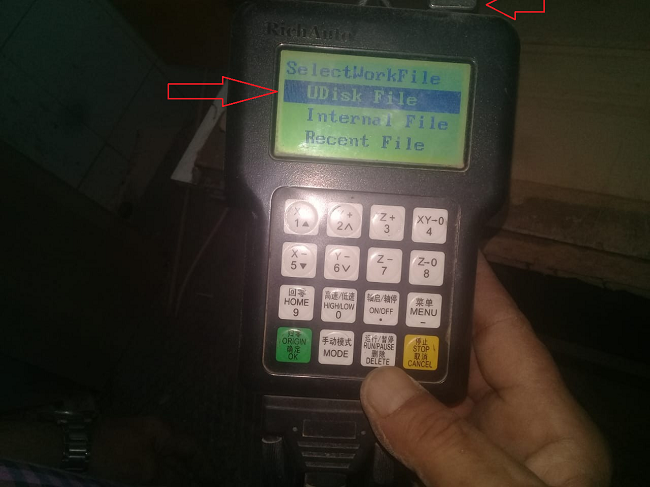
- upload your G-code usnig the hand controller
- Set the initialization position X0,Y0,Z0
- Run...
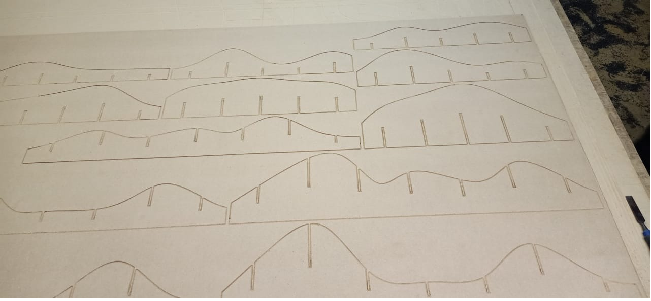
- Finally :)
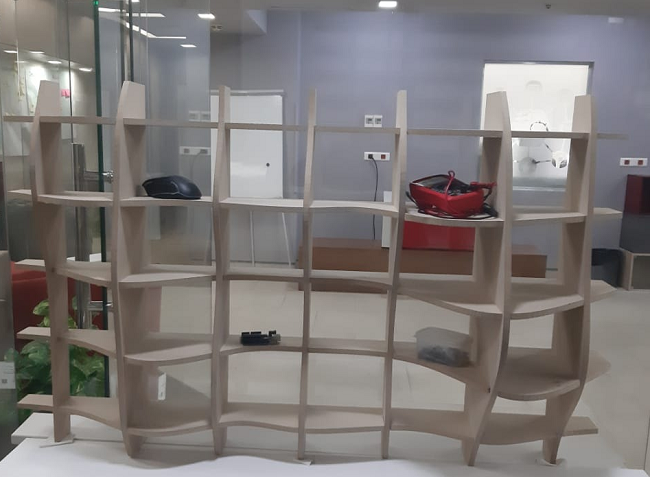
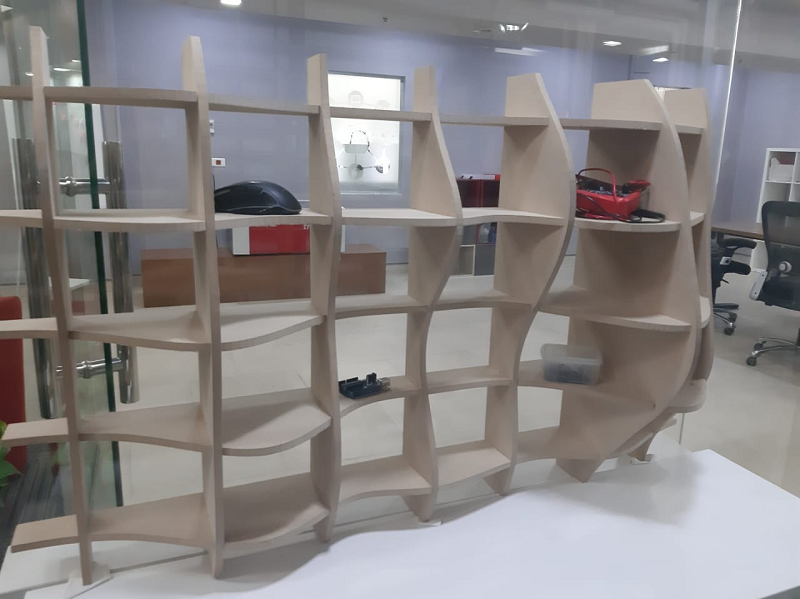
Assembly
The good thing that I put clearance (intersection) enough (1mm), and this allowed me to assemble them without the need for glue or nails
Assembly

Download all files from here