WEEK 5 - Scanning and Printing
INTRODUCTION
For me, this week is comfortable, because i am familiar with 3D printing(FDM), and the challenge for me was how do we make something by additive manufacturing that couldn't be made subtractively, with my good knowledge of CNC capabilities (especially CNC 5 axis).
If you haven't watched it before, take a look here.
Assignment Description
- test the design rules for your 3D printer
- design and 3D print an object (small, few cm3, limited by printer time) that could not be made subtractively
- 3D scan an object (and optionally print it)
group assignment:
individual assignment:
Group assignment
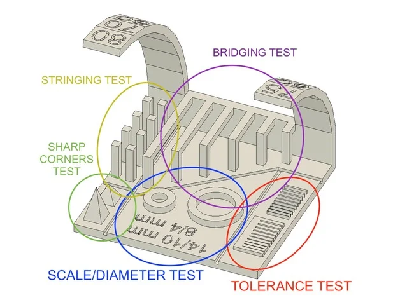
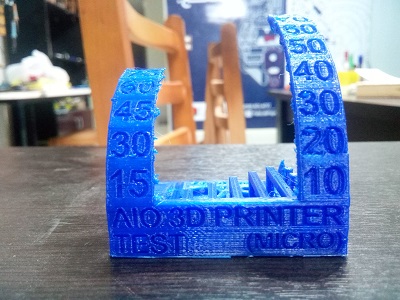
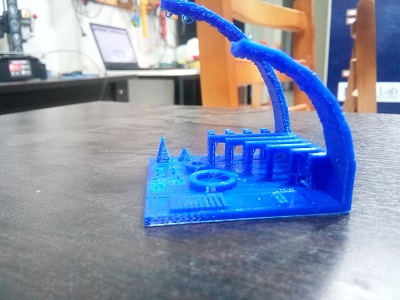
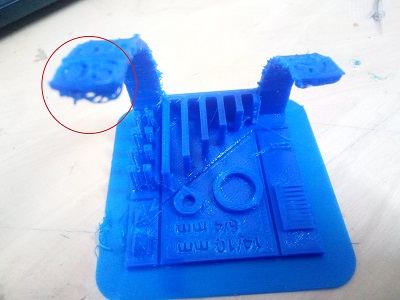
for this assignment: we decided to take this test (Micro all in one 3d printer test) you can get it here.
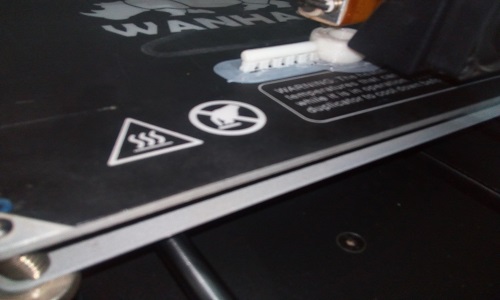
and test it on 3 different 3D printers, whatever my 3D printer was "Wanhao Duplicator i3 plus"...*You can learn more about it below*
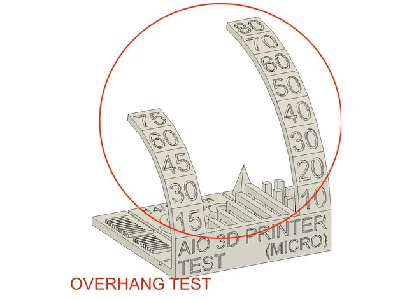
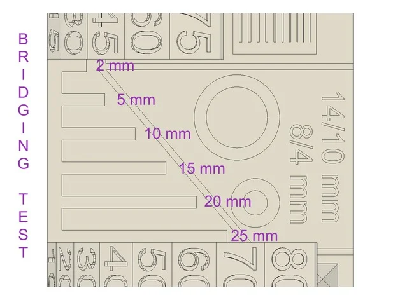
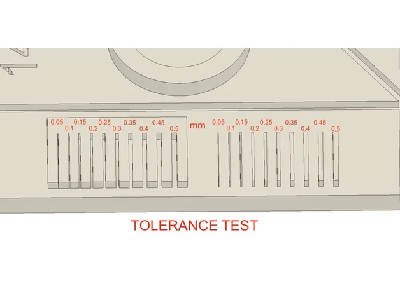
- This test contains : overhang test, bridging test, stringing test, sharp-corner test, tolerance test, and scale test (diameter test).
- I printed it with:
- Layer Hight: 0.15
- Infill: 20%
- The Results:
- my printer fine with this test without: the tolerance test under 0.35, and the end of overhang test.
The individual assignment
3D printing Vs CNC
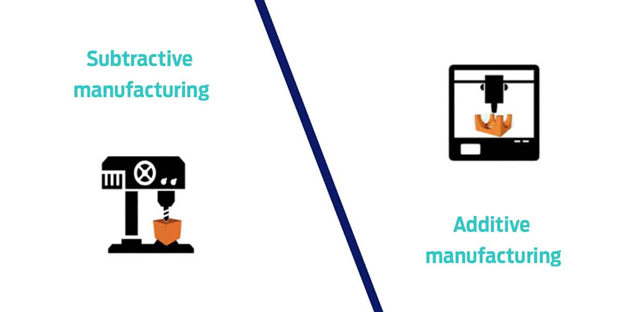
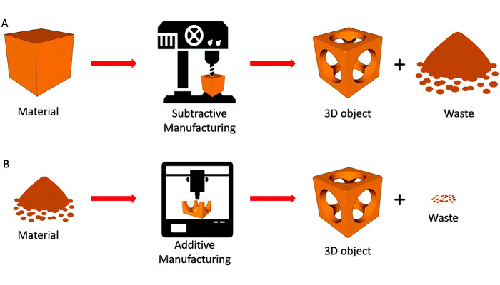
First, There are three types of manufacturing
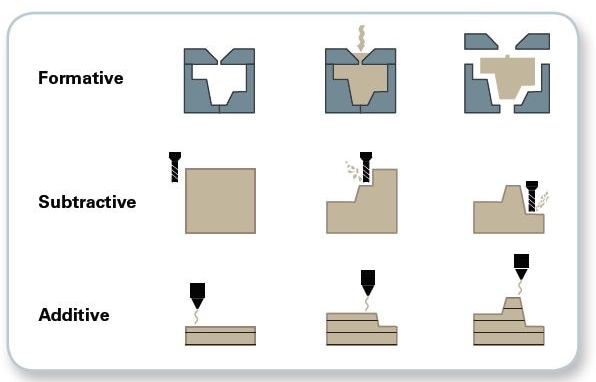
- For efficiency:The printer uses the materials that make up the item it’s creating, whereas traditional manufacturing methods such as CNC Machining require more materials for the mold to work. On average, 3D printers produce less waste than traditional manufacturing methods.
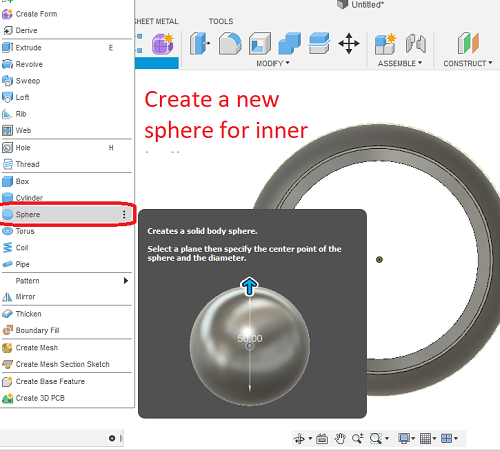
- For the method of manufacture:In 3D printing, we can build an object inside another object
- Density controlling:In 3D printing we can control "Infill" ----------------------------------------------------------------------------------------------------------------------------------------
Well, what's unique in 3D printing, and it's not in CNC
that's my point of view:-
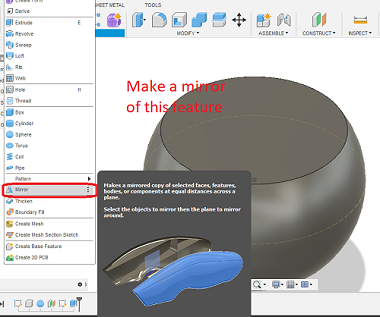
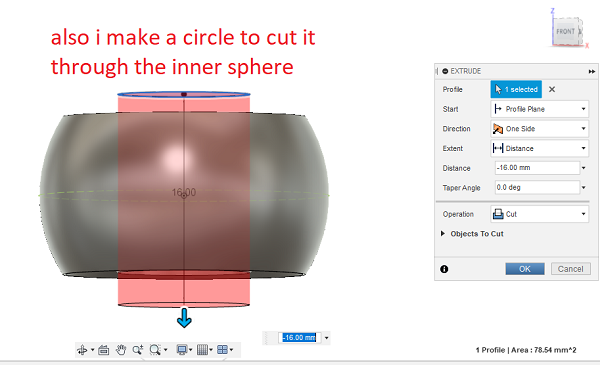
Now, my idea is to create a model has "3 DOF rotations" inside a model
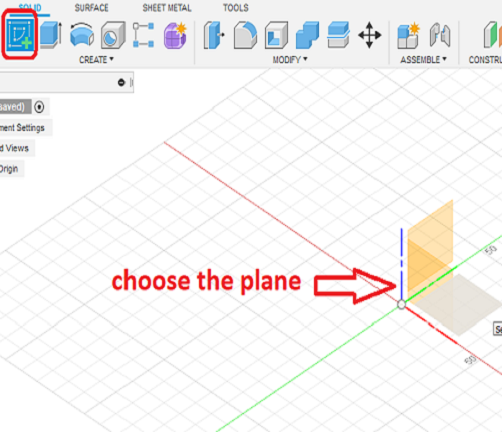
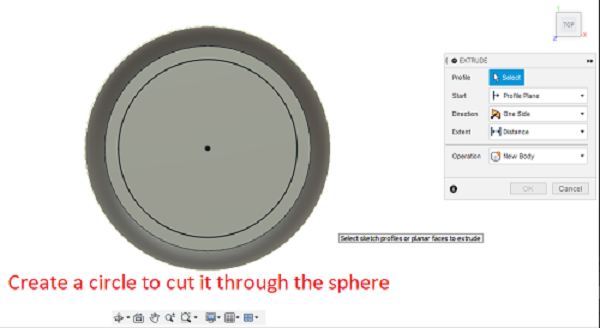
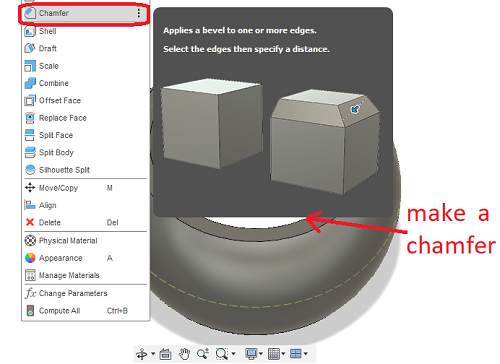
Let's go with the design
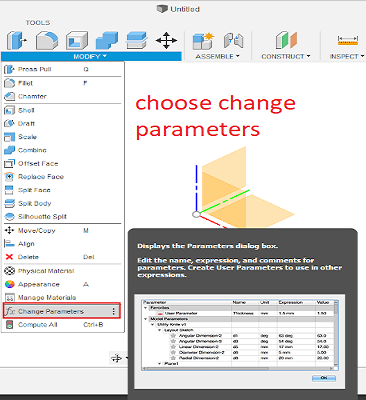
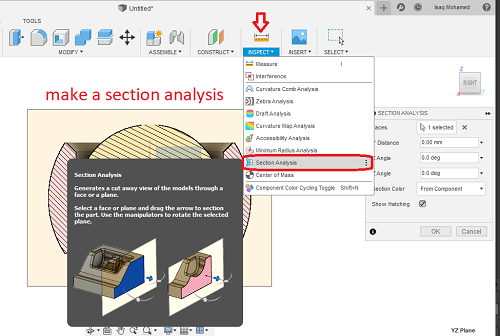
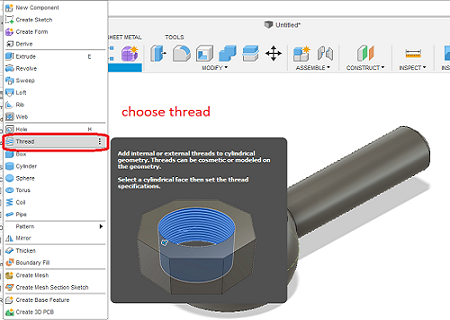
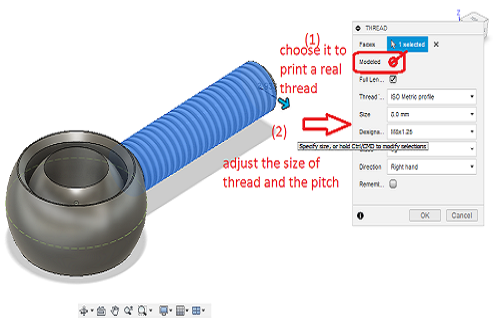
- I used Fusion 360
- If it is your first time to use "Fusion 360", you can go through with my tutorial here
- Also, you can follow the instructions below
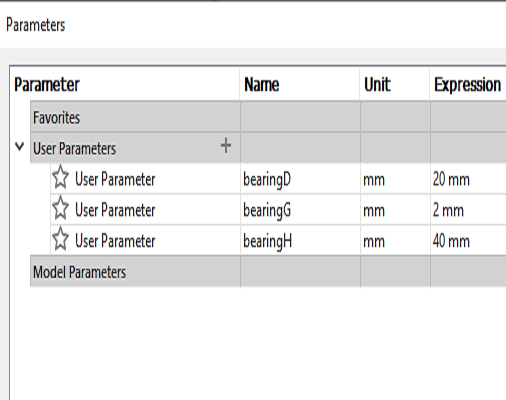
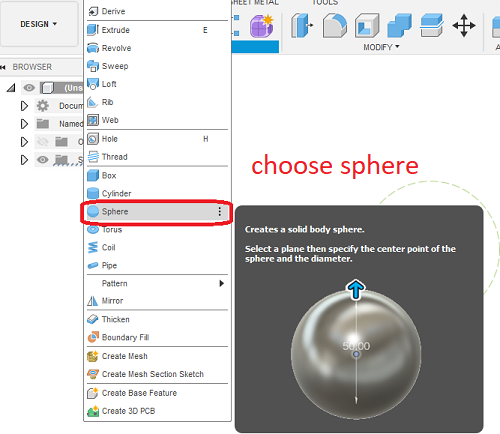
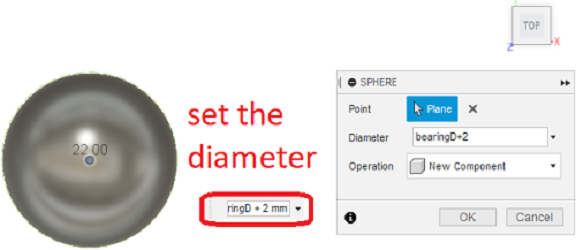
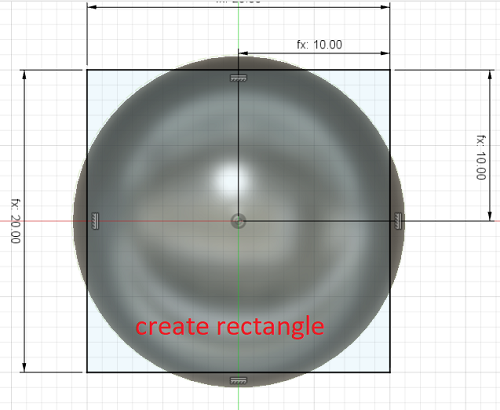
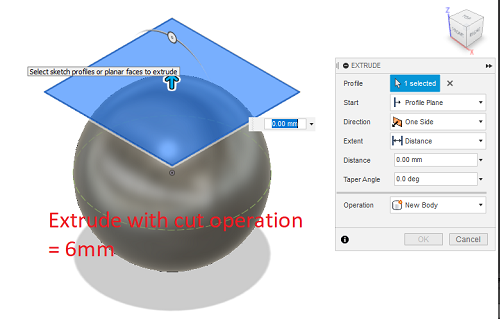
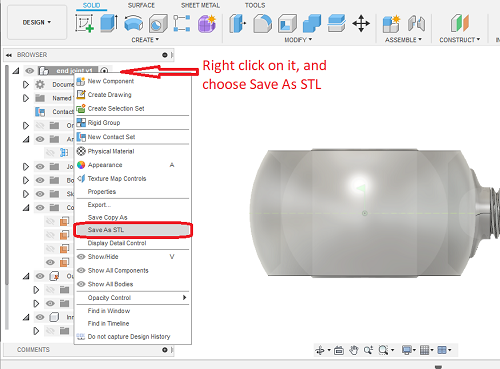
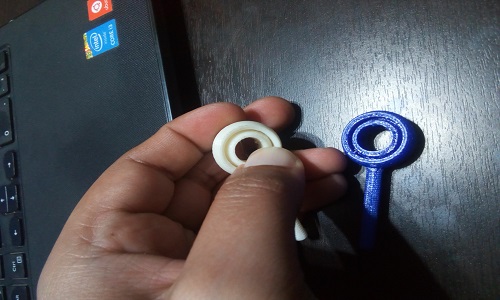
i decided to design a"Rod end joint bearing"

3D printer
Printer Specifications:
Included Printing Material: 10 Ft. of PLA Filament (Standard) or 2 BlOptional)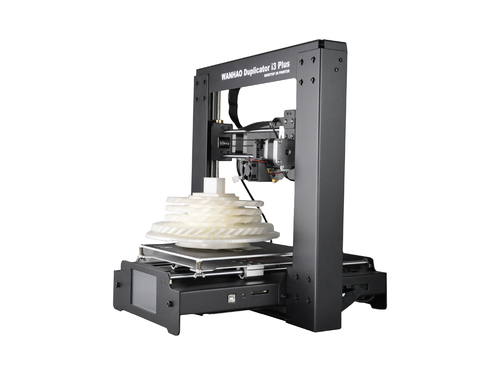
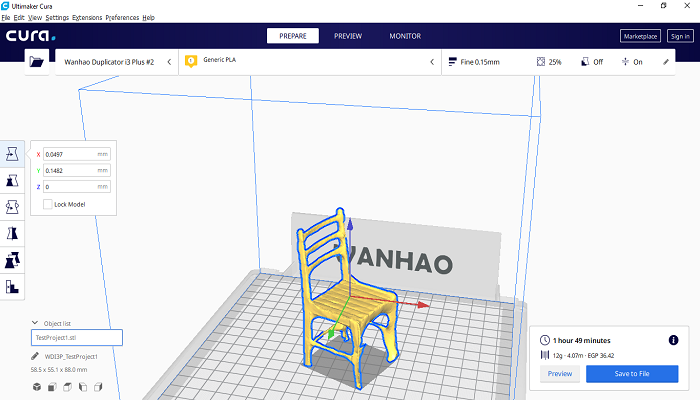
3D printing software
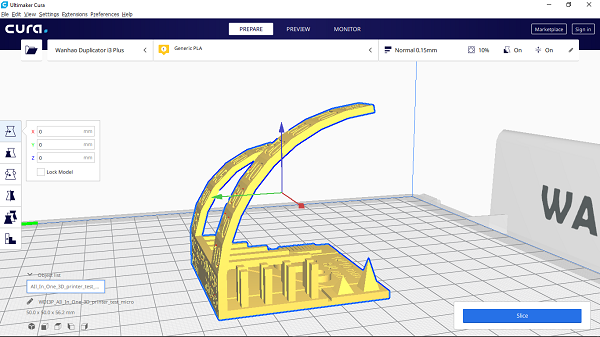
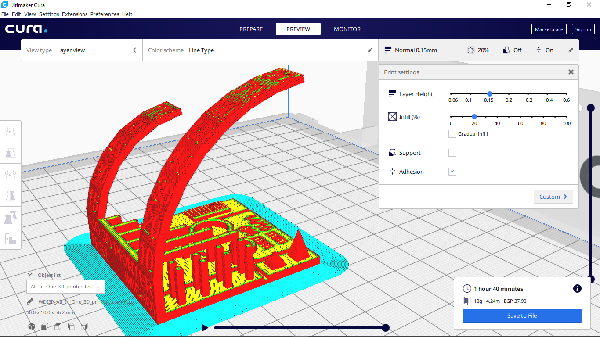
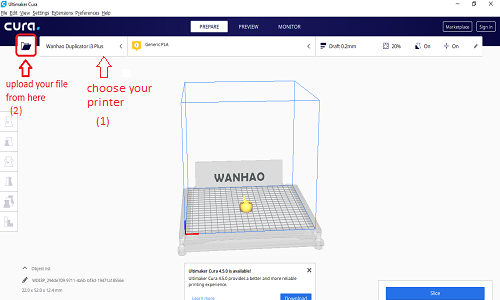
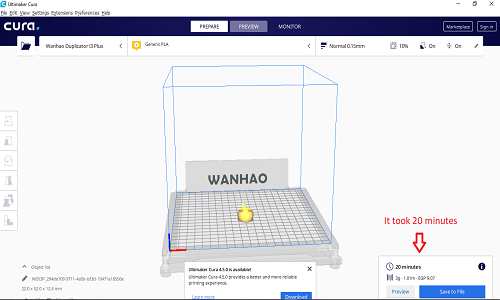
I used Cura
It is easy to use and powerful, and it is easy to control the machine from it,in addition to being free
you can download it fromhere
- Open it after installation
- choose your printer
- upload your STL file
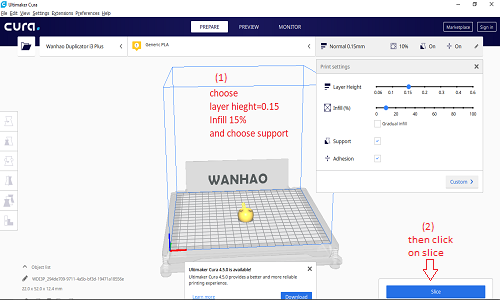
- set the recommended settings
- The parameters I used are:
- Layer Hight: 0.15
- Infill: 15%
- I used support
- click on Slice
- finally save to removable disk
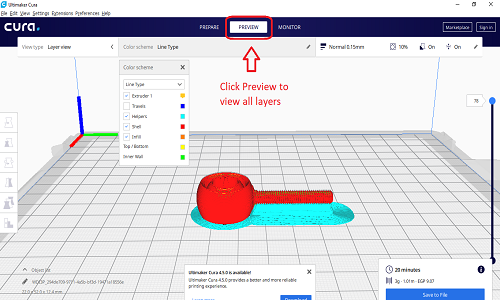
How can the design be prepared on Cura?
It's a Piece of Cake
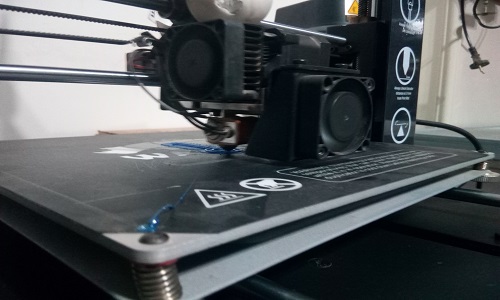
Printing
trial and error
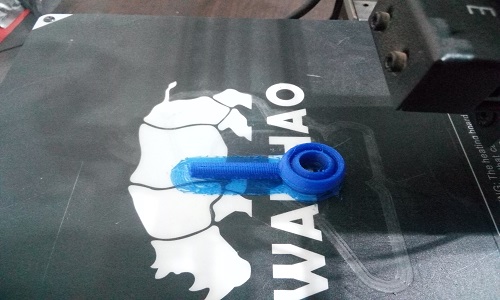
- the first part
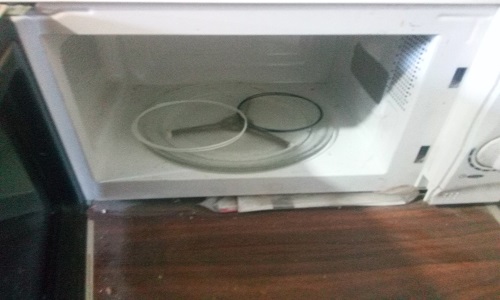
- Then I faced a problem, my filament is over, and i don't have a new filament, so i tried with my old filament that had highly moisture. So I decided to treat it by putting it in the microwave
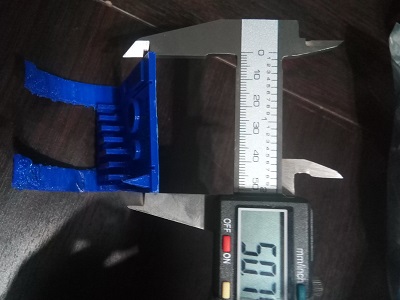
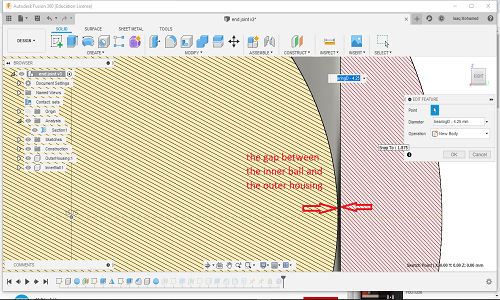
- The second problem was, the gap between the inner and outer ball is small and this made it unable to rotate, So I increased this gap +0.2mm and print it again
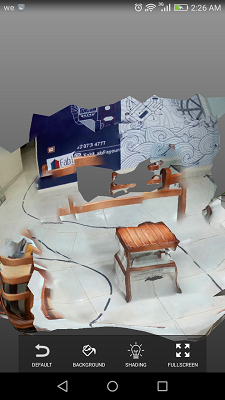
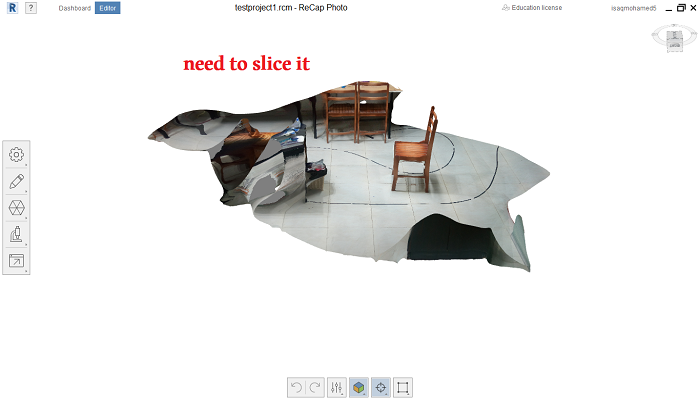
3D Scanning
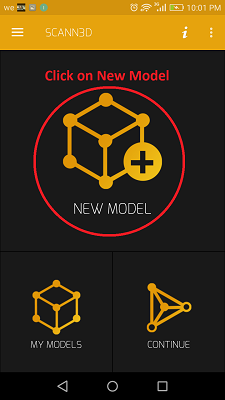
- There are different ways to do this, and I chose to work with a mobile App called SCANN3D you can get it from here.
- install and open it
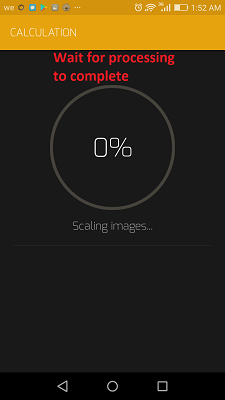
- You can follow my steps:
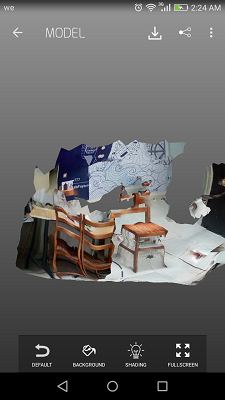
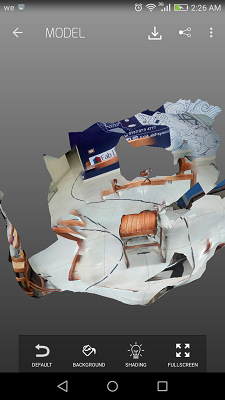
- Not good results
- Tips:
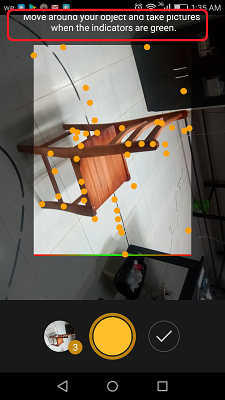
- you should take more than 20 picture
- Move the mobile not the object
- reflective, transparent, and untextured homogeneous objects, don't make good models
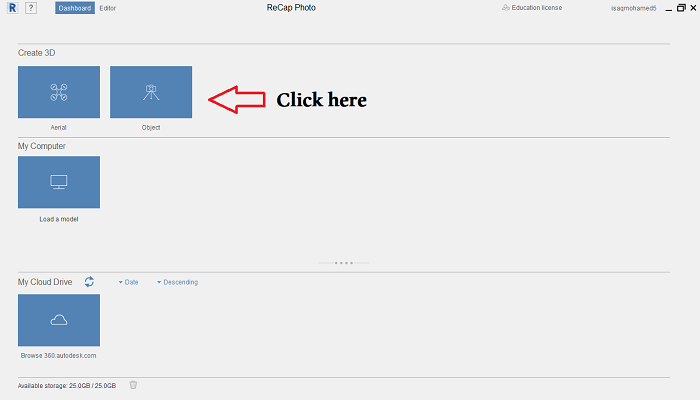
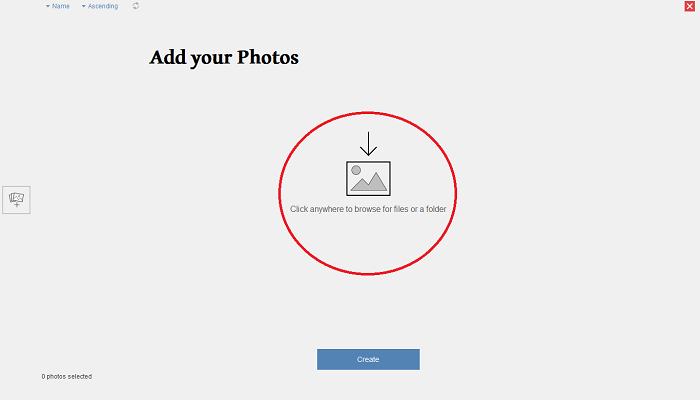
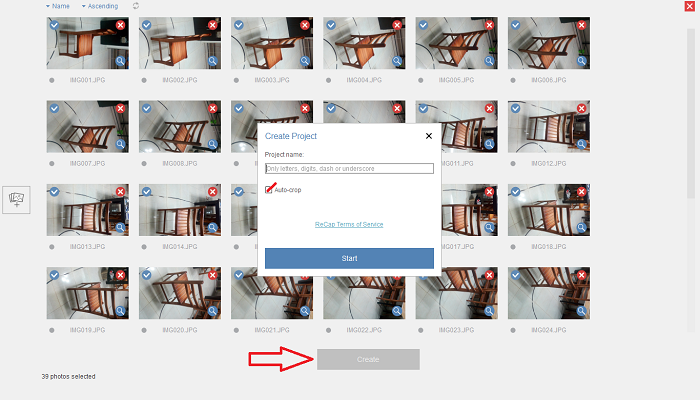
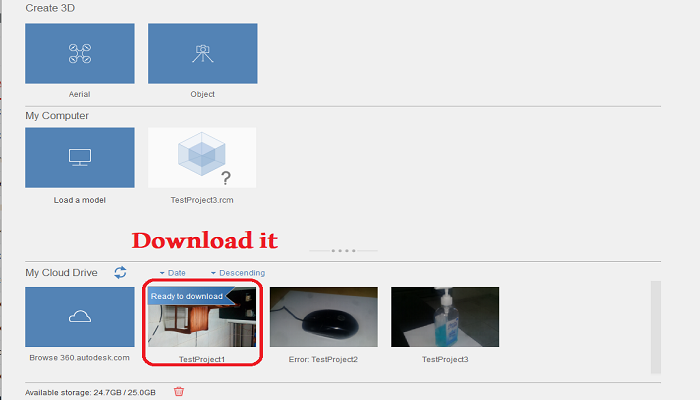
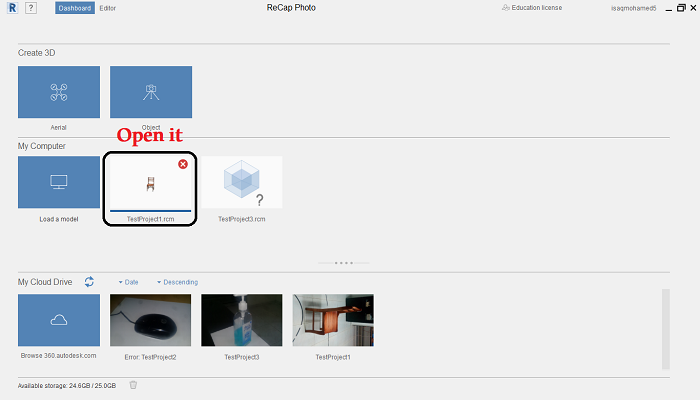
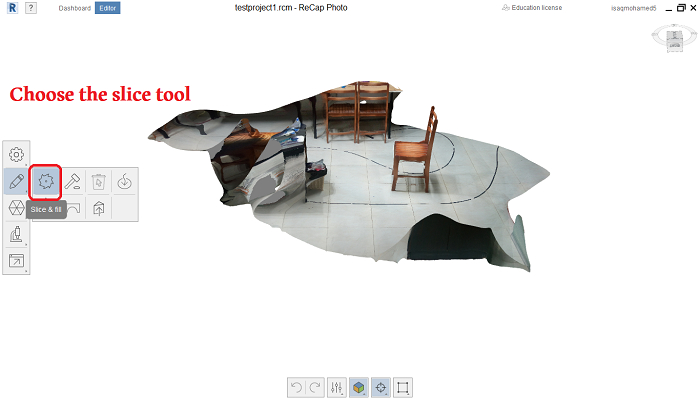
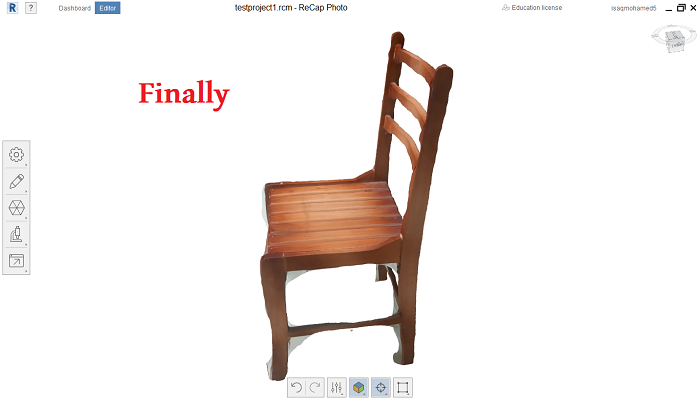
- After researching and asking, I decided to use Recap, you can follow this link to learn more.