Molding and Casting
Group assignment
Review the safety data sheets for each of your molding and casting materials.
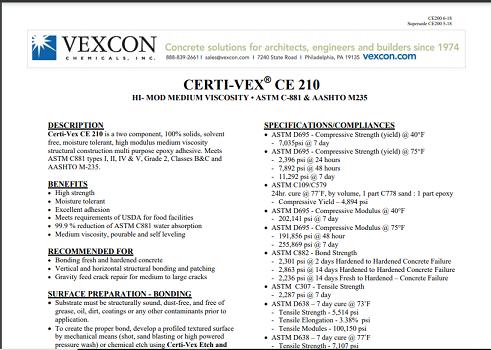
I have use Certi-Vex CE 210 which is a two component, 100% solids, solvent.
free, moisture tolerant, high modulus medium viscosity.
structural construction multi purpose epoxy adhesive.
For the EPOXY product I found a technical data sheet with limited safety instructions.
- Use gloves during use and wash your hands after use.

- Avoid eating, drinking or smoking while use
but in this link has a good safty tips we have read it.


Molds are negative forms that are used to shape casting materials, creating duplicates of the model (object) the mold was made from. The resulting cast will be an exact likeness of the shape of the hollow mold form.
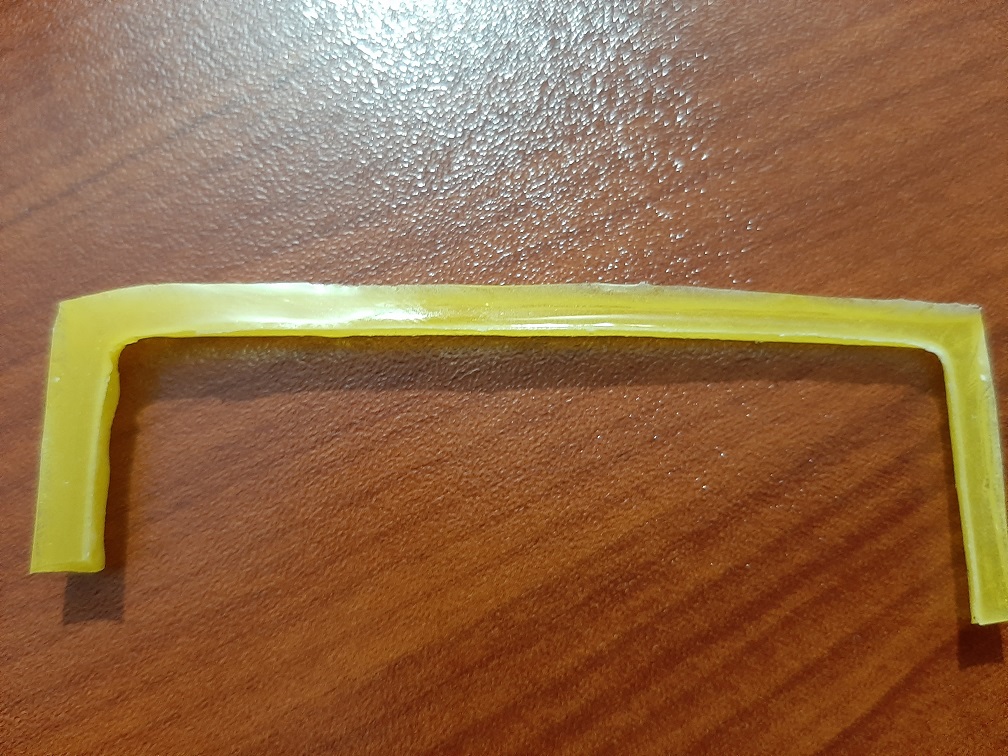
In this week, our assignment is designing a 3D mold so, I will design LCD edges cover that will be used in my final project
I have follow these steps : design a 3d model and engrave and mill a wax mold by using a CNC router , then produce a silicon and Starch flour mold to use it to cast some parts needed in final project
1- 3D Design Procedures:
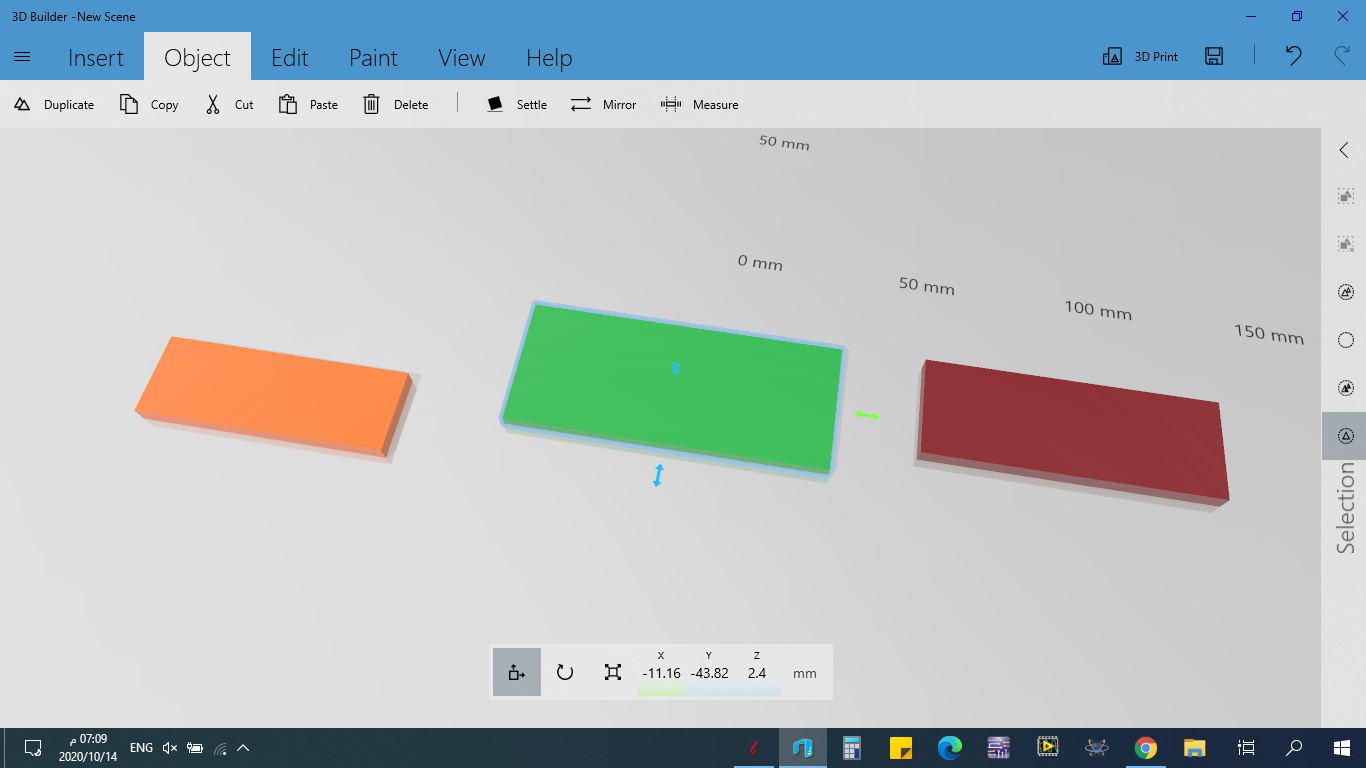
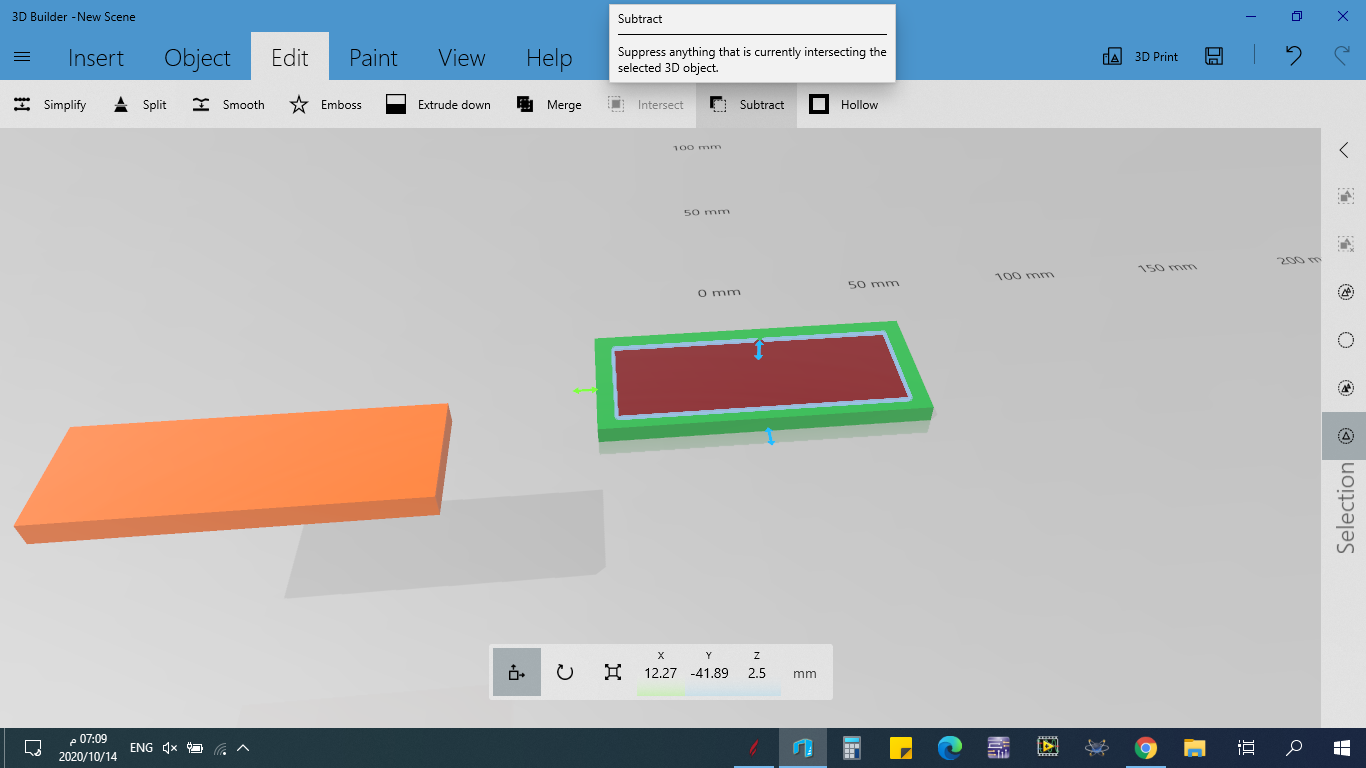
The easy way to design simple 3D is 3D builder, I draw my LCD edges cover by three rectangles with different sizes and thickness.
Then I put the medium rectangle inside the largest rectangle then subtruct it.
2-Engrave and mill a wax mold
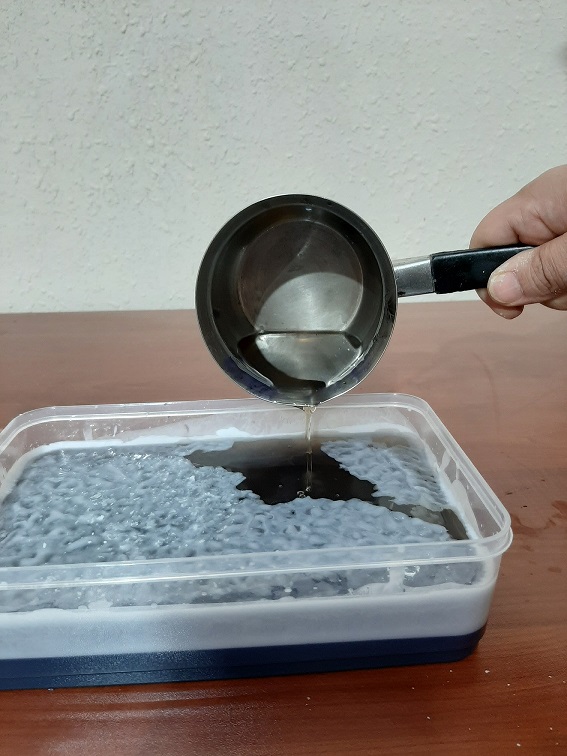
To apply this step we need a wax, but I didn't find it in local store which made me make a mold of wax by melt down the pices of hard wax beans with out adding LDPE then Pour it in the cube case(0.5L food storage container), wait until solidify to be ready to use, Actually, I didn't deal with it until the next day.

Aspire Vectric used to create the tool path and Gcode for CNC route software
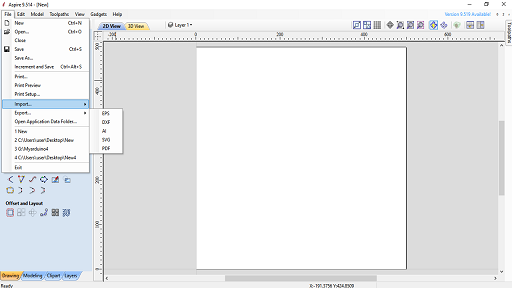
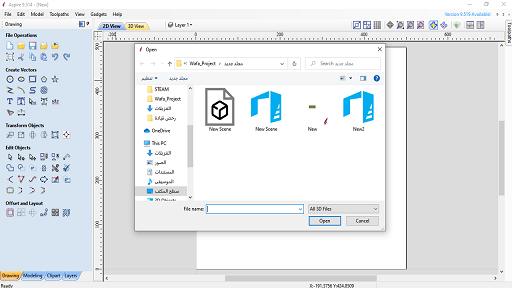
1- Import the .DXF file to aspire from local computer distinaition
2- From ToolPaths -in right edge- choose "Rough machining toolpath", In material setup --> Thicness=6.0mm
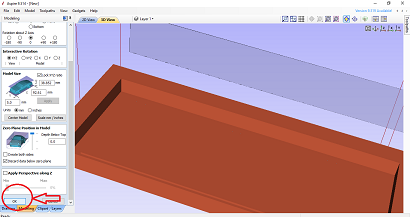
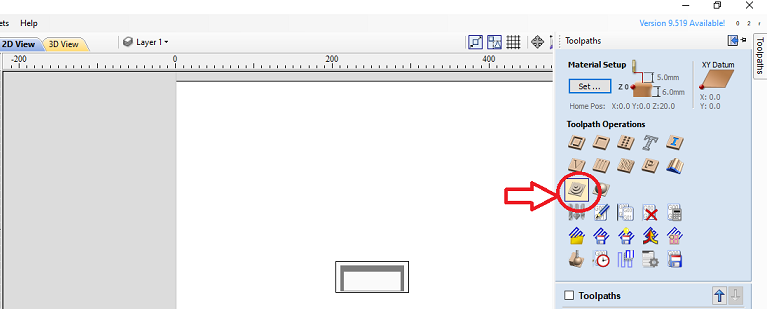
3- select tool End mill 2mm
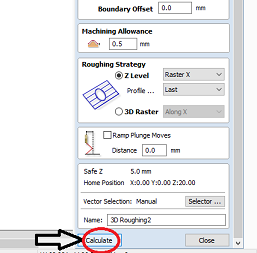
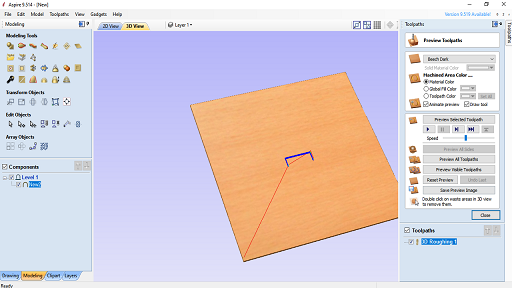
4- Repeat step 3 but with 3D inishing tool path and ball nose 3mm,in my case I didn't have Ball nose tool that why I use End mill 2mm after calculate this path save both of two paths (roughing and 3d finishing)
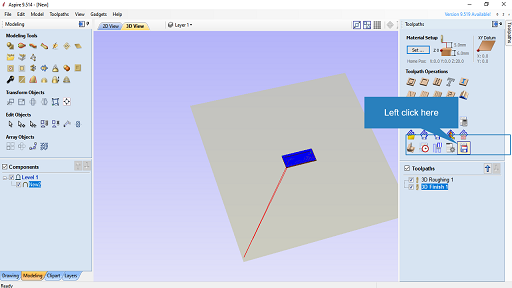
3- Controlling CNC router
To use my CNC router machine I use MACH3 software, which is a software, used to control CNC machine using computers, I use 2mm tool
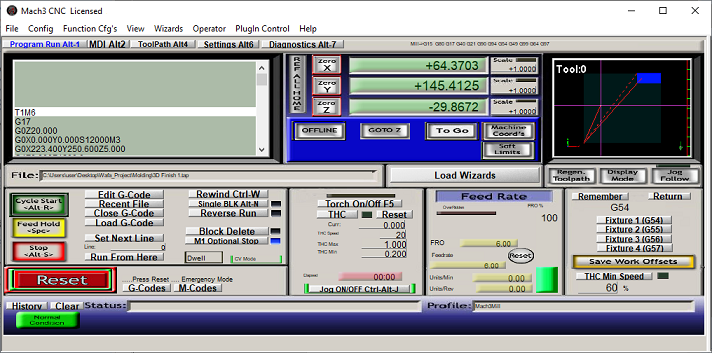
When importing the G-code that generate by Aspire software to Mach3 the toolpaths are shown in right corner of the window and G-code is in left corner.
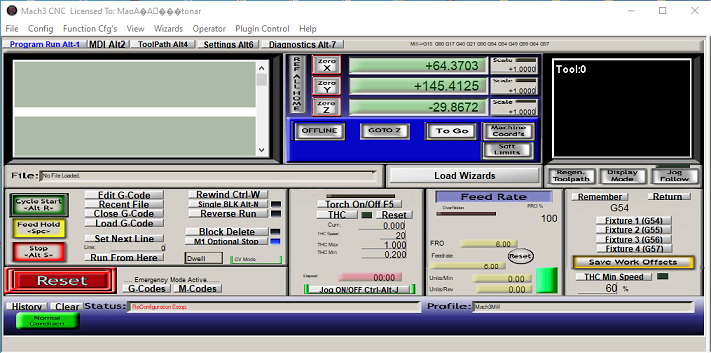


Keyboard arrows are used to set the position of CNC starting point then press zero x, zero y and zero z Finally, cycle start button is clicked to start milling.
4- Mold
After search about how to make a silicons mold I find this usful site that describe all steps very clear, I have follow these steps: Reference
1- buy a tube of silicone,Cornstarch, yellow color, oil (optional)
2-In a bowl, mix the silicone with cornstarch with 1:2 ratio and spone of oil .
3-keep kneading until the silicone and cornstarch come together and form a putty.
4-Press the item you wish to mold into the putty. Make sure that you are pressing it design-side-down into the mold, and that the back is visible.
5- Use your fingers to push the edges of the mold against the item
6-Wait for the silicone to cure. This will only take less than 20 minutes .
You are ready for the next step when the mold is rigid. It should still be flexible
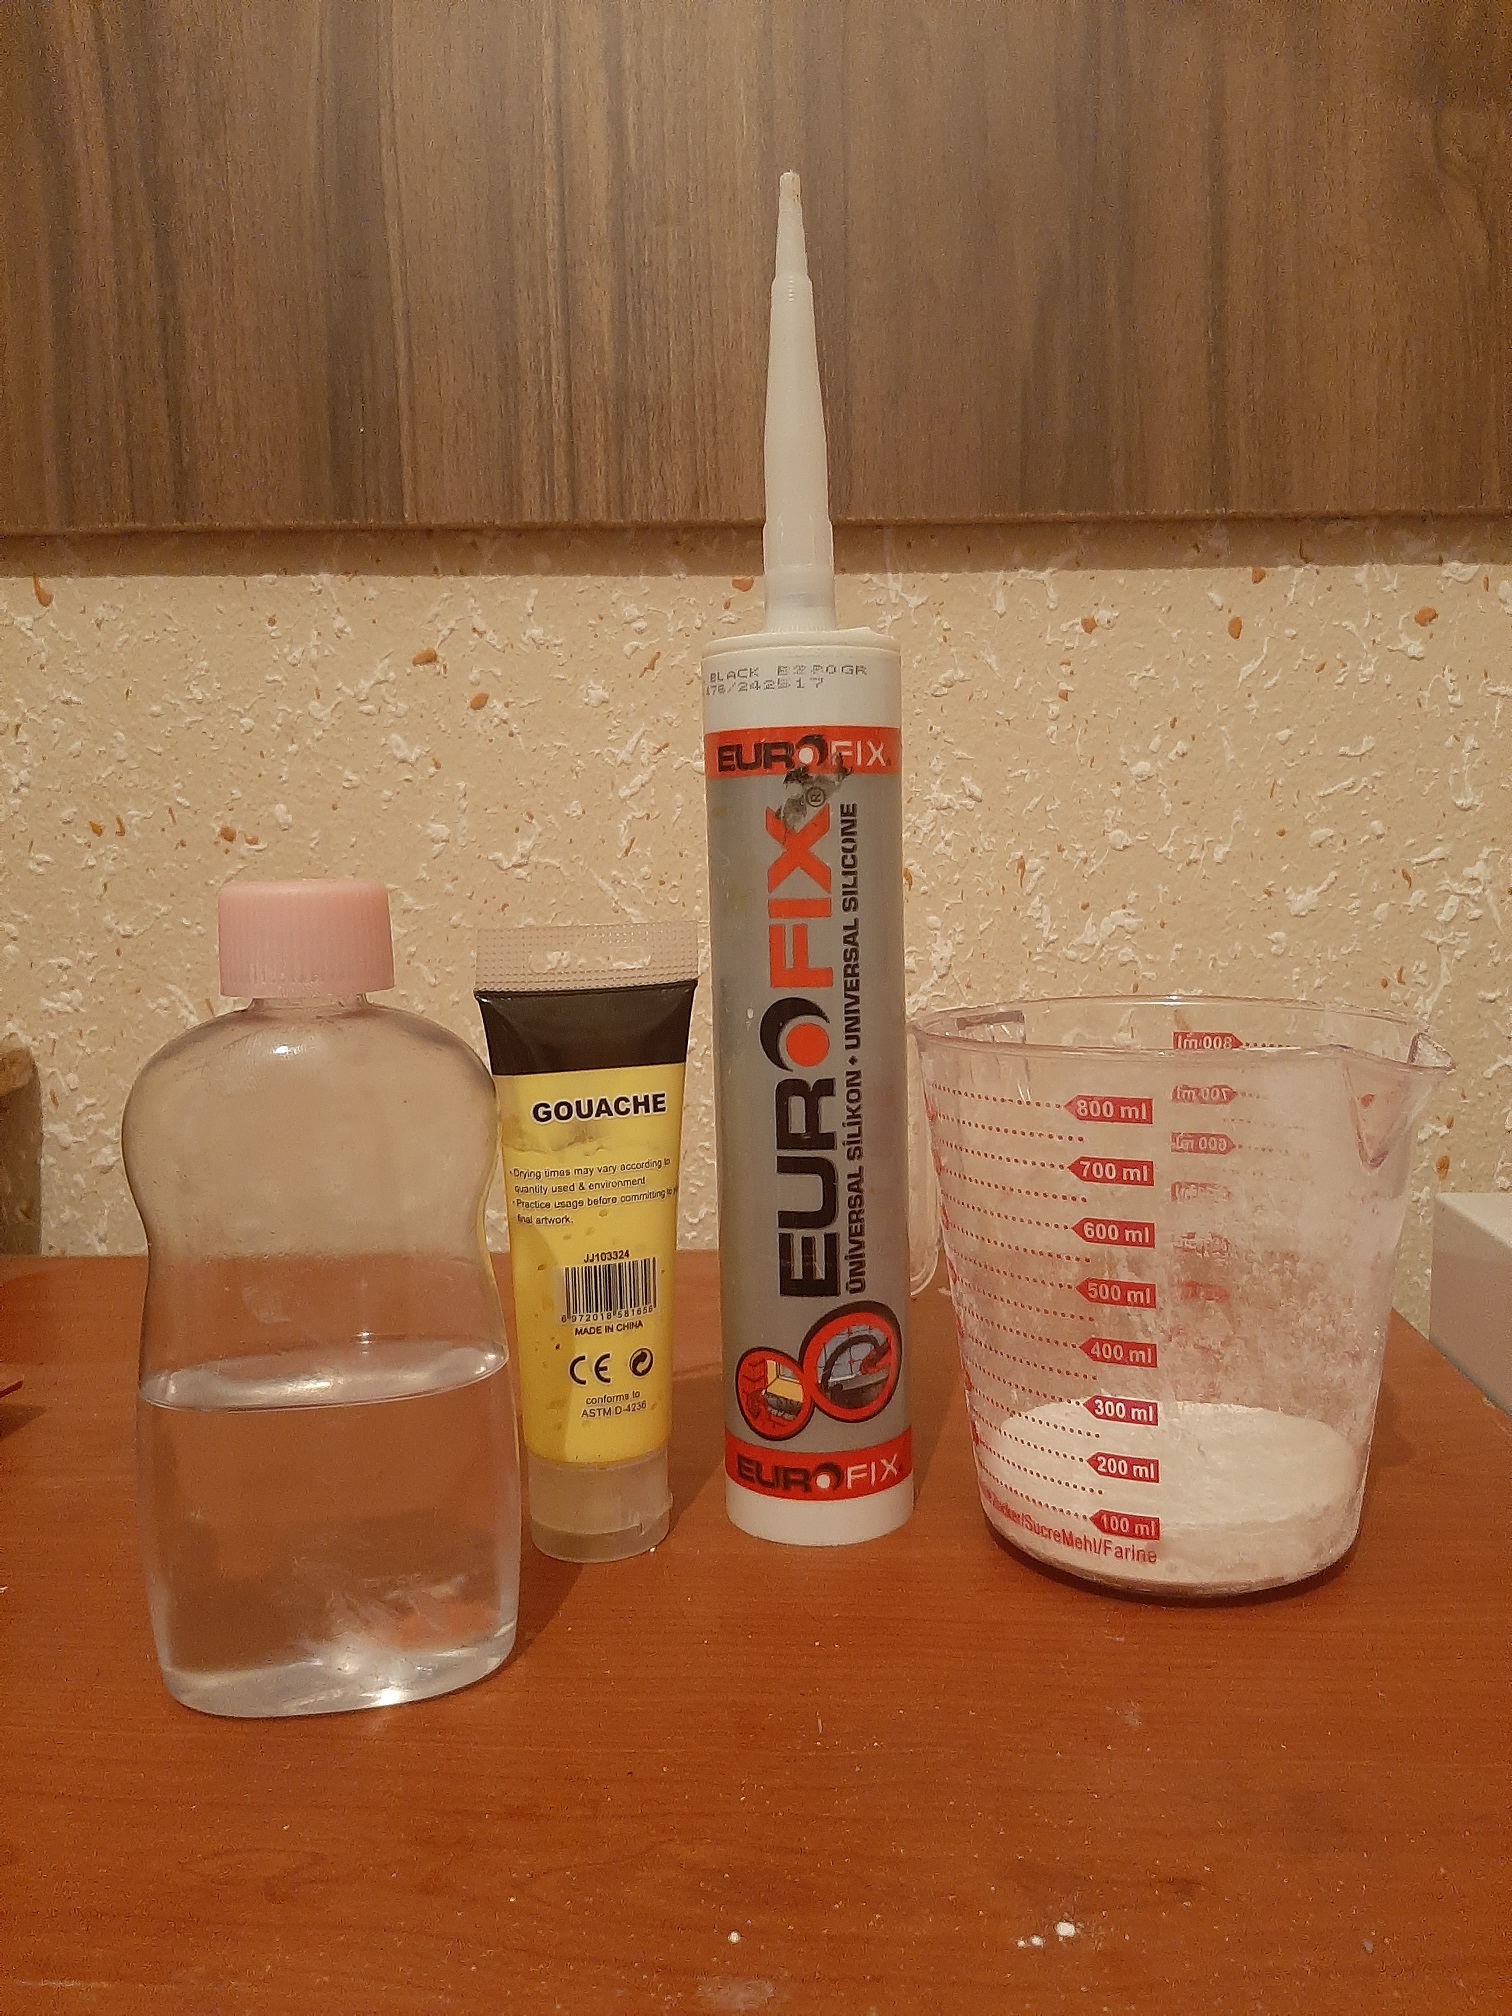

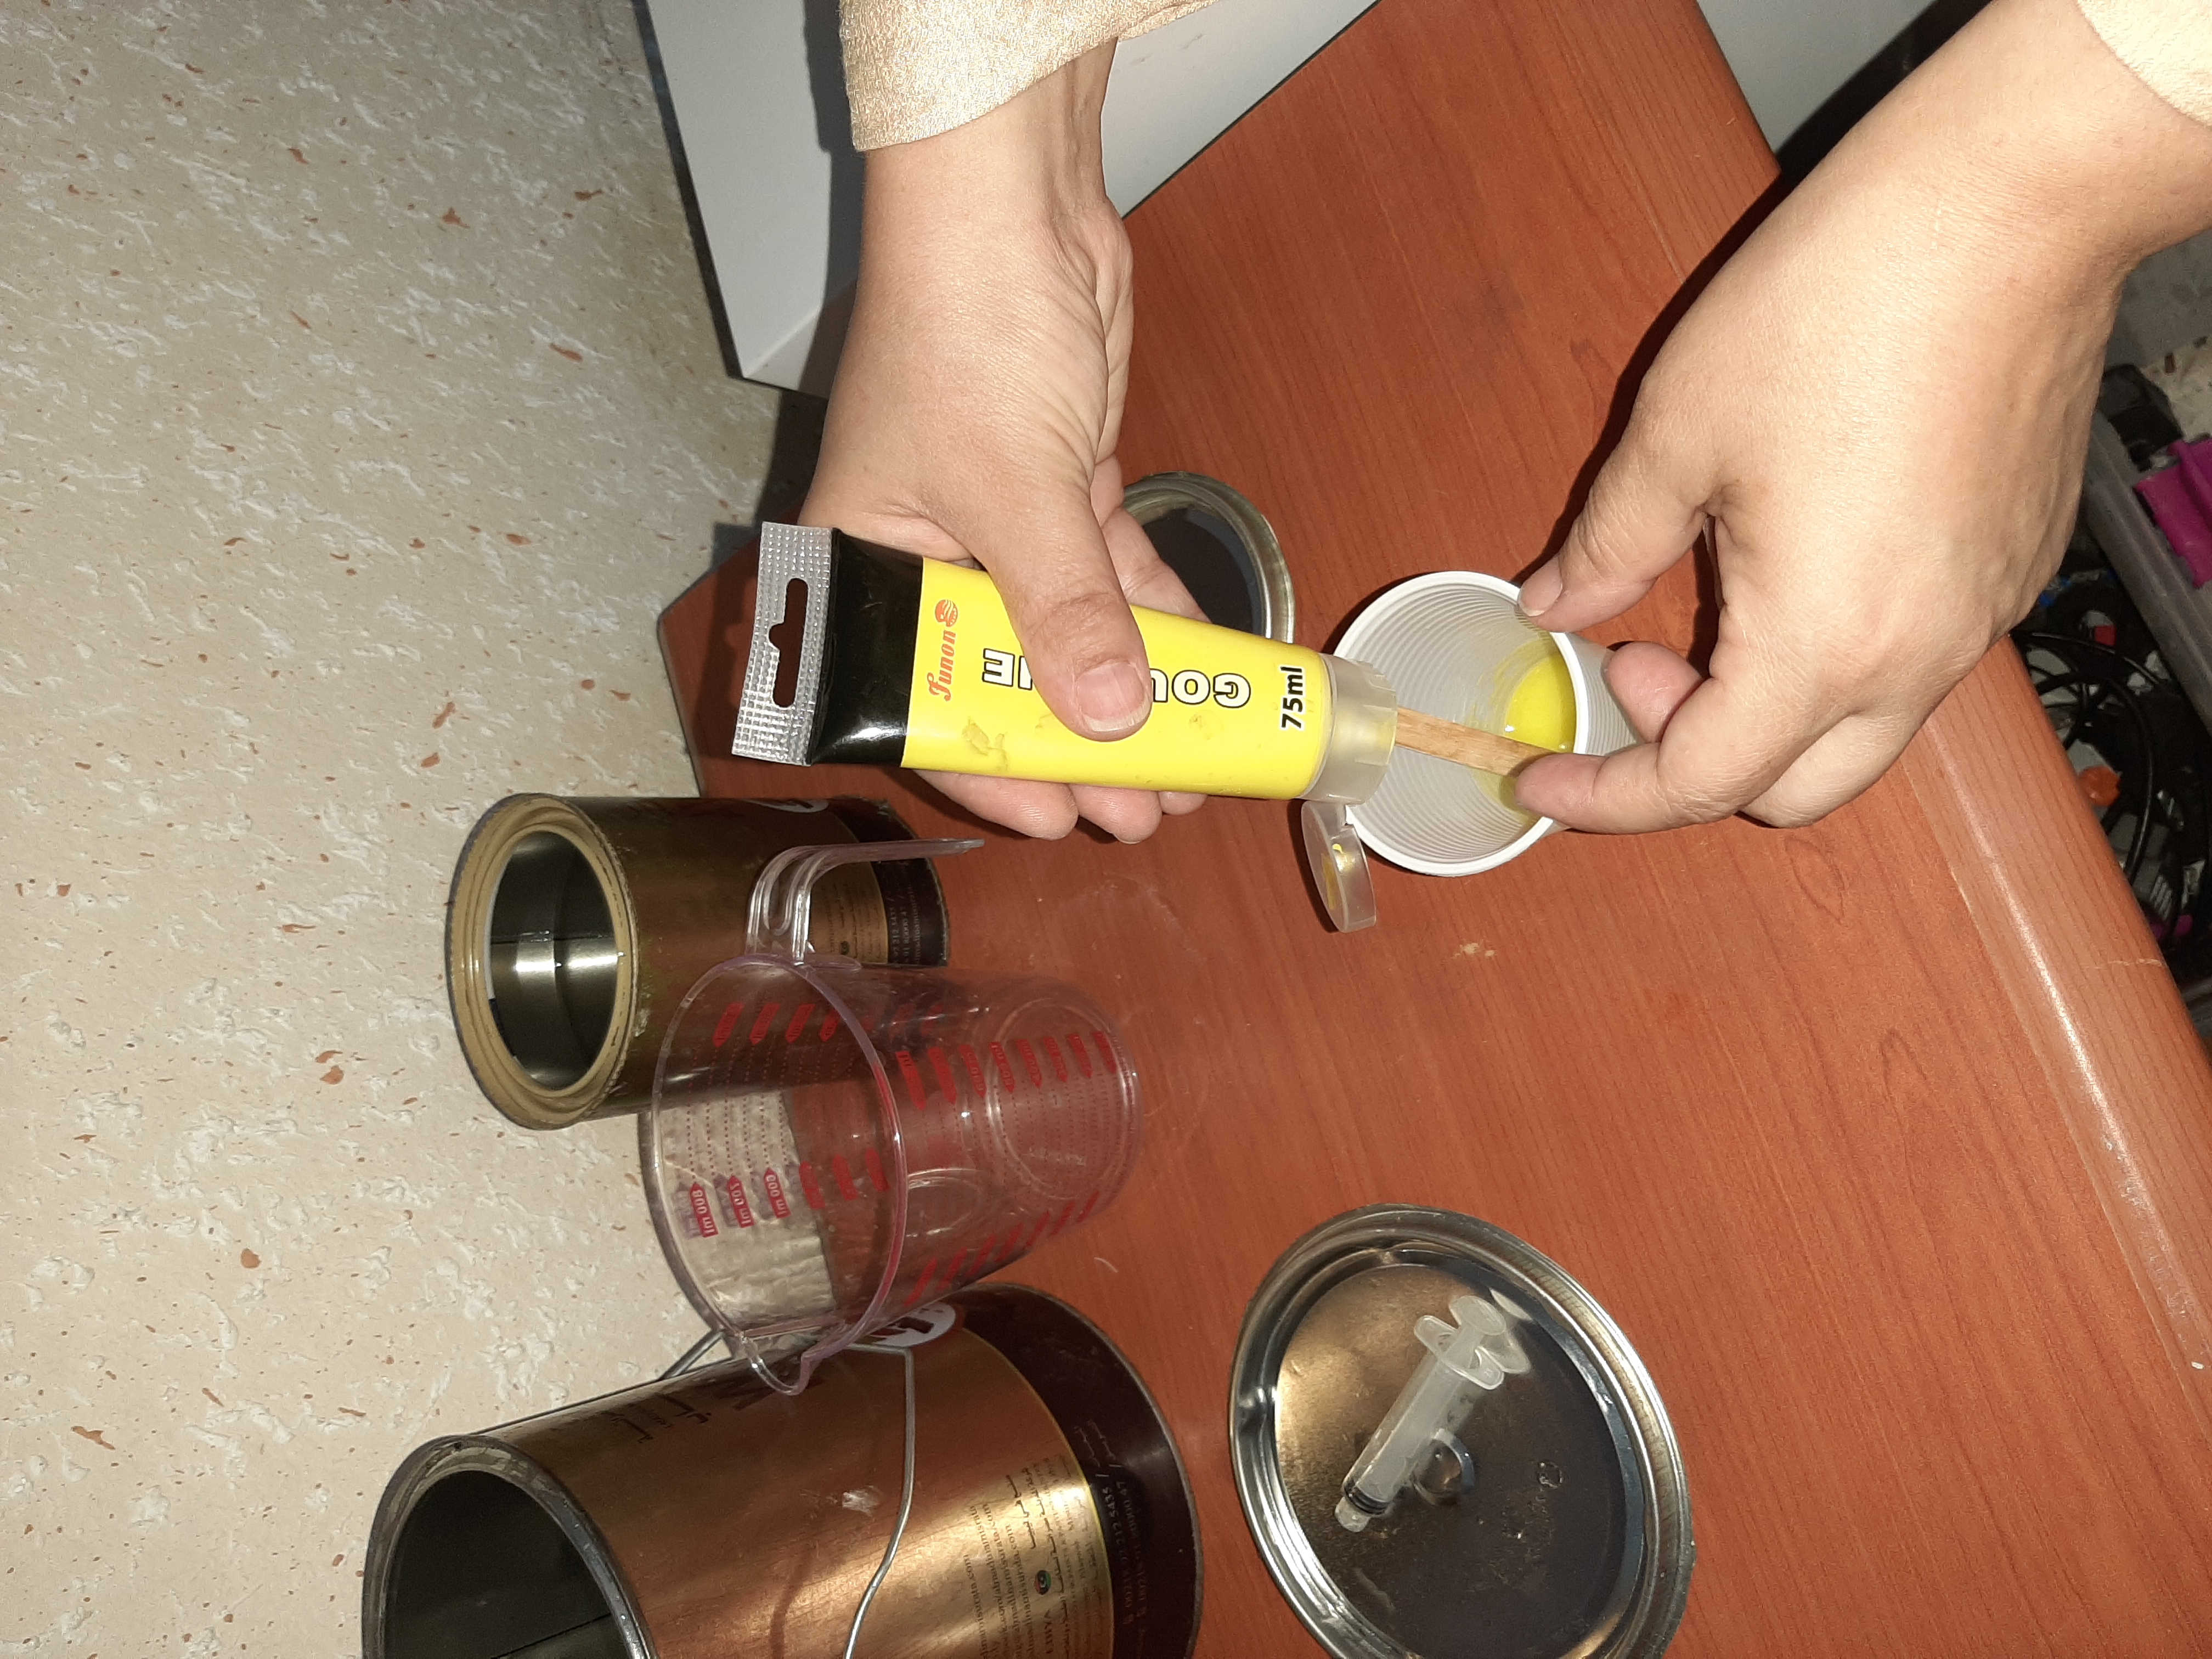
Now I have mold, then I can use Candle, or any clay material or epoxy. I use epoxy it realy easy and nice output,
I use Certi-Vex CE 210 is a two component,100% solids, solvent free, moisture tolerant, high modulus medium viscosity
structural construction multi purpose epoxy adhesive
After the two parts are poured at the correct ratio (100ml resin material and 40ml hardener material),
mix them together thoroughly for a full 2 - 3 minutes with a mixing stick, mix longer for larger quantities.
Files: