Sketch
Sketch By Fusion 360
I decided to create a small platform on which a camera would be placed while the sensors tracked the person standing in front of it, in addition to that the Servo Motor would move the camera at the angle at which the sensors captured a person’s movement.
I created my project through the Fab Lab in addition to the experiences I gained while learning at the academy, at first I had to think about a final project idea that could be created from scratch in the lab, I came up with this idea out of my need for it since I was in Sometimes I need to photograph myself when doing something and to document it, I came up with this idea that can shoot me wherever I move with the ability to track my movement and move the camera placed to the angle I move to.
SketchI drew the final look of my project with Fusion 360, where the following image shows the final look of the project.

3D Design: I designed my final project with Fusion 360, I did the design process after doing several visual feeds on several sites that include final projects, I chose my project to be small as large sizes are not good for For such a project that can do the operation of this size، For more on how to design the final project, visit the link below

3D Printing: In the second step, I started the actual manufacturing process for the final project, I chose the 3D printing for my project, as the design contains many corners and turns, so I found it the best option, and to learn about how to manufacture my final project with 3D printing, you can visit the following link, which contains a mechanism Fabrication and settings used during the 3D Printing

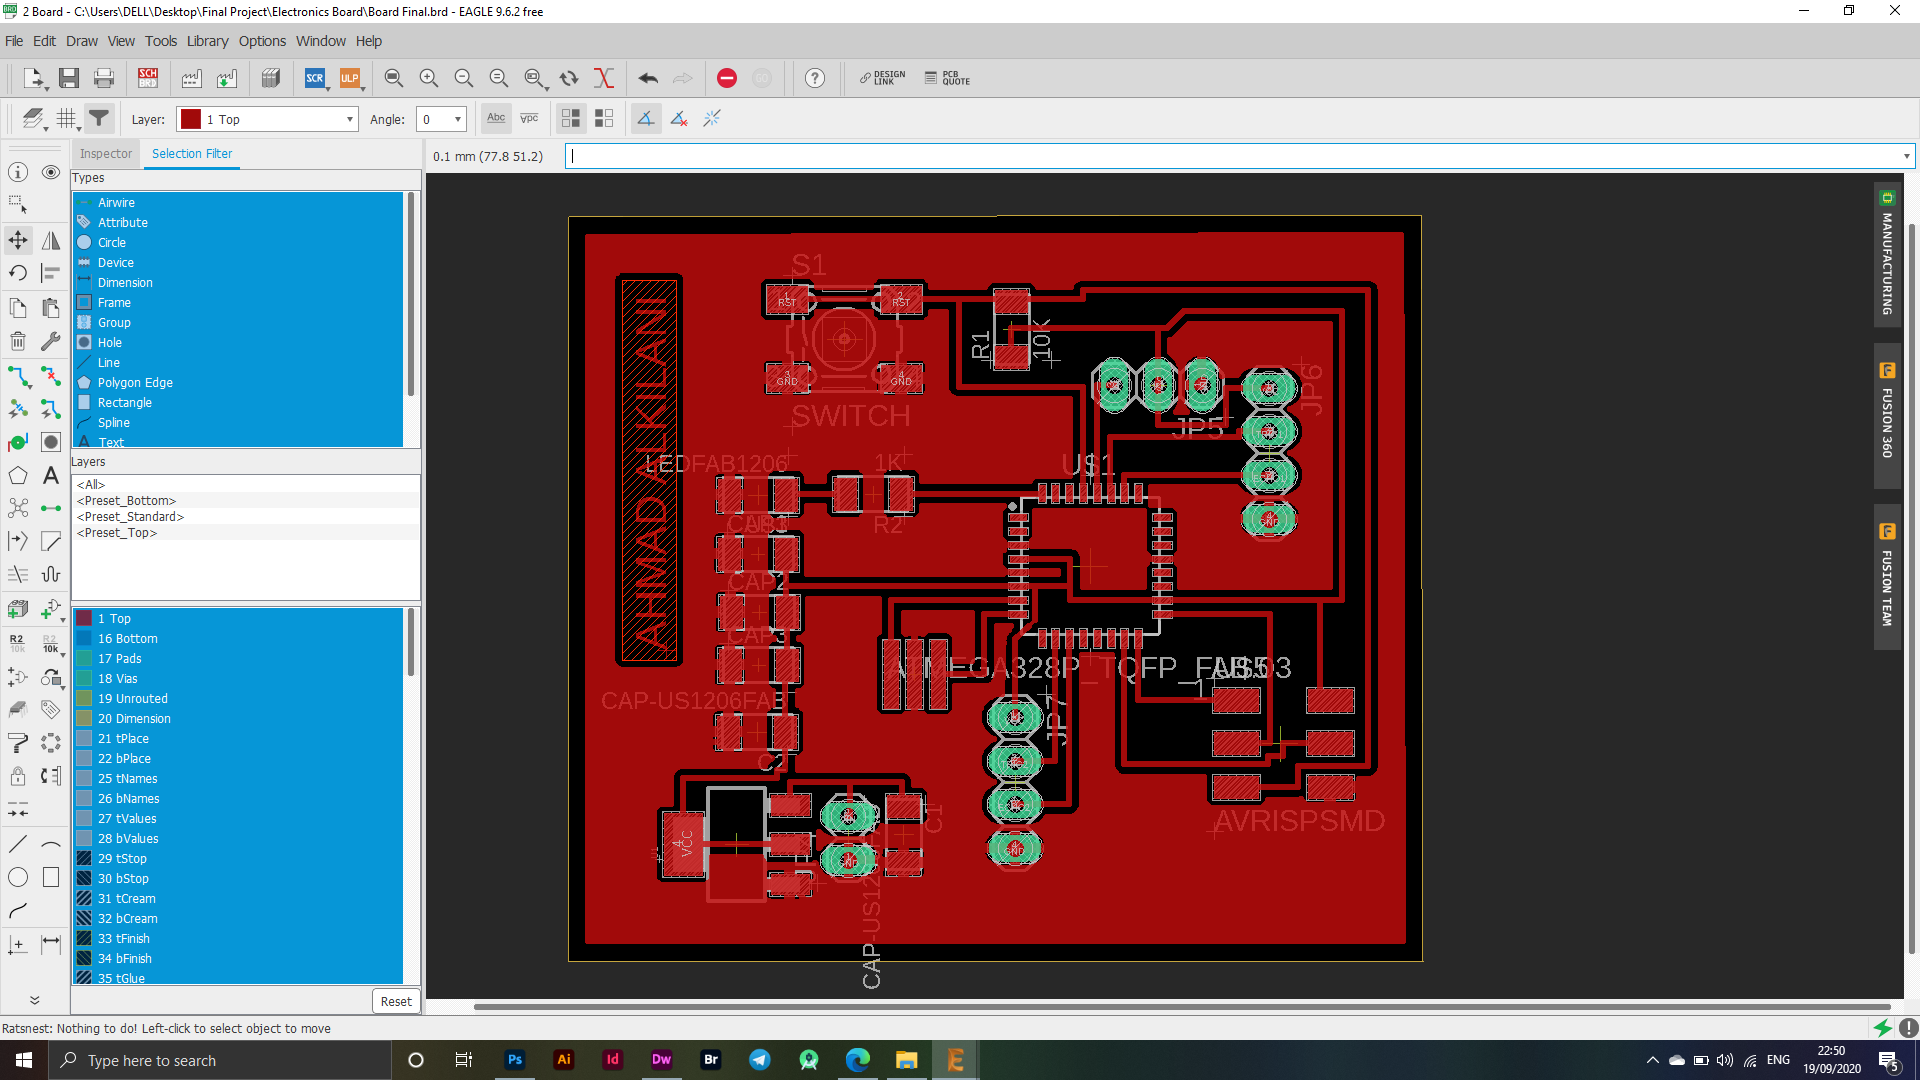
Electronics Design & Productions: To program my final project and do the required job, I designed and manufactured an electronic board that can do the task of moving the motor, operating sensors and giving commands, I created an electronic board with an Atmega328p controller, I used one of the electronic board design software, in addition to a Roland SRM20 machine to complete the manufacturing process and cut the electronic board To learn more about the process of designing the electronic board and cutting the electronic panels, you can follow the following link, which contains the mechanism for designing and manufacturing the electronic board، Electronics Design & Productions
Programmimg: The last task, which is the task of programming the electronic board on a specific act, I have programmed the electronic board through the Arduion Code, and to get acquainted with how to program the electronic board and the operating mechanism, you can visit the following link, which contains the entire programming mechanism، Programmimg

After completing the complete manufacturing process of the final project, as a final step I installed and tested the project, the video below shows a simple experience of the process of running the final project.