Wild Card
Details
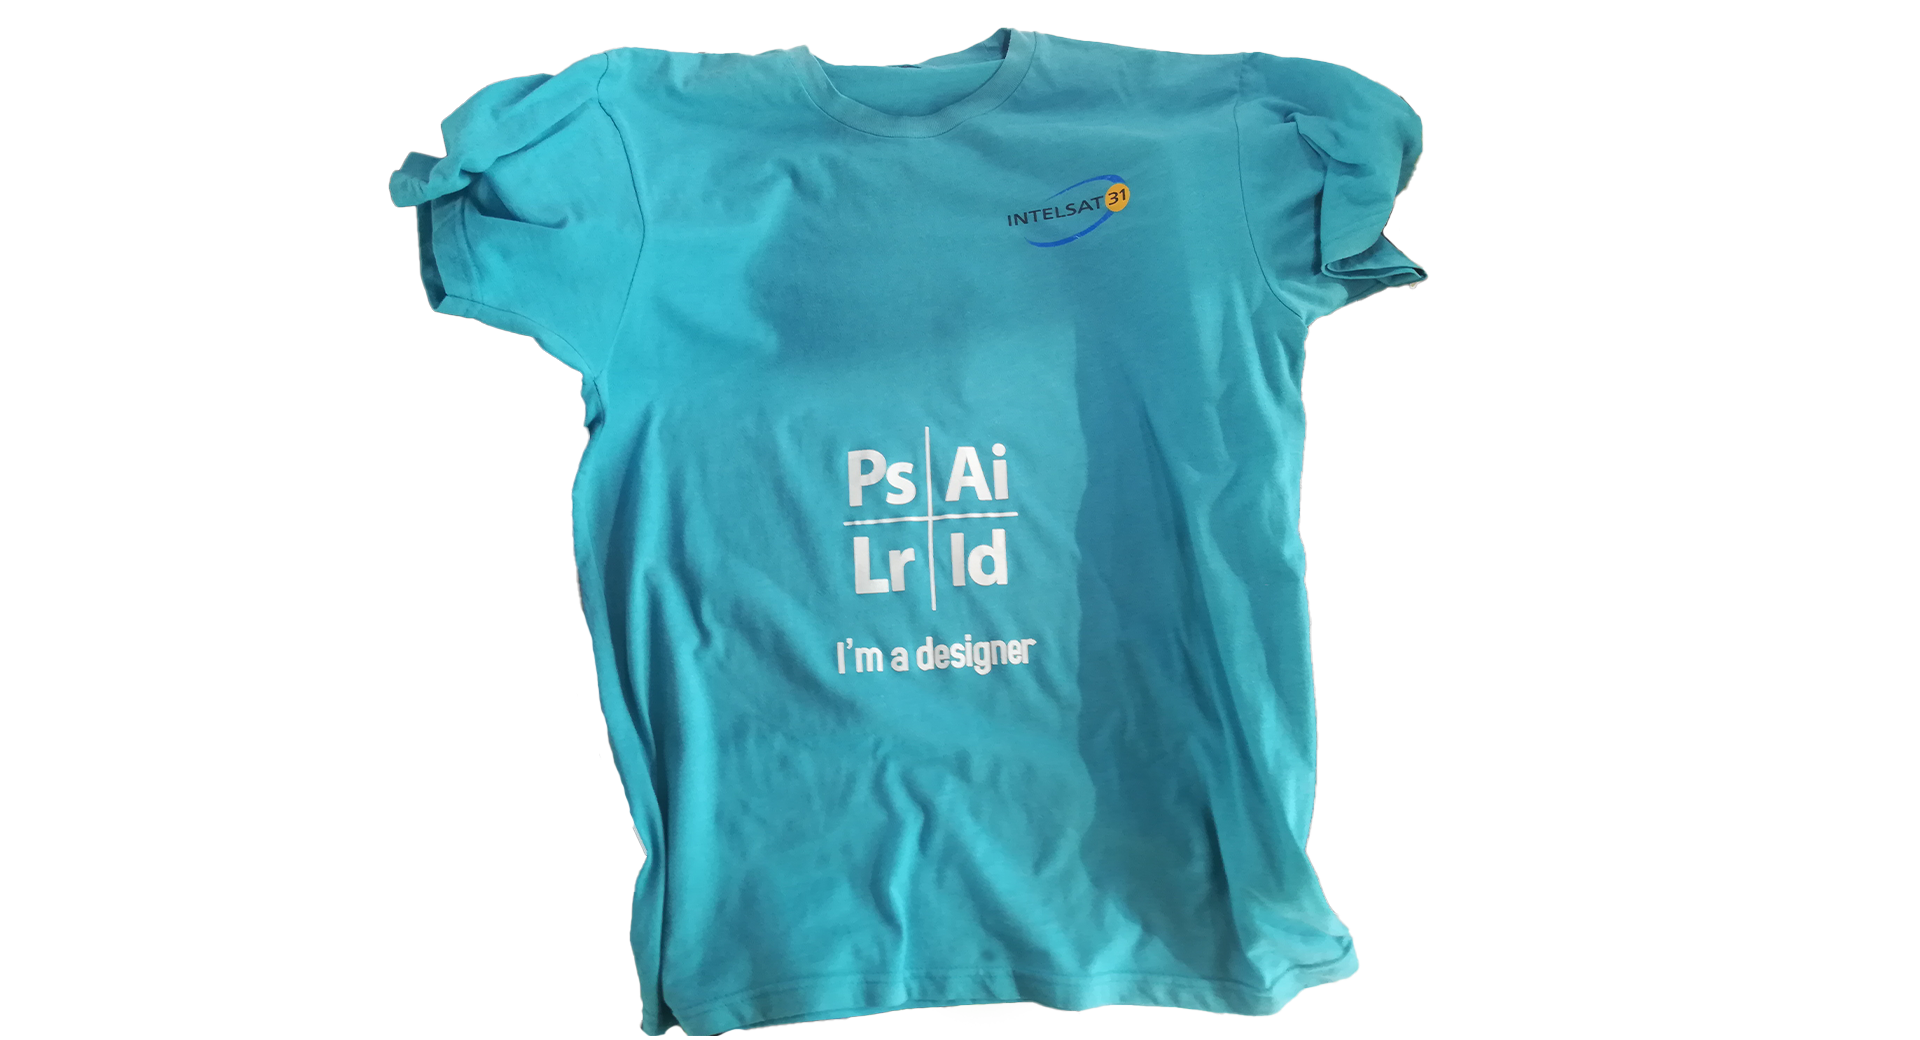
This week, I did the printing process on a shirt, where I was thinking of a way that I could benefit from it, as I promoted myself through this shirt and since I like graphic design and what it is related to, which is my profession for a long time, so I decided to introduce About myself through this shirt while wearing it on the streets, where I made a design that enables the reader or viewer to know my profession.
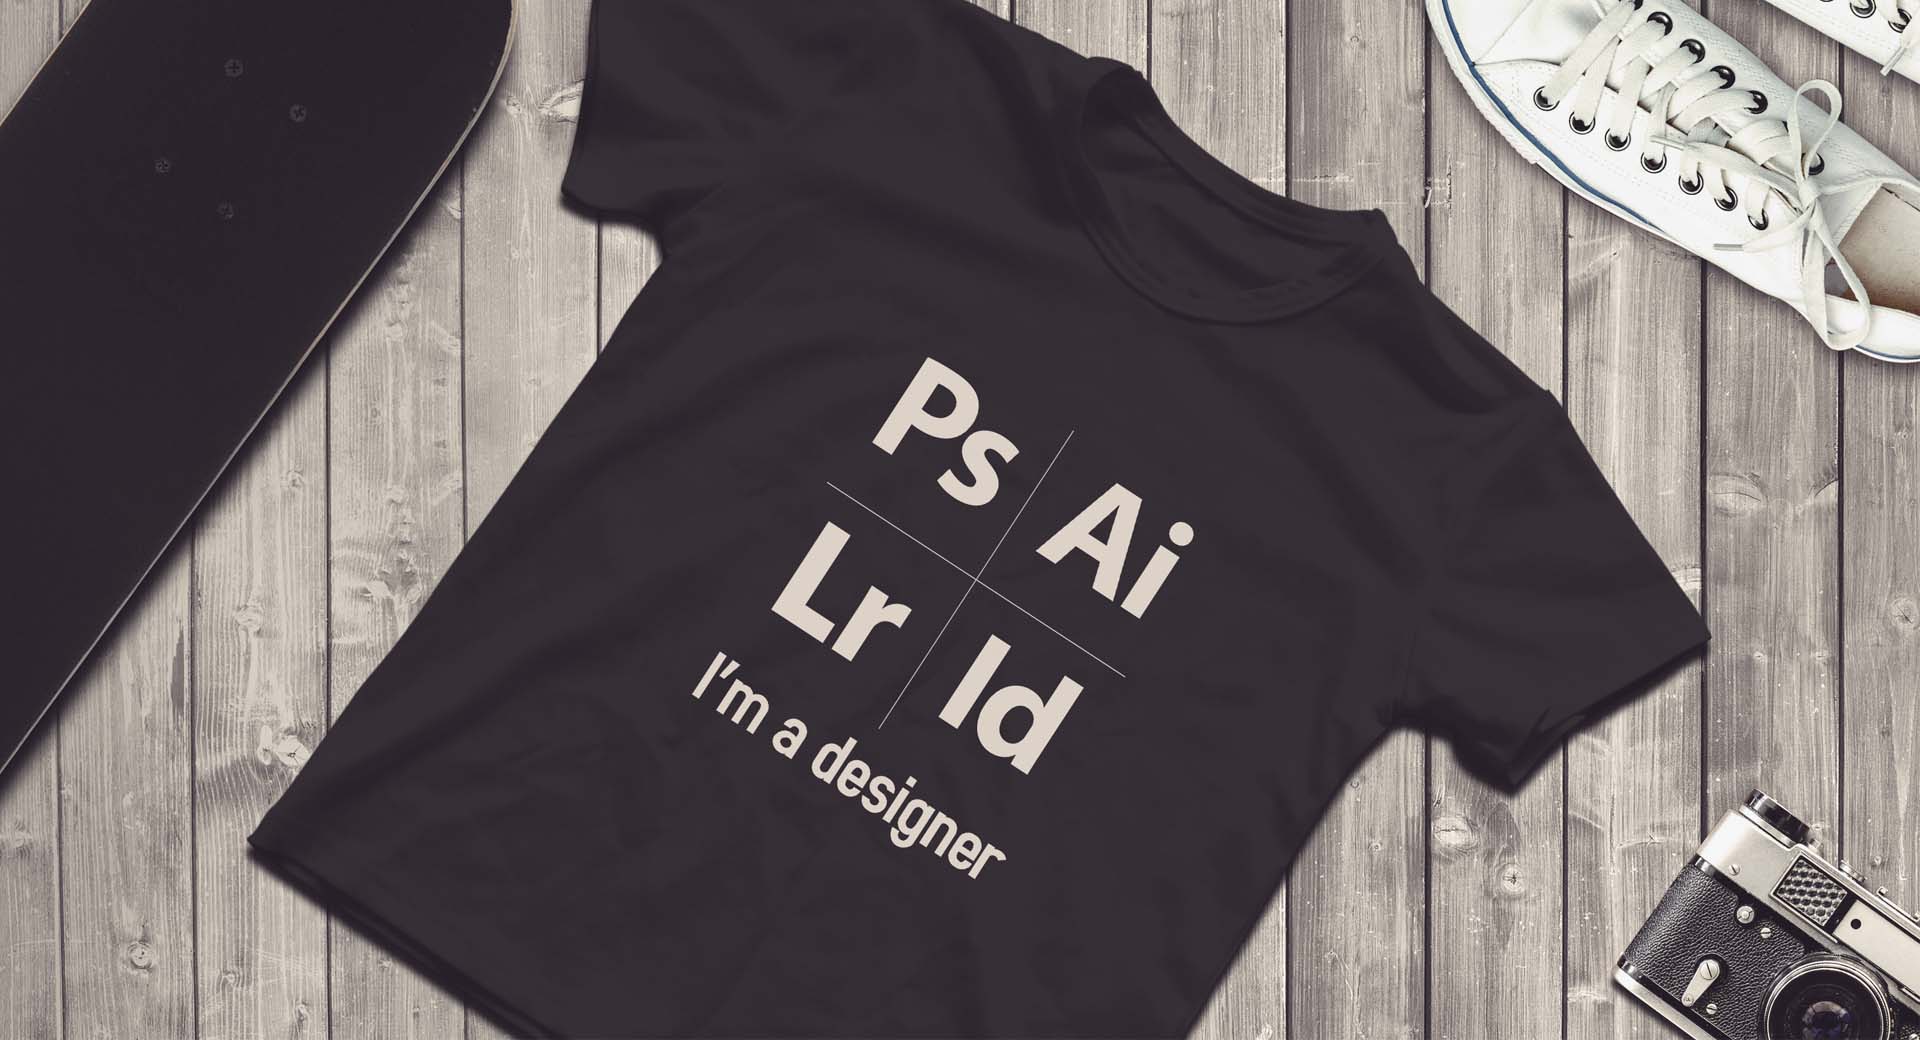
So I made a design that shows the logo of the four Adobe applications that are widely used in the graphic design process, as I work on these applications in most of my work, namely "Photoshop - illustrator - inDesign - Lightroom", with the short phrase "I am a designer" It is really a method Great for promoting the same wearer as it can attract more customers.
The following image shows the design that you used in the T-shirt printing process.
I've drawn logos with the PenTool tool, while I've used a specific font for the phrase below that indicates I'm a designer.

After completing the design process, I moved to the Vinyl Cutter machine to do the design cutting process. At first I opened the program dedicated to VERSA Studio and set the design settings based on some factors, and the following pictures show the settings selected in the cutting process.
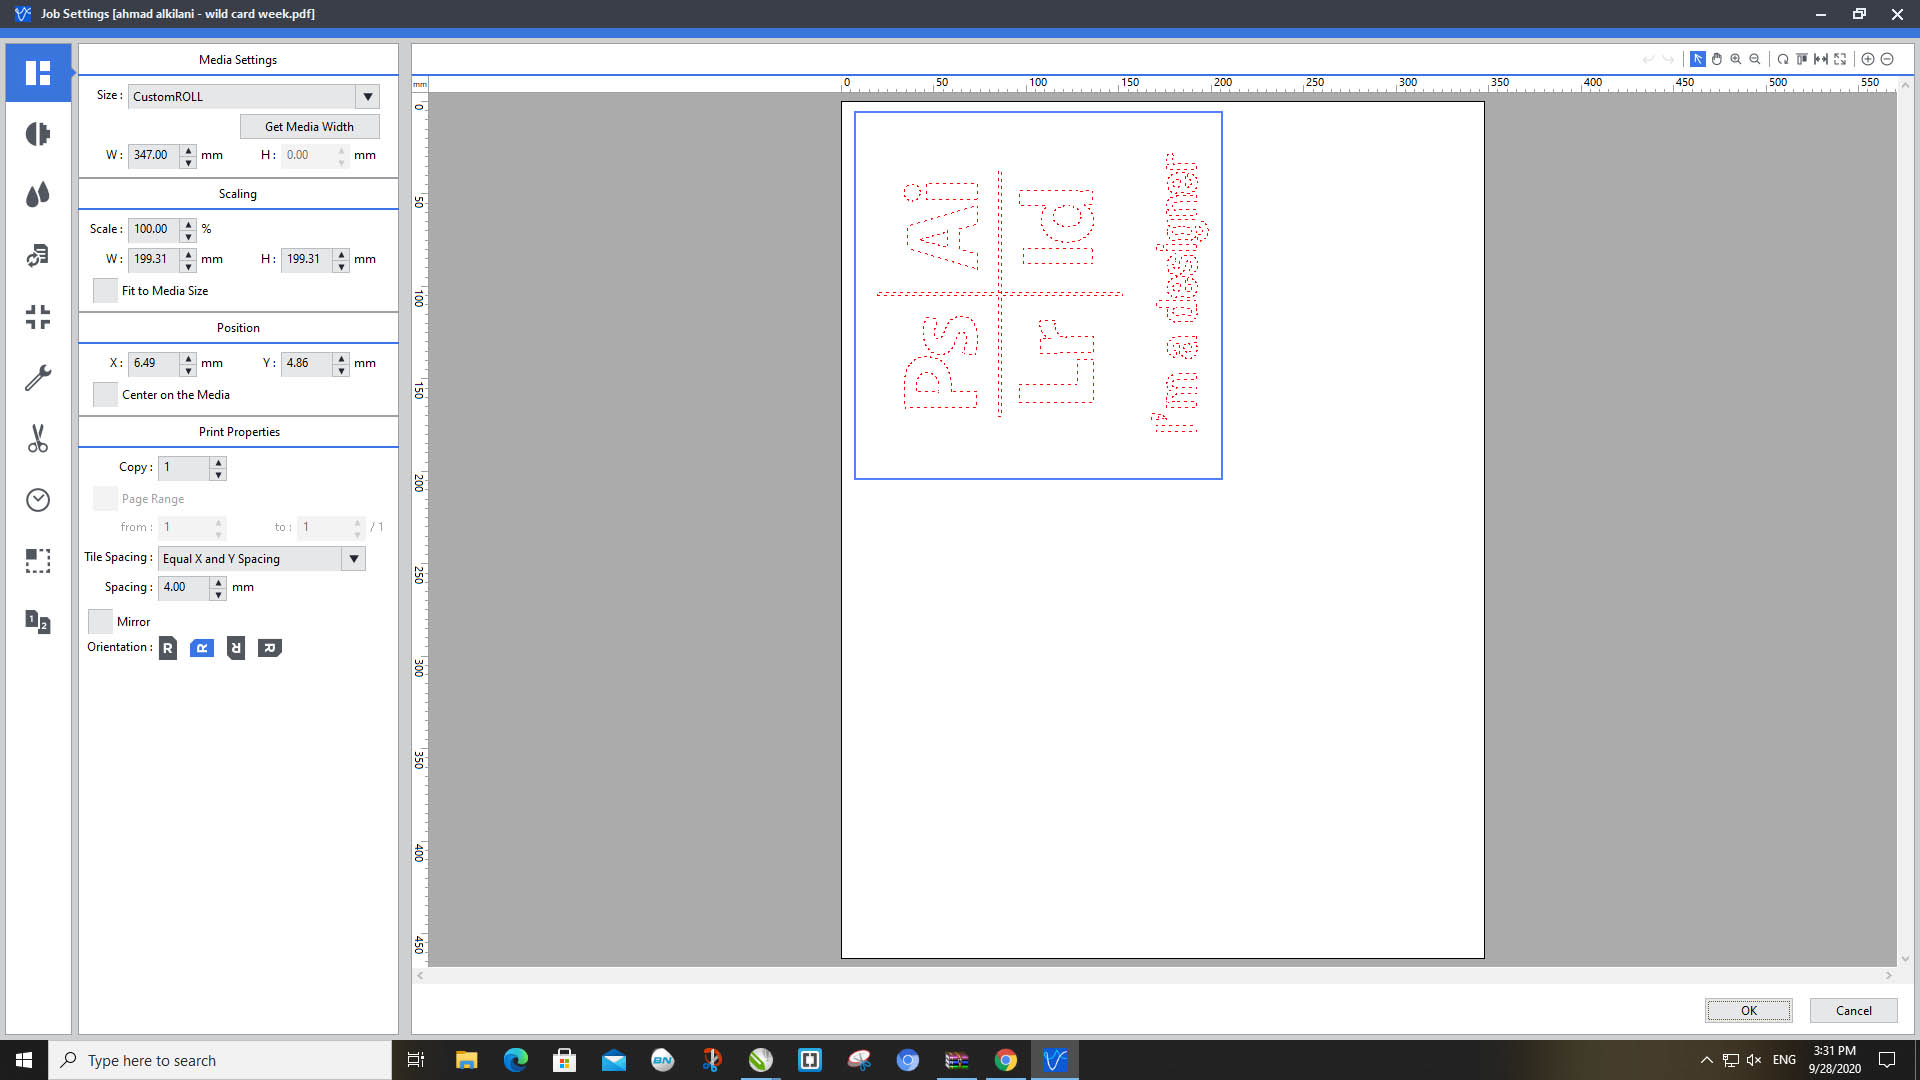
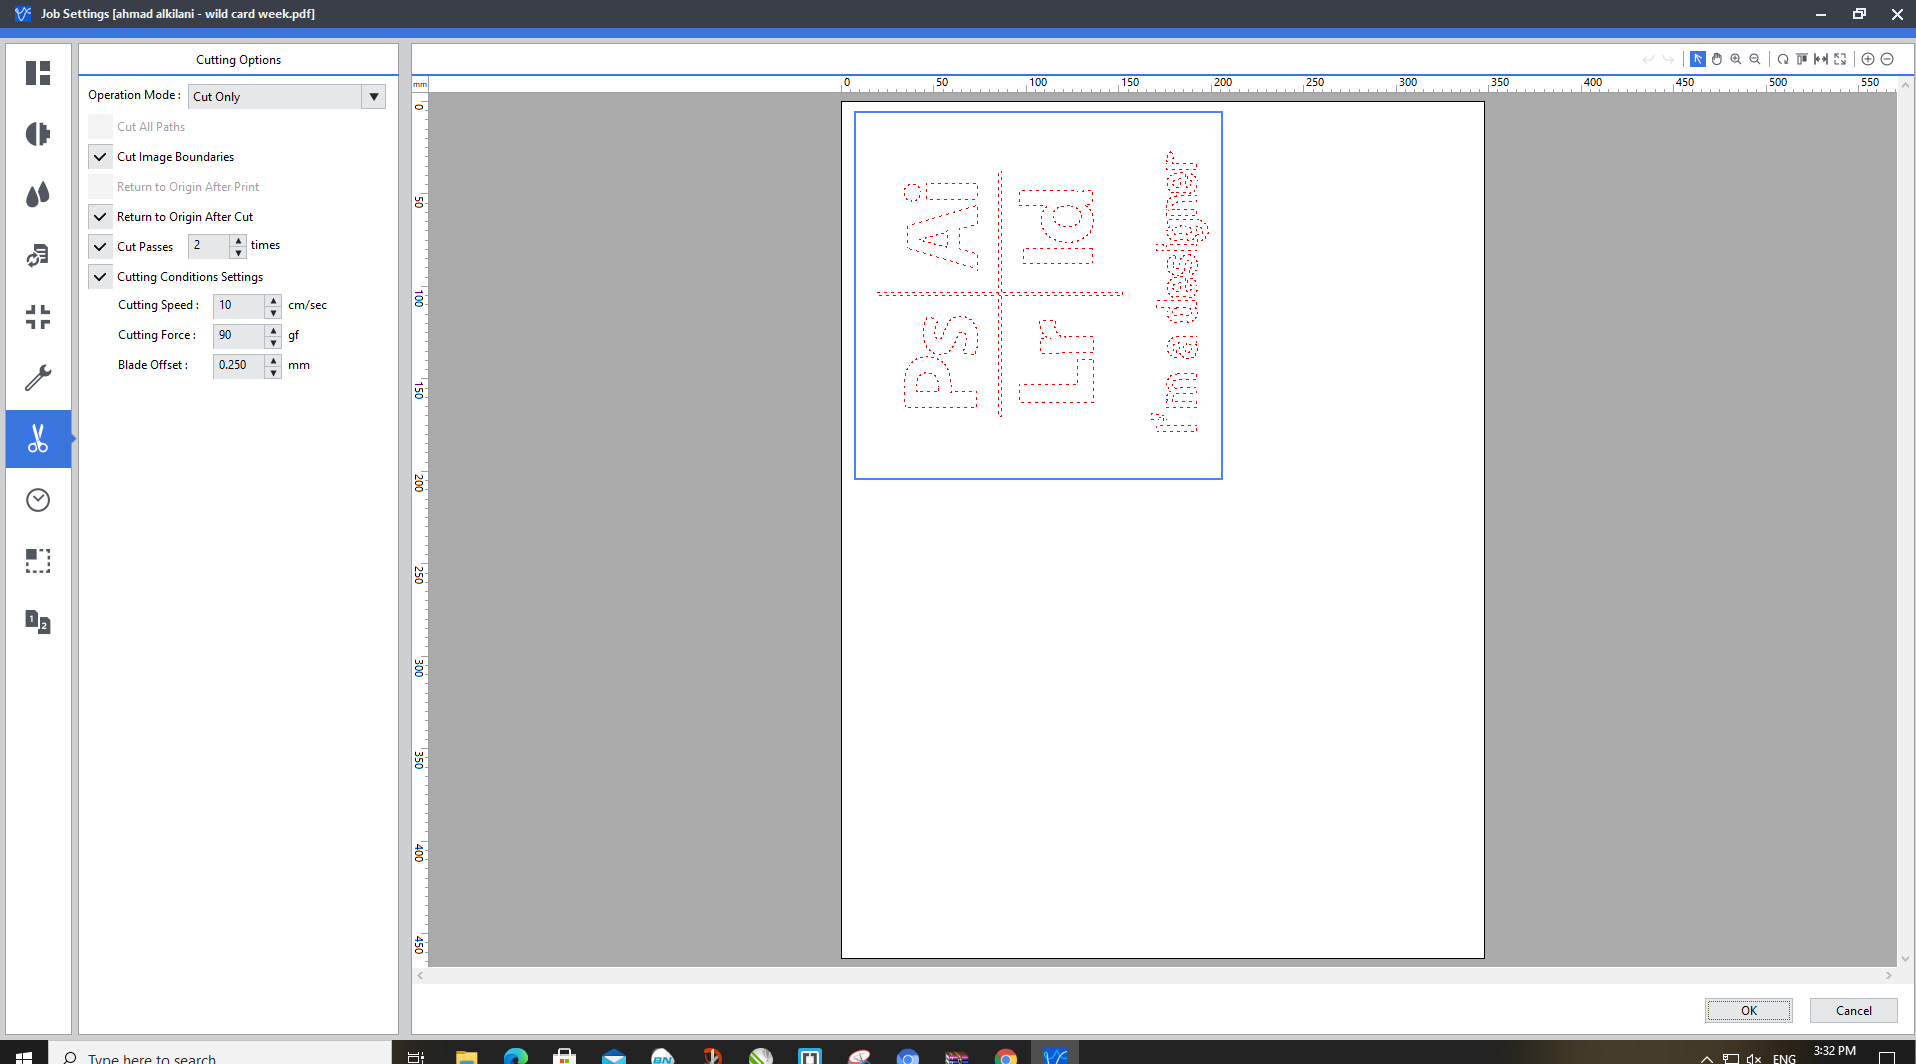
Explanation of settings:
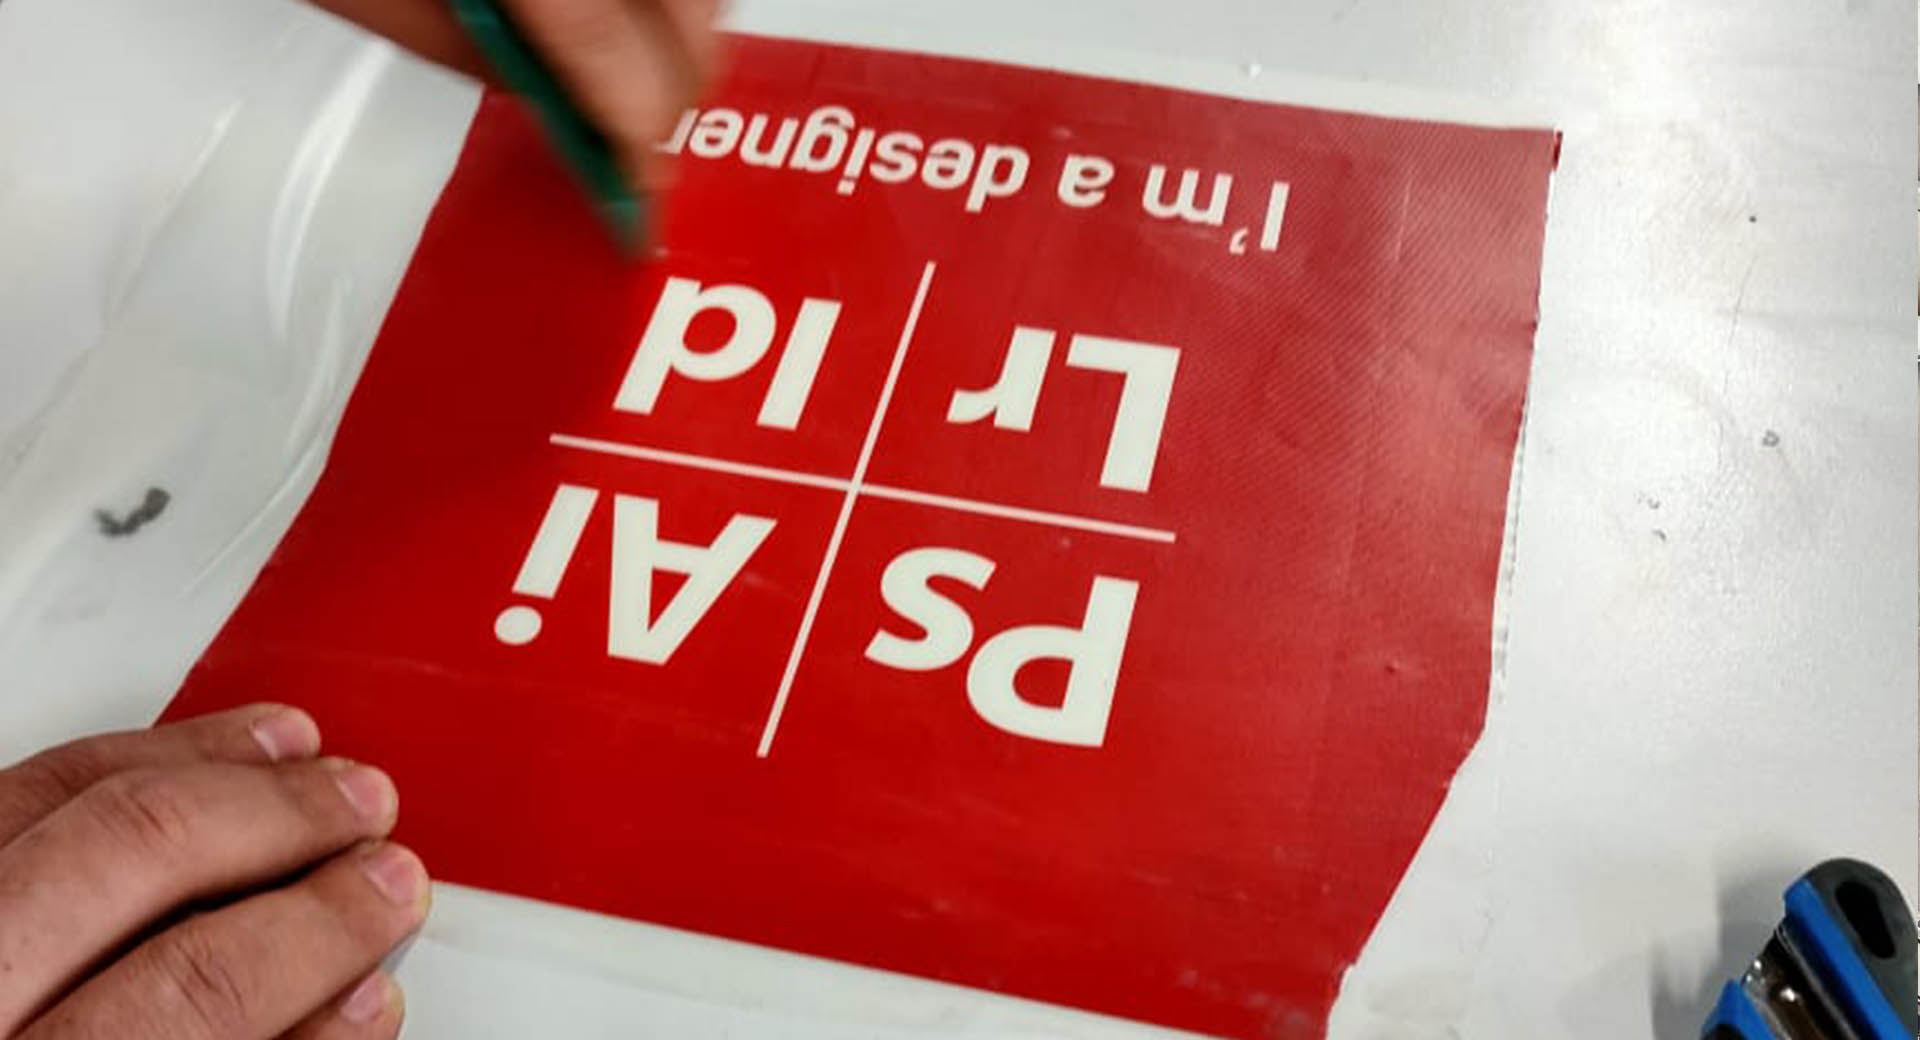
The following image is the final look of the design I worked on on the Vinyl Cutter.
As for the design unpacking process, I have vacuumed the letters since I will be pasting the material in place of the letters. In the hollowing process I used the scalpel to get the best result, and at the bottom the last figure appears.
After the process of cutting, preparing the design, and unloading it from the cut areas, it was a duty a, I make an external frame to ensure that the material is not used outside the specific areas or area to which the material will be added and printed on, so I opened CorelDRAW and created four rectangles with a height of 20 cm and a width 3 cm and you cut it on a laser cutter, you can go back to the cutting week on the Laser Cutter machine and learn more about it.
Final Level
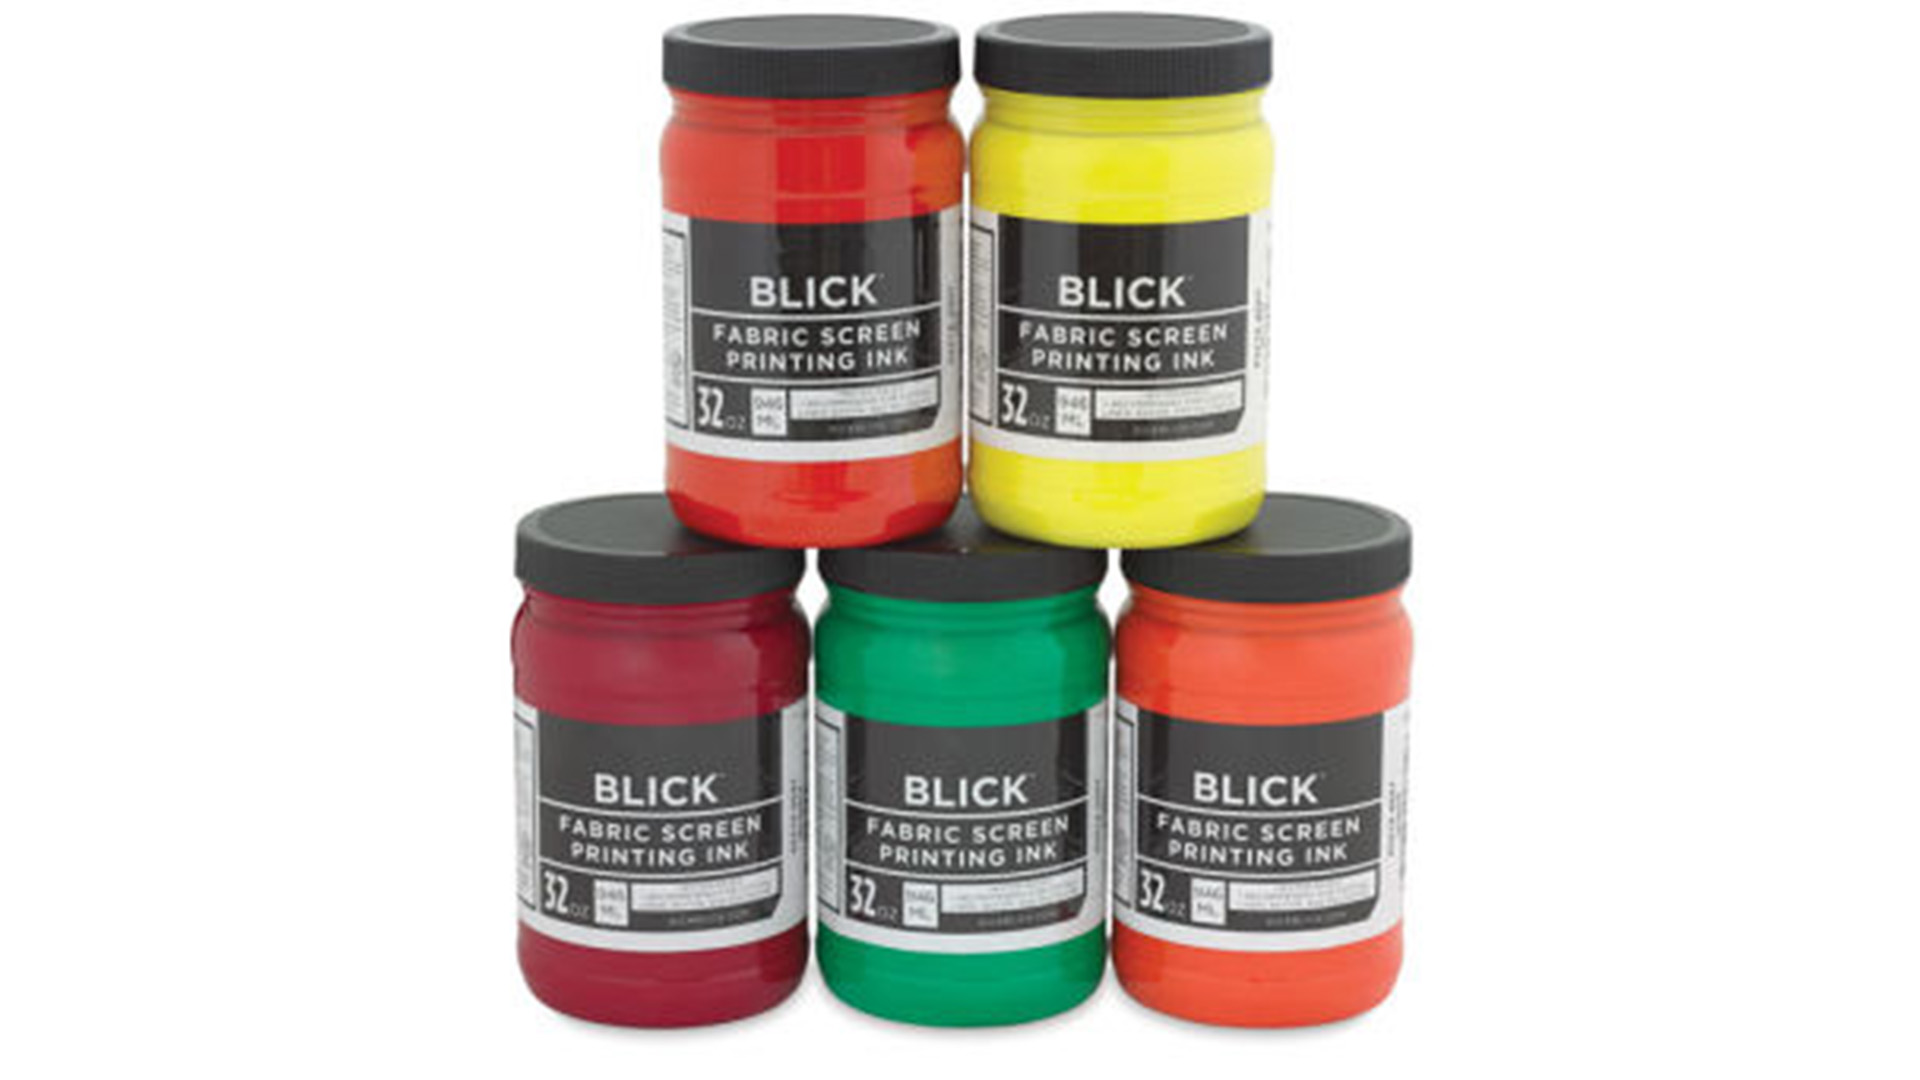
Definition of the material:
Blick's inks are made for printing on light-colored T-shirts, and other cotton or cotton blend fabrics, linen, rayon, polyester, and most other synthetics, except nylon. They are non-toxic, non-flammable, safe for school use. These inks may also be applied with a brush to tennis shoes, tote bags, sweats, etc. and they work well on paper products, too. We recommend this ink for screened artwork or printmaking. For best results, we strongly recommend pre-washing garments and pre-testing the color before starting a production run. Recommended screen fabric is 74-124 mesh monofilament or 6XX to 10XX multifilament. After printing, allow to dry, then heat set with a household iron at medium heat for 3 minutes on each side or at 300°F in an oven for 3 minutes. After heat setting, garments are machine washable. Clean screens and squeegees with soap and water. We recommend using Speedball Diazo Photo Screen Printing Emulsions as a stencil for this ink (for short runs) or solvent-adhering (water-resistant) hand-cut films. Color Chart Note - Color charts represent approximations of the real color. Due to the many variations in monitors and browsers, colors may appear slightly different on different computer screens. Source
Steps
Error
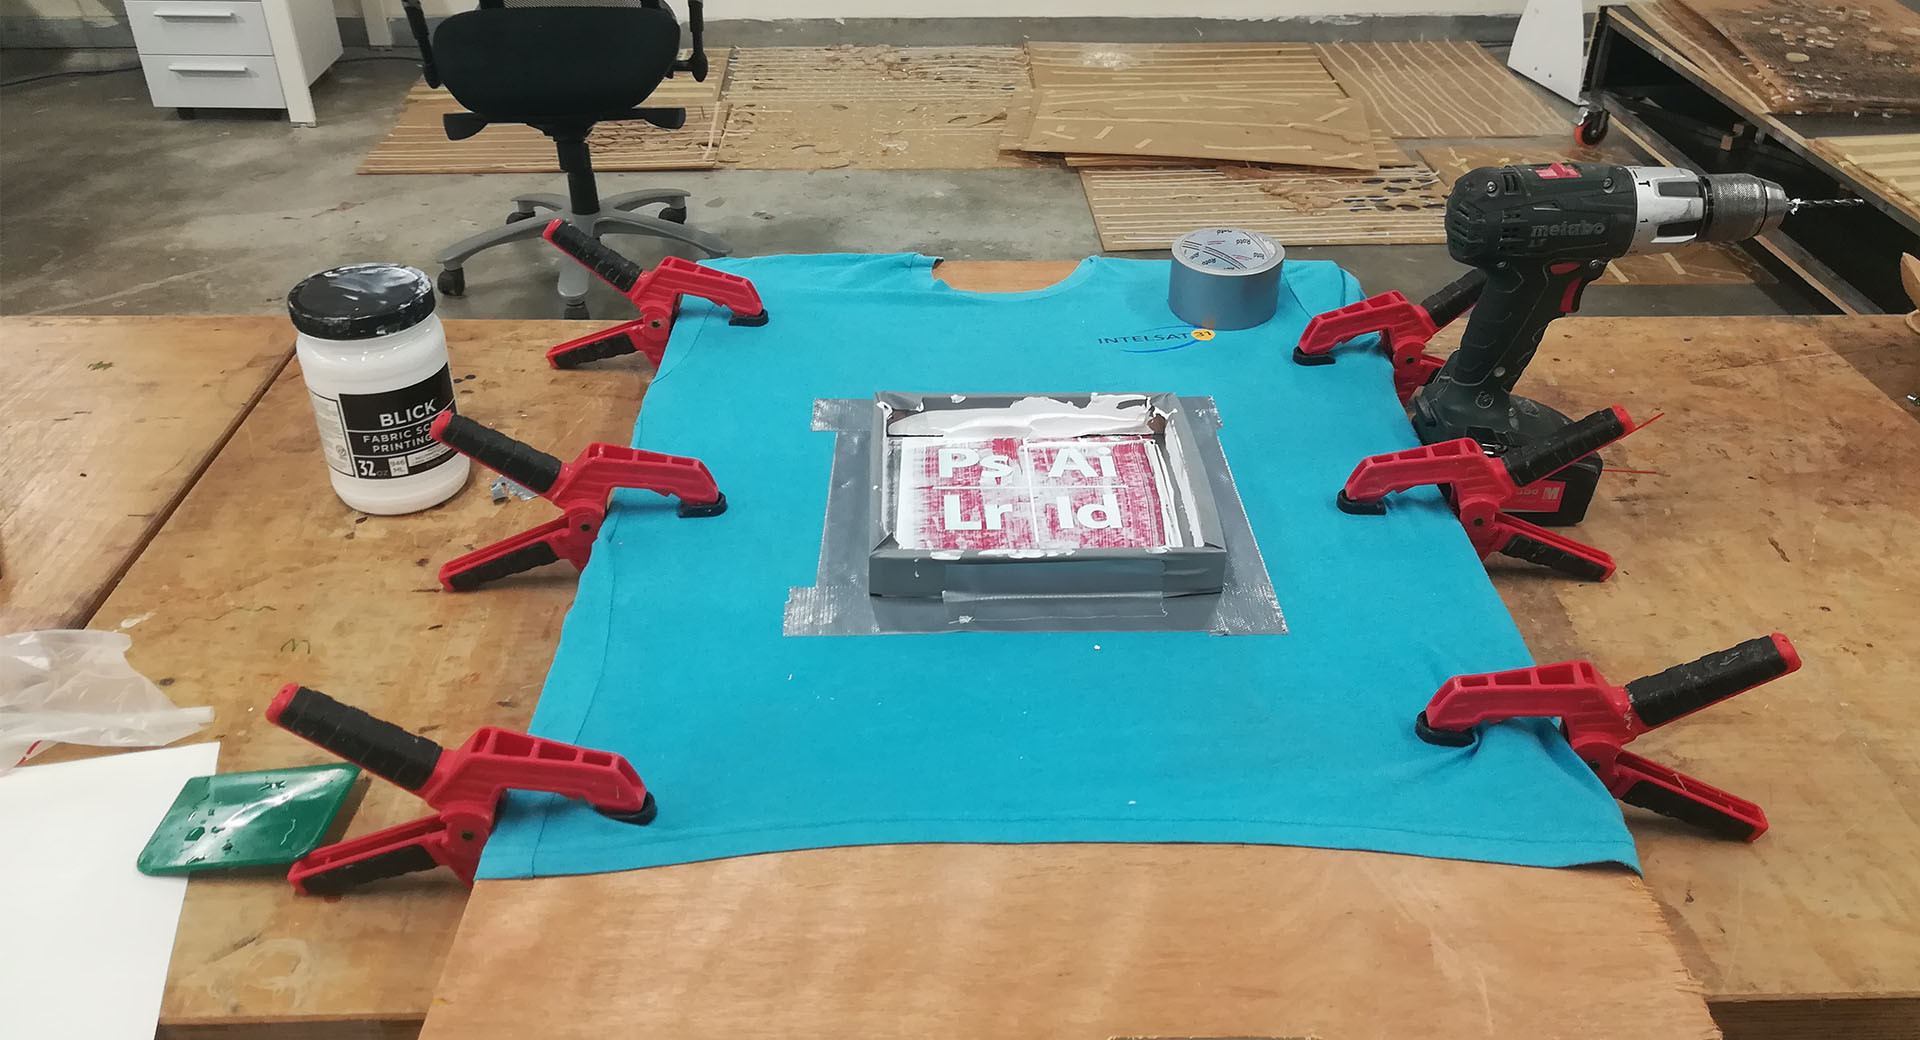
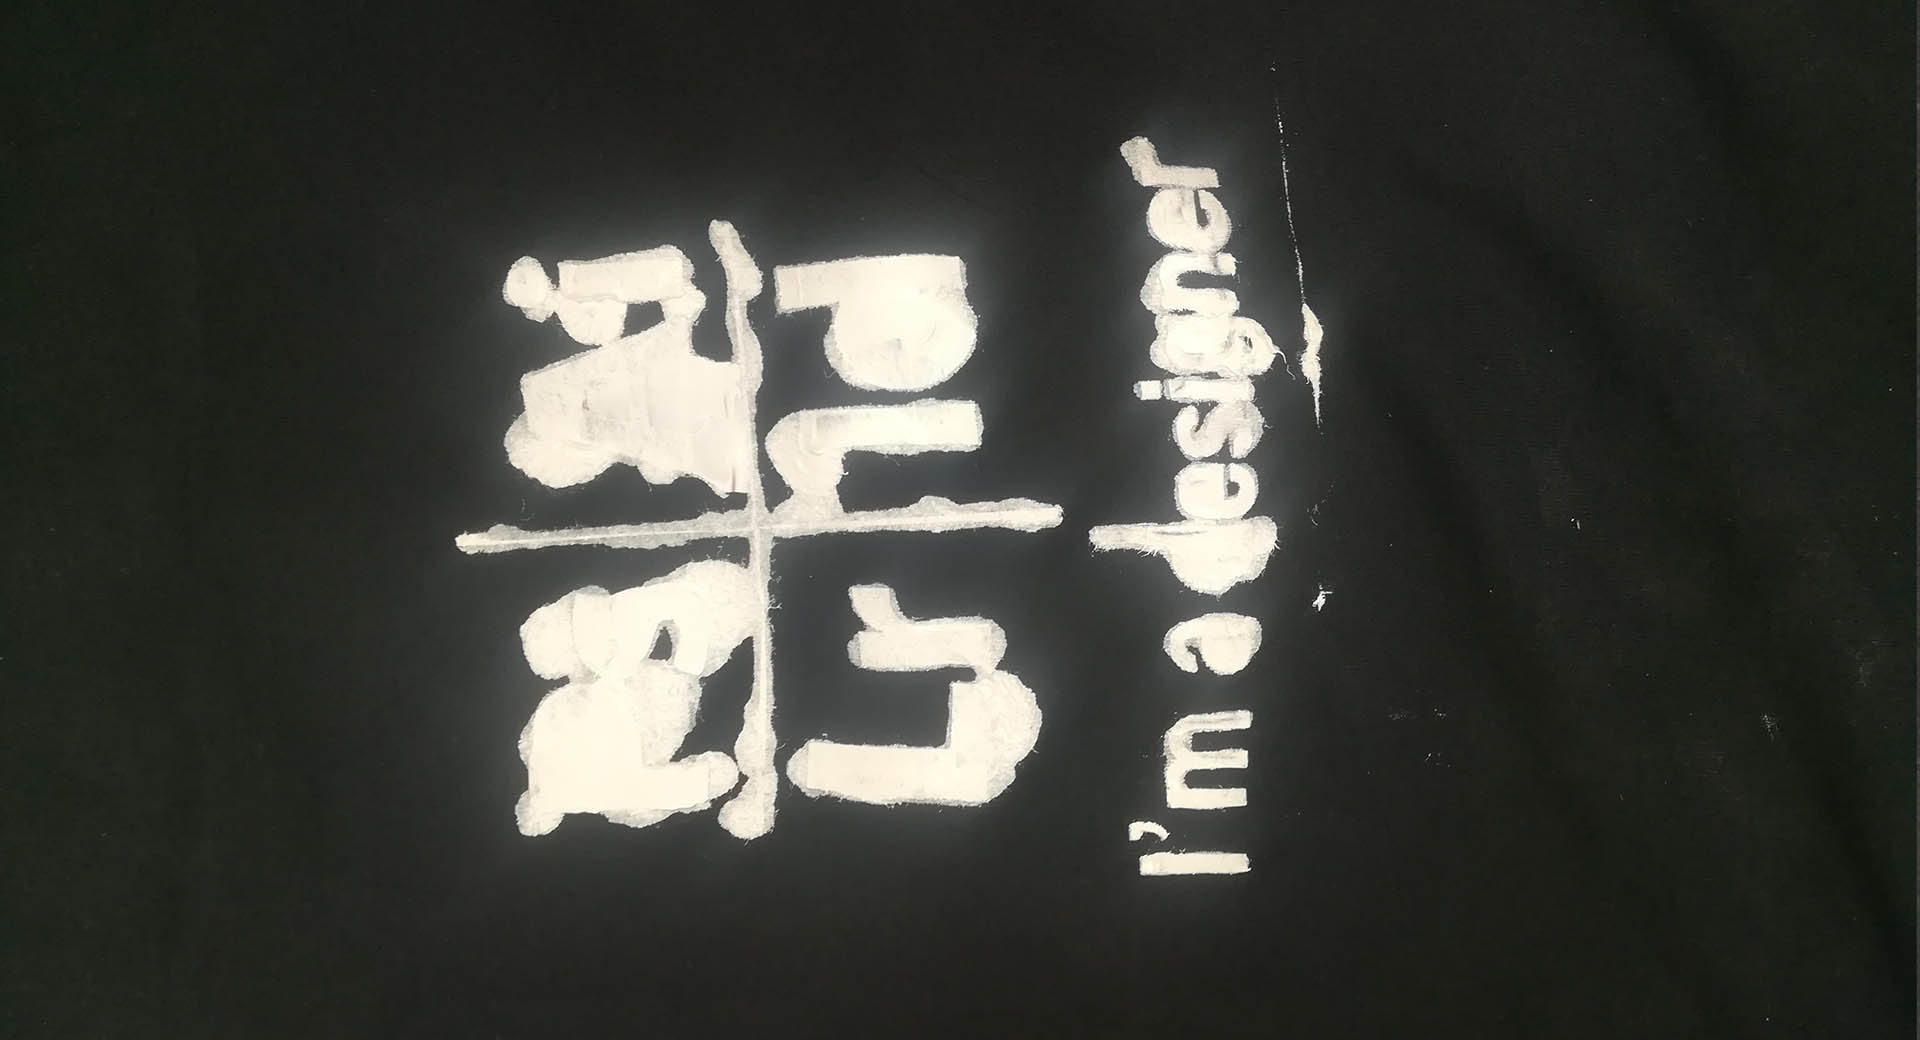
After about 5 hours I checked the work and unfortunately the printing process failed as the shirt was not tight enough, in addition to not distributing the material on the back of the shirt well, I will try to avoid these errors in the next attempt. The image below is your first failed attempt.
,
Next Try
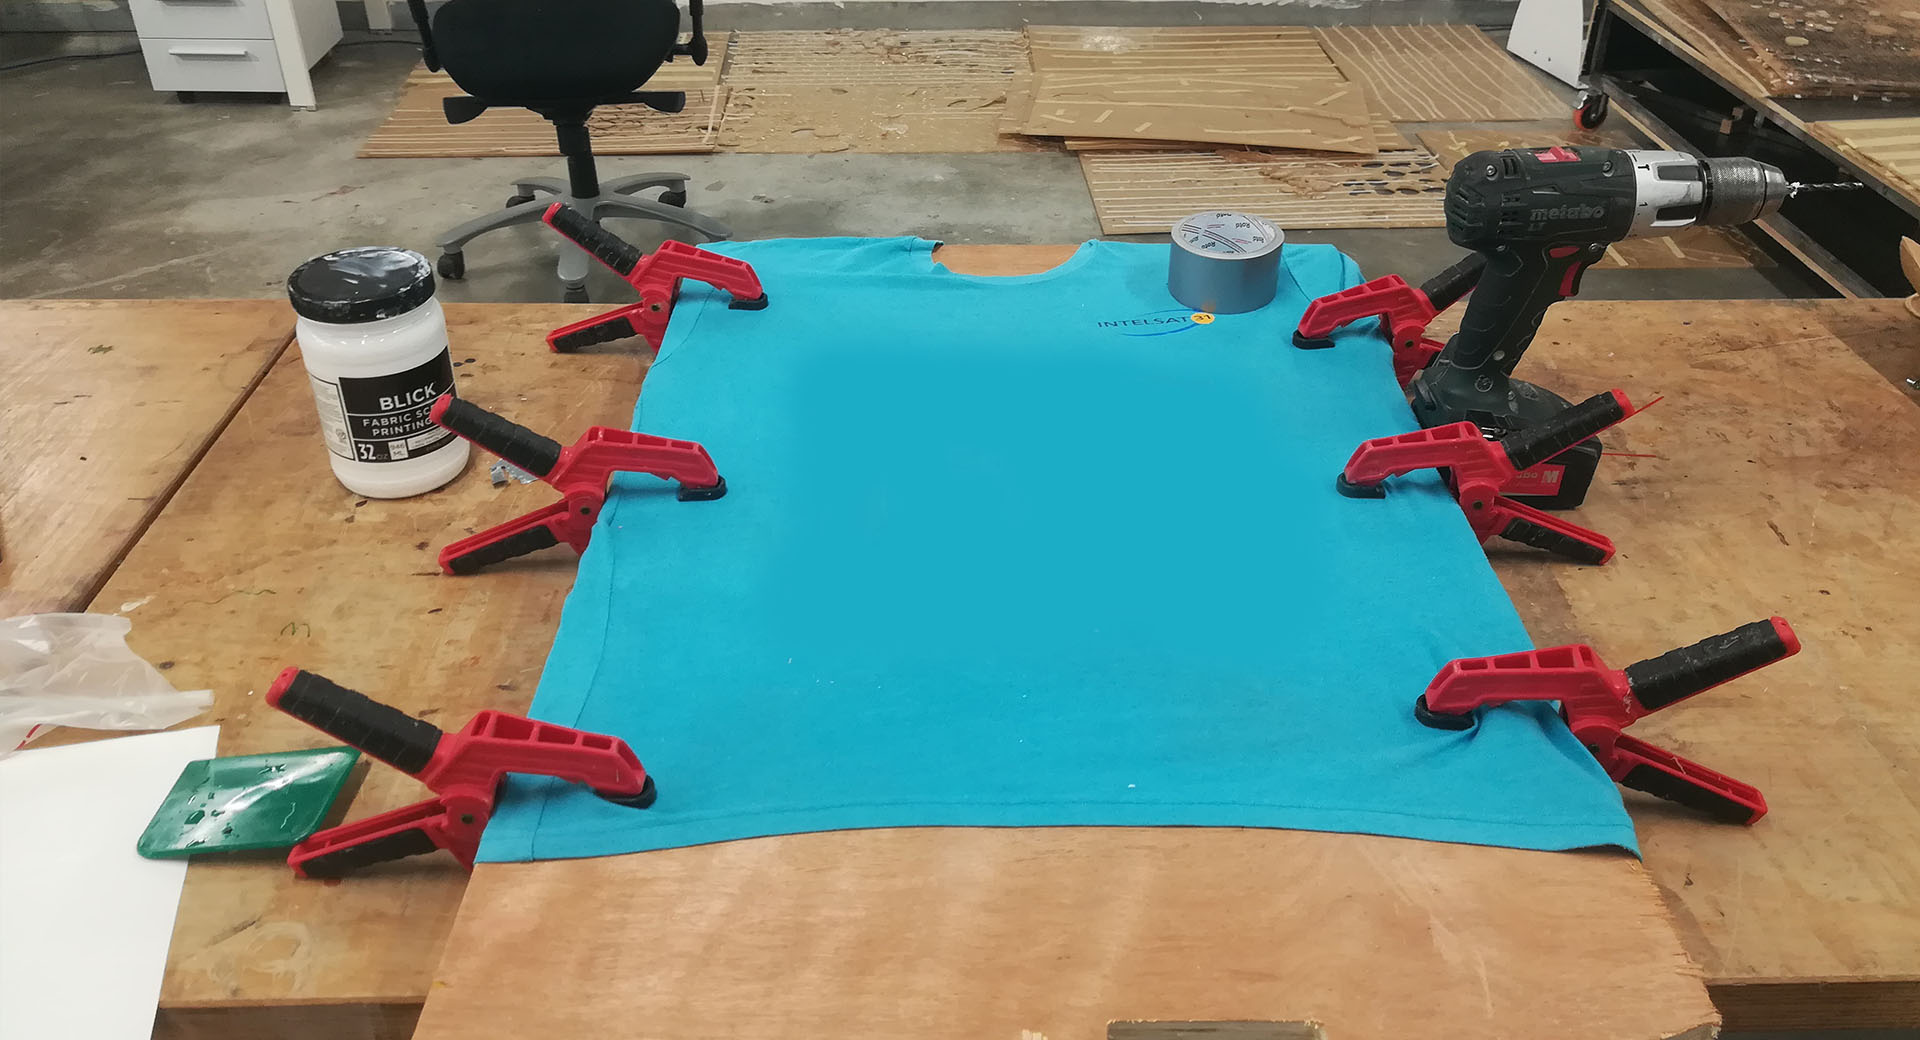
In the second experiment of printing, I took into account all the mistakes that I made in the first experiment. Before starting the printing or painting process on the shirt, I put the shirt on a MDF board and placed a small vise on the edges of the plank to ensure the shirt was tightened properly, secondly I adhered the design that I printed on the Vinyl Cutter perfectly, so that I did not keep openings or ventilation between the cut area and the area that the paint should not reach, also I did not apply the material thickly, but I only applied a little so that the material is not much and it can be Affect the print or the print will be uneven and uneven.
Success steps:
First I got a plank and attached the shirt to it, then I brought the vise and placed 6 vise all around and in the middle with the shirt tightened well.
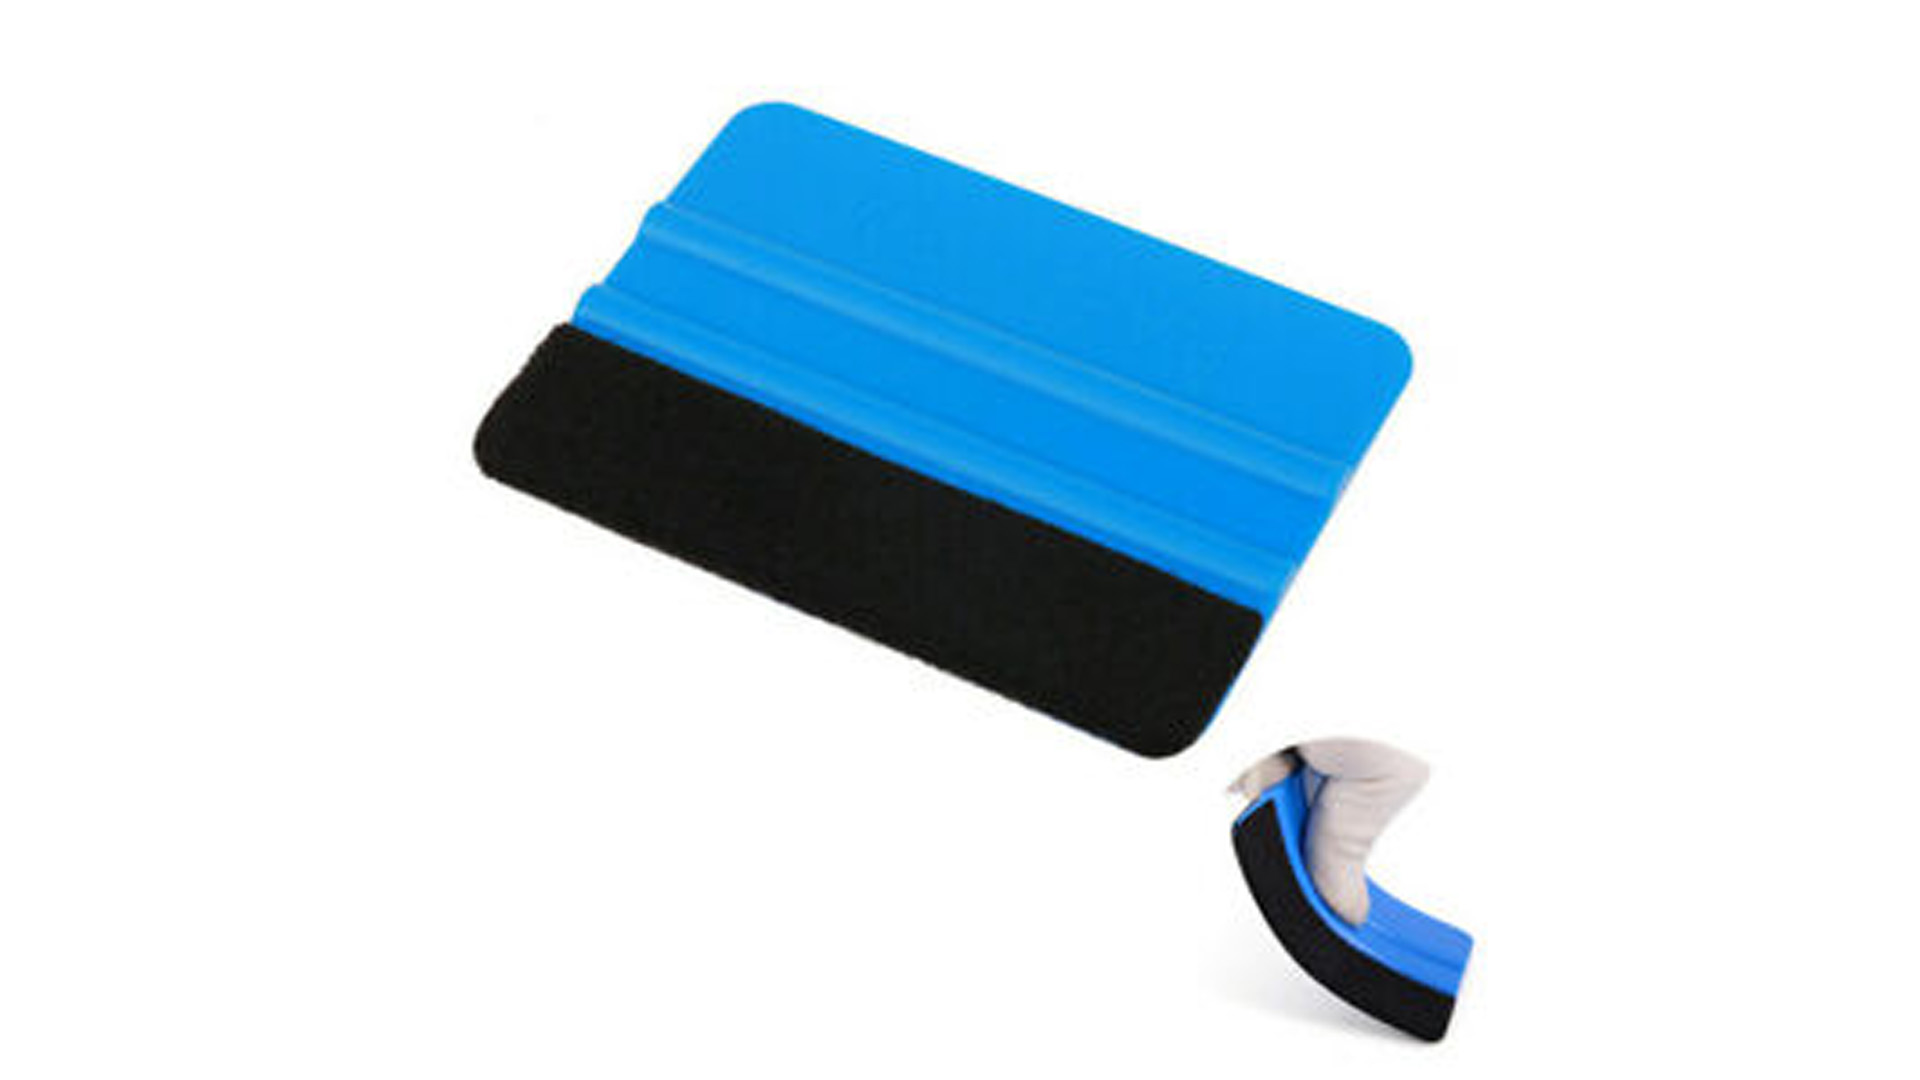
In the second step, I firmly affixed the design to the shirt, where I did it through the felt as shown in the image below, the felt in blue, which is a flexible plastic piece through which it is possible to make a strong and complete scan of the design that will be pasted in a specific place.
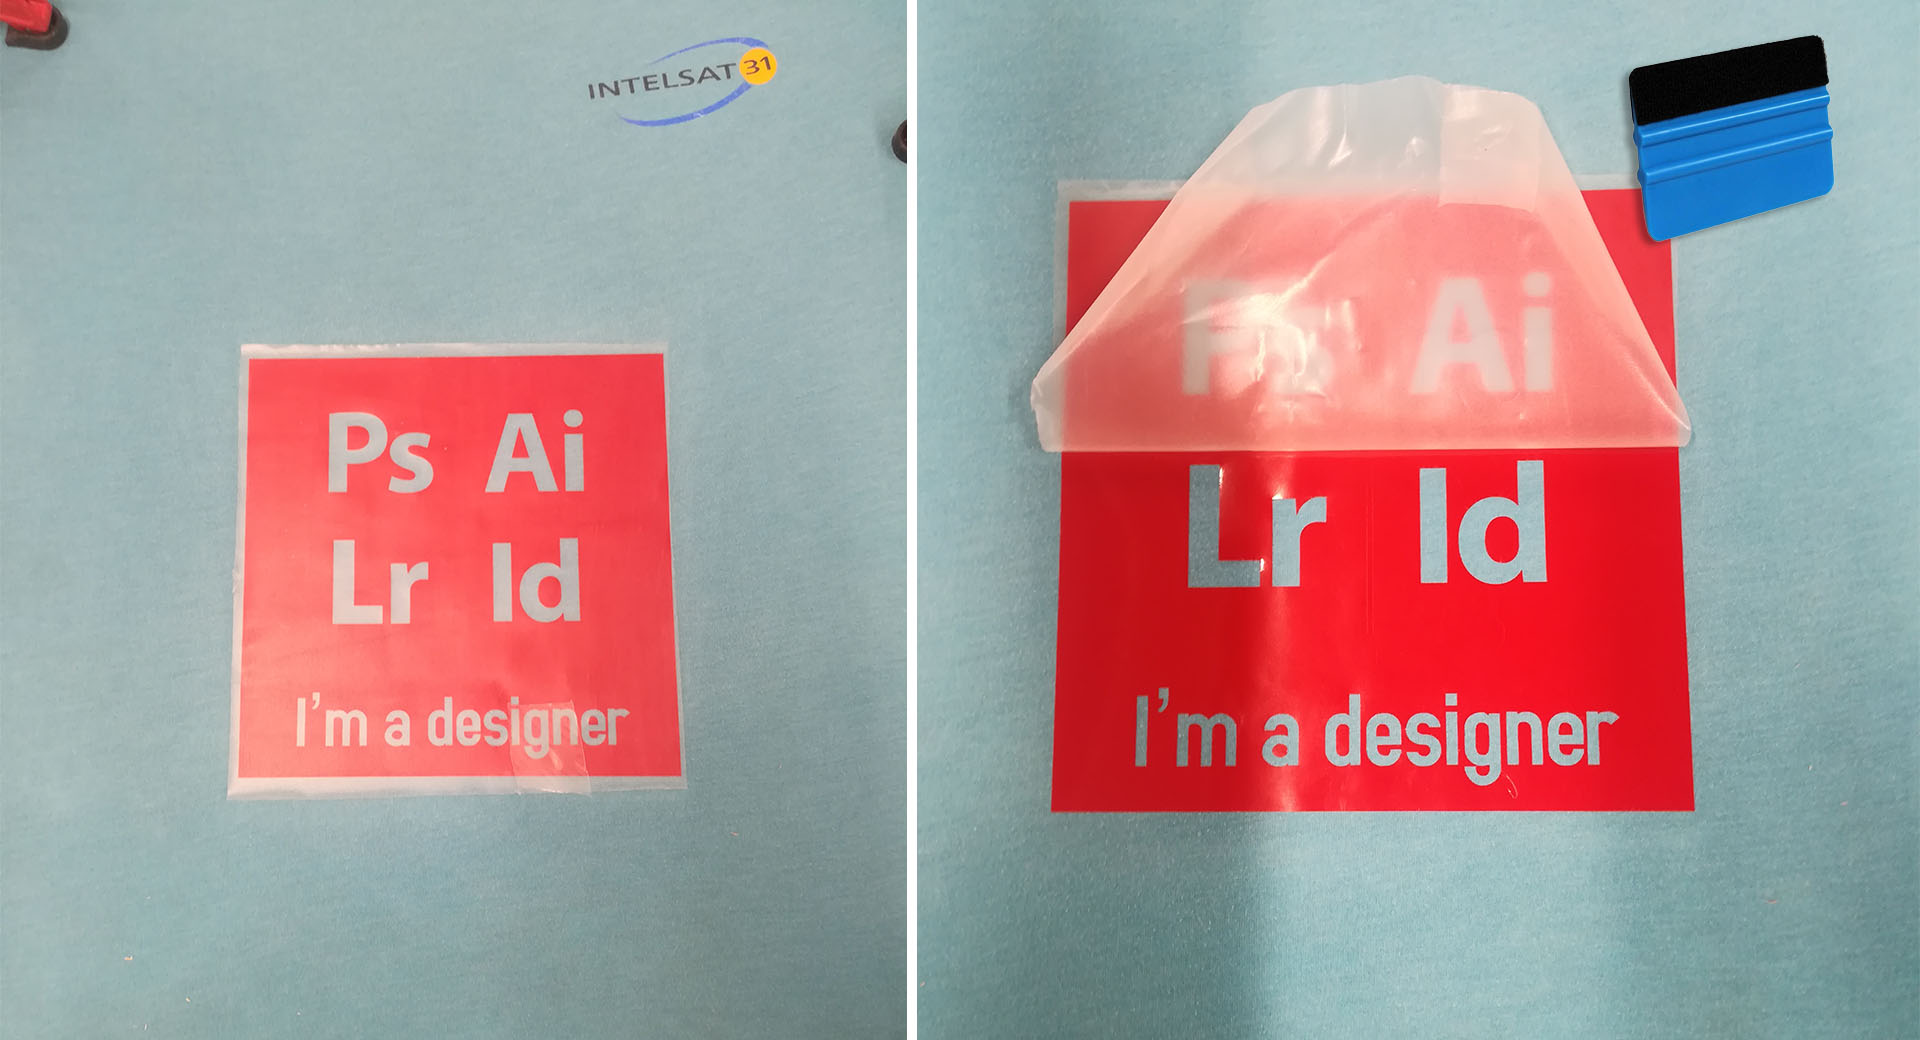
How to use?
To use this article, I will summarize this on steps that you can follow to reach the best result: