Molding & Casting
This week we did the casting of the design that I prepared, as it was the job for the week.
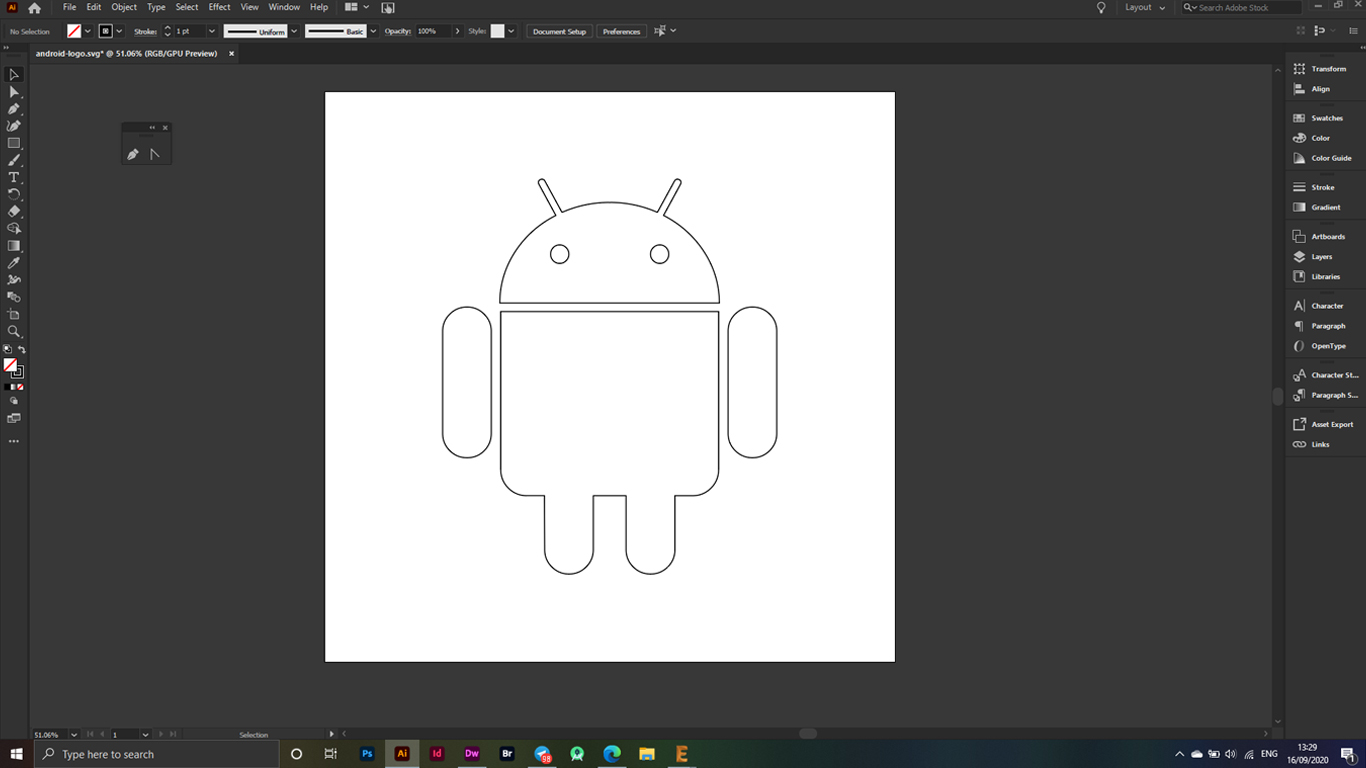
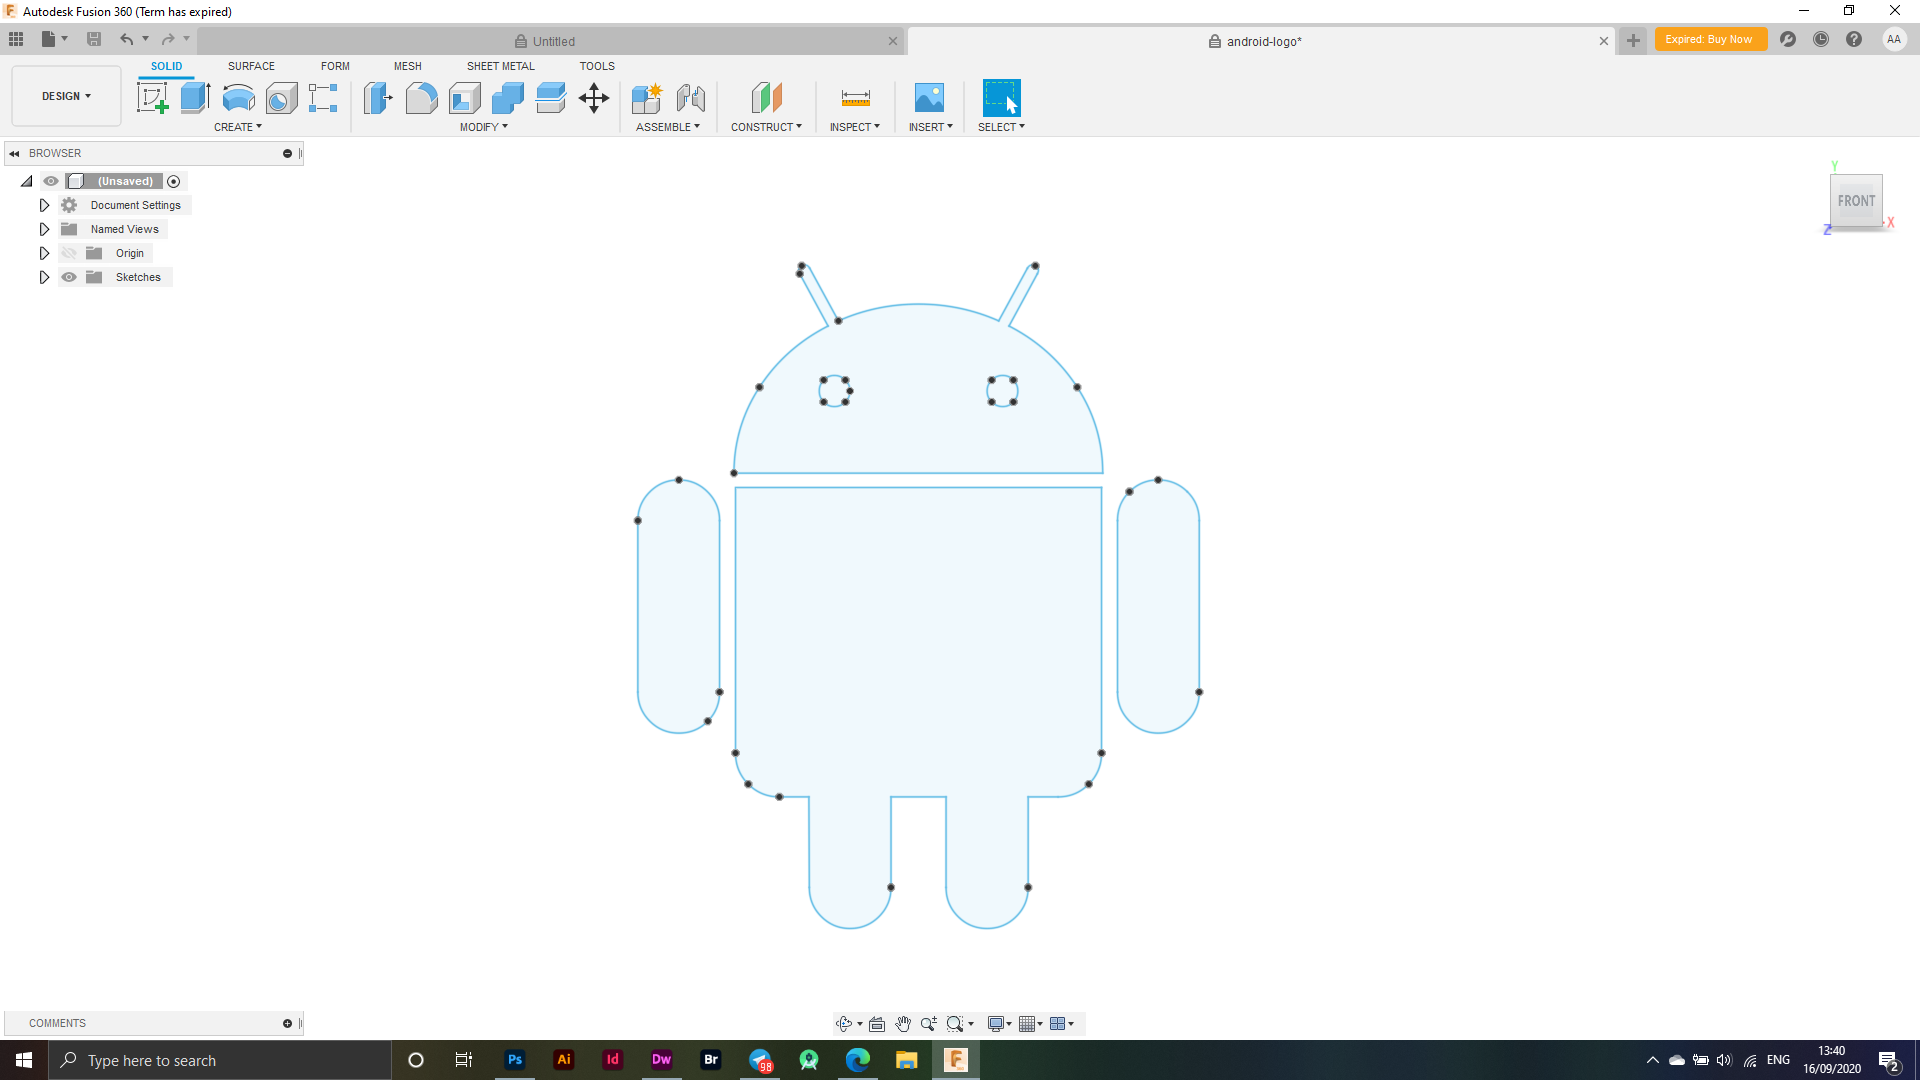
At first I designed the Android 2D logo on the illustrator program, and then I moved to the Fusion 360 program and converted the logo to 3D by making Revolve the logo.
in illustrator
in Fusion 360
Design
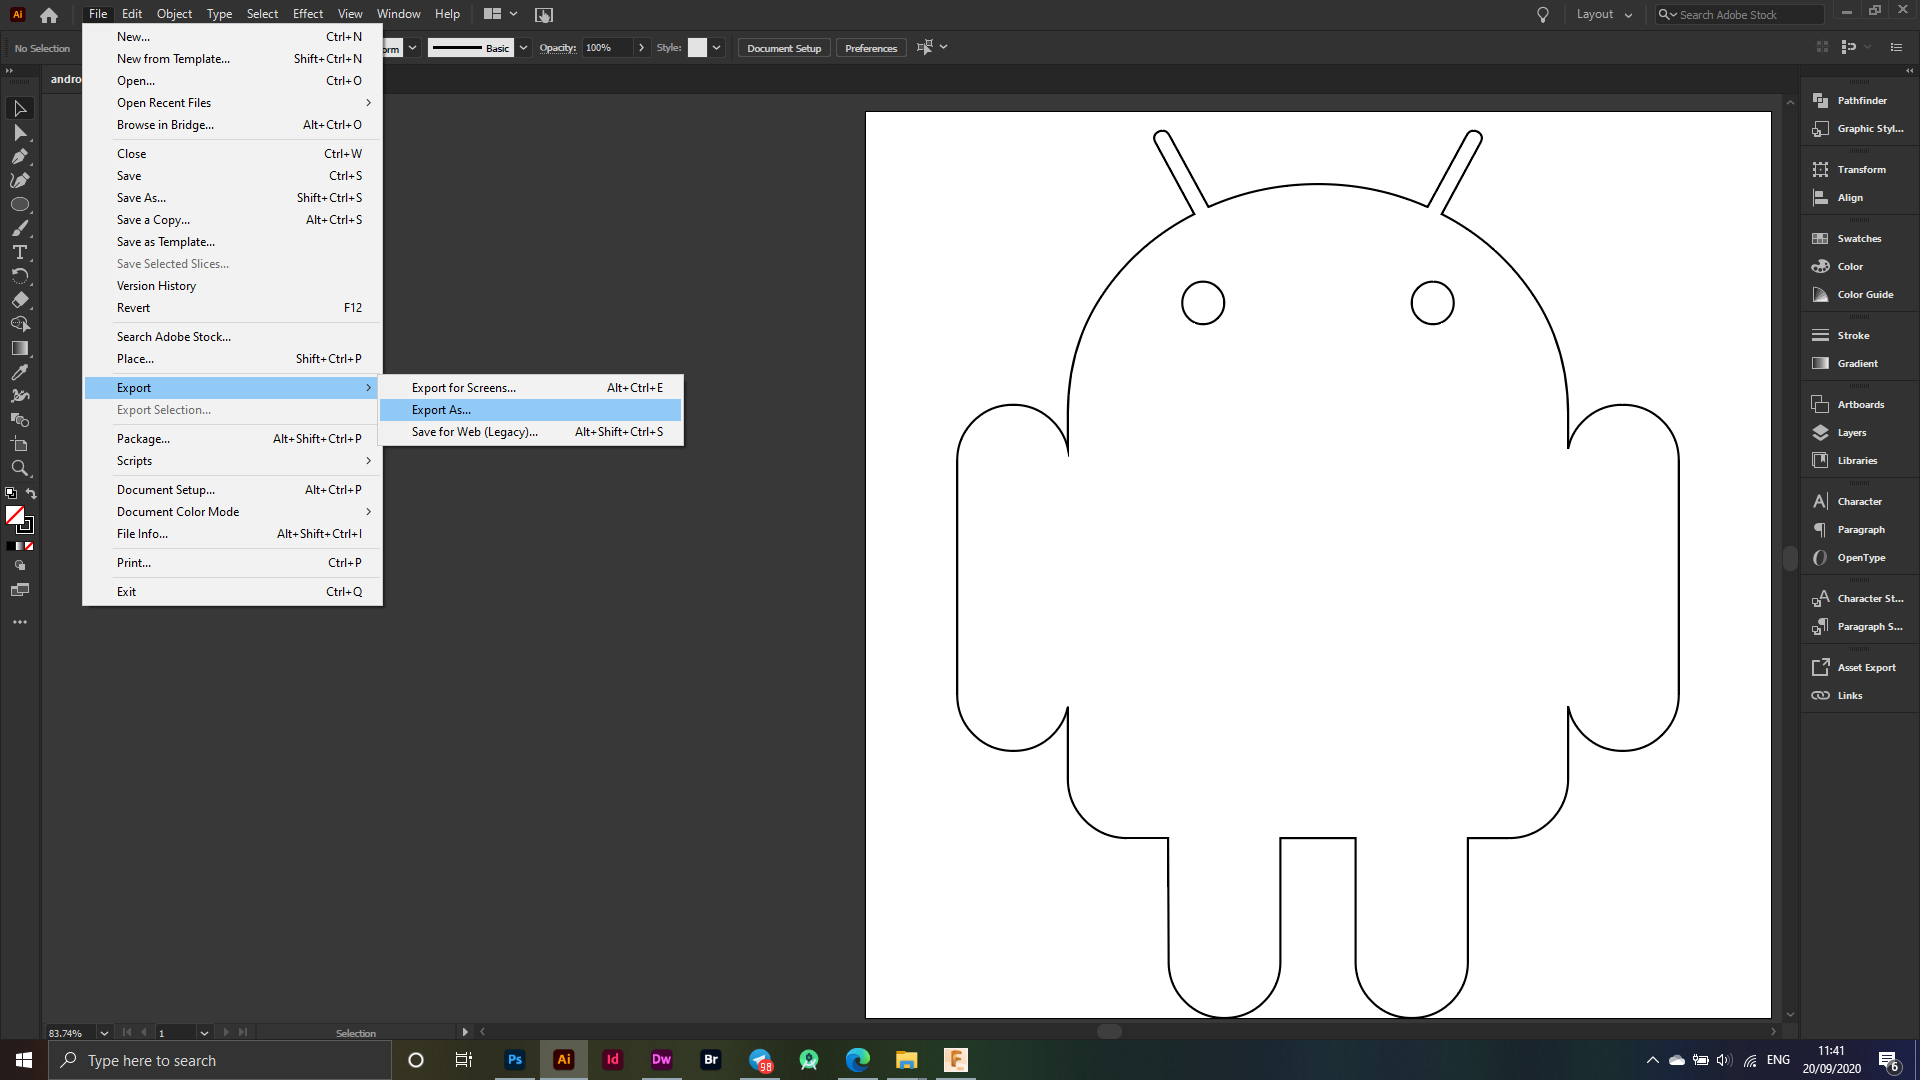
During this week we were asked to design one of the selected designs and do the casting process. This week, I designed the Android logo in 2D format on illustrator, and through Illustrator I exported the logo in DXF format as shown in the following image, File - Export - Export As, I have used the PenTool tool in the process of drawing the logo and rely on the golden ratio in the design, which is one of the effective ways to draw logos easily and quickly.
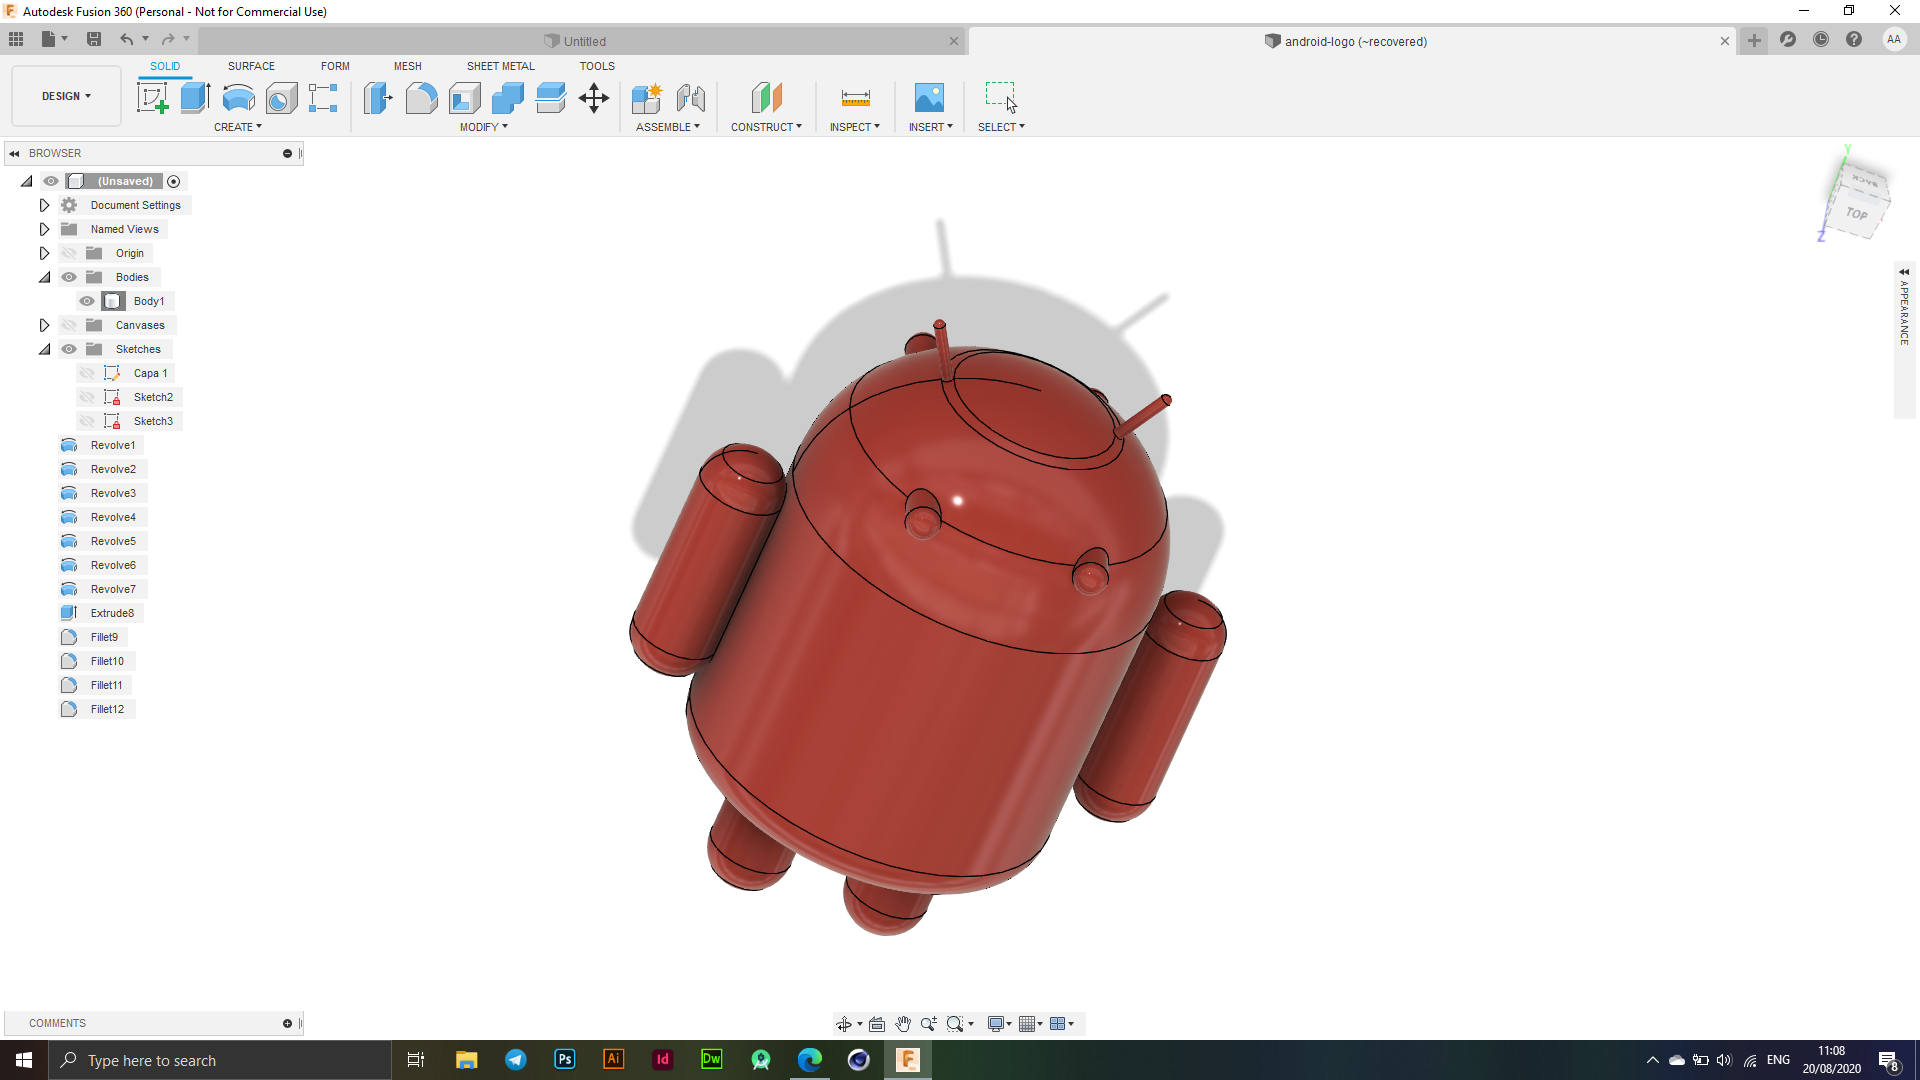
I had to add lines in the middle of each side or piece to the logo that I designed, as I used the Revolve option which forced me to do this step in order to be able to convert the logo to 3D.
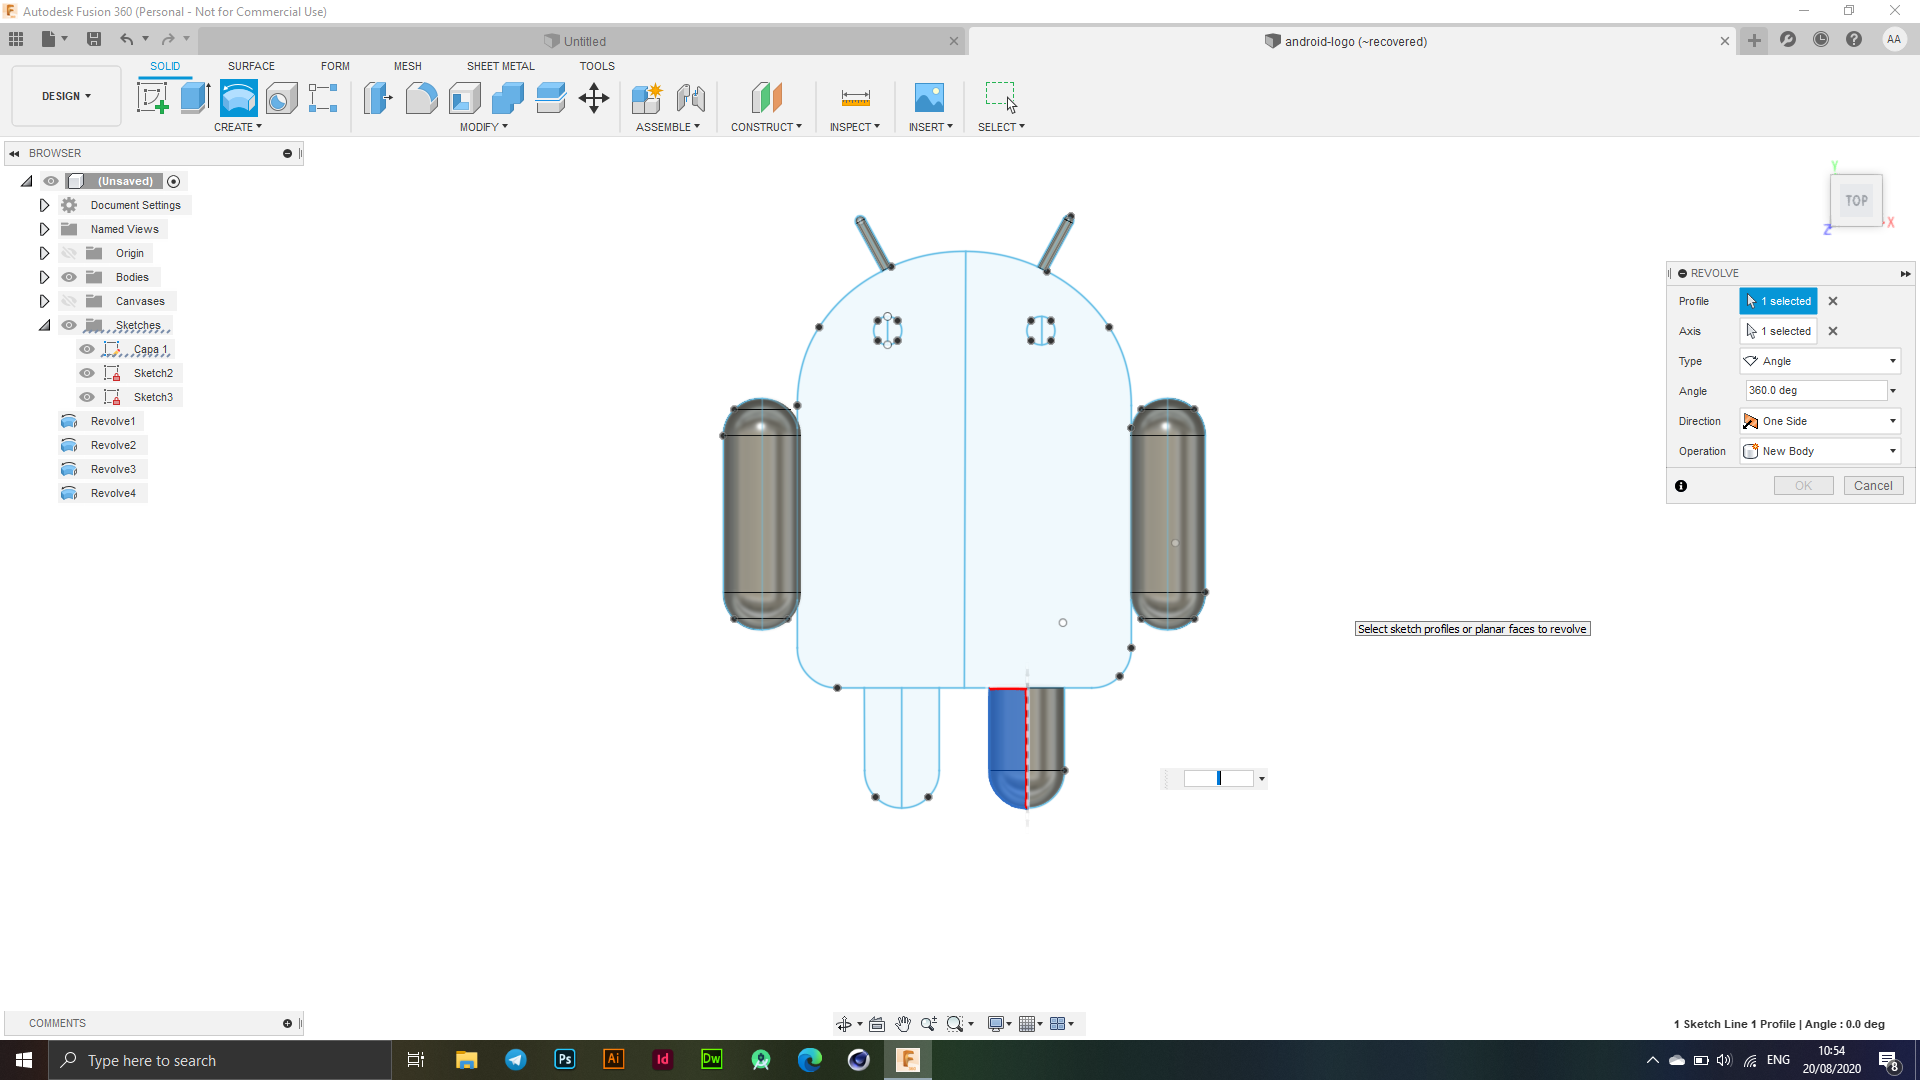
The figure below shows the final look of the 3D logo conversion process.
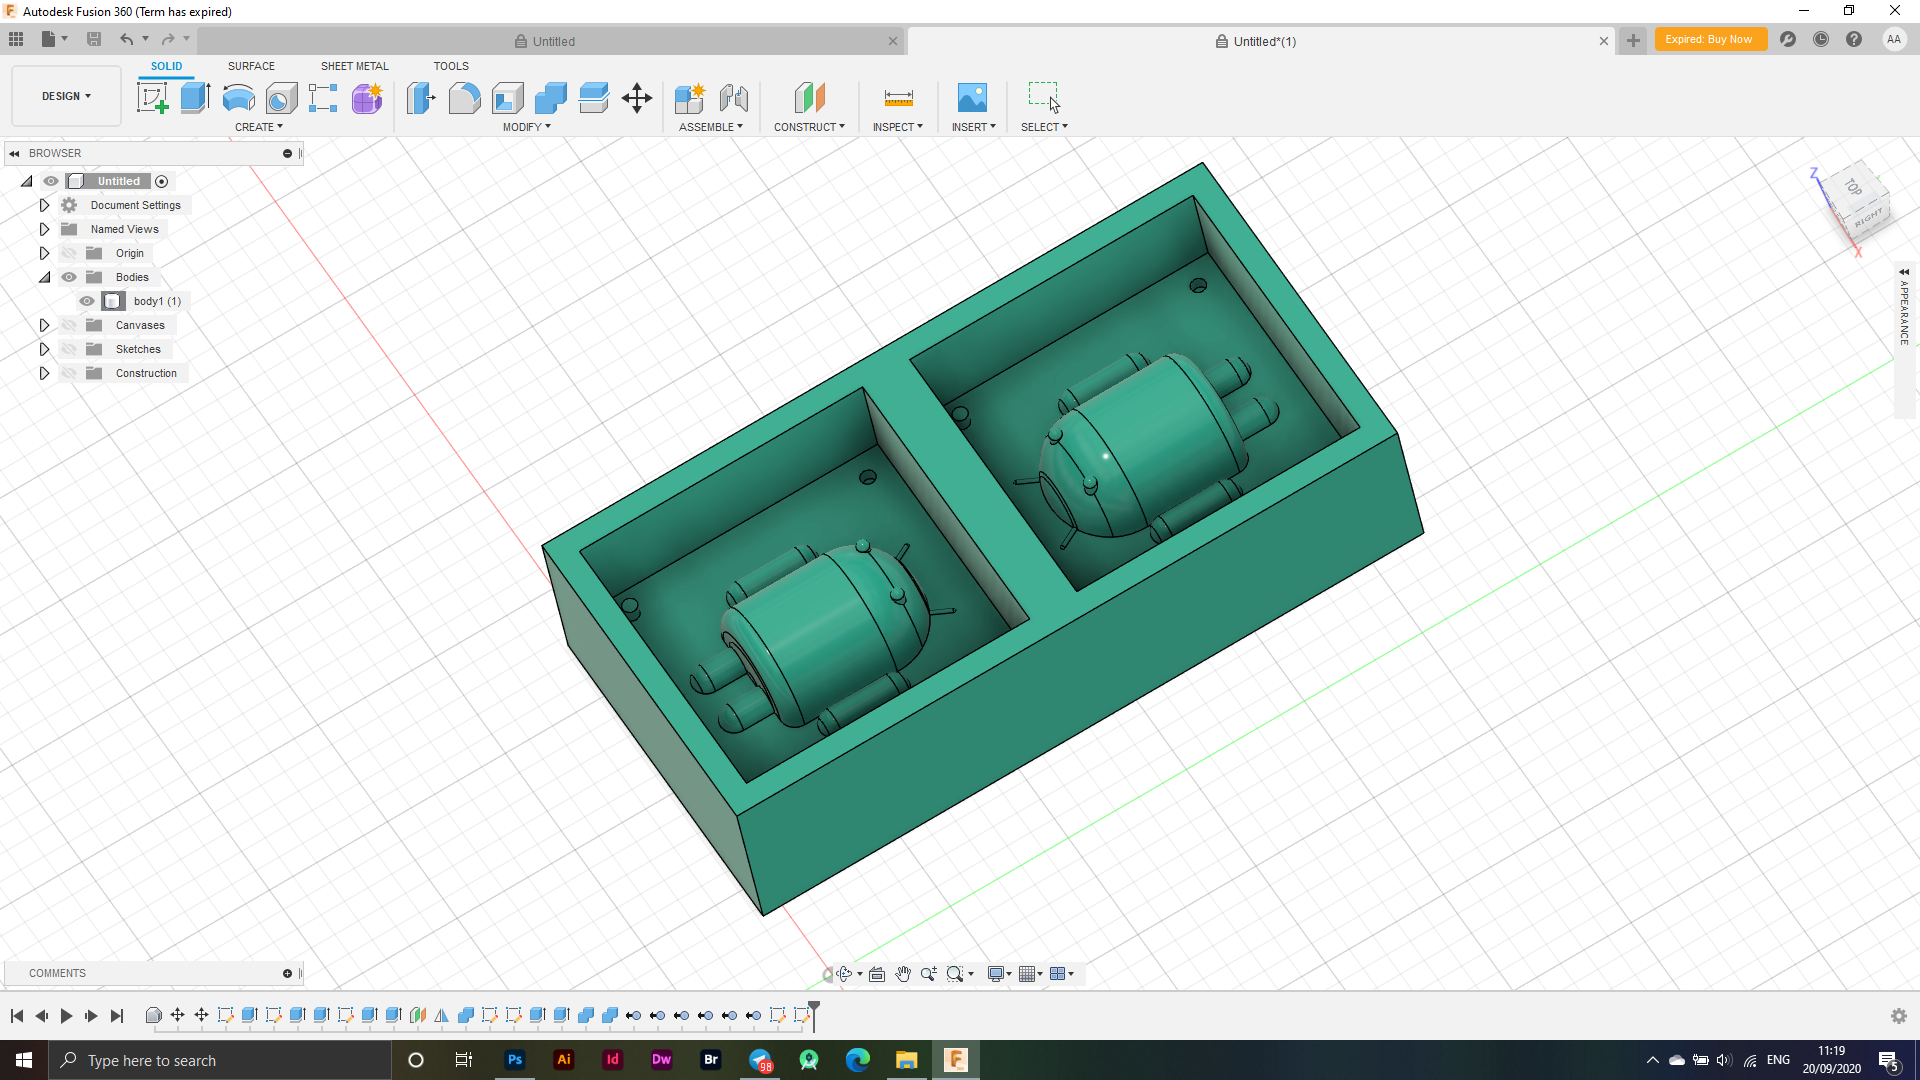
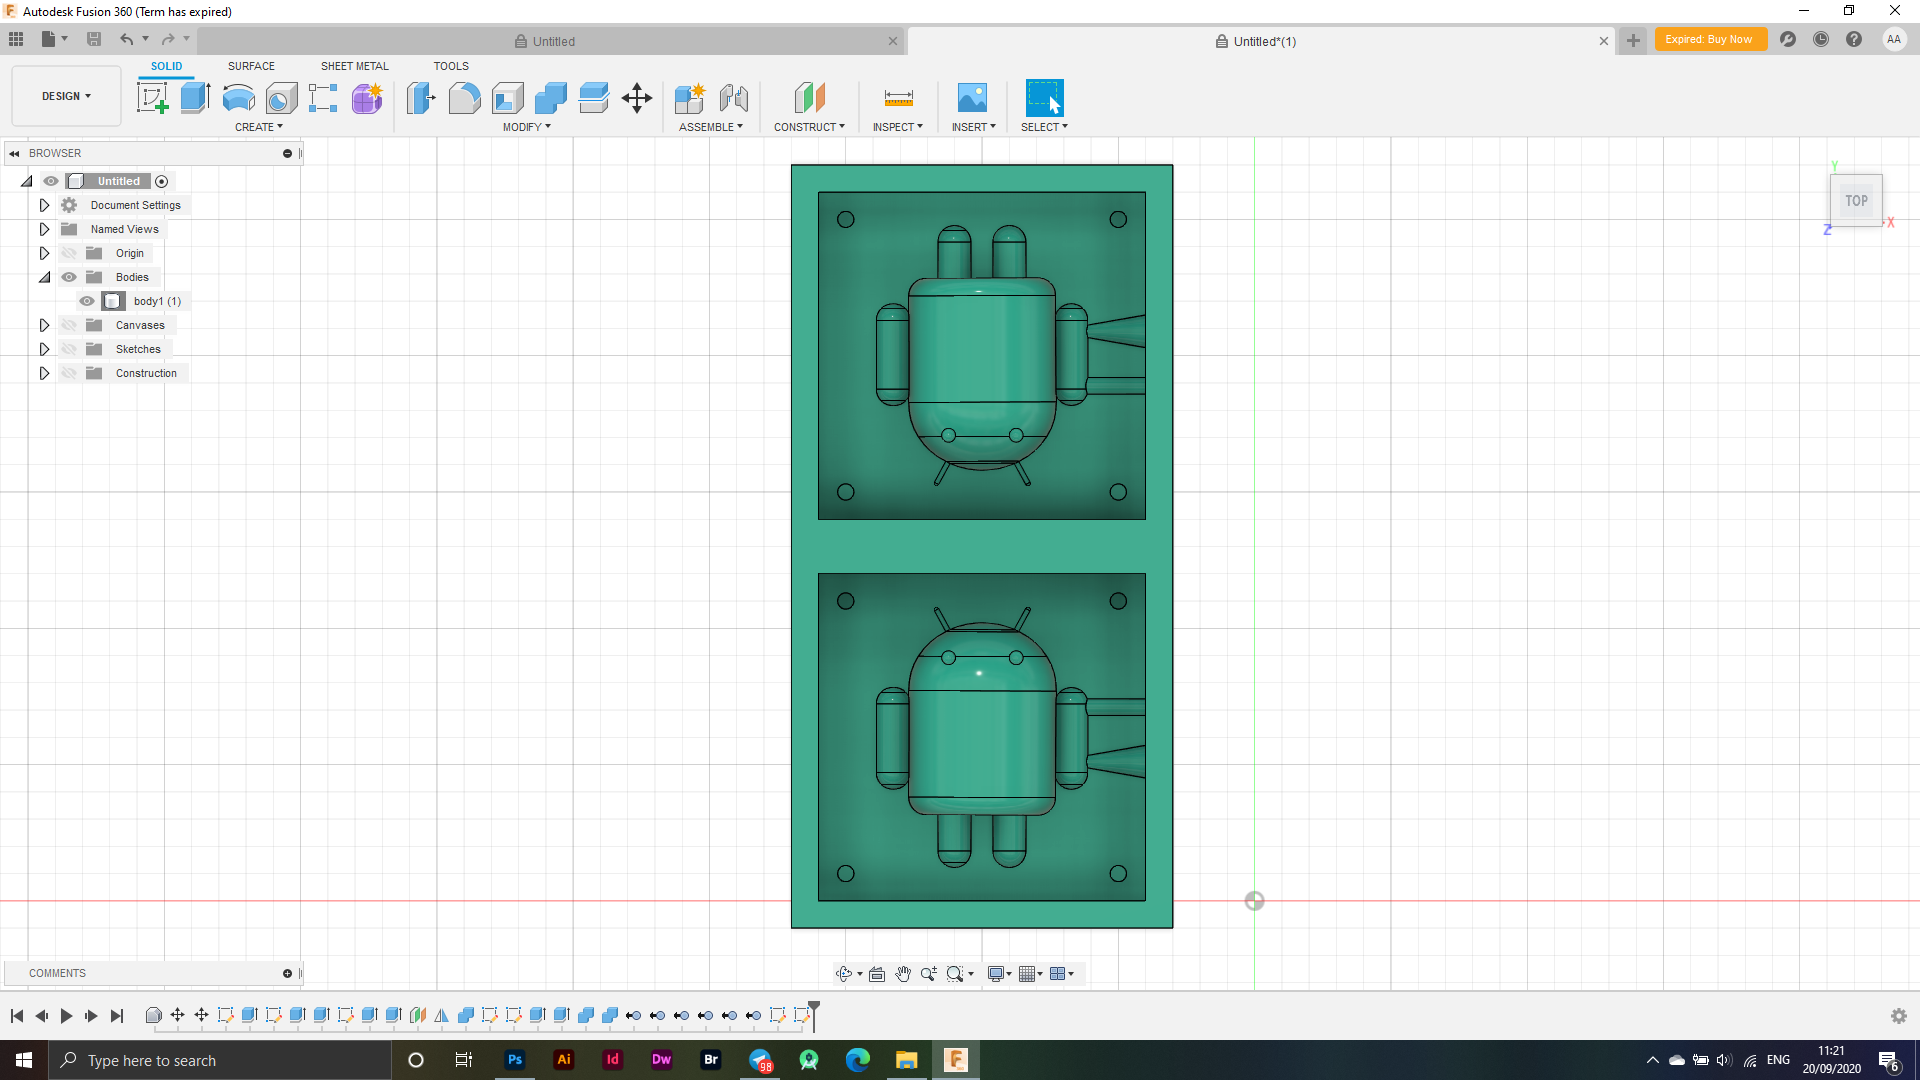
I split the logo from the middle to transform it into the final shape for the cutting and molding process. I also made some steps which are basic rules for the cutting process as shown in the figure in the image below.
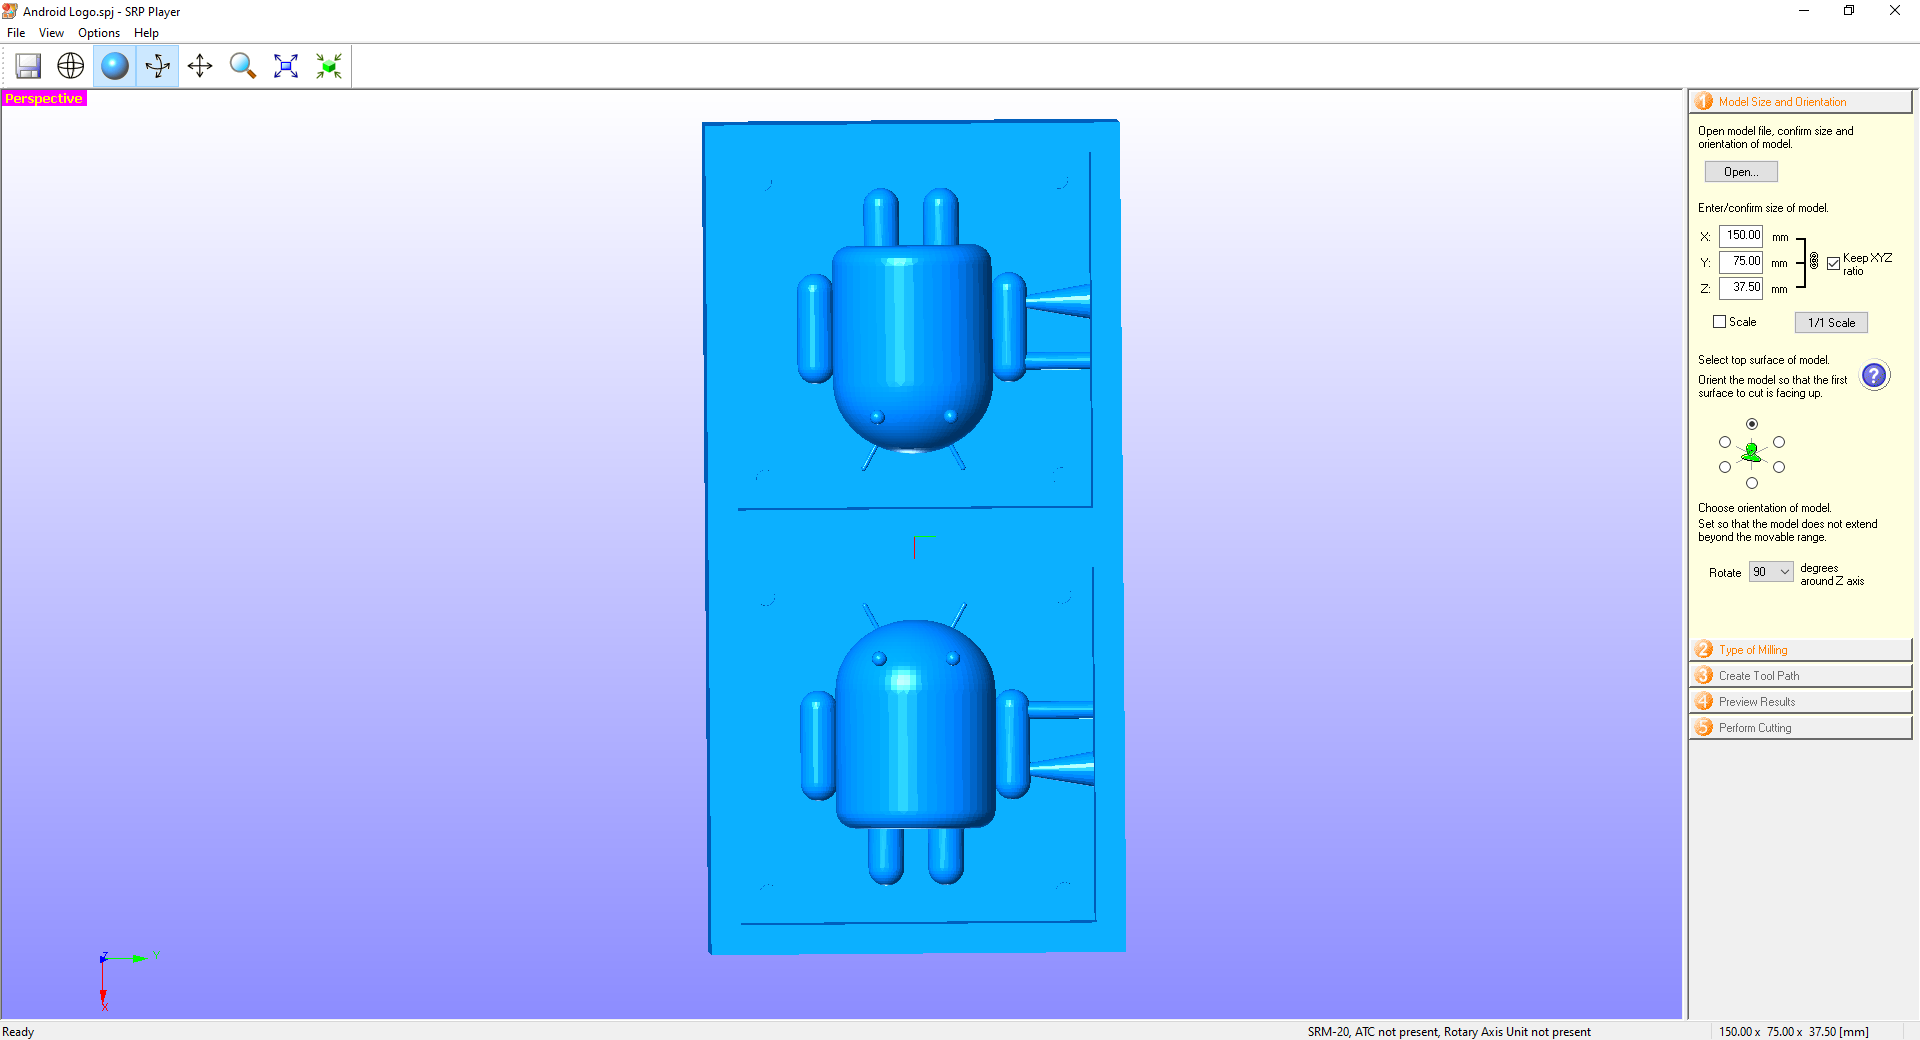
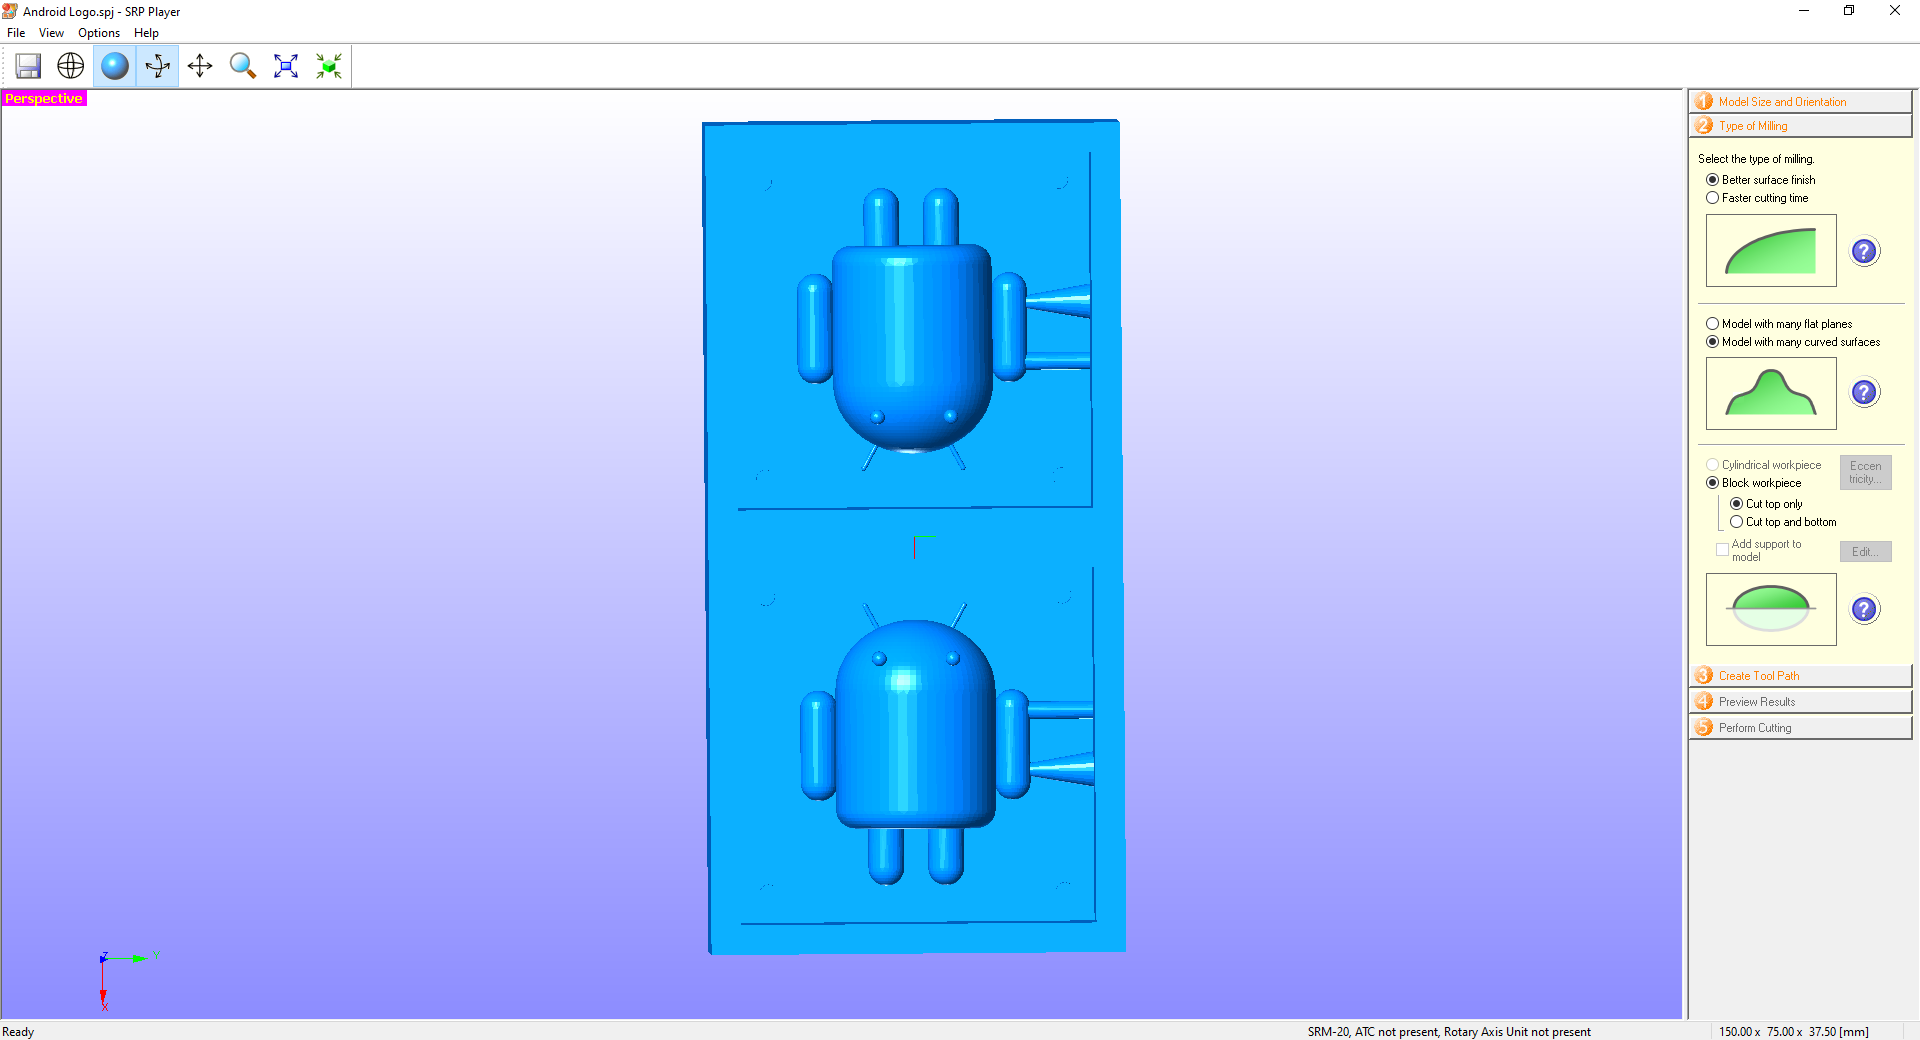
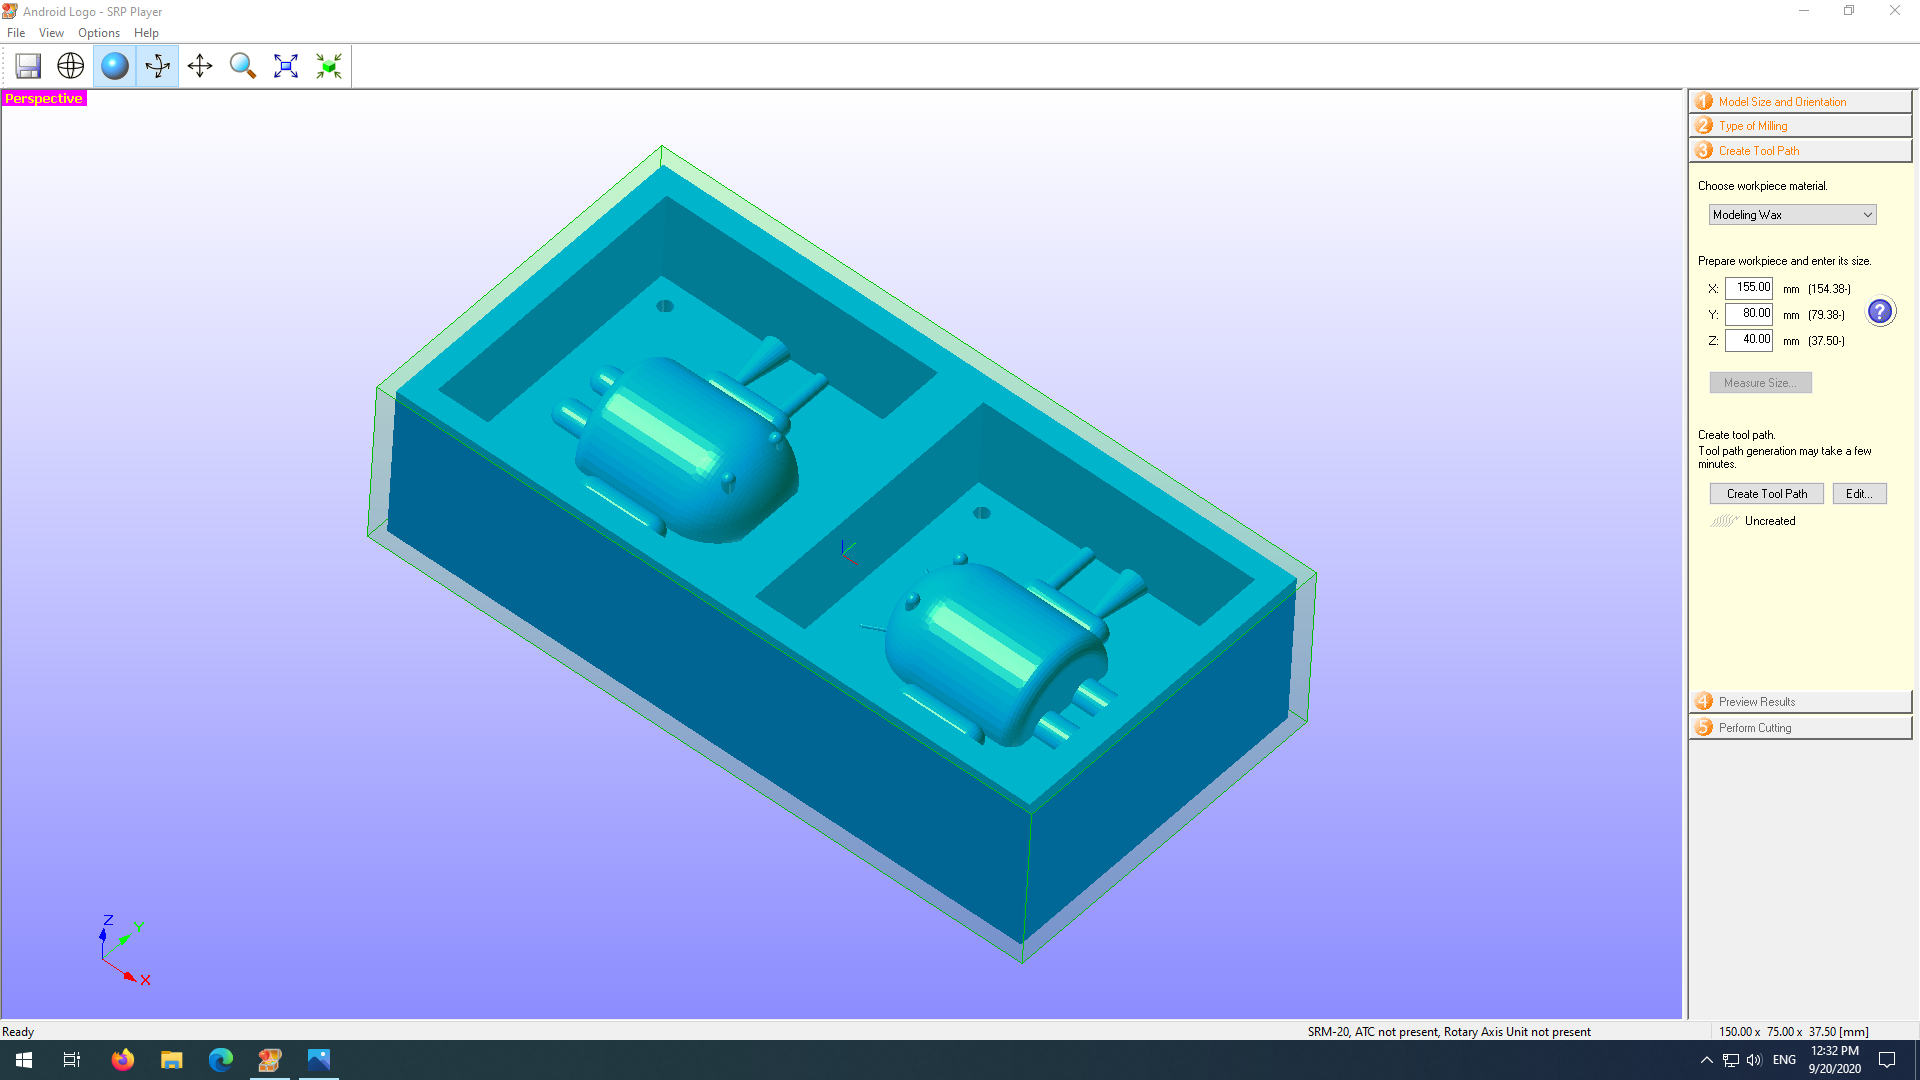
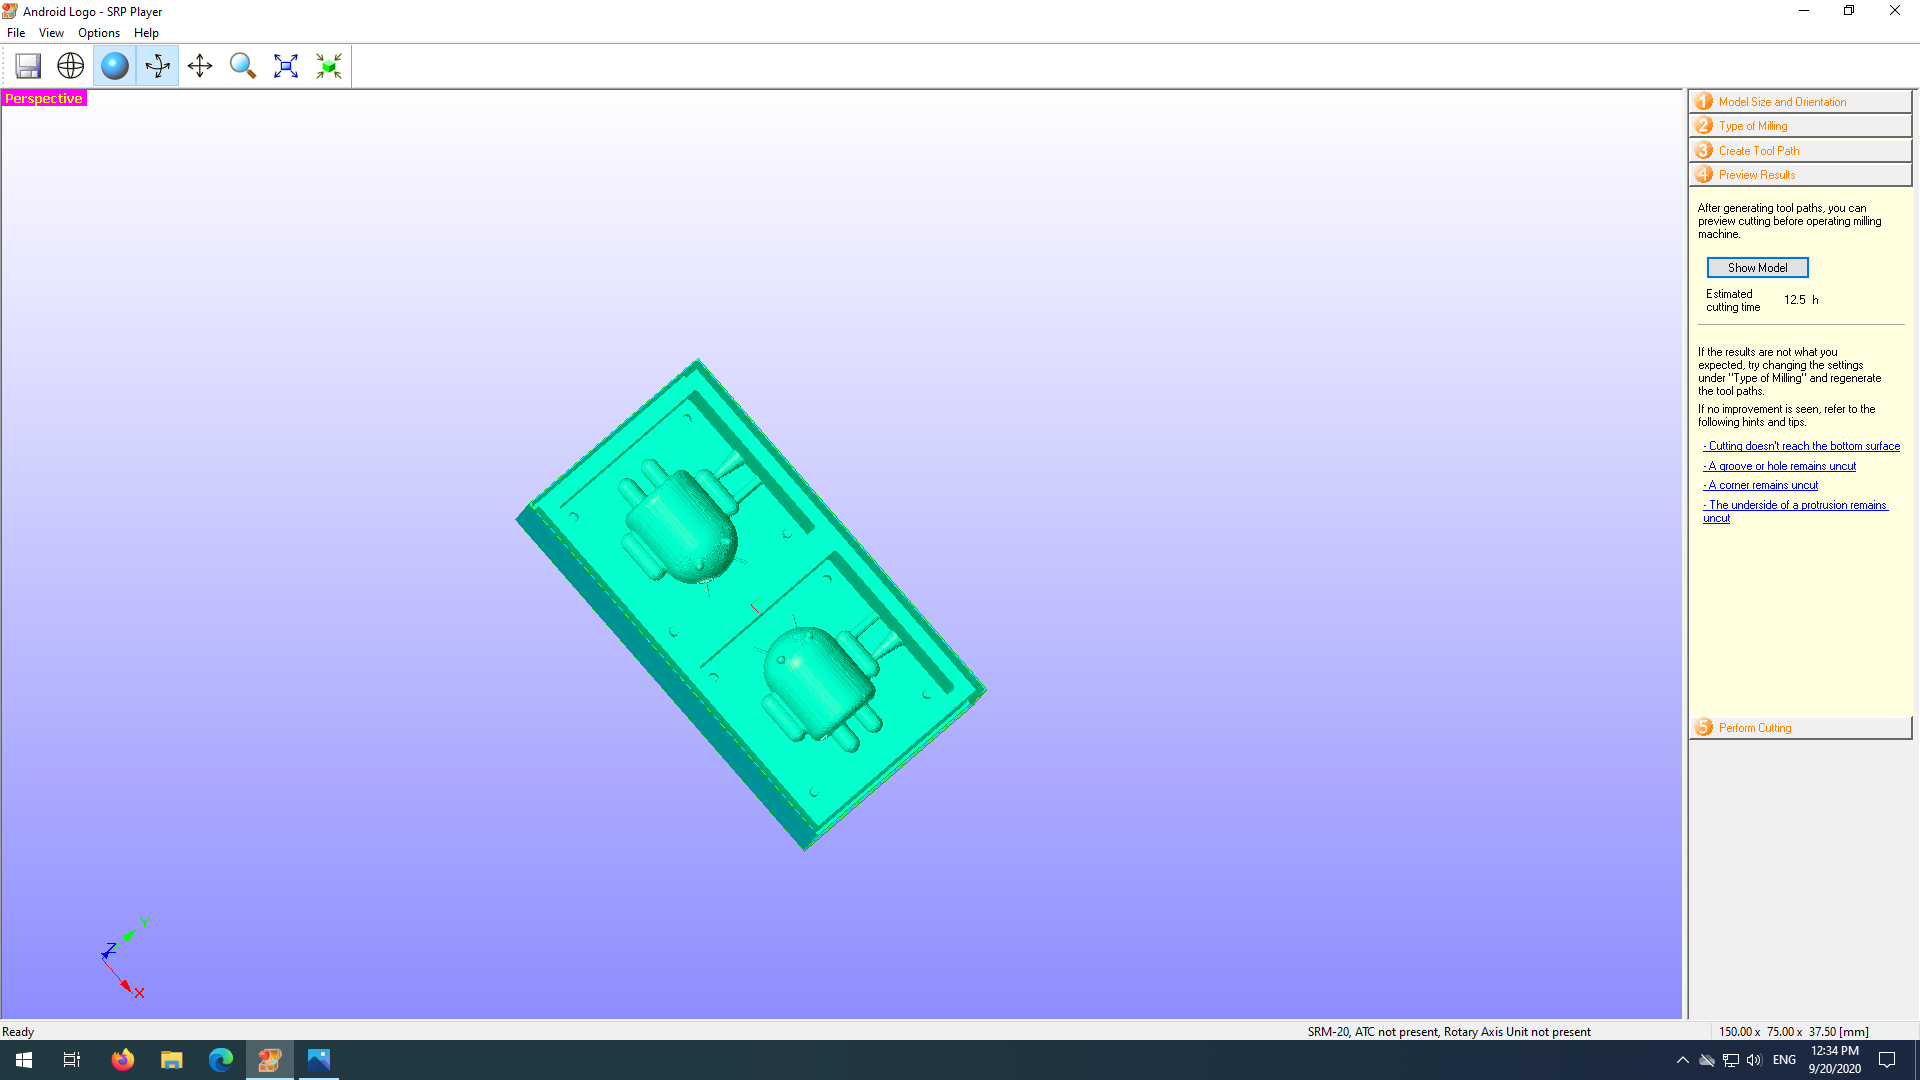
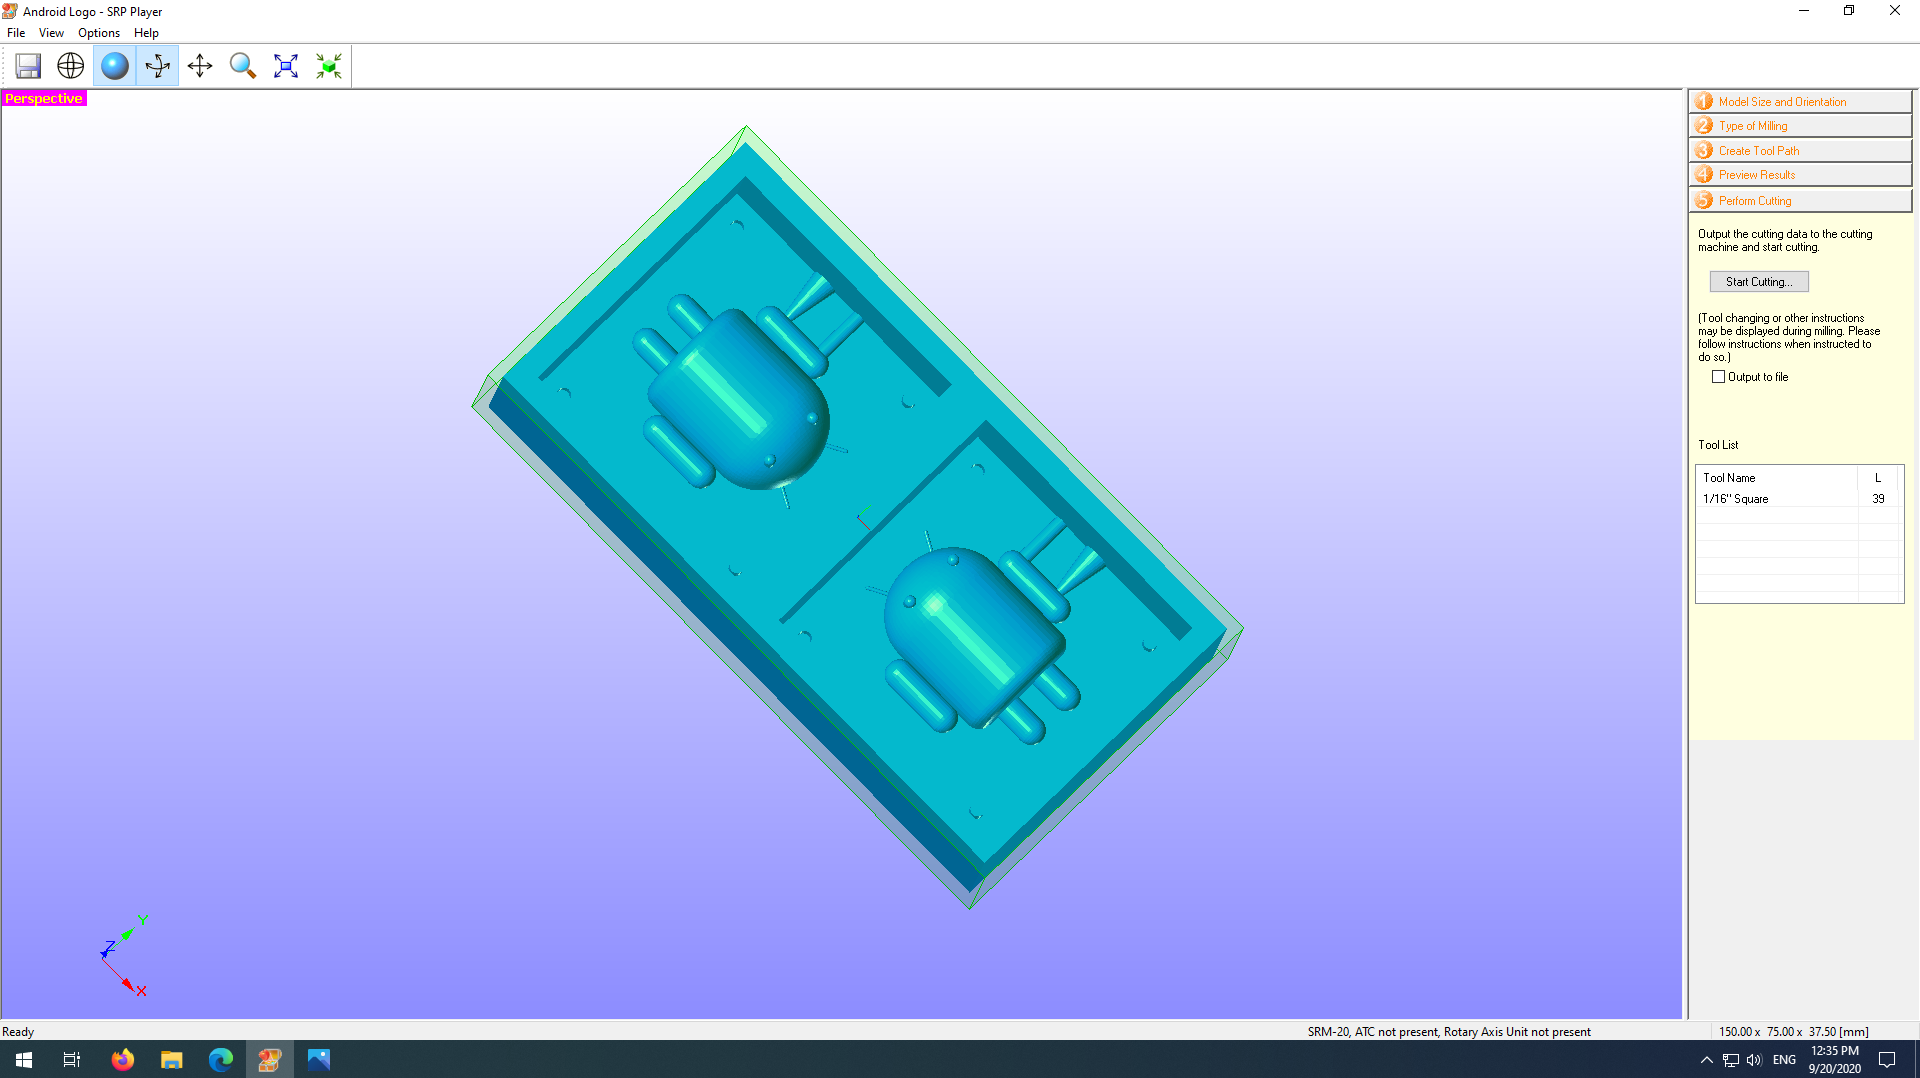
SRP Player
After completing the design process, I moved to the SRP Player program, through which it is possible to adjust the final settings of the design and start the process of drilling the wax sheet that will be cast on it after the machine has finished drilling. Based on the design I'll be using, it shows the five stages of starting the cutting process and preparing the die for drilling.
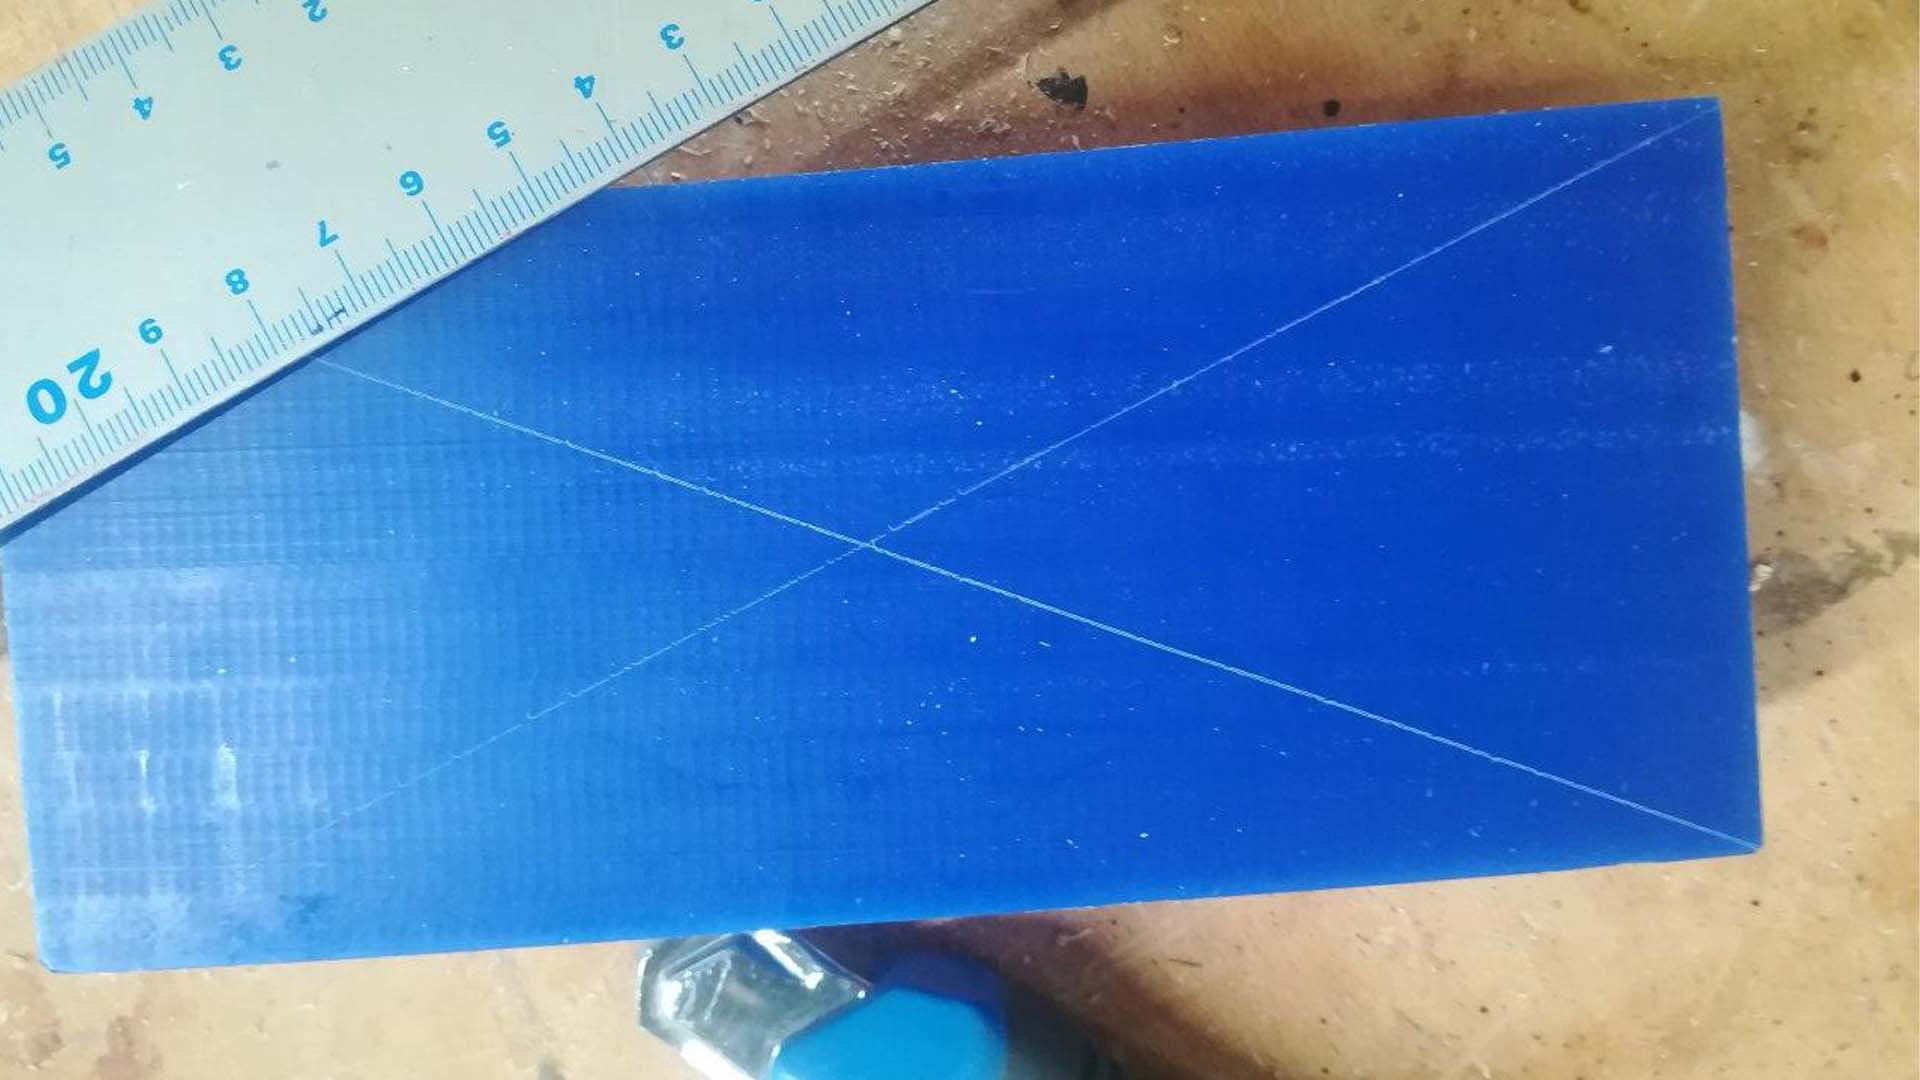
Initially I worked on the midpoint of the wax board that I will be using for the engraving on the Roland Mill. With a ruler and a sharp tool to mark the illusory lines that I will rely on I drew the midpoint, as shown in the image below.
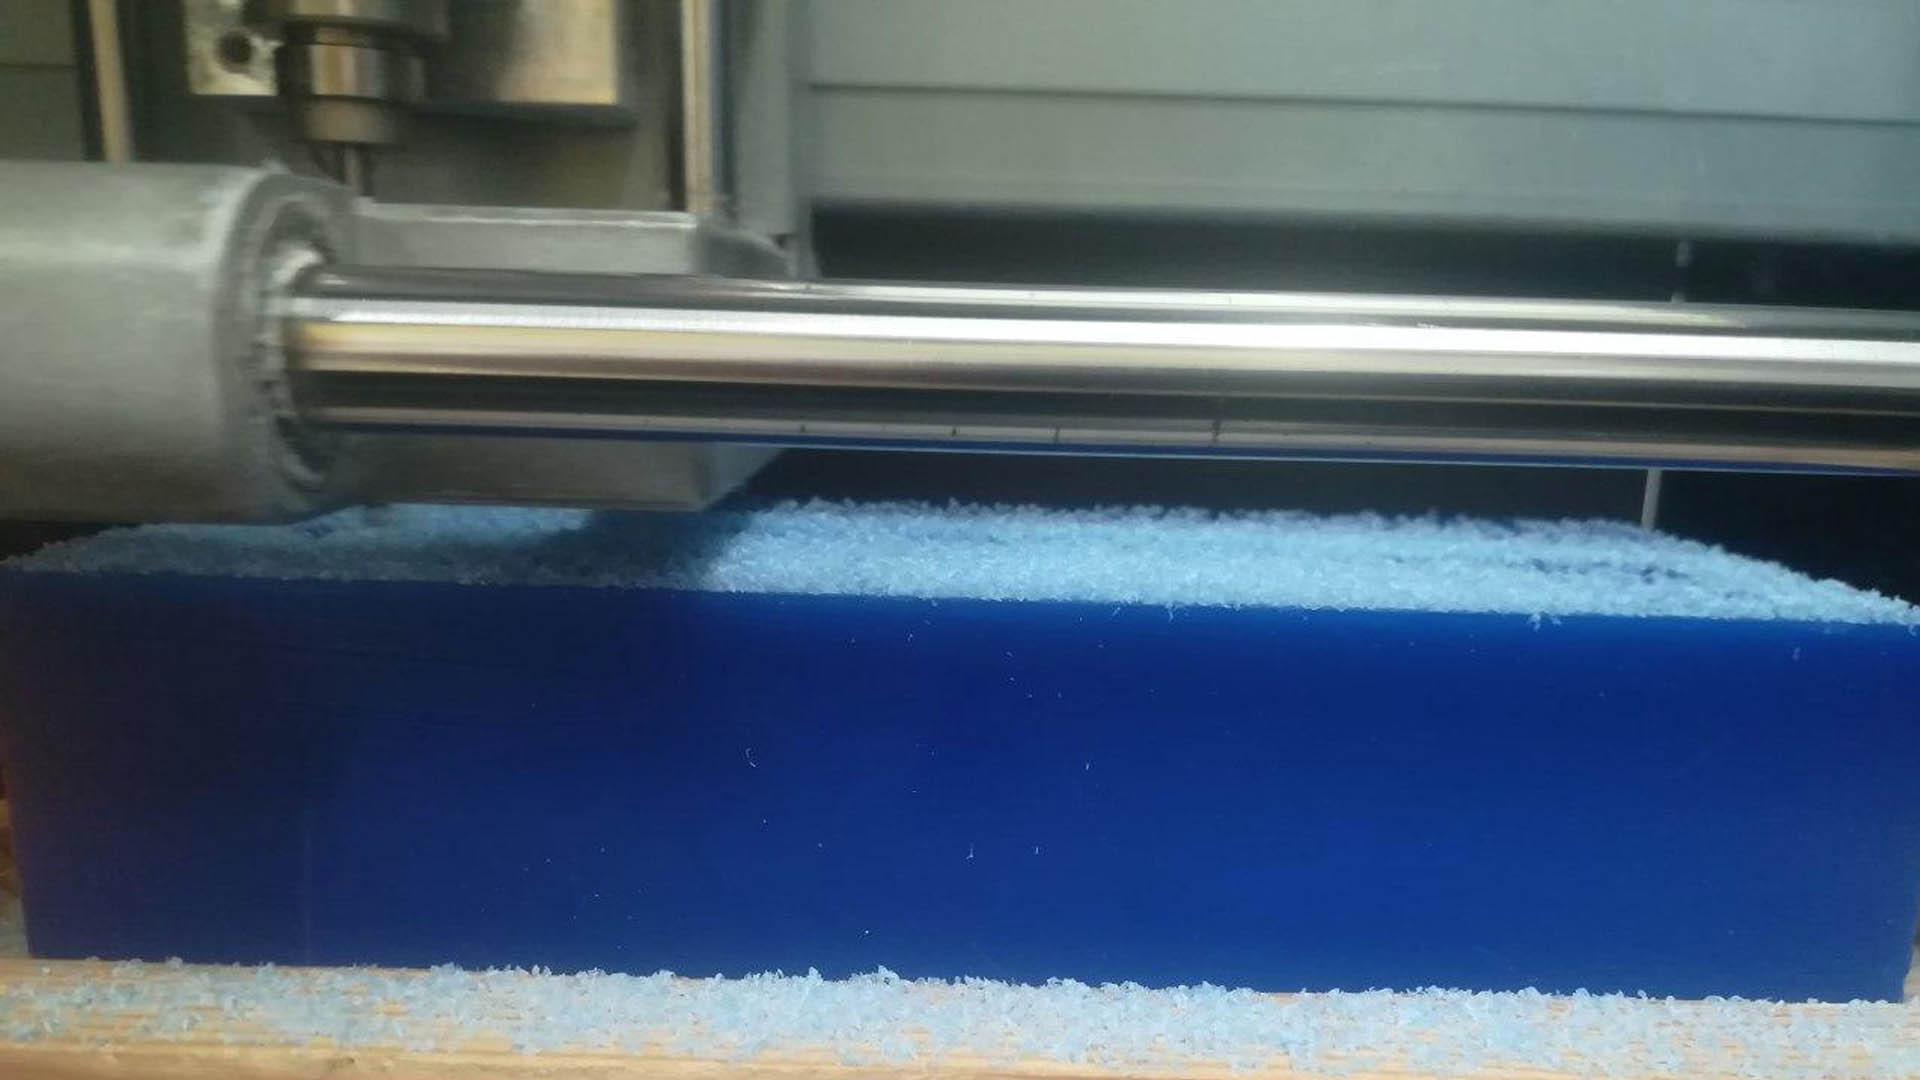
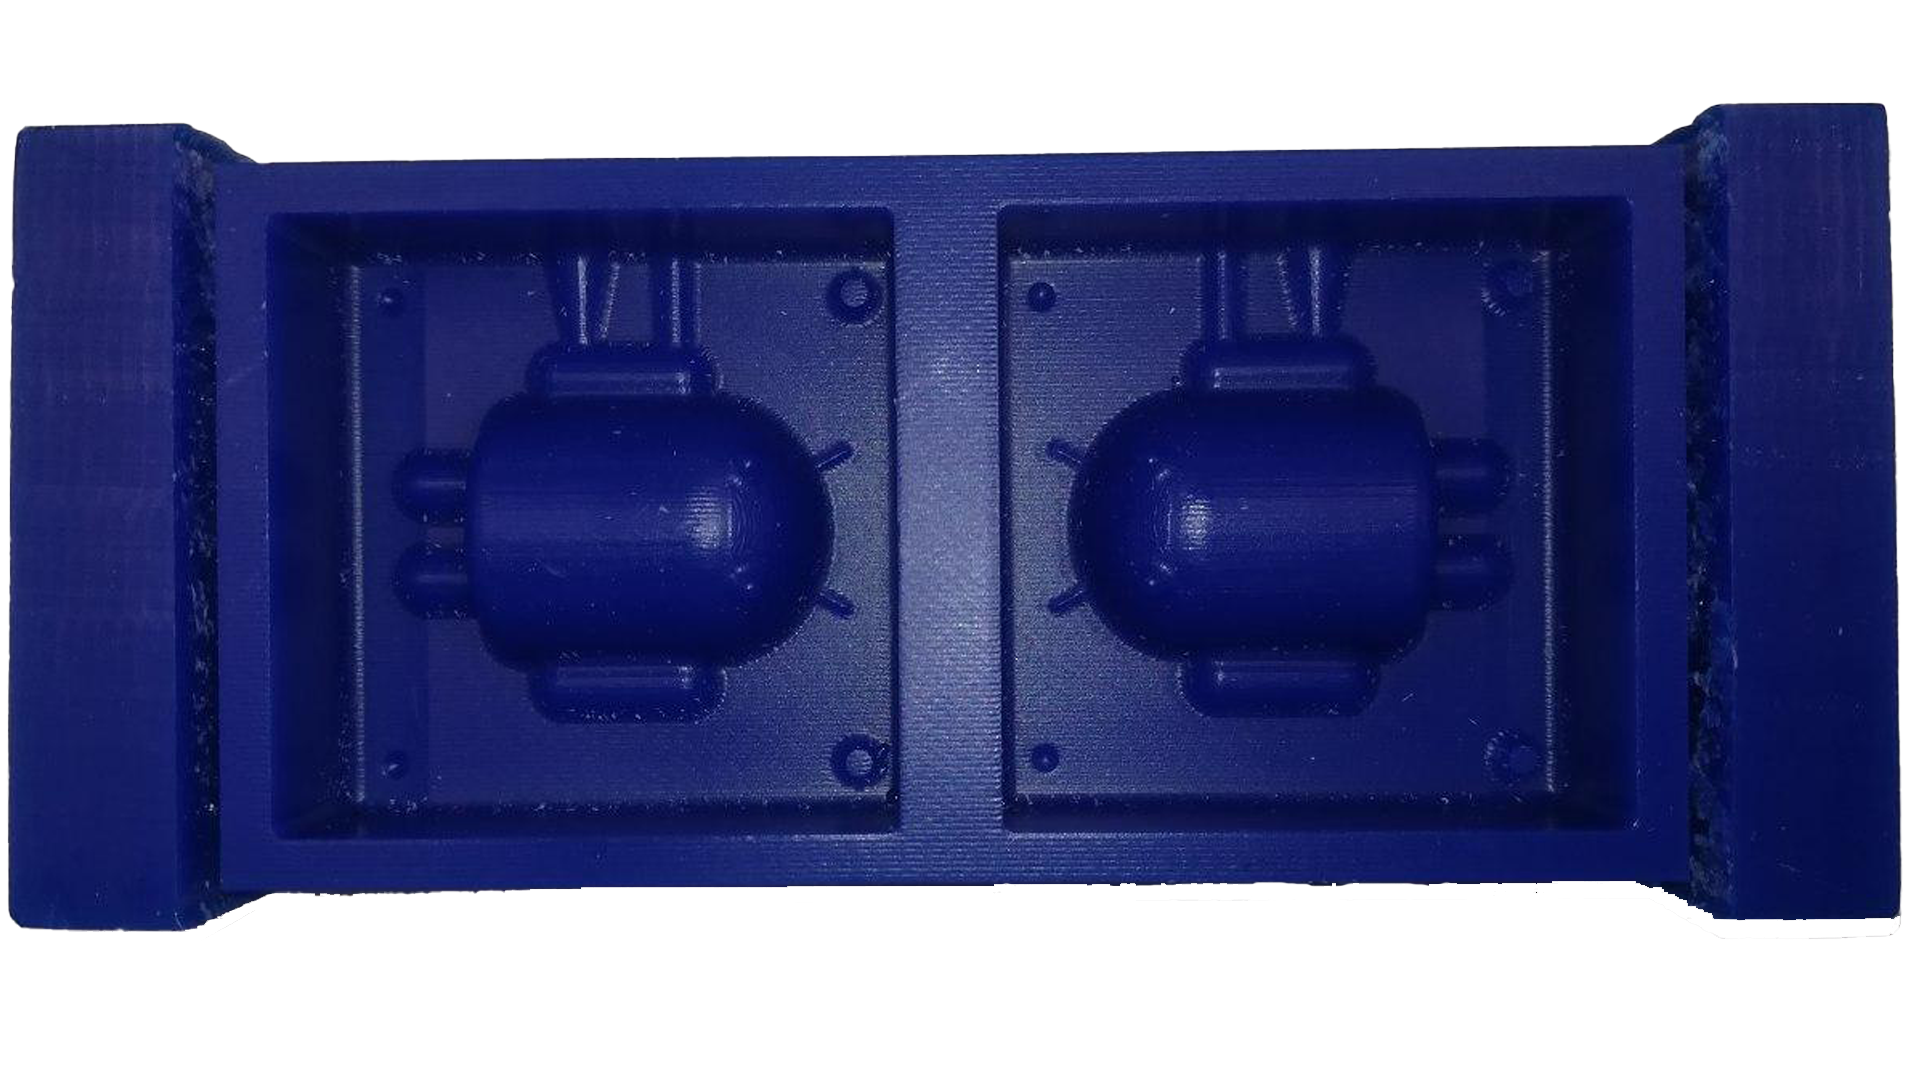
The following pictures show the shapes of the engraving on the machine and the final shape, where the first image refers to the process of drilling and scattering of wax, while the following image is the final shape of the design that I worked on.
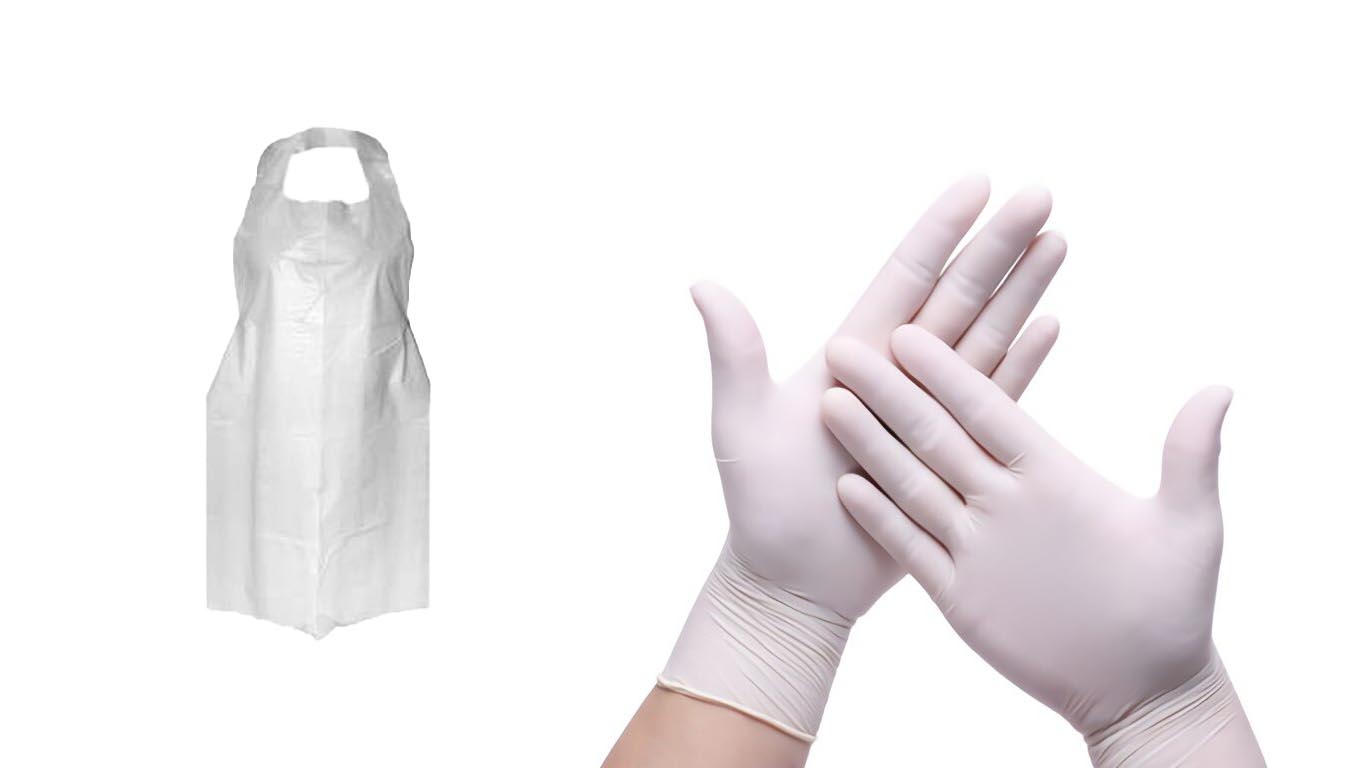
I've used Plastic Apron, and Plastic Gloves, for general safety.
The materials used: 200 grams of silicon material MOLD MAX 60 - Silicon Rubber Compound, I consumed 200 grams of the material A, this means and according to what is mentioned in the data sheet, 3 grams of the material that hardens the silicon must be used, in total I used 200 grams of the material Silicon and 6g of A hardener. I know the volume of materials that will be consumed by filling the etched mold with water and discharging the water into a bowl or cup, and then I know the weight of the water and based on that, I used material A, which is half the volume of water. The following video shows the complete process of selecting the appropriate weight from A and B materials, and how to pour into the mold.
In the final casting stage I used the following material "smooth-cast 305 bright white liquid plastic" where I also added the green dye to the material. I knew the weight of the material I would also be using by filling the mold with water and empty it into a cup or bowl regardless and then I By bringing the scale and knowing the weight of the water, and accordingly, I used the same weight of water for the material "smooth-cast 305 bright white liquid plastic", to keep the material inside the mold and not leak. I put the rubber on all directions of the mold to increase the pressure and not leak from inside the mold, also I waited 24 hours Silicon Rubber Compound is the first casting stage.
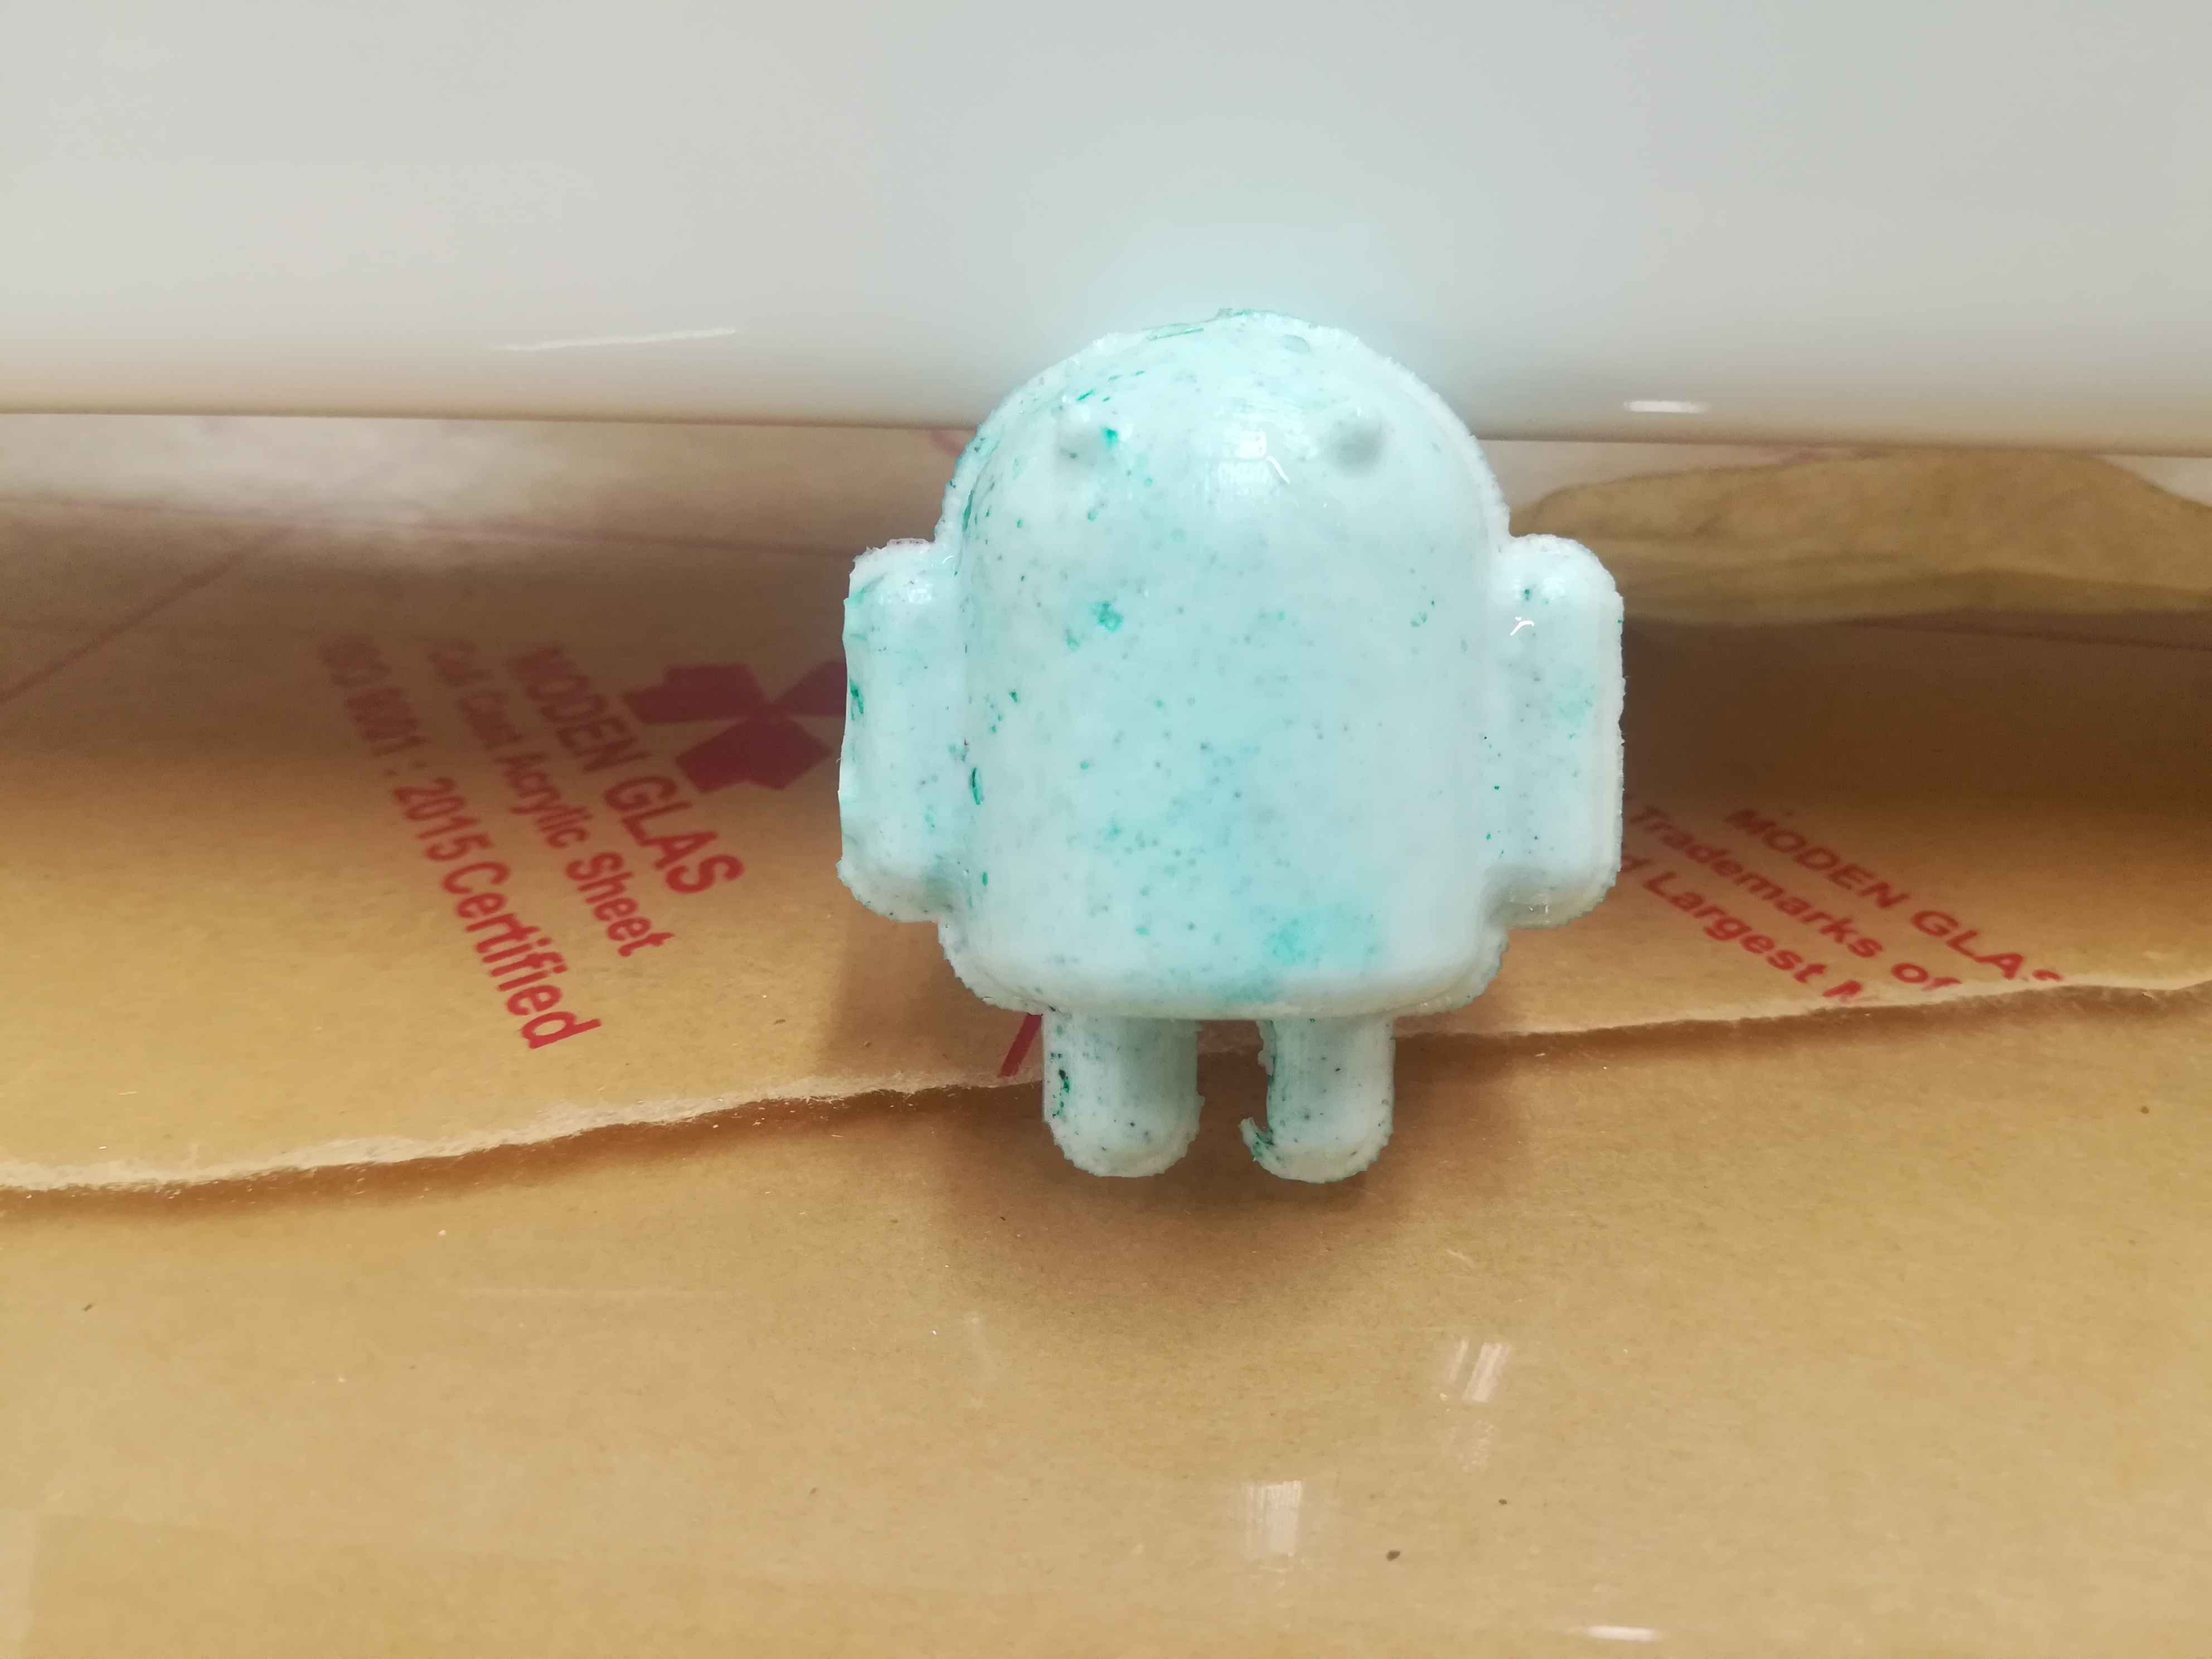
The following image shows the final shape of the Android logo in green, I encountered an error in the process of adding the green dye during the casting process, which made the color appear somewhat poorly.

A summary of the materials I used at the time of completion of the process and the mechanism of action:
Mold Star 30 Silicon Rubber
| Mixing ratio | 1A:1B by volume |
|---|---|
| Pot Time | 20 min |
| Curing Time | 9 hrs |
| Shore A hardness | 20 |
| Color | Blue |
Mold Max 60 Silicone Rubber Compound
| Mixing ratio | 1A:1B by volume |
|---|---|
| Pot Time | 30 min |
| Curing Time | 24 hrs |
| Shore A hardness | 60 |
| Color | RED |
Dragon Skin 10 Medium
| Mixing ratio | 1A:1B by volume |
|---|---|
| Pot Time | 30 min |
| Curing Time | 24 hrs |
| Shore A hardness | 10 |
| Color | Green |