Computer-Aided Design
In the second week, we learned the basics of 2D and 3D design using design and reverse engineering programs, where you can through several programs such as Photoshop, Illustrator, and Blender & Fusion 360 to come up with 2D and 3D designs which are the programs that you used to accomplish the required duty.
What is the difference between 2D and 3D design:The design usually begins with an idea that you draw on paper and express, and then modify and transfer it to design programs on the device This proposed idea is either for the external shape raised by the final method and the final shape and is considered a three-dimensional drawing because it gives the shape in the form of a realistic stereoscopic Or internal divisions and what are known as projections, interfaces and sections are all two-dimensional, giving a superficial, not anthropomorphic perspective. Photoshop - Pen Tool: First of all, I used the Photoshop program to show the contours of the circle on which pixels appear clearly and it is known that the pixels greatly distort the image, so I repainted this circle through the Adobe Photoshop program, you can redraw the circle or any design you want in the Photoshop program through Several options offered by the program. You can repaint any image with the "Polygonal Lasso Tool". This tool allows you to create fake lines by repainting the image you wish to repaint. Adobe Photoshop also provides the "Pen Tool", as it is the best tool for drawing any you can think of, as it is used for Victor graphics and many other uses. In the following image, you can notice the difference in clarity and the quality of the image where you used the "Pen Tool" to redraw the circle and restore it to normal. Through the "Ellipse Tool" you can shorten the time and draw the circle directly, but please note that this tool does not give you the possibility of anything, that is, you cannot draw curves and redraw images and complete aliasing while you can do this through the "Pen Tool".
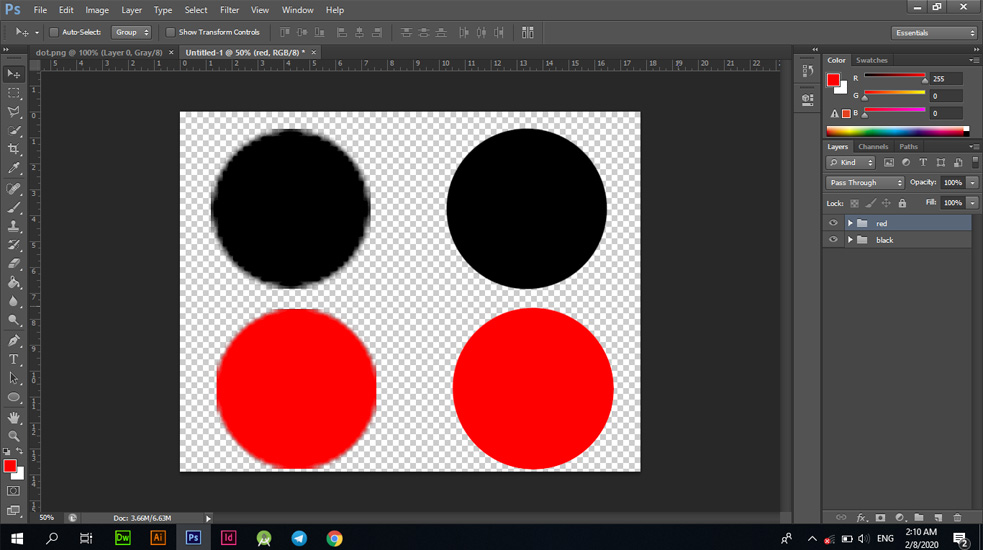
The problem of pixels is caused by image measurements. If you design the image in a high size, you will get better accuracy, while if you save the image in small measurements and open the image again after saving and you enlarge it, you will find that it suffers from the problem of distortion and lack of clarity. This problem can be avoided directly during design by adjusting the size.
Vector by illustrator
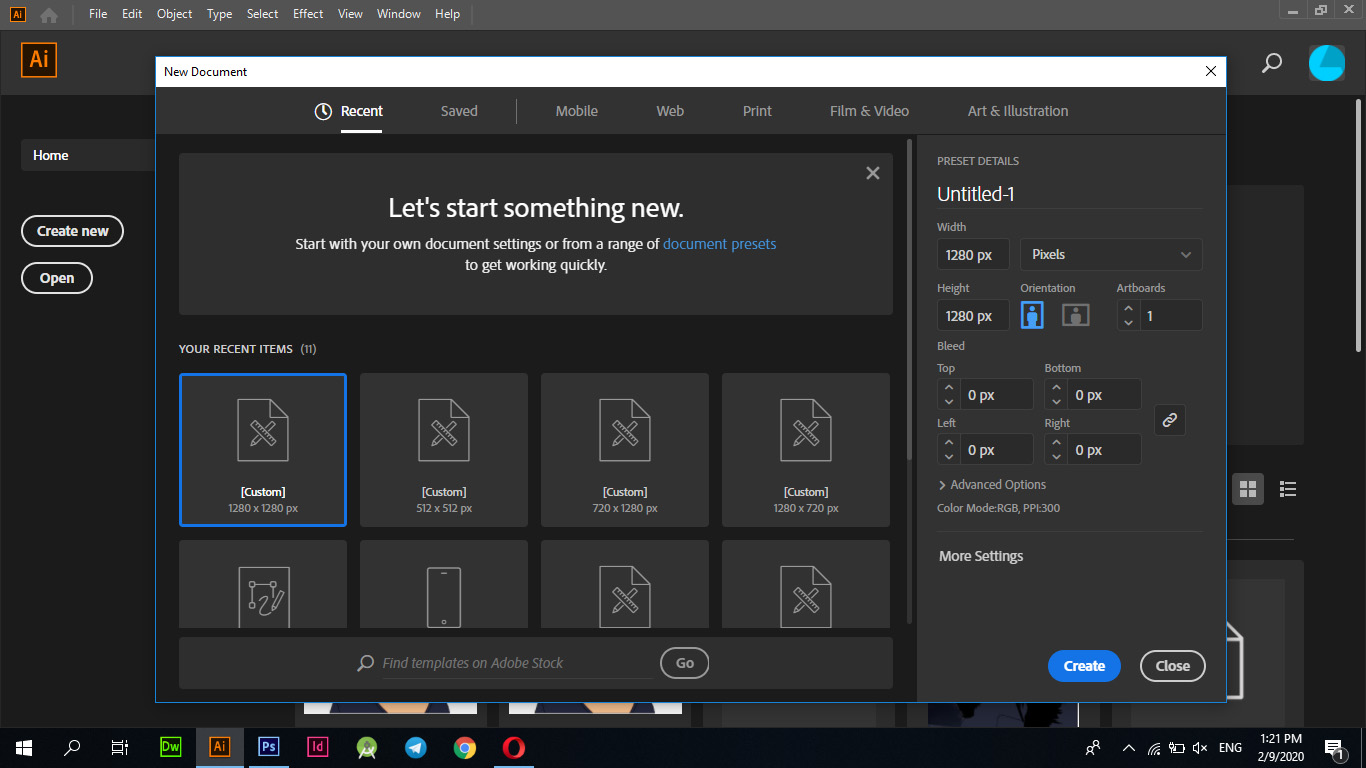
What is vector artwork? Vector artwork is a term that describes any art made with vector illustration software like Adobe Illustrator. Vector artwork is built from vector graphics, which are images created with mathematical formulas. In comparison, raster art (also referred to as bitmaps or raster images) is created with colorized pixels. Enlarge pixel-based art in a raster file too much and it looks jaggy, whereas you can enlarge vector art to any size without negatively affecting its appearance. This resolution independence allows vector art to be used in a variety of forms, from small illustrations to massive billboards. Vector allows you to repaint images. For example, if you have a blurred image, with Vector Art you can repaint your image and show it in the best way through the "Pen Tool" provided by Adobe Illustrator. In the attached picture below, I wanted to repaint the image and I used Adobe Illustrator in the drawing process as well through the "Pen Tool". Open the program and choose a new file and then open the image and do not forget to clarify the appropriate measurements for you.
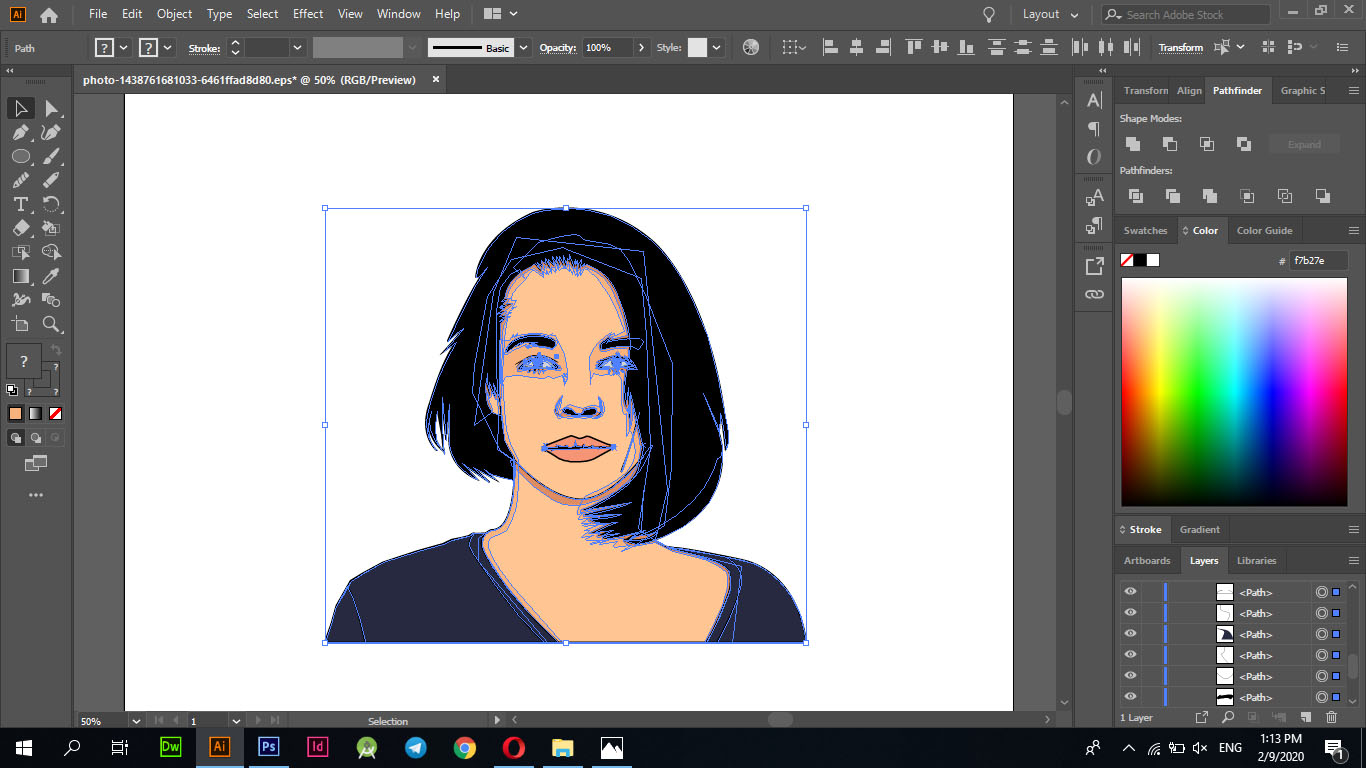
I have opened Adobe Illustrator and created a new "1280 * 1280 - PX" file.
I chose the image to be corrected and started working on specifying the methods to start the pixel correction process.
PenTool
By pressing the "P" button, which is an acronym for the "Pen Tool", I painted the exterior as well as the hair and colored it in black.
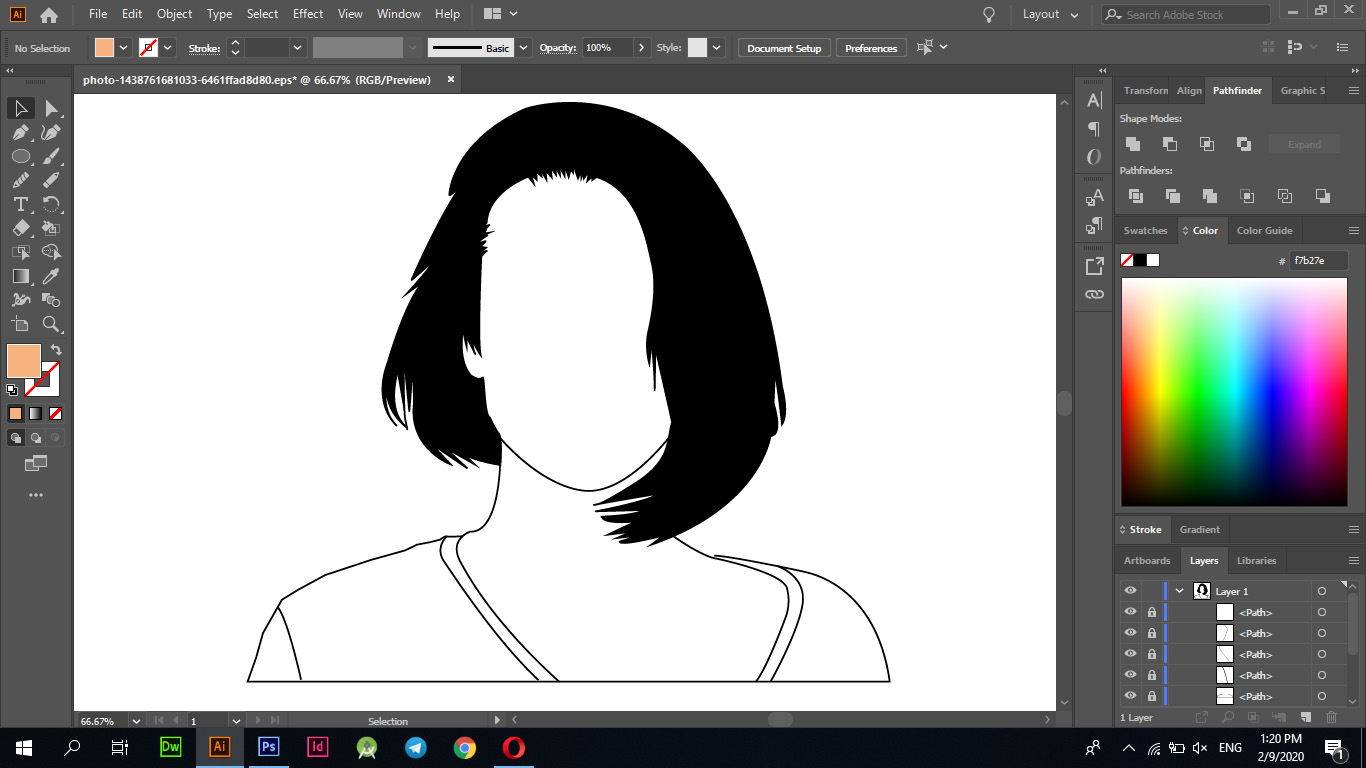
Then I completed drawing some features like "nose - mouth - ears - eyes - eyelashes".
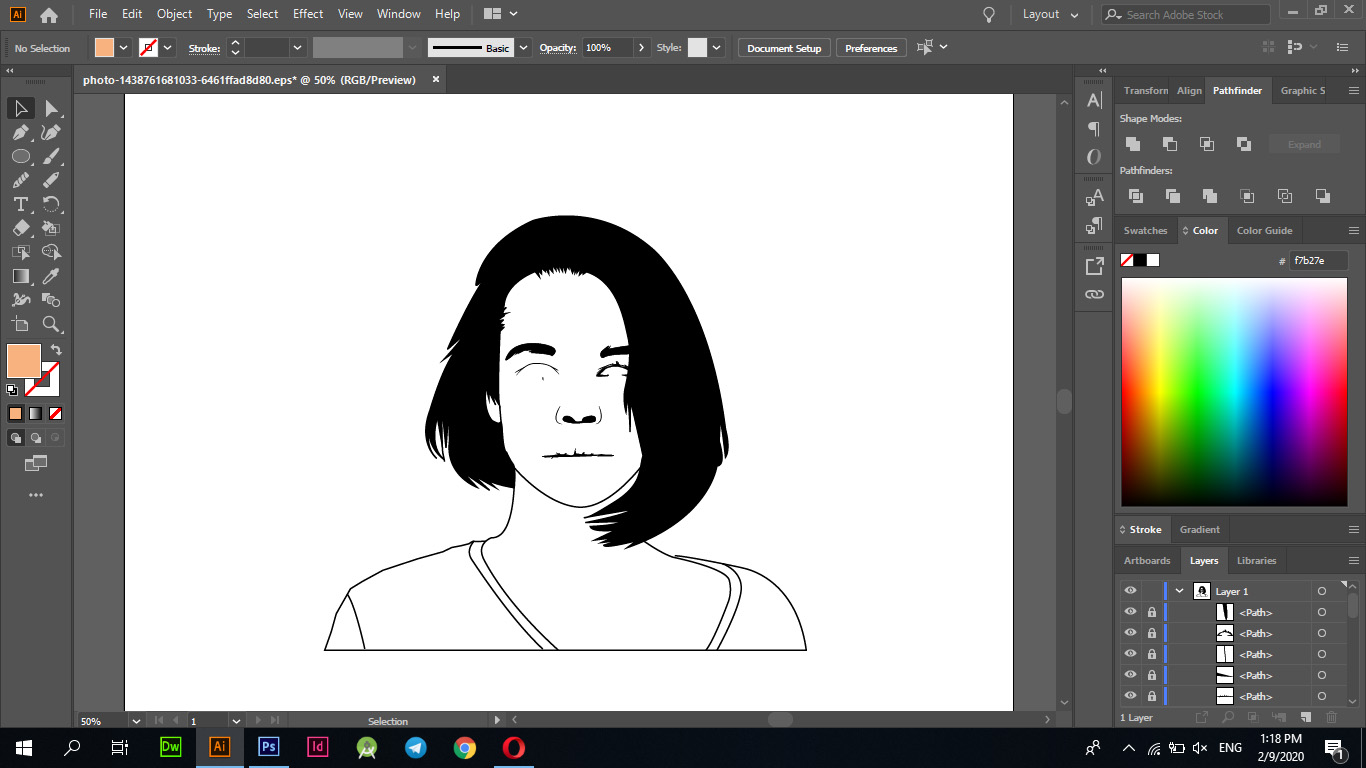
In this step I drew and illustrated some features to start the process of showing the image in its original form.
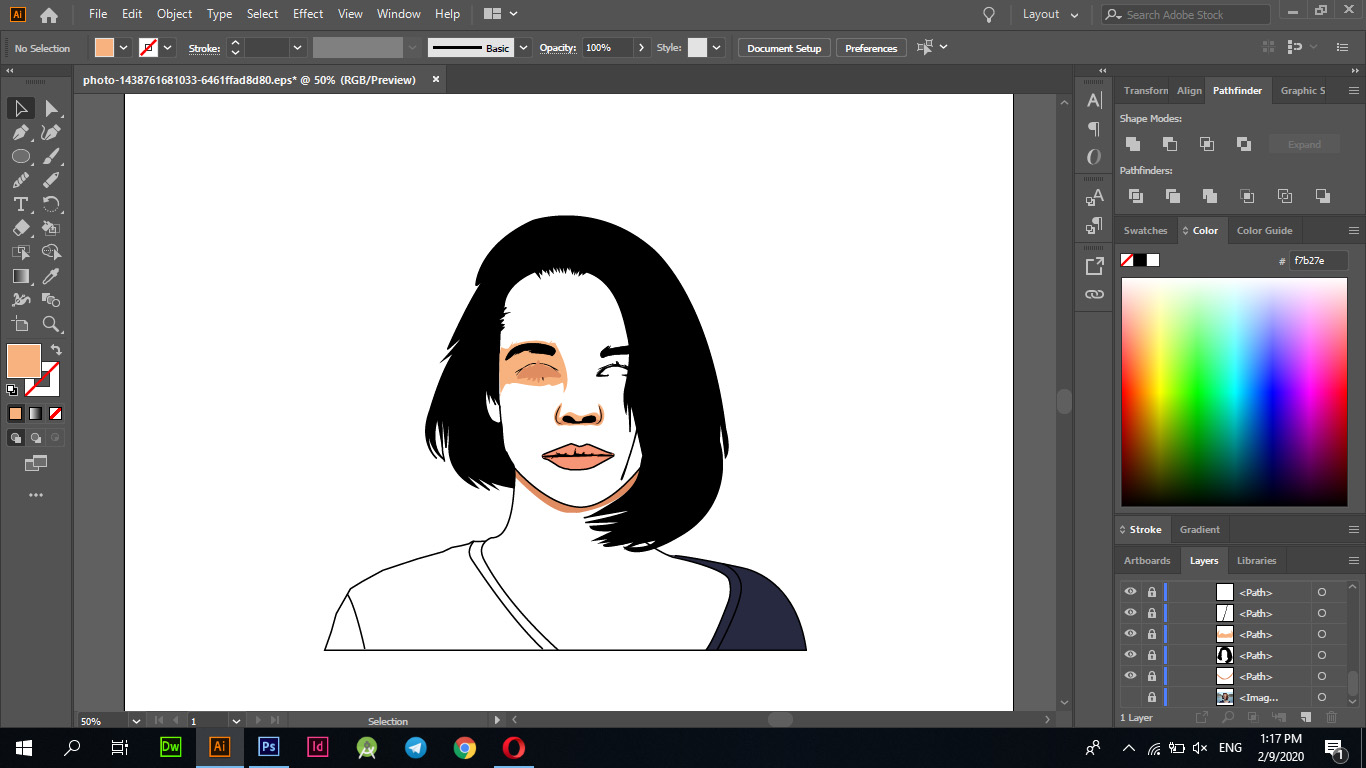
Then I finished painting the image in full form, except for some parts for which the coloring process was not completed. In the second step, you can see the modifications that were made.
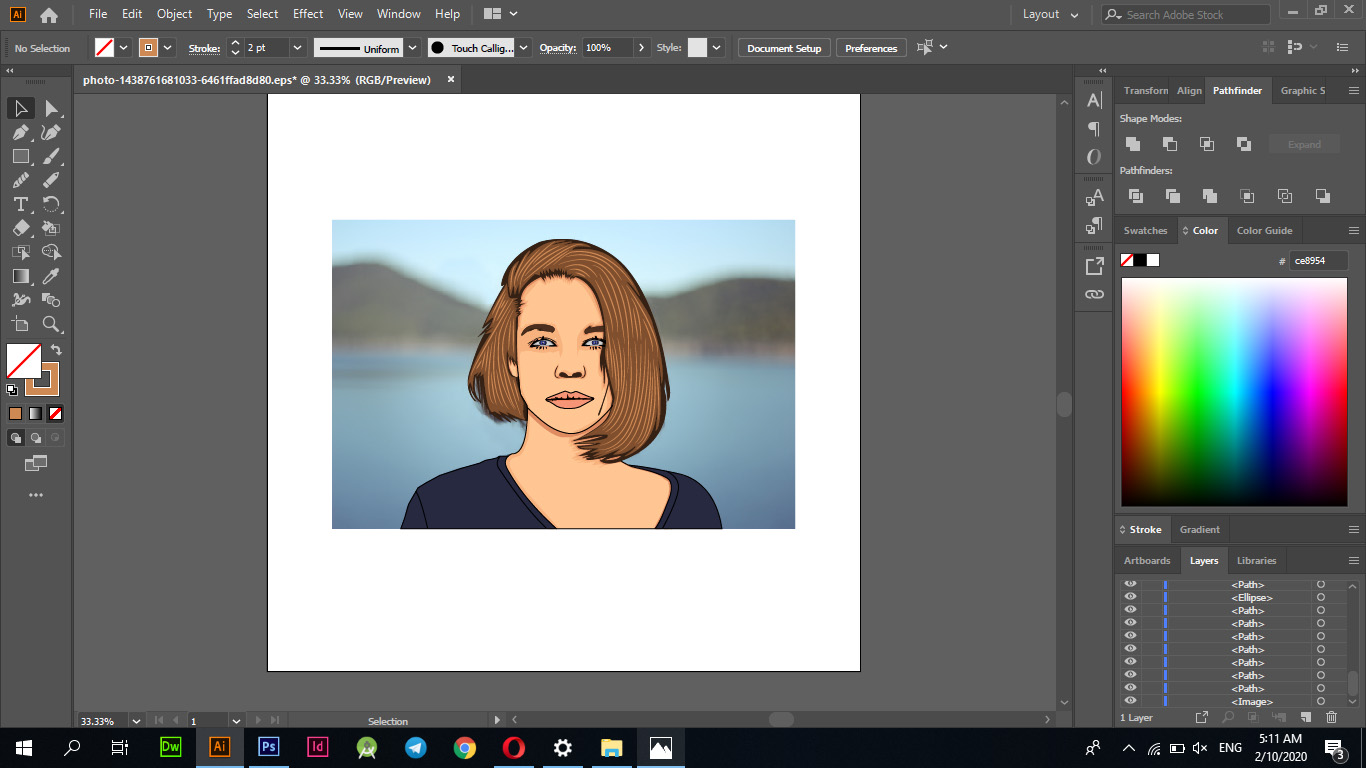
Now I made the process of giving the hair its true color by drawing some lines and curves to be able to show the image in its real form and then giving the entire hair a brown color and a light brown color to the lines I drew.
In the end, I made a comparison of the two pictures to illustrate the difference between them and to browse this article.
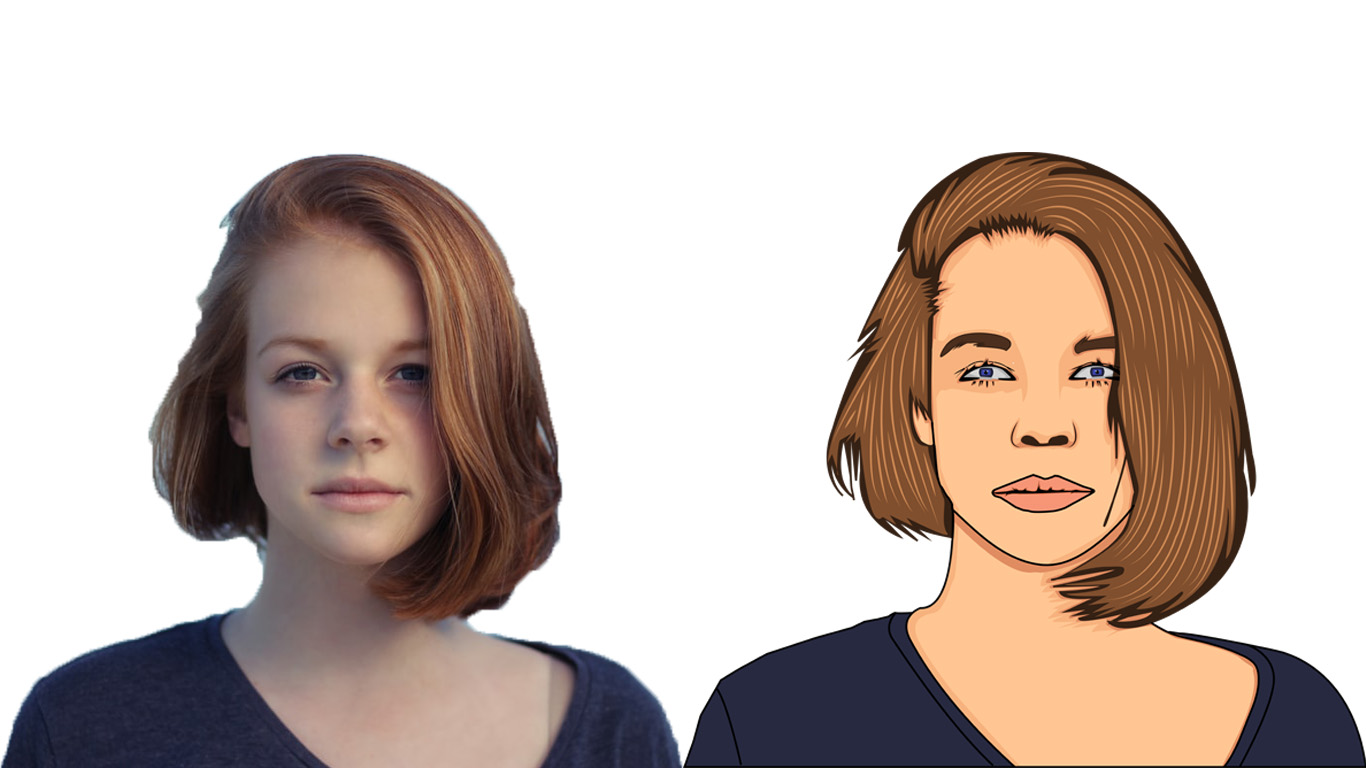
Perhaps there may be a slight difference between the two pictures, as they can be shown in a more realistic way as well, by adjusting and drawing the lines more accurately.
Fusion 360
I designed Bearign 3D modeling with Fusion 360 and I used several tools during designing between "circle - lines - balls", this design is a car wheel.
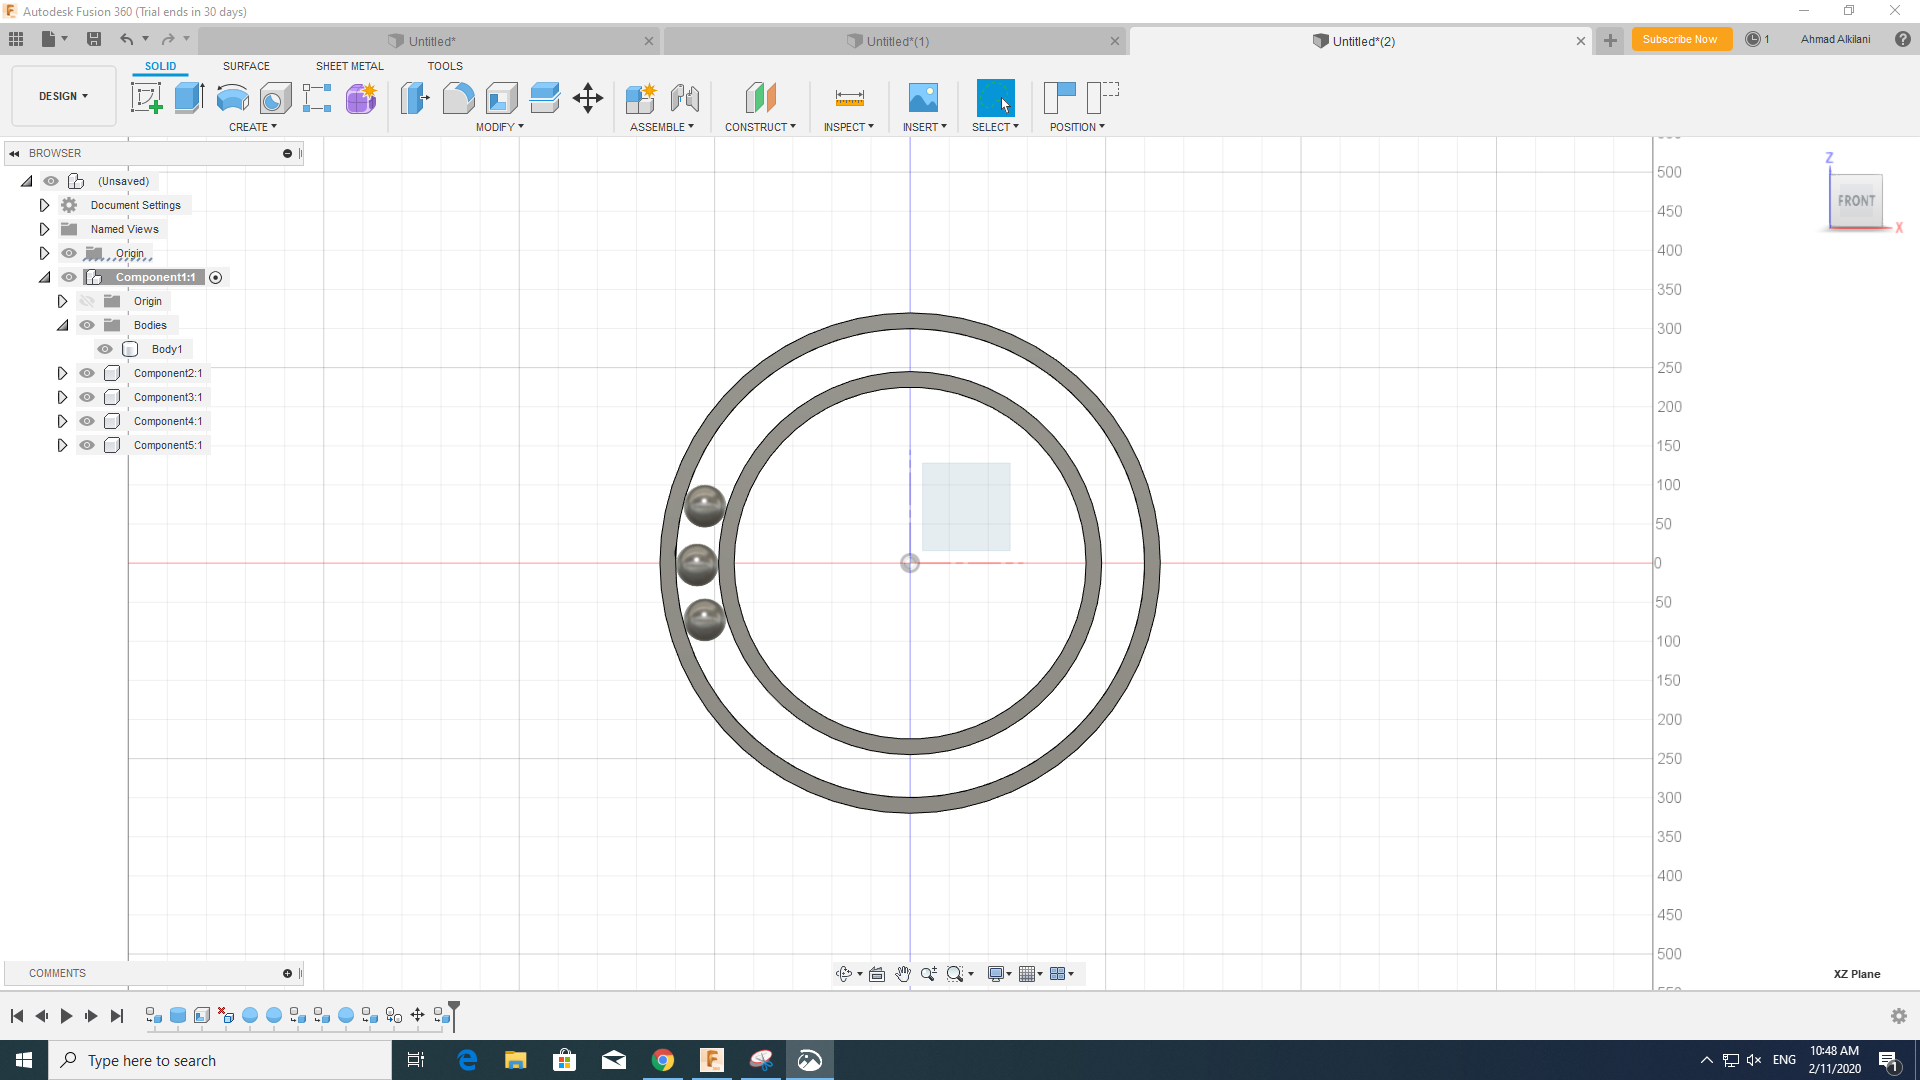
I opened a new file in "Fusion 360" and then I drew the disc through "CREATE - Clyinder" with a diameter of "200" and then I emptied it through "MODIFY - Shell" and kept the outer frame at a height of "10 mm" then I made a clone of this disc The hollower then reduce its size and reduce its diameter by "35 mm", after finishing the outward form and from the "CREATE - Sphere" option, and creating the ball with a diameter of "35 mm" to match the distance between the two circle diagonals.
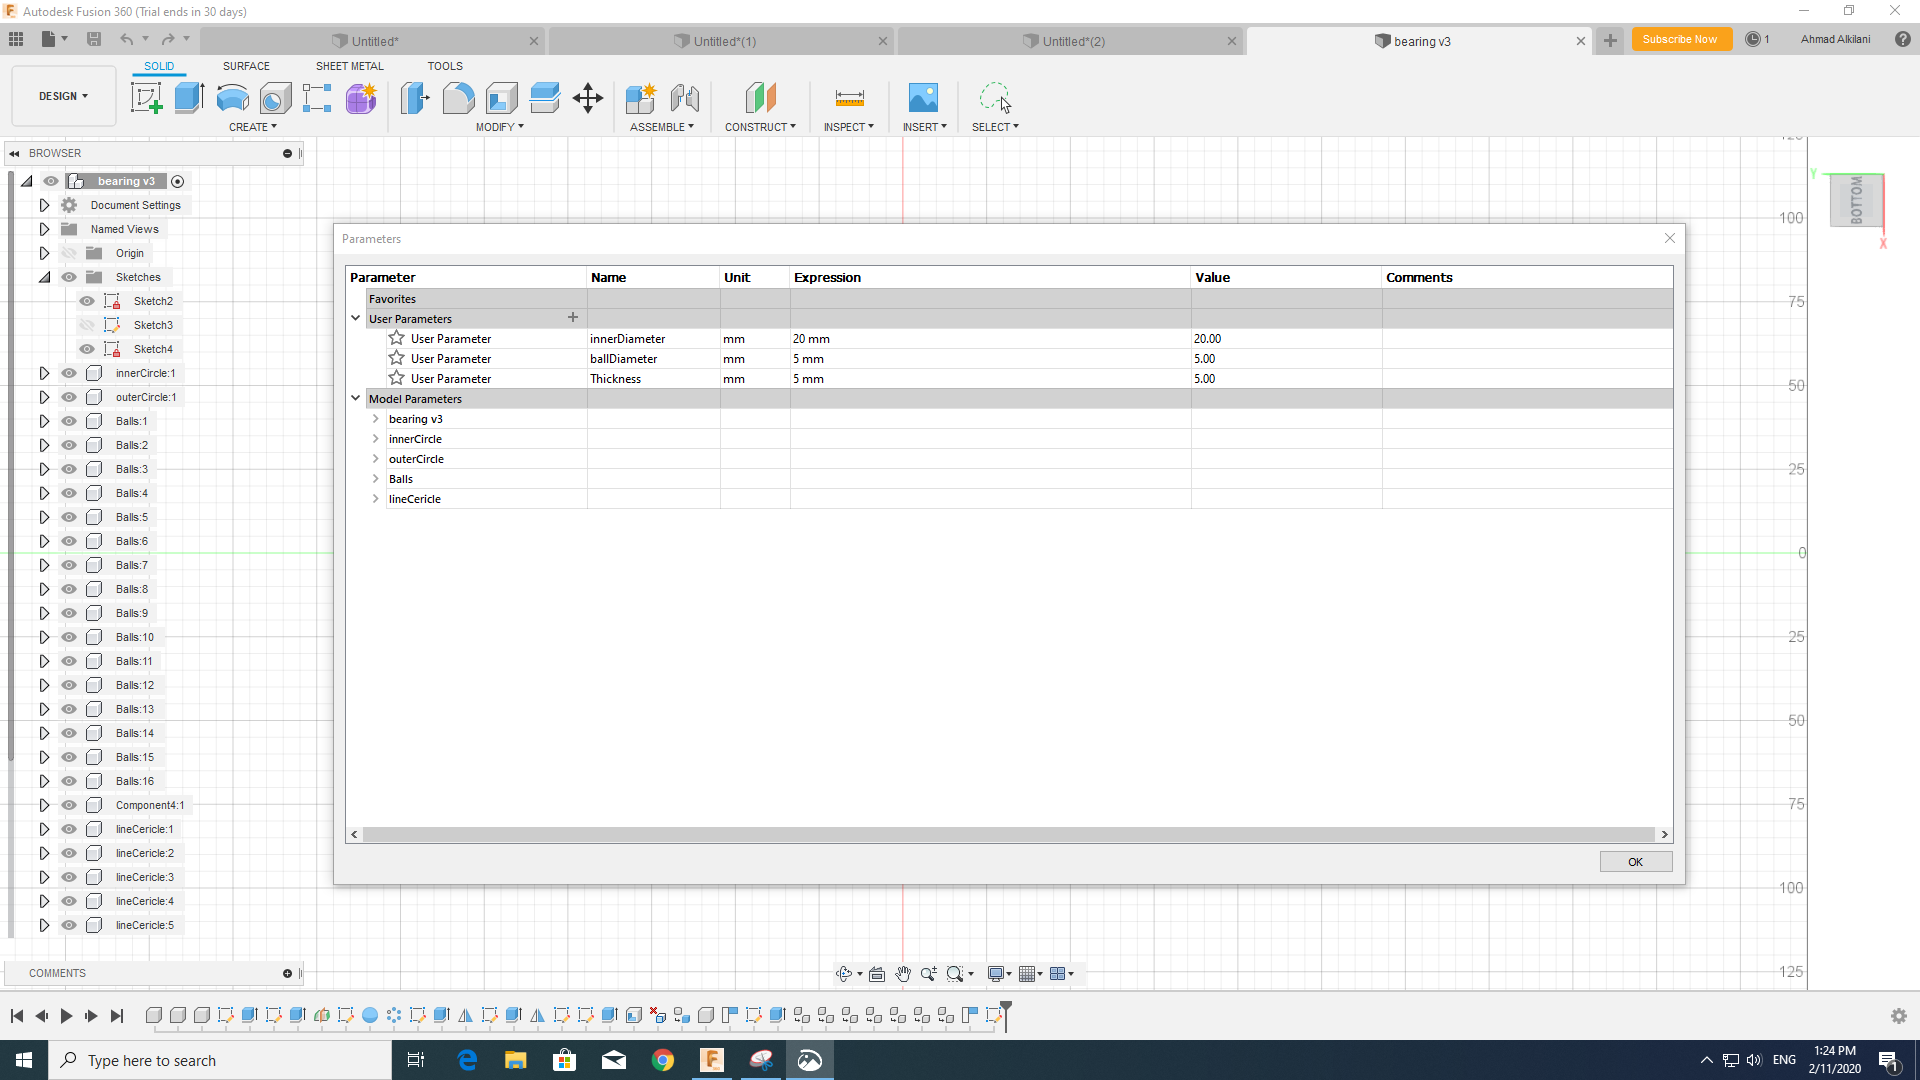
As mentioned in the lecture, the design should be proportional in size when any side in it is changed, through "MODIFY - Changr Parameters" I entered some values and set the required size for them and then linked the ribs with the necessary variable through "Sketch Dimension" or you can choose The "D" button only and the move to the required tool, you must choose the side to be linked to the variables and choose the names of the variables instead of setting a specific size for it, these steps are applied to all the sides.
In this step I drew another outer circle and connected several columns to it by drawing with the option "Rectangular Battern" and repeating the lines as required.
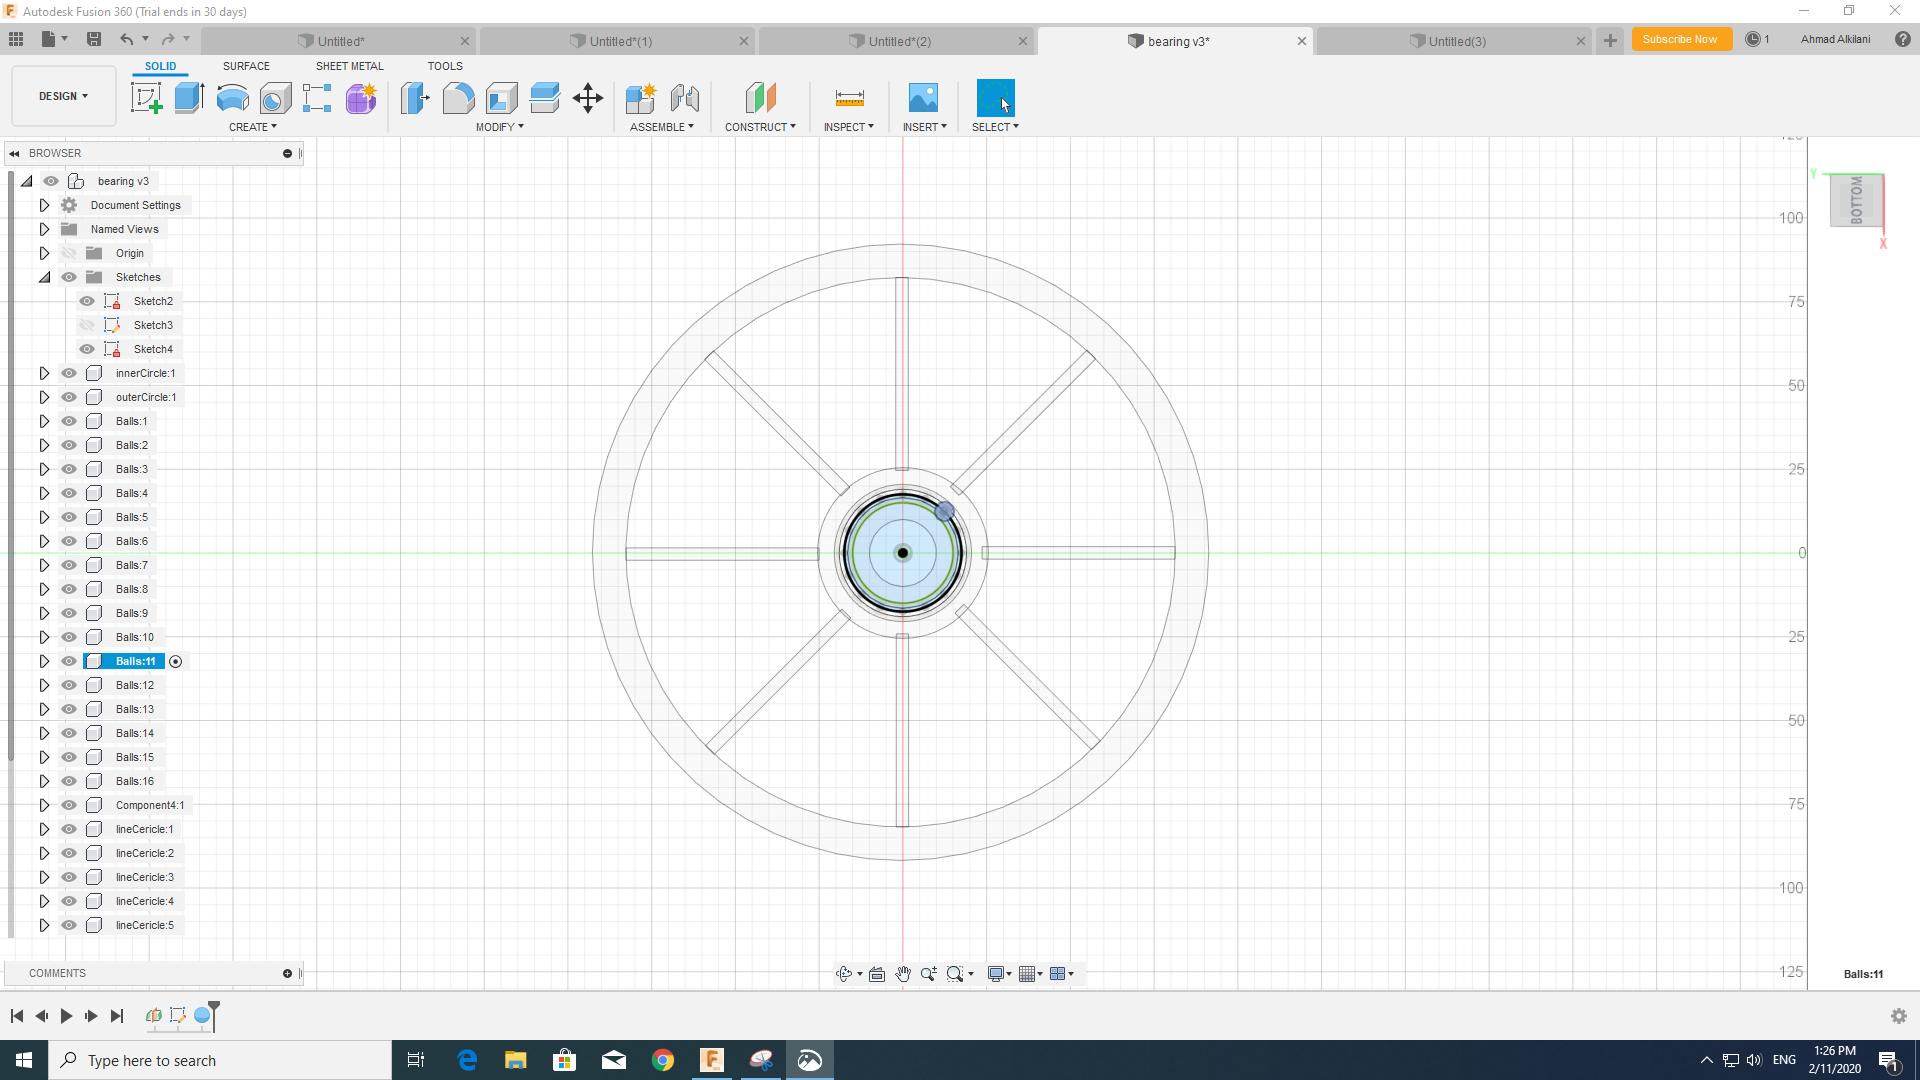
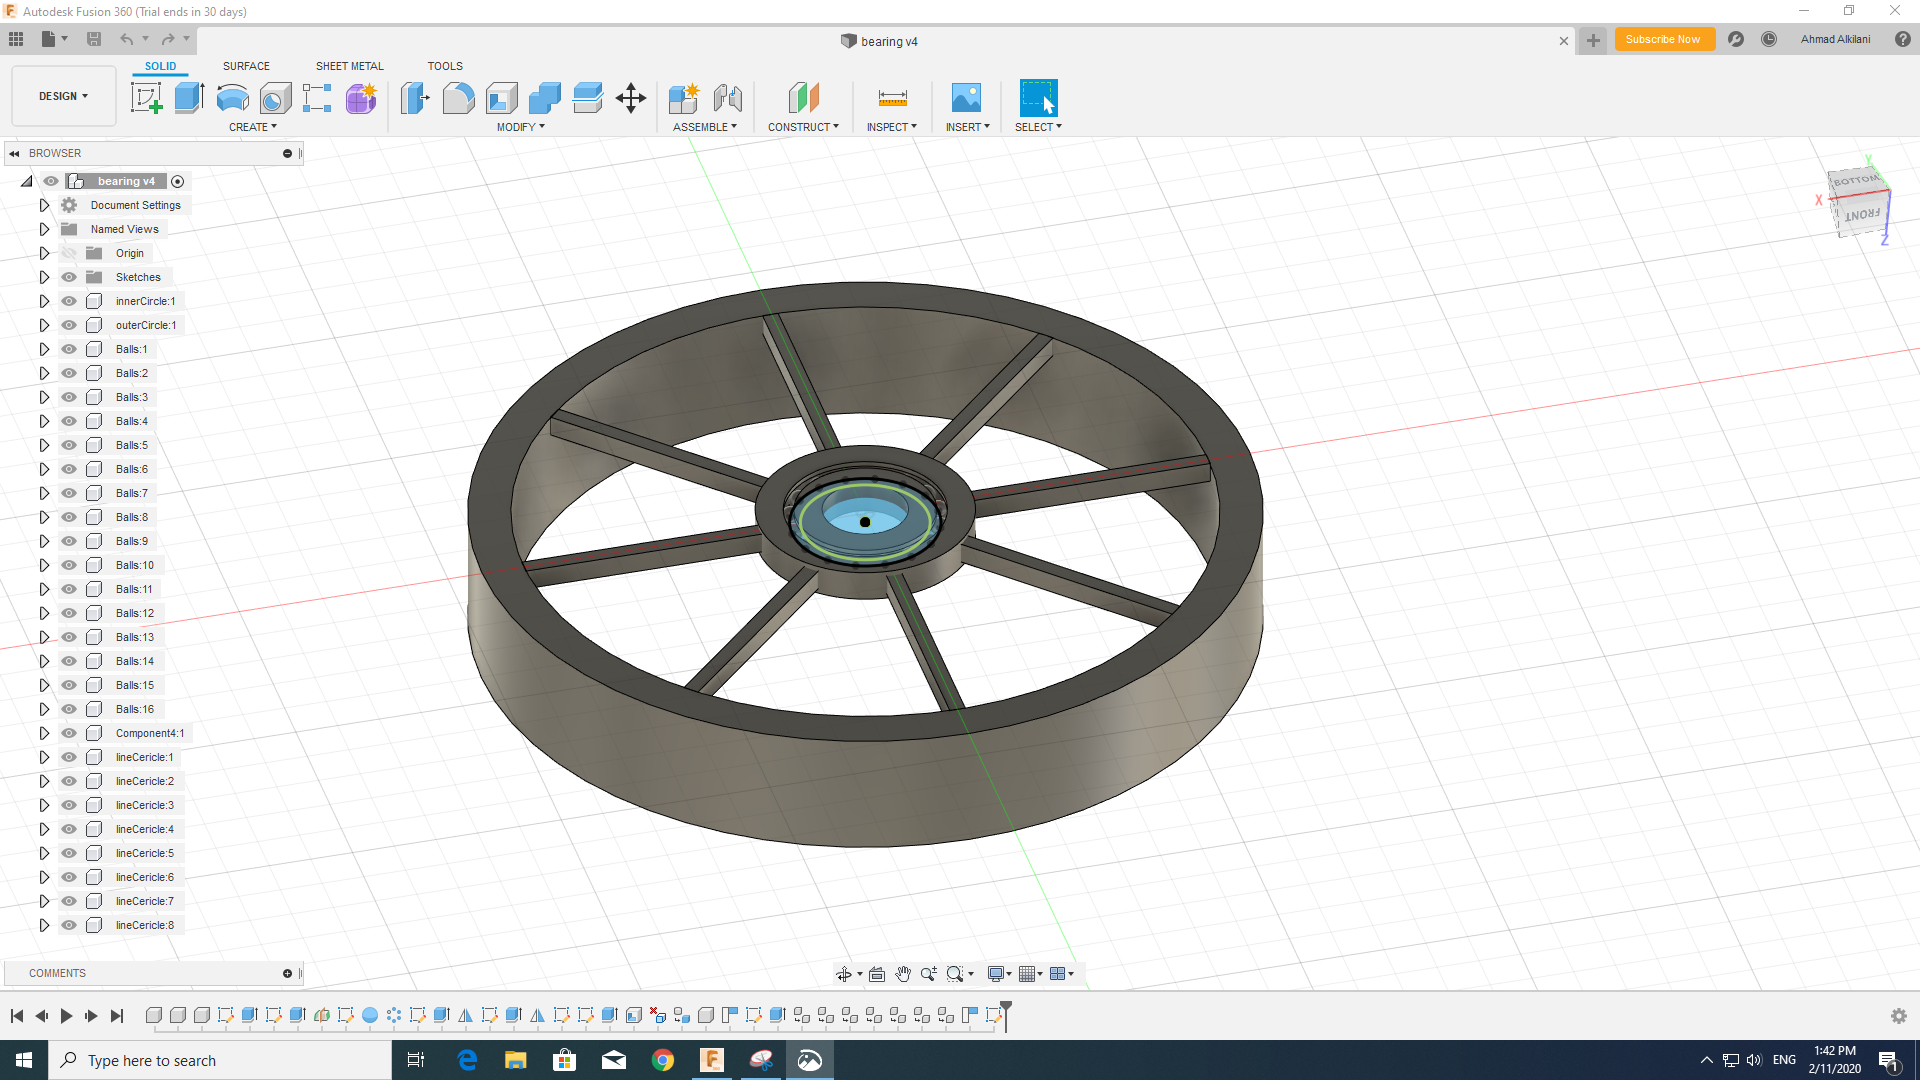
Don't forget about the "Extrude" option to convert the shape to 3D.
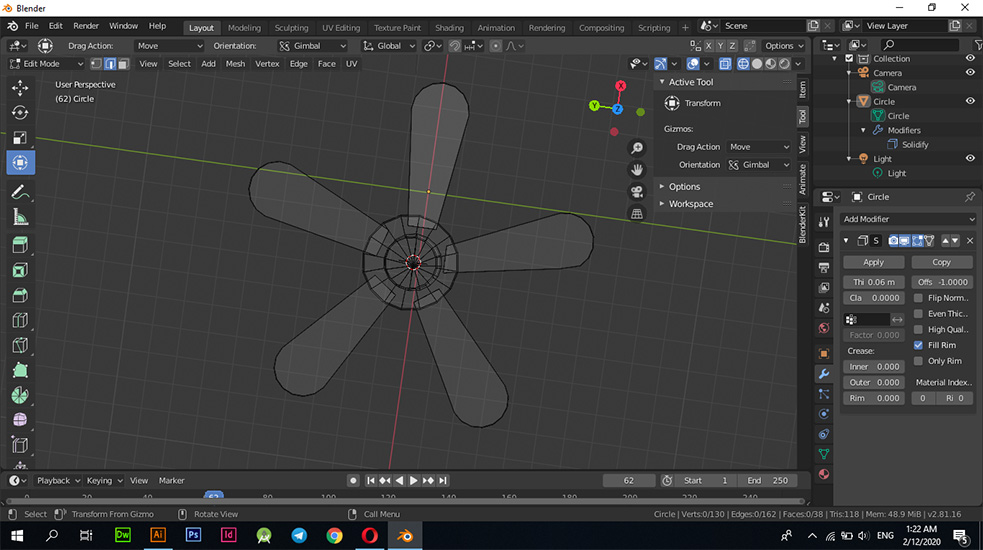
Design By Blender
I have designed an air fan through the blender program, the blender program depends on a set of properties that it contains so you can through these properties that provide a drawing of anything you can imagine in a short time. To design this fan I needed a circle that I pushed in with a diameter of 16 cm, and I chose the Spin tool in the sidebar toolbar, I also set the dimensions and creation of other graphics through the letters "S & E", where you can letter E to create drawings and control the appearance of them to complete the design, while You can letter S or Solidify, which can make things more solid.

Blender program has a simple interface design, was able to design this stereoscopic by drawing the circle in the foreground through the "Shift + A" buttons and then choosing the circle I was able to draw, I controlled the size of the circle by pressing the "S" button on the keyboard where it will open an option for you Control the size of the circle or the shape that you drew regardless of what it is.
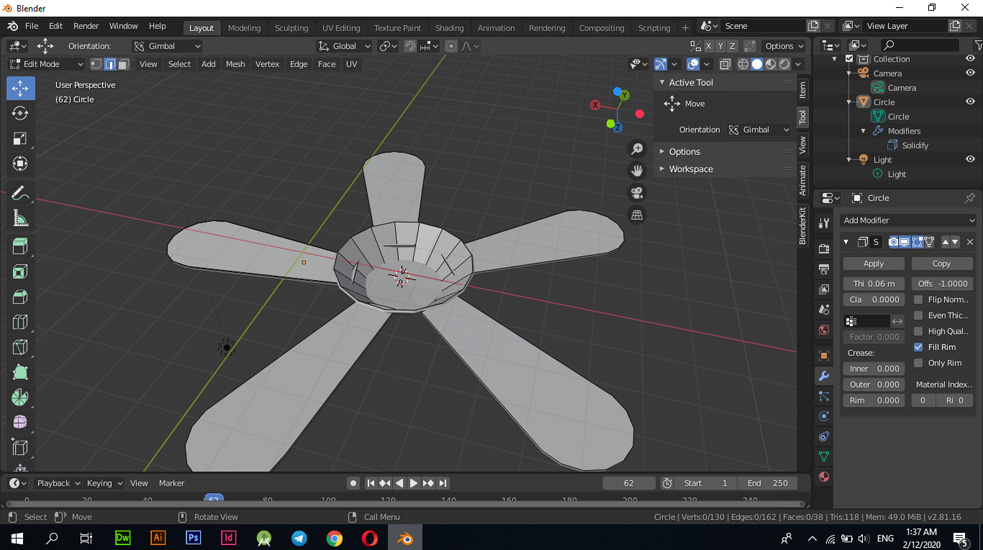
By entering "Edit Mode" in the top bar, after entering this mode you will see a sidebar that contains many different tools. I made the blades on both ends of the circle and set the number of blades through the "Circle Repetition" option
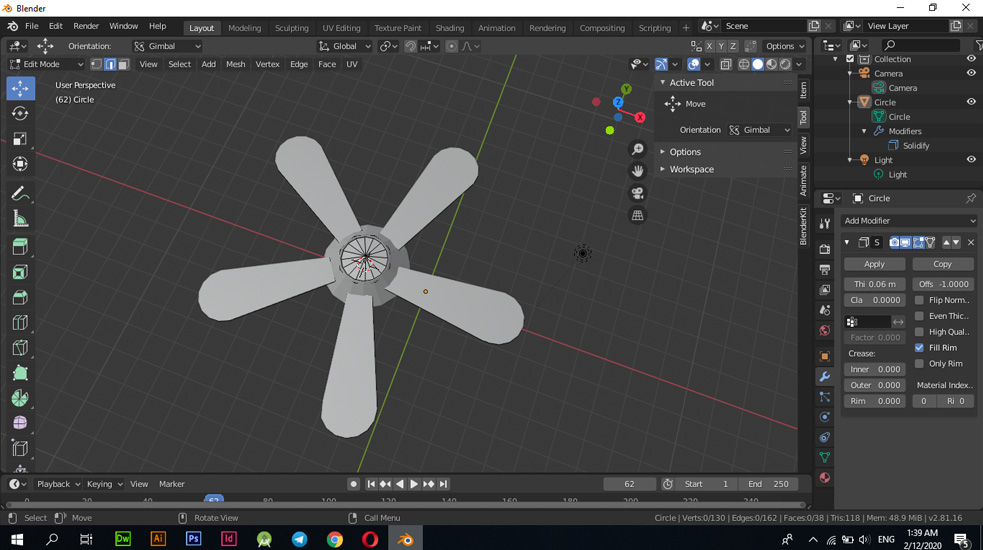
Turn the stereoscopic into a 3D shape by pressing the "E - Extrude" button.
Files - Open Source
Photoshopillustrator
Fusion 360
Blender