Wildcard
1. Week Assignments
We're doing composites this week.
group assignment:
- produce test coupons for your composite fabrication process(es)
individual assignment:
- read the safety data sheet (SDS) and technical data sheet (TDS) for the resins that you're using
- design and fabricate a 3D mold (~ft2) and produce a fiber composite part in it, with resin infusion and compaction#+end_quote
2. Prior Knowledge
I once watched my father-in-law apply glass fiber and epoxy to a canoe. So, no-not really.
3. Work!
3.1. Group
Materials used:
- Binders:
- Bio Base: Corn flour and glycerol
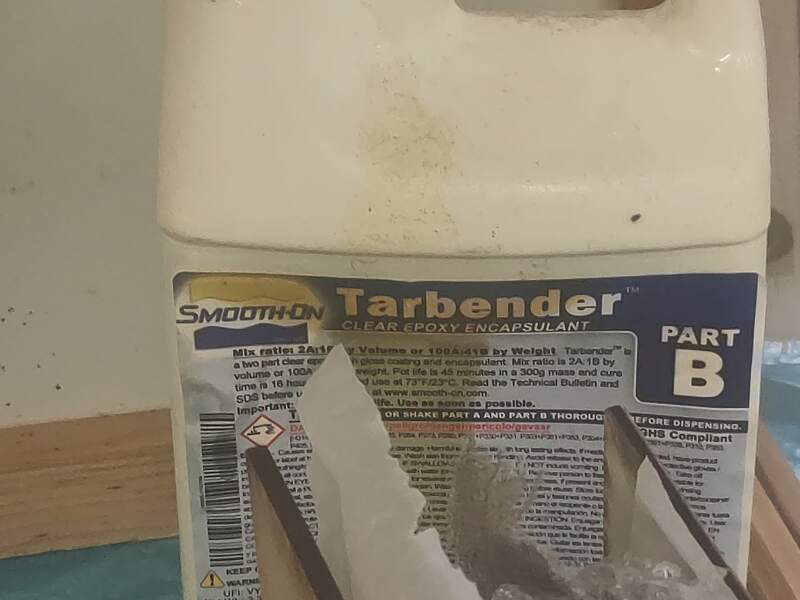
- Epoxy: Smooth-On Tarbender Epoxy
- Fibers:
- Wide threaded burlap
- Close weave linnen
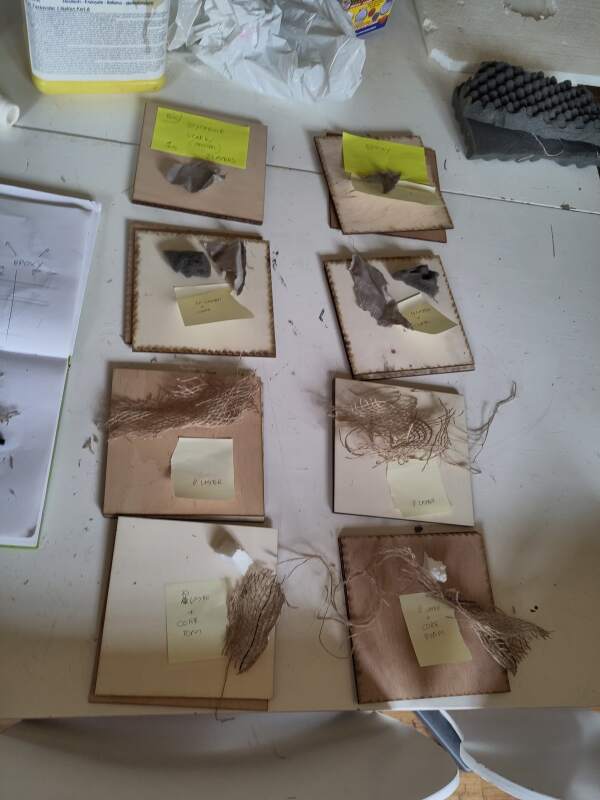
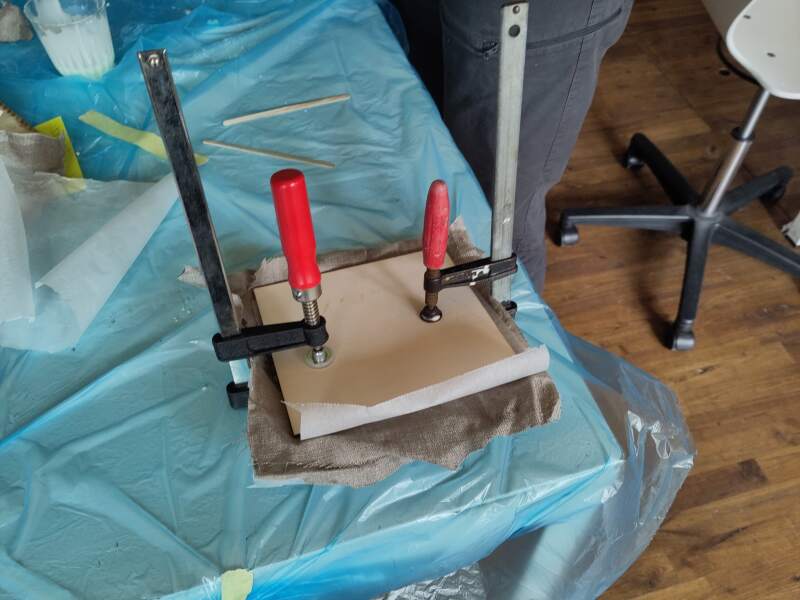
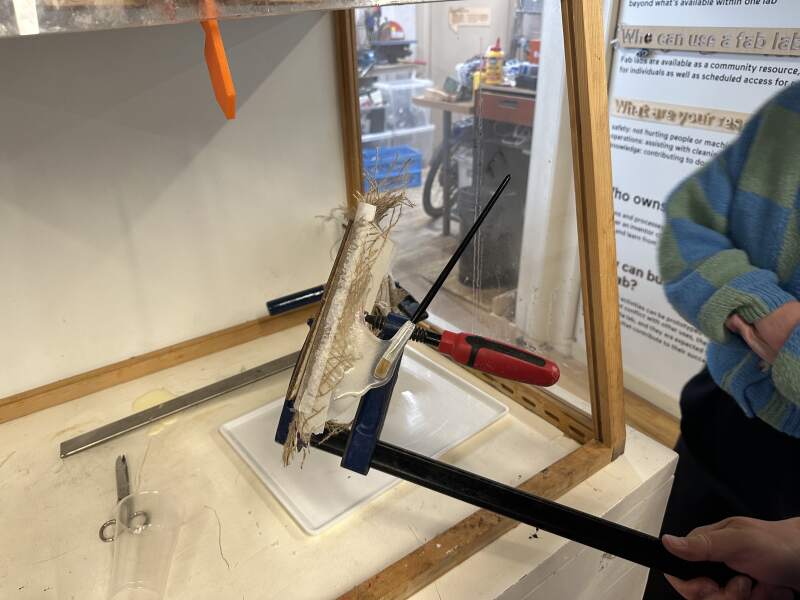
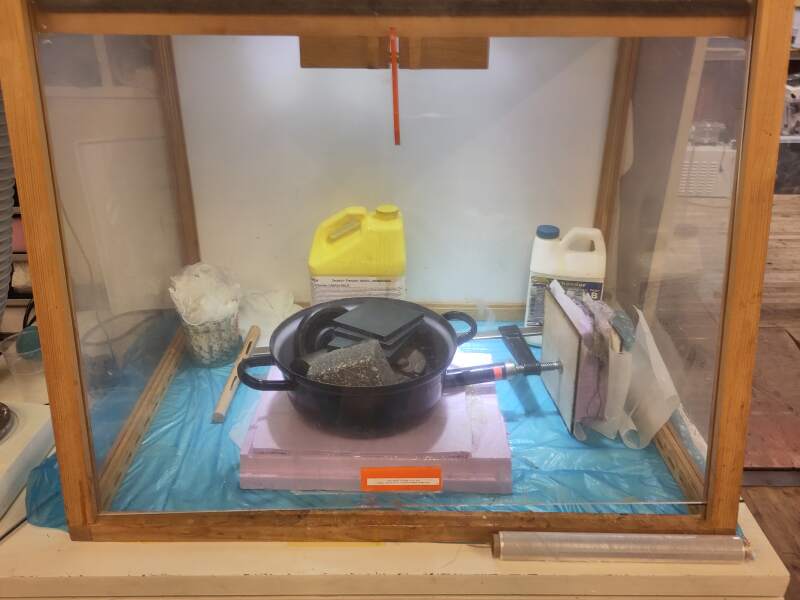
We used 20x20cm triplex, baking paper, and clamps to press the materials together for curing.
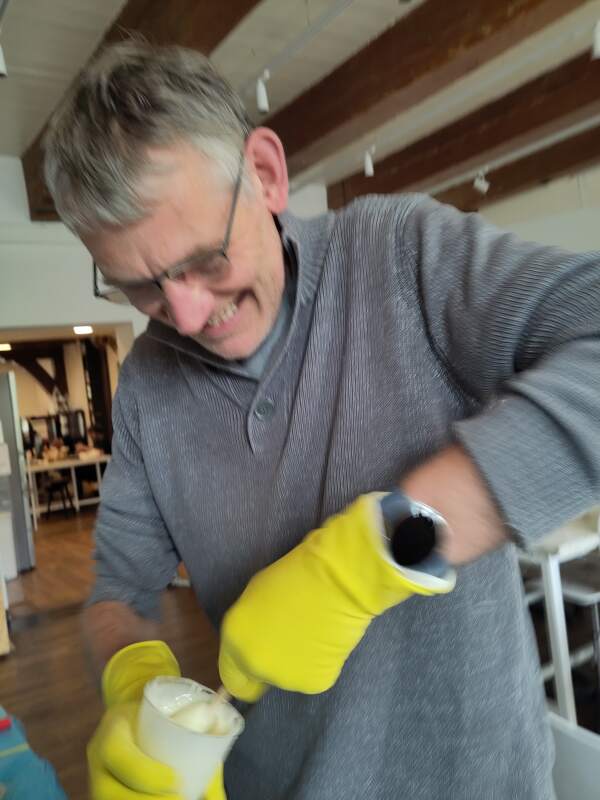
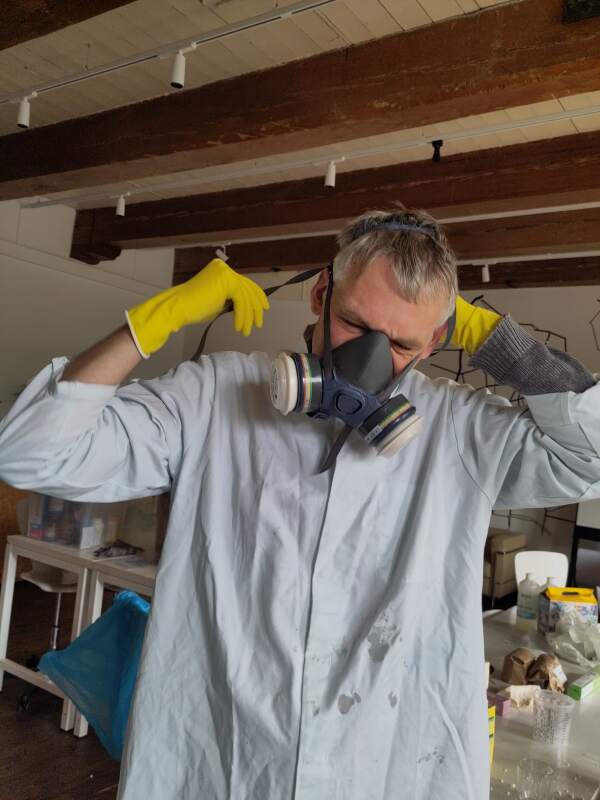
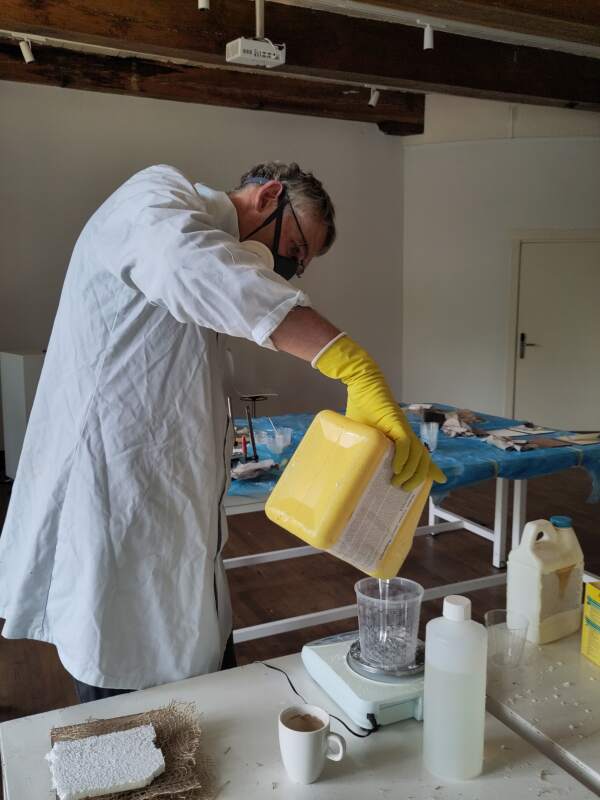
The epoxy safety sheet contains many warnings about skin contact and inhalation, so we opened the windows and Christian geared up to make the mixture.
3.1.1. Results
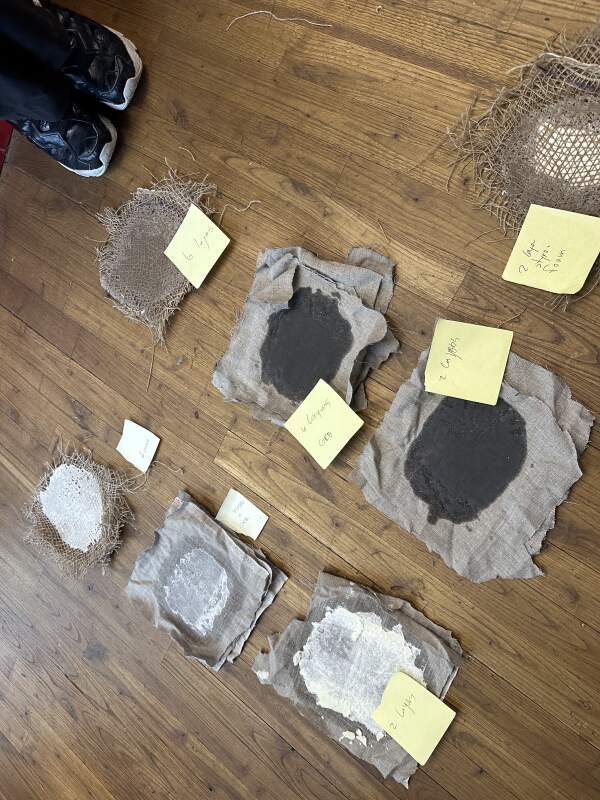
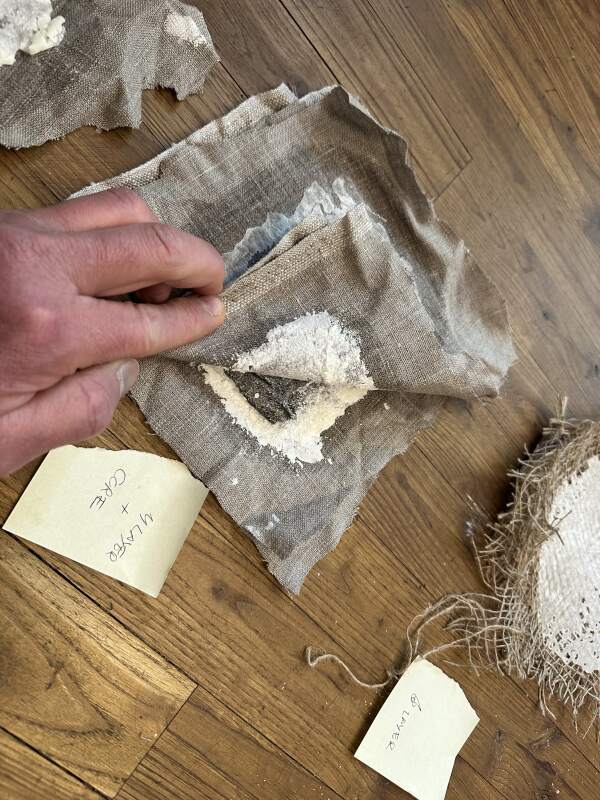
The results were, uhm, interesting. Our tests with epoxy were glued to the table and the corn flour did not cure at all.
Epoxy results:
- 2 layers linnen
- flexible and breakable by had
- 4 layers burlap with soft foam core
- very strong
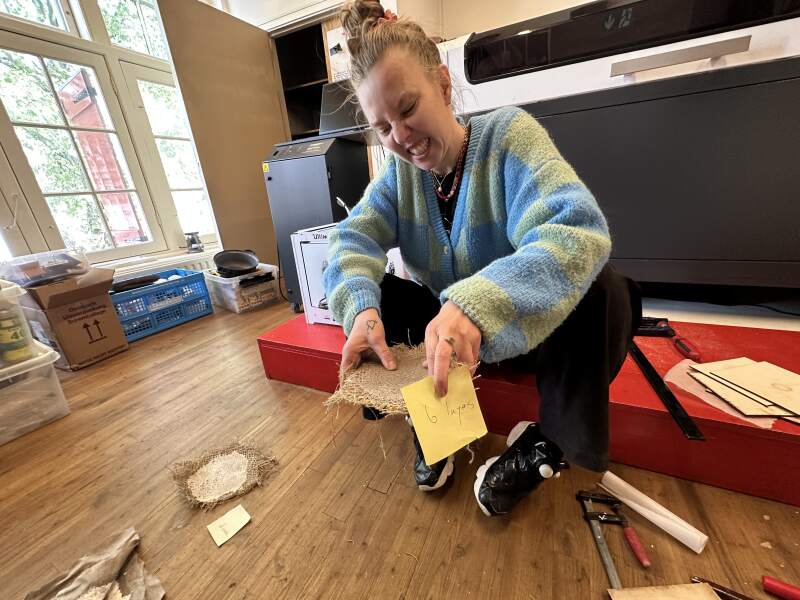
- 6 layers burlap
- super strong
3.2. Individual
I designed a simple bowl in OpenSCAD: a hollowed-out half-sphere scaled over the z-axis with a flattened bottom.
$fn = 200;
d = 200;
module main() {
difference() {
scale([1, 1, .5]) sphere(d = d);
translate([d / -2, d / -2, 0]) cube([d, d, d]);
translate([d / -2, d / -2, d * -1.2]) cube([d, d, d]);
echo(d * .2);
}
}
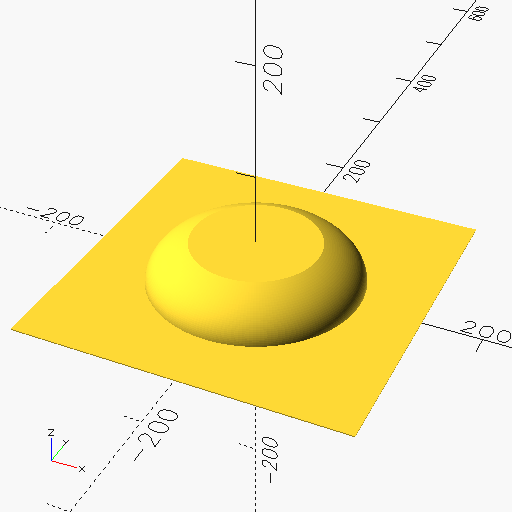
color("#FDD835") difference() {
main();
translate([0, 0, 1]) scale([.95, .95, .95]) main();
}
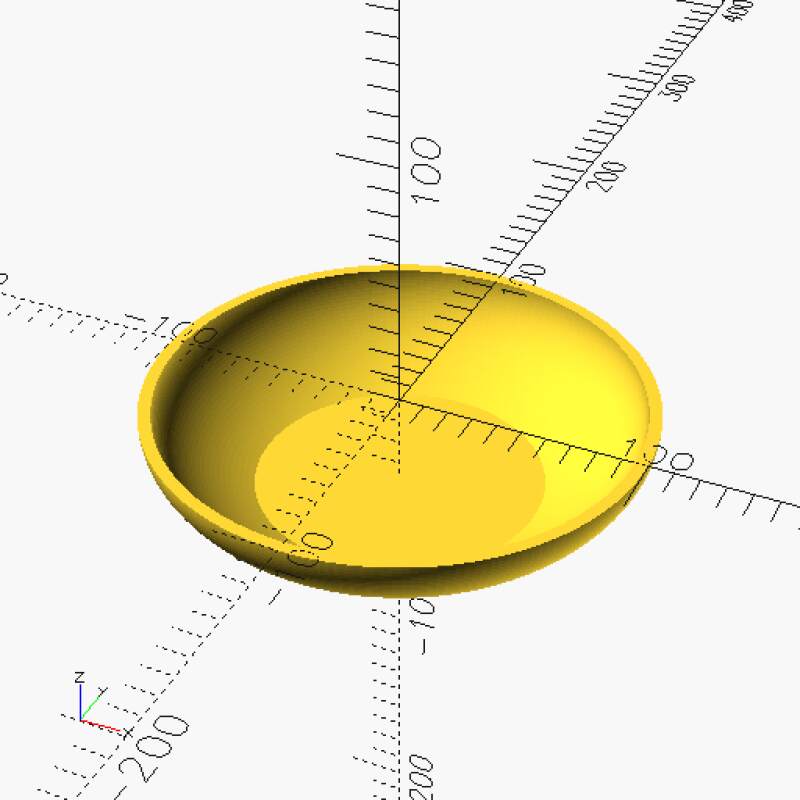
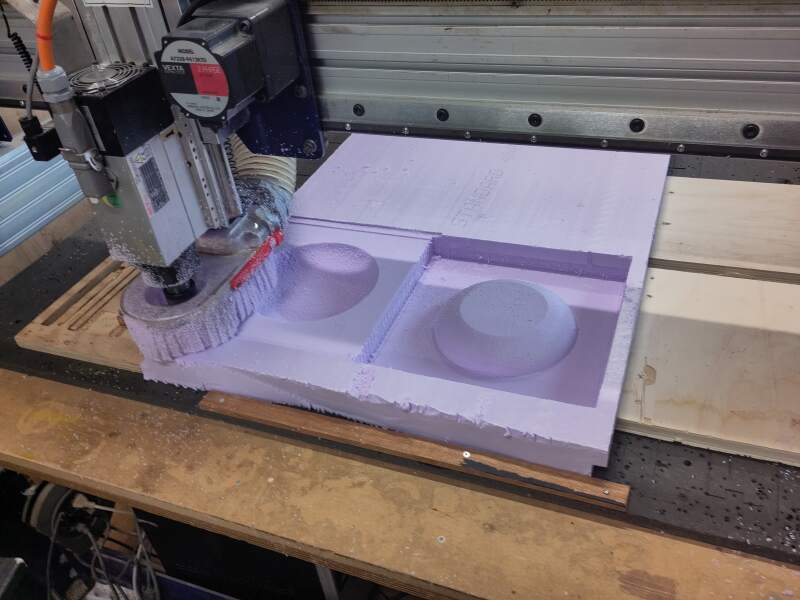
For the top / inner mold, I scaled the model down by 5%.
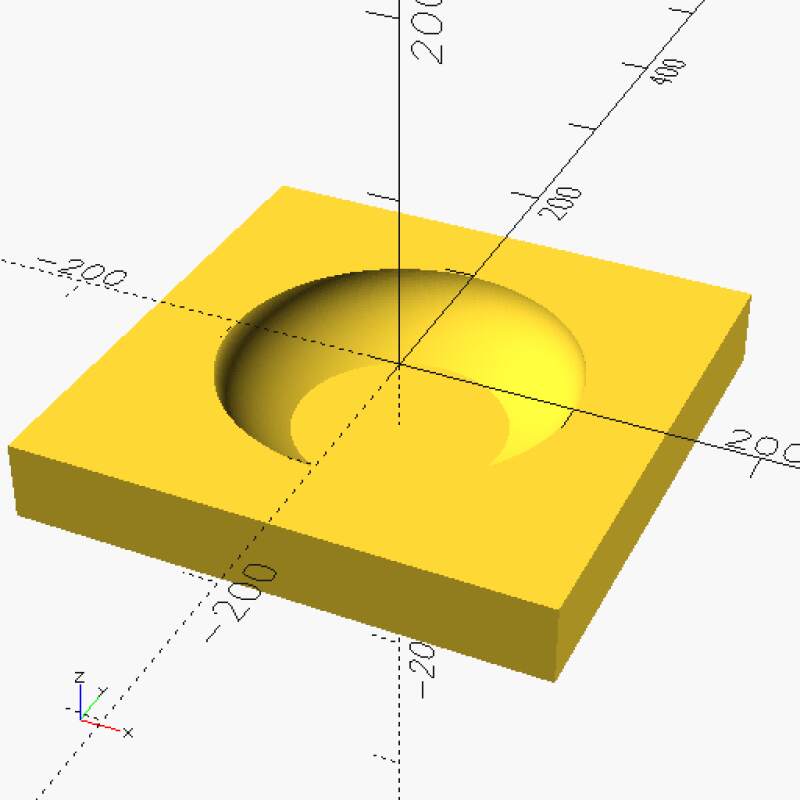
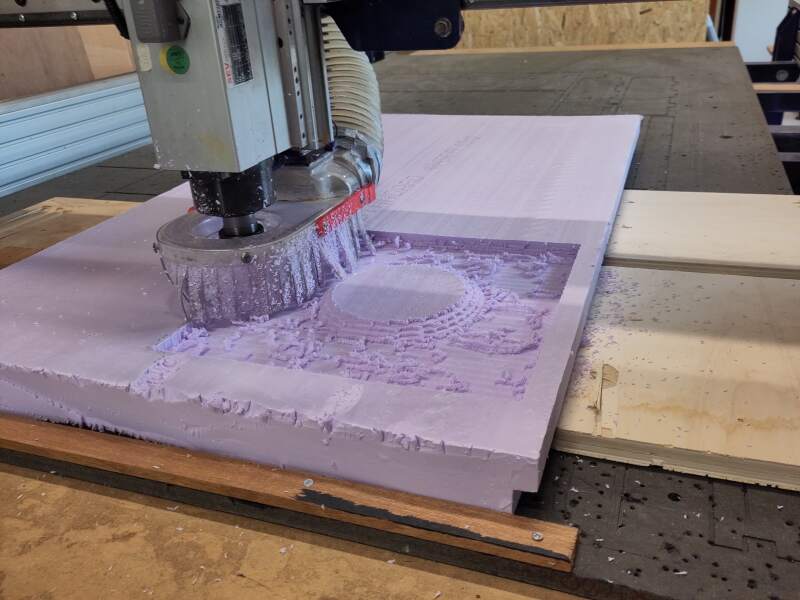
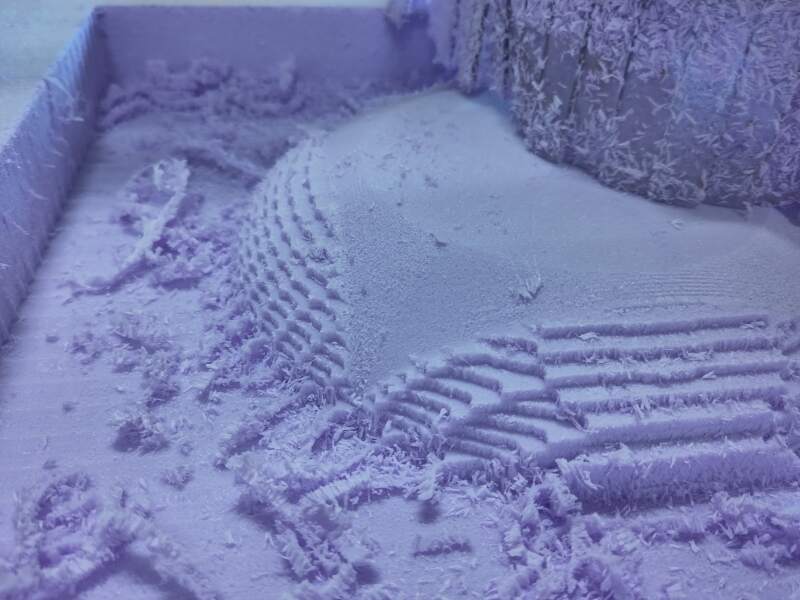
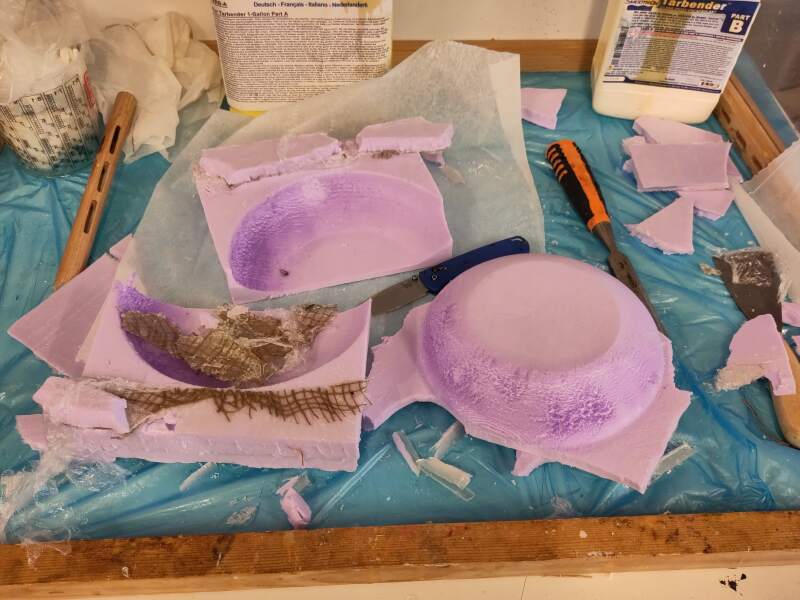
3.2.1. Milling a Mold
I imported the models into V-Carve using STL files and moved the model up to 2mm below the surface of the foam.
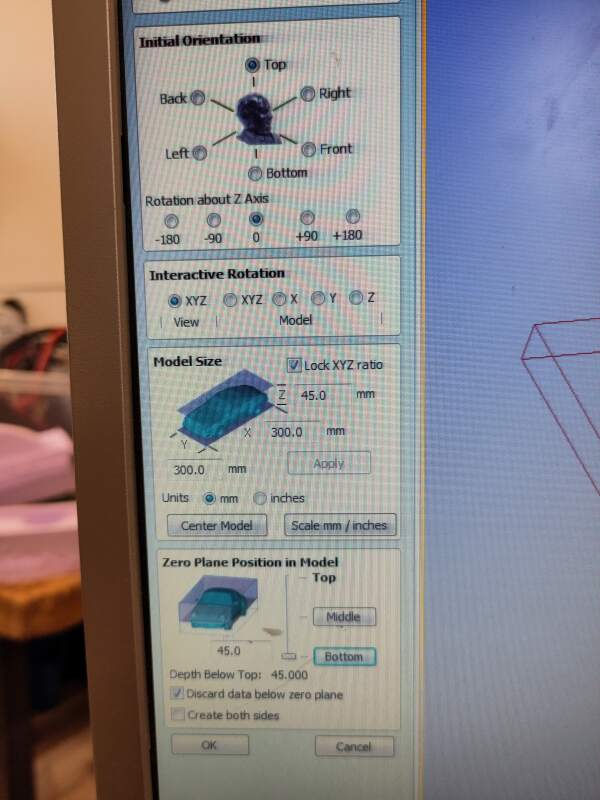
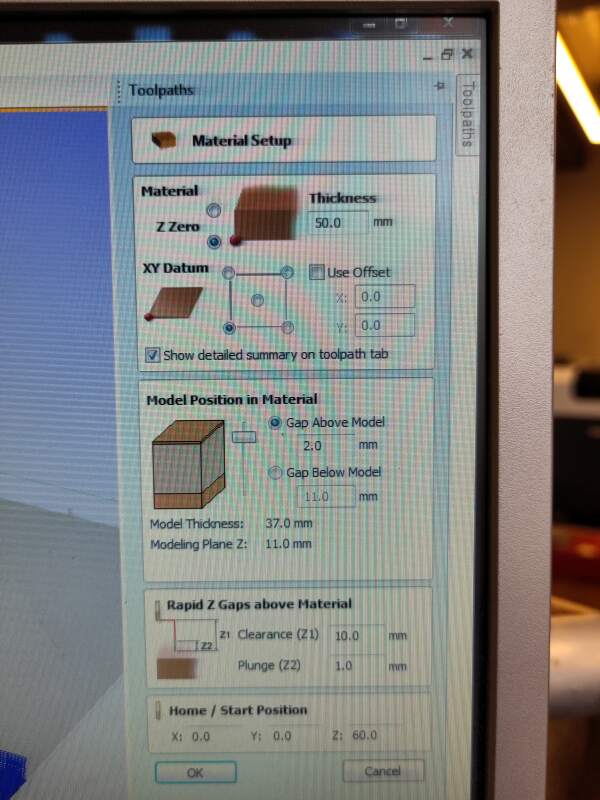
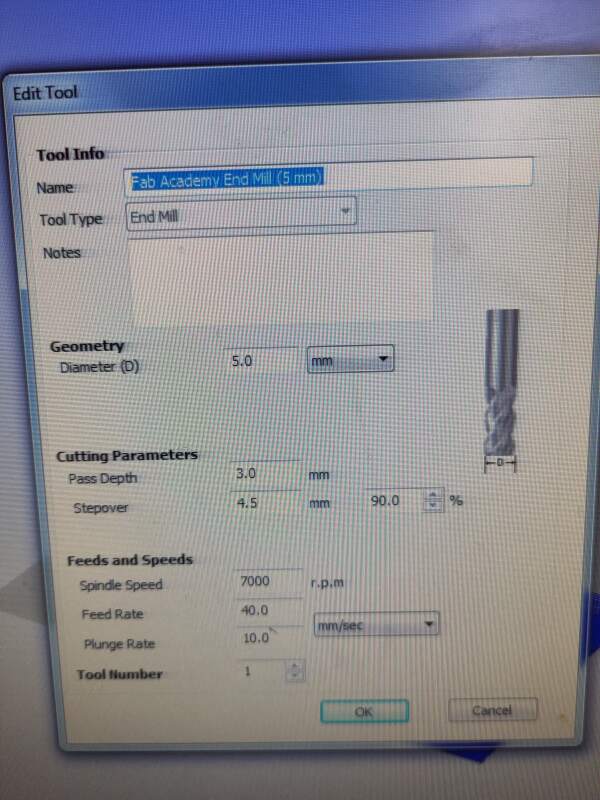
For the roughing, I used the following settings:
- Tool
- 5mm End Mill
- Pass Depth
- 3mm
- Stepover
- 4.5mm
- Spindle Speed
- 7000rpm
- Feed Rate
- 10mm/sec
- Plunge Rate
- 10mm/sec
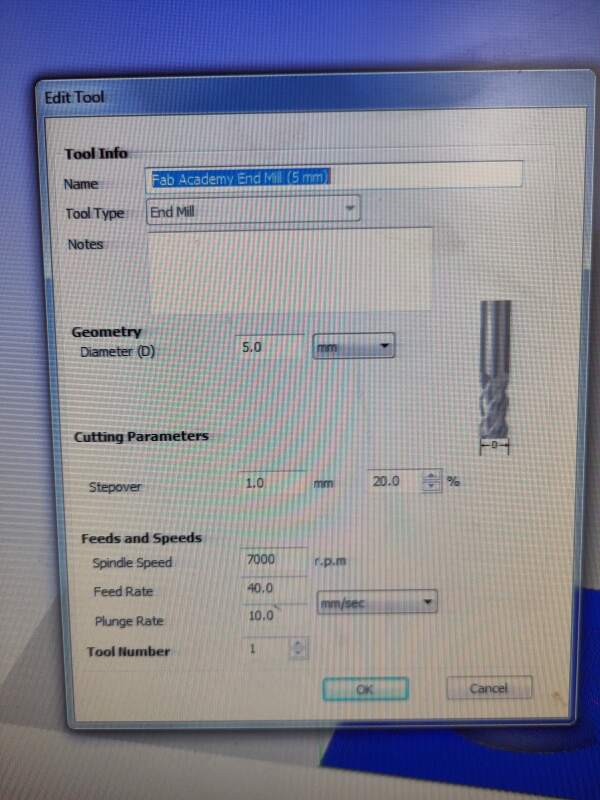
For the finishing, I used the following settings:
- Tool
- 5mm End Mill
- Stepover
- 1mm
- Spindle Speed
- 7000rpm
- Feed Rate
- 10mm/sec
- Plunge Rate
- 10mm/sec
3.2.2. Applying the Mold
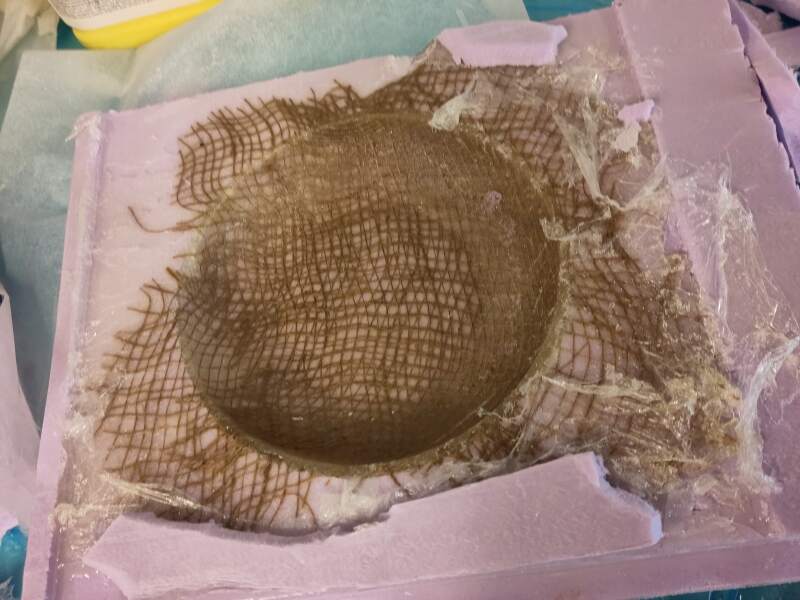
For fibers, I cut wide-threaded burlap in a circle to fit the mold. Heleen helped me prepare the burlap (she was the only one who could fit the protective gloves we had available).
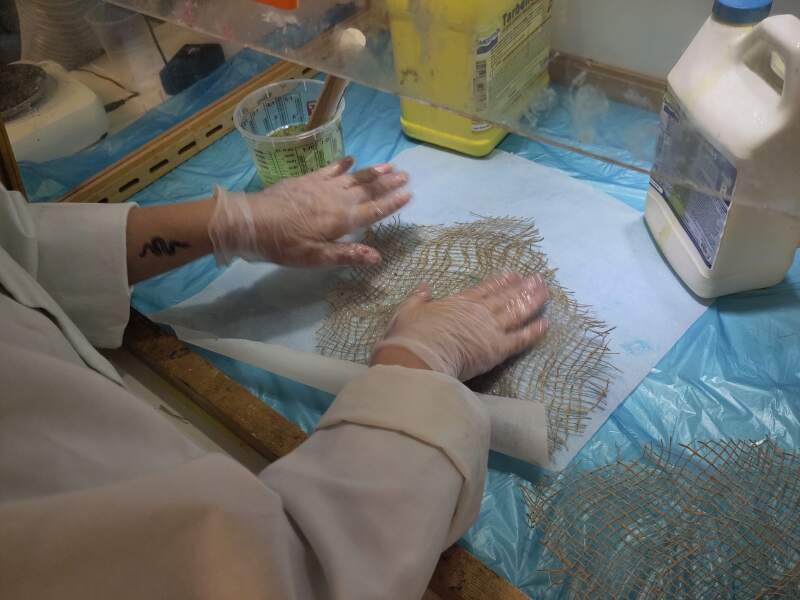
I covered the mold with Vaseline-coated cling-foil before layering the saturated burlap.
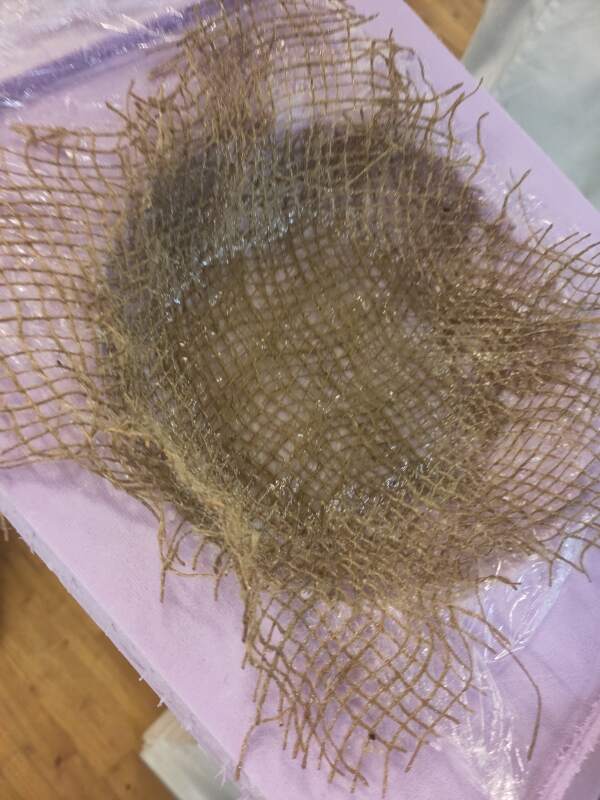
There was a lot of epoxy left, so I decided to pour all of it into the mold.
It's a bit hard to see, but epoxy is leaking out.
3.2.3. Results
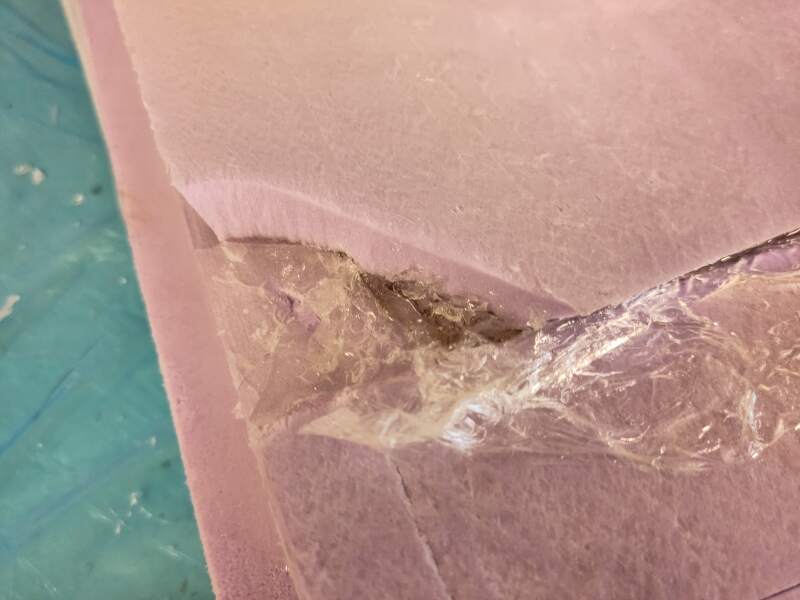
After curing for at least 12 hours, I took it out of the mold. Well, I wrestled it out of the mold! Because of the excess epoxy, the foam mold was glued shut, and the cling-foil and Vaseline did not do a very good job as a release agent.
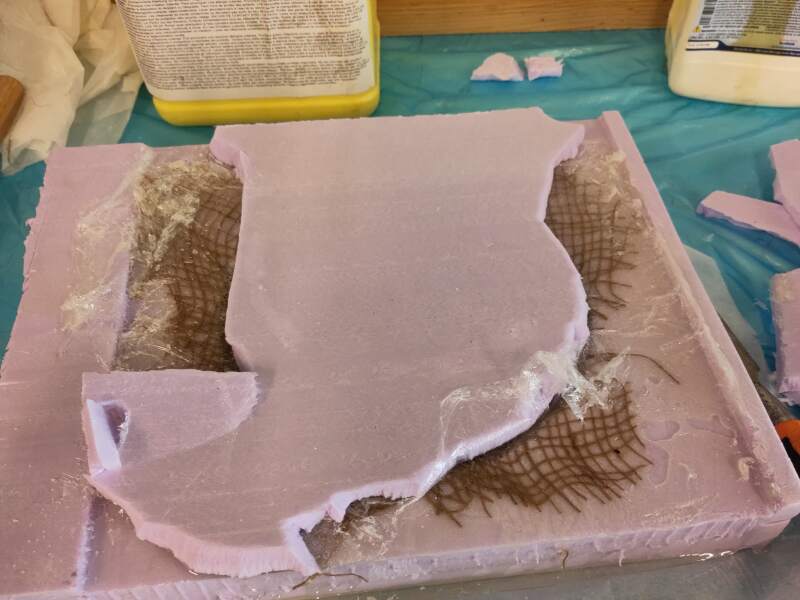
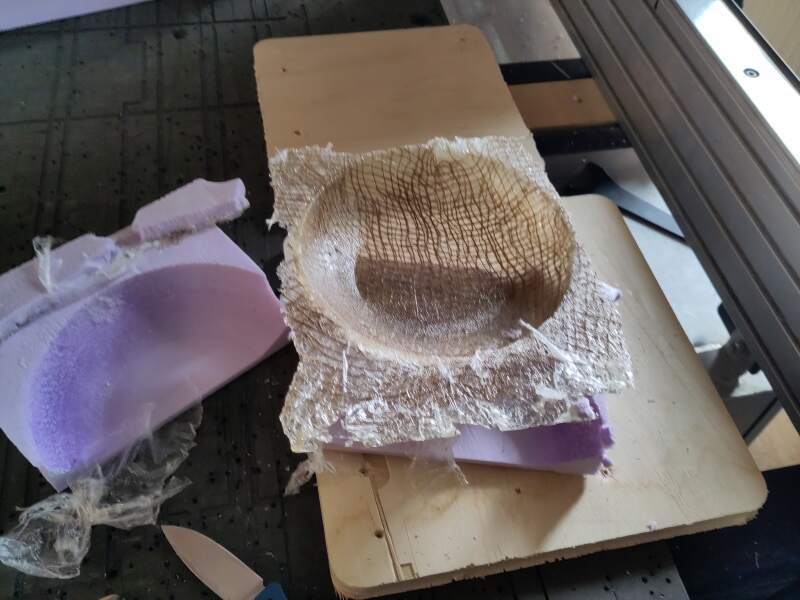
The result is quite nice.
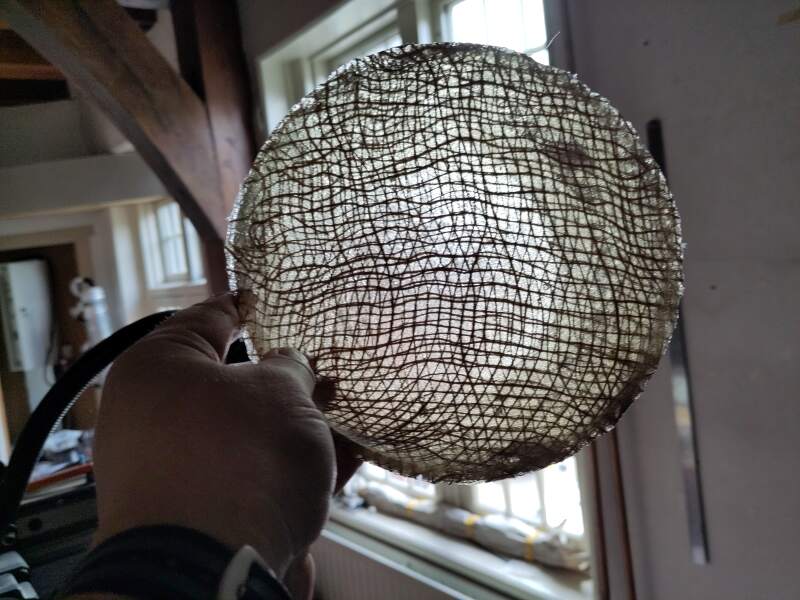
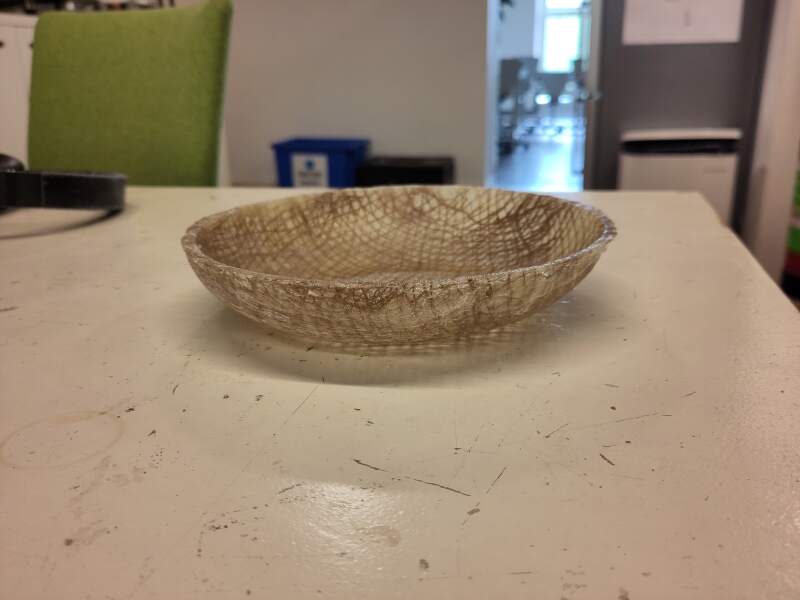
To be honest, it still needs some Dremel-time to make it look nice. Also, it's quite brittle.
4. Reflection
This week felt like a distraction, IMHO. Especially milling a mold, which took a lot of time (probably also because the feed rate was a bit low).
4.1. Good
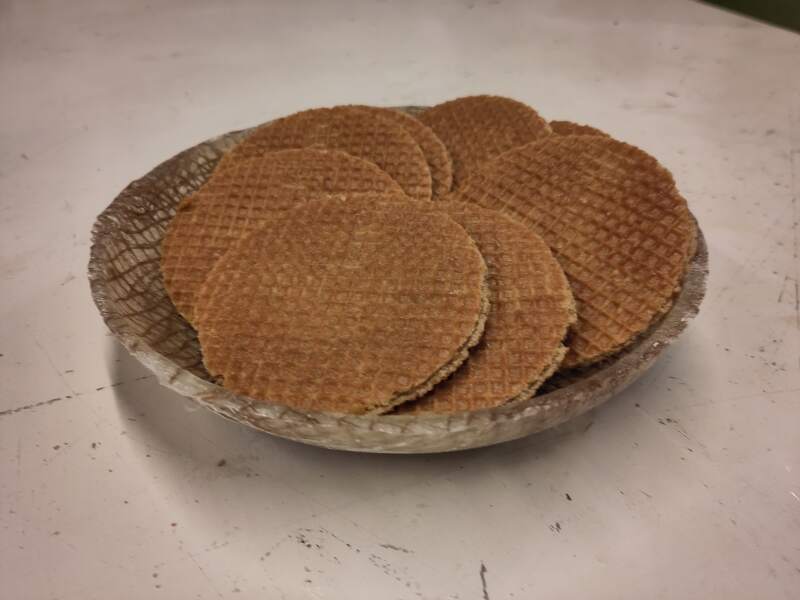
The result matches stroopwafels very well.
