PROJECT DEVELOPMENT
Assignment
- Develop a plan for dissemination of your final project
- Complete your final project, tracking your progress:
- what tasks have been completed, and what tasks remain?
- what's working? what's not?
- what questions need to be resolved?
- what will happen when?
- what have you learned?
Timeline
Progress
Task Status
Questions to Resolve
- How can pill jamming inside the dispensing chamber be prevented?
- What is the most reliable method for aligning the rotating disc accurately?
- How much motor torque is required when the compartments are fully loaded?
- What is the best way to detect whether a pill was successfully dispensed?
- How can power consumption be reduced for longer battery life?
- How can the system notify users or caregivers when a dose is missed?
- How durable are the 2D-printed moving parts after repeated usage?
- What improvements are needed for smoother servo and stepper synchronization?
- How can the user interface be simplified for elderly users?
What Will Happen When
The following timeline outlines the planned sequence of remaining work for MediBee, from the current state through final submission.
Week 18 (Now) — Design Finalization
Complete the Fusion 360 enclosure and rotating disc geometry. Resolve any fit issues between the disc, housing, and motor shaft. Export STL files ready for printing.
Week 19 — Fabrication
3D print the enclosure, rotor discs, and pill gate. Assemble the mechanical parts and verify clearances. Mill the custom PCB and solder all components.
Week 20 — Firmware & Integration
Write and test stepper motor control, servo gate logic, and buzzer alert. Integrate all firmware modules into a single working sketch and run an end-to-end dispense cycle.
Week 21 — Testing & Refinement
Run repeated dispense cycles to check reliability. Fix any pill-jamming or misalignment issues. Validate the buzzer and LED alert on a simulated missed dose.
Final Week — Documentation & Presentation
Complete the Fab Academy documentation page, record the one-minute presentation video, and archive all design files on GitLab with a proper README.
What Have You Learned
Building MediBee across the Fab Academy program has generated a number of practical learnings — both technical and process-related.
PCB Design and Schematic Discipline
Laying out a multi-component board — ESP32, ULN2003, DS3231, TP4056, stepper, servo, buzzer — taught the importance of grouping by function, keeping power and signal traces separate, and checking footprints against physical parts before sending to fabrication.
Mechanical Tolerances in 3D Printing
Even small errors in CAD clearances lead to parts that bind or rattle in real prints. Designing the rotating disc and pill chamber openings required iteration with test prints to find the right fit for reliable dispensing without jamming.
Scoping a Project to What Is Actually Buildable
The original concept included a companion mobile app and wireless dose tracking. Both were cut when it became clear that the mechanical and embedded systems alone required the full available time. Ruthless scoping is as important a skill as technical execution.
Documentation as a Design Tool
Writing up design decisions week by week helped identify gaps and contradictions earlier than they would otherwise have surfaced. Explaining a mechanism in words often reveals that the mechanism itself is not fully thought through.
Intellectual Property and Licensing
Working through the Week 18 IP content made clear how much legal complexity exists around hardware projects — patents, trademarks, copyright, and trade secrets each cover different aspects. Choosing the right license for an educational project requires understanding all of these, not just picking an open-source badge.
09 — 3D Design
3D Design in Fusion 360
This was the first proper piece of work I did for the final project. I used Fusion 360 to model both halves of the shell and the internal tray system — it's parametric so I can adjust things like wall thickness or how many trays it holds without redoing everything.
I hadn't used Fusion much before this course. It's a lot more capable than I expected — and a lot more confusing to start with. The CAM and PCB tools I haven't touched yet, but the solid modelling workflow makes sense once you get used to the timeline at the bottom.
You can download it from the Autodesk website — it's free for students.
What I actually did
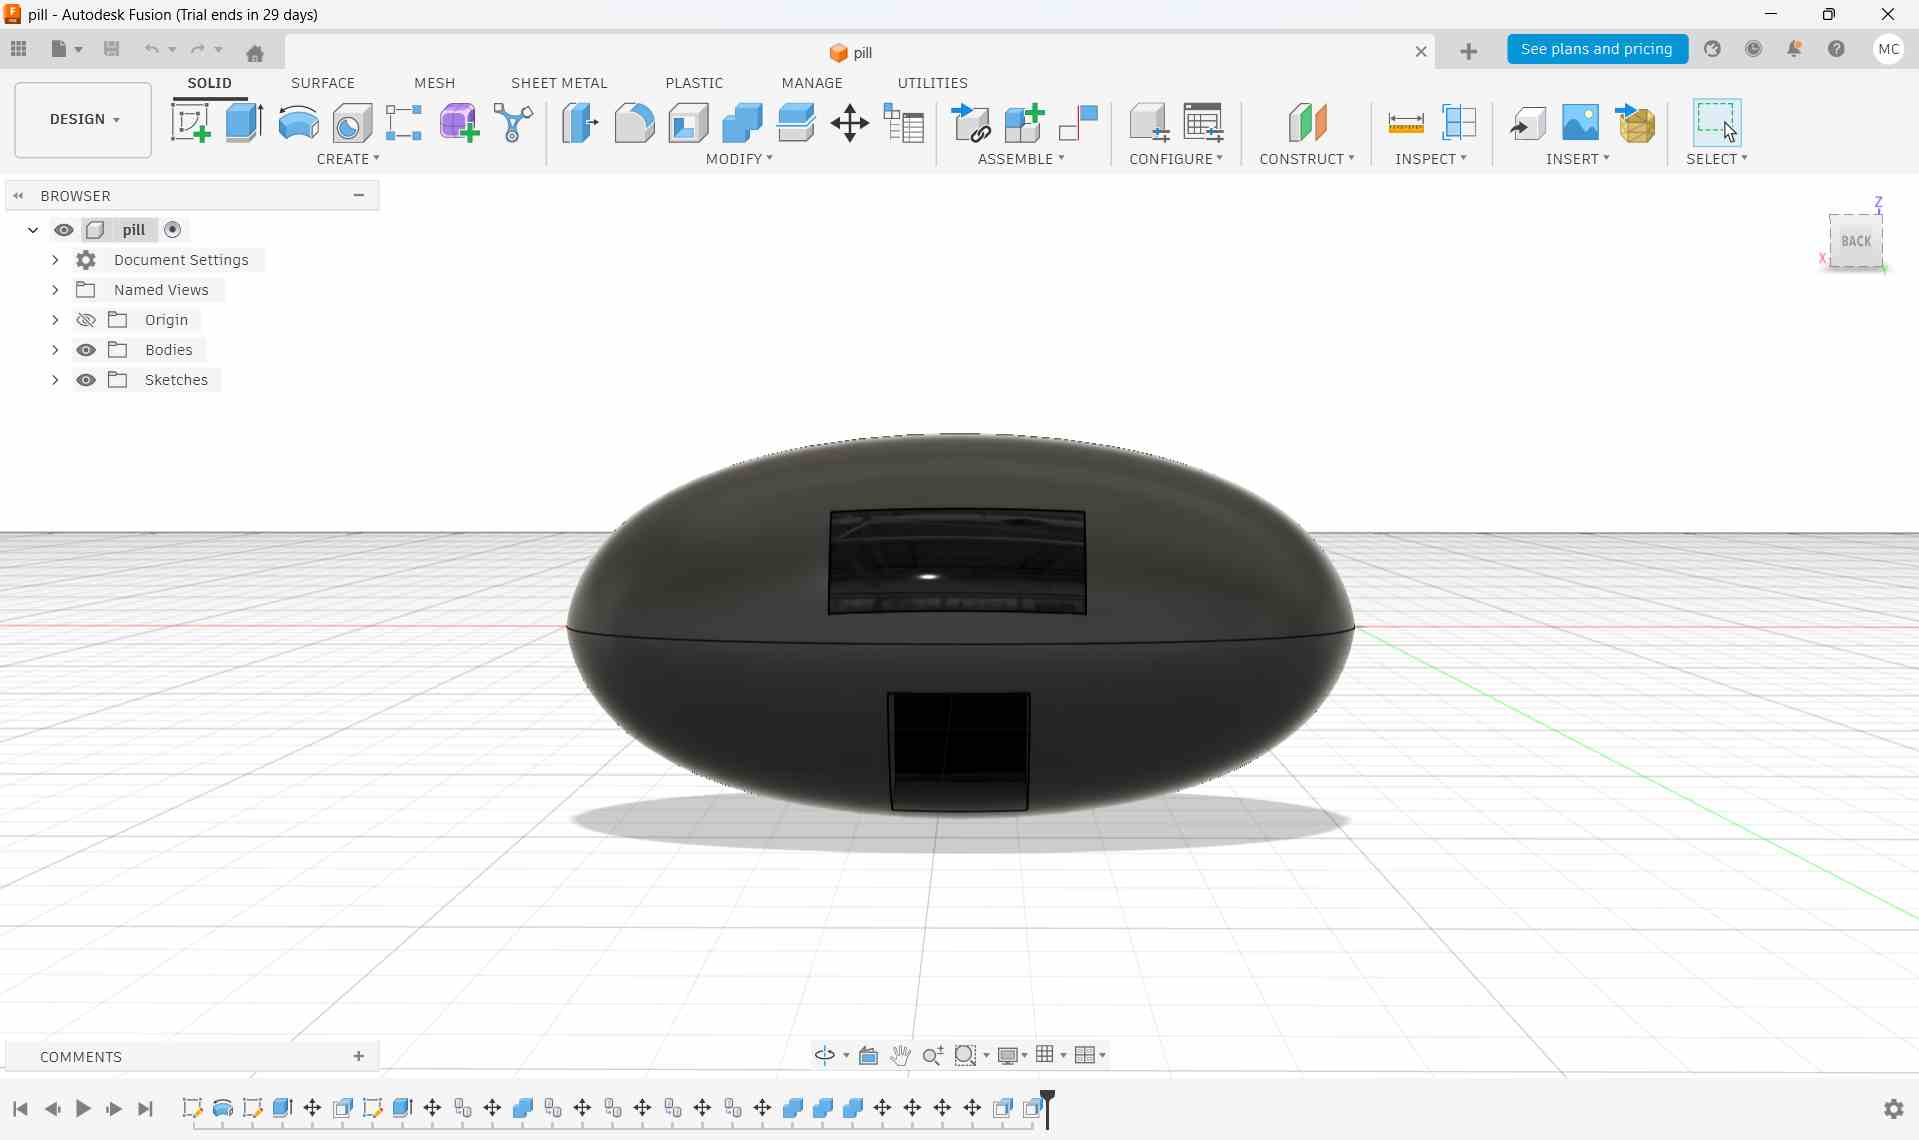
- Modelled the oval body as a single solid, then cut it along the horizontal seam plane to create the two halves.
- Added the screen recess on the top face and the door opening on the bottom face as cut extrusions.
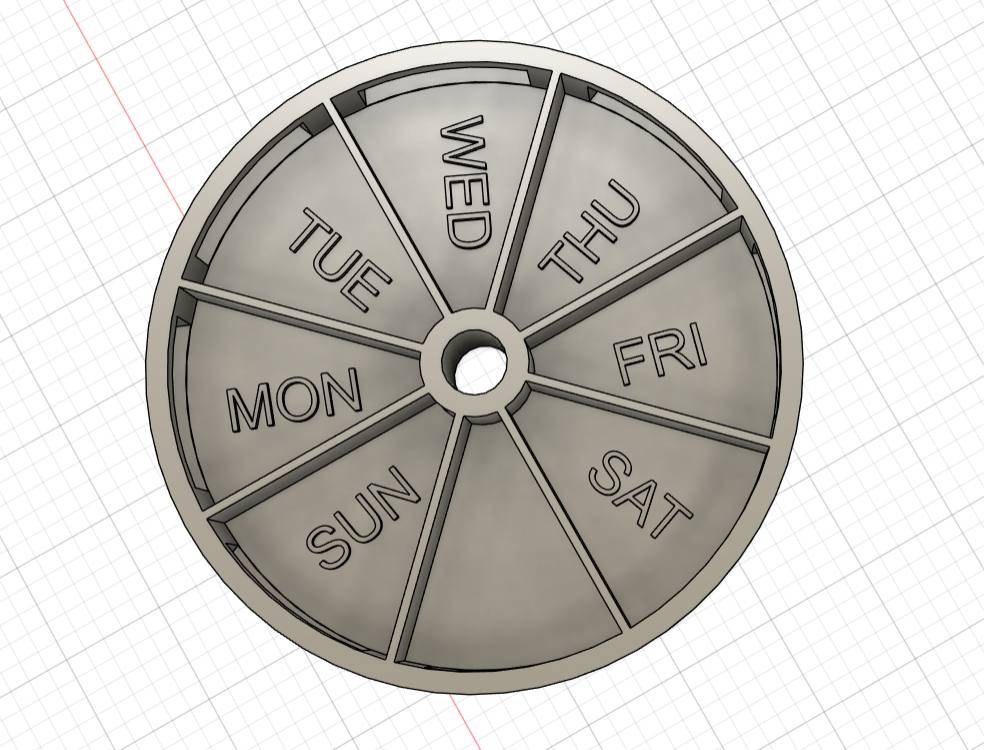
- The three rotor discs were modelled as cylinders with 7 equal wedge-cuts to create the compartments.
- Added 1–2° draft angles on the vertical walls so the print doesn't need excessive supports.
- Applied a dark matte plastic material — the render came out looking almost exactly like the hand-drawn sketch, which felt satisfying.
Here's the final model:
Rendering
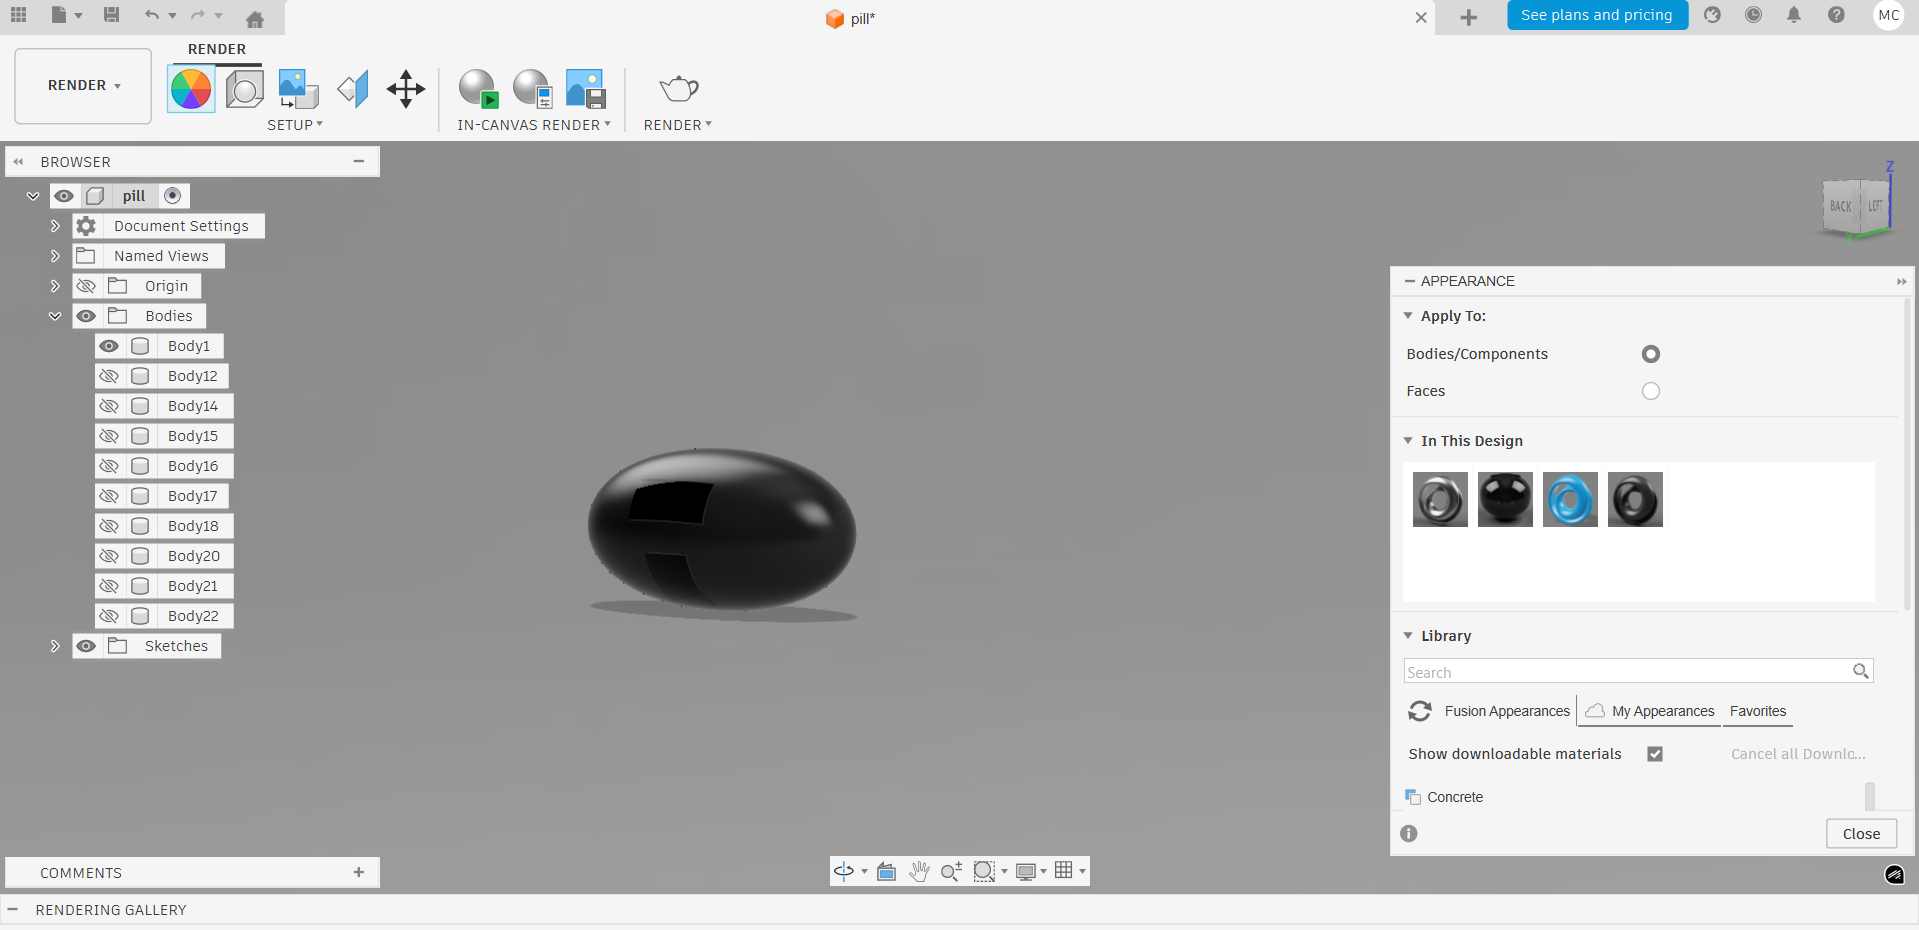
I went into Scene Settings, picked a background from the Environment Library, then hit the In-Canvas Render button. It takes a few minutes but the result is much better than a screenshot of the grey model.

Saved it with the Capture Image tool in the toolbar.
10 — Animation
Product Animation in Blender
Once the Fusion model was done, I exported it as FBX and brought it into Blender. I hadn't used Blender seriously before this, and it is a lot. The interface is not exactly welcoming. But the Cycles renderer makes things look genuinely good once you figure out what you're doing.
What's in the animation
- A slow camera orbit around the closed capsule so you can see the shape from all sides.
- A twist-and-open sequence — the two halves rotate and separate.
- An exploded view pulling the inner trays apart so you can see how they stack.
- Studio lighting with ambient occlusion — trying to make it look like a product photo rather than a 3D render.
Here's the final render:
I also created a medicine tray in blender.
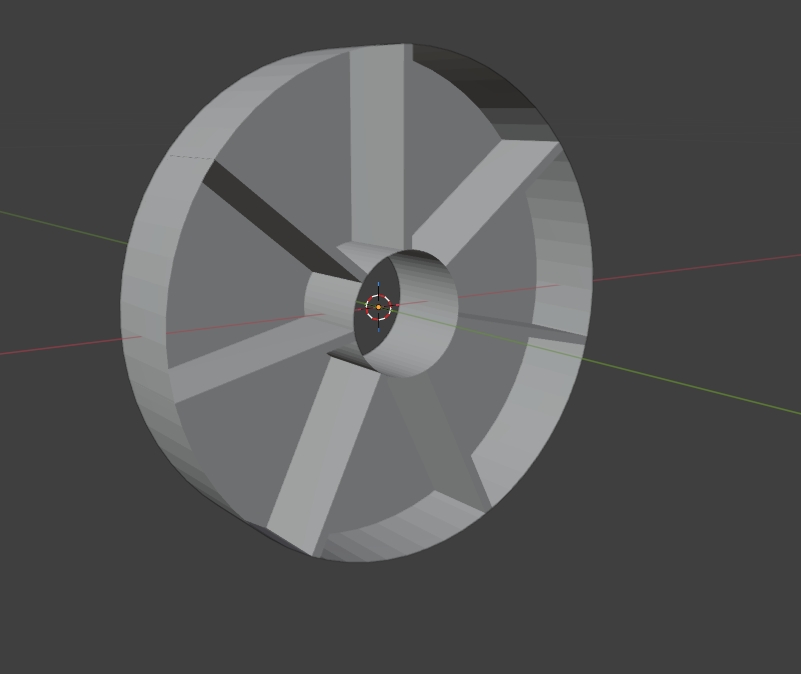
After working in Blender, I again moved onto Fusion, where I created the medicine disk and a cover for it.
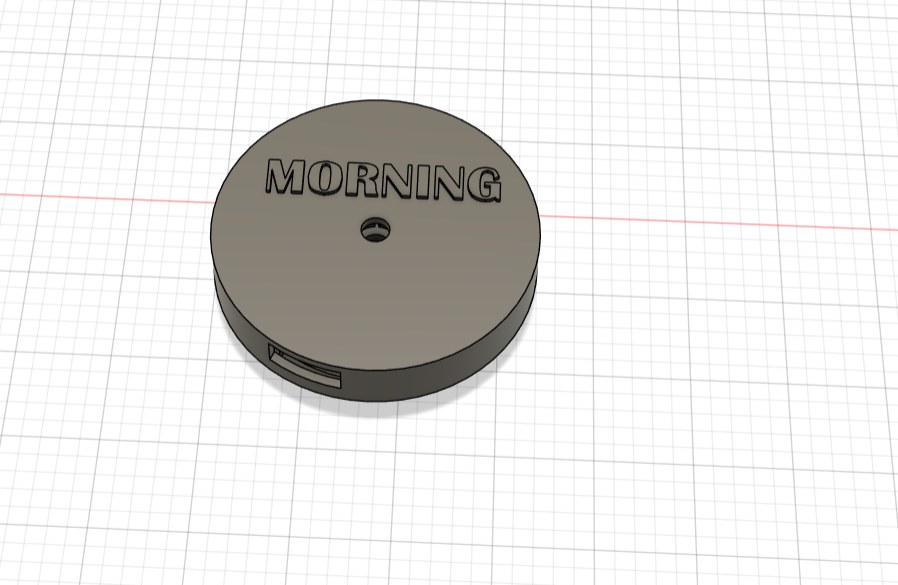

Then I managed to light up an oled that should go as the screen.
Firmware & App
The dispenser is built around a XIAO ESP32C6 microcontroller. It has a rotating disc that holds pills in separate compartments, a servo-controlled gate, a solenoid lock, a buzzer, and an OLED display. Dosing happens automatically on a schedule, but the user needs a way to configure that schedule, monitor whether doses were taken, and trigger a manual dispense if needed.
The interface I built is an Android app written in React Native. The app communicates with the ESP32 over WiFi using a simple HTTP REST API running on the device. Both the phone and the dispenser need to be on the same WiFi network, and the app stores the device IP address so it reconnects automatically every time it opens.
Architecture Overview
The system has three layers:
- Hardware layer — the XIAO ESP32C6 board, connected to the stepper motor, servo, solenoid, buzzer, Hall sensors, and OLED display
- Communication layer — an HTTP server running on the ESP32, port 80, exposing REST endpoints the app can call
- Application layer — the React Native Android app, running on the user's phone, consuming those endpoints
The app never talks directly to the hardware pins. It makes HTTP requests to named endpoints on the device — /schedule, /dispense, /history, /status — and the firmware handles translating those into physical actions. This separation means the app logic and the hardware logic stay independent: changing the motor control code does not break the app, and adding a new screen to the app does not touch the firmware.
ESP32 Firmware
The firmware runs on the XIAO ESP32C6 using the Arduino framework. Its job is to manage the hardware and expose a REST API the app can call. I wrote it in Arduino C++ and flashed it using Arduino IDE 2 with the ESP32 board package and the following libraries:
- ArduinoJson — parsing and generating JSON for all API requests and responses
- NTPClient — syncing the device clock to
pool.ntp.orgwith IST offset - ESP32Servo — controlling the gate servo
- Adafruit SSD1306 + Adafruit GFX — driving the OLED display
REST API Endpoints
Every endpoint adds CORS headers so the app can call them from any origin. All request and response bodies are JSON.
| Endpoint | Method | Description |
|---|---|---|
/status |
GET | Device health, current disc slot, next dose time, WiFi signal, uptime |
/schedule |
GET | Returns the full list of dose slots with their times and enabled state |
/schedule |
POST | Replaces the full slot list — up to 8 slots, each with an id, time, and enabled flag |
/dispense |
POST | Manually triggers dispense for a given slot number |
/history |
GET | Returns the last 30 dispense events with taken/missed status and timestamps |
/settings |
POST | Toggle buzzer on/off, or push new WiFi credentials to the device |
/reset |
POST | Reboots the ESP32 |
Startup Sequence
When the device powers on, the firmware runs through a fixed startup sequence in setup():
- Configure all GPIO pins — buzzer, solenoid, Hall sensors, stepper motor
- Lock the solenoid and close the gate servo to a known state
- Initialize I2C and bring up the OLED display
- Load saved data from NVS (non-volatile storage) — dose schedule, history, buzzer preference
- Auto-detect the lid Hall sensor polarity by sampling 20 readings at boot
- Home the disc by stepping the stepper until the disc Hall sensor triggers
- Connect to WiFi — 30 attempts with 500ms between each
- Sync time via NTP
- Register all HTTP route handlers and start the server
- Double buzz to signal the device is ready
Dispense Logic
The main loop checks the current time against the saved schedule every 10 seconds. When the current time matches an enabled slot that has not been dispensed yet today, dispenseSlot() fires. The exact sequence depends on the slot index:
- Slot 0 — advances the stepper disc by one compartment using
rotateOneSlot() - Slot 1 — opens the servo gate, waits 5 seconds, then closes it
- Slot 2 and above — unlocks the solenoid, opens the gate, closes it, reopens briefly, then re-locks
Dispensed flags reset at midnight each day. Slots that were missed (the device was off at the scheduled time) are logged as missed in the history.
The React Native App
The app is a single-file React Native project — all the screens, navigation, API calls, and styles live in one MediBeeApp.tsx file. I chose React Native because it targets Android directly and I am familiar with JavaScript. The APK is built using Gradle and runs standalone on the phone with no dev server needed.
Shared State — AppCtx
At the root level, a React context called AppCtx holds three values shared across all screens:
- ip — the ESP32's IP address on the local network, persisted to AsyncStorage so it survives app restarts
- setIp — function to update the IP from the Settings screen
- online — a boolean set by a 15-second ping loop that polls
GET /statusfrom the root component
Every screen reads online from context and disables action buttons when the device is unreachable. This prevents the user from triggering requests that will silently time out.
API Layer — apiFetch
All network calls go through a single wrapper function, apiFetch, that adds a 5-second timeout using AbortController. If the request does not complete within 5 seconds the controller aborts it and the caller catches the error. This keeps the UI responsive even when the device is off or the IP is wrong.
Time — IST Without Locale Dependency
The device runs on Indian Standard Time (UTC+5:30). Rather than relying on the phone's locale setting, the app computes IST directly: Date.now() + 5.5 × 3600000. It then reads UTC hours and minutes from that shifted timestamp. This works correctly on any phone regardless of what timezone is set in Android settings.
App Screens
Home
The home screen shows a live IST clock updating every second, the current date, the next scheduled dispense time, and an online/offline badge for the device. Below that, each dose slot in the schedule is listed with a Dispense Now button that posts to /dispense to trigger a manual release. The buttons are disabled and dimmed when the device is offline.

Schedule
The Schedule screen loads the current slot list from the device on open. Each slot shows the dose time in 12-hour format and a toggle switch to enable or disable it. Tapping the time opens a custom time picker modal with up/down arrows for hours and minutes and AM/PM selector buttons. Slots can be added (up to 8) or removed. Nothing is sent to the device until the user taps Save to device, which posts the full updated slot array to POST /schedule.

History
The History screen pulls the last 30 dispense events from GET /history and displays them in reverse chronological order. Each entry shows the slot number, the scheduled time, a timestamp of when the event was recorded, and a taken/missed badge. Pull-to-refresh reloads the list from the device.

Settings
The Settings screen has three sections:
- Device connection — a text field for the ESP32's IP address. The field saves to AsyncStorage on blur so the app remembers the address between sessions. A Test connection button makes a direct fetch to
/statusand shows a green or red result with the failure reason if it does not connect. - Push WiFi to device — fields for SSID and password. Sending these posts to
POST /settingswith the credentials, which the firmware writes to NVS. The device uses them on the next reboot. This means you only need to hardcode credentials once at flash time; after that you can update them OTA from the app. - Hardware — a toggle for the buzzer that posts to
POST /settingsimmediately on change, and a Reset device button that confirms before posting toPOST /reset.
Building the APK
React Native apps need to be compiled into an APK before they can be installed on a phone. The build uses Gradle, which bundles all the JavaScript into the binary so the app runs standalone without a Metro dev server. The key steps were:
- Copy
MediBeeApp.tsxinto the React Native project asApp.tsx - Install dependencies —
@react-navigation/native,@react-navigation/bottom-tabs,react-native-screens,react-native-safe-area-context,@react-native-async-storage/async-storage - Set
JAVA_HOMEto Android Studio's bundled JRE atC:\Program Files\Android\Android Studio\jbr - Run
.\gradlew assembleReleasefrom theandroid/directory - Collect the output APK from
android/app/build/outputs/apk/release/app-release.apk
One important detail: assembleDebug produces an APK that tries to load JavaScript from a Metro dev server at startup. Installing it on a standalone phone with no server running produces a blank screen. The release build bundles the JS, so it works offline.
Gradle 9.x also breaks the React Native plugin, so the wrapper is pinned to Gradle 8.14 in gradle-wrapper.properties.
Result
The app connects to the MediBee dispenser over the local WiFi network, shows live status, lets the user configure the dose schedule and push it to the device, view dispense history, and trigger a manual dispense from any screen. The ESP32 firmware manages all the hardware independently — it runs the schedule and fires dispenses automatically without the phone being open — and the app gives the user visibility and control over that process.
Prompts Used
Both the app and the firmware were developed using Claude Code. Below is the prompt used to generate the initial React Native app. The firmware was built in the same session by extending the API requirements into Arduino C++.
App Prompt
Build a mobile app UI (React Native or Flutter) for a smart pill dispenser called MediBee. The app connects to an ESP32C6 via WiFi.
Screens:

Home Screen
  Current time (IST)
  Current slot number
  Next dispense time
  Device connection status (online/offline)

Schedule Screen
  Shows 3 schedule slots: 08:00, 12:00, 20:00
  Toggle each on/off
  Edit dispense time

History Screen
  Log of past dispenses with timestamp
  Missed dose indicator

Settings Screen
  WiFi credentials input
  Buzzer on/off toggle

Design:
  Clean medical UI
  White/blue color scheme
  Large readable text for elderly users

Backend:
  ESP32 hosts a simple HTTP REST API
  App sends GET/POST requests to ESP32 IP address
Code
MediBeeApp.tsx — React Native App
View full source — MediBeeApp.tsx
medibee_esp32.ino — ESP32 Firmware
View full source — medibee_esp32.ino
License Links and Icons
The license section at the bottom of the page contains multiple clickable links and icons that provide additional information about the project and its licensing terms.
- The “MediBee” text links directly to the final project page where the complete documentation, design process, and development details of the project are available.
- The “Merin Cyriac” link opens the creator’s Fab Academy student page containing weekly assignments, project development work, and documentation.
- The “CC BY-NC-ND 4.0” link opens the official Creative Commons license page which explains the legal terms, permissions, and restrictions associated with the license.
- The small license icons are official Creative Commons symbols that visually represent the permissions and restrictions of the license agreement.
These links help users understand the ownership, usage rights, and documentation source of the project while also giving direct access to the official license information.