Week 01: Project Management & Principles and Practices
Live site: fabacademy.org/2026/labs/chaihuo/students/alison-yang
GitLab repository: gitlab.fabcloud.org/…/alison-yang
Reflection
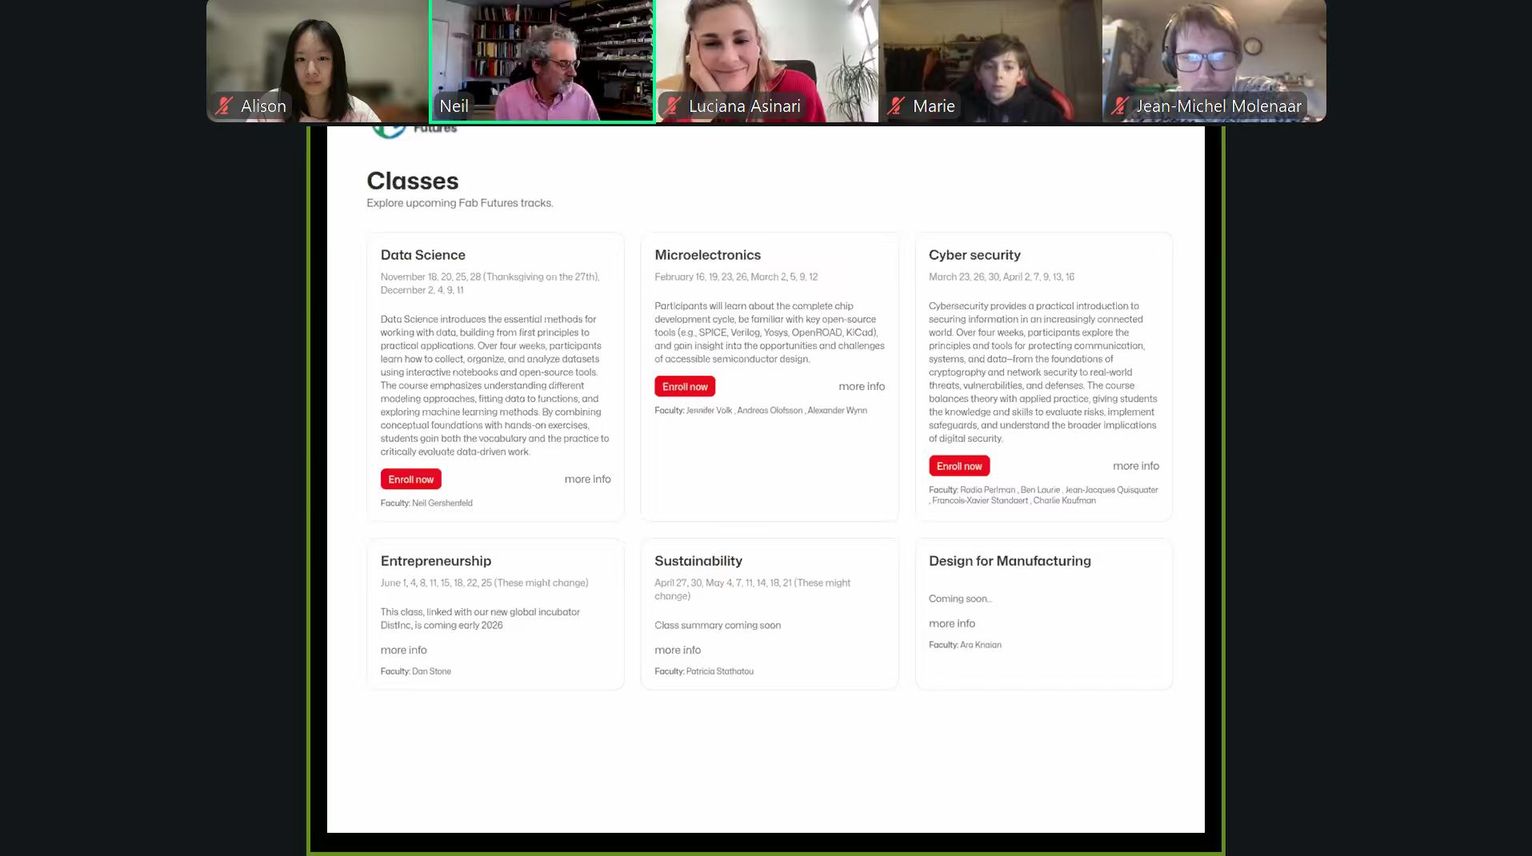
I am very excited to start my Fab Academy journey. In the first global meeting, I saw more than 200 participants and even noticed some familiar faces: Saheen, Rico, and Camila. That gave me a lot of energy and made the Fab Academy community feel warm, open, and welcoming.
This week focused on setting up Git and GitLab, building my personal documentation website, compressing and organizing images, and starting to sketch a final project idea. I come from a less technical background, so all of these tools were completely new to me. It was challenging, honestly more challenging than I expected, because instructors said it was the simplest week. But it gave me a solid foundation.
Assignment Checklist
| Task | Status |
|---|---|
| Learn Git basics and set up GitLab | ✅ Done |
| Generate and add SSH key | ✅ Done |
| Clone repository and push first commit | ✅ Done |
| Build personal documentation website | ✅ Done |
| Set up CI/CD pipeline for auto-publishing | ✅ Done |
| Compress and organize all images | ✅ Done |
| Sign and commit student agreement | ✅ Done |
| Sketch final project concept | ✅ Done |
You can also see my final project concept here: Final Project
1. Git and GitLab Setup
What is Git?
Before this week, I had only heard of GitHub — an online platform where people store, track, and share code. I guessed GitLab would work in a similar way, and that turned out to be right.
Before starting, I searched for background information using Perplexity and other references to understand the difference.
Git is the underlying version control tool — it tracks every change made to files in a project, lets you go back to earlier versions, and allows multiple people to collaborate without overwriting each other's work. I understand Git as a combination of "track changes" and a time machine for a project folder.
GitLab is a hosting platform for Git repositories, similar to GitHub. Fab Academy uses Fab Cloud GitLab to host student repositories.
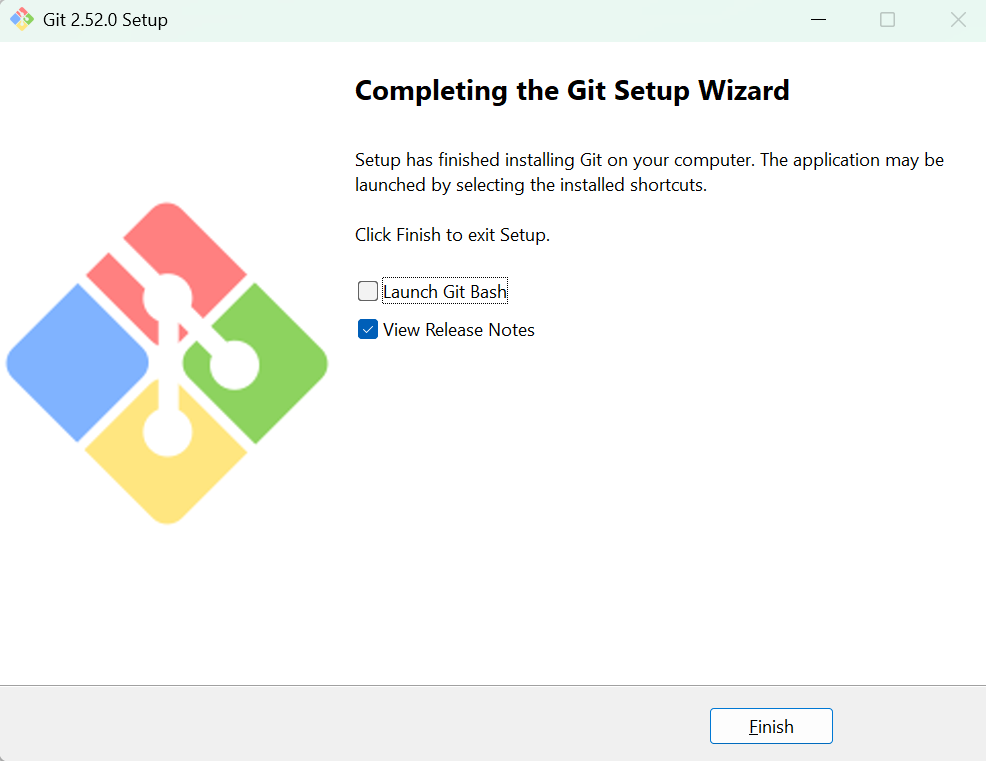
Installing Git
I downloaded Git from git-scm.com and installed version Git 2.52.0 for Windows.

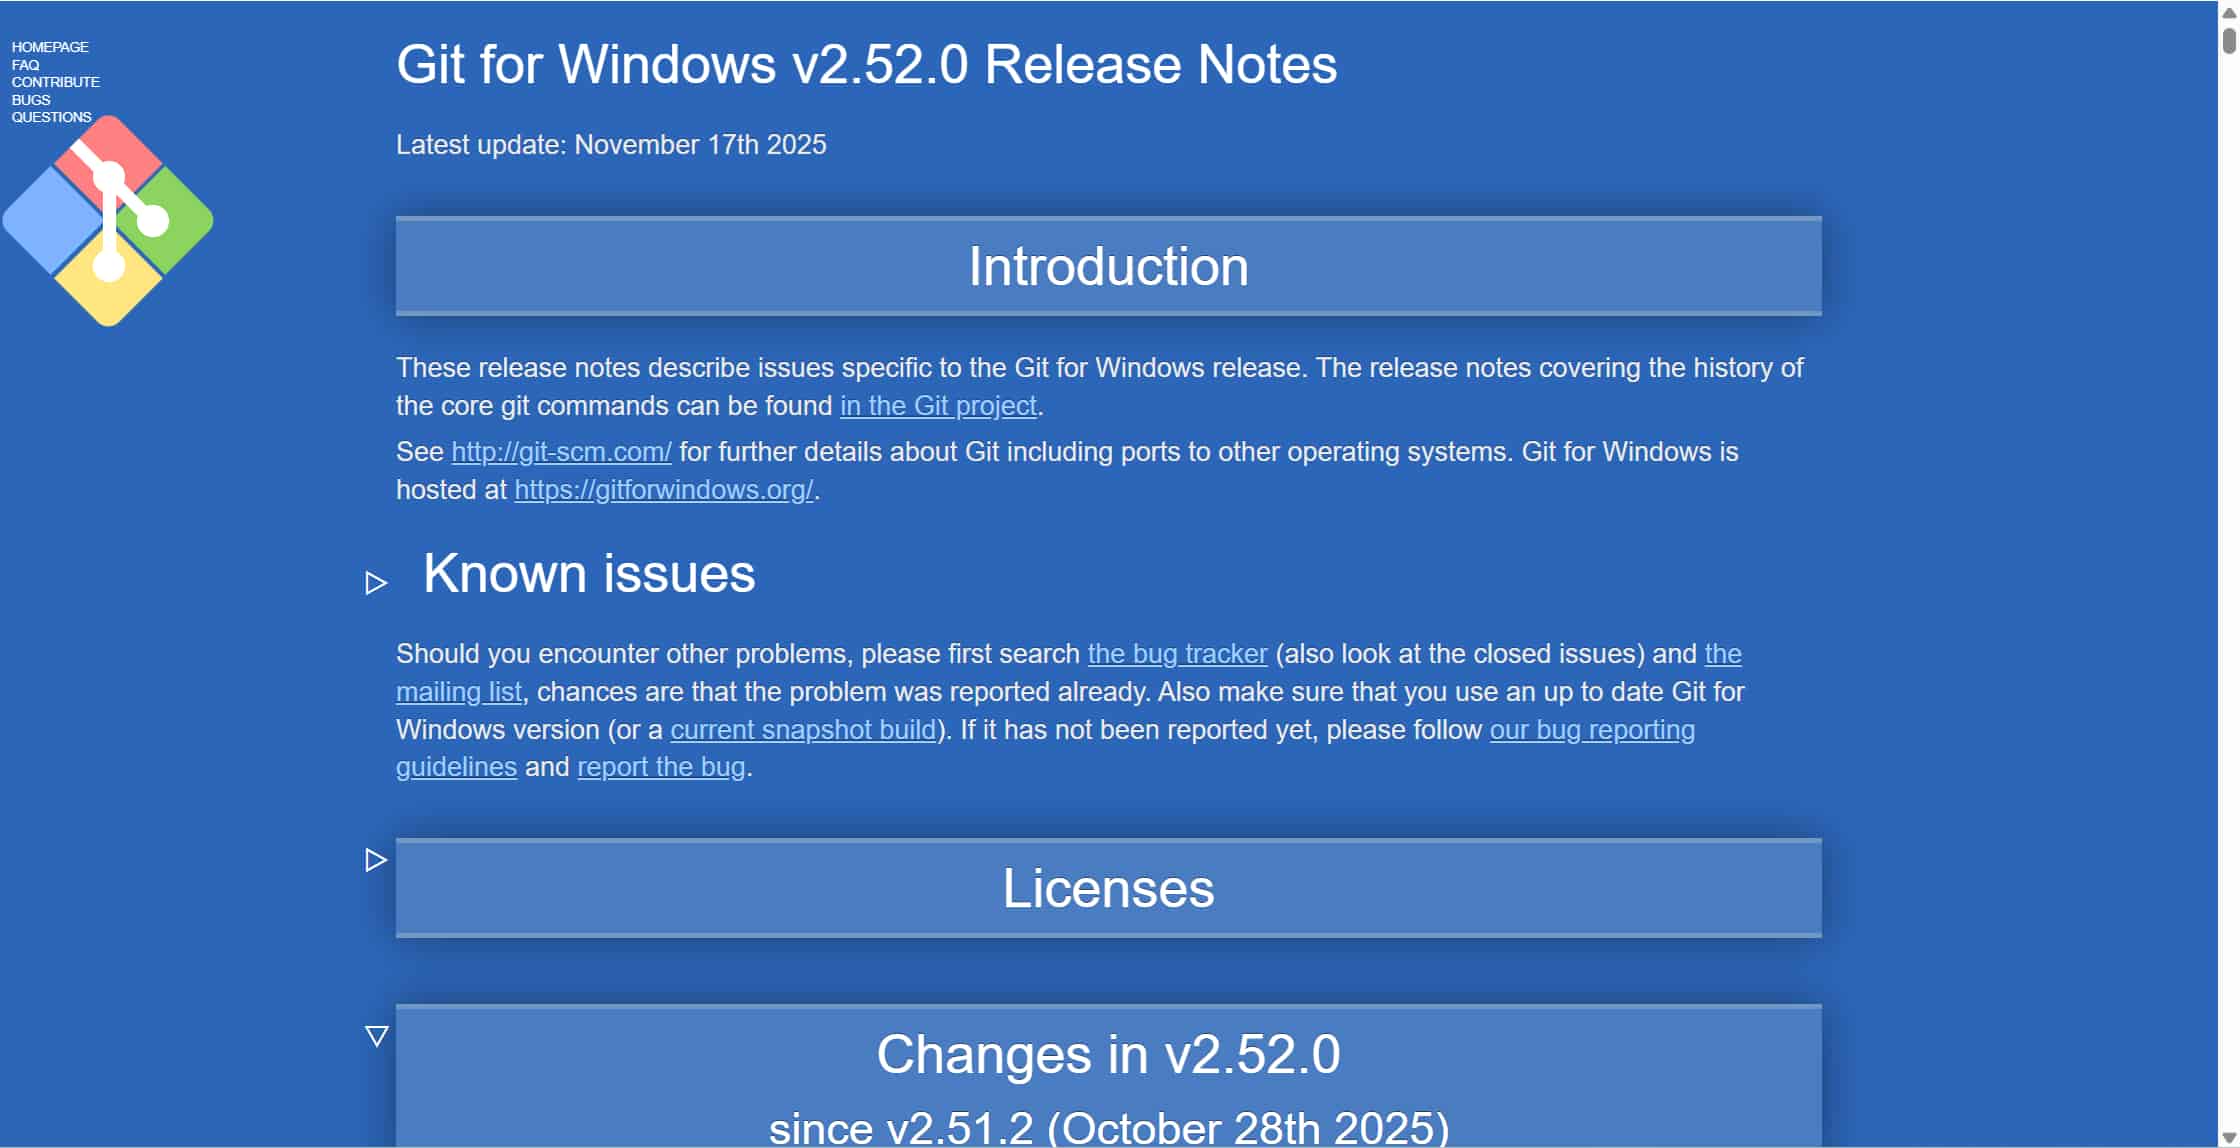
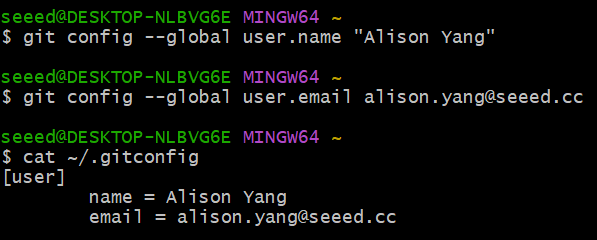
After installation, I verified it was working and set my identity:
git --version
# git version 2.52.0.windows.1

git config --global user.name "Alison Yang"
git config --global user.email alison.yang@seeed.cc
I confirmed the config was saved:
cat ~/.gitconfig
Setting Up SSH Authentication
SSH (Secure Shell) is a way to connect securely to a remote server without typing a password every time. It uses a pair of cryptographic keys: a private key that stays on my computer and a public key that I register on GitLab.
I followed the tutorial by Fab Academy alumni Camila, which walked through each step clearly.
Step 1 — Generate the key pair:
ssh-keygen -t ed25519 -C "alison.yang@seeed.cc"
I pressed Enter to accept the default file path (~/.ssh/id_ed25519) and chose an optional passphrase.
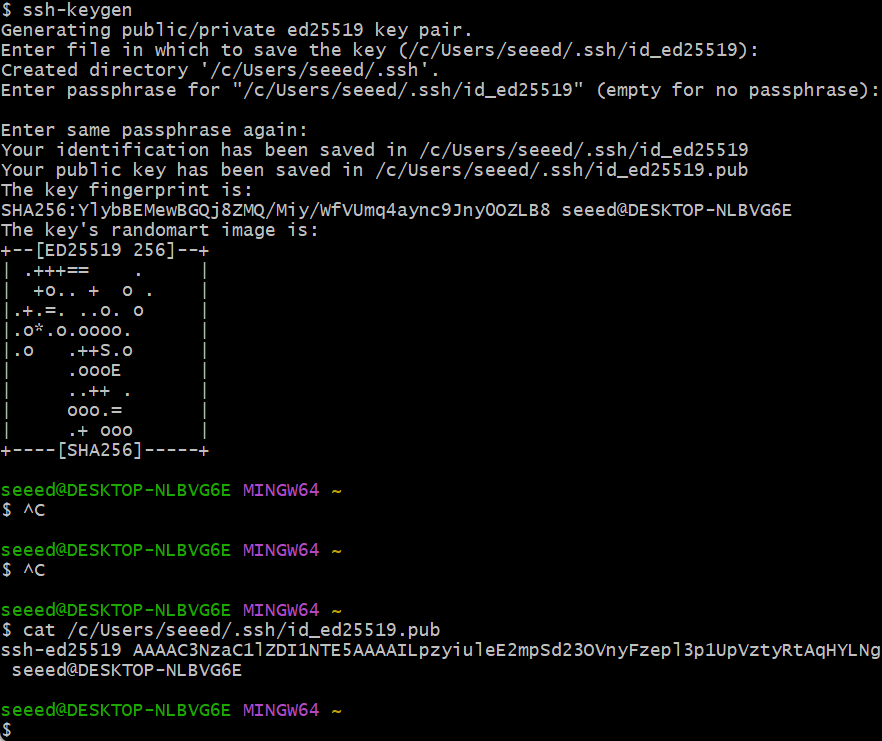
Step 2 — Copy the public key:
cat ~/.ssh/id_ed25519.pub
Step 3 — Add it to GitLab:
I went to GitLab → Settings → SSH Keys, pasted the public key, set a descriptive title ("Alison-Windows-Laptop"), and left the expiration date blank.
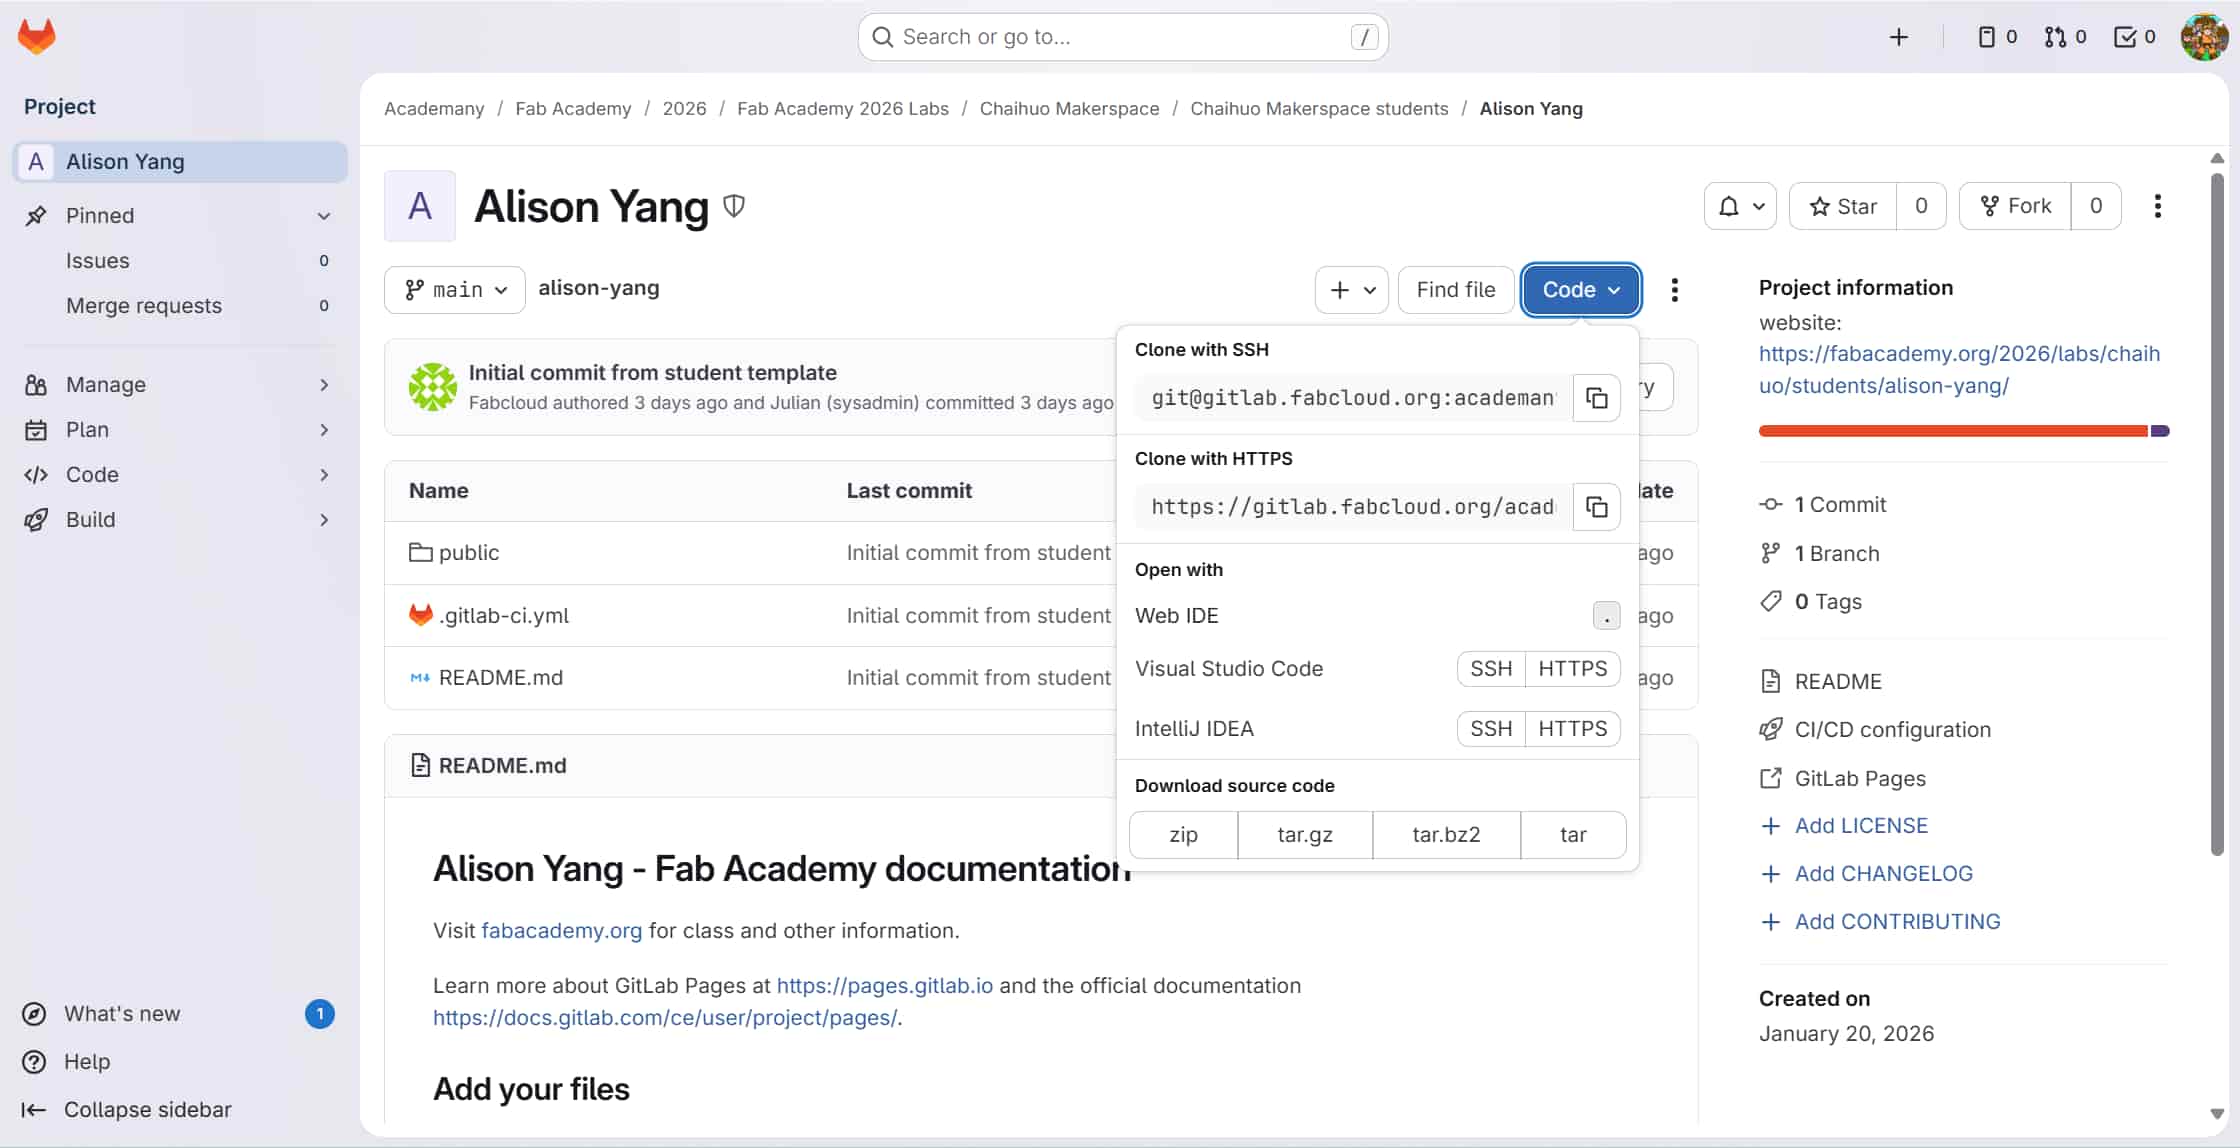
Cloning the Repository and First Push
With SSH working, I cloned my assigned repository and made my first commit:
# Clone the repo
git clone git@gitlab.fabcloud.org:academany/fabacademy/2026/labs/chaihuo/students/alison-yang.git

# Navigate into it
cd alison-yang

# Create a test file and commit
echo "# Alison Yang - Fab Academy 2026" > README.md
git add README.md
git commit -m "Initial commit: add README"
git push origin main
Tip I learned: Avoid using Ctrl+C / Ctrl+V for terminal commands — hidden characters can cause unexpected errors. Either type commands manually or paste using right-click in the terminal.
The full Git workflow I now follow for every documentation update:
git add .                          # stage all changed files
git commit -m "Week 01: add Git setup docs"   # describe the change
git push origin main               # upload to GitLab
2. Building My Website
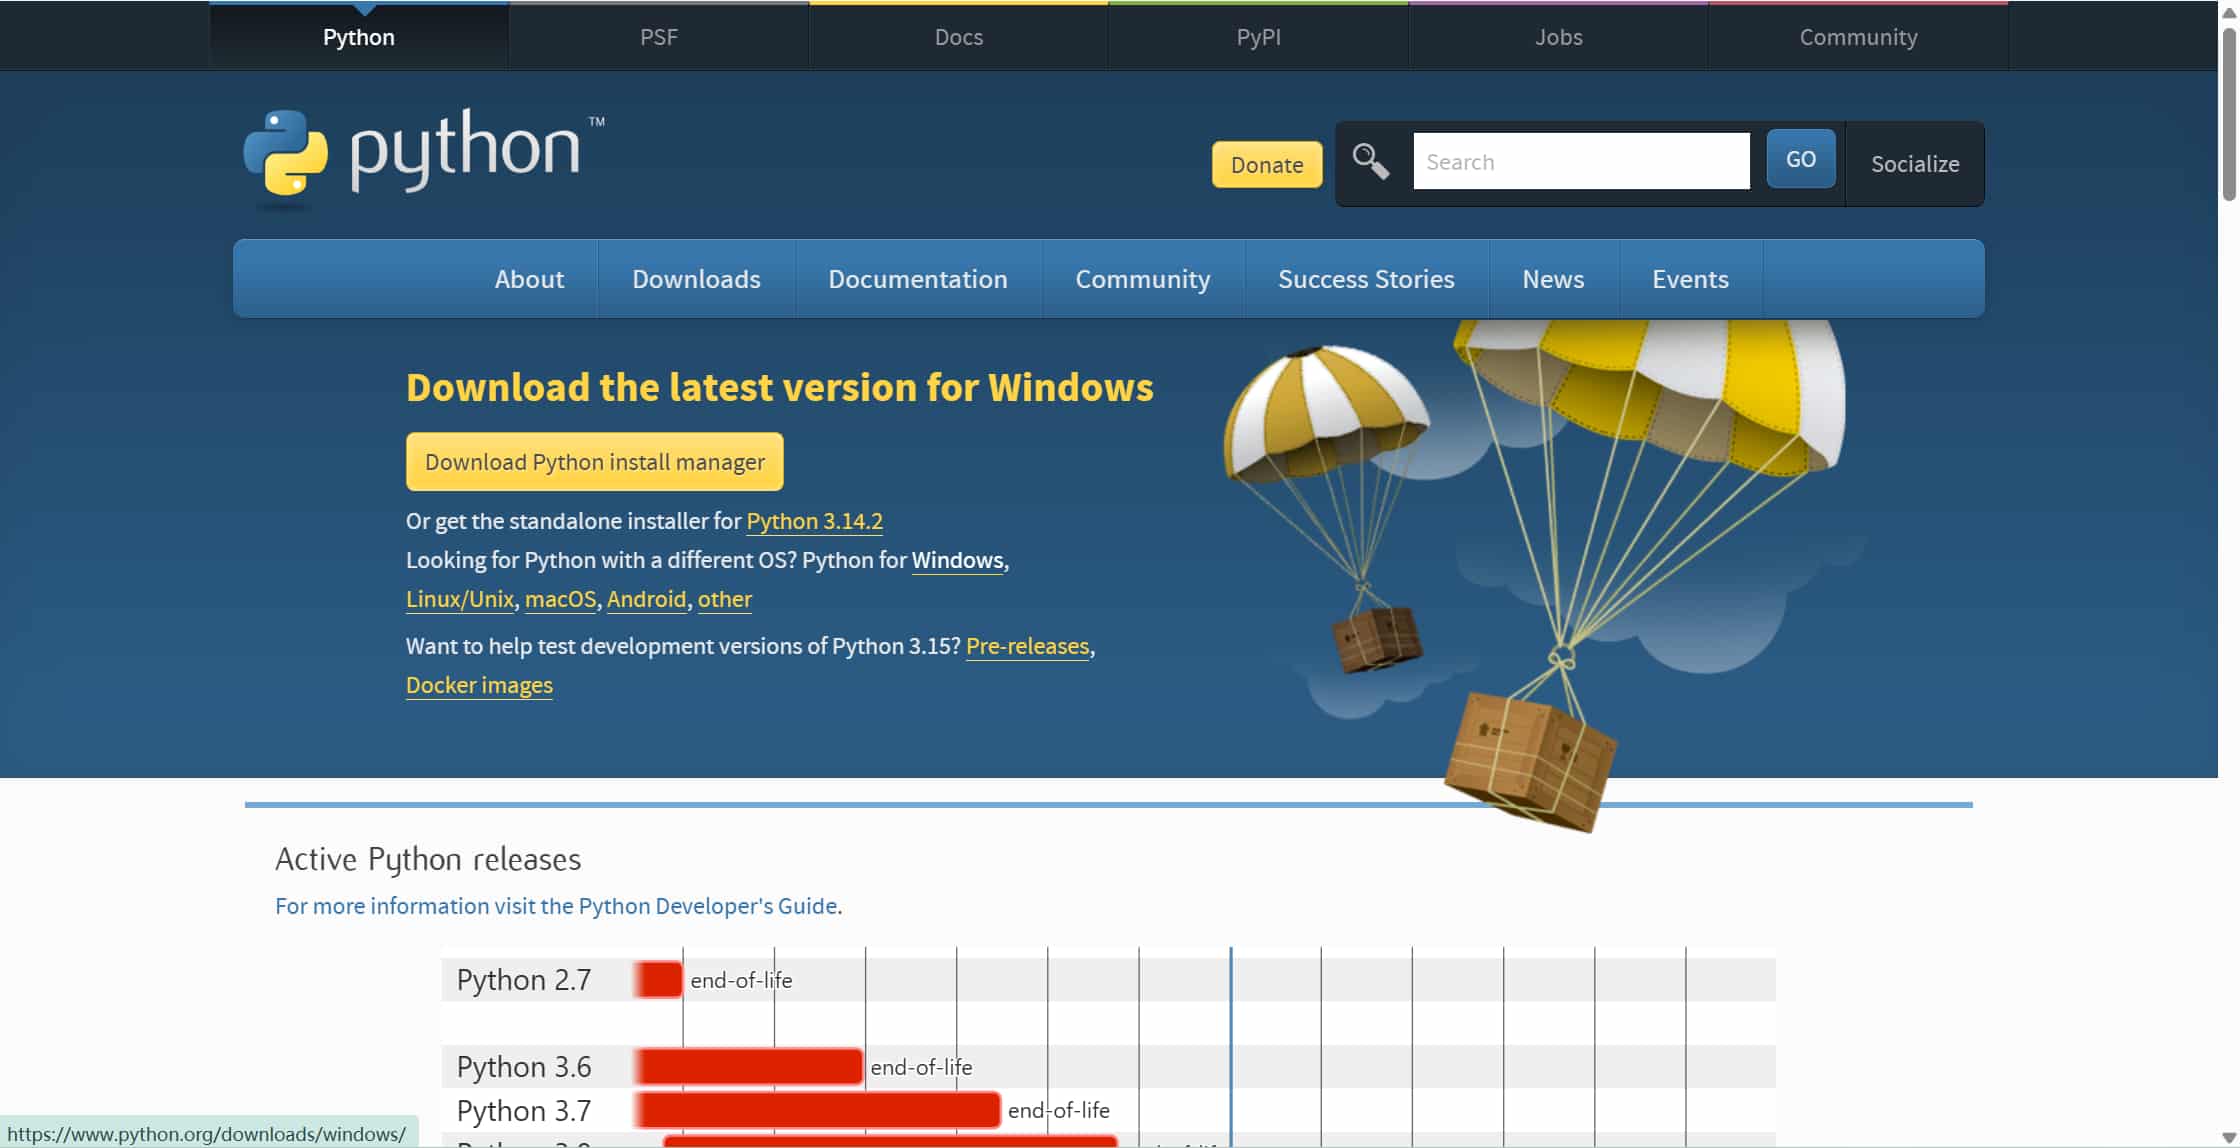
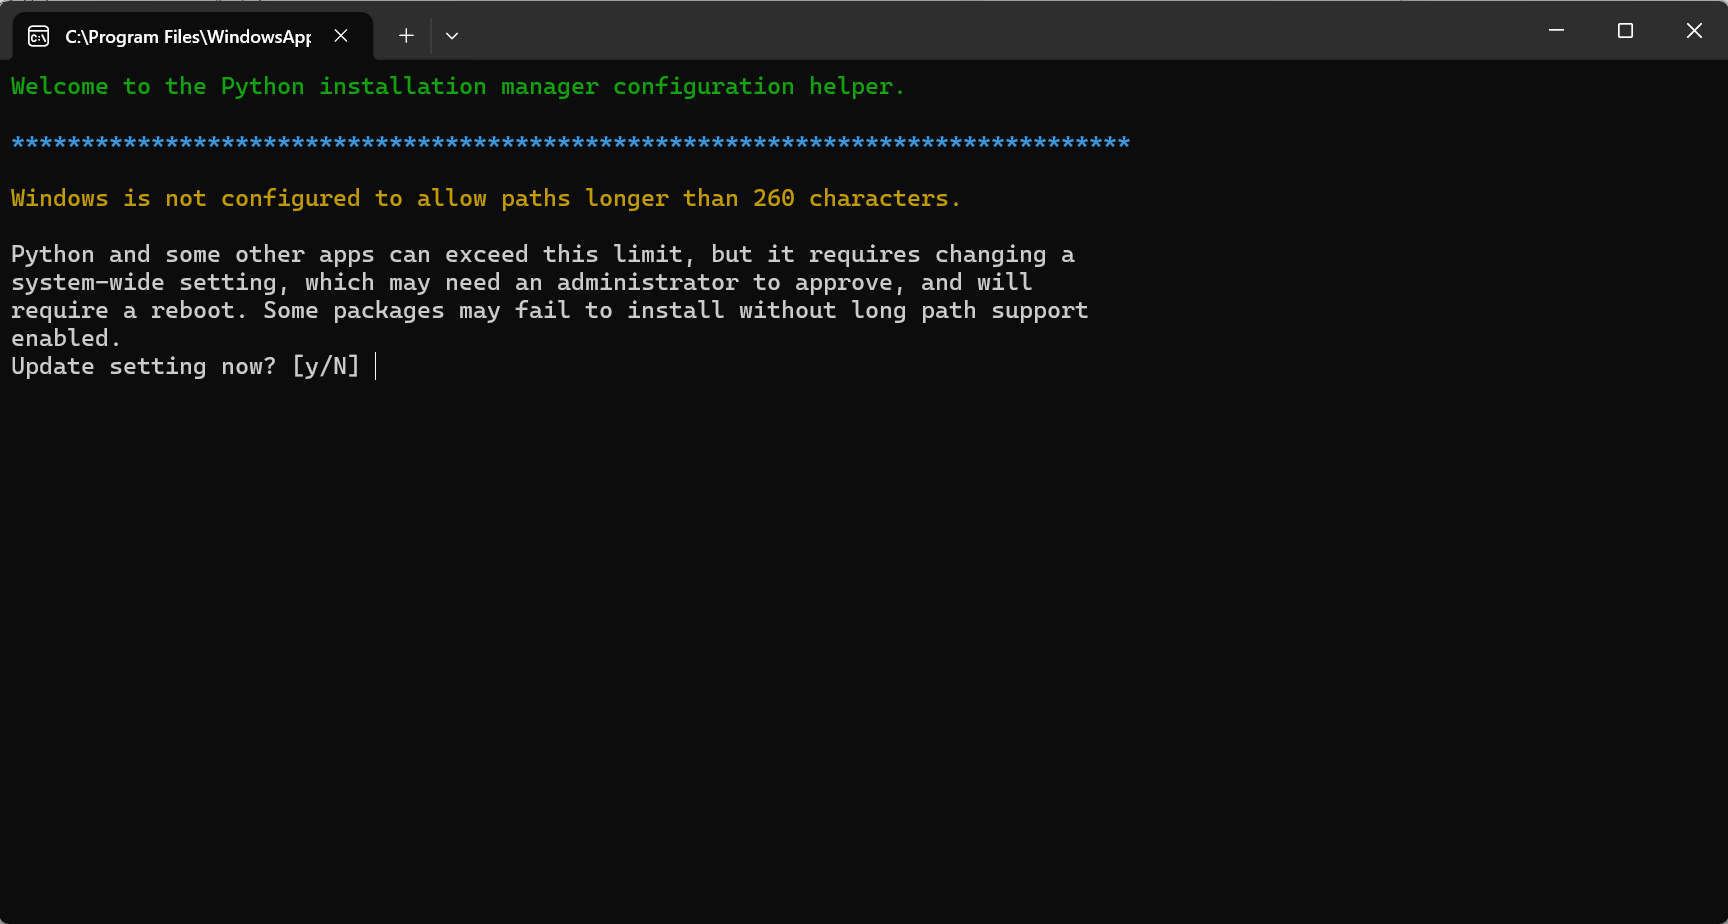
First Attempt: MkDocs
I first tried MkDocs because it is simple and commonly used. MkDocs requires Python, so I installed Python 3.12 first.

I installed MkDocs, created the site, and previewed it locally with mkdocs serve. The content appeared, but the navigation sidebar never rendered correctly. After trying two different themes, the layout was still broken.
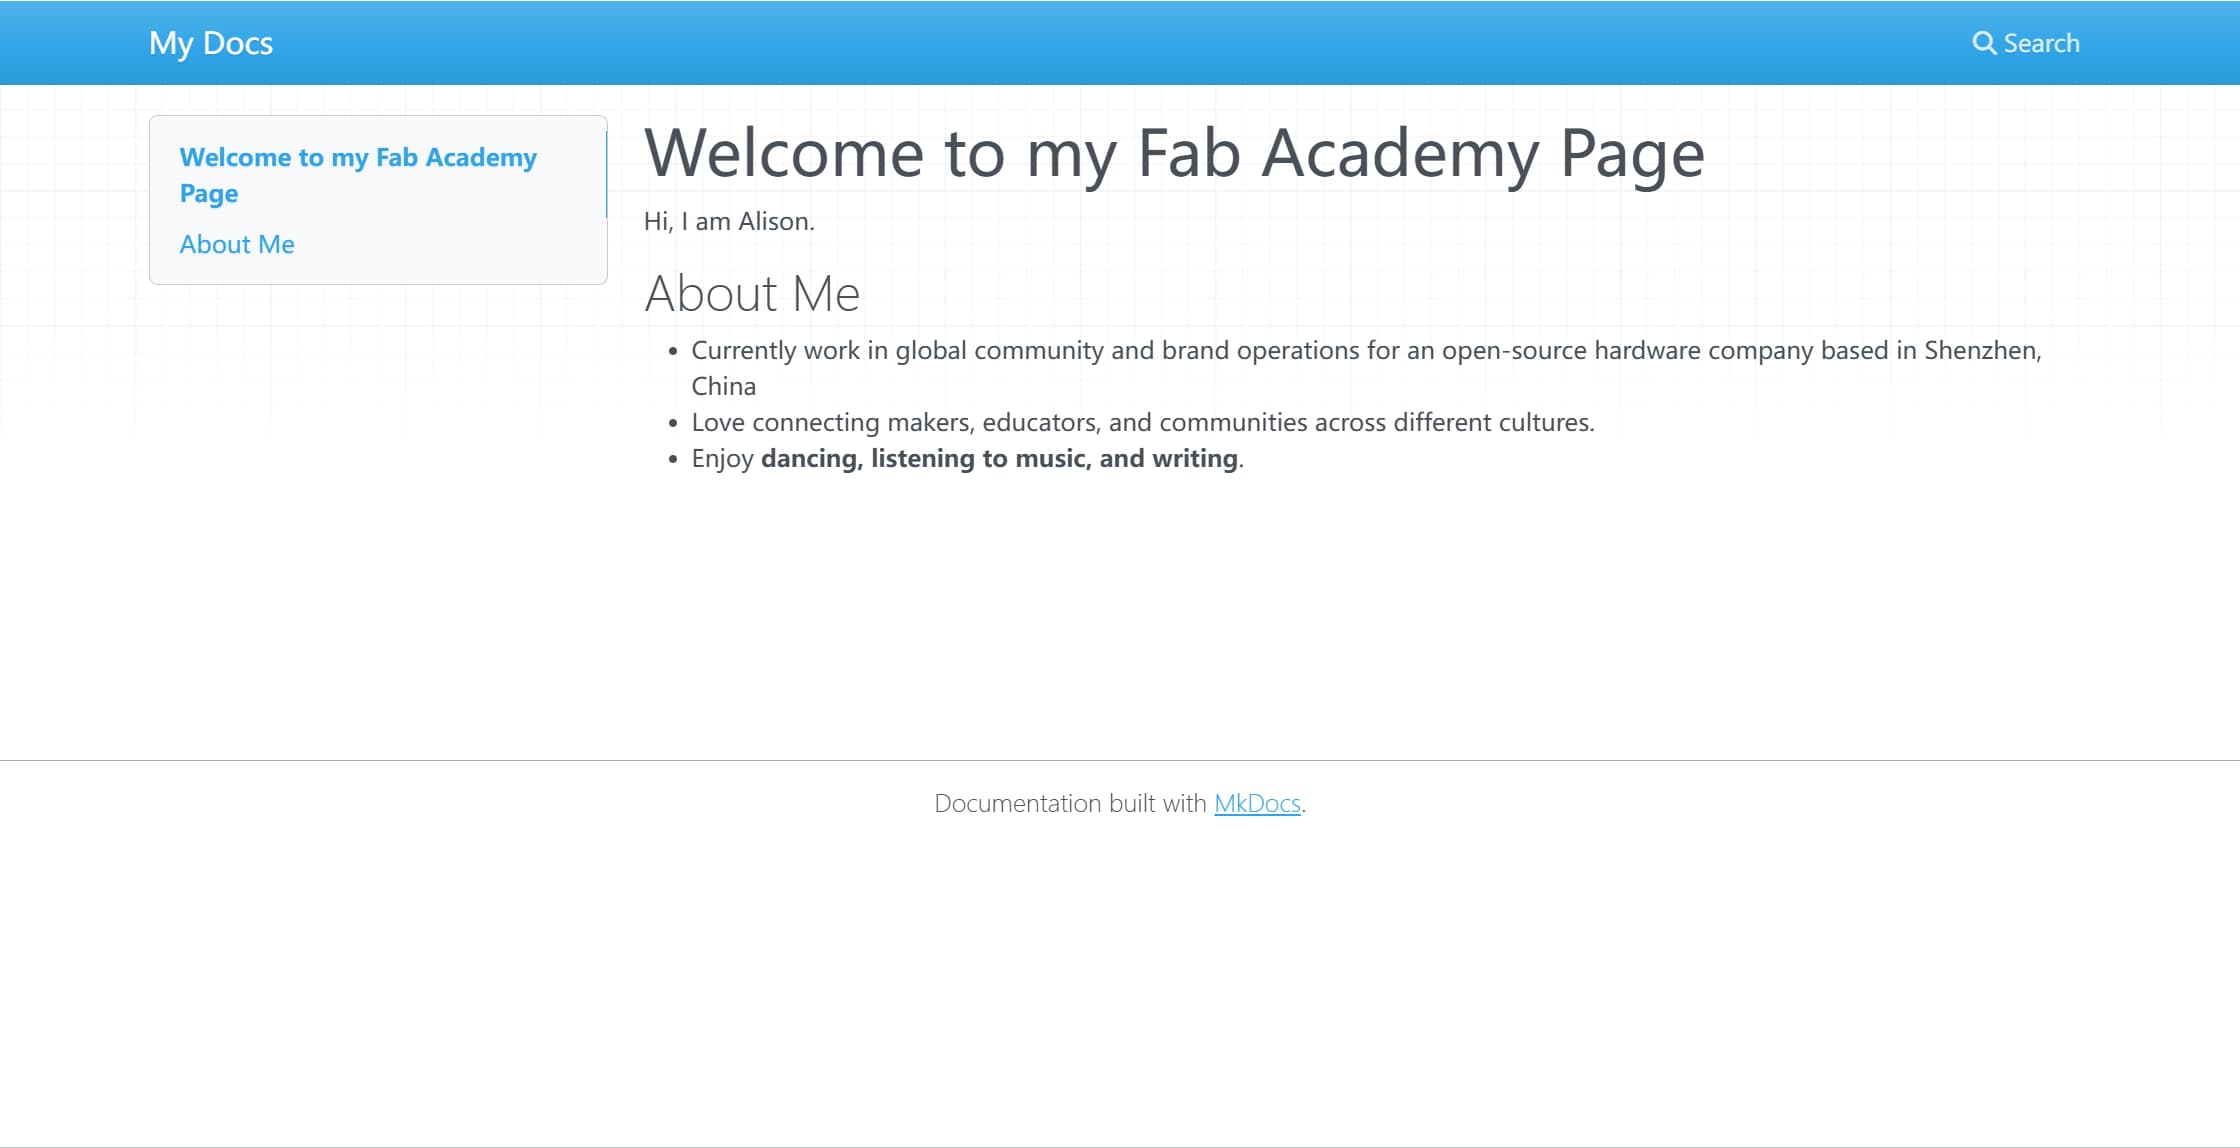
My instructor noted that the same setup worked fine on a Mac, which pointed to a Windows-specific environment conflict rather than a config error. Given the time constraint, we decided to switch tools rather than debug the environment further.
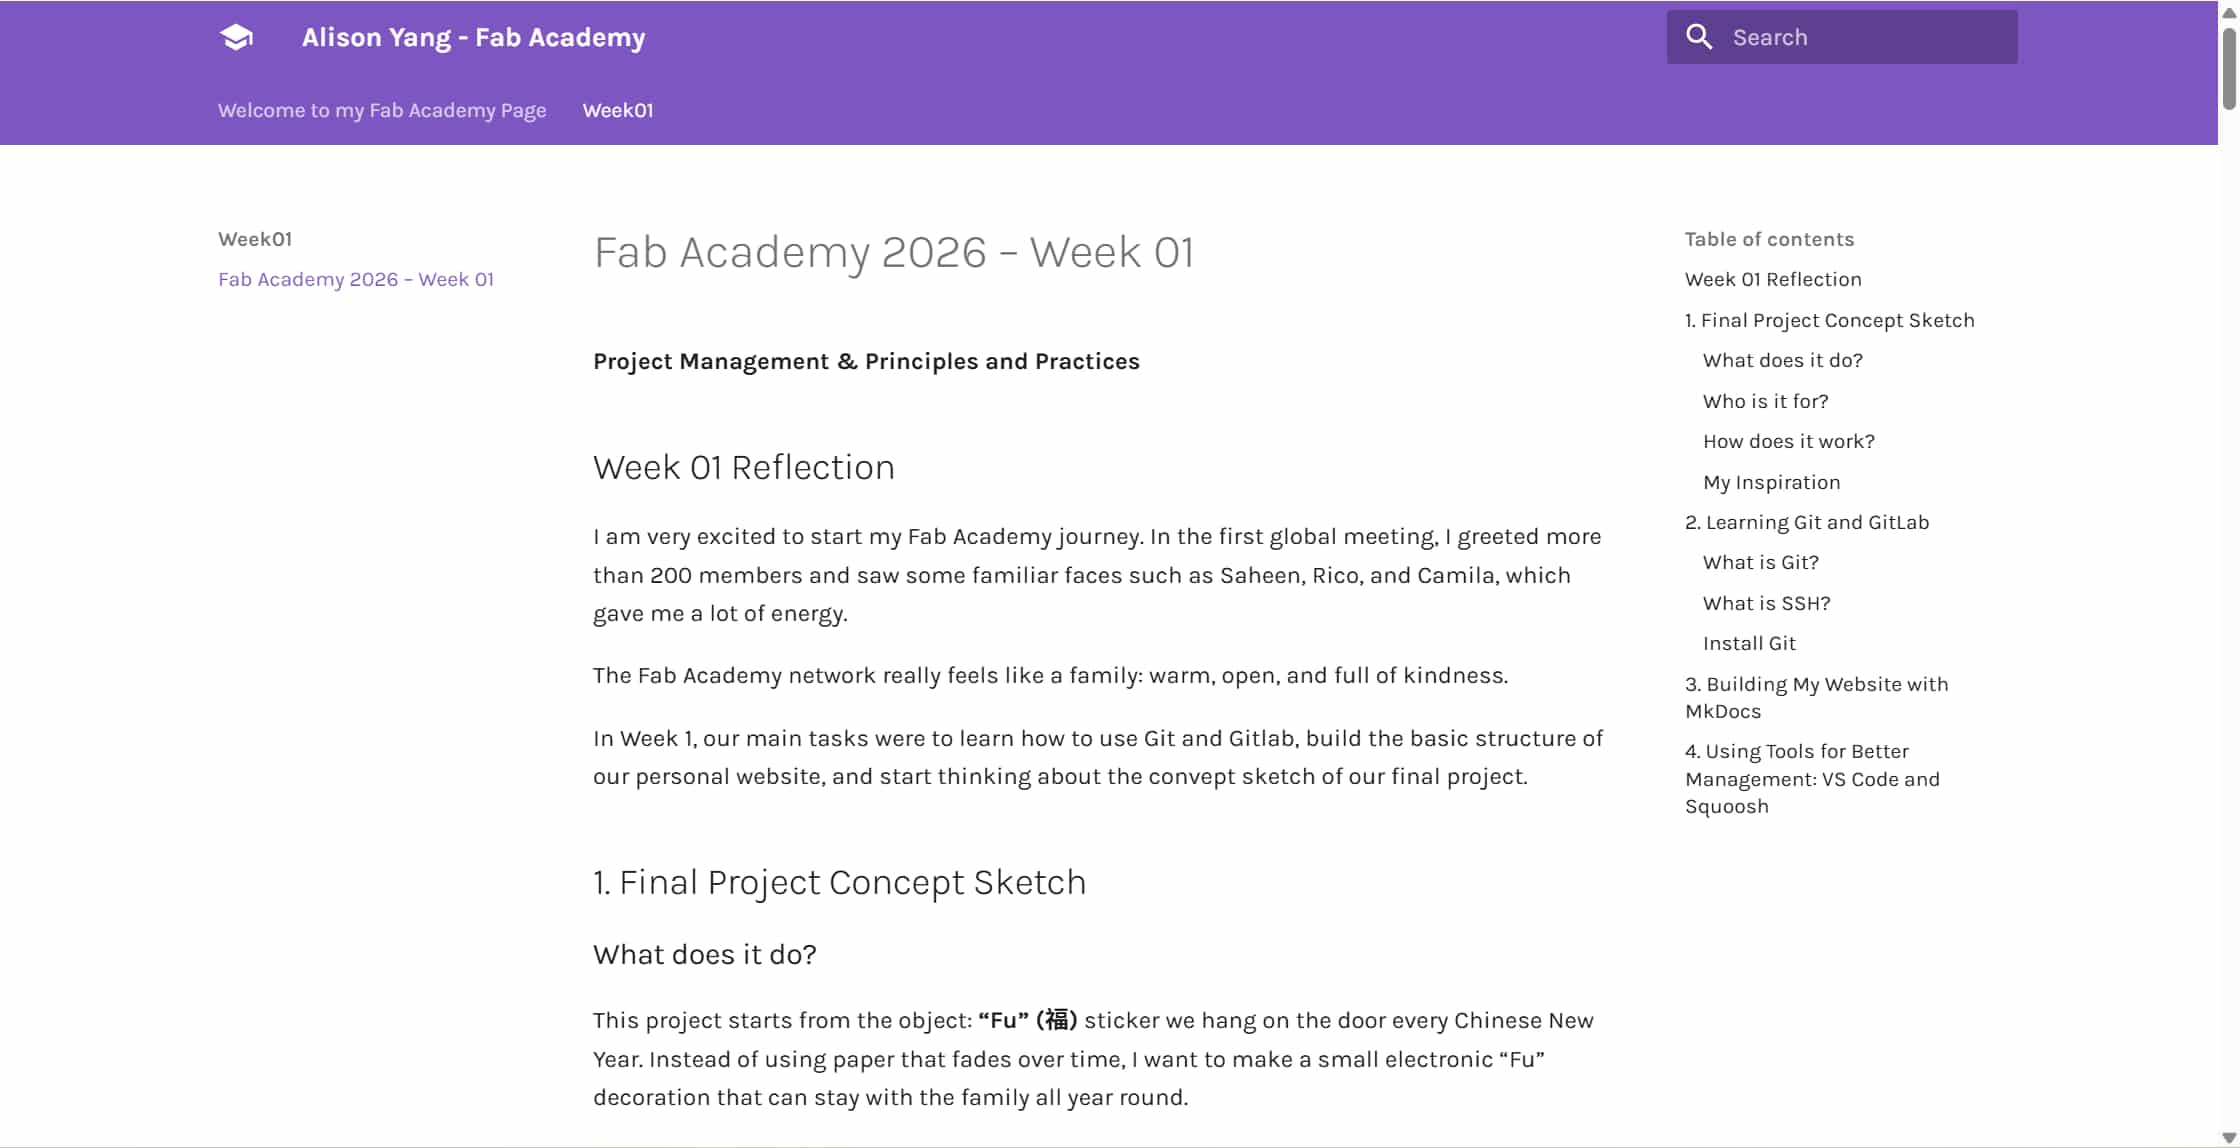
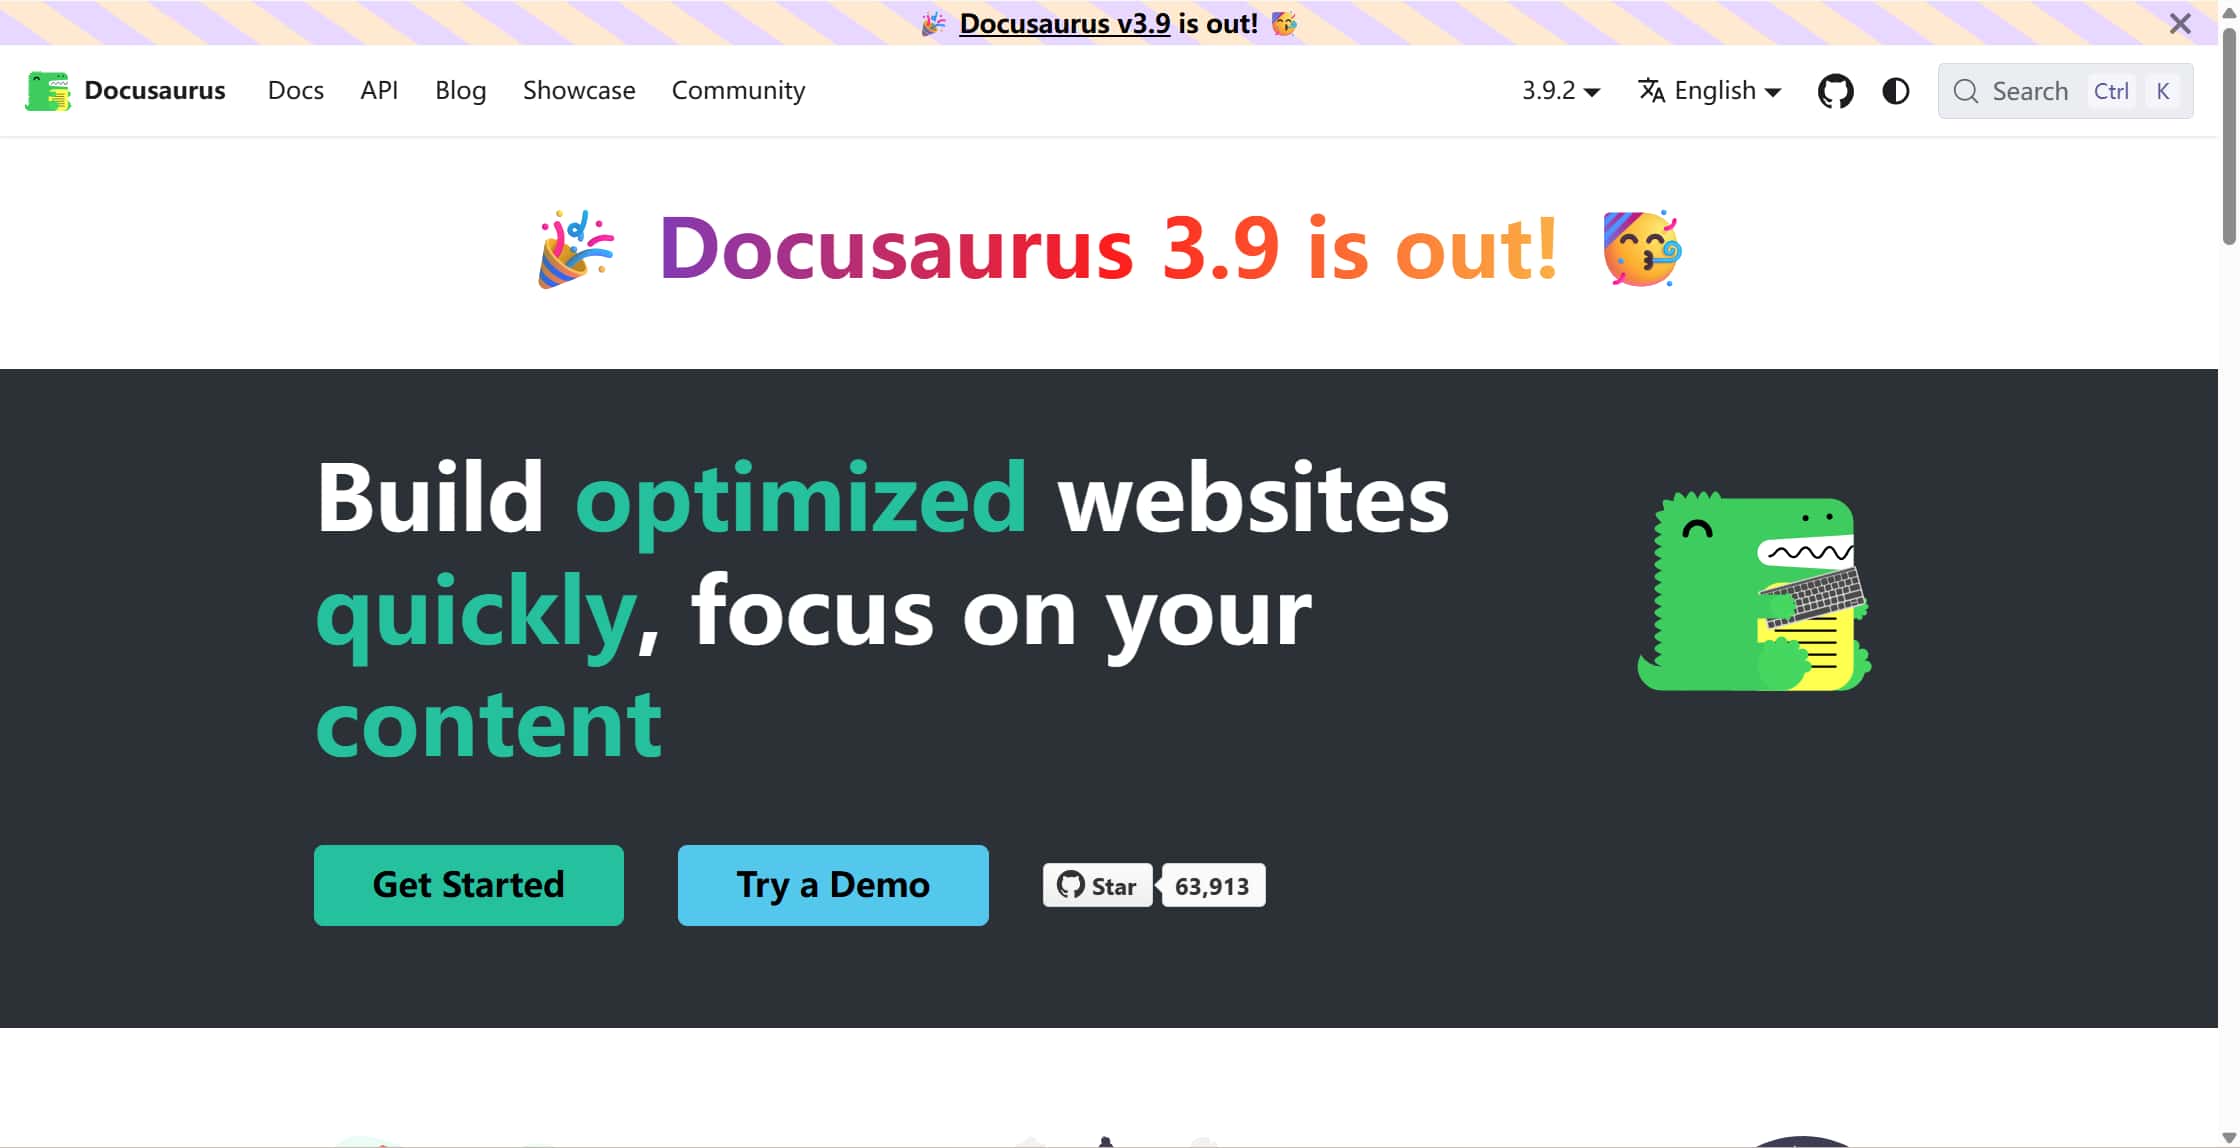
Switching to Docusaurus
Docusaurus is also a documentation website tool, but compared with MkDocs, it offers a more modern interface and more flexible design options. For Fab Academy documentation — with many images, weekly sections, and navigation — Docusaurus felt like a better long-term choice. (And I love their icon: it's a really cute dinosaur.)
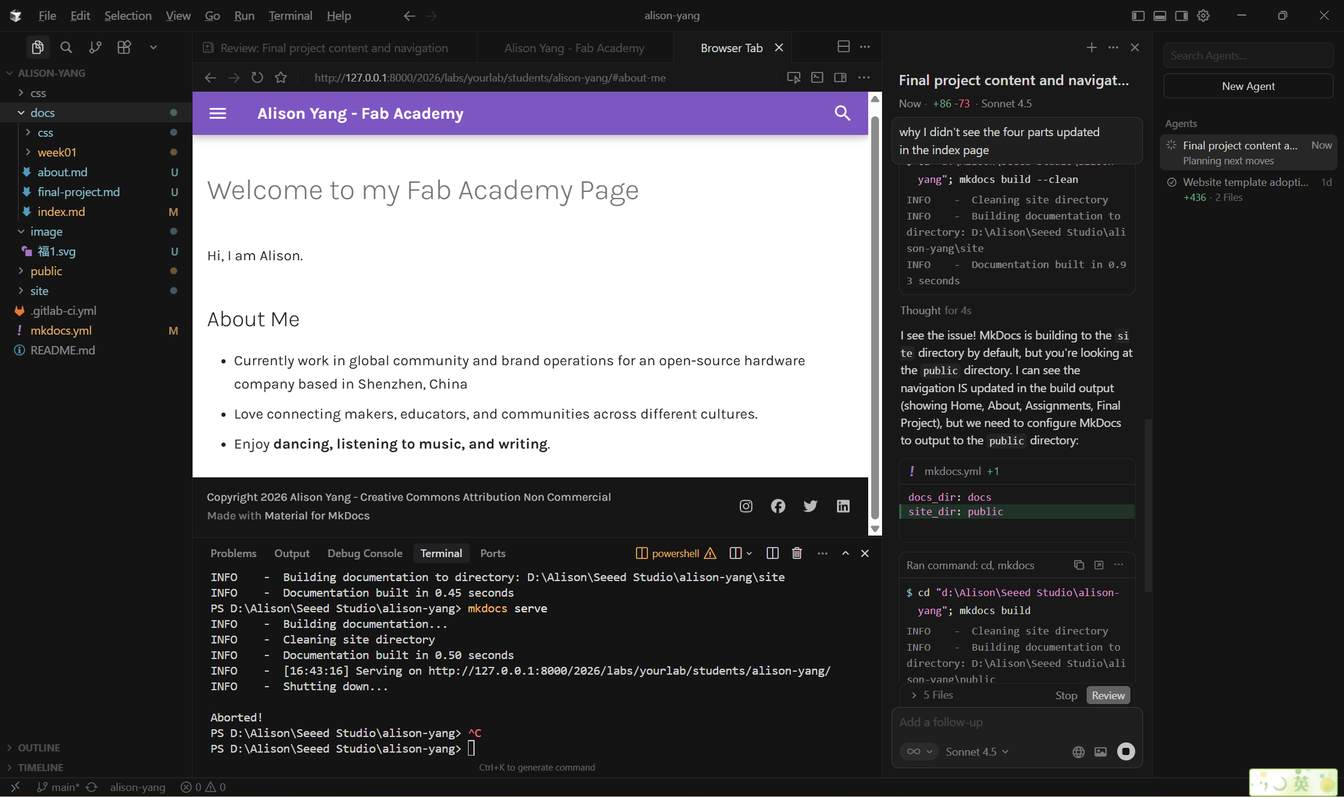
I also started using Cursor, which was new to me. My first prompt was:
"I want to design a website using Docusaurus. Please help me set it up and initialize it using the files in my docs folder."
Later I also used prompts to improve the layout and apply a cleaner structure, referencing my instructor Matthew's files.
Once set up, the site was clean and organized. It supports both light and dark mode — I prefer the dark one.
3. How the Website Publishes Automatically
When I push changes to GitLab, the site does not update by itself magically — there is a small recipe file in my repository called .gitlab-ci.yml that tells GitLab: "every time new files arrive, build the website and put it online." I did not write this file from scratch; my instructor helped me set it up. But understanding what it does helped me realize why git push is the last step of every update.
image: node:20

stages:
  - build
  - deploy

build:
  stage: build
  script:
    - npm ci
    - npm run build
    - mv build public
  artifacts:
    paths:
      - public

pages:
  stage: deploy
  script:
    - echo "Deploying to GitLab Pages"
  artifacts:
    paths:
      - public
  needs:
    - build
  only:
    - main
In plain terms: after every push to main, GitLab runs this automatically — builds the Docusaurus site and publishes it to the live URL. I can see the pipeline pass or fail in the GitLab interface under CI/CD → Pipelines.
4. Tools That Helped Me
VS Code
Visual Studio Code is a free code editor from Microsoft. I used it to manage my Markdown files and folder structure. The Explorer panel shows file sizes, the Markdown preview shows how pages will look, and the integrated terminal lets me run Git commands without switching windows.
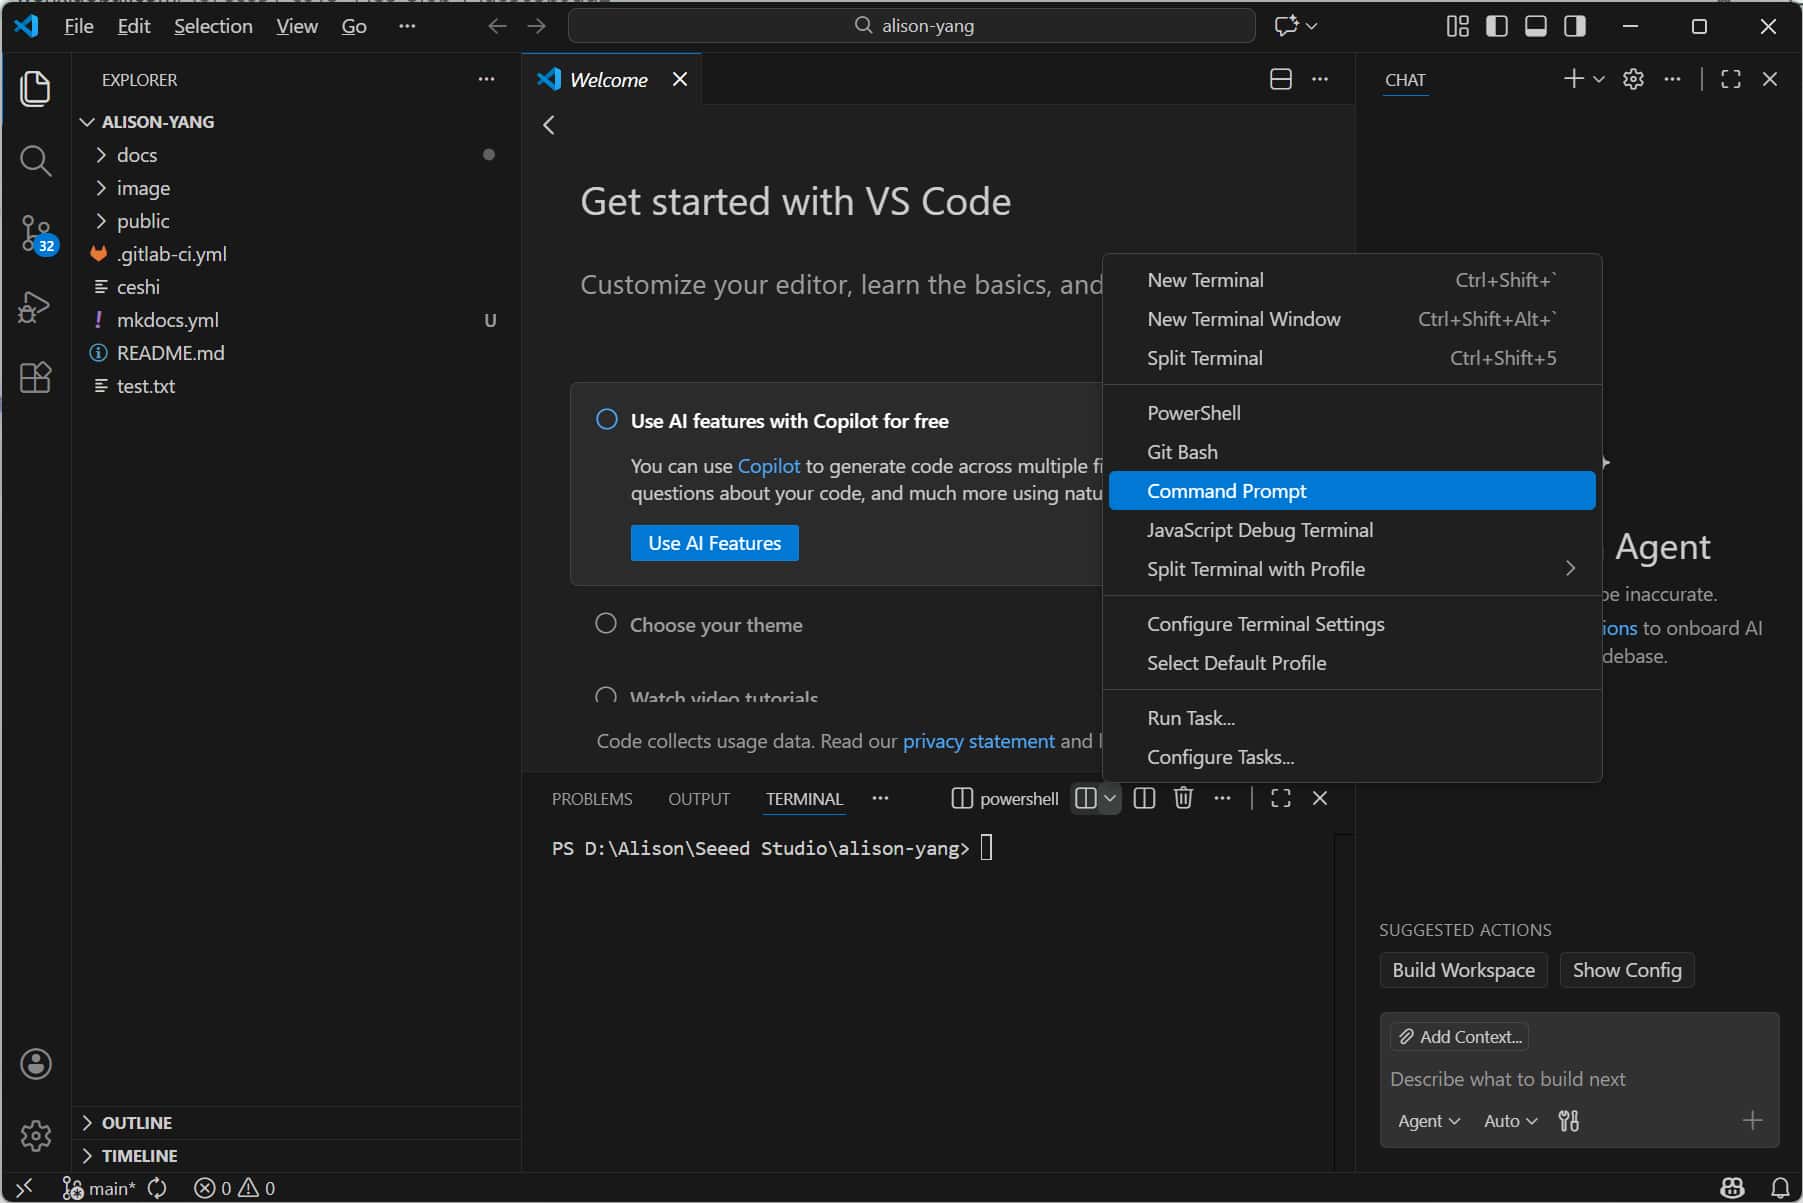
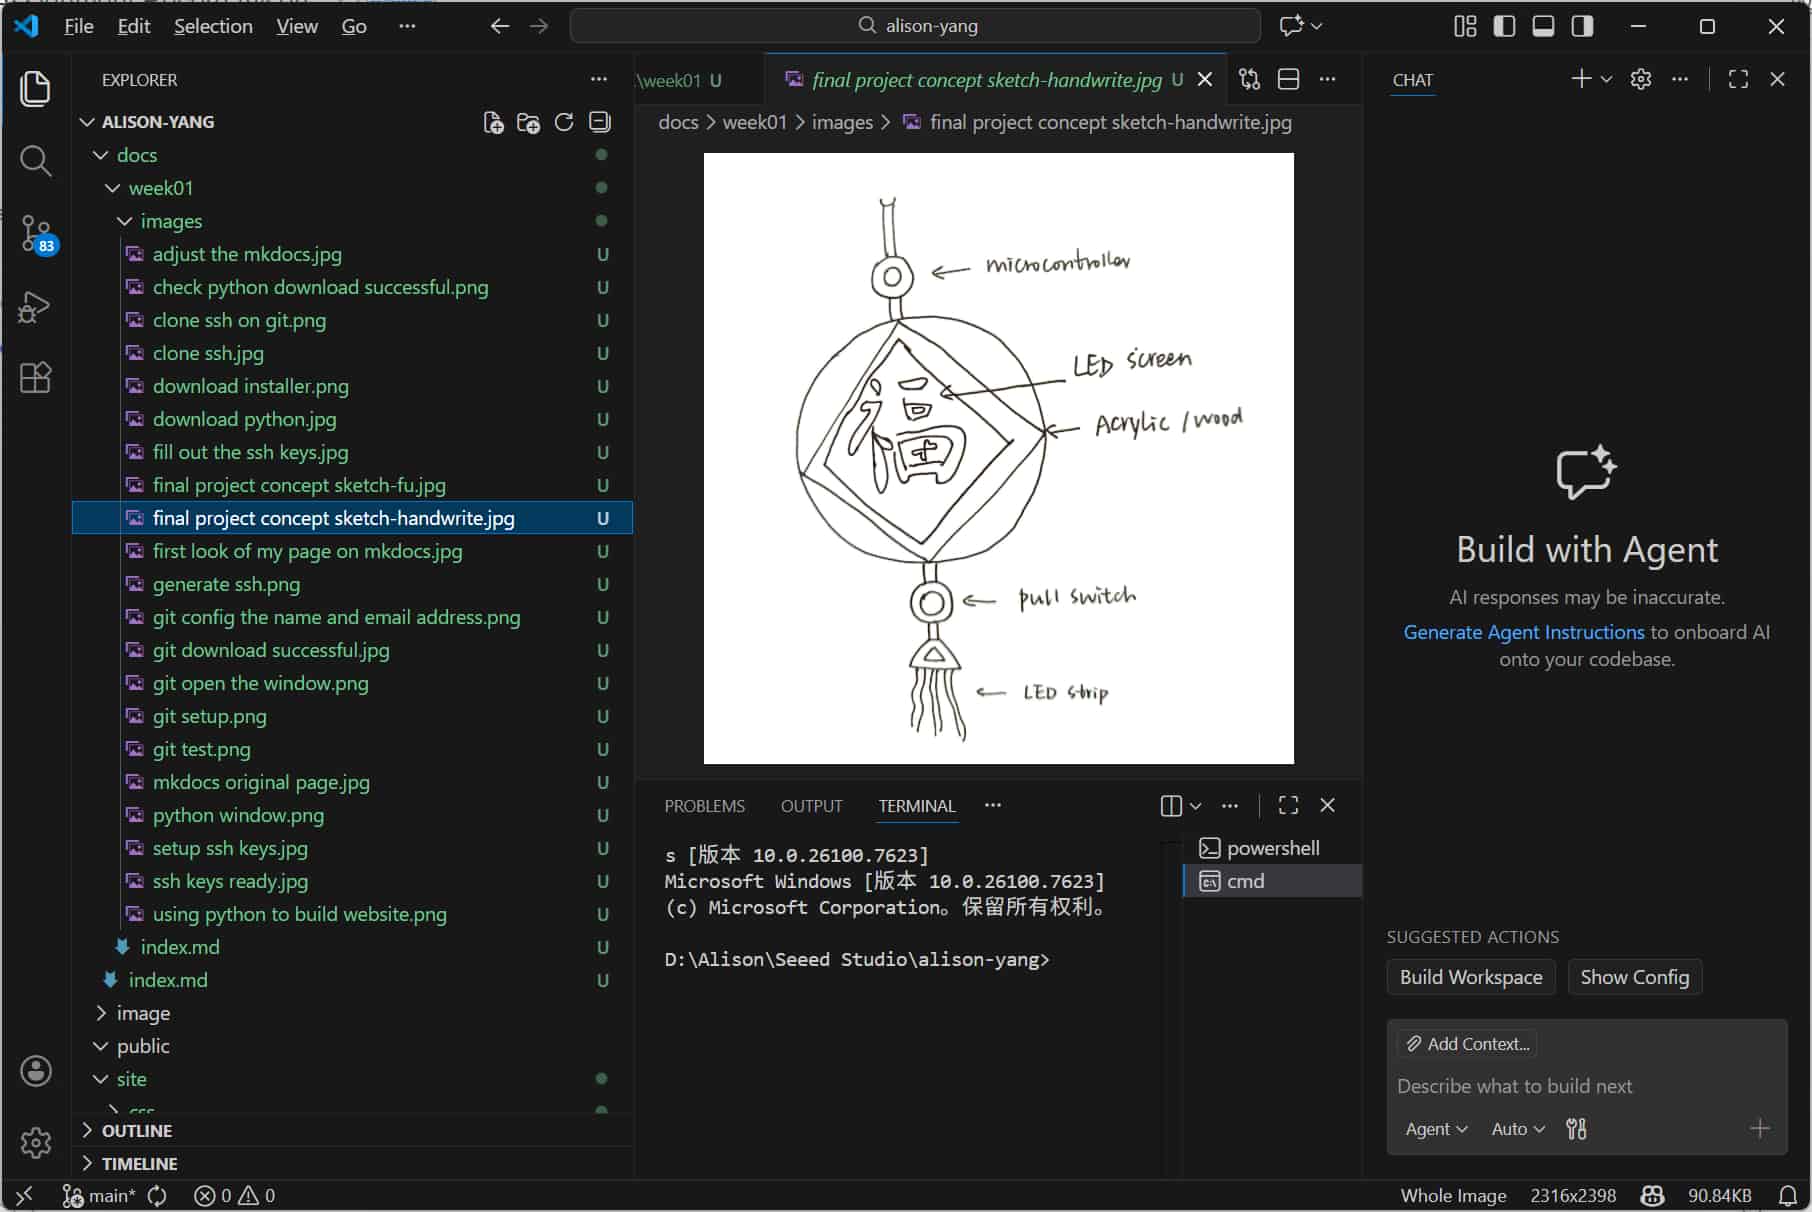
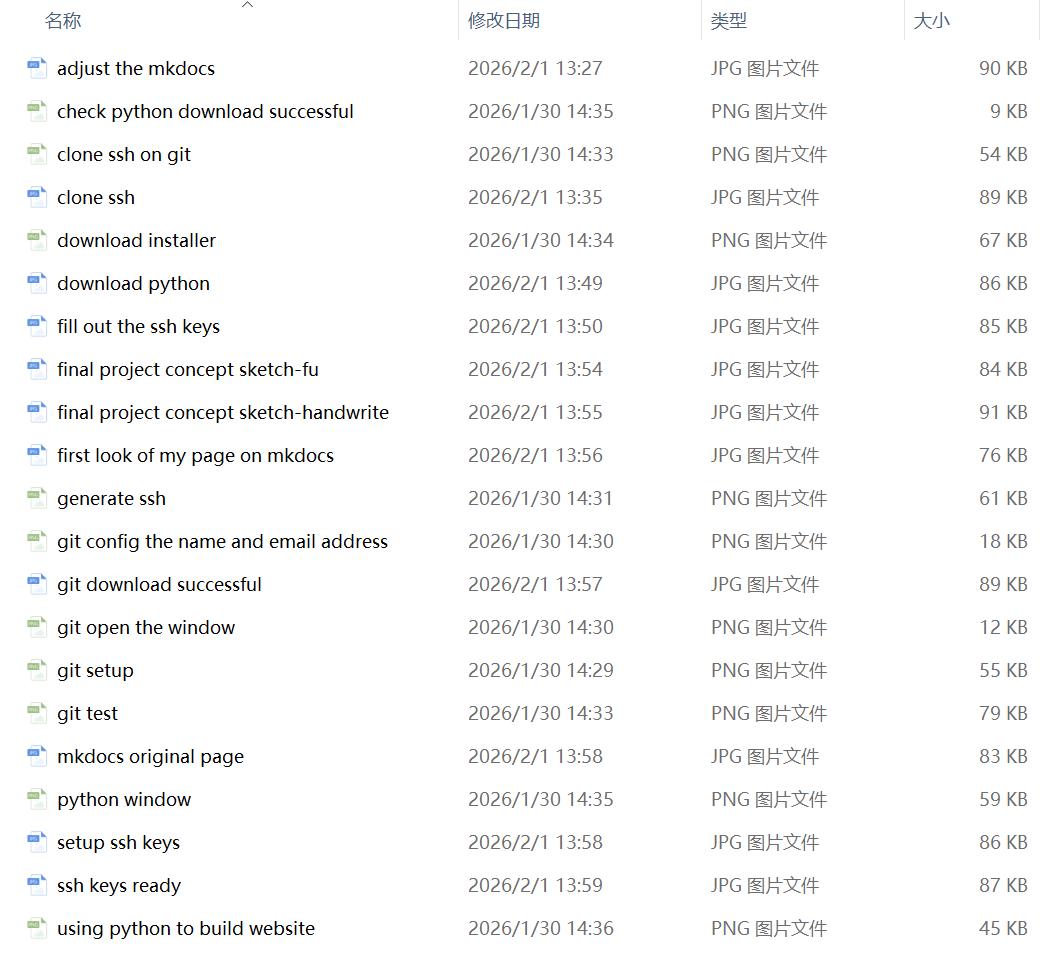
Image Compression with Squoosh
Squoosh is a free browser-based tool for compressing images. Large images slow down documentation websites and waste repository storage.
My workflow for every image:
- Open the image in Squoosh.
- Choose output format: JPG for photos, PNG for screenshots with transparency.
- Reduce quality to around 80% and check that the visual difference is acceptable.
- Download and save to the correct
static/img/weekXX/folder.
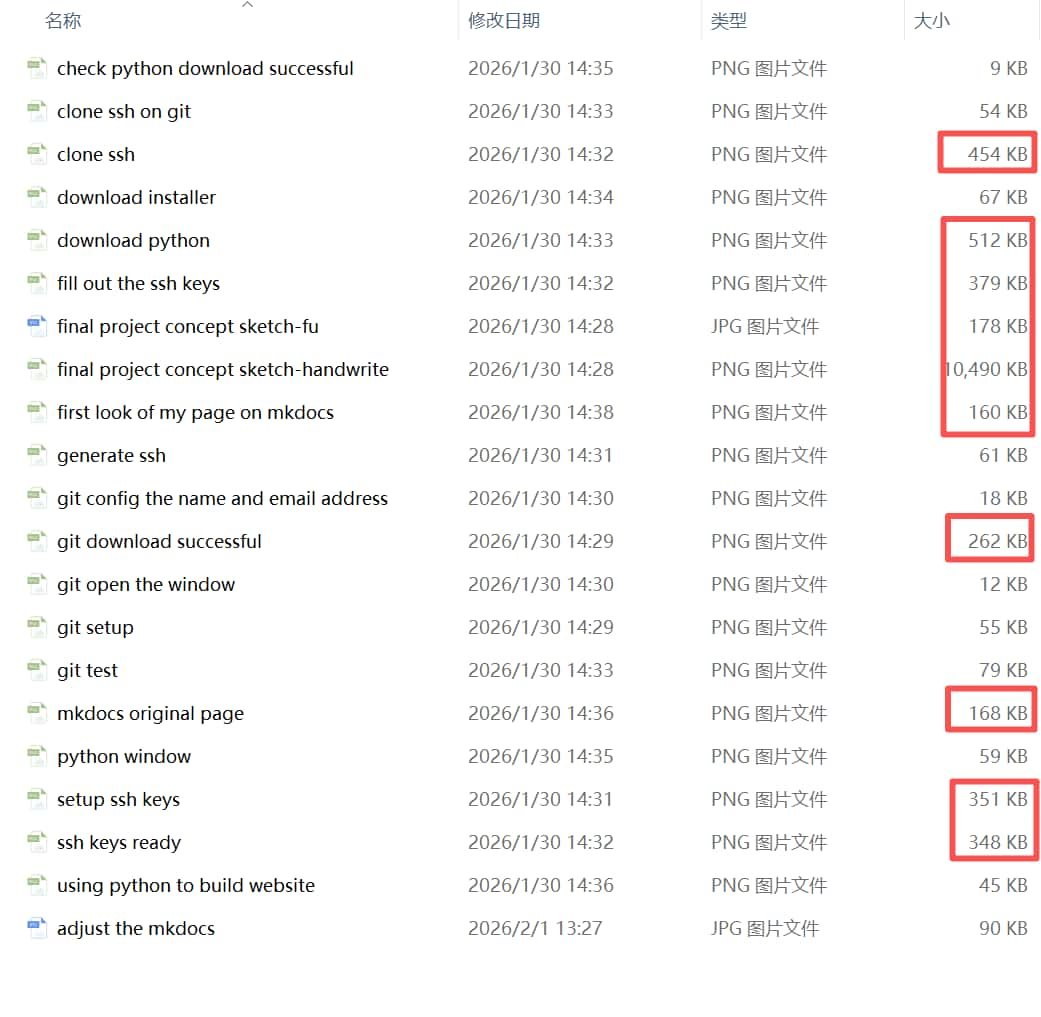
Example result: a PNG screenshot went from 454 KB → 90 KB (80% reduction) with no visible quality loss.
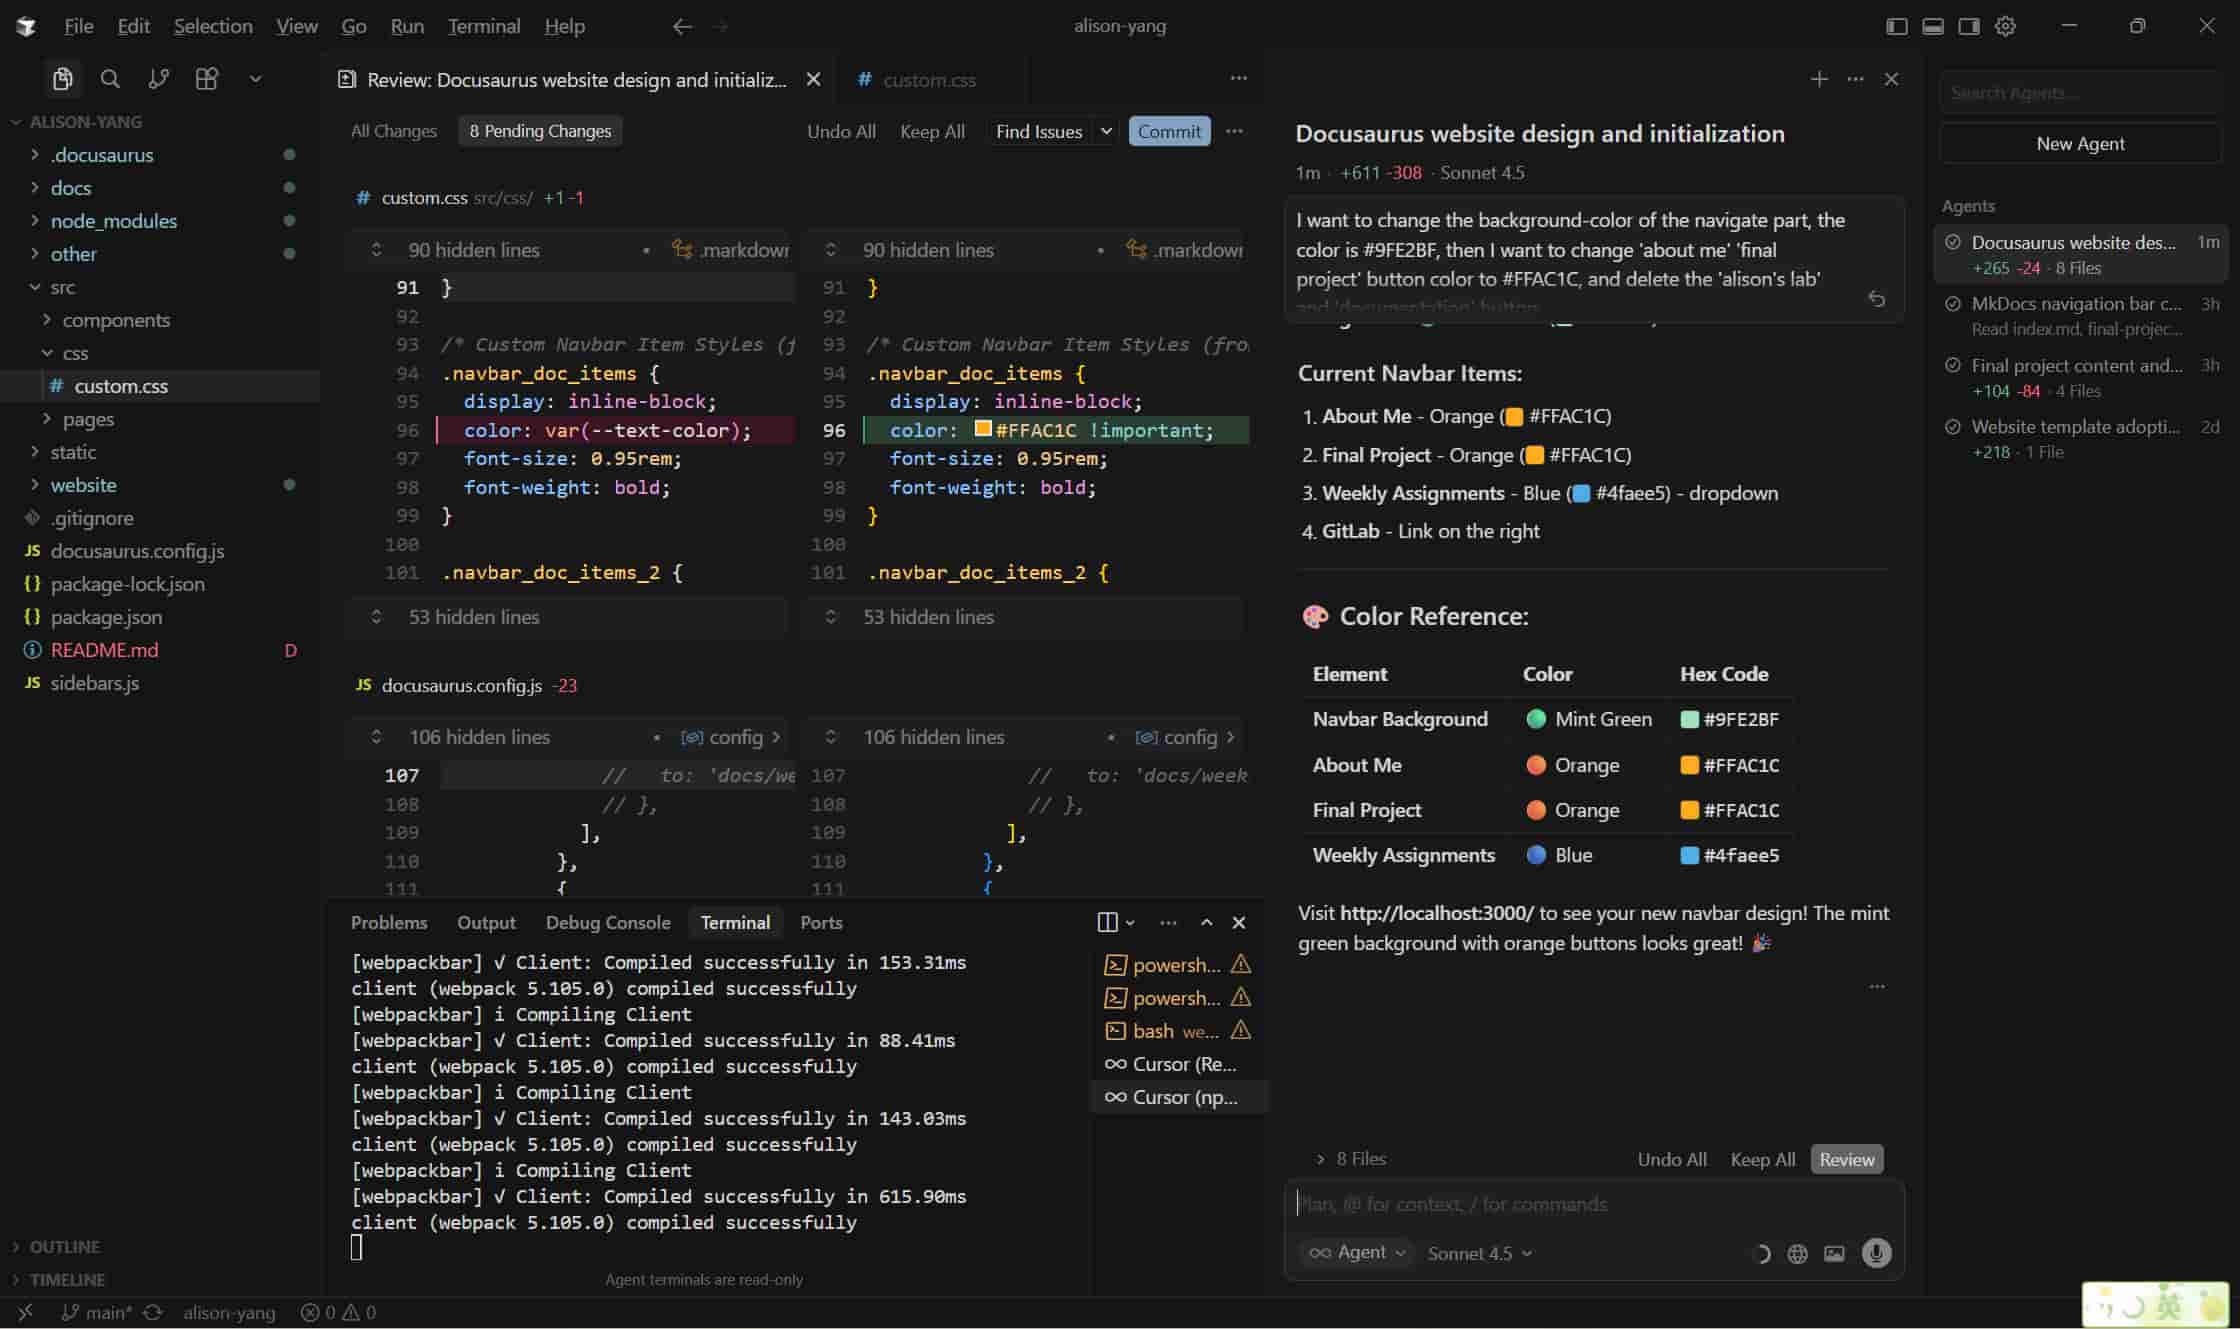
Cursor
Cursor is an AI-powered code editor. My instructor suggested it as a useful platform — it can help analyze code, explain why things work a certain way, and solve problems when I get stuck.
When I opened the Fab Academy project in Cursor, I asked it to change the color of my page, fix the file order, explain errors, or make changes across files for me. Later I realized it could become my Fab Academy workflow assistant: it helps me organize messy thoughts, fill in missing steps, improve document structure, and generate cleaner English for documentation.
Specific things I used it for this week:
- Generating the Docusaurus setup steps from my docs folder
- Fixing a broken sidebar config by pasting the error message and asking what was wrong
- Reordering the weekly pages in
docusaurus.config.js
For me, this "learn while documenting" workflow is a perfect fit. But I made sure to understand each change before committing it — not just copying output blindly.
5. What Went Wrong and How I Fixed It
Problem 1: MkDocs navigation did not render on Windows
The sidebar links were missing despite following the documentation exactly. The same configuration displayed correctly on a Mac, pointing to a Windows Python environment issue.
Fix: Switched to Docusaurus, which has better cross-platform behavior and a more modern default layout. This also better matched my long-term needs for the documentation site.
Problem 2: Git and SSH felt abstract at first
The concepts of repositories, commits, and key-based authentication were completely unfamiliar. Each step introduced new vocabulary and new ways things could go wrong.
Fix: I followed Camila's tutorial step by step, ran each command separately, and checked the output before moving to the next step. Breaking the process into small, verifiable actions made it manageable.
Problem 3: Disorganized folder structure after trying multiple tools
After switching from MkDocs to Docusaurus, leftover config files and mixed folder names made the project structure confusing.
Fix: I used Cursor to audit the folder structure, removed unused files, and standardized the naming convention so that docs/Week XX - Name/ always matched the sidebar config.
6. Student Agreement
I have read and signed the Fab Academy Student Agreement by committing it to my repository. My key responsibilities include honestly documenting my work, attributing the contributions of others (including AI tools), and being prepared to explain my work during reviews.
7. What I Learned
This week taught me that building a documentation website involves far more than design — it includes version control, secure authentication, publishing pipelines, file organization, and media optimization. My biggest takeaways:
- Git tracks every change safely and lets me recover from mistakes
- SSH keys authenticate securely without passwords
- The CI/CD pipeline connects a local push to a live published website automatically
- Image compression is essential — uncompressed images slow down sites and waste storage
- Docusaurus is better suited to my documentation needs than MkDocs
- AI tools like Cursor are helpful, but understanding what they do matters more than getting quick output
Never thought Week 01 would be this challenging — instructors said it was the simplest week. But it helped me build the base I need for the rest of Fab Academy. I now have a working documentation website, a basic Git workflow, and a clearer idea of how to organize my weekly work. Cheers~