INTERFACE AND APPLICATION PROGRAMMING
What are interfaces?
Interfaces are tools and concepts that technology developers use as points of interaction between hardware and software components. They help all components within a system communicate with each other via an input-output system and detailed protocols while also allowing them to function independently. Interfaces also help users interact with various types of devices through hardware devices like keyboards, mice and touch screens and software programs like operating systems or internet protocols. For more information you can visit here.
GROUP ASSIGNMENTFor this week's assignment I decided to make an interface that will allow me to switch on and off an LED. I used the board I have manufactured in Week 8. The softwares used is Arduino IDE and Processing.
GETTING STARTED
For this assignment I started off by downloading and installing Processing software. The software was downloaded here. Processing is a flexible, open-source software sketchbook and language for learning how to code within the context of the visual arts, creative coding, and interactive media. It’s especially popular for building quick visual prototypes, interactive interfaces, and data visualizations. It is built on Java, but simplified to be beginner-friendly and it is focused on graphics, animation, and interaction.
CODING ON PROCESSING
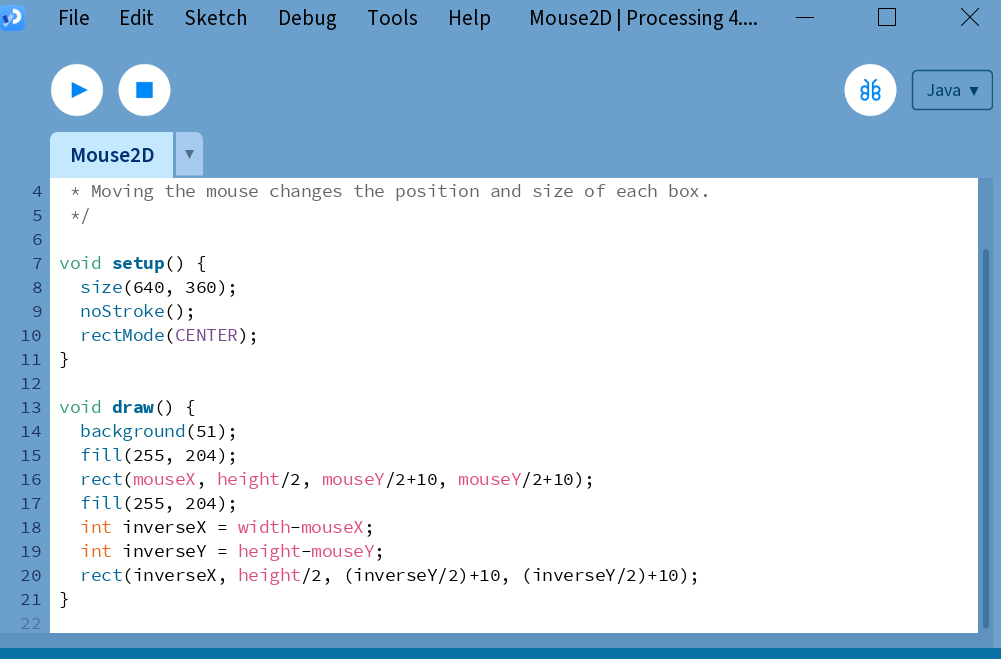
After installing the software I then launched it and first tried some examples that comes with it to understand how it works because it was my first time using it. The example was about mouse interaction.
I then coded the for turning on and off the LED on my board that I have manufactured on week 8. The code is as follows:
 import processing.serial.*;
 Serial myPort;
 boolean ledState = false;

void setup() {
size(300, 200);
println("Available Ports:");
println(Serial.list());

 // Change index if needed based on output of Serial.list()
 myPort = new Serial(this, Serial.list()[0], 9600);
 myPort.clear();

println("Click to toggle LED");
 }

void draw() {
background(ledState ? color(0, 255, 0) : color(255, 0, 0));
fill(255);
textAlign(CENTER, CENTER);
text(ledState ? "LED ON" : "LED OFF", width/2, height/2);
 }

void mousePressed() {
ledState = !ledState;
myPort.write((ledState ? "ON" : "OFF") + "\n");
}
After coding for the processing I then launched Arduino IDE and created that will enable turining on and off LED and then uploaded it into RP2040.
The code is as follows;
const int ledPin = 29; // Built-in LED

void setup() {
  pinMode(ledPin, OUTPUT);
  Serial.begin(9600);
  while (!Serial); // Wait for serial to connect (for native USB)
}

void loop() {
  if (Serial.available()) {
    String cmd = Serial.readStringUntil('\n');
    cmd.trim(); // Clean up input

    if (cmd == "ON") {
      digitalWrite(ledPin, HIGH);
    } else if (cmd == "OFF") {
      digitalWrite(ledPin, LOW);
    }
  }
}
FILES