WILDCARD WEEK
EMBROIDERY
For this week's assignment I explored the used of embroidery for the first time.
What is embroidery?
Embroidery is a method used for decorating fabrics using a thread or yarn and needle. Embroidery styles and technique differ greatly throughout the common types of embroidery.
What is the process of embroidery?
The process of embroidery is to first thread an embroidery needle with thread or yarn. Then, starting at the back of the textile, work the needle and thread through the fabric, and return through the fabric to the backside of the tapestry. This is the same for all embroidery, other than surface embroidery. Digital fabrication facade of this technique comes in when we use computers to design the file that gets loaded into the embroidery machine. And then the machine follows the given commands and it does the stitches autonomously after you feed it the material and start it.
TRYING IT OUT
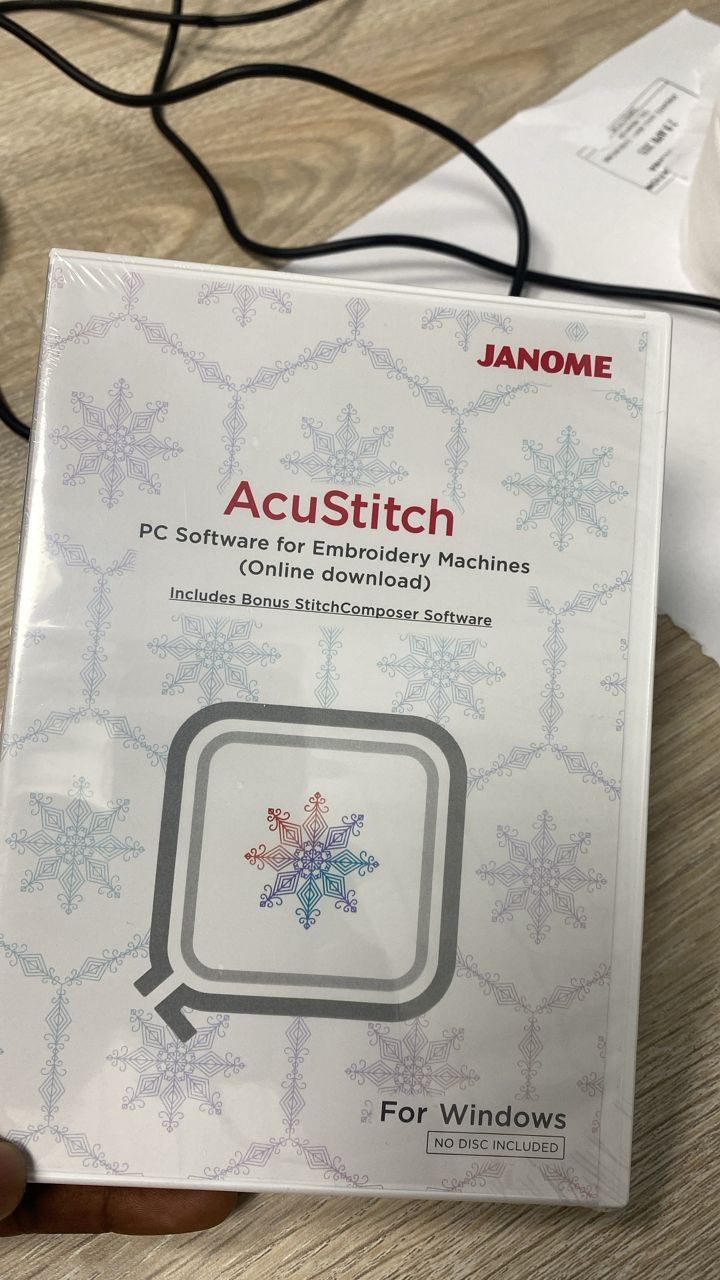
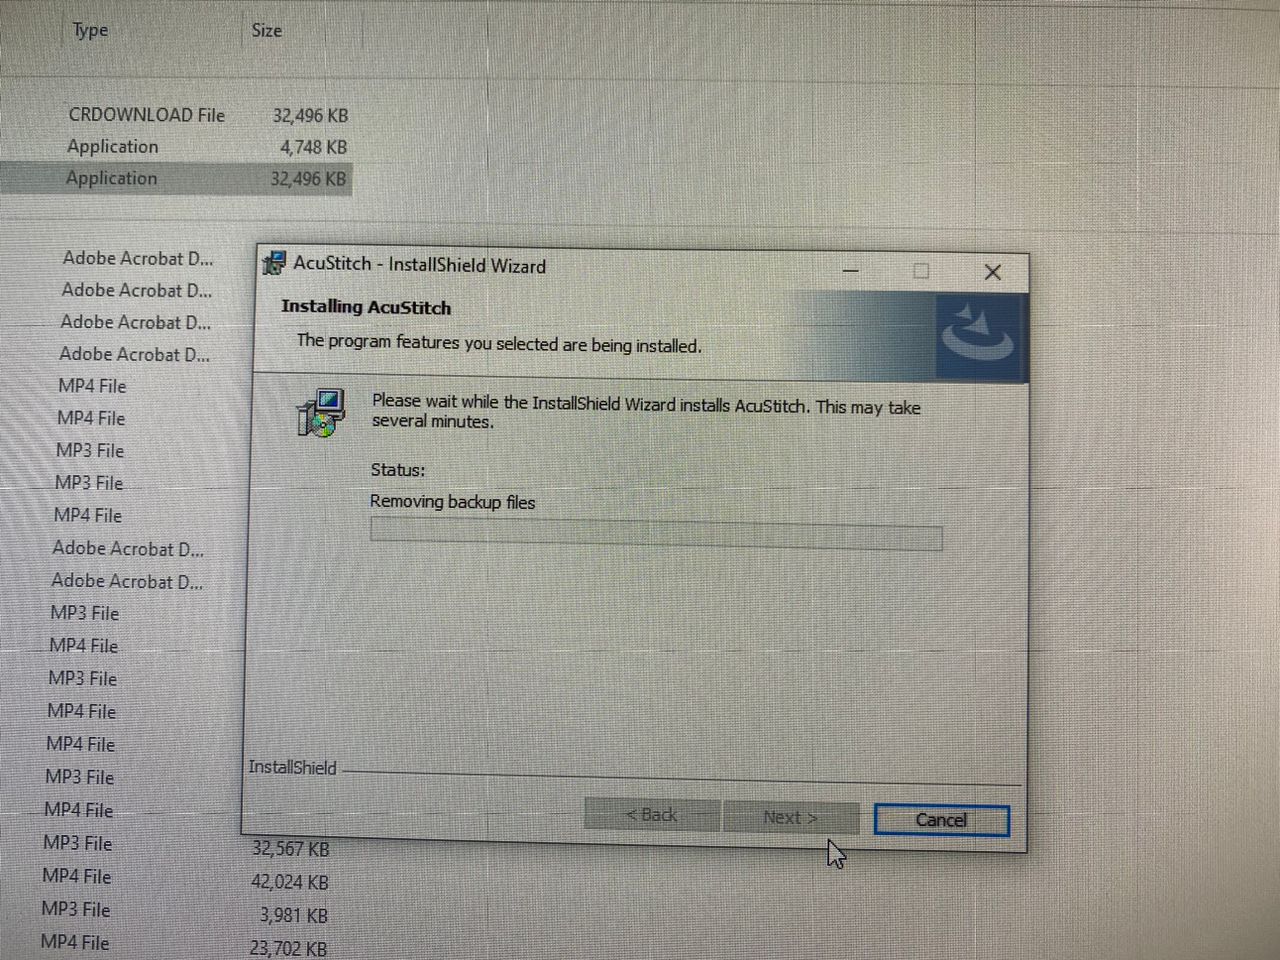
The first step I did was to download and install the software for design the work to ebroide. The software is Acustitch. The software was downloaded here.
PREPARING WORK FOR EMBROIDERY
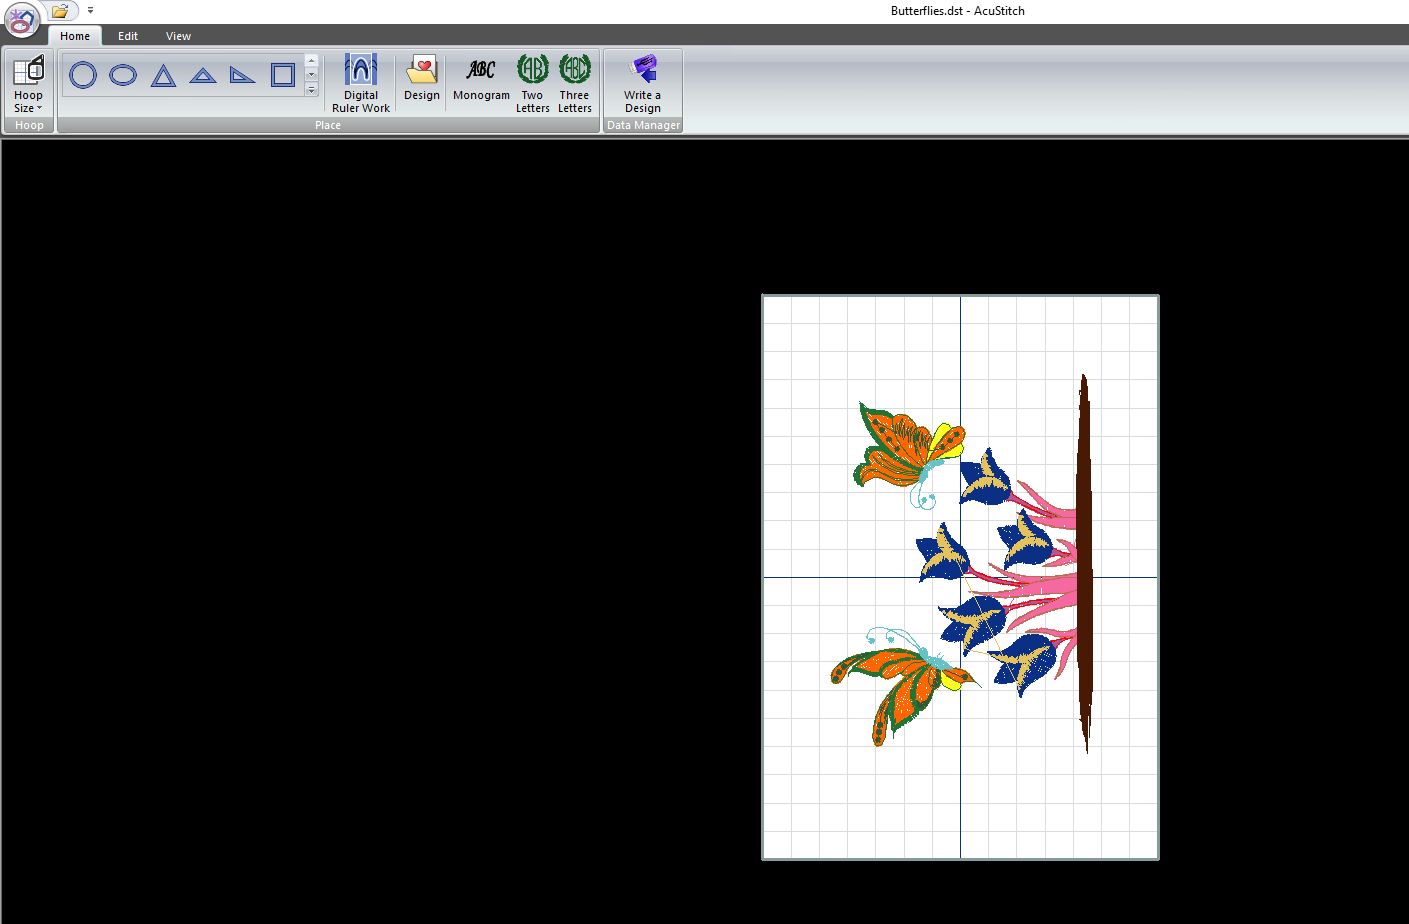
Launced the software and then imported the design in it and converted it to .dst format, which is the format readable by the emboroidery machine. I then saved the file into the flash drive and took it to the machine.

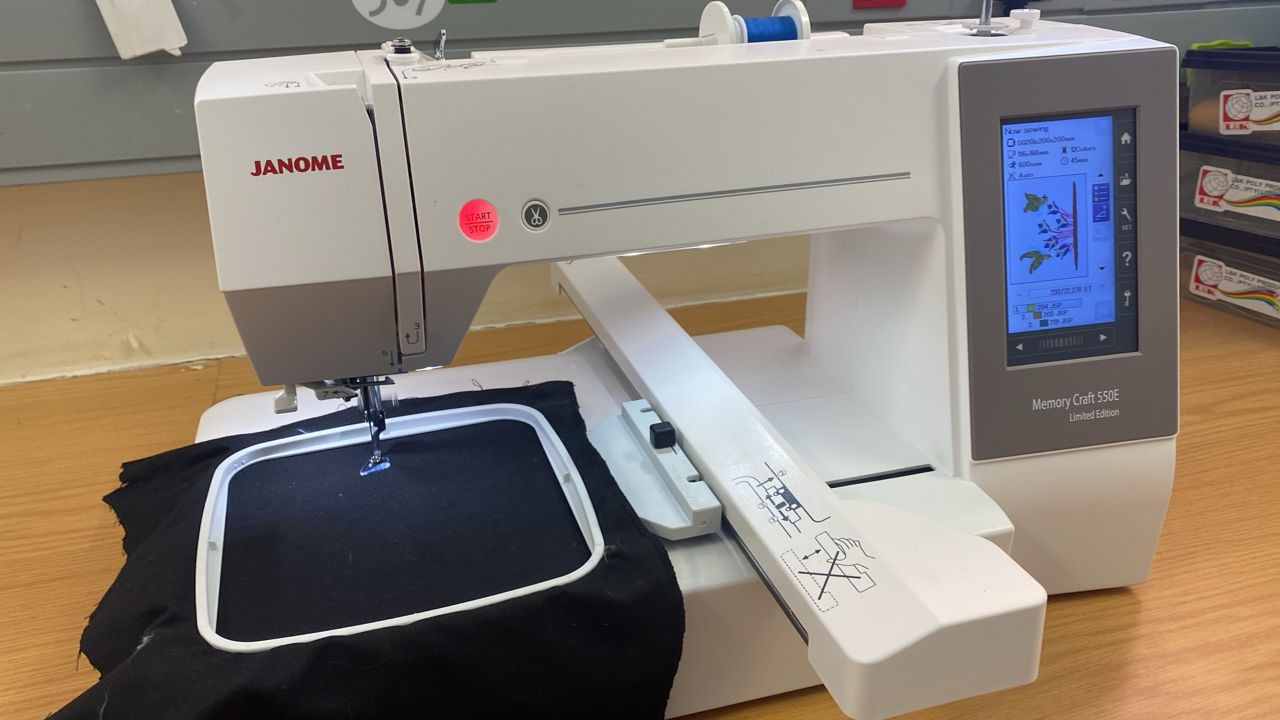
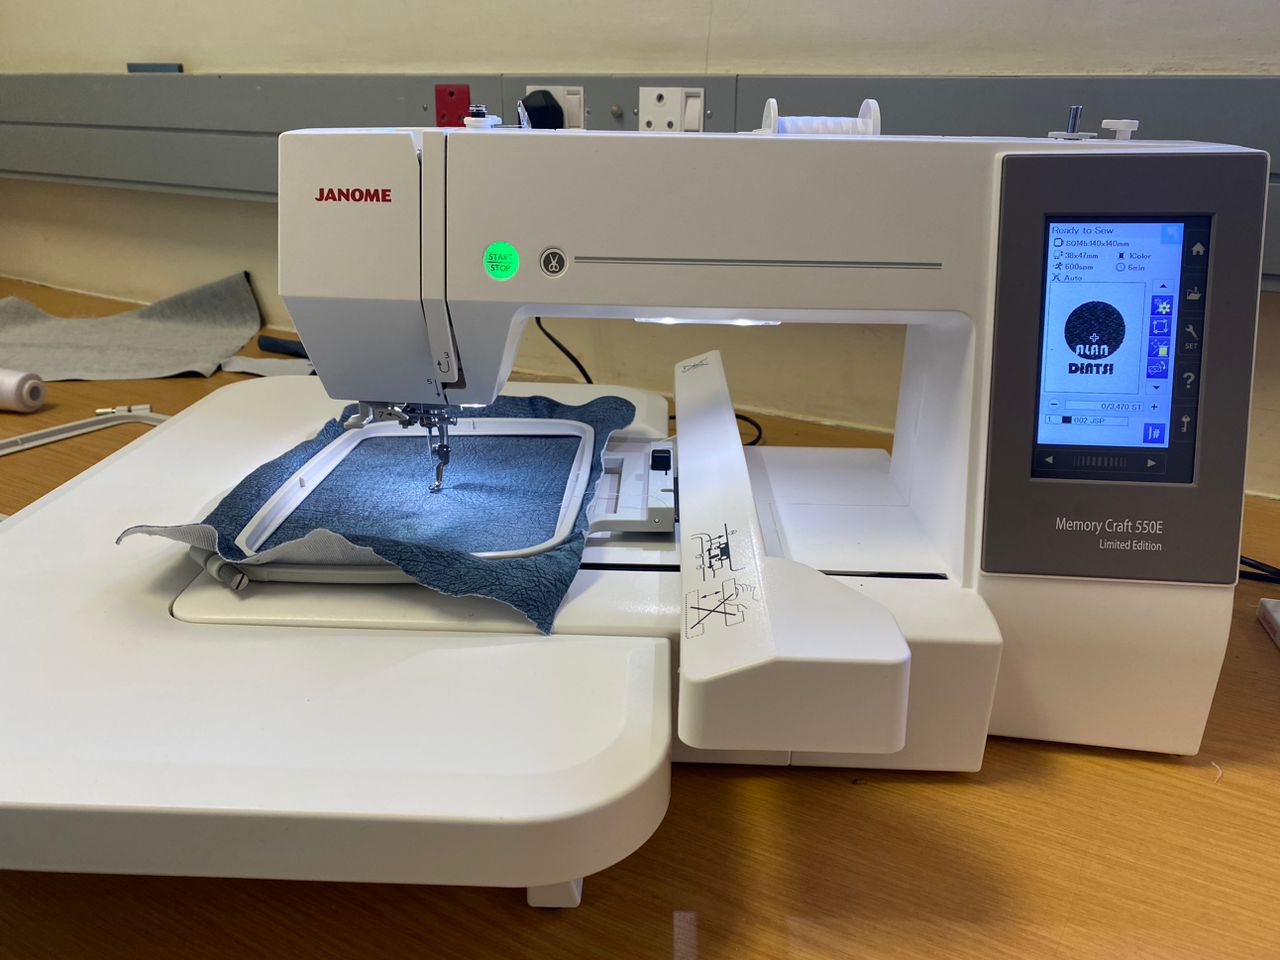
THE MACHINE USED
Janome Memory Craft 550E
PRINTING
I then plugged the memory stick into the machine then imported the design into the machine and then attached the material to be printed into the machine printing tray and then started printing.
PROBLEMS ENCOUNTERED
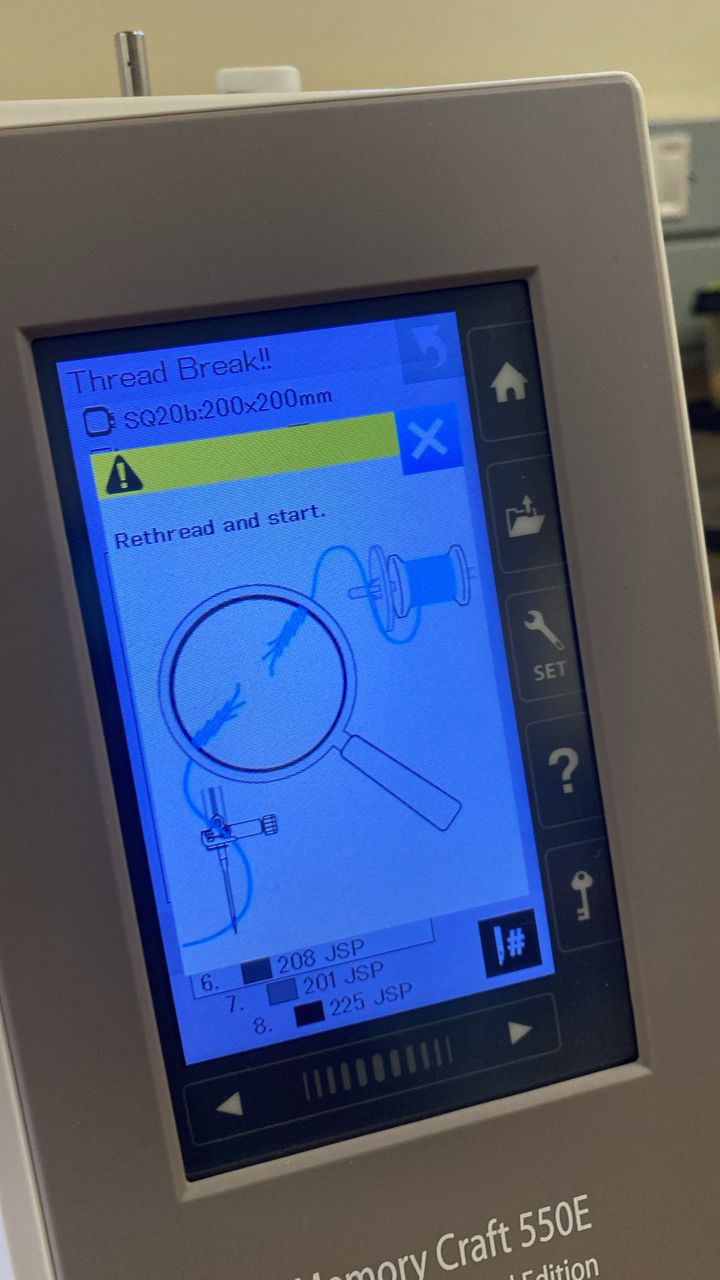
THREAD BREAKAGE- One of the problems encountered was that the thread I used kept on breaking. This was because I used a normal thread not meant for embroidery. I then changed the thread to stop this issue.
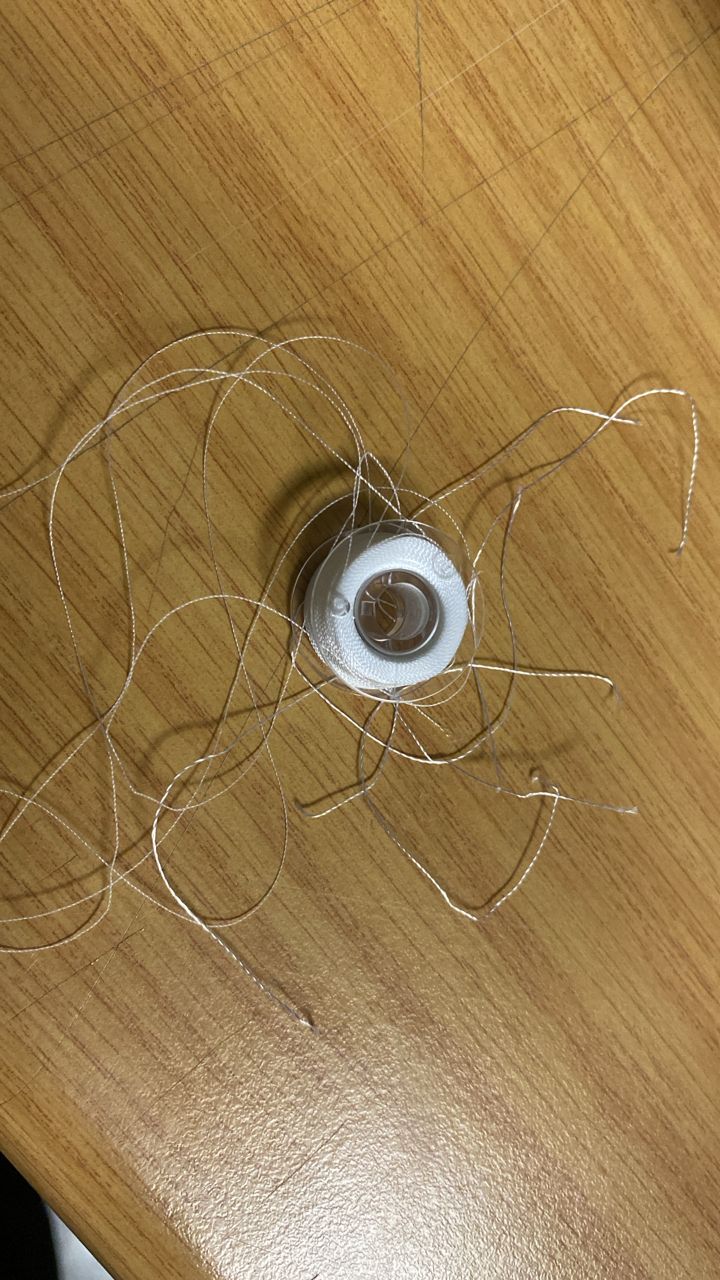
BOBBIN THREAD BREAKAGE- The other problem is that the bobbin (the one that comes from the bottom) got broken in the process. This was because I did not fit it properly in the machine during the time of re-filling it. I had to remove it and place it properly.
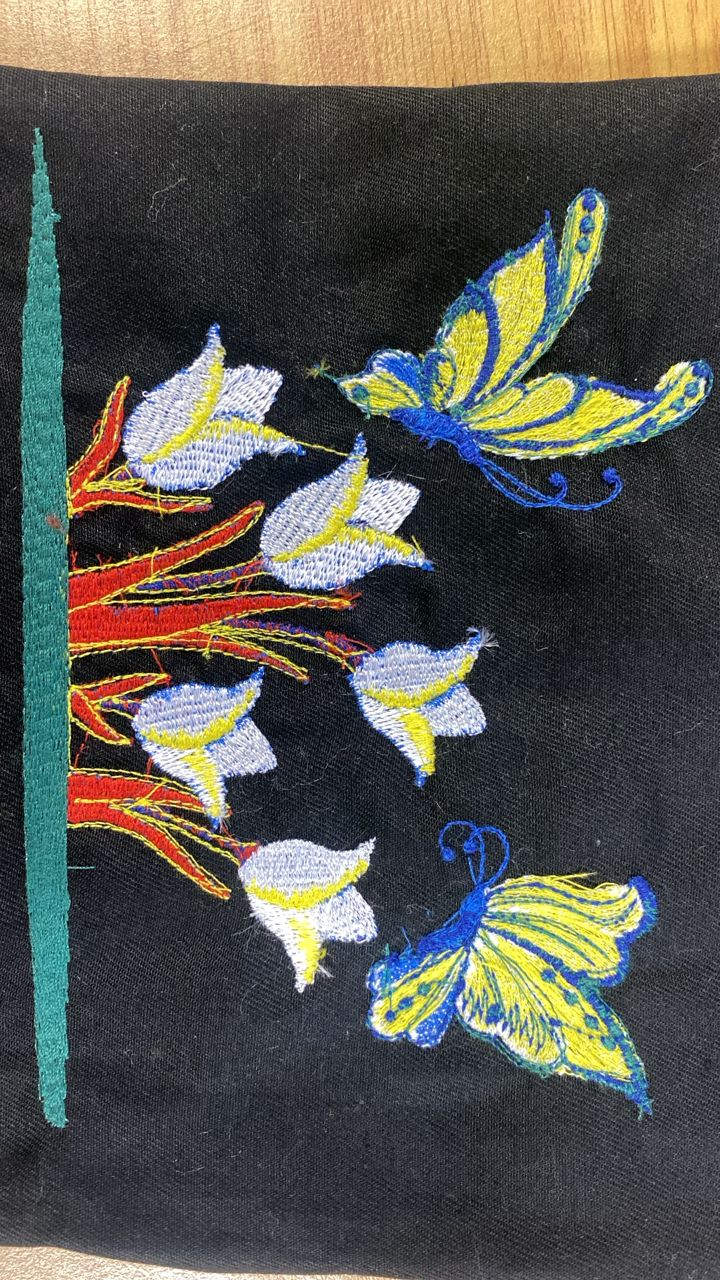
FINAL PRINT
OTHER FILE
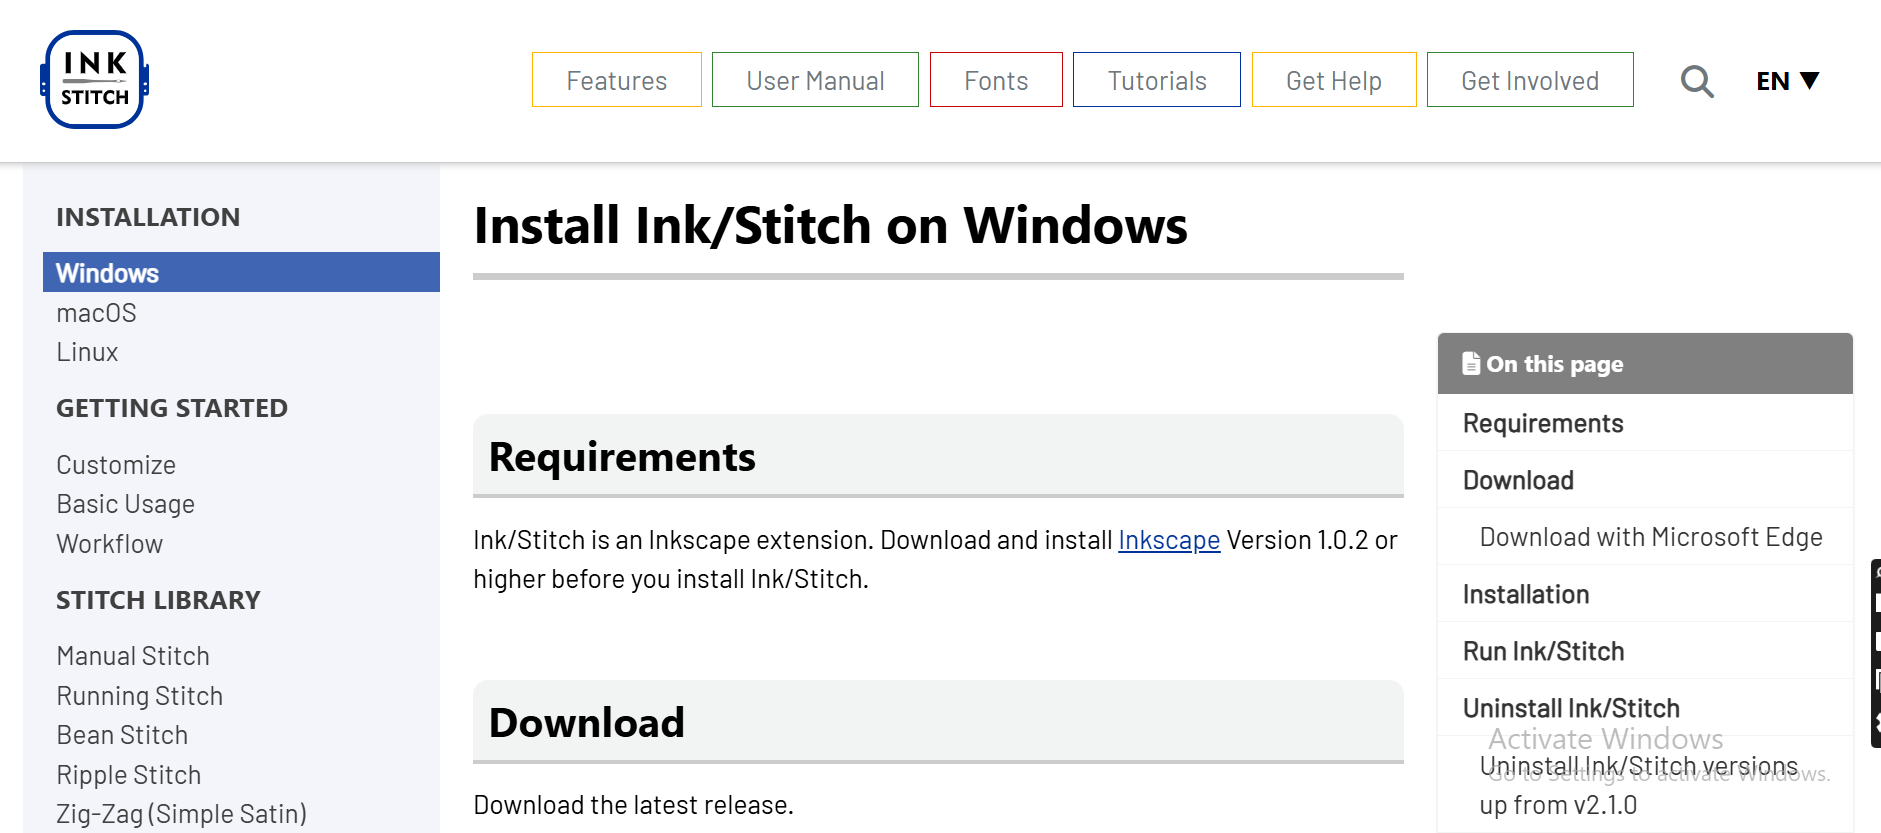
I then used Inkscape to design a new file to embroider. With this file, I started off by downloading an extension for inkscape which enable creating files for embroidery. The extension is called Ink Stitch, and it was downloaded here.
Inkstitch is a free and open-source extension for Inkscape, a vector graphics editor, that enables users to design and create machine embroidery patterns. It functions as an embroidery digitizing software, allowing users to convert their vector designs into stitch files that can be used by embroidery machines.
GETTING STARTED
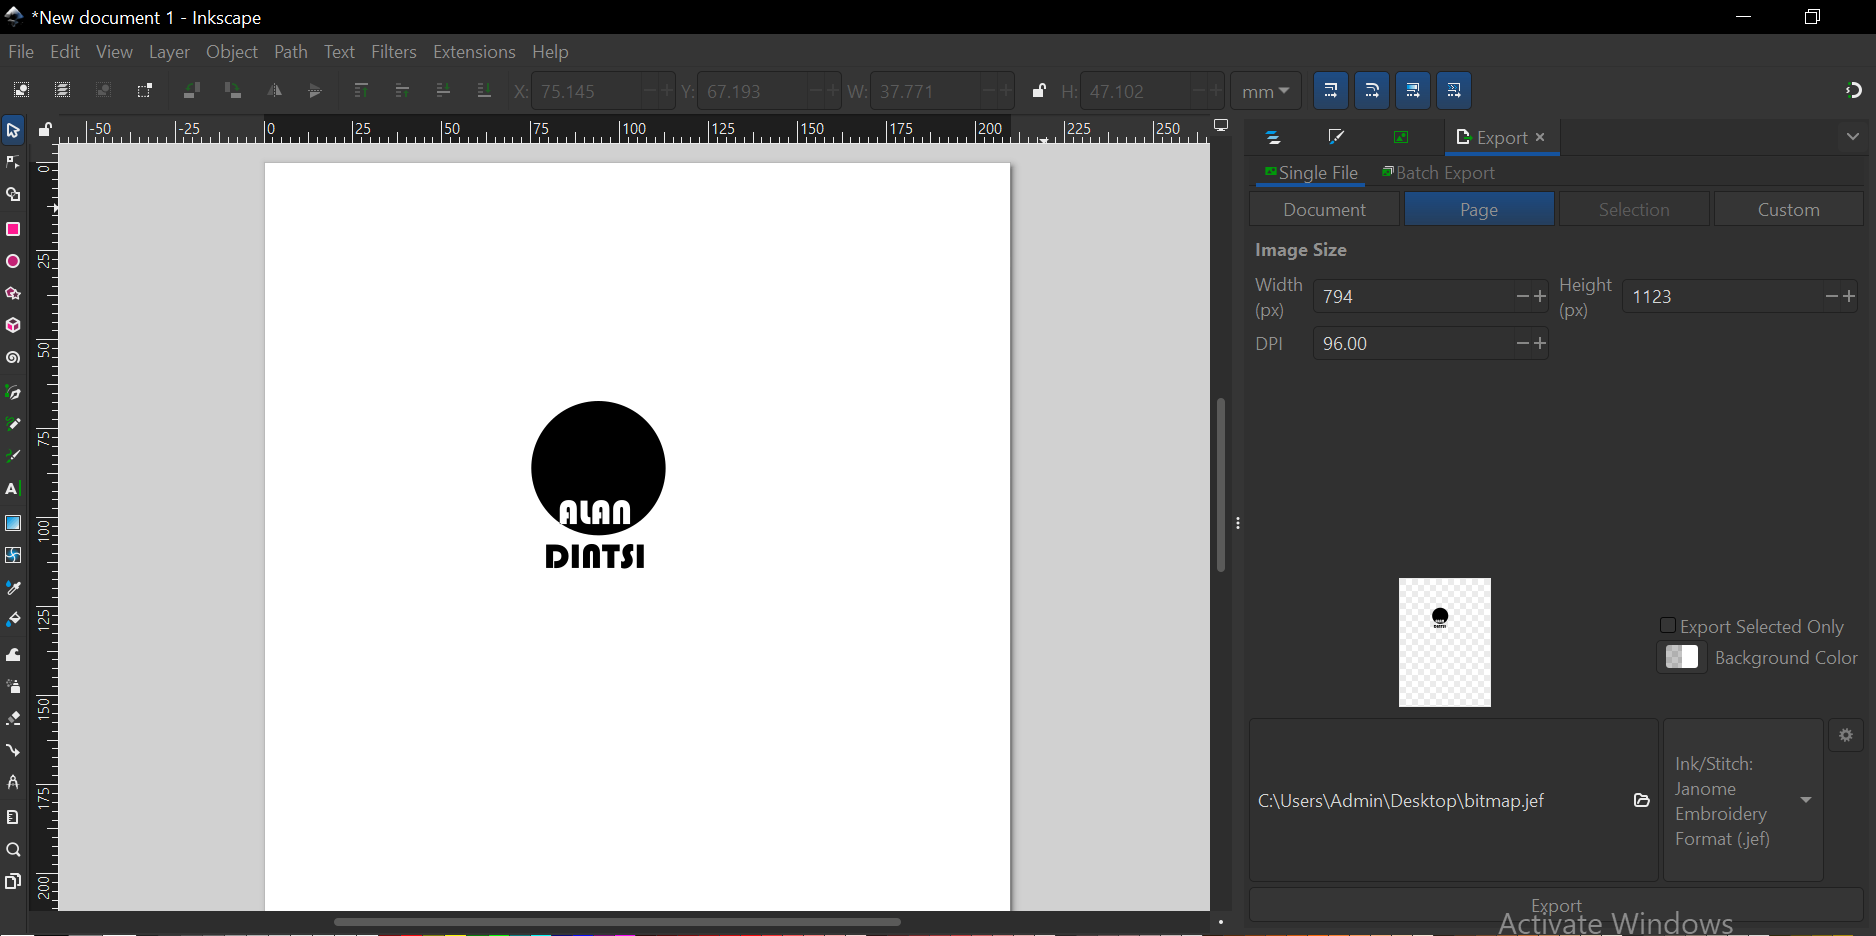
I started off by creating a design on inkscape.
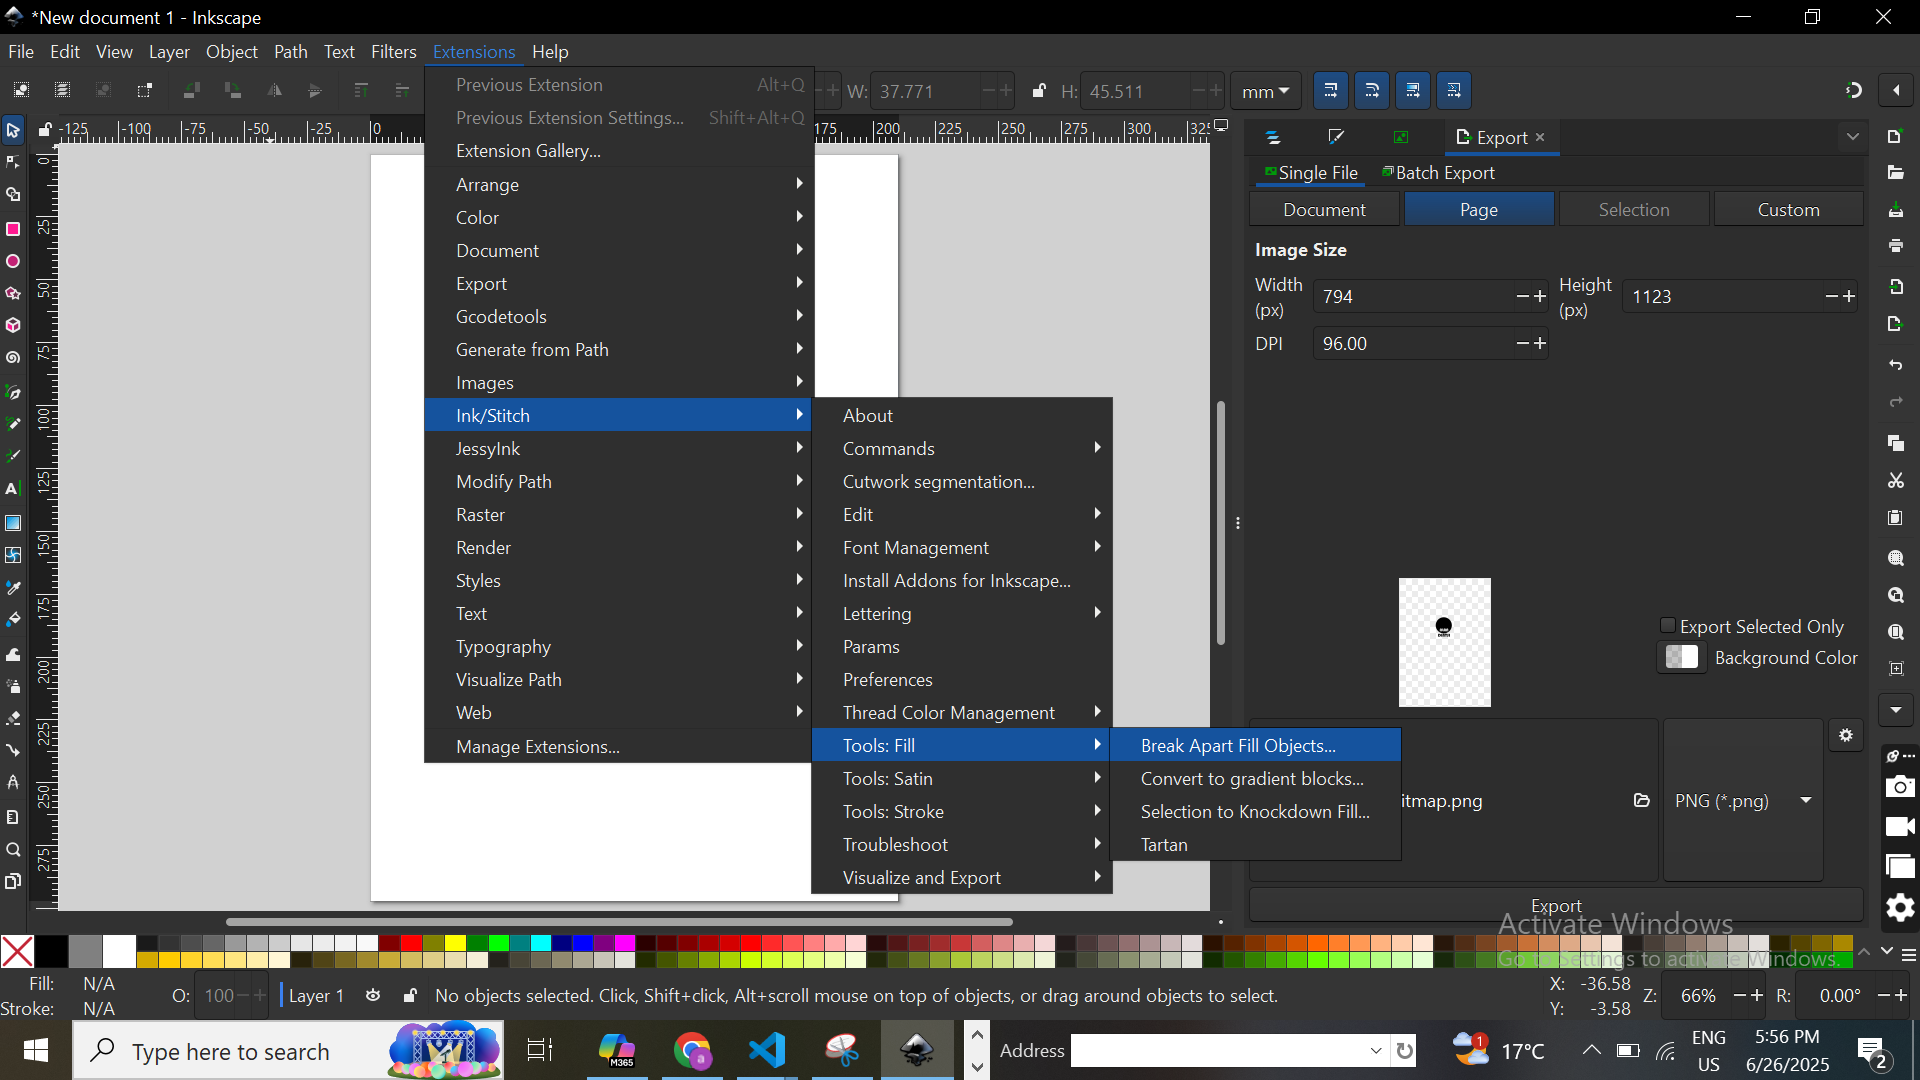
TURNING A DESIGN TO STITCHES
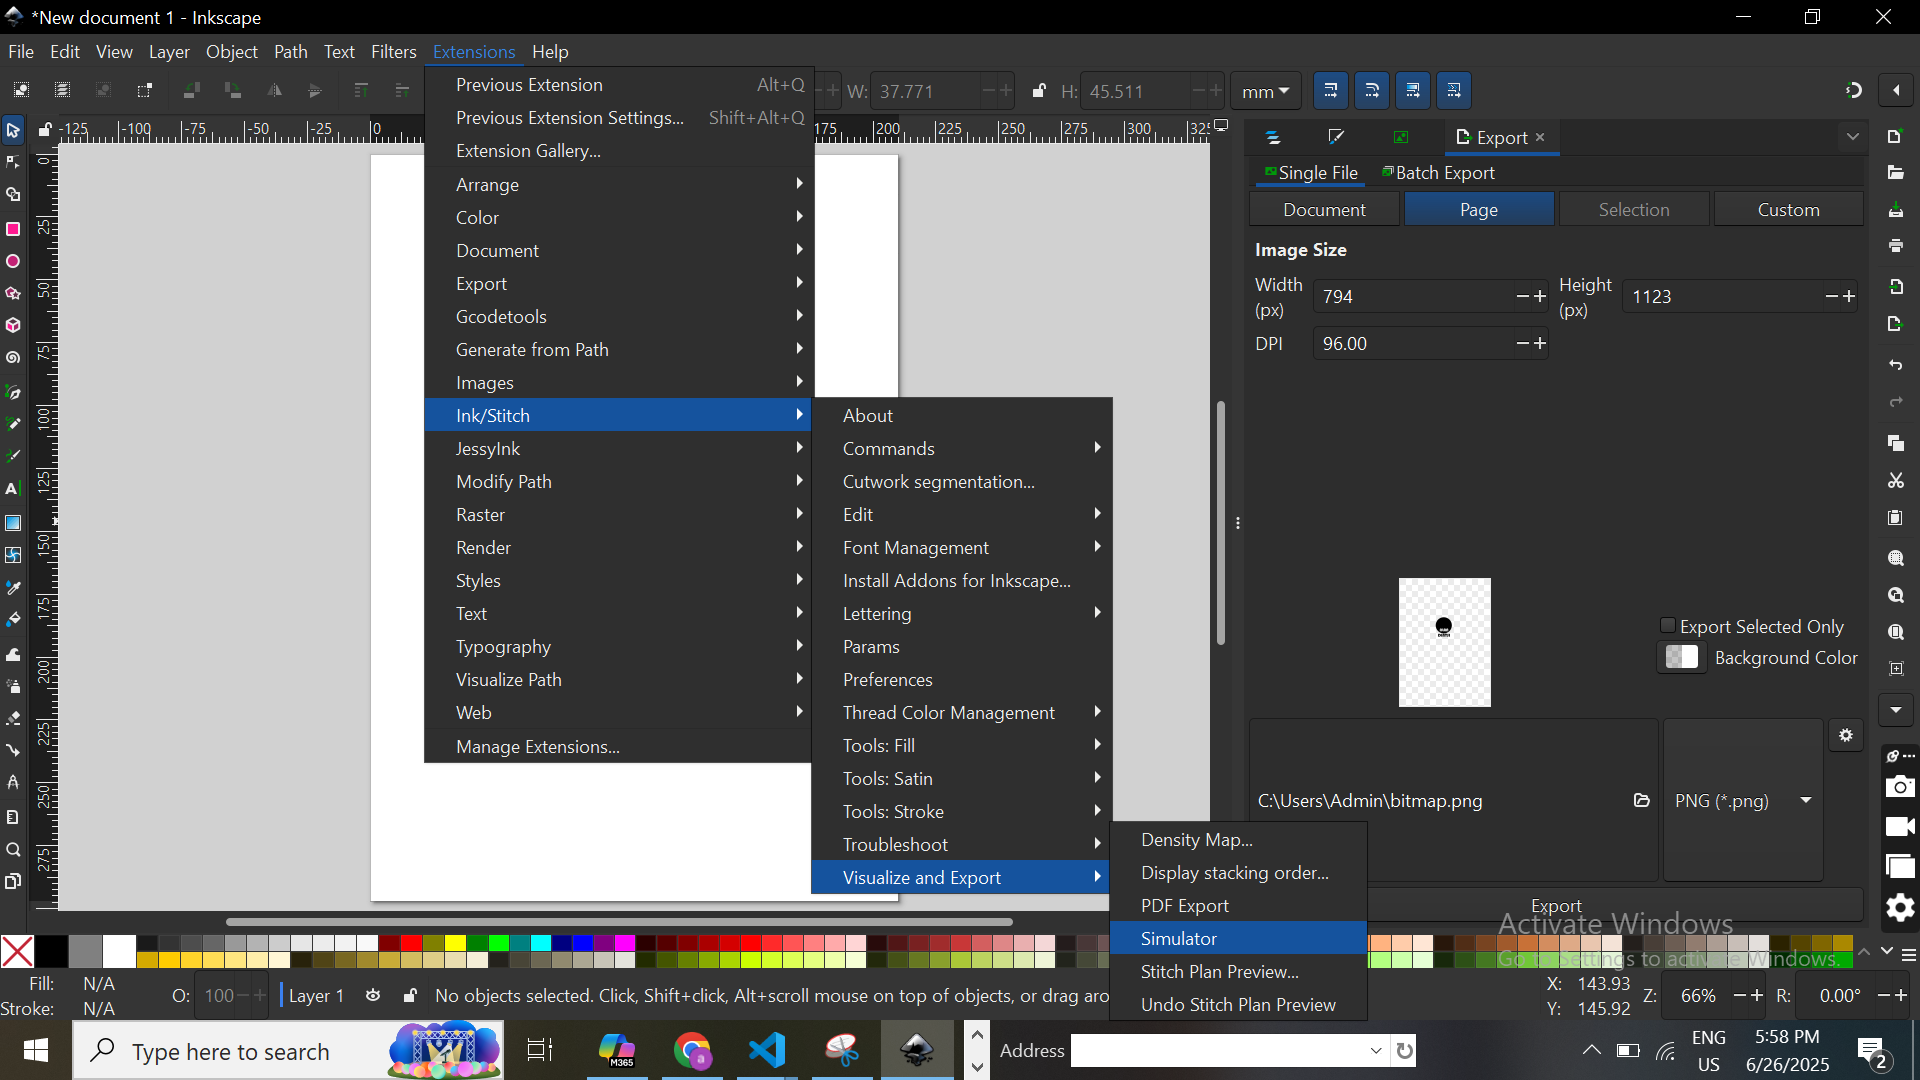
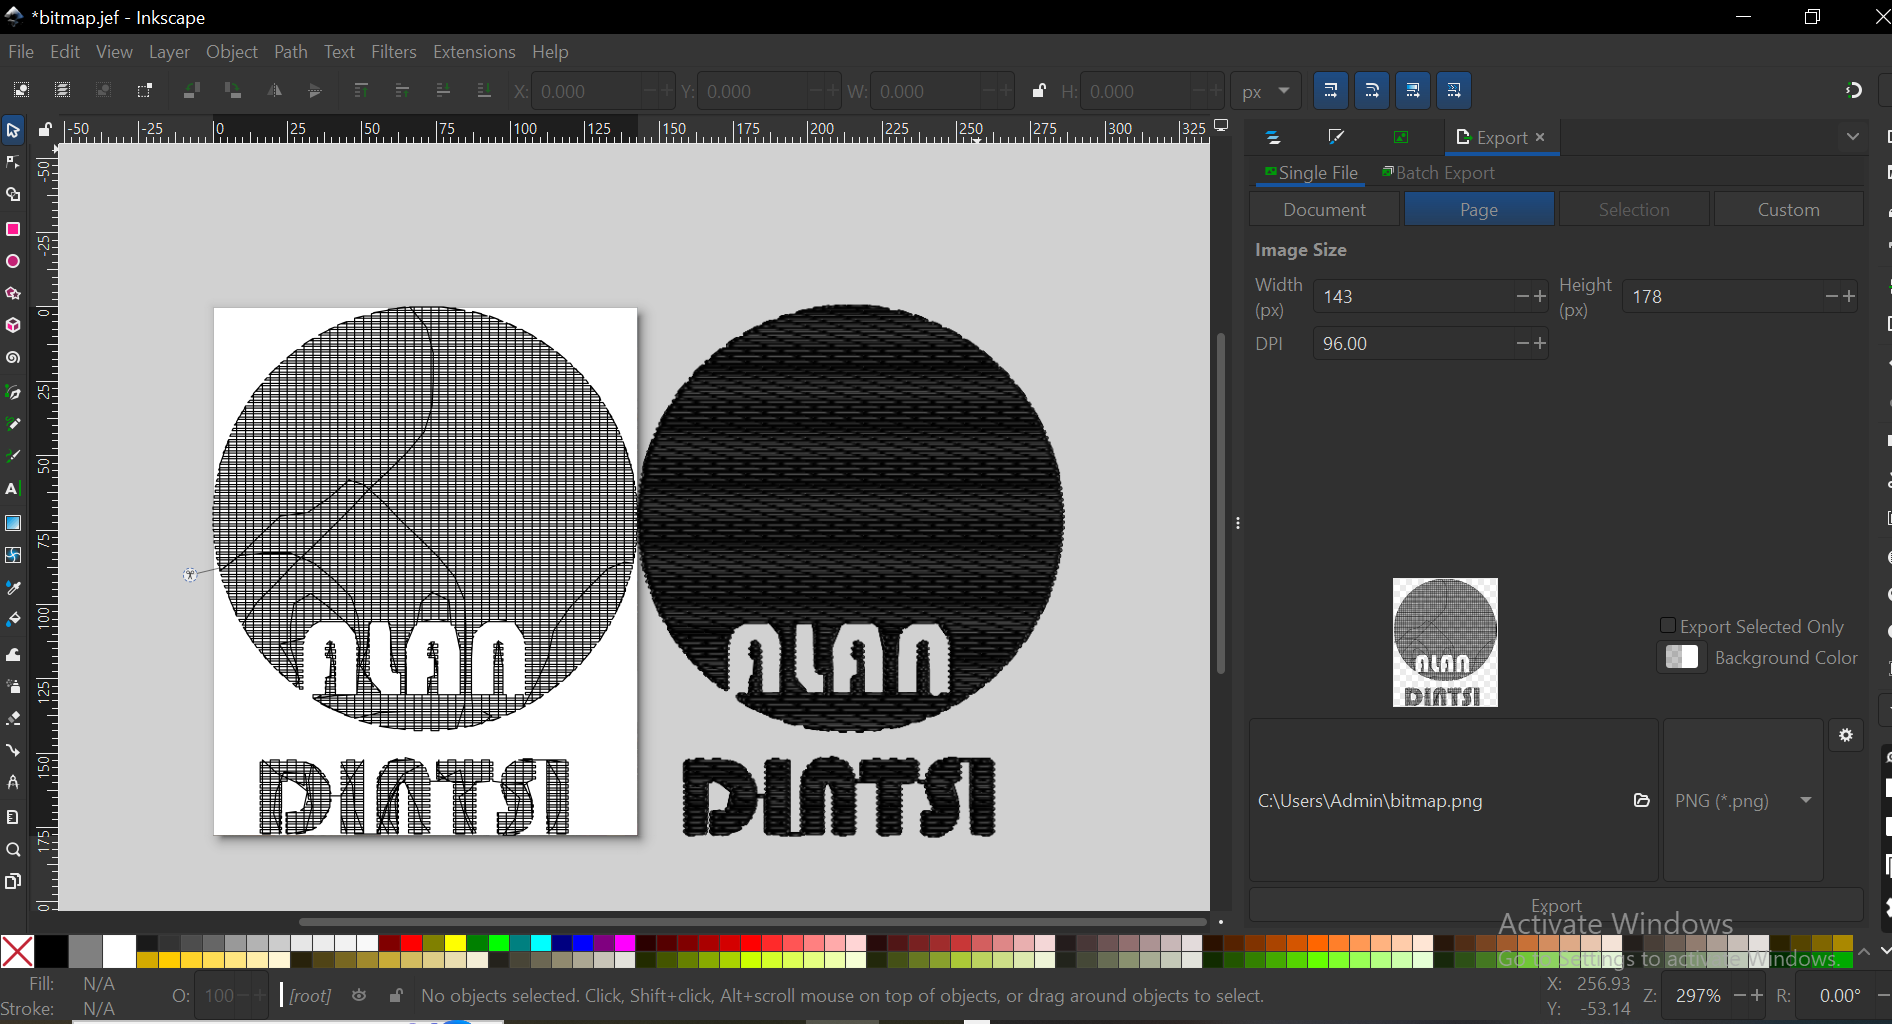
After designing I cliked on the inkstitch extension to change the design to stitches. And then previewed the traces.
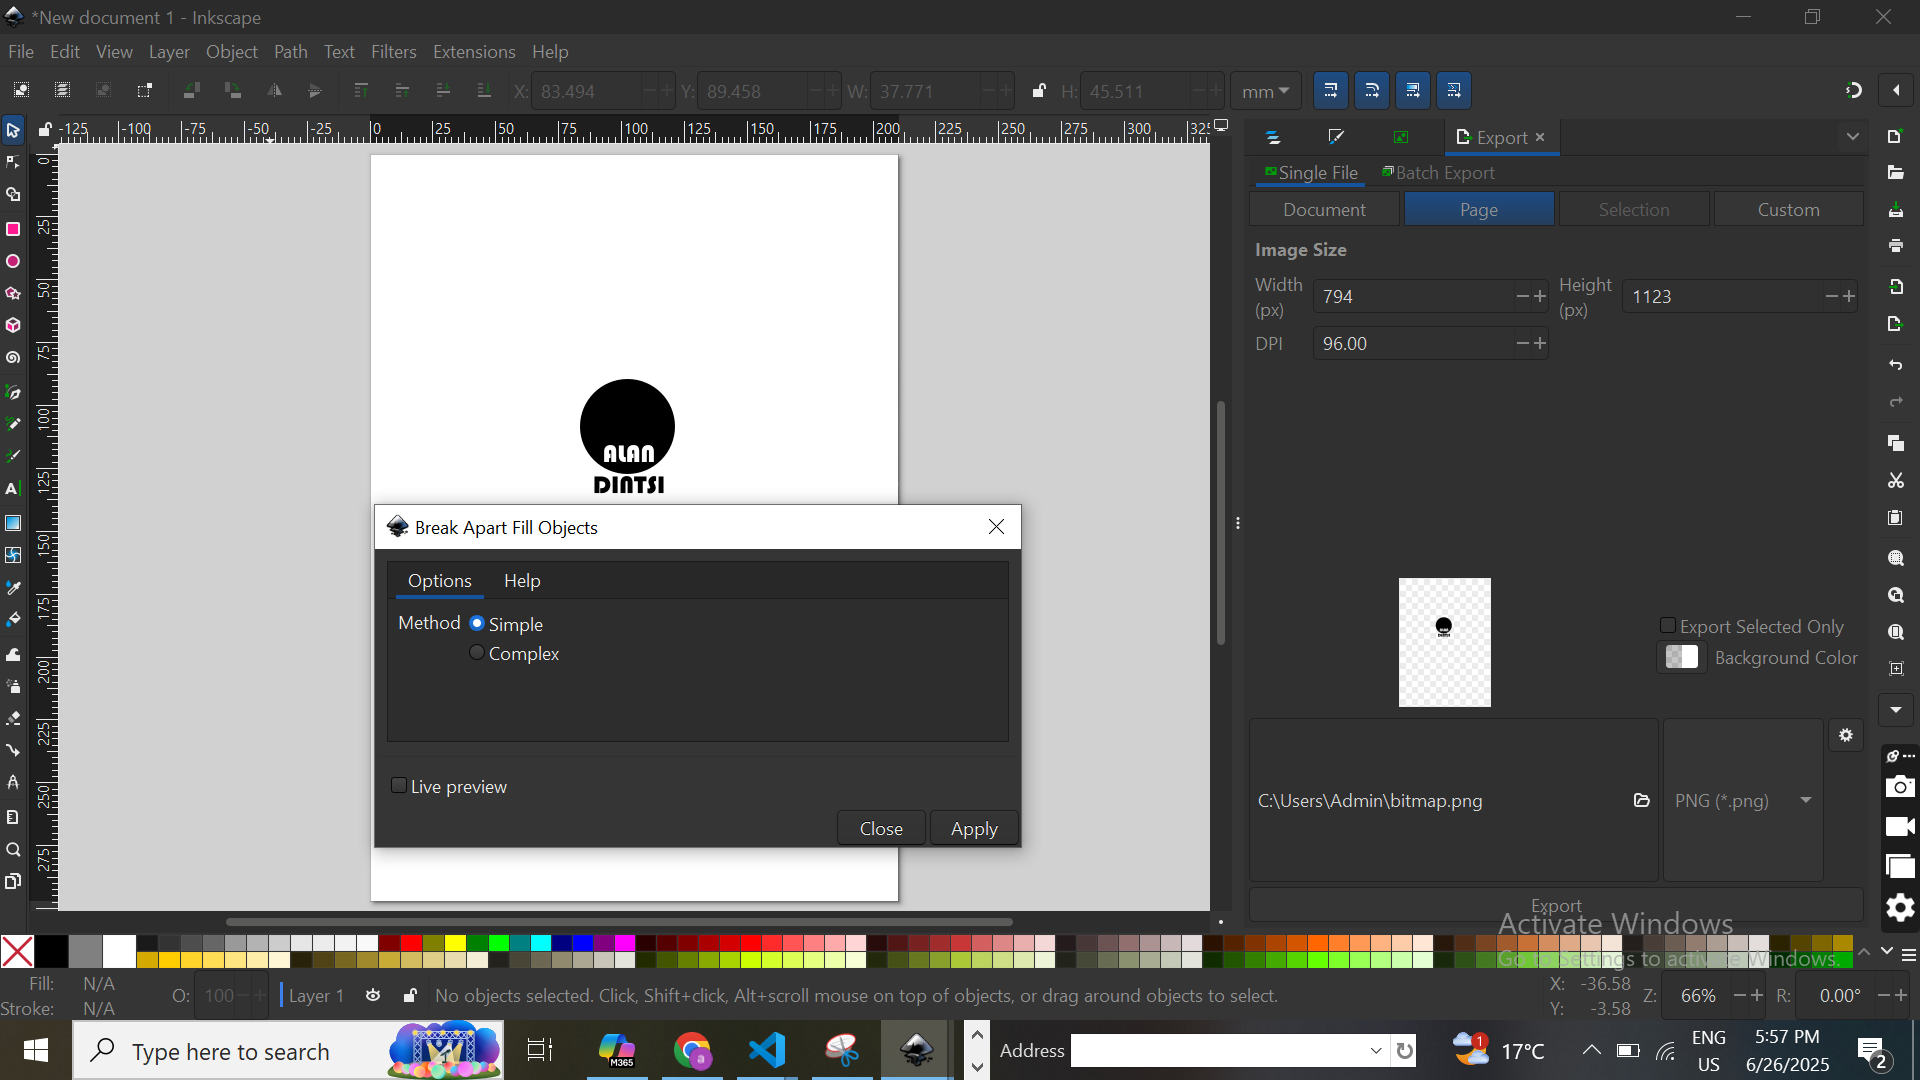
I started by first filling the oject/design.
I used simple method option. Complex also works. However it takes a little while to calculate and in some cases, the difference is barely noticeable.
I then clicked lettering under the inkstitch extension to edit the line width of the stitch and the needle penetration.
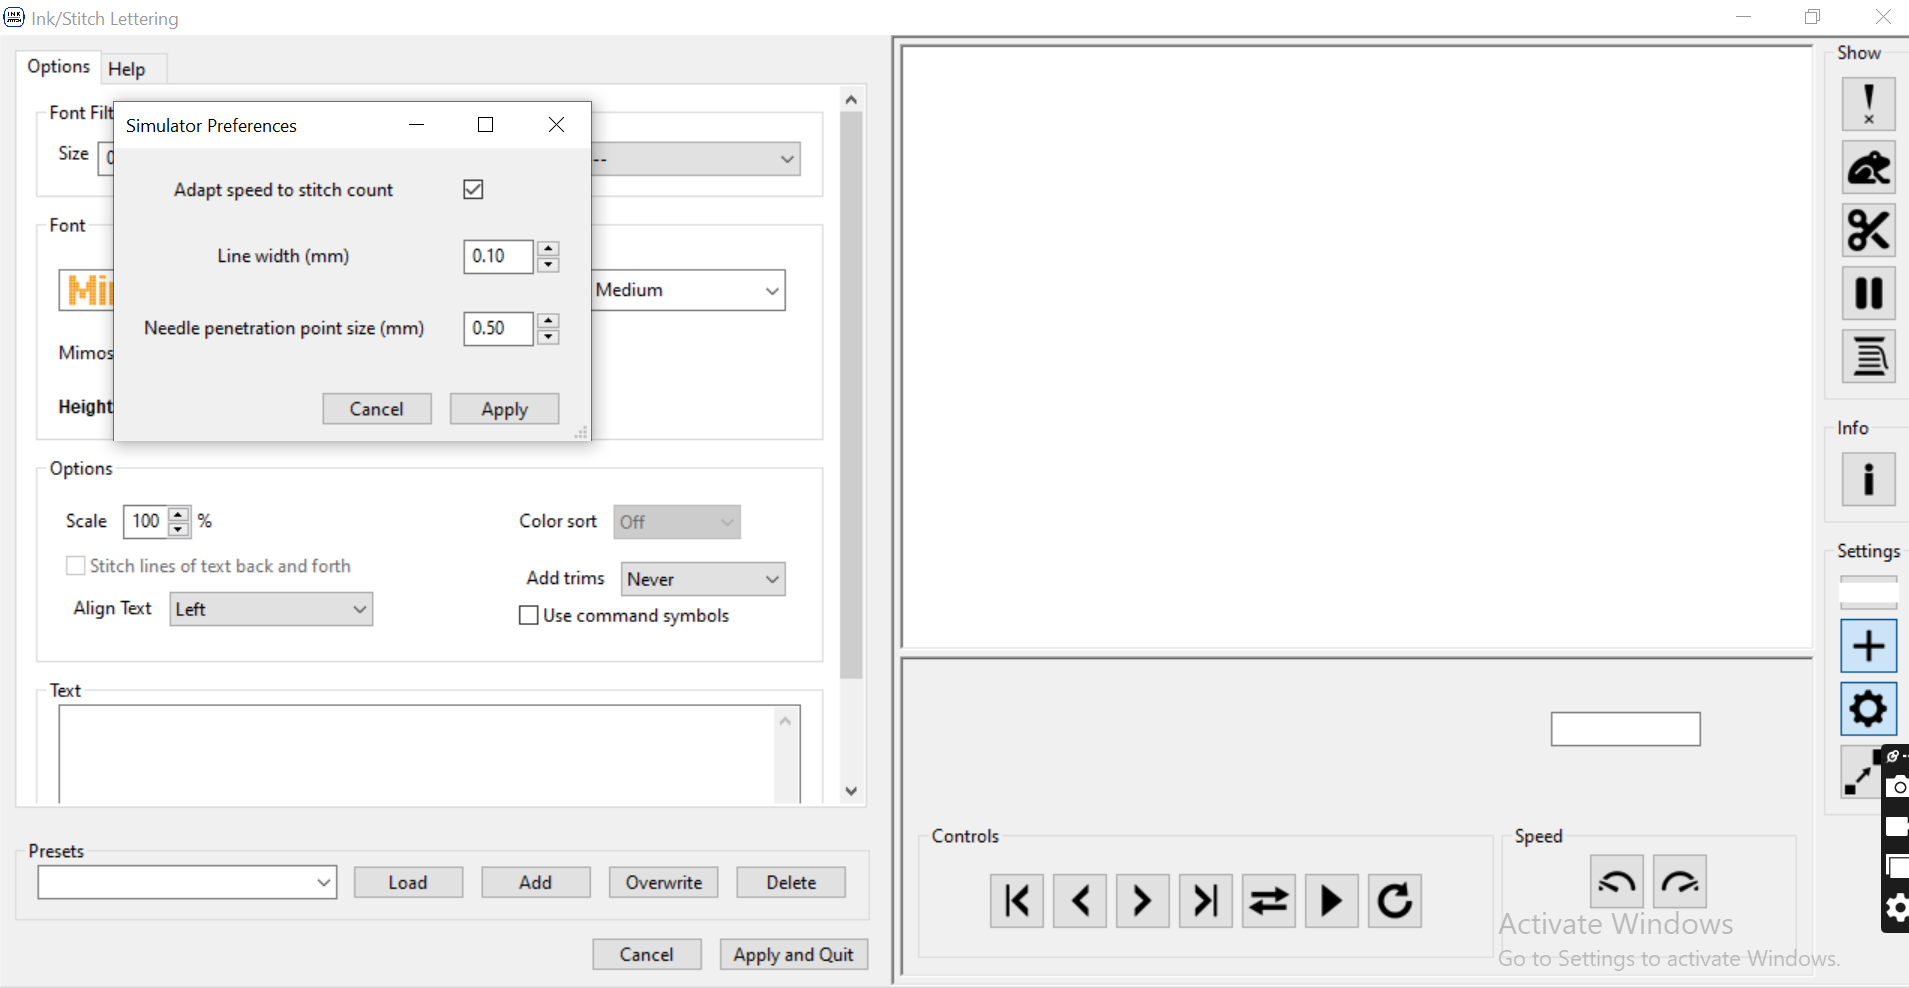
I then clicked on the simulator to see how the embroidery will look like.
The preview of the traces.
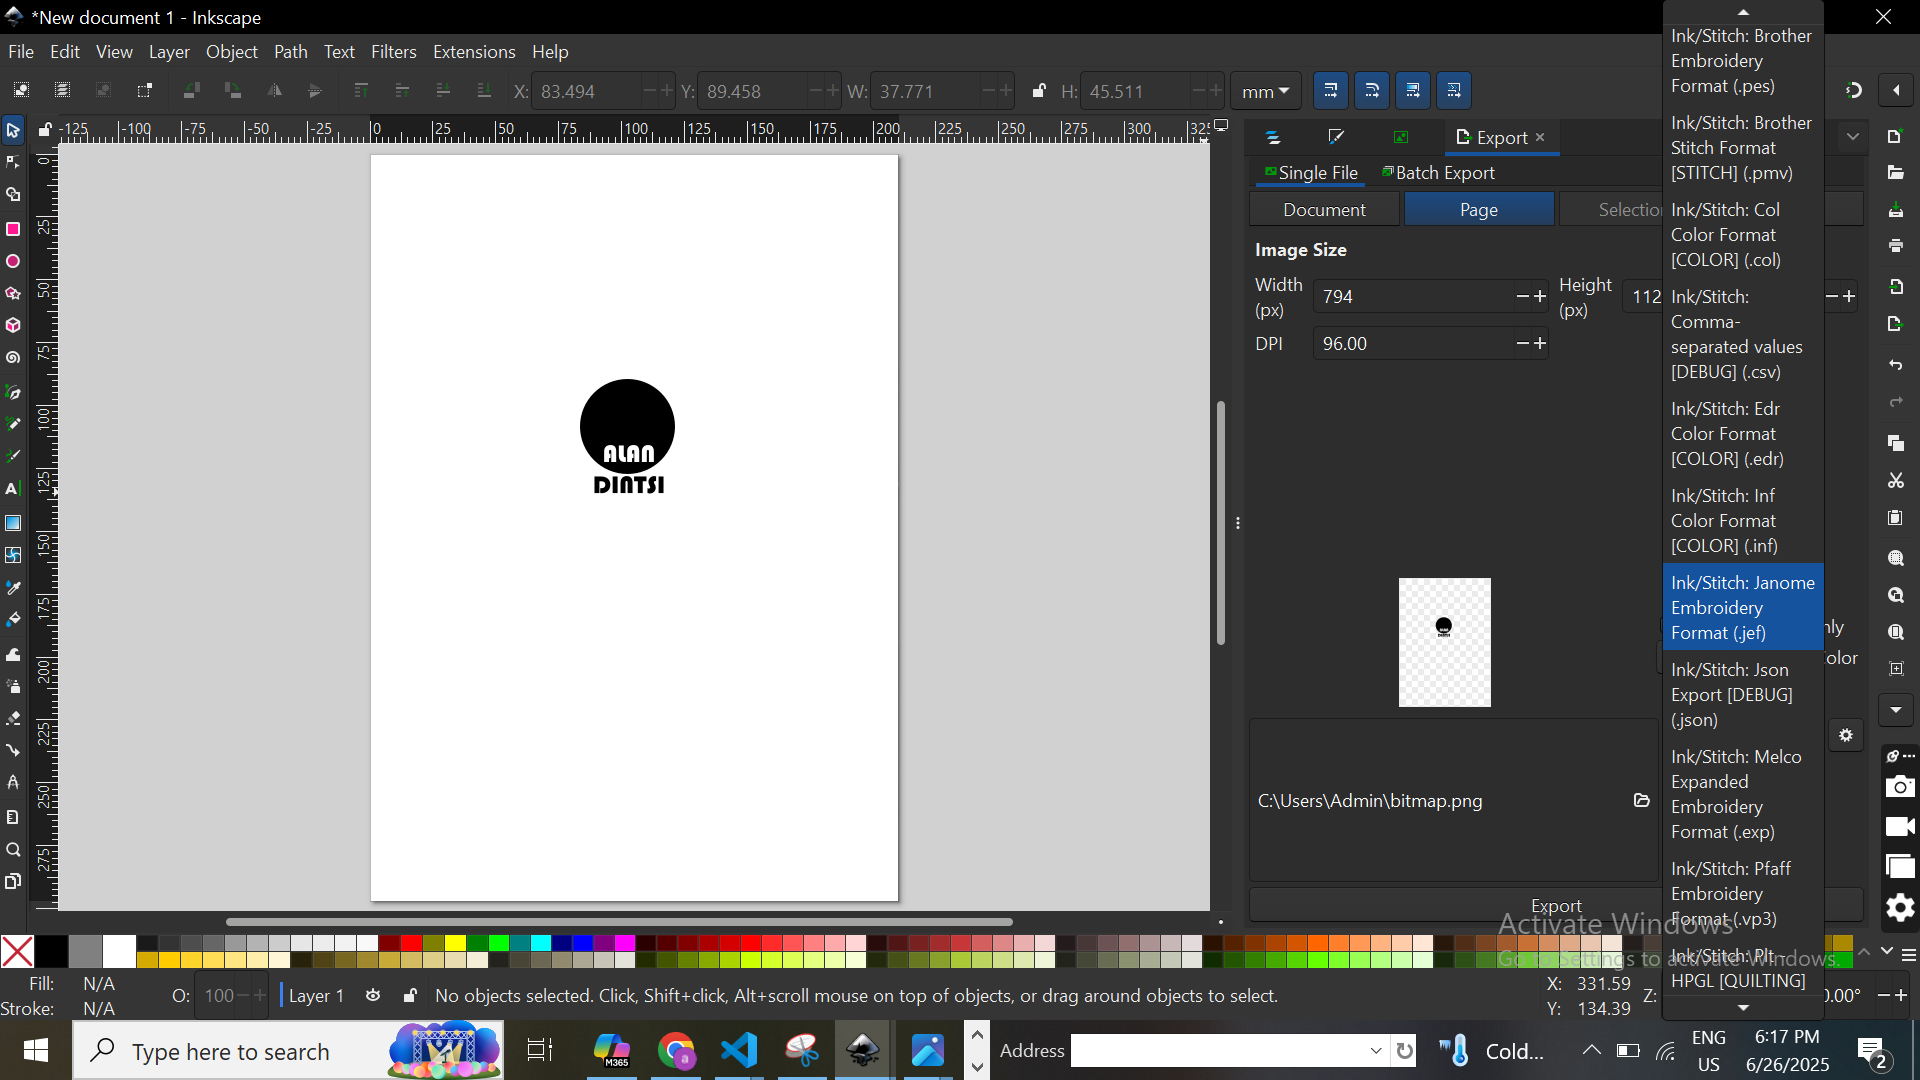
After everthing I exported the file as .jef, for Janome embroidery machine as it is the machine I will be using for embroidery.
EMBROIDERY
For starting the embroidery process I followed the following steps:
The machine used is Janome Embroidery machine.
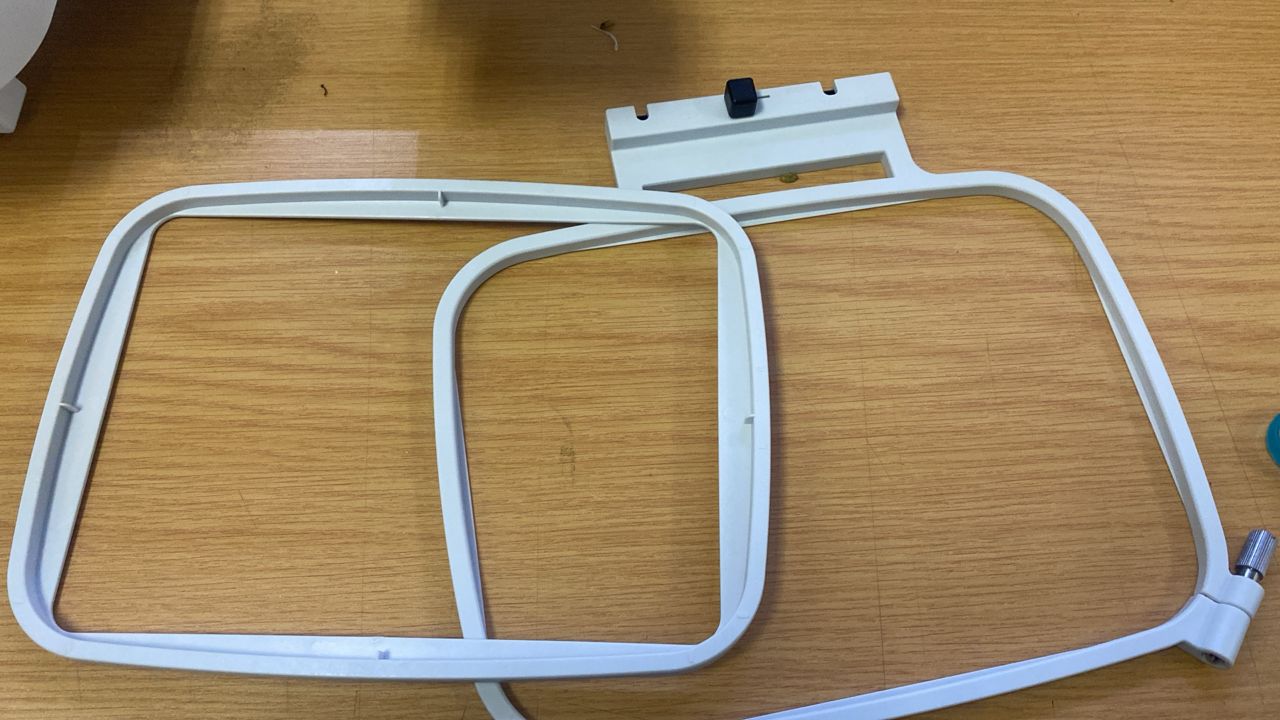
STEP 1
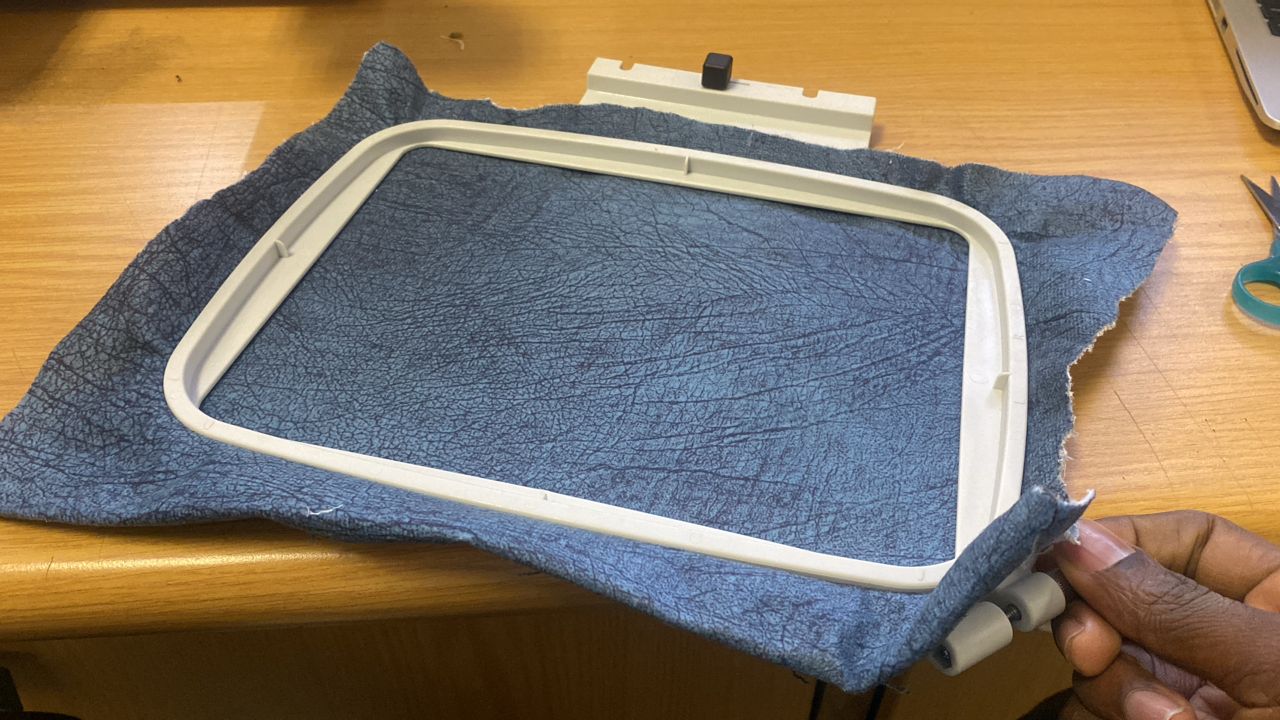
Firstly I started by identifying the hoop to use for my embroidery. I chose the 140x140mm hoop as the size of the artwork the print was not big.
I then loaded and fixed using the knob on the corner of the hoop, the material to print (cloth).
STEP 2
I then loaded the hoop with the material on the machine.
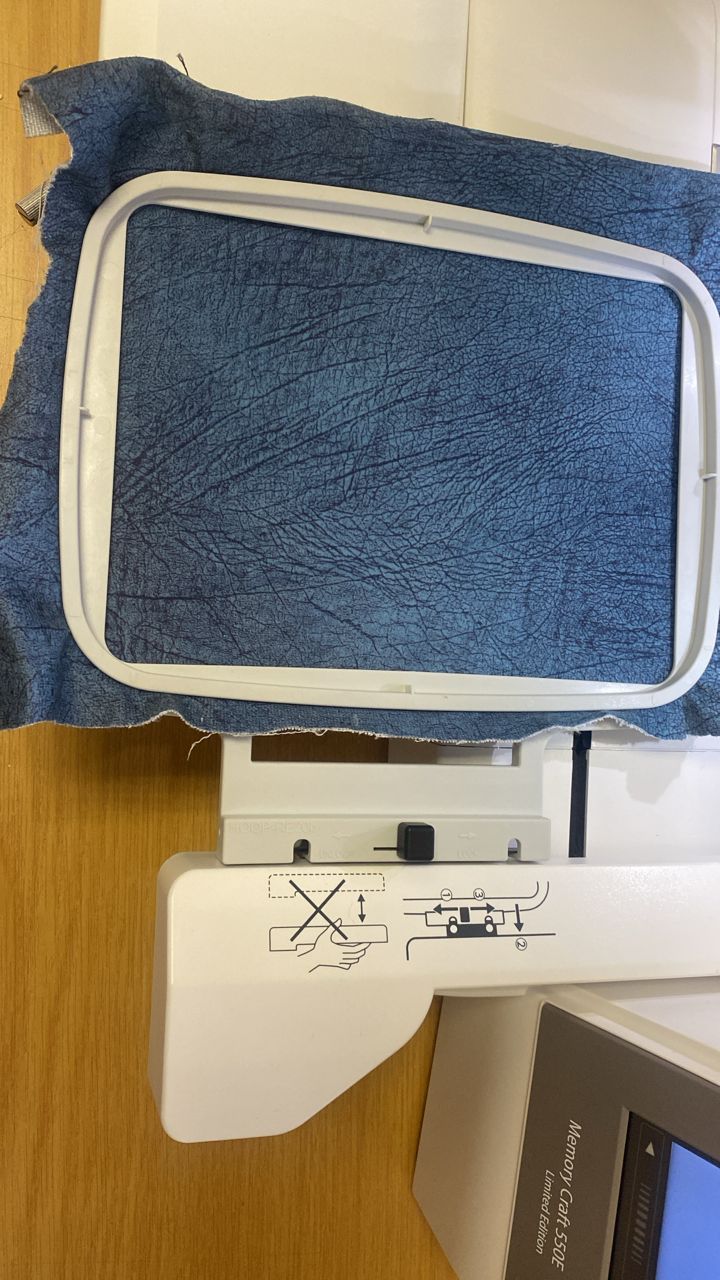
This was done by clicking on the hoop like icon on the machine interface.
I then checked the parameter, as in where exactly my print will be placed on the material
STEP 3
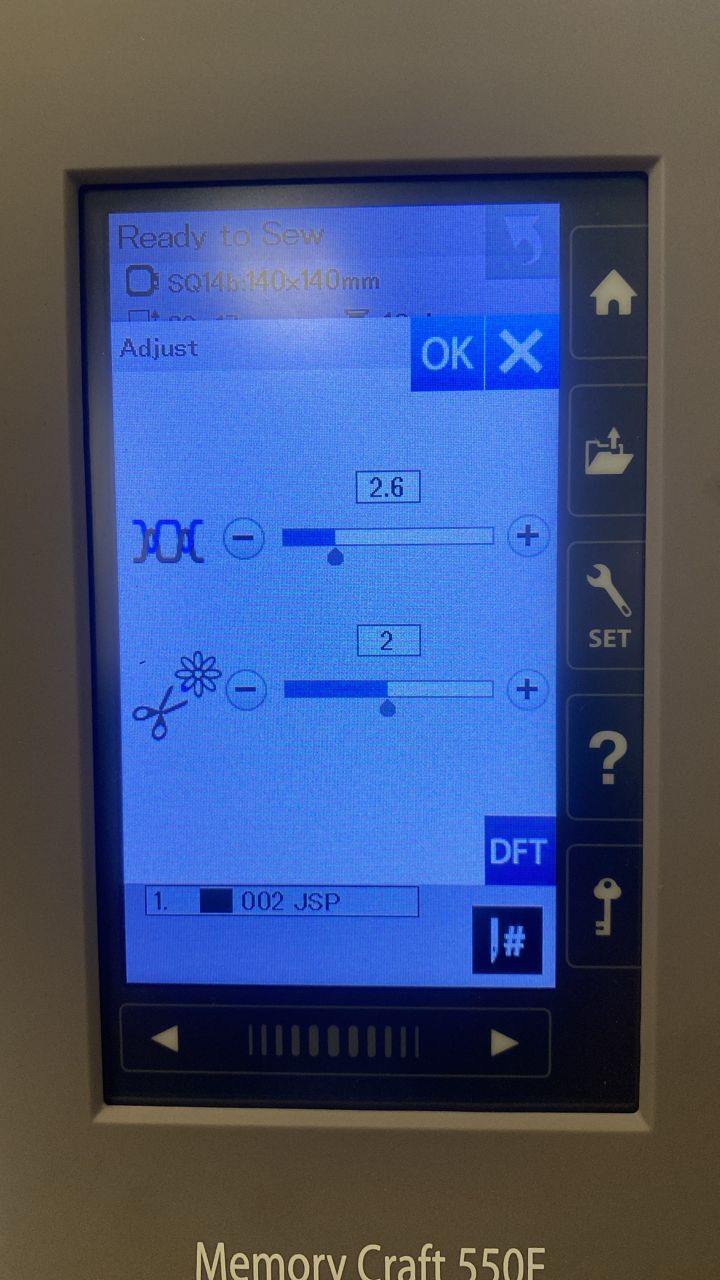
I then edited the width of the stitches to be evenly spaced to avoid too much gaps between them, I placed the value at 2.6. And I also adjusted the stitch to avoid making it too dense.
STEP 4
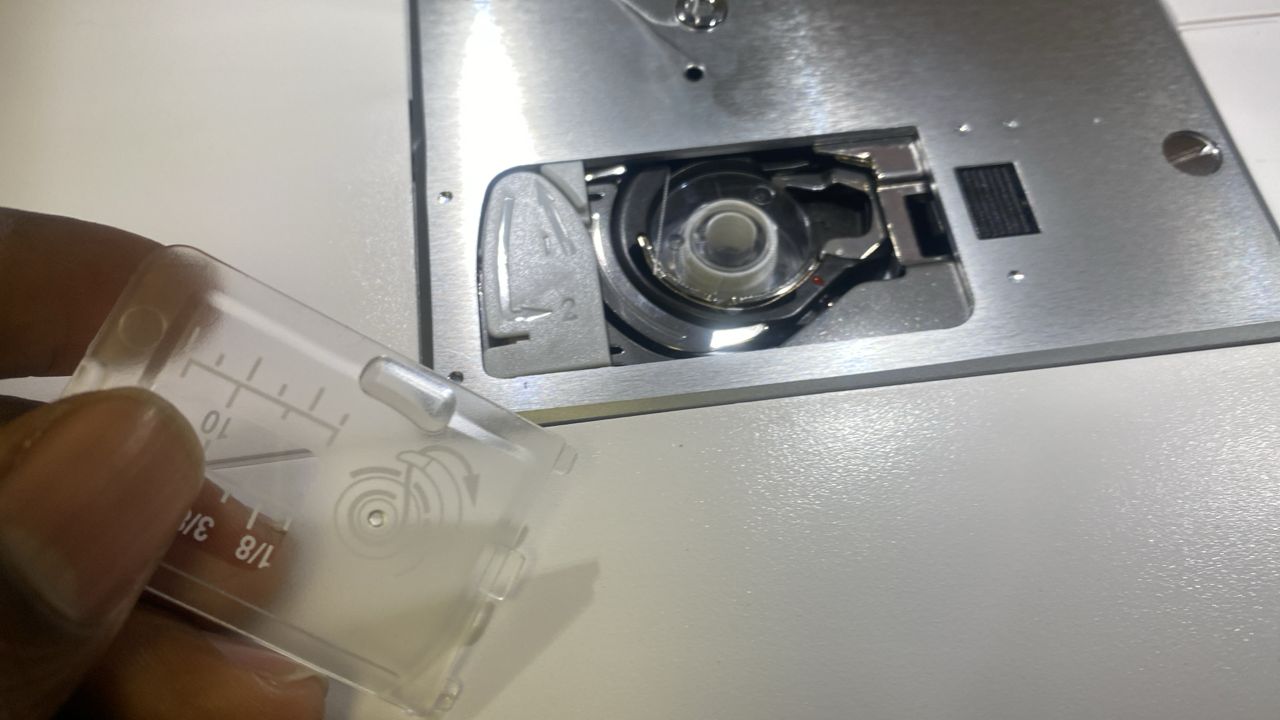
This is where I made sure the machine has the bobbin thread and also the threads are properly inserted into the machine.

STEP 5
The final step was to start printing/embroidering. I started off by lowering the press footer and then clicked the green button to start.
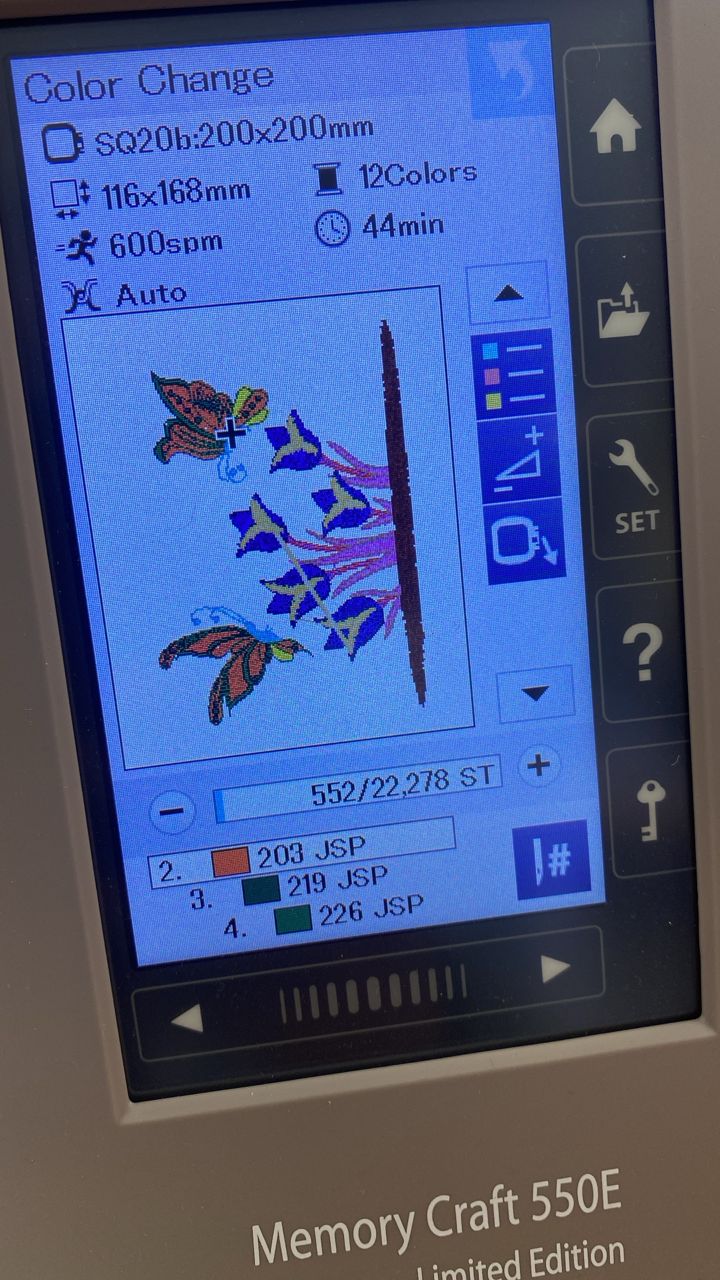
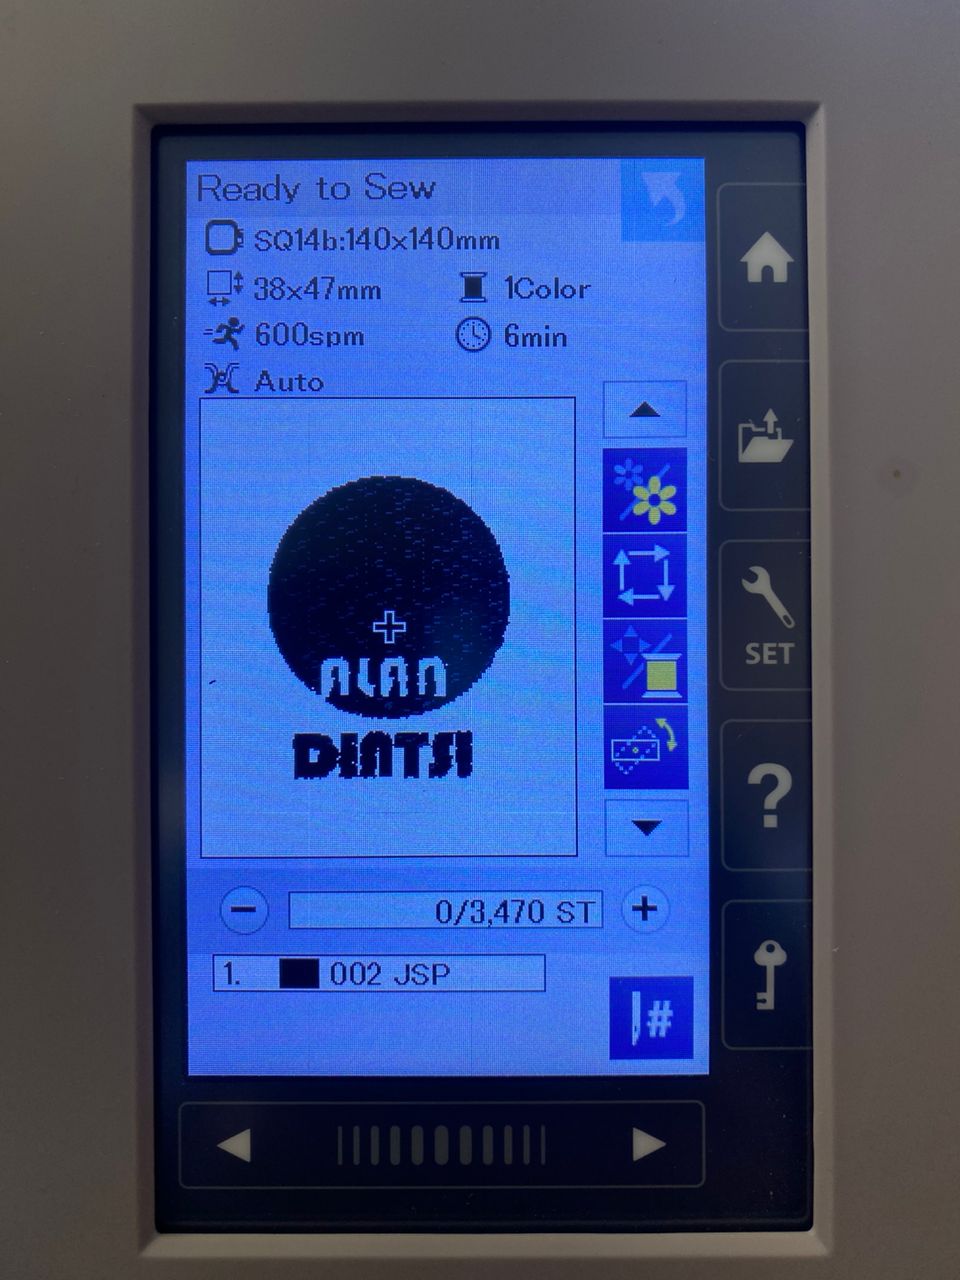
The interface of the machine shows the number of stitches, the speed, the number of colors and the time to take printing.
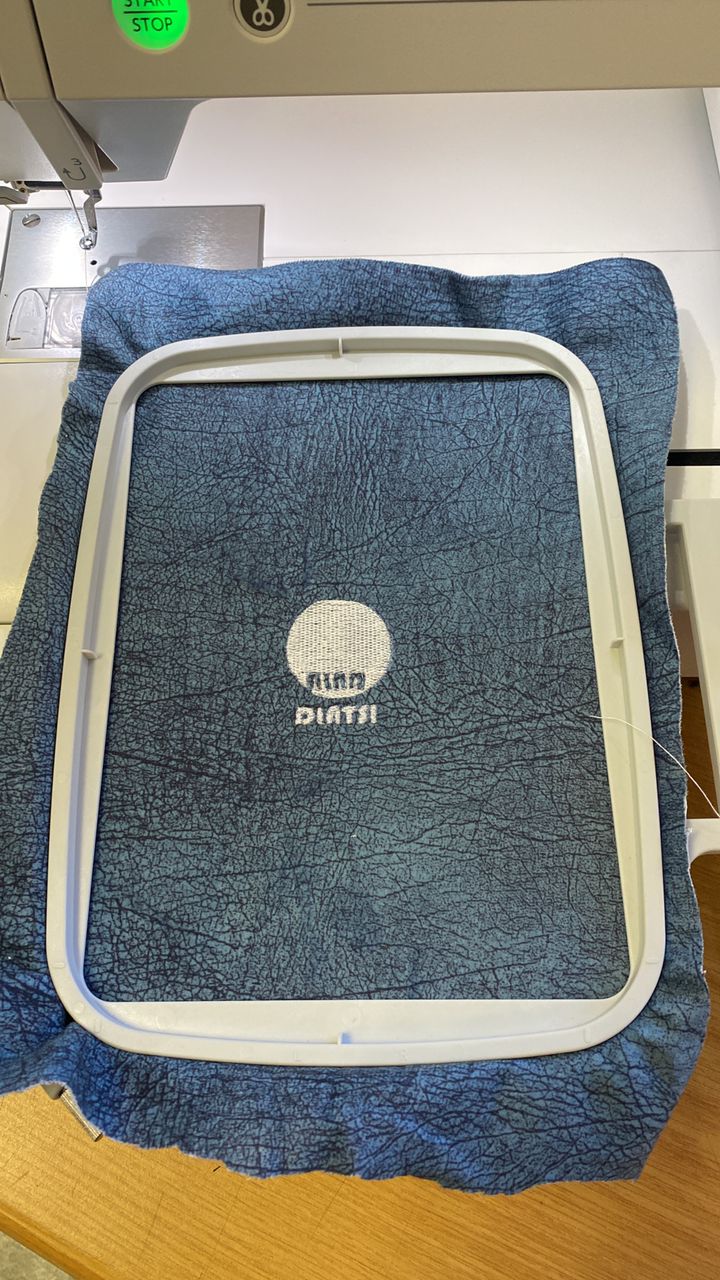
FINAL PRINT
FILES