3D SCANNING AND PRINTING

3D PRINTING
3D printing, also known as additive manufacturing, is a process of creating three-dimensional objects by building them layer by layer from a digital model. Unlike traditional manufacturing methods, where material is often cut away or molded into shape, 3D printing adds material only where it's needed, allowing for complex shapes and structures that would be difficult or impossible to create with traditional methods.
1. DESIGNING A PART TO BE 3D PRINTED
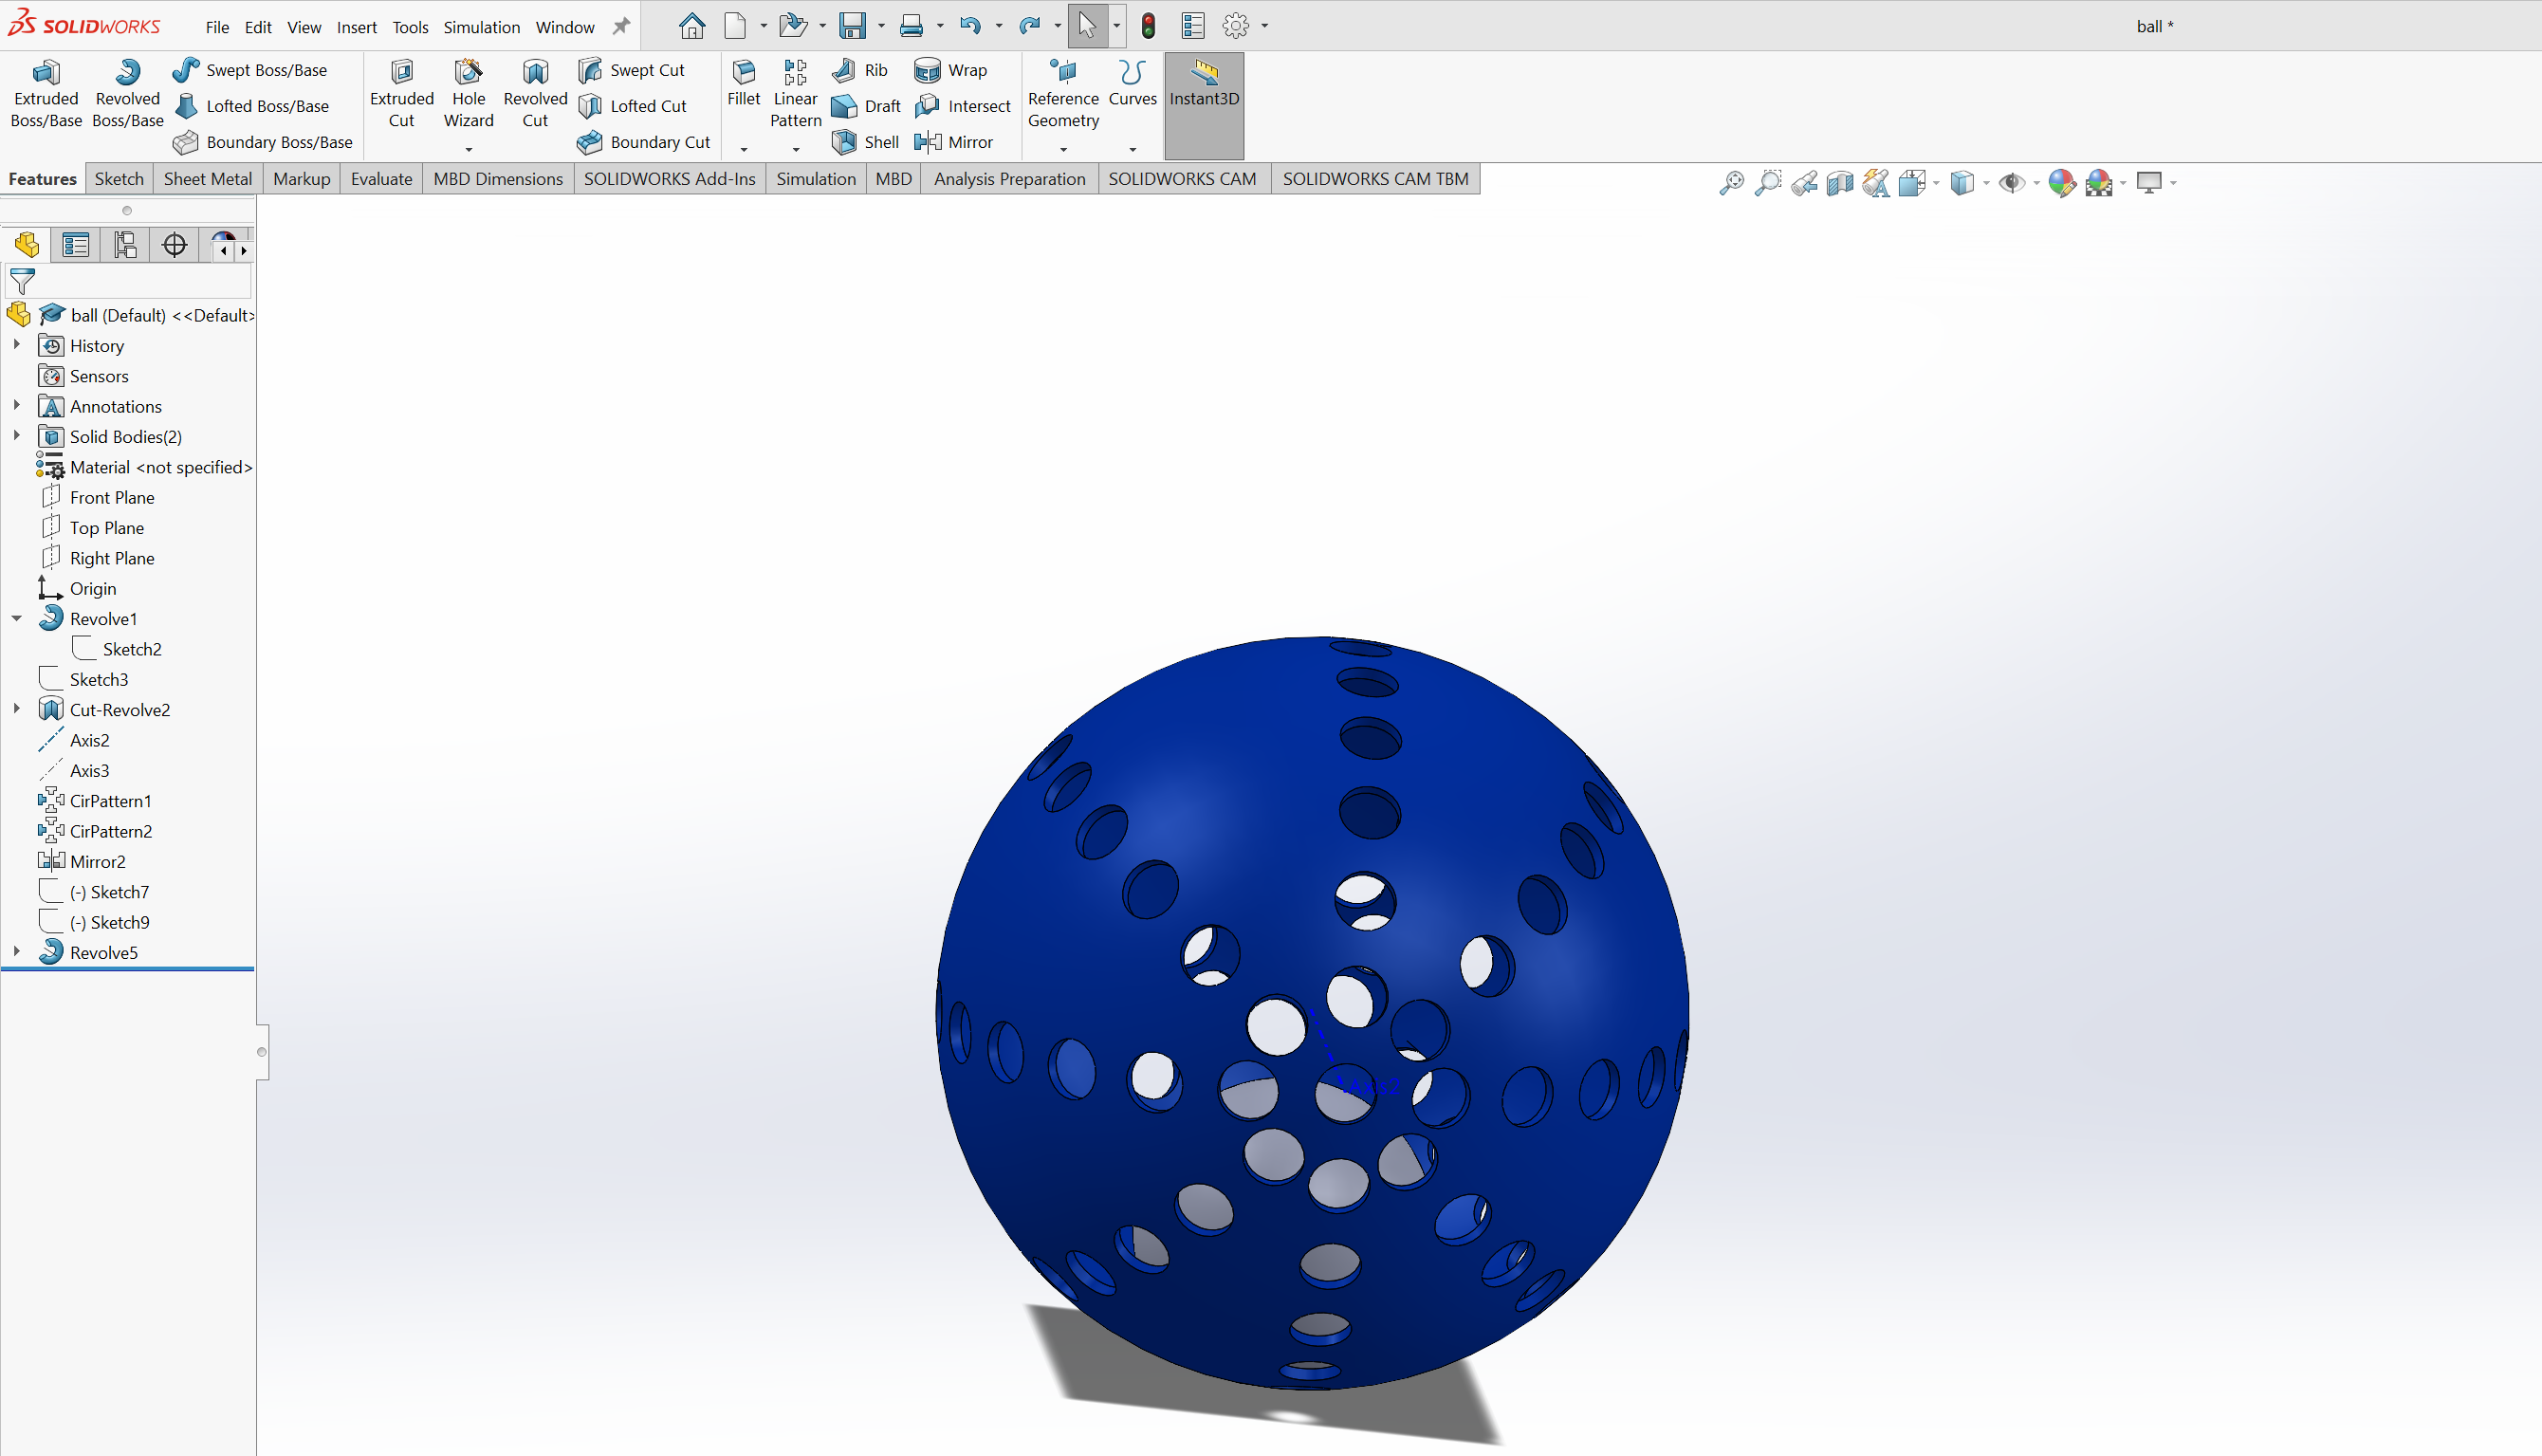
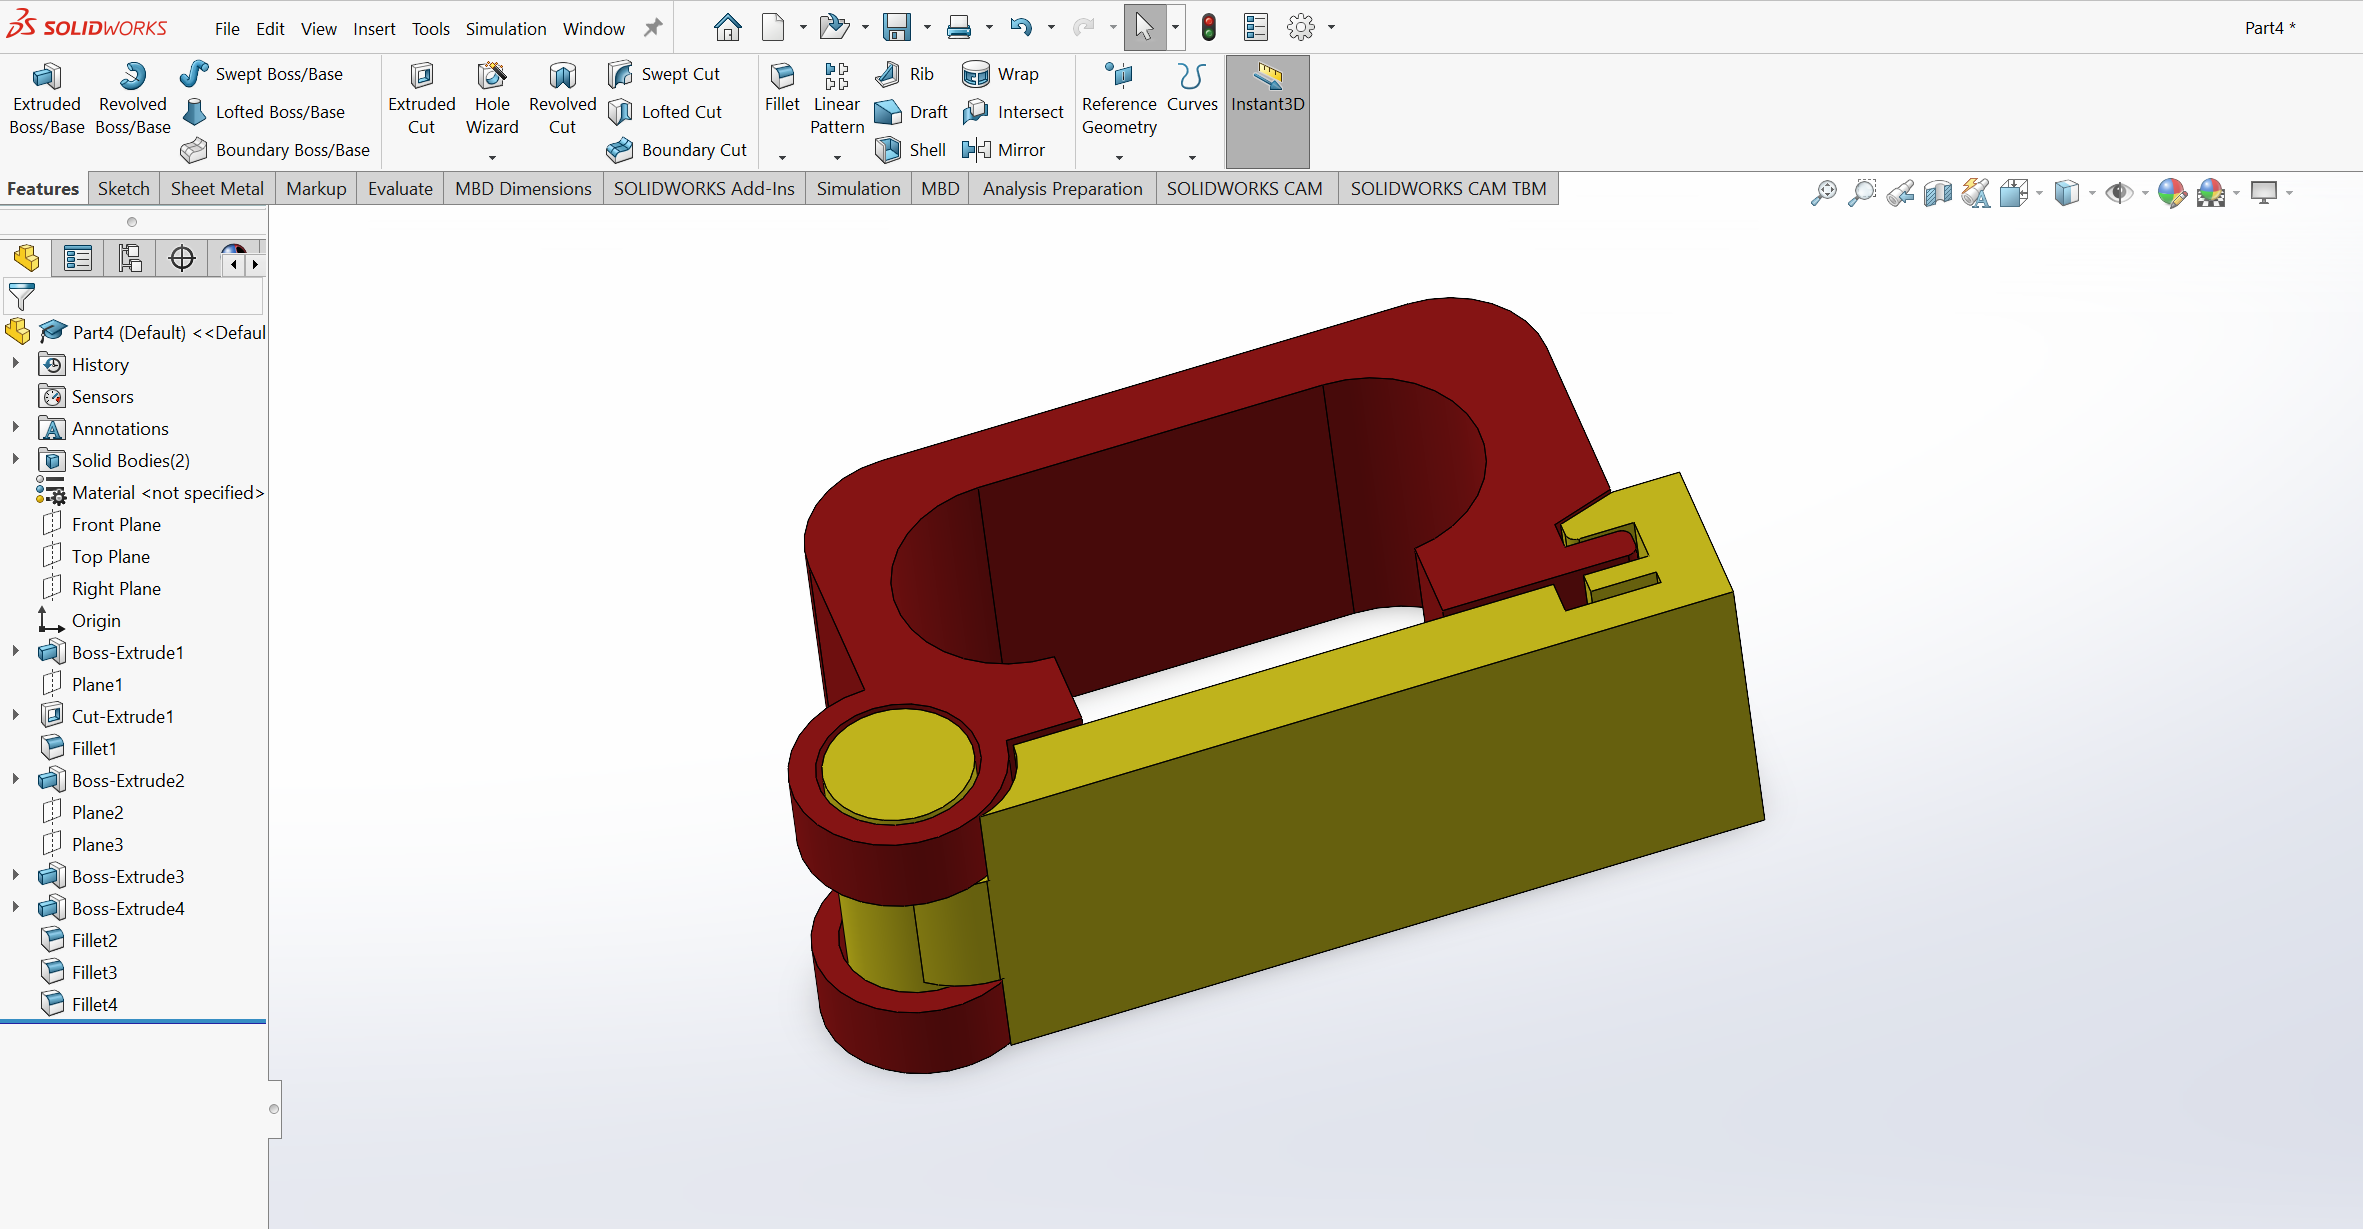
Solidworks was used to come up up with 3D models to be printed. I started off by making spherical patterned model, which had a smaller sphere inside it. And also made up an electric cable holder as the second part to be printed. The sphere cannot be easily made with other method except being 3D printed as the ball inside will be able to move. For the cable holder it cannot be built using any other method as the parts are made already inter-connected and can move when opening and closing. Below are the pictures of the models.
sphere
cable holder
2. SLICING THE MODEL
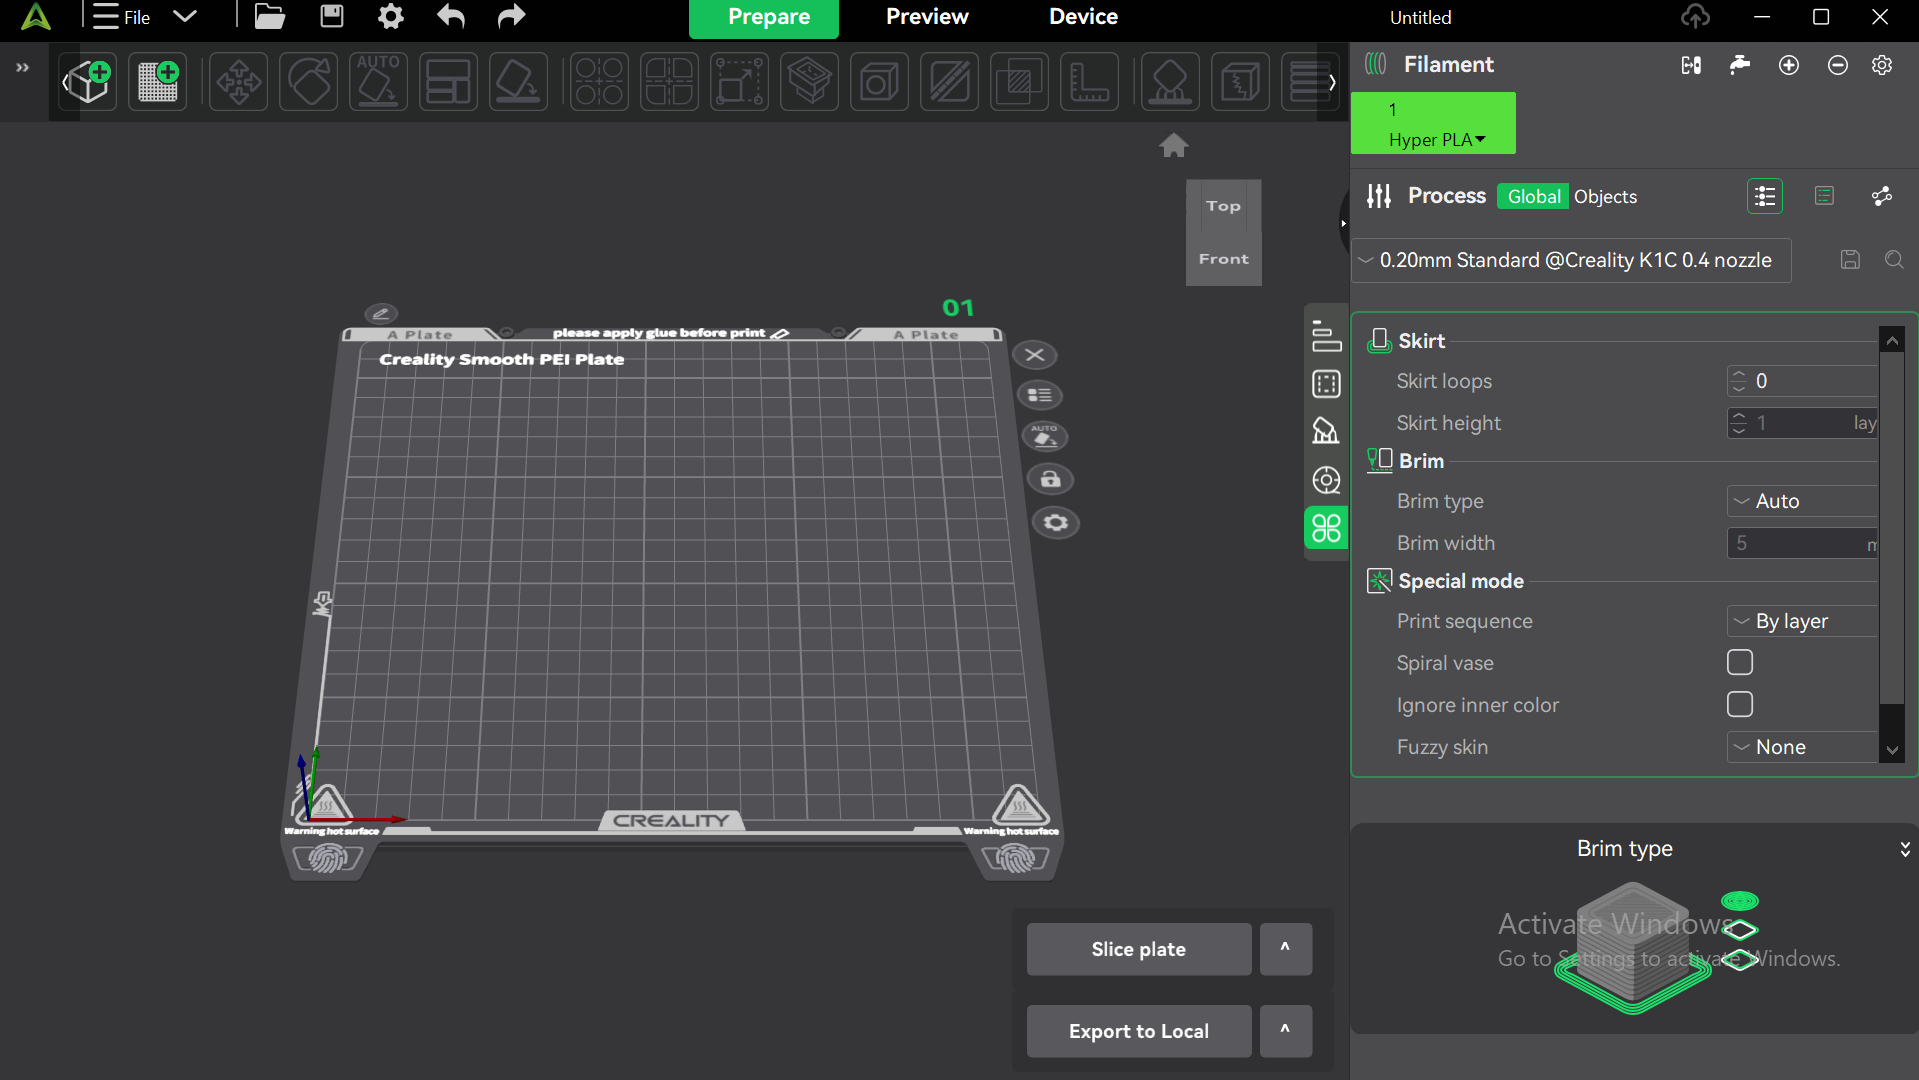
Creality print 6.0 software was then used to slice the models to slice the models. The 3D model is then sliced into thin horizontal layers using the software. Each layer is a 2D cross-section of the model, and these layers are printed one by one to build the final 3D object. The software was downloaded here.
1. Launching the software
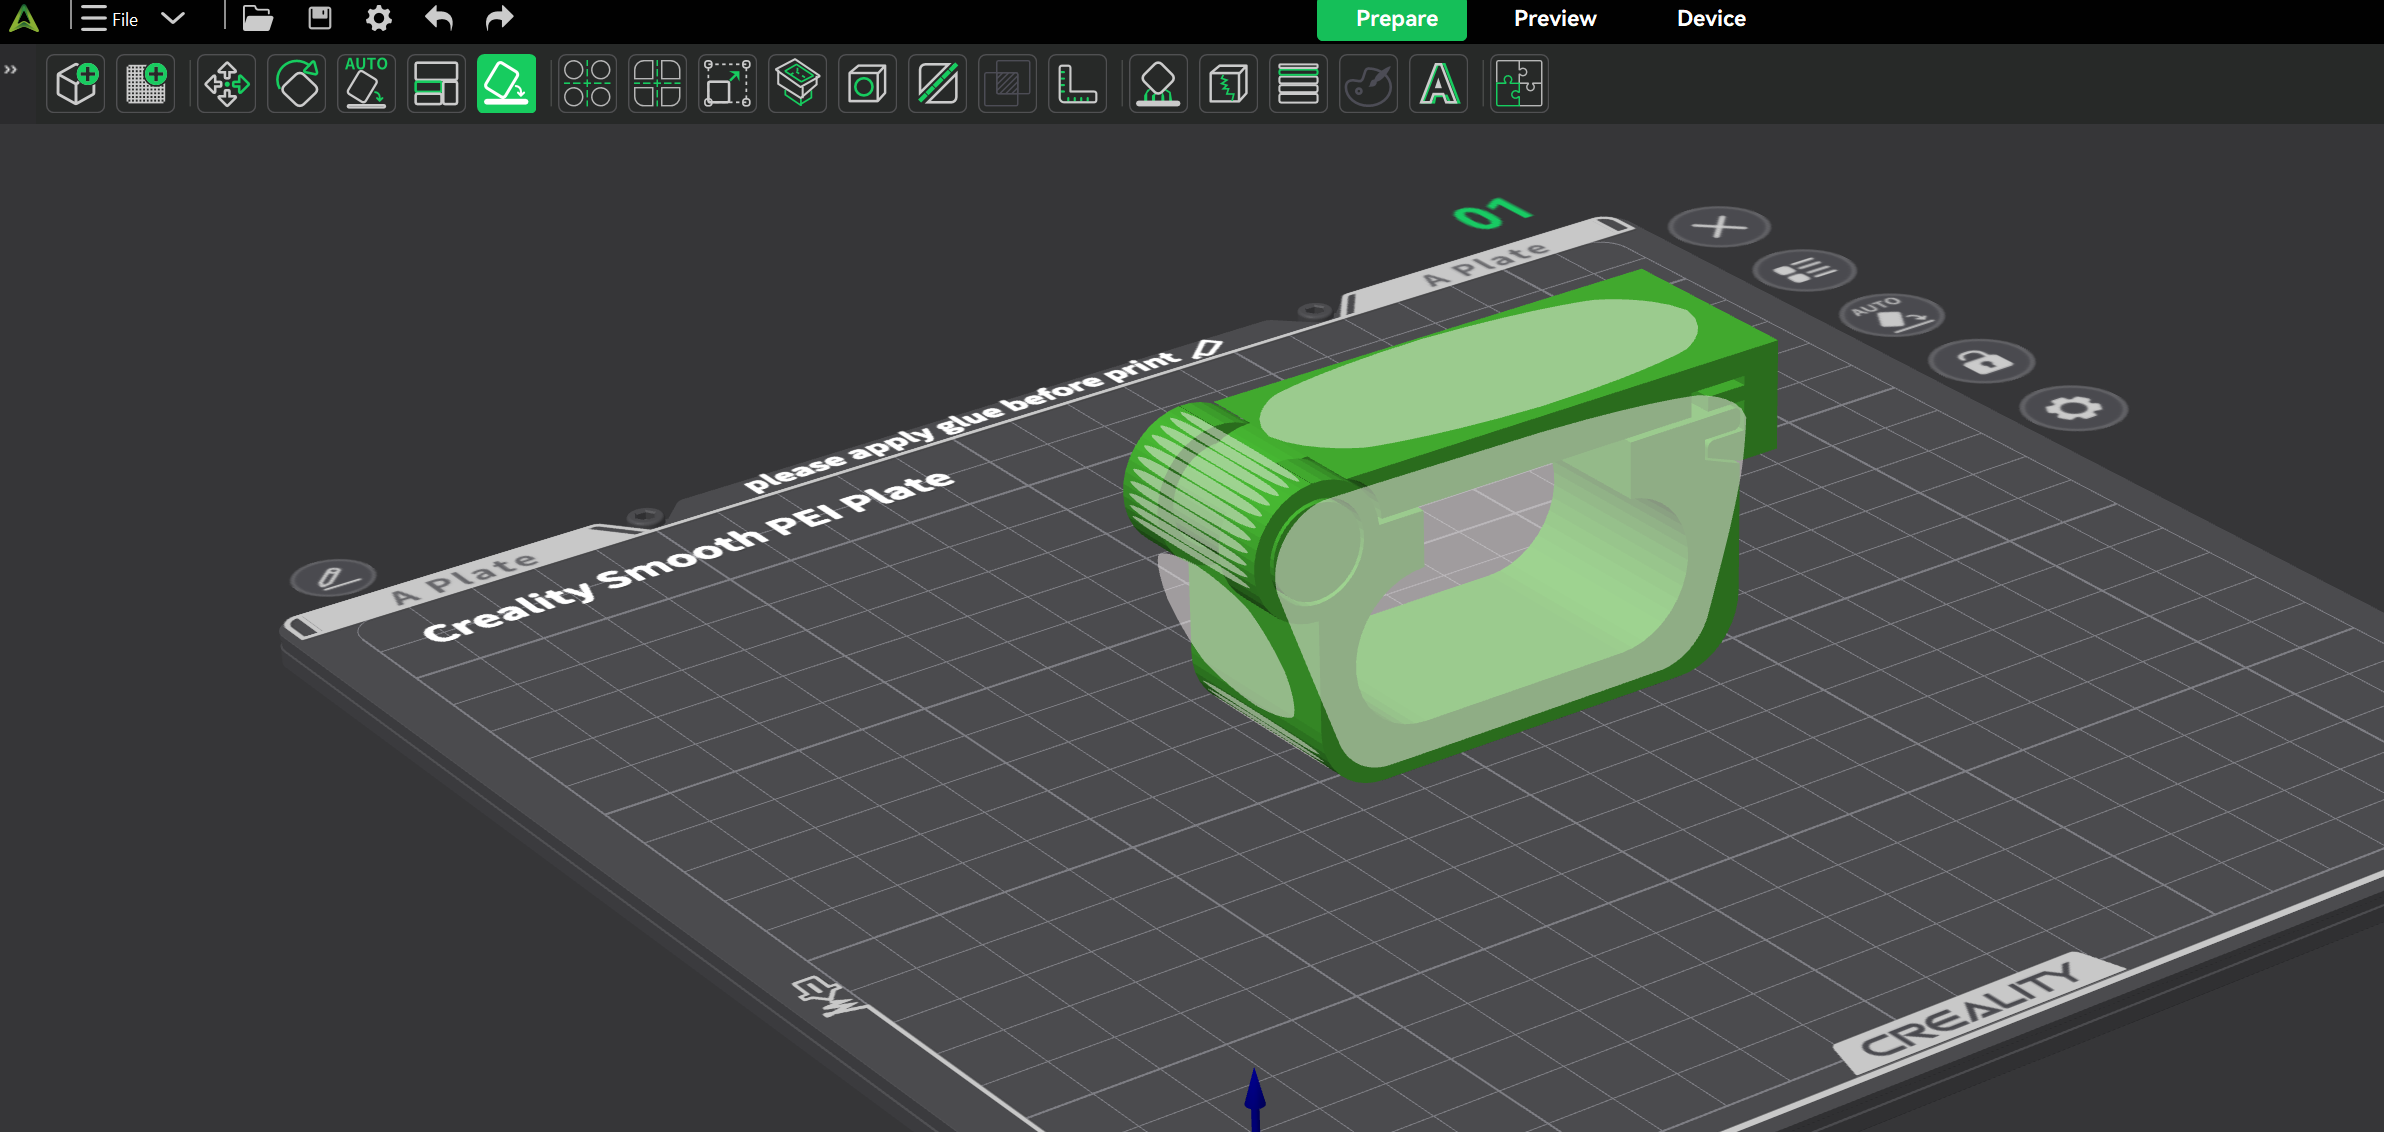
2. Loading the model

3. Checked the orientation and size
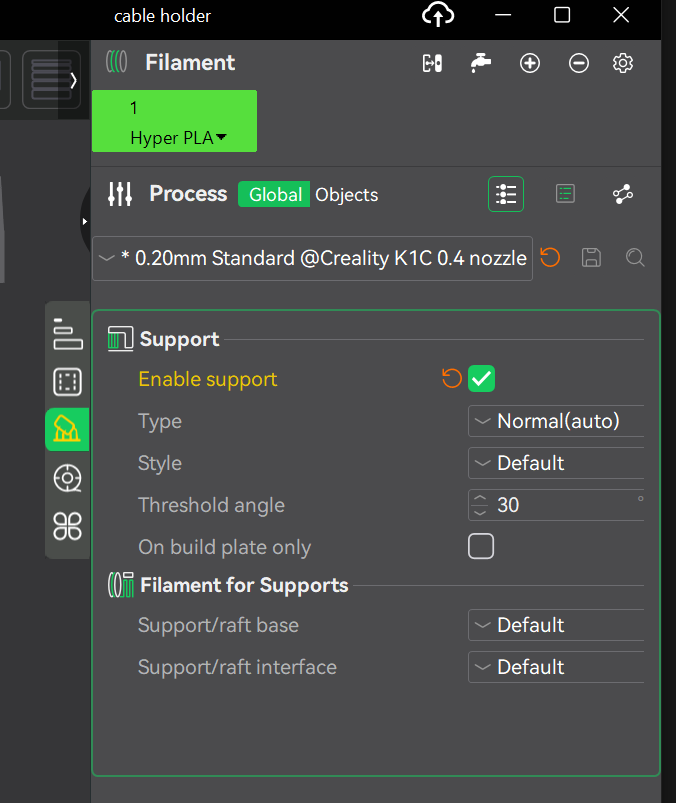
4. Setting print settings
The print settings were set to:
- Hyper PLA
- 0.02mm standard K1C 0.4 nozzle
- 0.2 layer height
- temperature 22o degrees celcious
- bed heating 50 degrees celcious
- infill 15
5. Slicing the model
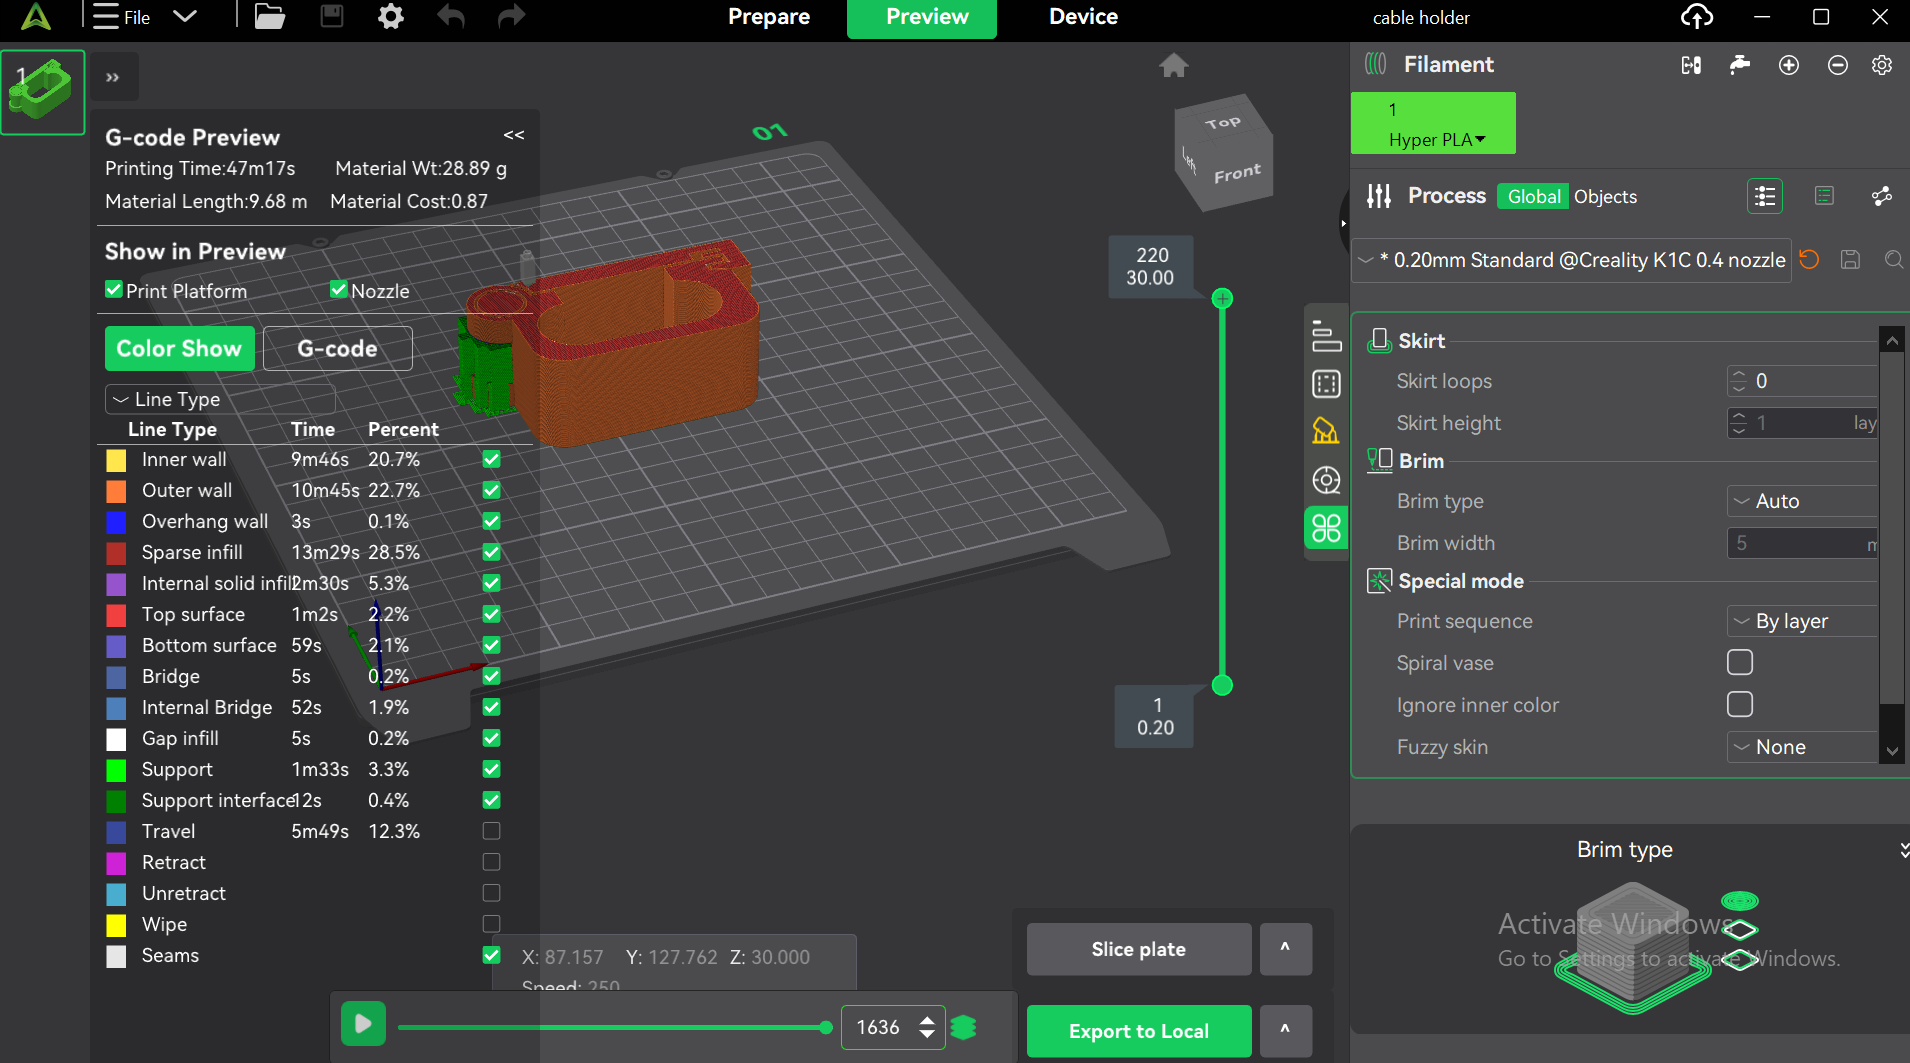
Once I was happy with the settings, I then clicked the "Slice" button. This was to generate the G-code, which is the set of instructions the 3D printer will follow to creat the object.The G-code was then exported in a memory flash.
3. 3D PRINTING WITH CREALITY K1C 3D PRINTER
For information on the printer follow this link

1. Loading the filament
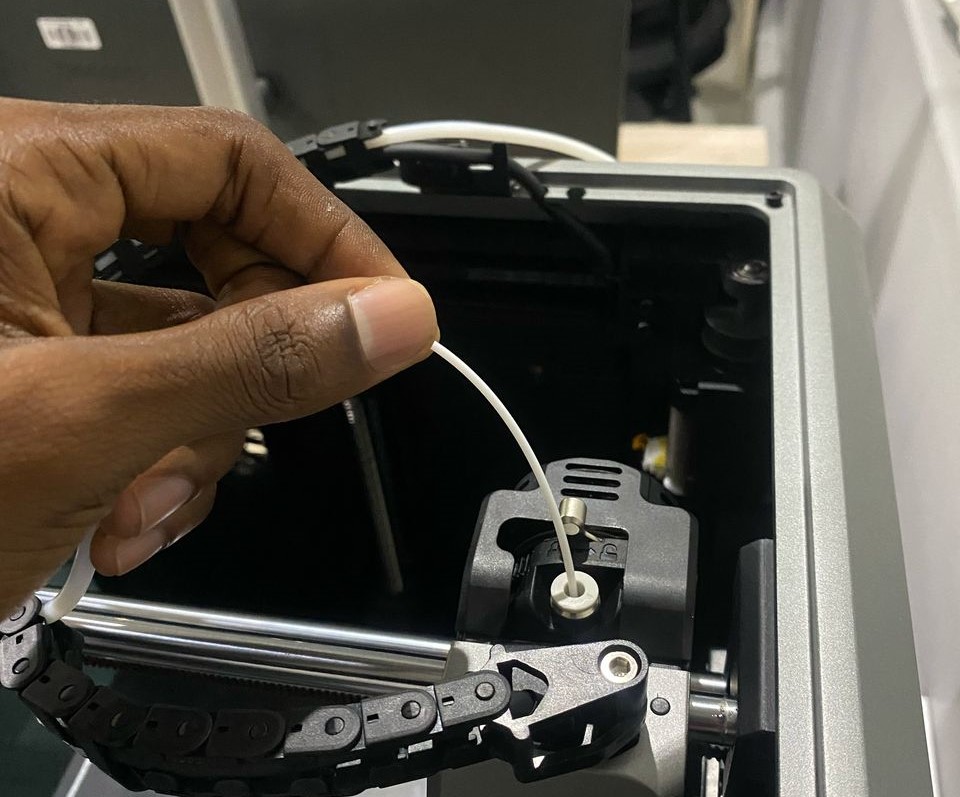
Load the model and initiate the print

The printer automatically levels the bed before printing after initializing printing.
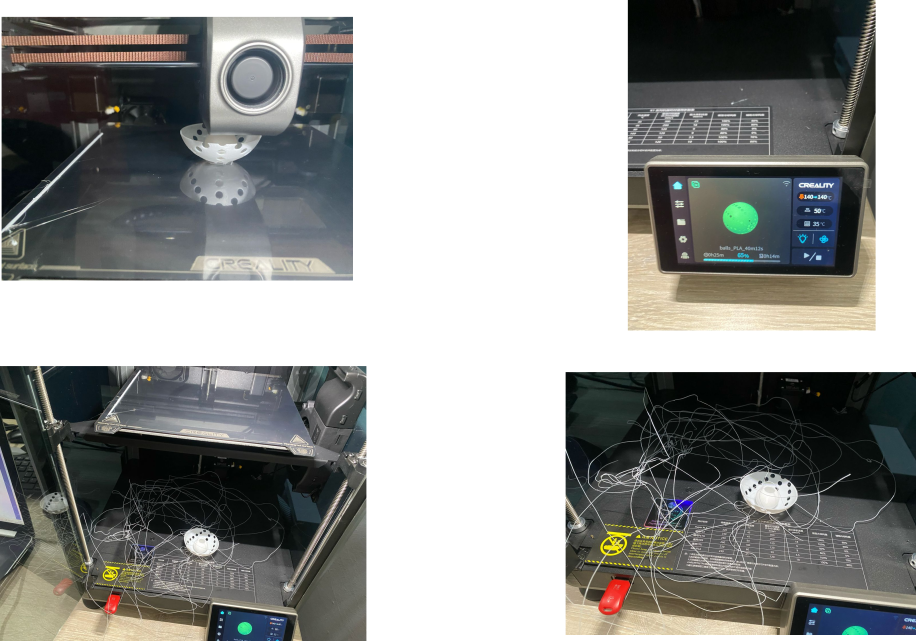
Printed models
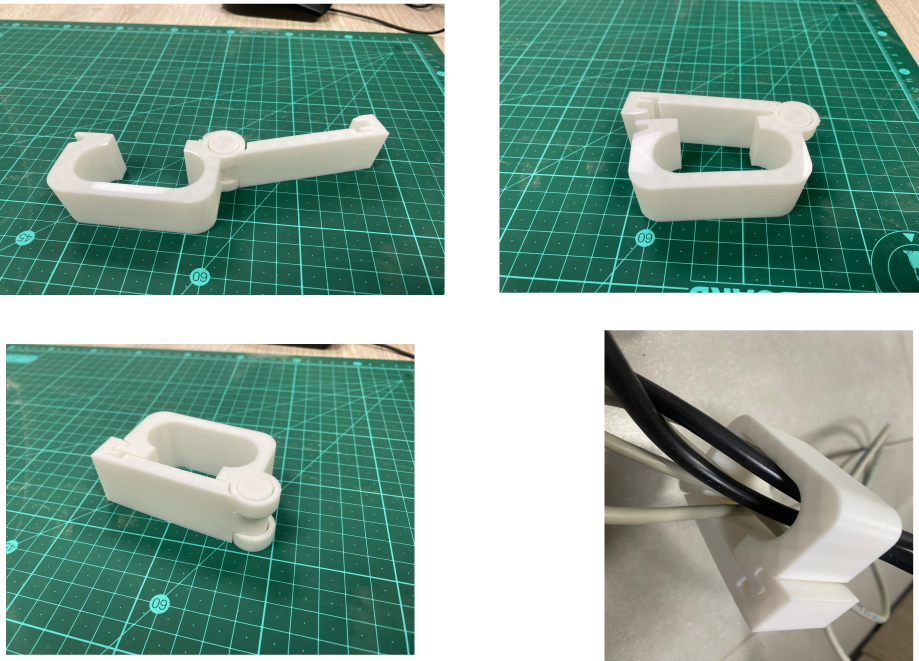
For the spheres the printer did not finish printing because the model fell off from the bed. This is because the first layers did not firmly stick to the print bed. And also the issue could have been resolved by including a brim as one of the print setting parameters.
3D SCANNING
3D scanning is the process of capturing the physical dimensions and appearance of an object or environment in the form of a digital 3D model. This is typically done using specialized devices called 3D scanners, which create a digital representation by recording detailed surface geometry, textures, and sometimes even colors of the scanned object.
The process works by using lasers, structured light, or other techniques to gather data points from the surface of the object. These points are then used to generate a detailed digital model that accurately reflects the shape, texture, and sometimes the internal structure of the object. The result is a 3D representation that can be used in various applications like 3D printing, digital modeling, reverse engineering, virtual reality, and more.
3D SCANNING WITH CR-SCAN FERRET SE
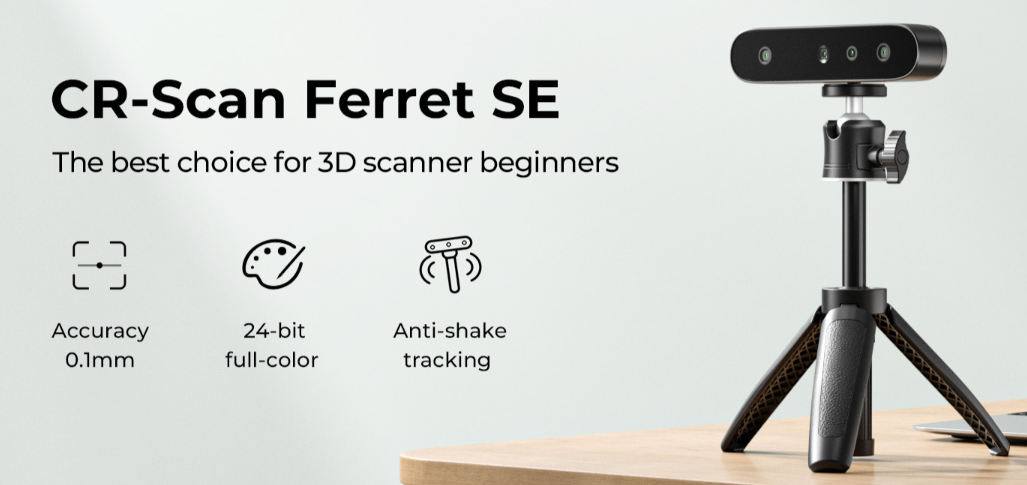 I used the CR Ferret SE 3D Scanner with have in our lab to scan one of the innovators. This particular scanner
works very well with different objects, from bigger to smaller, even human size. The scanner has some of the key
benefits which includes:
- High Accuracy and Precision: The CR-Scan Ferret SE offers accurate scanning with high precision, allowing you to capture intricate details of objects. This is especially useful for reverse engineering and 3D modeling where fine details are crucial.
- Portability and Compact Design: Its lightweight and portable design make it easy to carry around and use in different environments, whether it's in the field, at a work site, or in a lab. This makes it ideal for professionals on the go.
- No Markers Required: One of the standout features is that it does not require any markers or special targets for scanning. This simplifies the process and reduces the setup time, making it more efficient in dynamic or large-scale projects.
- Easy to Use: The user-friendly software that comes with the scanner makes it easy to process and edit the scanned data. The intuitive interface reduces the learning curve and allows even non-experts to use the scanner effectively.
- High Resolution and Detail Capture: The scanner captures high-resolution 3D data, which means that even the smallest features can be detected. This is useful for industries such as automotive, aerospace, and medical, where precision is essential.
SOFTWARE
CREALITY SCAN 3.3.28
I downloaded this software here, installed it on my computer and launched it.
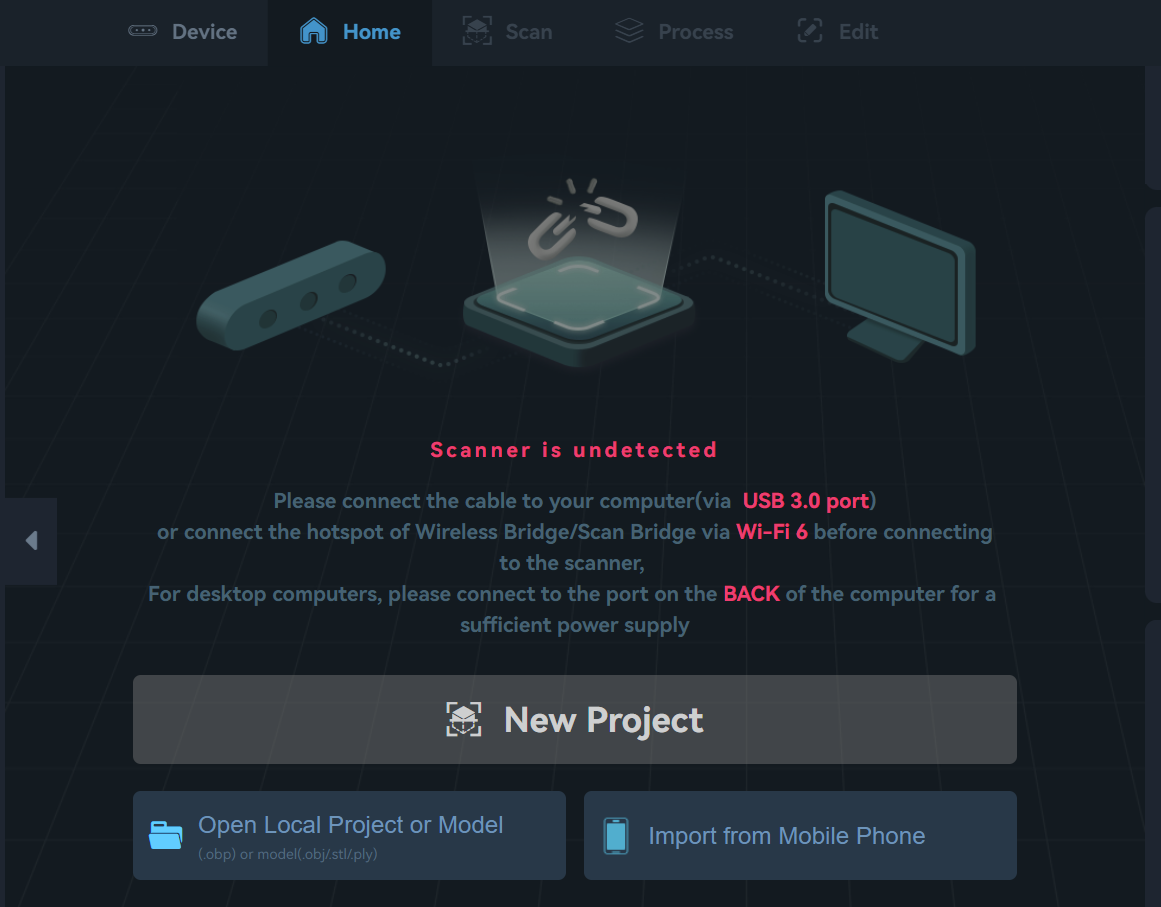
I then plugged the scanner in to my computer and started scanning the innovator's face. During this process the software guided me with cues to ensure that all necessary areas are covered. I did this as I rotated the around the object(my colleagues face) to capture data from different perspectives. As i did this the software merged the scans into a 3D model.
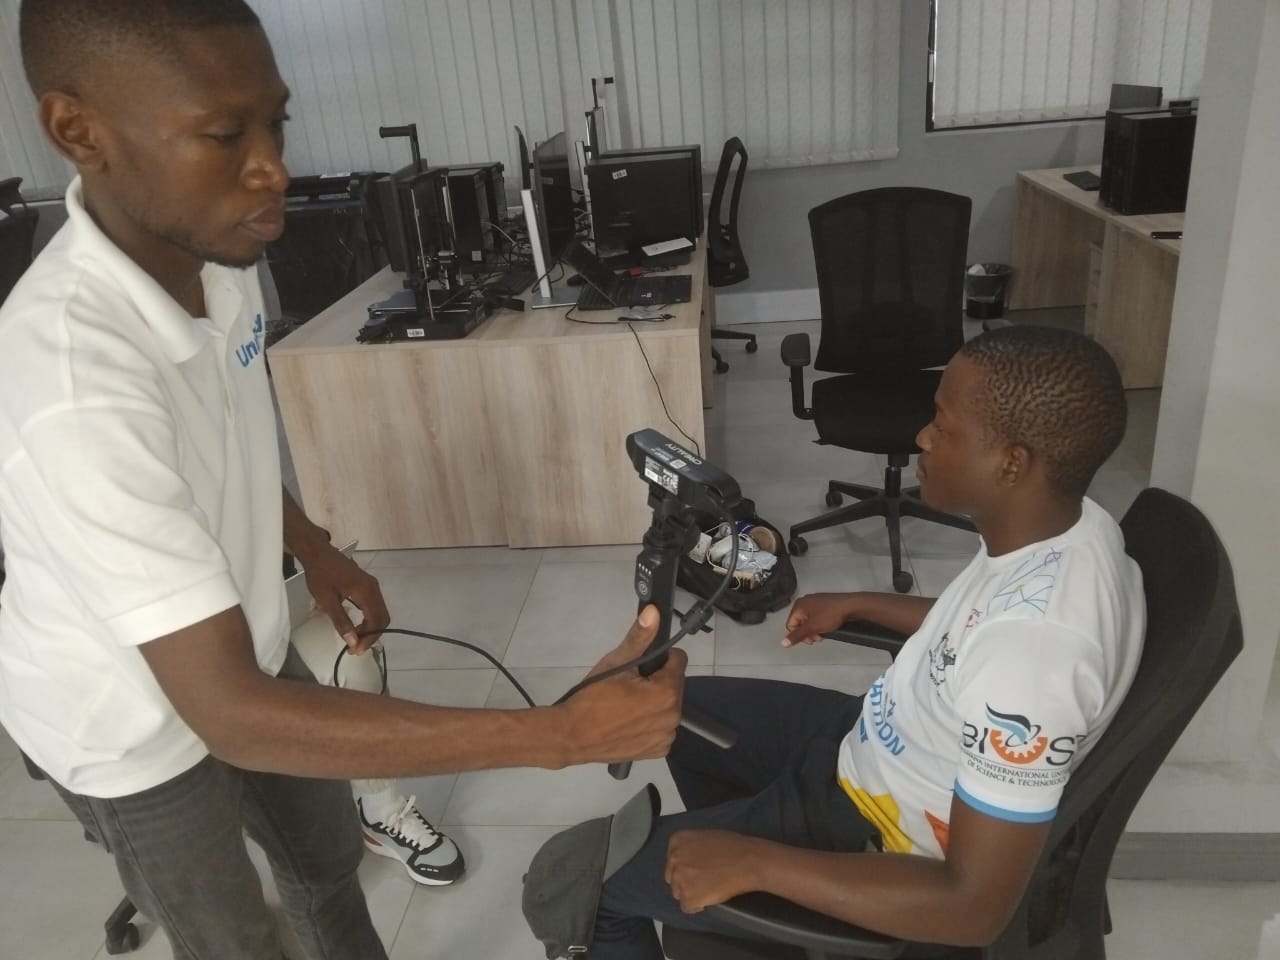
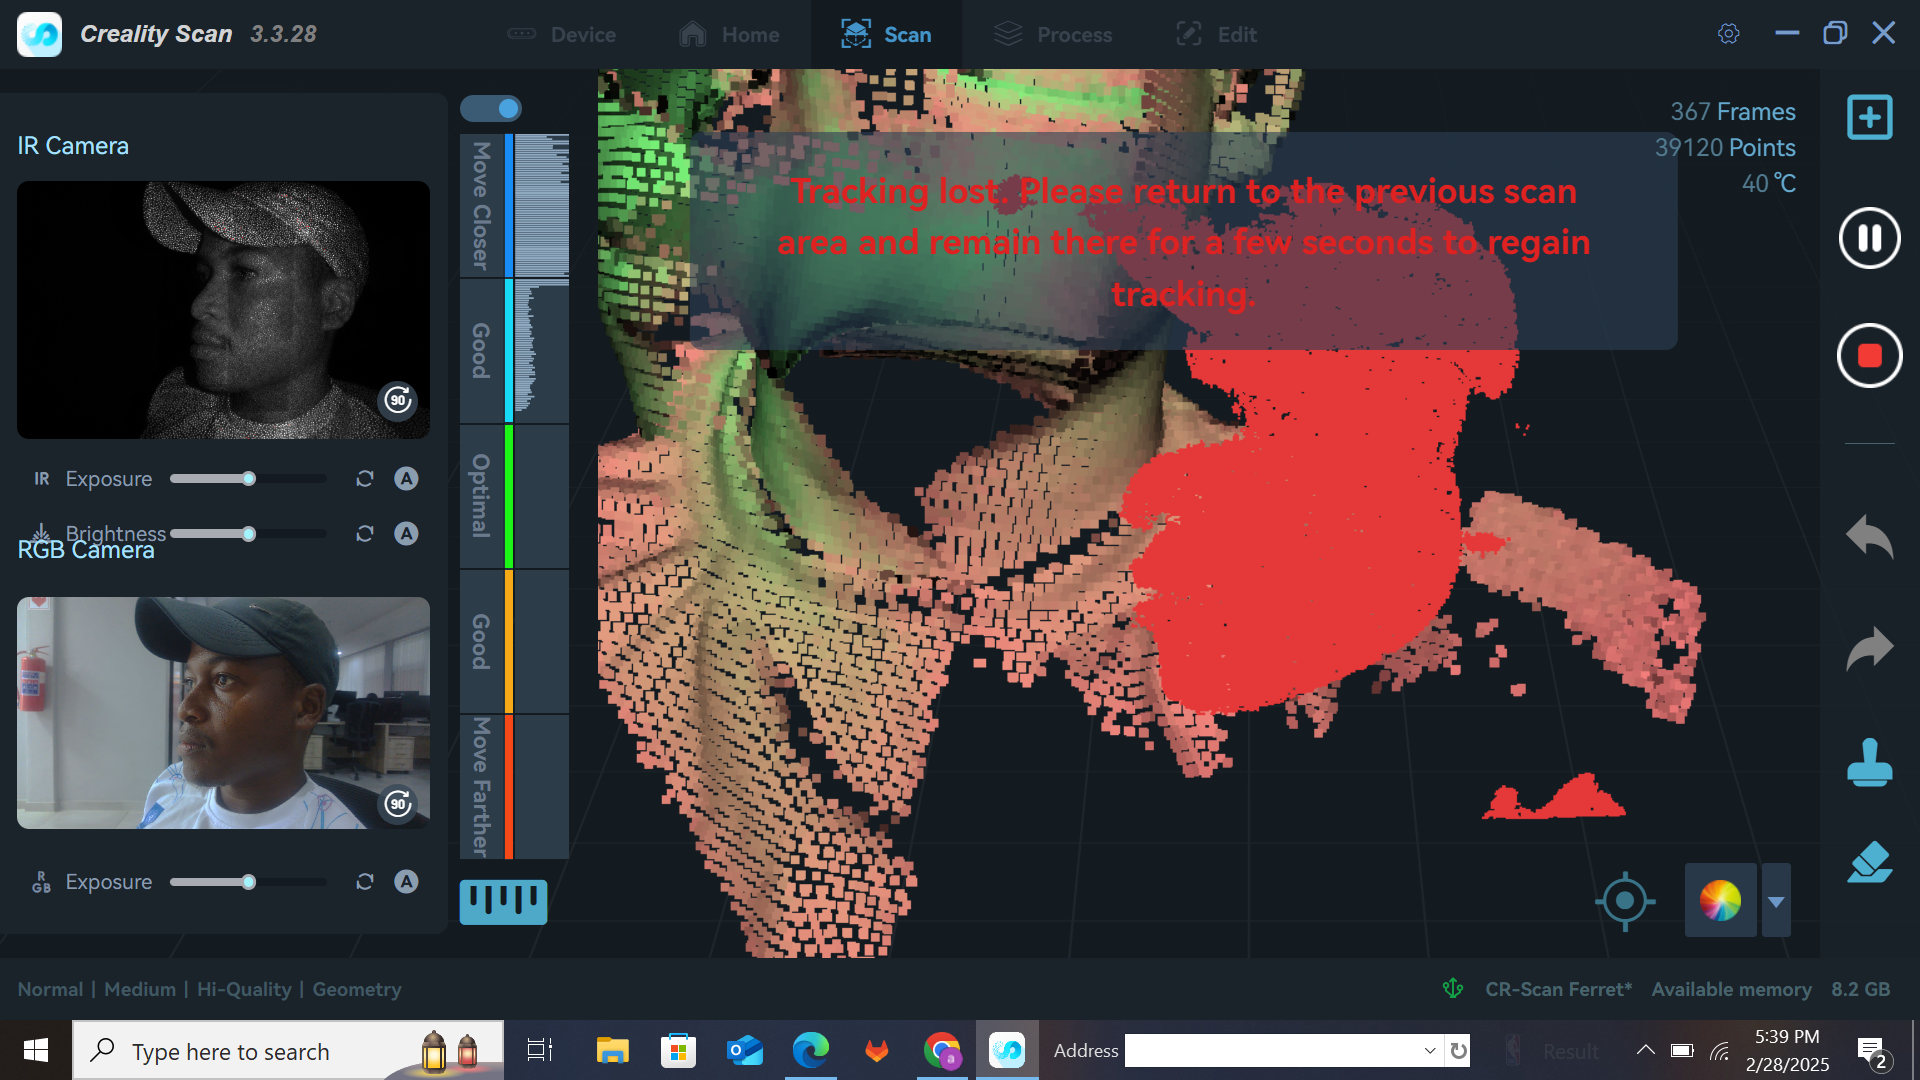
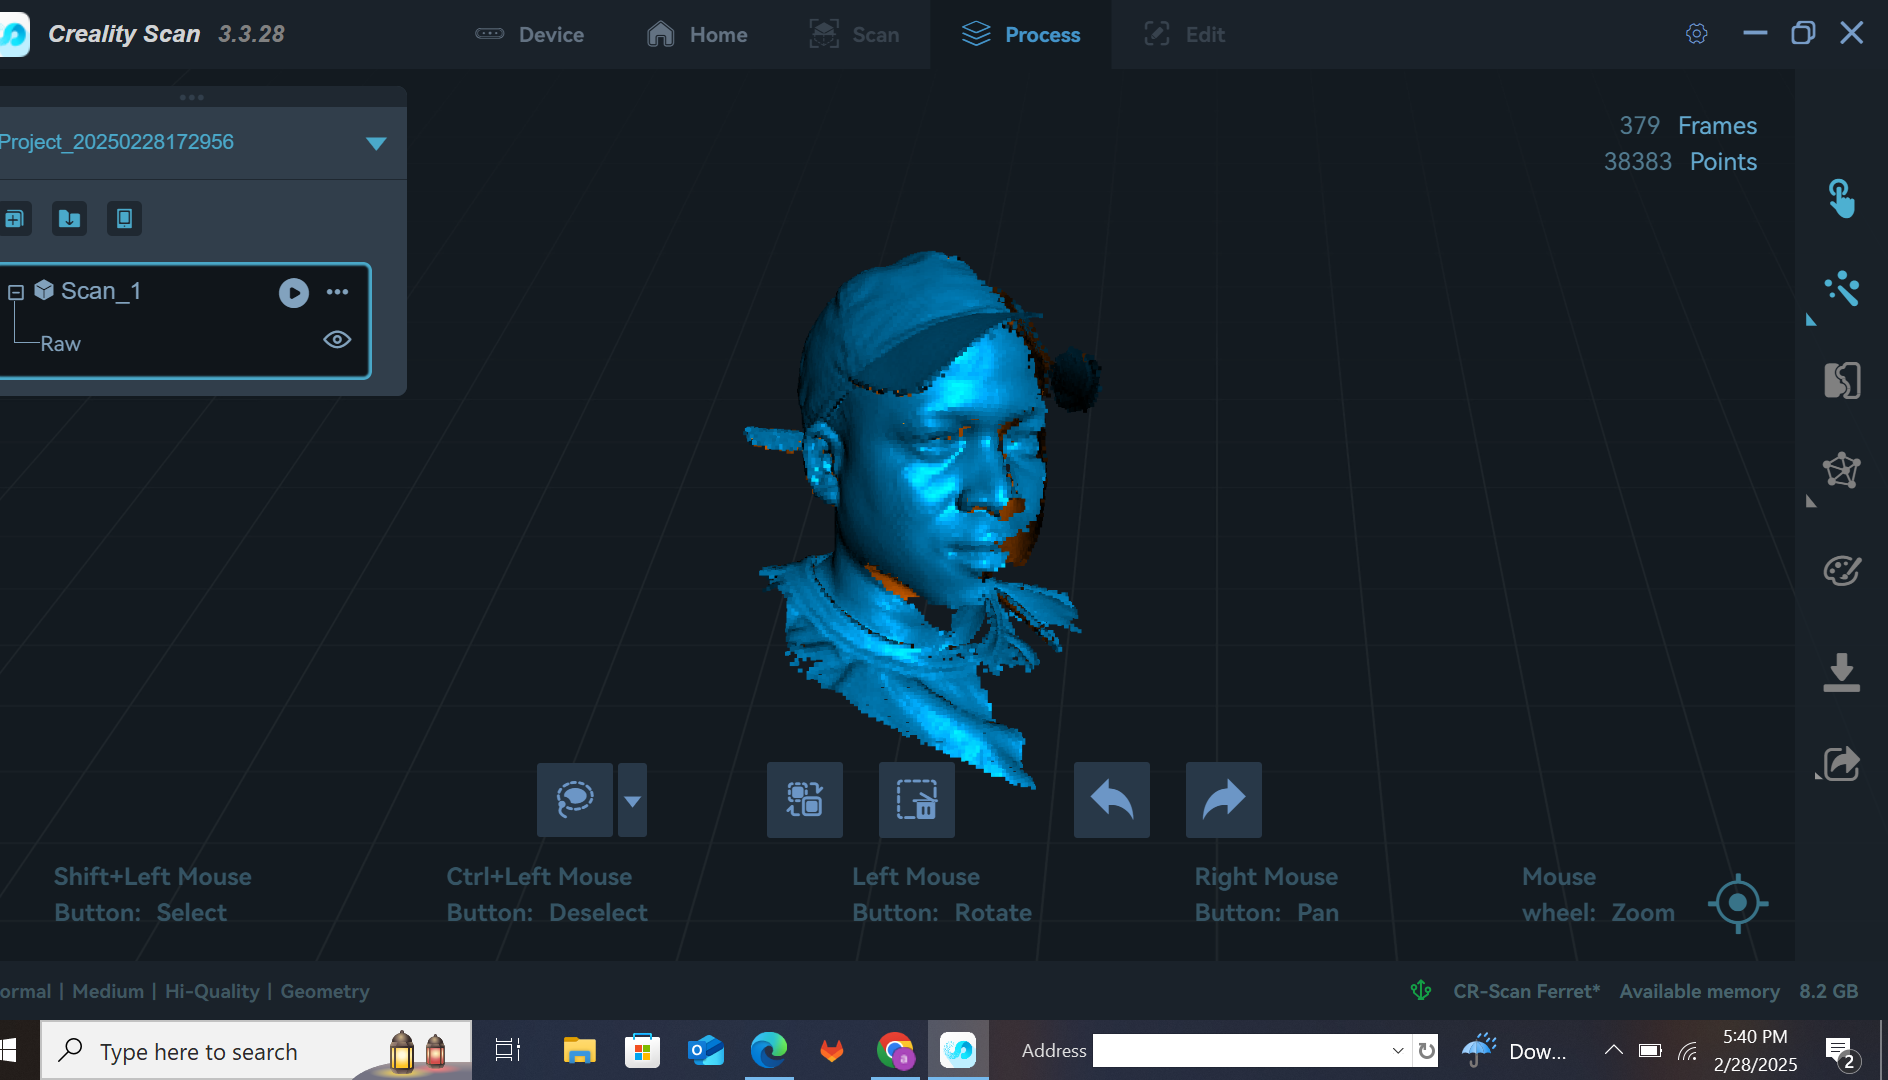
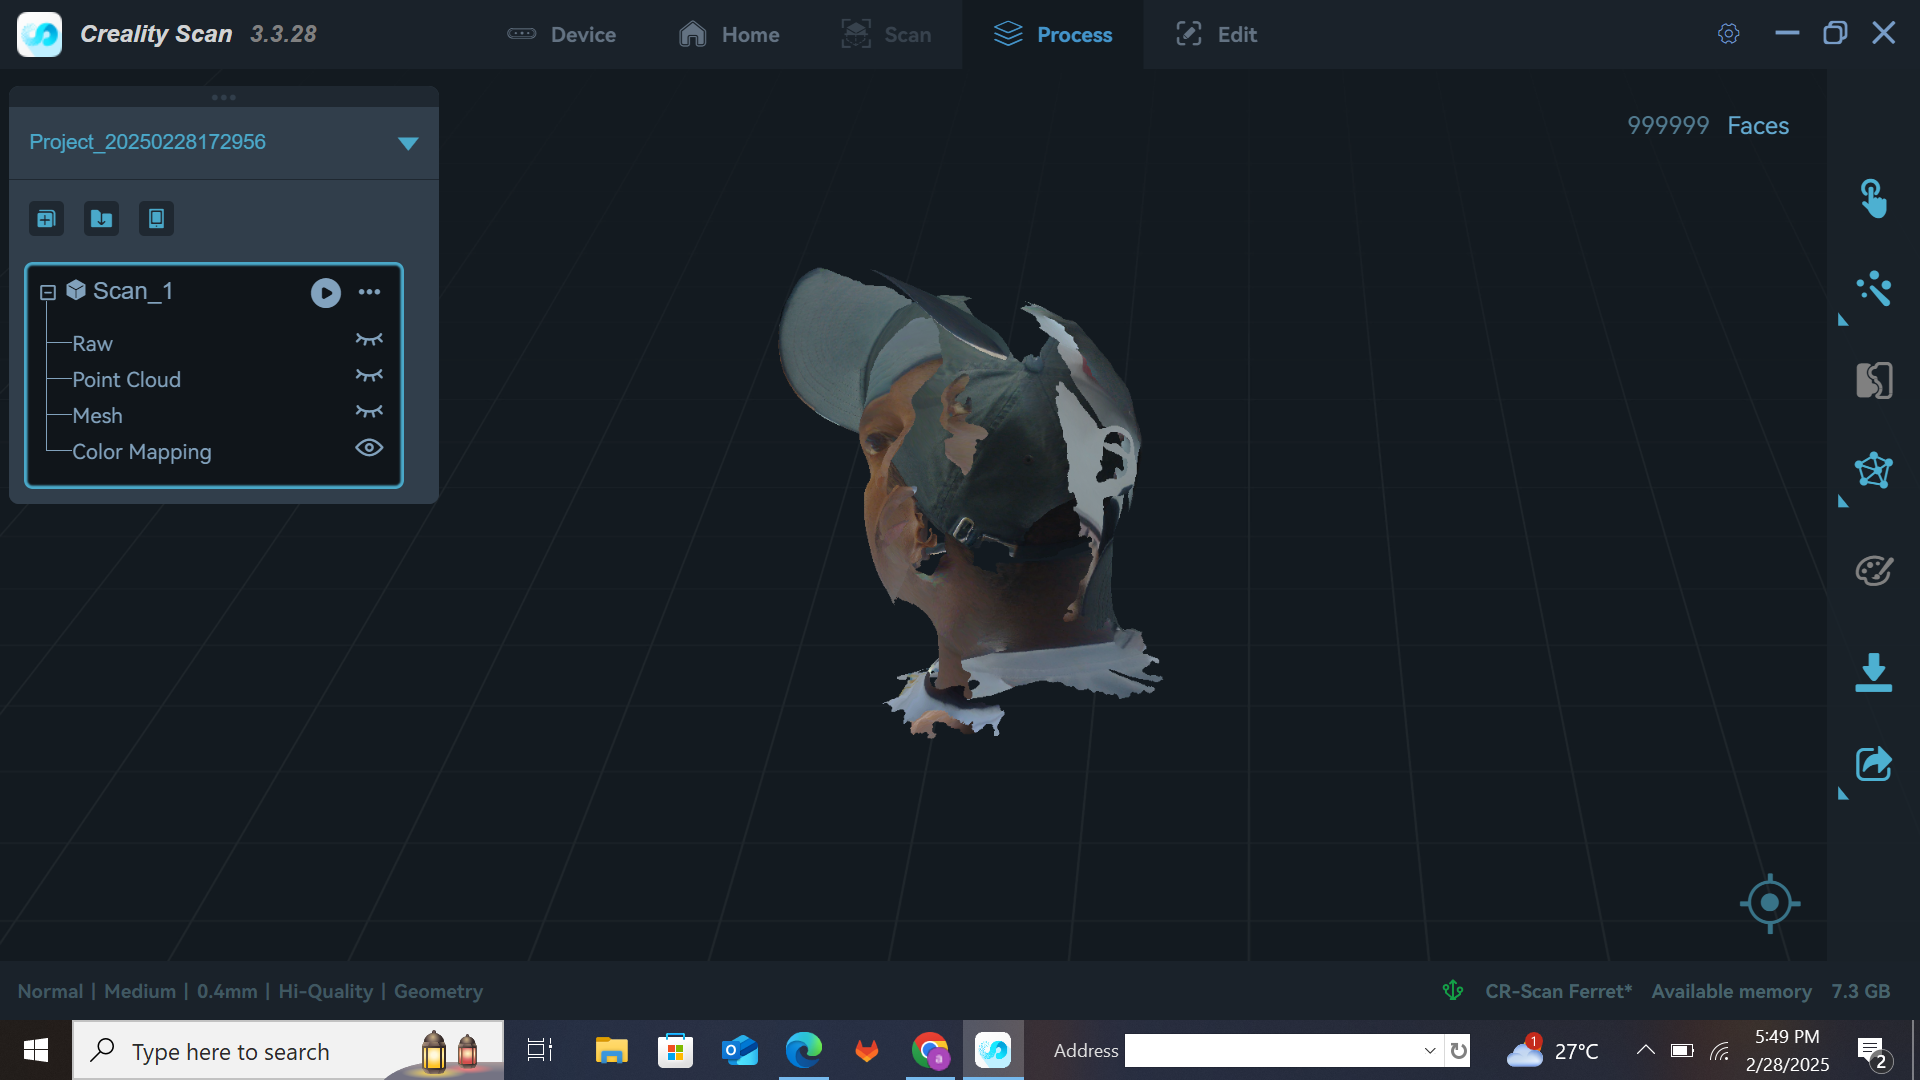
After covering the whole area I then stopped scanning and meshed the model which did not give the results I was looking for. I then repeated the scanning, following the steps again.The second scan then gave the good results I was looking for which I then exported as an STL file.
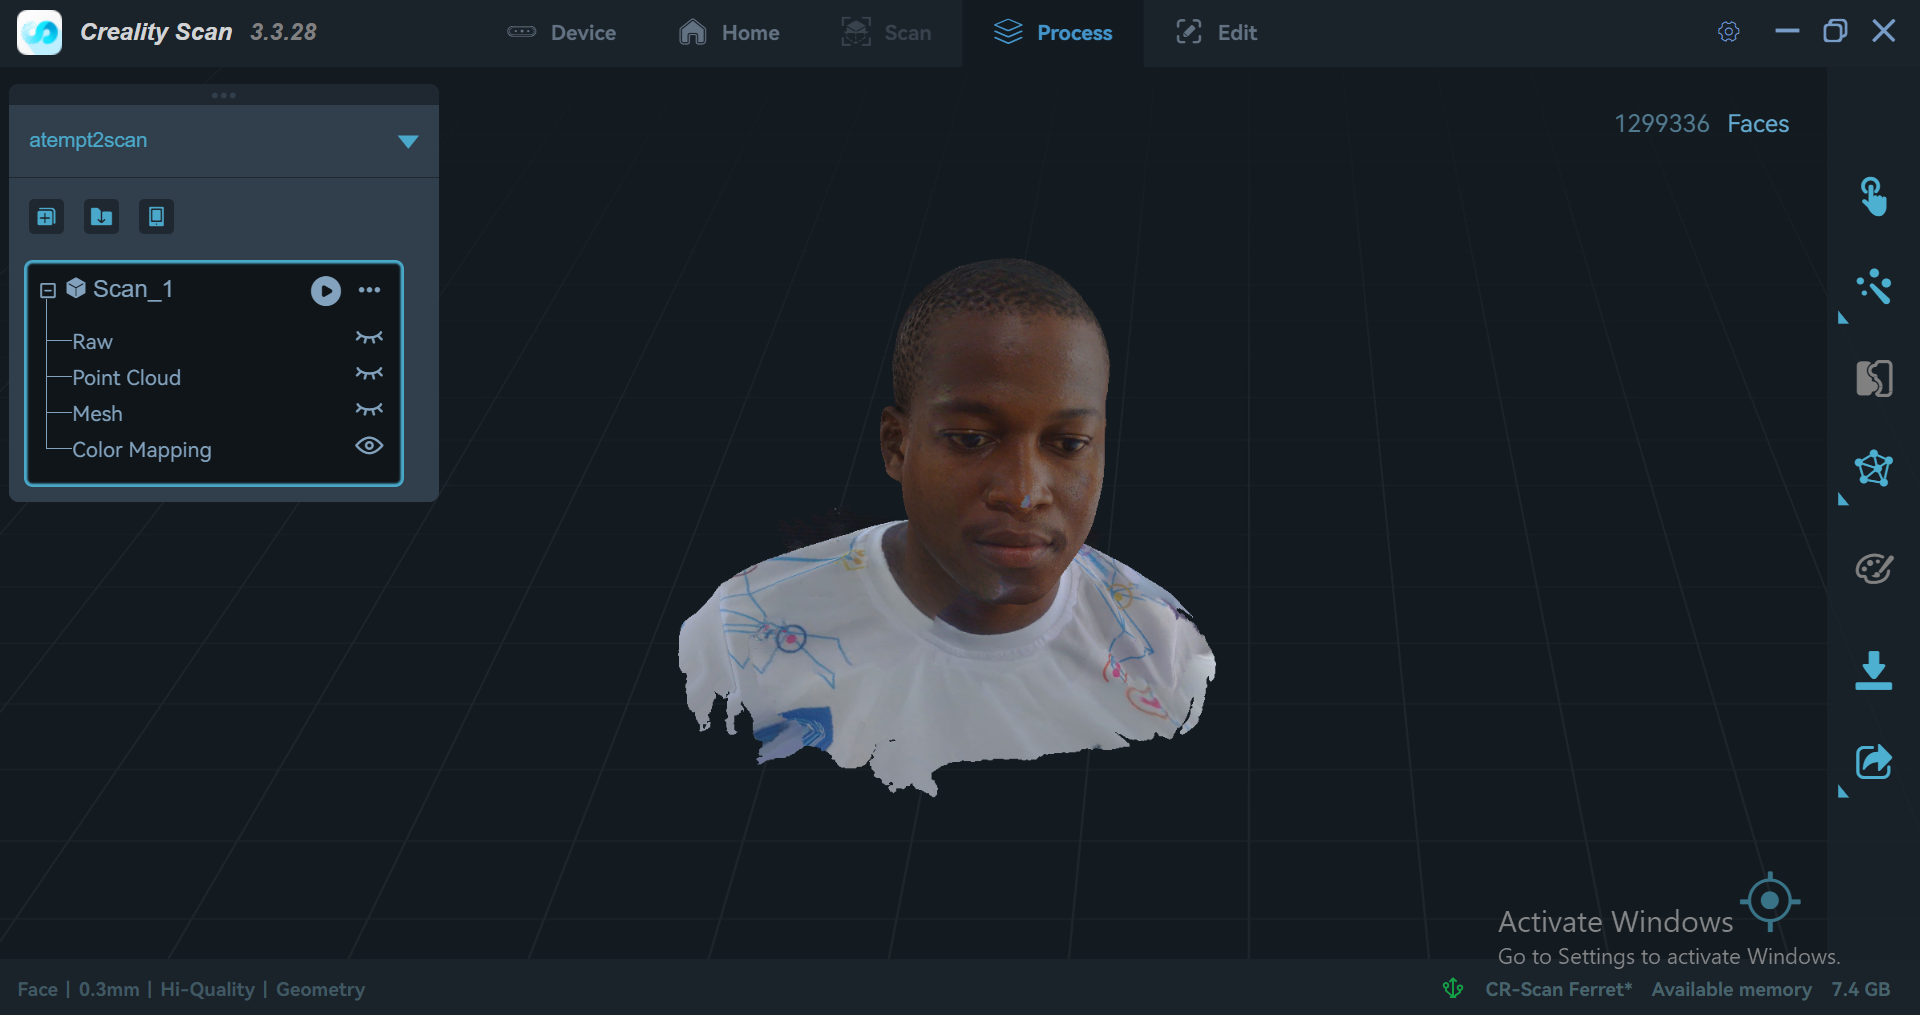
3D PRINTING THE SCANNED MODEL
The model was then imported in a slicer software (creality print) which was downloaded here.
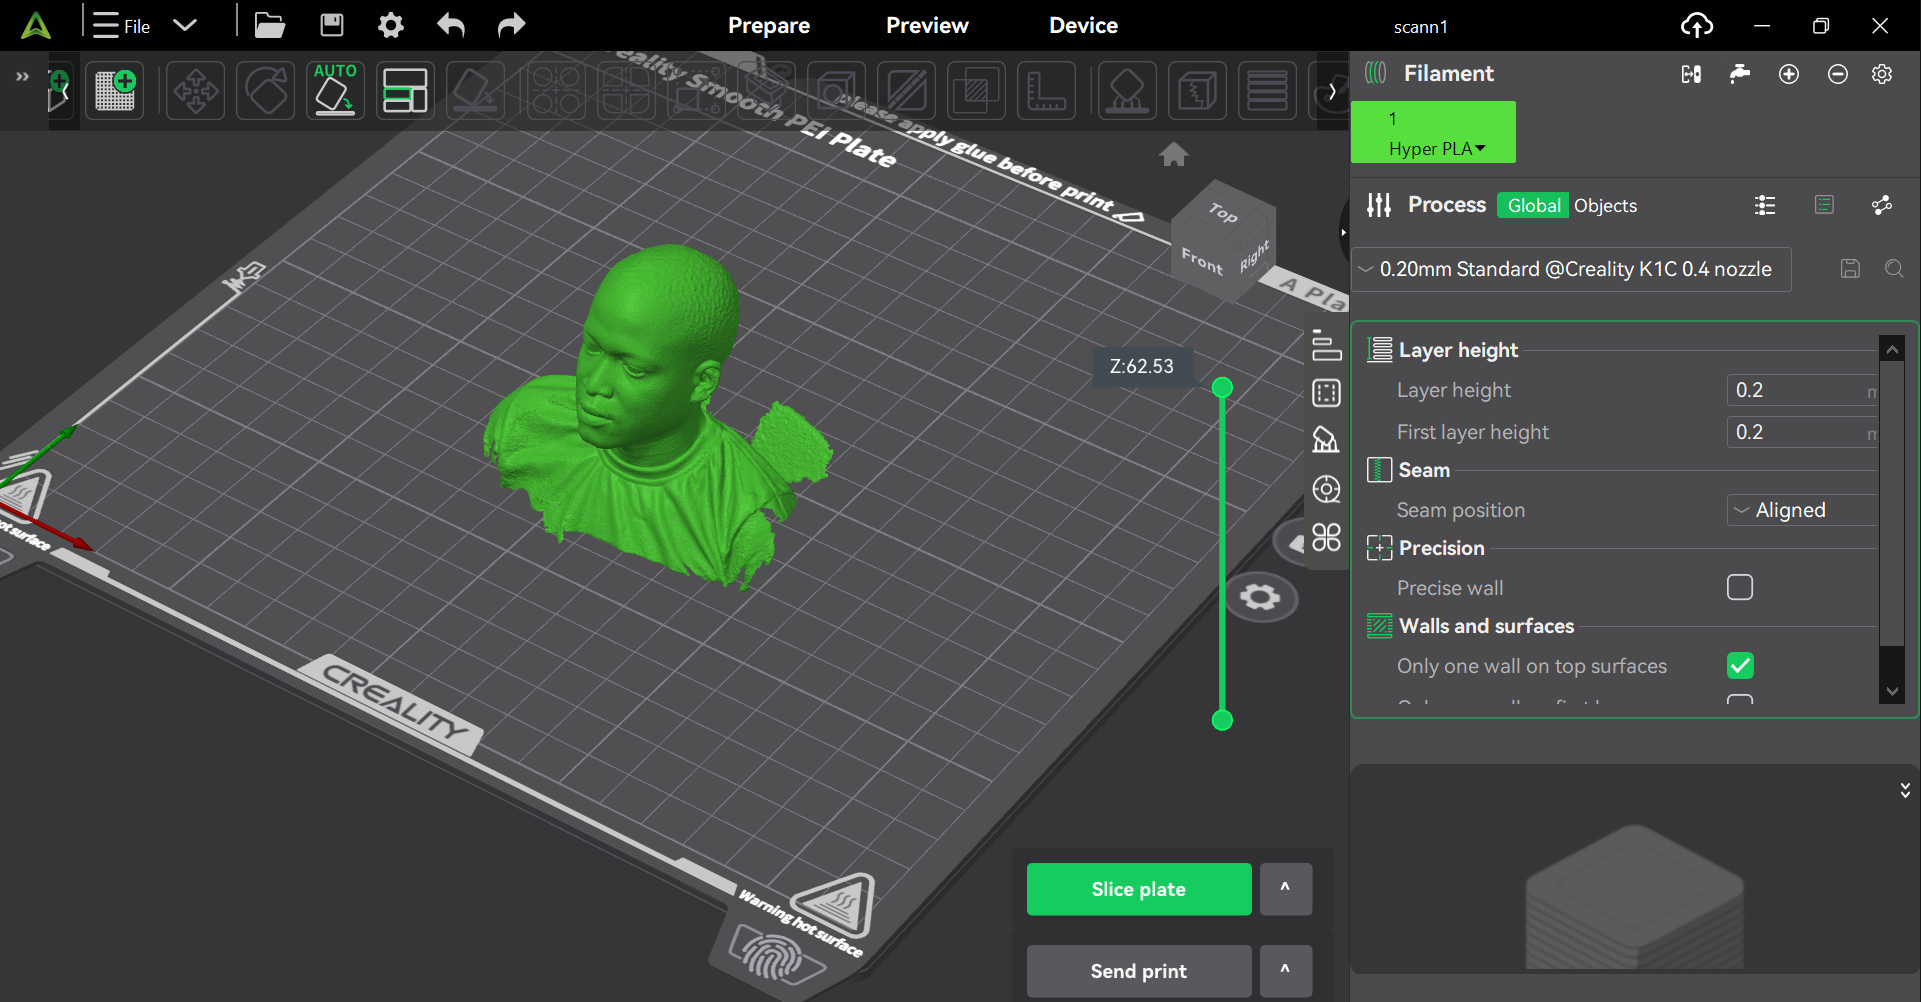
I then sliced the model and sent it to the printer to start printing.
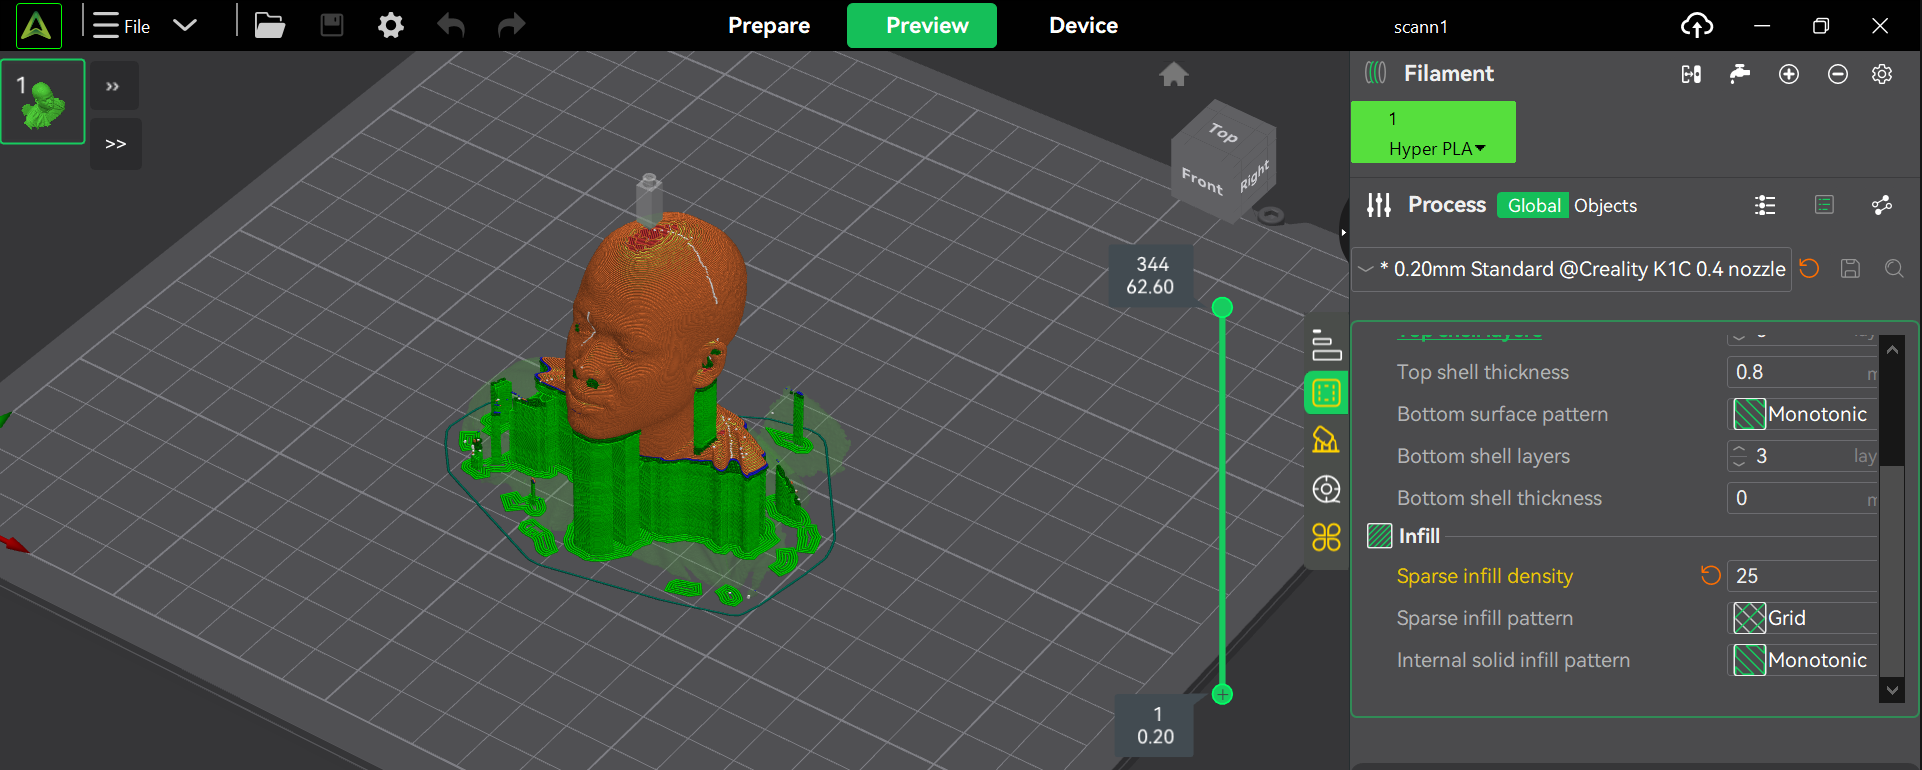
The sliced model was then imported into the 3D printer(K1C) and printing was began,

Final printing
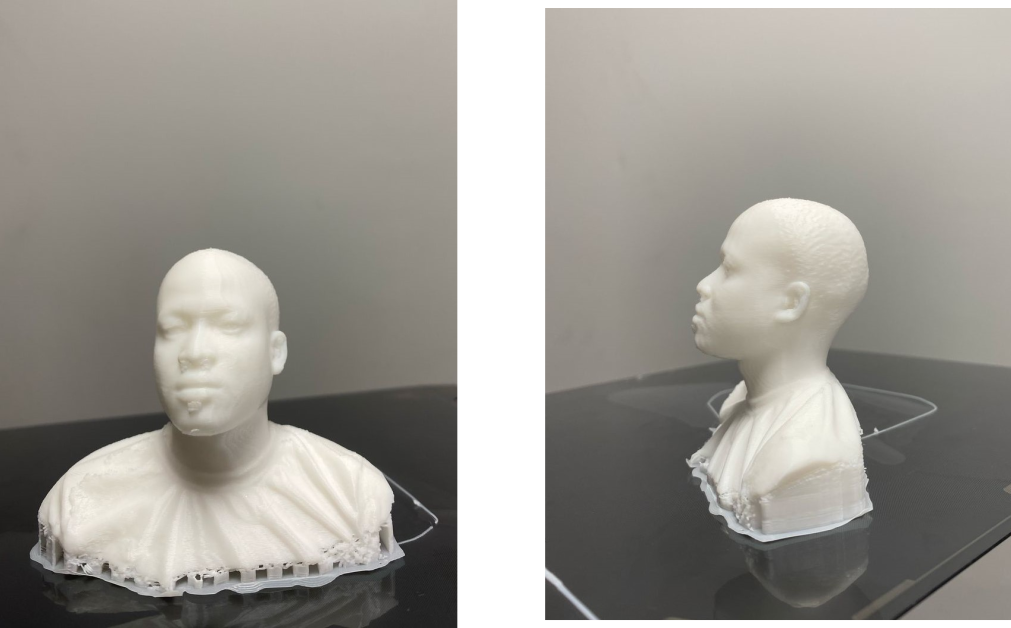
FILES
The files I have made using the above softwares can be downloaded below.
