EMBEDDED PROGRAMMING
Group assignment was all about demonstrating and comparing the toolchains and development workflows for available embedded architectures
GETTING STARTED WITH RASPBERRY PI PICO W
For getting started with Raspberry Pi I visited site, to try to learn its basics.
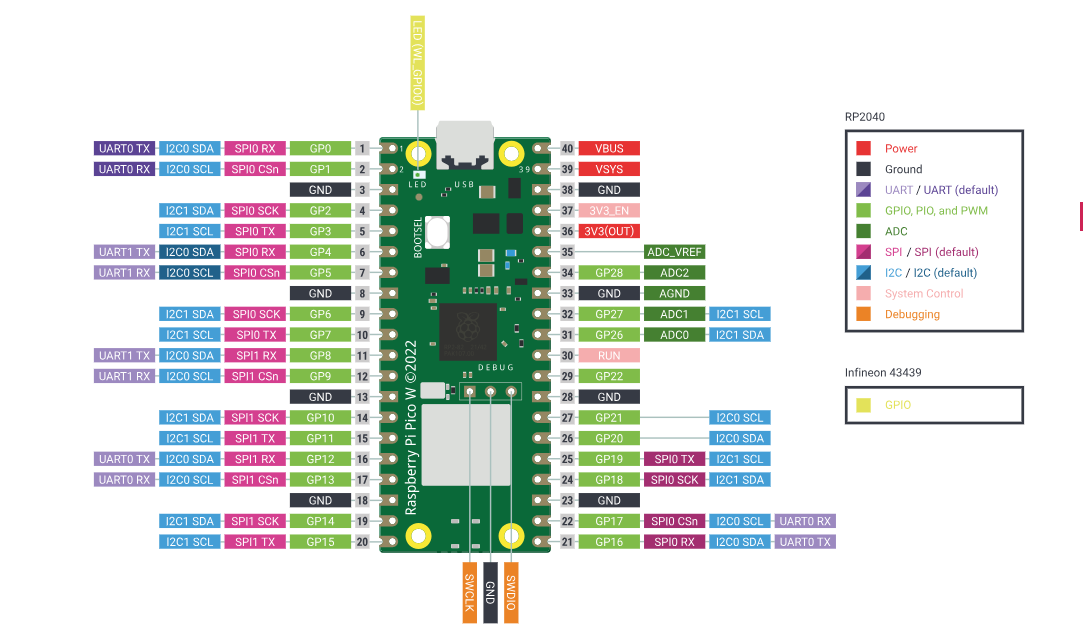
Below is the Raspberry Pi Pico Pinout.
SIMULATING A CODE
I started with simulating a code to test how the code will behave, this was to avoid hardware failure or the need for initial setup. For the simulation process the following steps were followed.
STEP 1
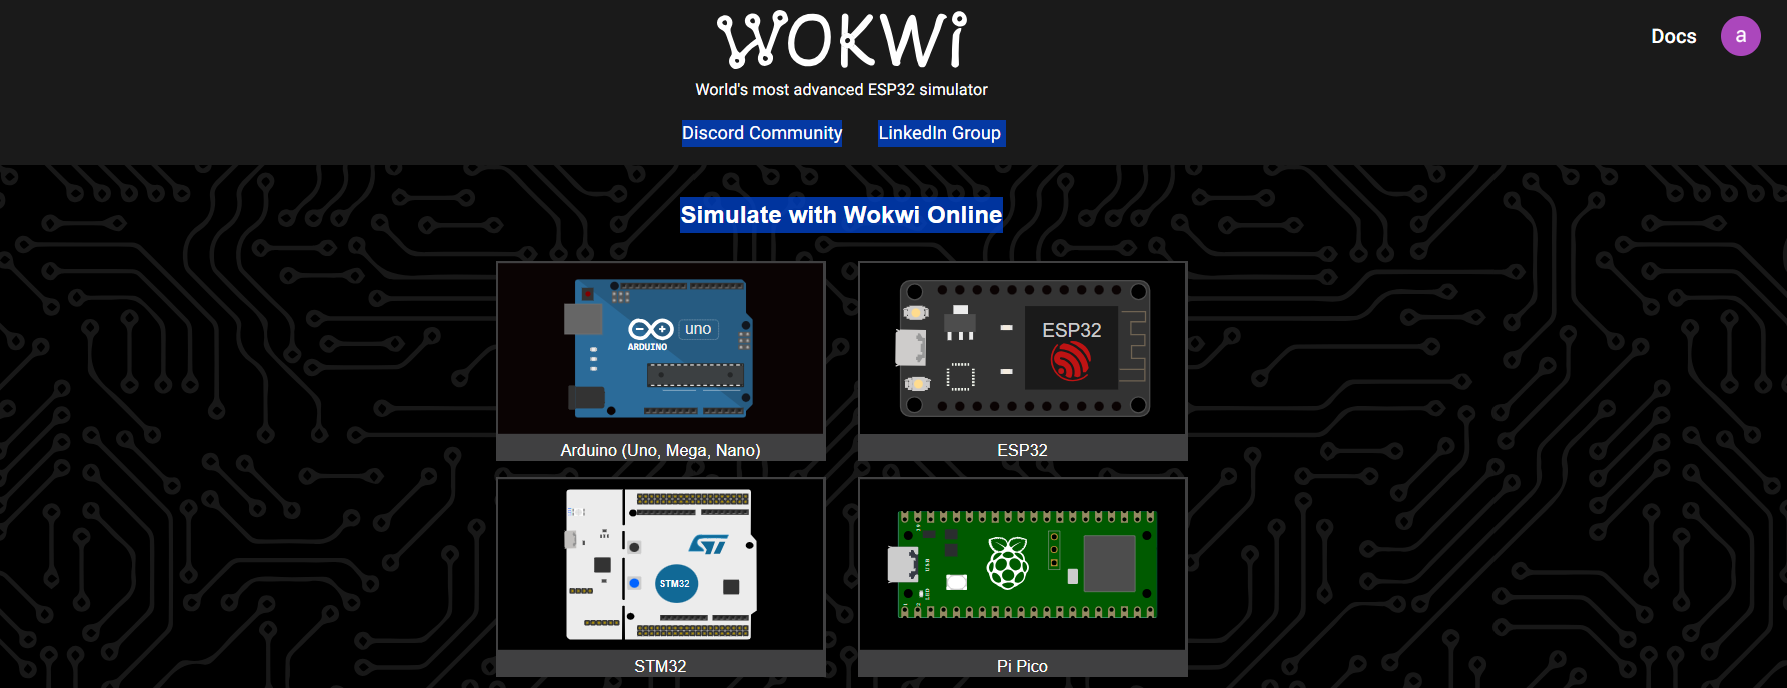
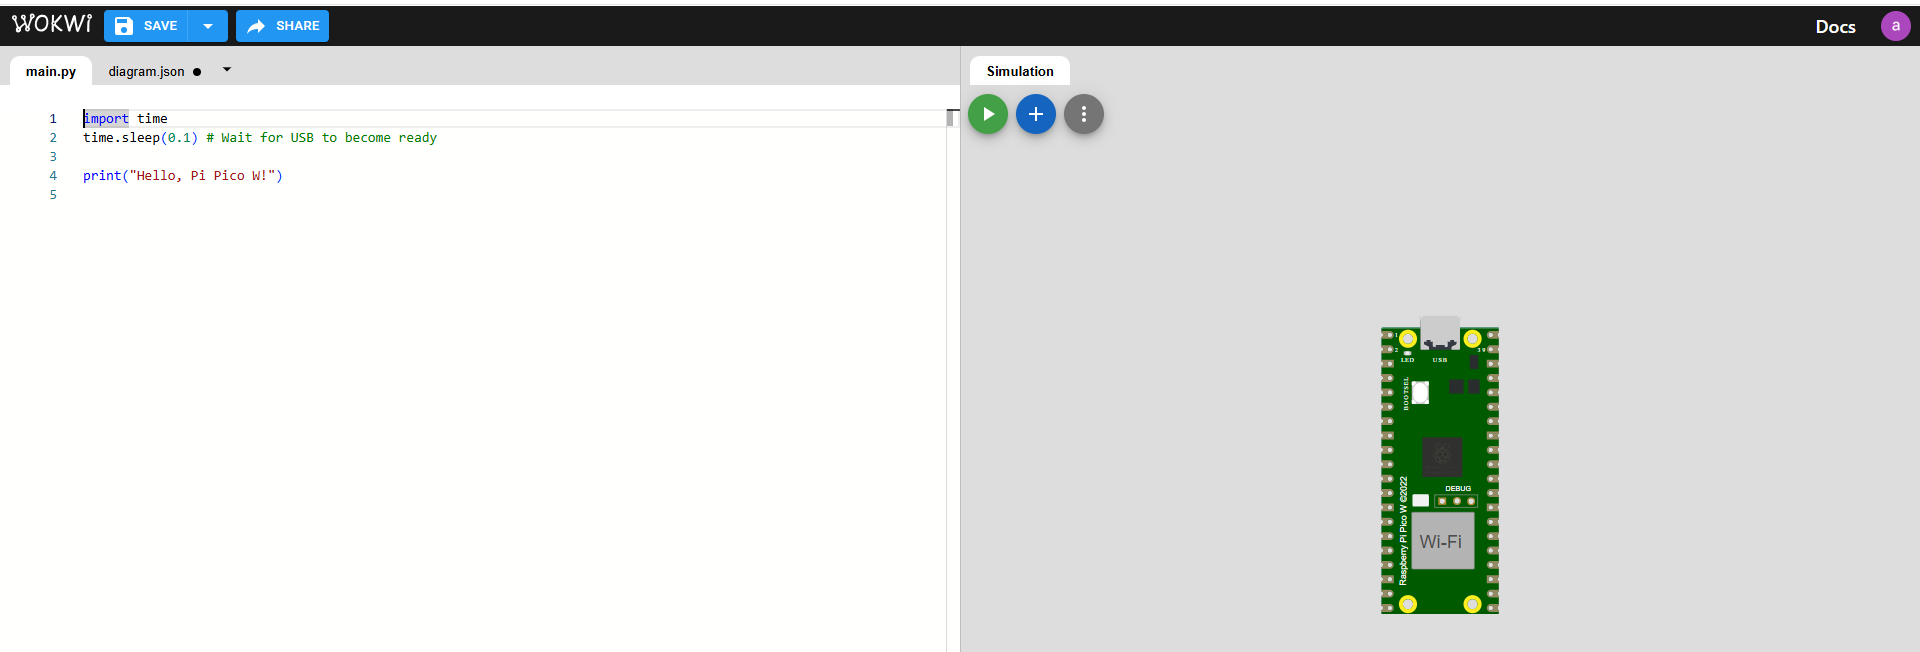
I visited Wokwi and created an account.
STEP 2
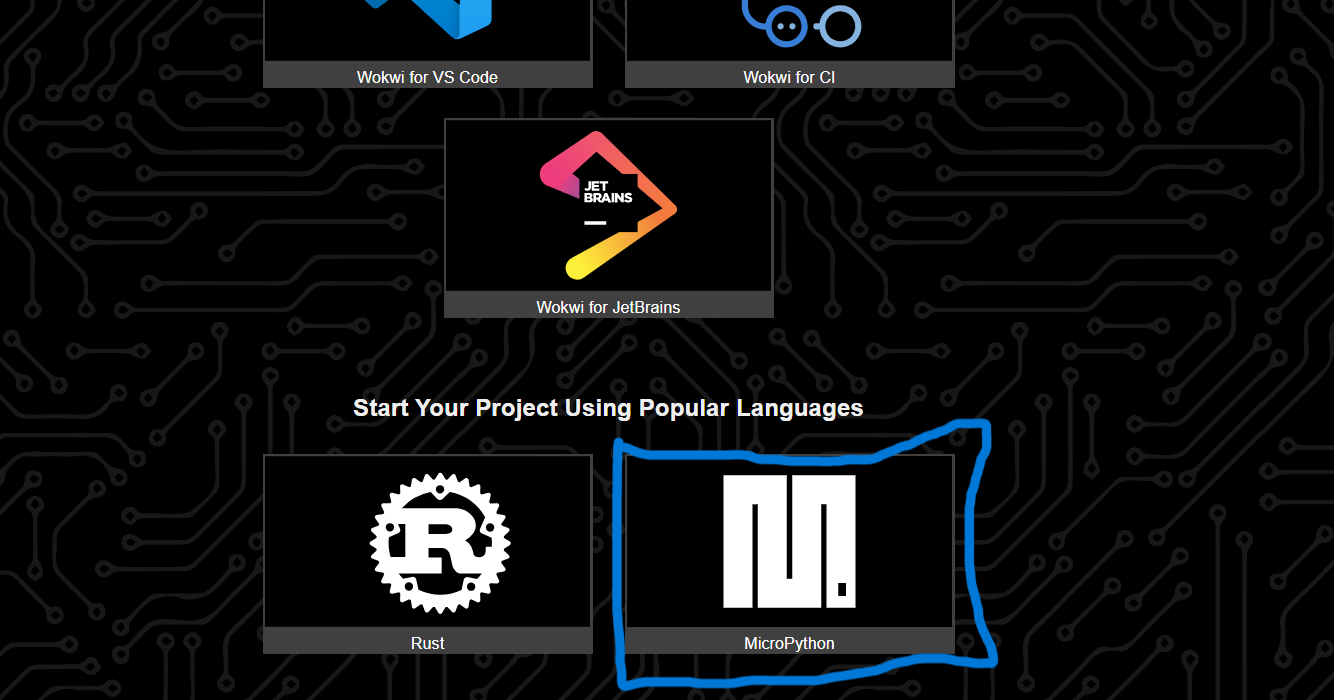
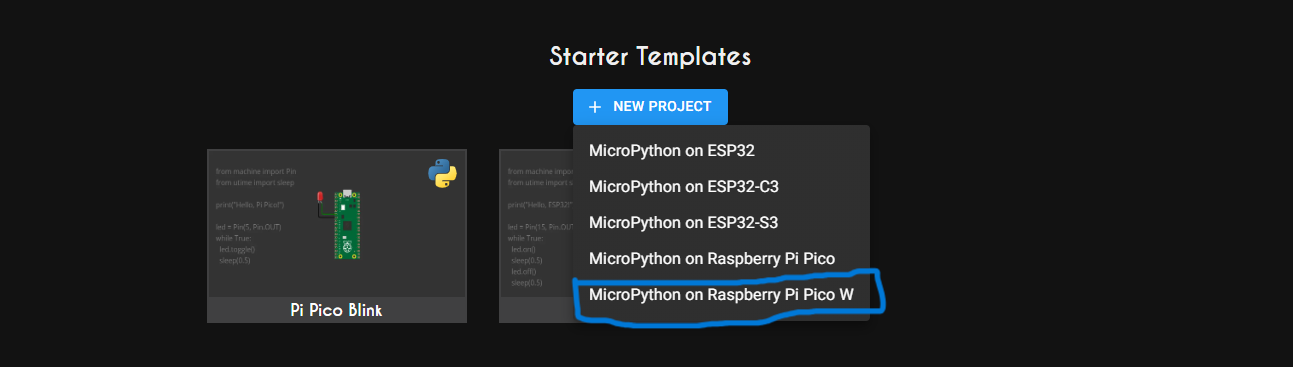
I then selected a launguage to use which is MicroPython from the homepage and created a new project on it and also selected a microntroller (raspberry pi pico w) to use for simulation.
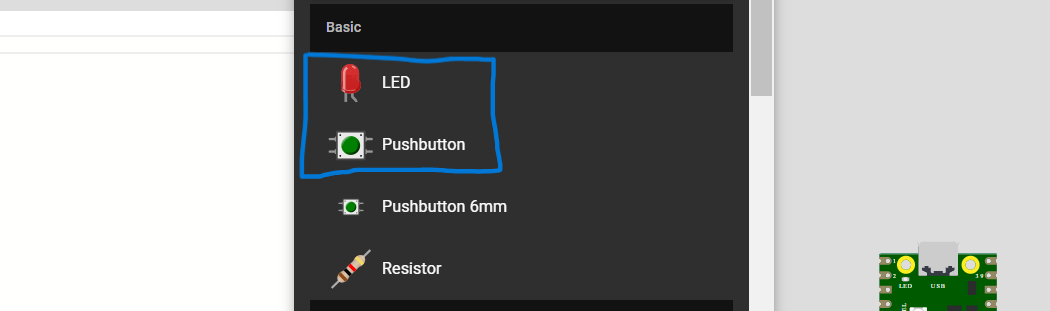
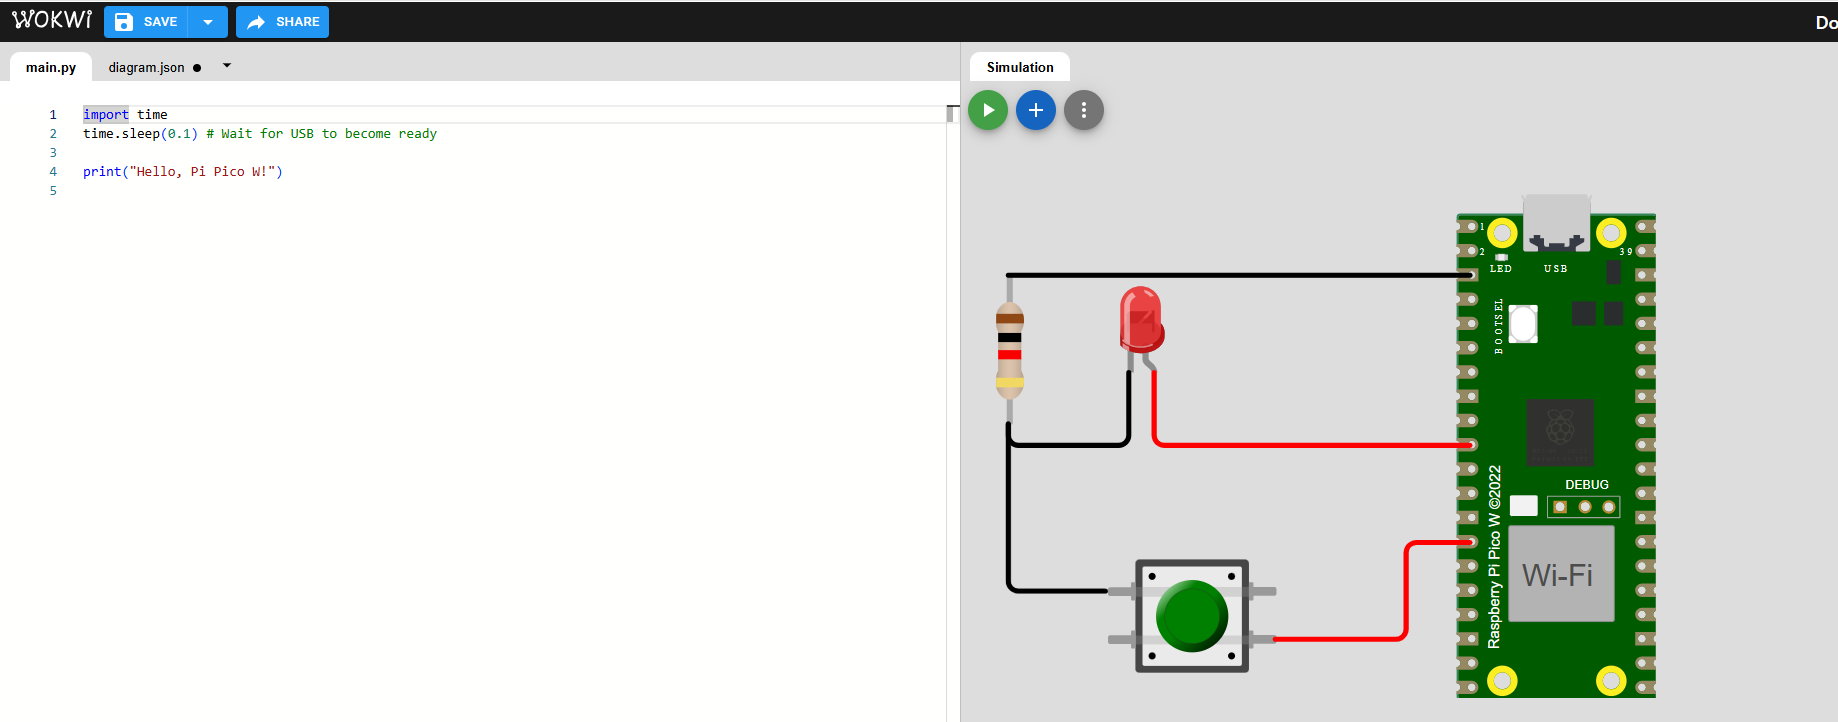
STEP 3
I dragged and dropped an LED,a resistor and a pushbutton to the pico pi from components library.
STEP 4
I then wrote a code for switching on the LED
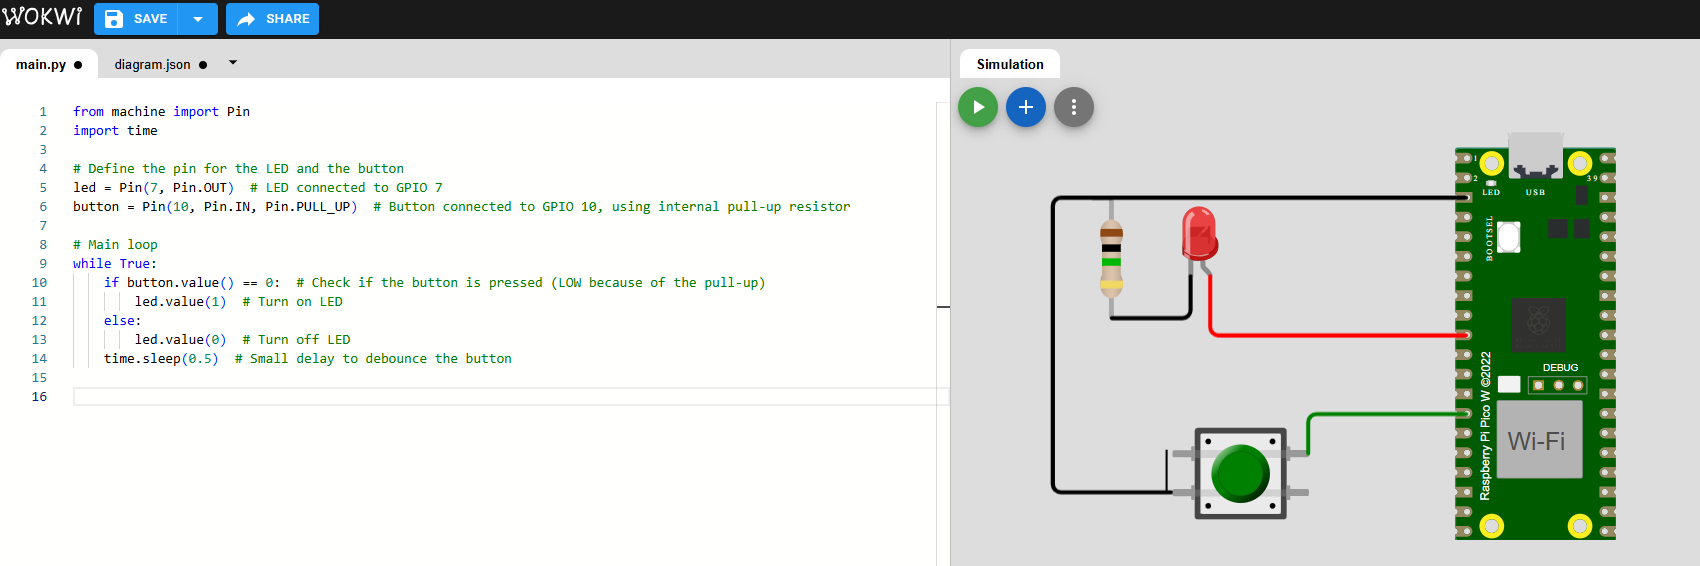
STEP 5
I then ran the simulation and pressed the button to switch on the LED.
GETTING STARTED WITH MICROPYTHON
To be able to work with Pi, I had to choose the programming launguage to use, which we went with MicroPython. MicroPython is a lean and efficient implementation of the Python 3 programming launguage that includes a small subset of the Python standard library and is optimised to run on microcontrollers and in constrained environments. MicroPython is packed with full of advanced features such as an interactive prompt, arbitrary precision integers, closures, list comprehensions, generators, exception handling and more.
HOW TO USE MICROPYTHON
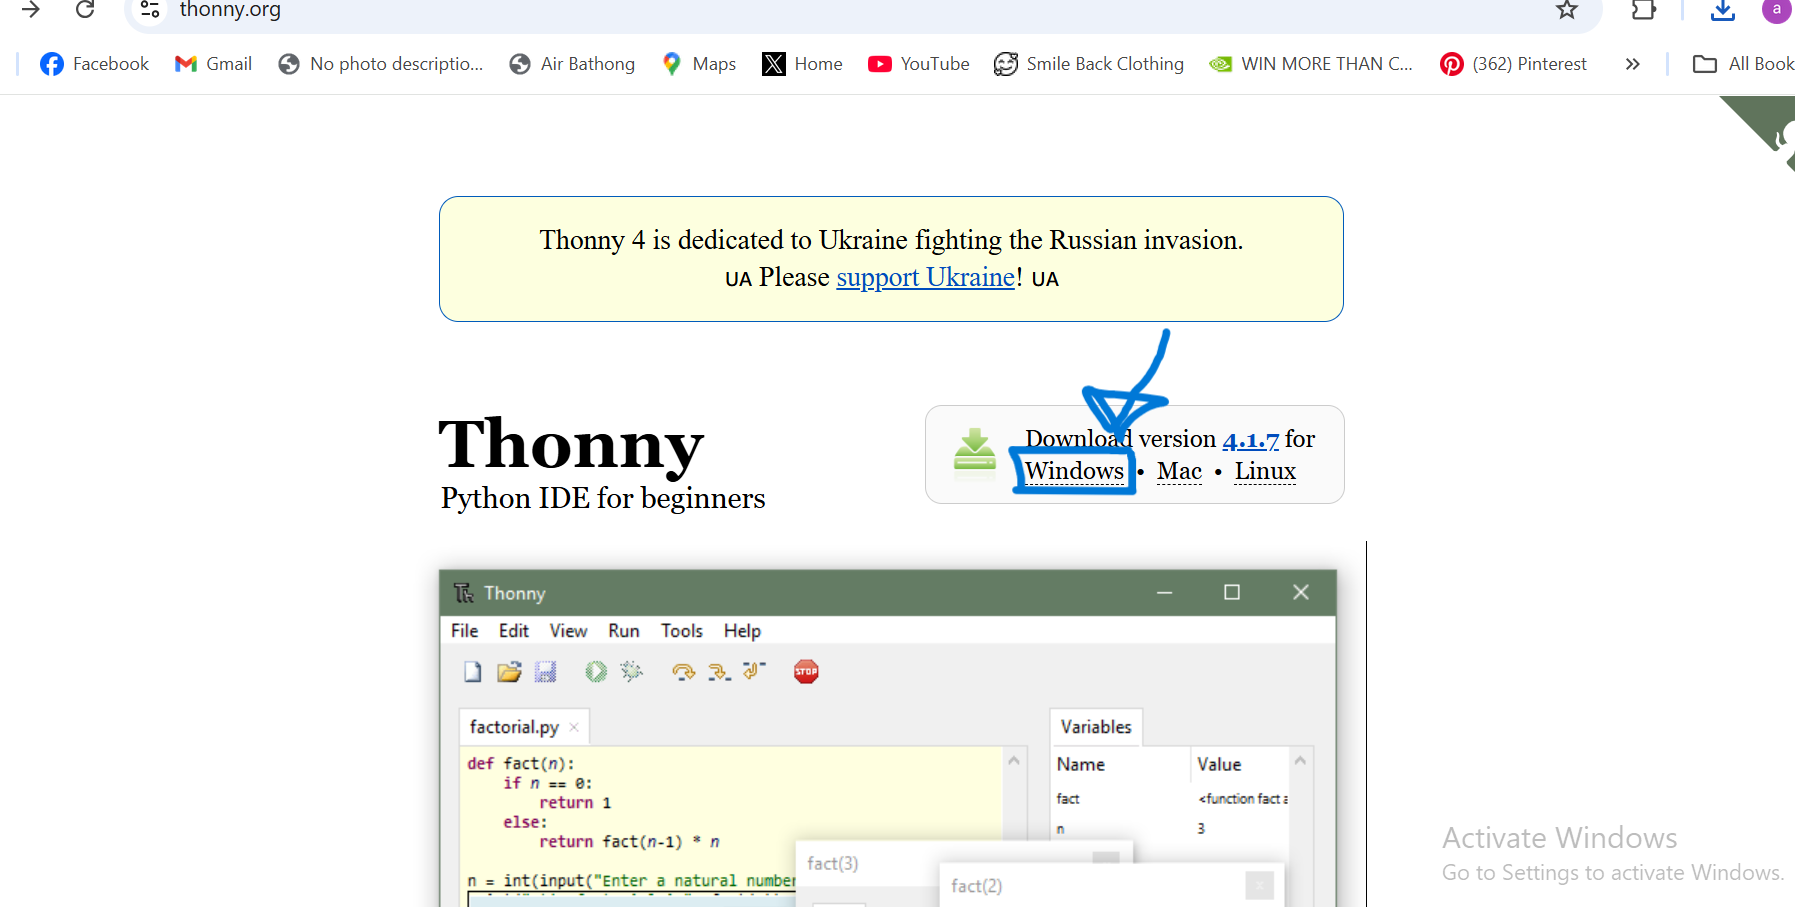
We started off by downloading Thonny program from the website
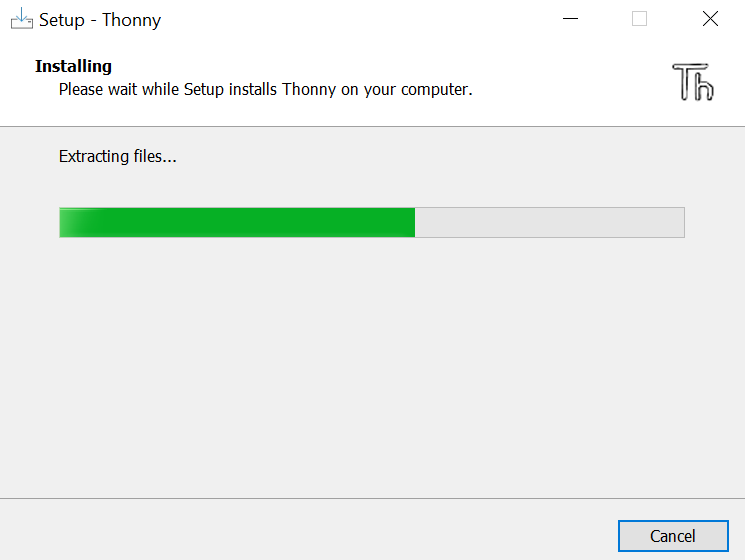
We then installed the program and launched it.
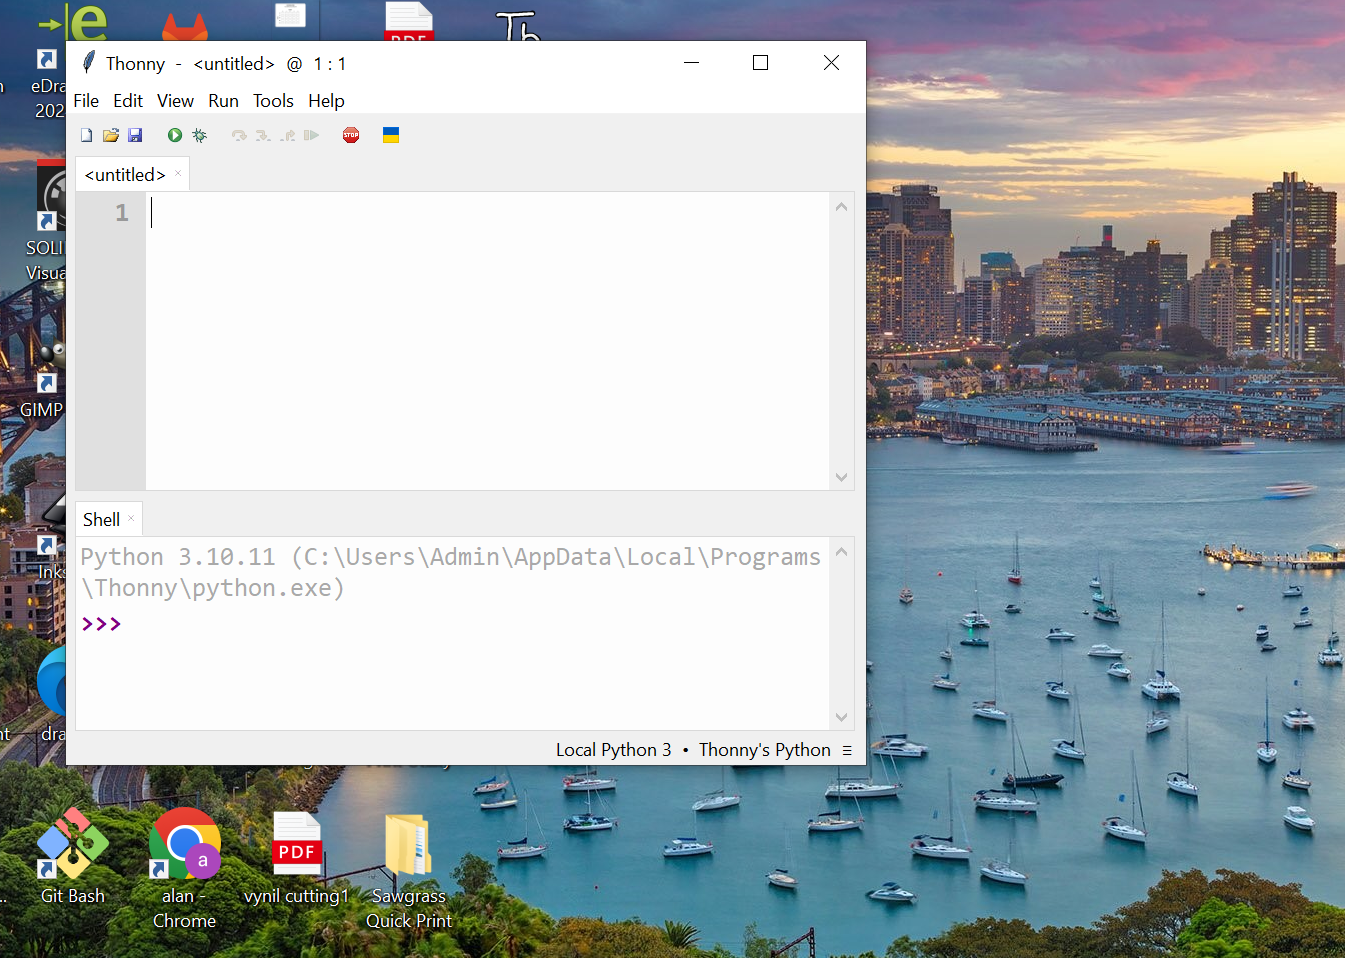
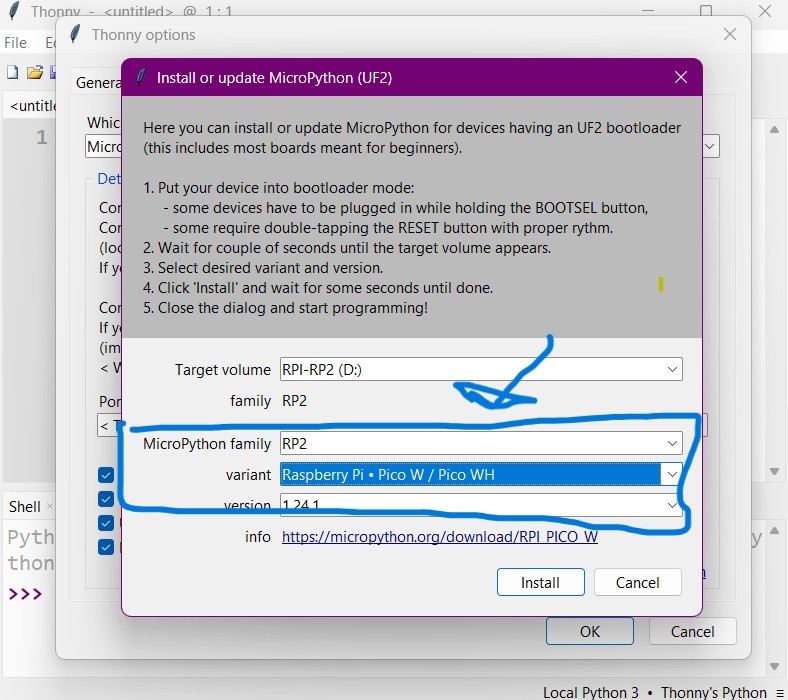
After launching it we configured the interpreter, choosing MicroPython (Raspberry Pi Pico) as the launguage that will be used to run the my code. And then we installed MicroPython.


Continuation of installing MicroPython
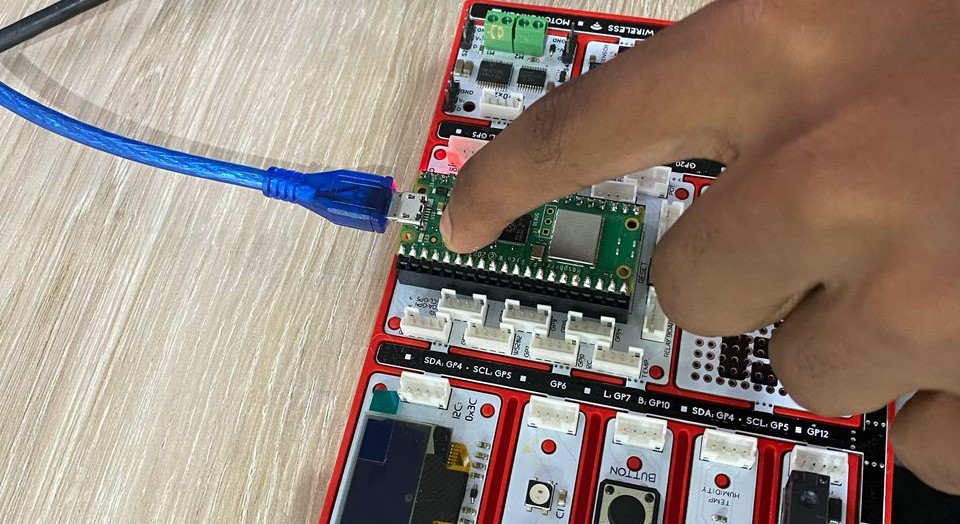
This is where we then brought in picture the Raspberry Pi Pico to use, which is shown in the picture below.
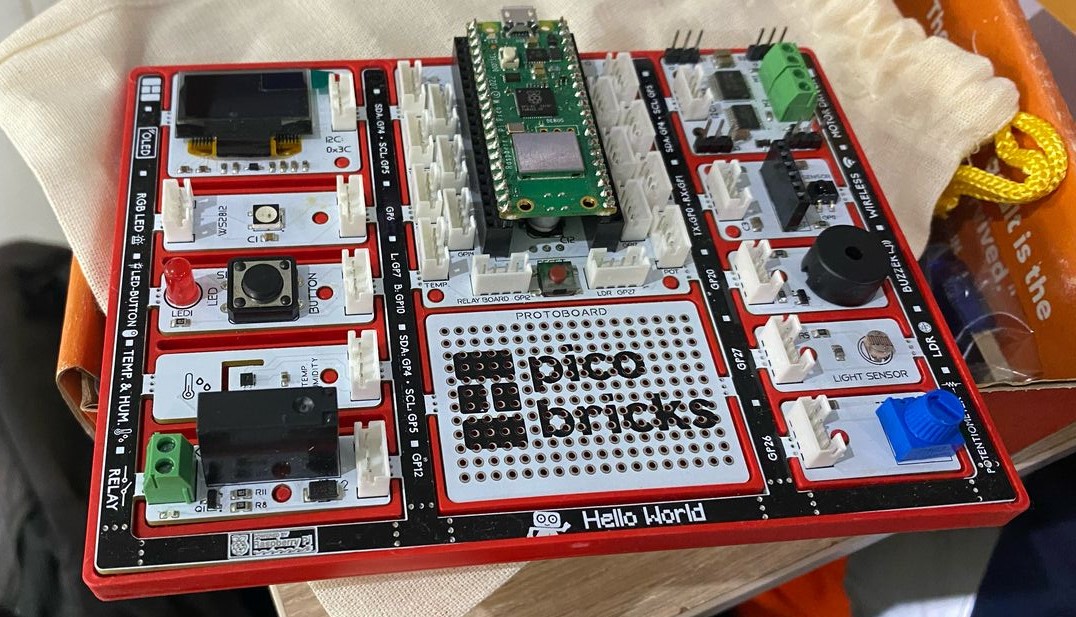
We then began with holding the BOOTSEL button on Pi Pico and then plugged the USB cord to get the options/variants to choose from depending on the Pi Pico we am using. After selecting it we then completed the installation.
CODING WITH MICROPYTHON
LED LIGHTING
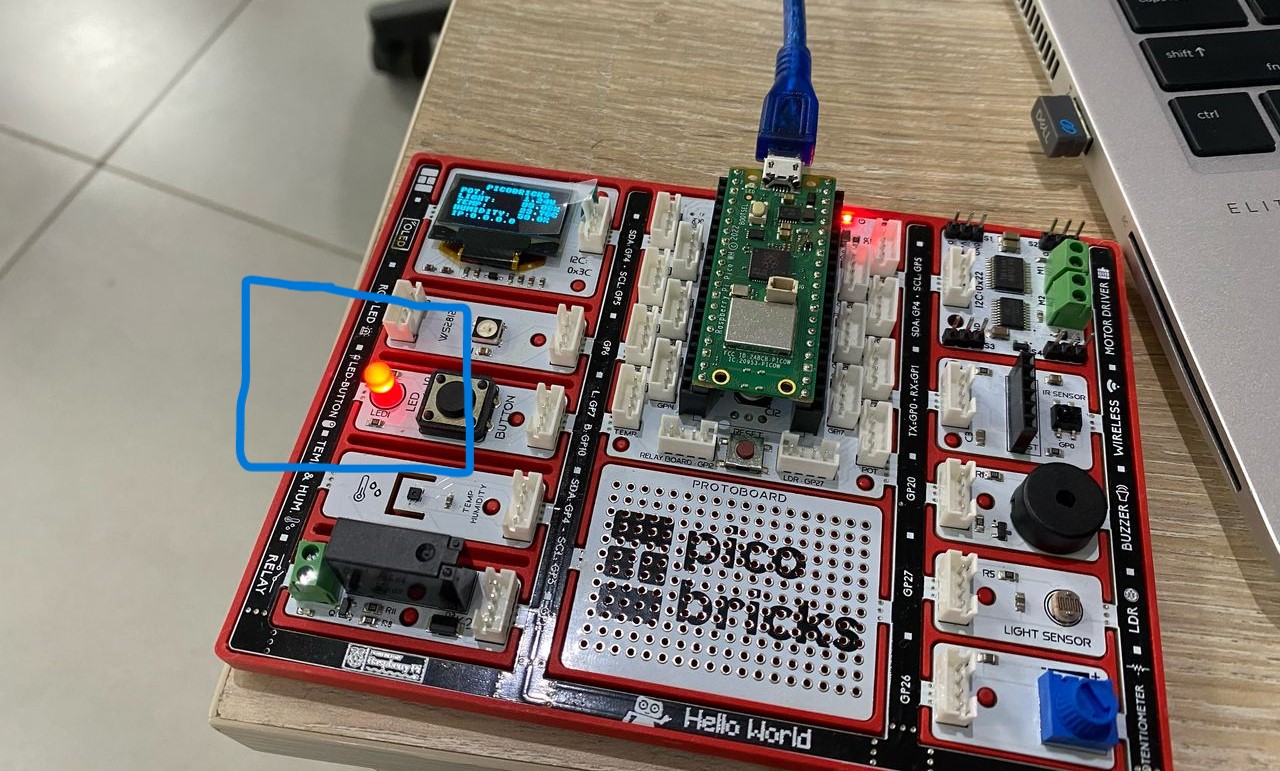
I began with the activity of coding for lighting an LED of which I thought was the easiest looking at the fact that it was my first time using MicroPython. After coding I ran the code by clicking the little green arrow on the program interface. And observed the outcome in the board.
from machine import Pin, ADC
import time

pot = ADC(Pin(26))
led = Pin(7, Pin.OUT)

while True:
    pot_value = pot.read_u16()
    if pot_value > 32767:
        led.value(1)  # Turn LED on
    else:
        led.value(0)  # Turn LED off
    time.sleep(0.01)
CODE BREAKDOWN
-
from machine import Pin, ADC:
Imports hardware-related modules from the machine library -
import time:
Imports the standard time module for delays -
while True:
Starts an infinite loop to keep the program running continuously
The LED began to light as the code was being ran.
INTRODUCTION OF POTENTIOMETER
I then introduced the code for controlling the brightness of the LED using a potentiometer, and then connected the potentiometer to the Pi Pico W and then ran the code.
							from machine import Pin, ADC,PWM
							import time

							pot = ADC(Pin(26))
							led = PWM(Pin(7))
							led.freq(1000)
							while True:
							pot_value = pot.read_u16()
							duty_cycle = int(pot_value / 55535 * 65535)
						        led.duty_u16(duty_cycle)
						        time.sleep(0.01)
pot_value = pot.read_u16()
This represents how much the potentiometer is turned
Controls LED brightness
led.duty_u16(duty_cycle)
ccepts a value from 0 (off) to 65535 (fully on)(brightness)
time.sleep(0.01)
Pauses the loop for 10 milliseconds
INTRODUCTION OF A LIGHT DEPENDENT RESISTOR
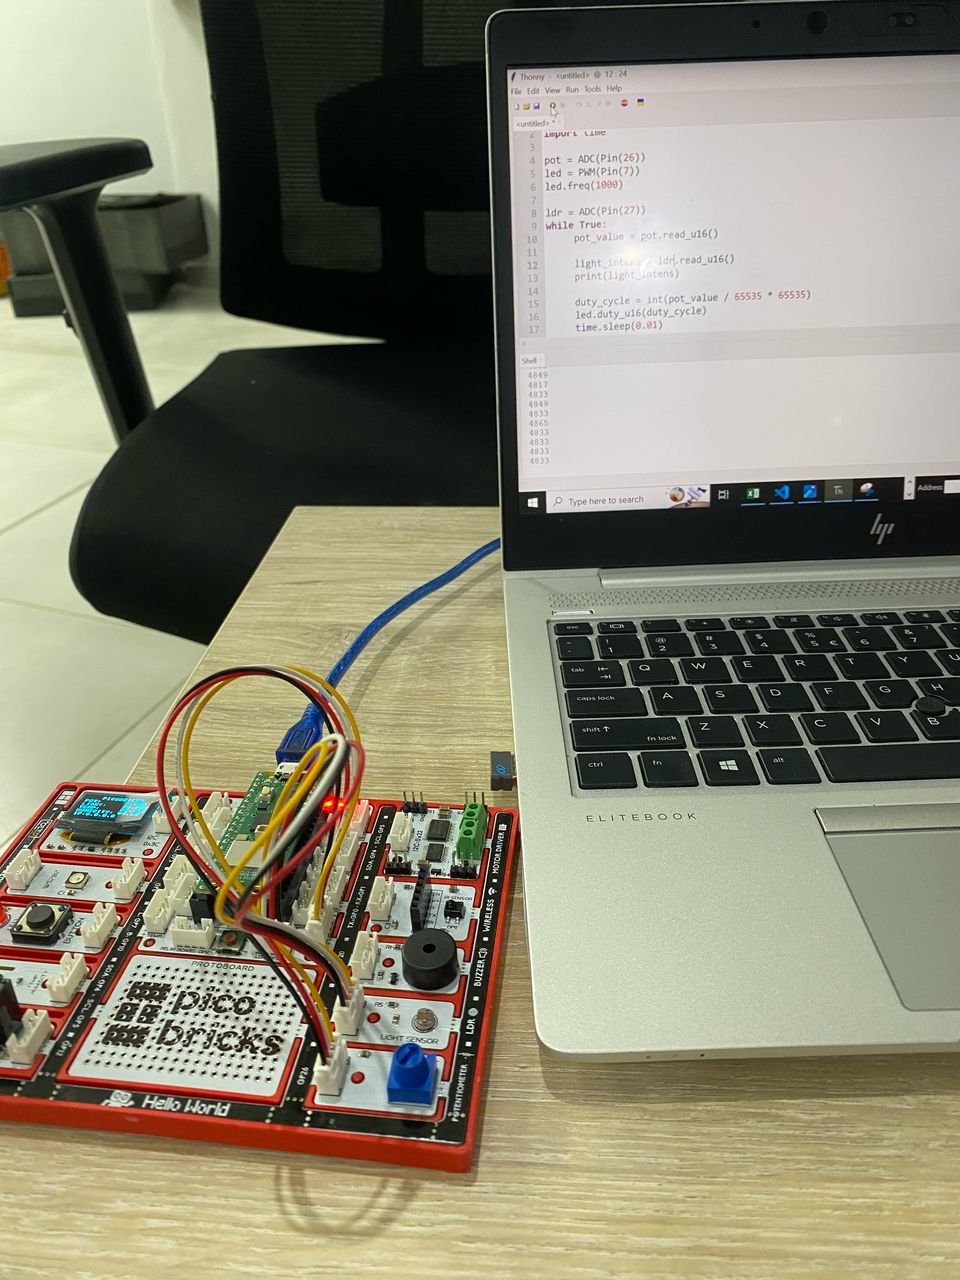
To my code I then introduced a coding for a light dependant resistor, coding to send the reading of different light exposed to it. Using a connecting wire I connected the ldr to the Pi.
							from machine import Pin, ADC,PWM
							import time

							pot = ADC(Pin(26))
							led = PWM(Pin(7))

							led.freq(1000)


							ldr = ADC(Pin(27))

							while True:
							pot_value = pot.read_u16()

							light_intens = ldr.read_u16()
							print(light_intens)

							duty_cycle = int(pot_value / 55535 * 65535)
							led.duty_u16(duty_cycle)
							time.sleep(0.01)
light_intens = ldr.read_u16()
Analog to Digital object connected to a Light Dependent Resistor and reads analog light intensity as a 16-bit value.
print(light_intens)
Prints the current light intensity value to the console

FILES