The requirement of this group assignment is to compare as many tool options as possible for creating interfaces and applications for our development board. The team is expected to document their work on the group work page, showcasing the process and results. Additionally, each individual is required to reflect on their personal page about what they learned during the assignment.
Interface and application programming involves creating software that allows users to interact with hardware devices. This includes designing graphical user interfaces (GUIs), command-line interfaces (CLIs), or other forms of interaction that enable communication between the user and the hardware. The goal is to make the hardware more accessible and functional for specific tasks or applications.
For this assignment, the focus was on developing interfaces and applications for our custom development board. This required understanding the board's capabilities, programming its microcontroller, and designing software that could effectively communicate with it.
There are various tools available for interface and application programming, each with its own strengths and weaknesses. Some of the tools explored by the team include:
As part of this assignment, the team explored multiple tools to create interfaces and applications for the development board. Each tool was evaluated based on its ease of use, compatibility with the board, and the features it offered. The results of these evaluations were documented in detail, highlighting the strengths and weaknesses of each tool.
For example, Processing was used to create a simple GUI that could send and receive data from the development board via serial communication. MIT App Inventor was used to create a mobile app that could control the board's outputs using Bluetooth. Python with Tkinter was used to create a desktop application for monitoring sensor data from the board in real-time.
The team also conducted experiments to test the interfaces and applications with the development board, ensuring that they worked as intended and provided a seamless user experience.
To begin with, we downloaded Processing from its official website. You can find the download link here. Below is an image of the Processing download page:
Processing is an open-source graphical library and integrated development environment (IDE) built for the electronic arts, new media art, and visual design communities. It was created to teach the fundamentals of computer programming in a visual context and to serve as a software sketchbook and professional production tool. Processing uses a simplified version of Java and is especially popular for creating interactive graphics, visualizations, and user interfaces. Its ease of use and extensive community support make it a great choice for beginners and artists interested in programming.
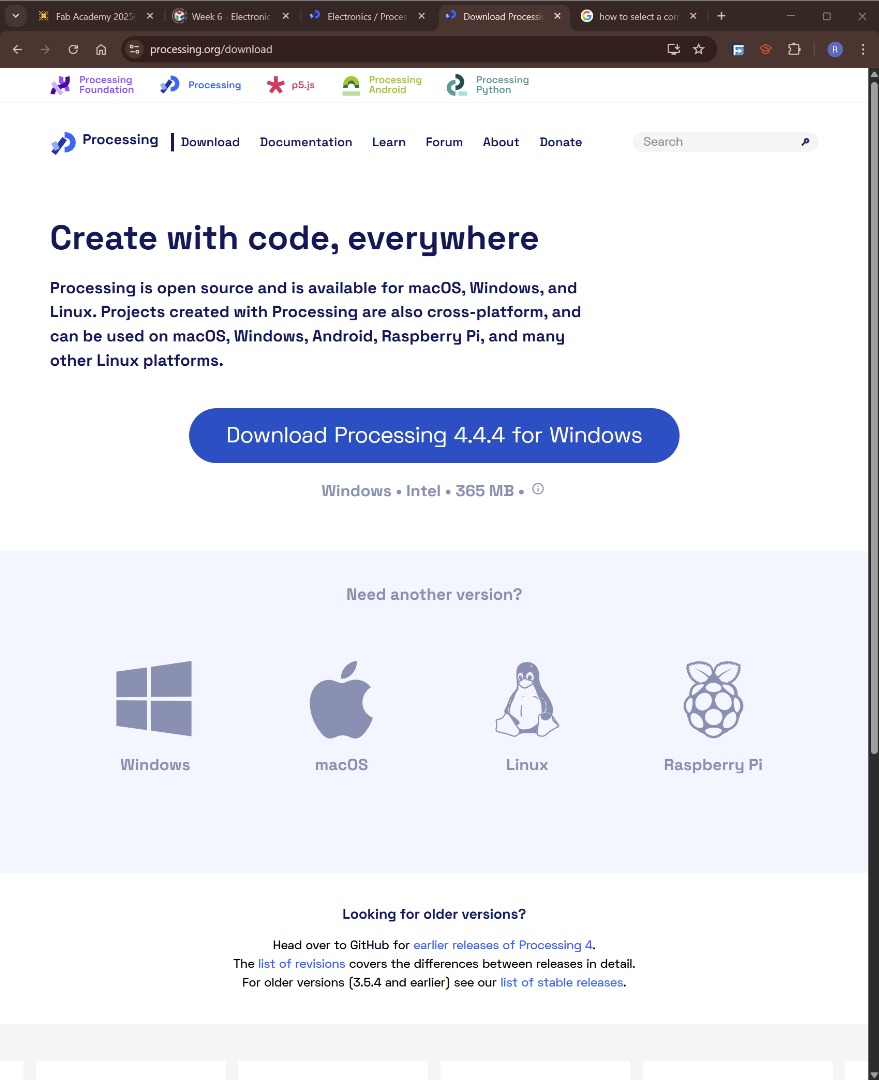
Processing Download Page
After installing Processing, we followed a tutorial from processing.org to learn how to make a very simple graphic interface connected to one of our development boards. The interface detects button presses on the board and changes an element on the screen depending on whether the button is pressed.
// Code for sensing a switch status and writing the value to the serial port

int switchPin = D2;  // Switch connected to pin 4

void setup() {
  pinMode(switchPin, INPUT);  // Set pin 0 as an input
  Serial.begin(9600);         // Start serial communication at 9600 bps
}

void loop() {
  if (digitalRead(switchPin) == HIGH) {  // If switch is ON,
    Serial.write((uint8_t)1);                     // send 1 to Processing
  } else {                               // If the switch is not ON,
    Serial.write((uint8_t)0);                     // send 0 to Processing
  }
  delay(100);                            // Wait 100 milliseconds
}
 // Read data from the serial port and change the color of a rectangle
// when a switch connected to the board is pressed and released

import processing.serial.*;

Serial port;                             // Create object from Serial class
int val;                                 // Data received from the serial port

void setup() {
  size(200, 200);
  frameRate(10);
  // Open the port that the board is connected to and use the same speed (9600 bps)
  port = new Serial(this,"COM4", 9600);
}

void draw() {
  if (0 < port.available()) {         // If data is available,
    val = port.read();                   // read it and store it in val
  }
  background(255);                       // Set background to white
  if (val == 0)  {                       // If the serial value is 0,
    fill(0);                             // set fill to black
  } else {                               // If the serial value is not 0,
    fill(204);                           // set fill to light gray
  }
  rect(50, 50, 100, 100);
}

The Experiment
After running the code, we were able to see a rectangle on the screen that changed color when the button on the board was pressed. This simple interface demonstrated how Processing can be used to create interactive applications that communicate with hardware.
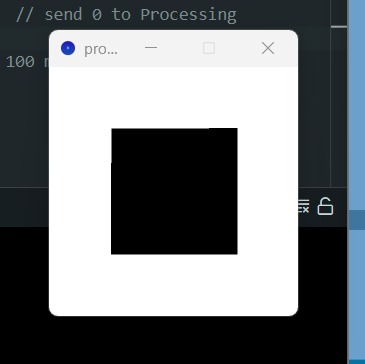
The graphic interface
Video demonstration of the interface working
MIT App Inventor is a free, web-based visual programming environment that allows users to create fully functional Android apps without prior coding experience. It uses a drag-and-drop interface with blocks-based coding, making it accessible for beginners and ideal for rapid prototyping of mobile applications. App Inventor is especially popular for educational purposes and for developing apps that interact with hardware via Bluetooth, Wi-Fi, or other communication protocols.
Steps we took:
This process allowed us to quickly develop and test a mobile interface for our hardware, demonstrating the ease and flexibility of MIT App Inventor for interface and application programming.