Week 16 Wildcard Week
Working outside the program
This week I decided to use a Brother brand CNC sewing machine. I don't know the model, but I made a simple design: the logo of a singer.
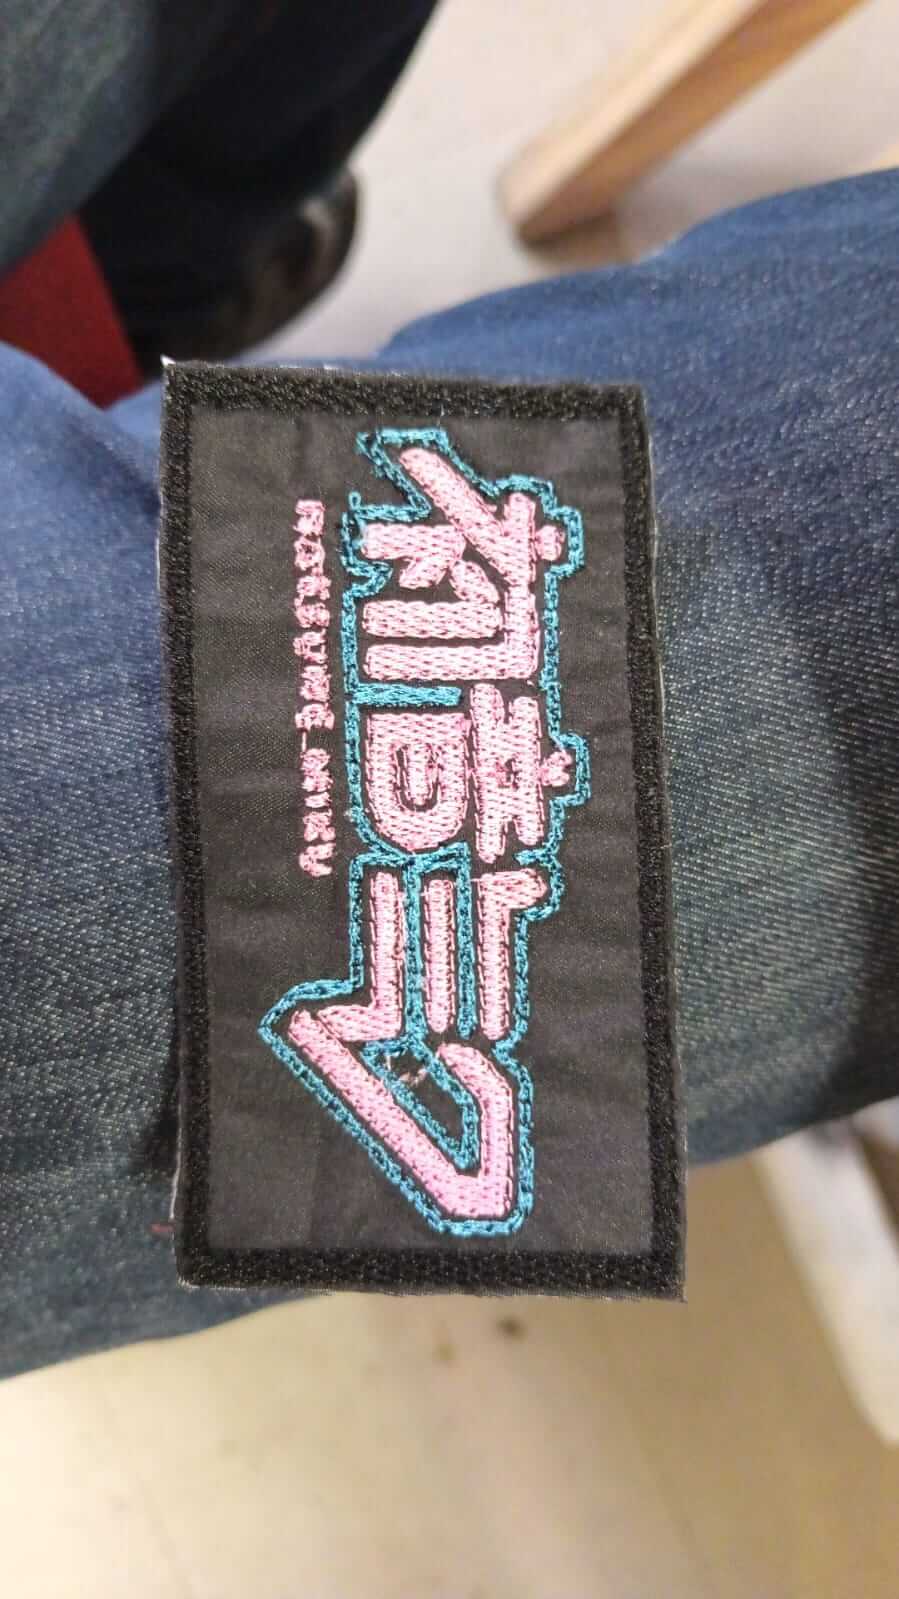
The first thing I did was vectorize the logo from a previous image and added a black border to make it look better as a patch.
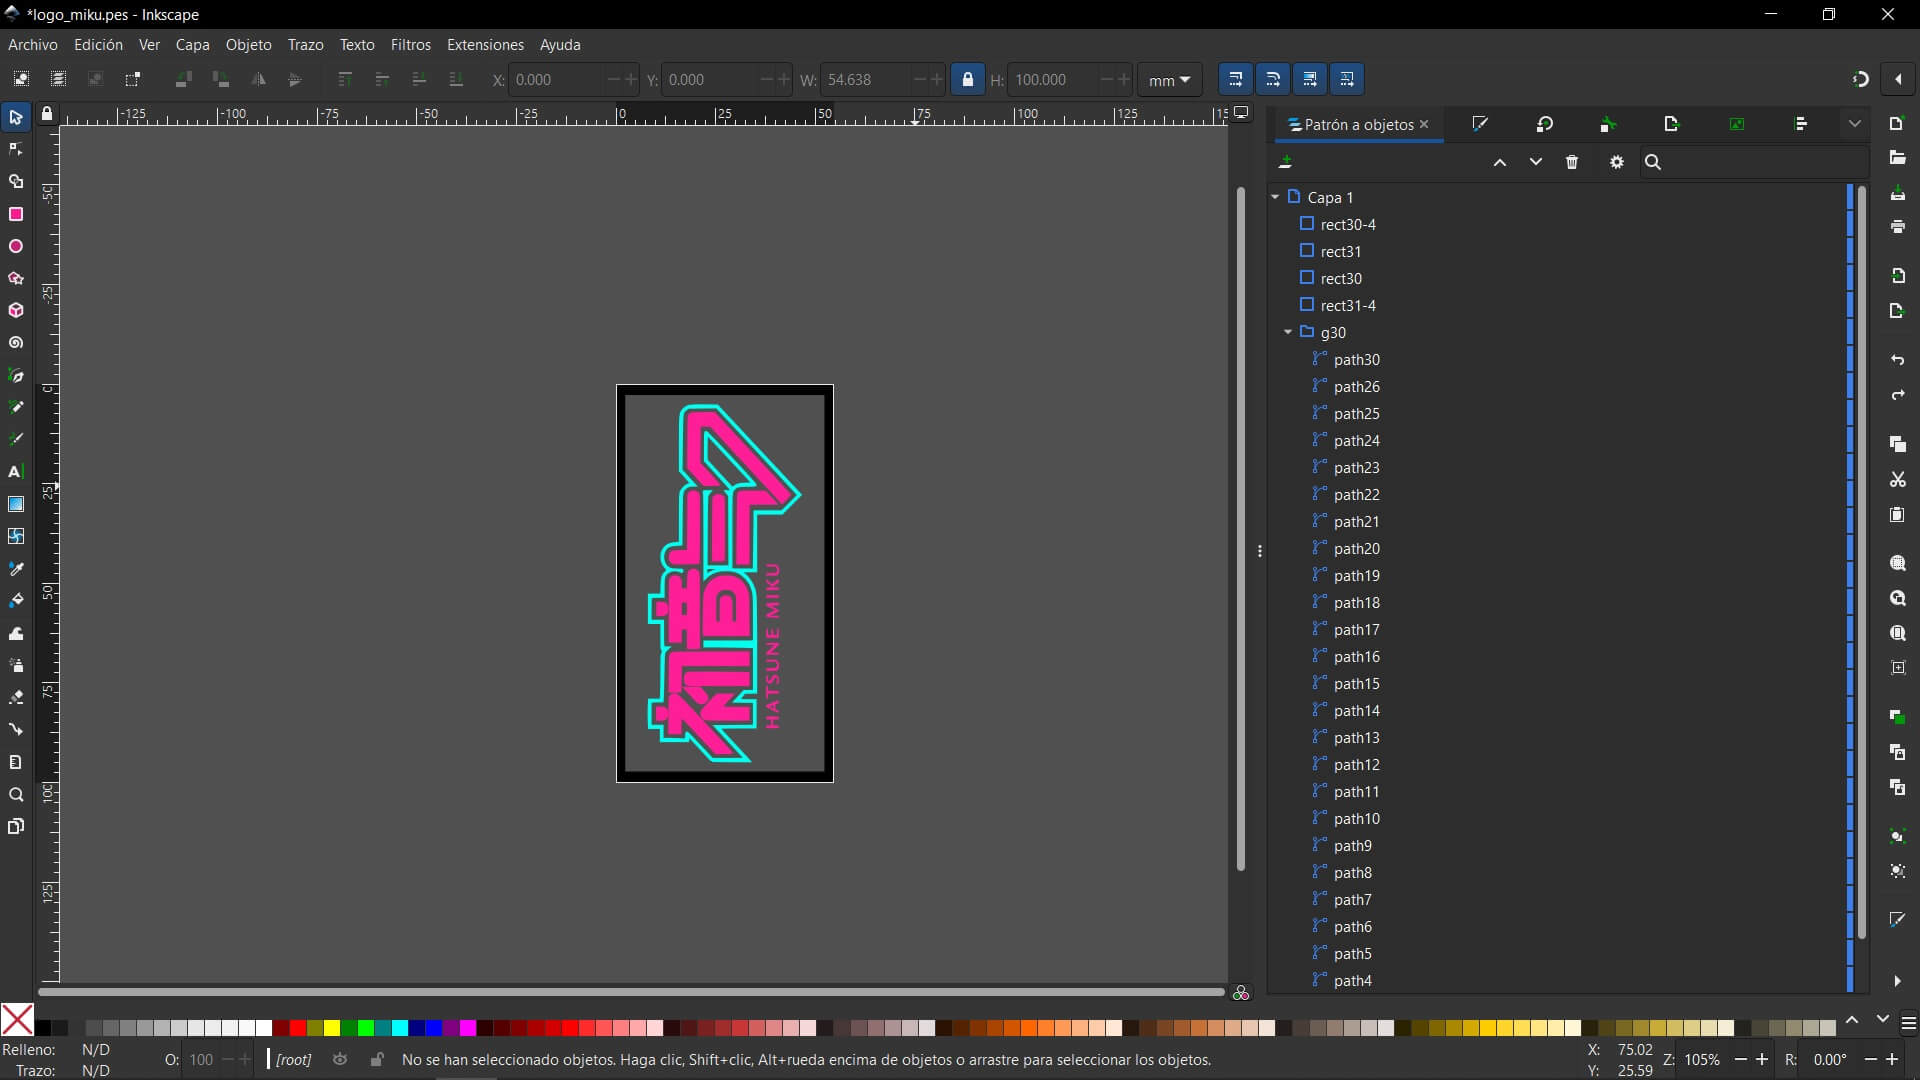
I started by installing the Ink/Stitch extension for Inkscape (you can see how to install it in this YouTube video). Then I set a maximum height of 100 mm, which is the maximum embroidery area.
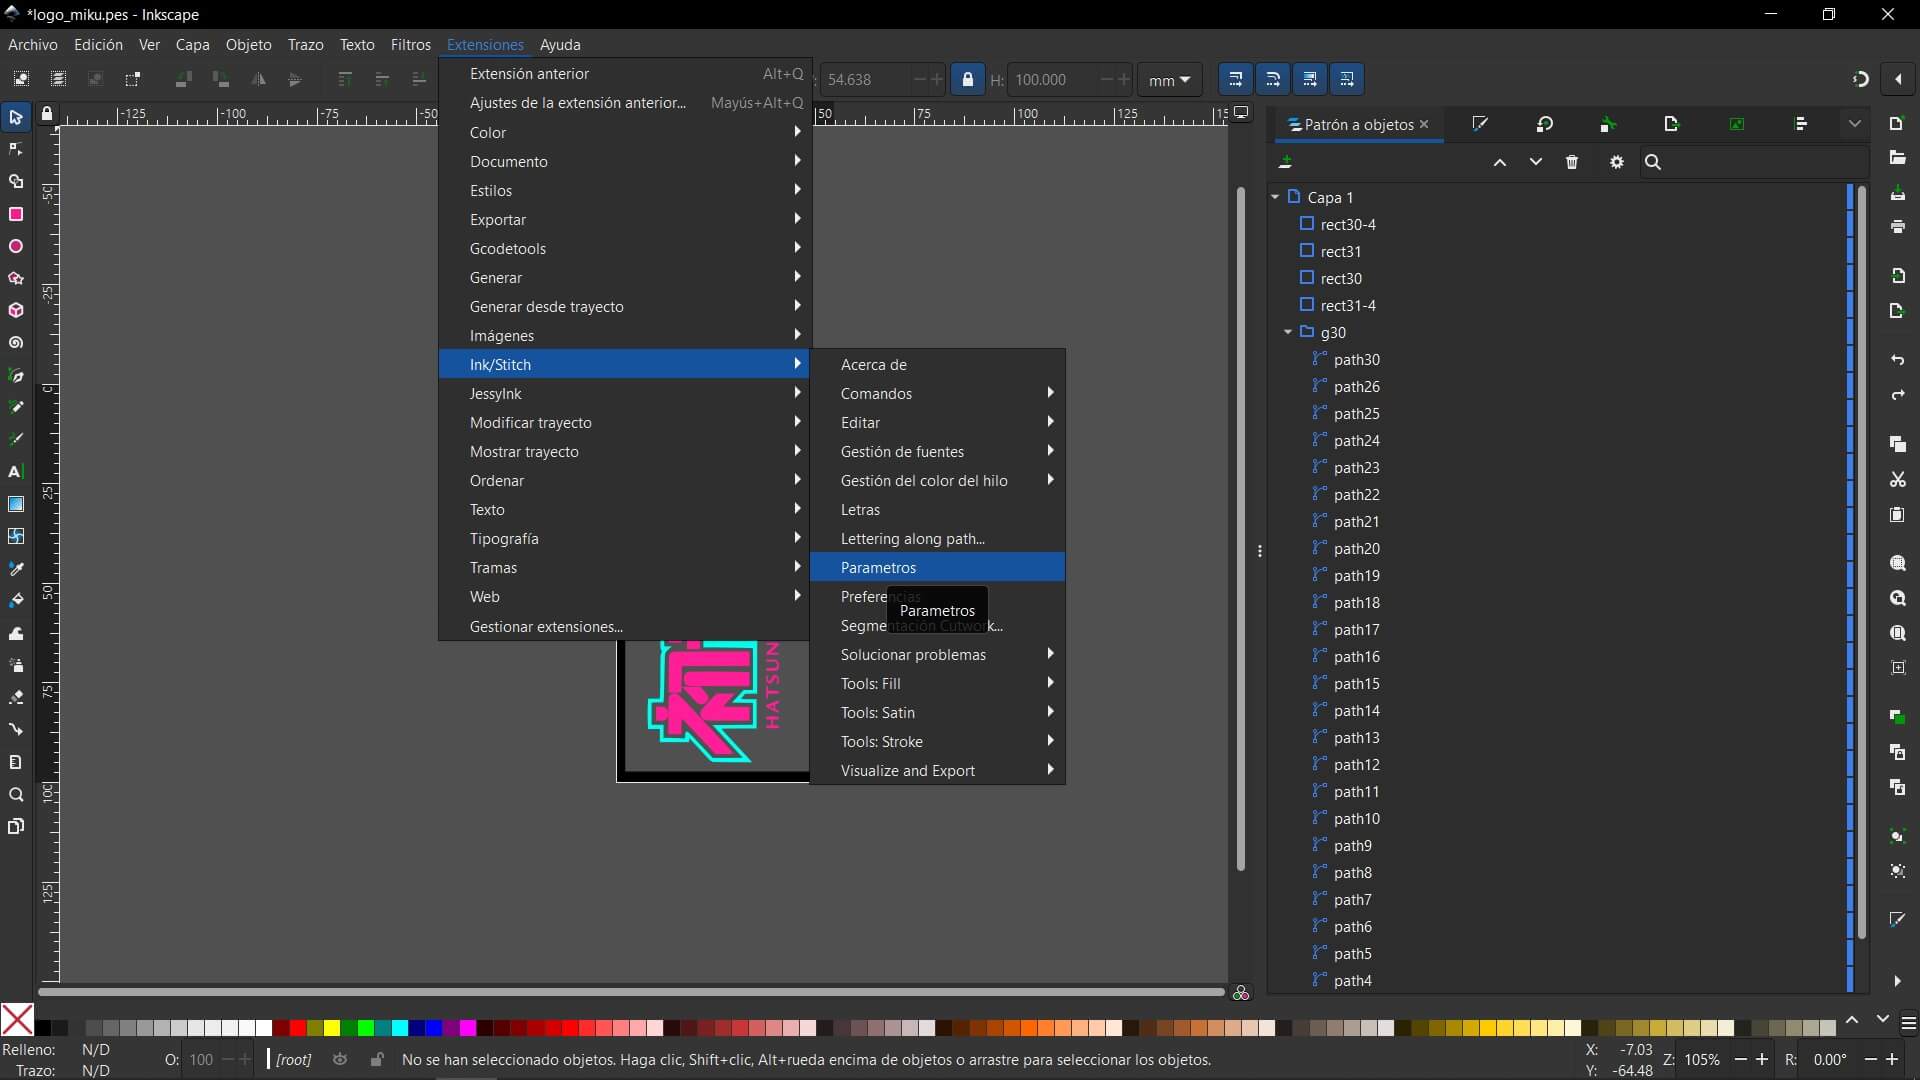
To adjust the file, I did the following: with the vector design ready, I selected the rhombus graphic and opened Extensions → Ink/Stitch → Parameters. In this menu we can define the embroidery parameters for each path, including stitch type, stitch length, direction, density, and sequencing. Since I've used the machine before, I know the default parameters work fine, so I left them as is.
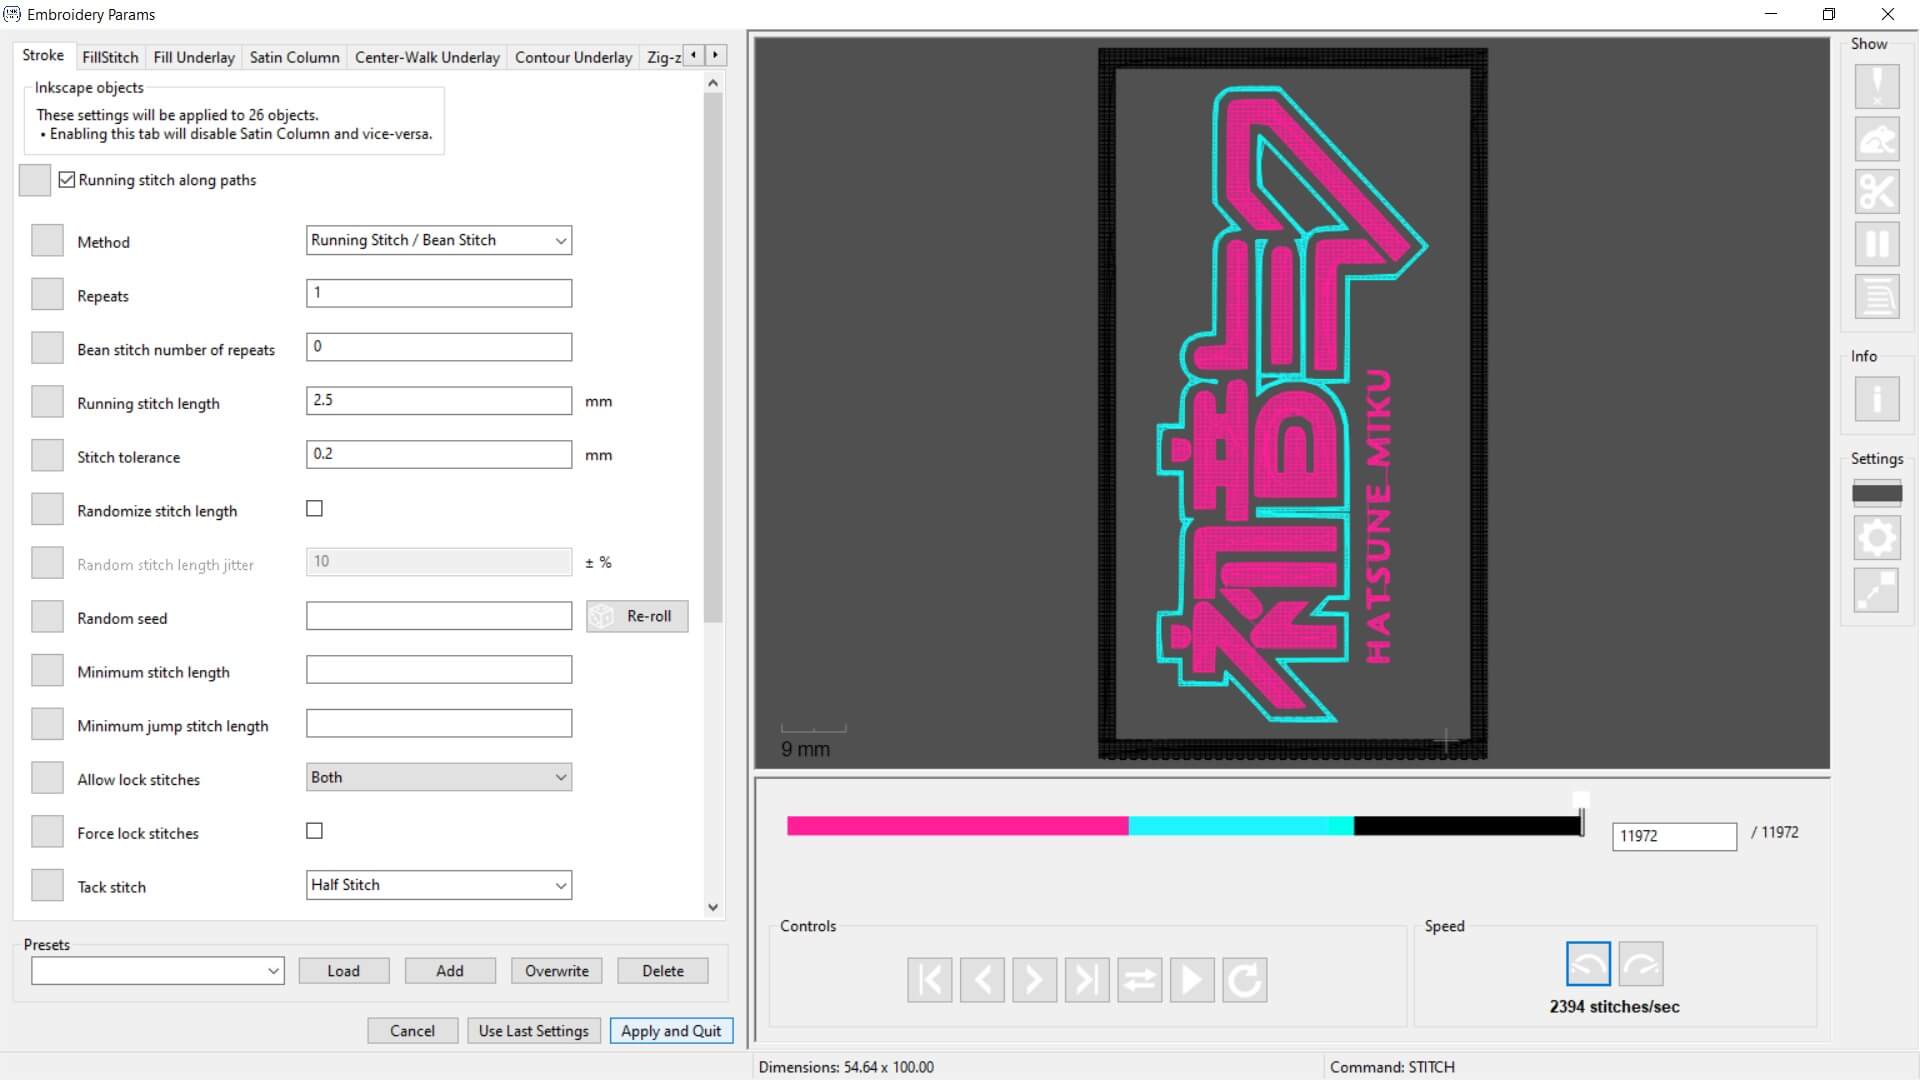
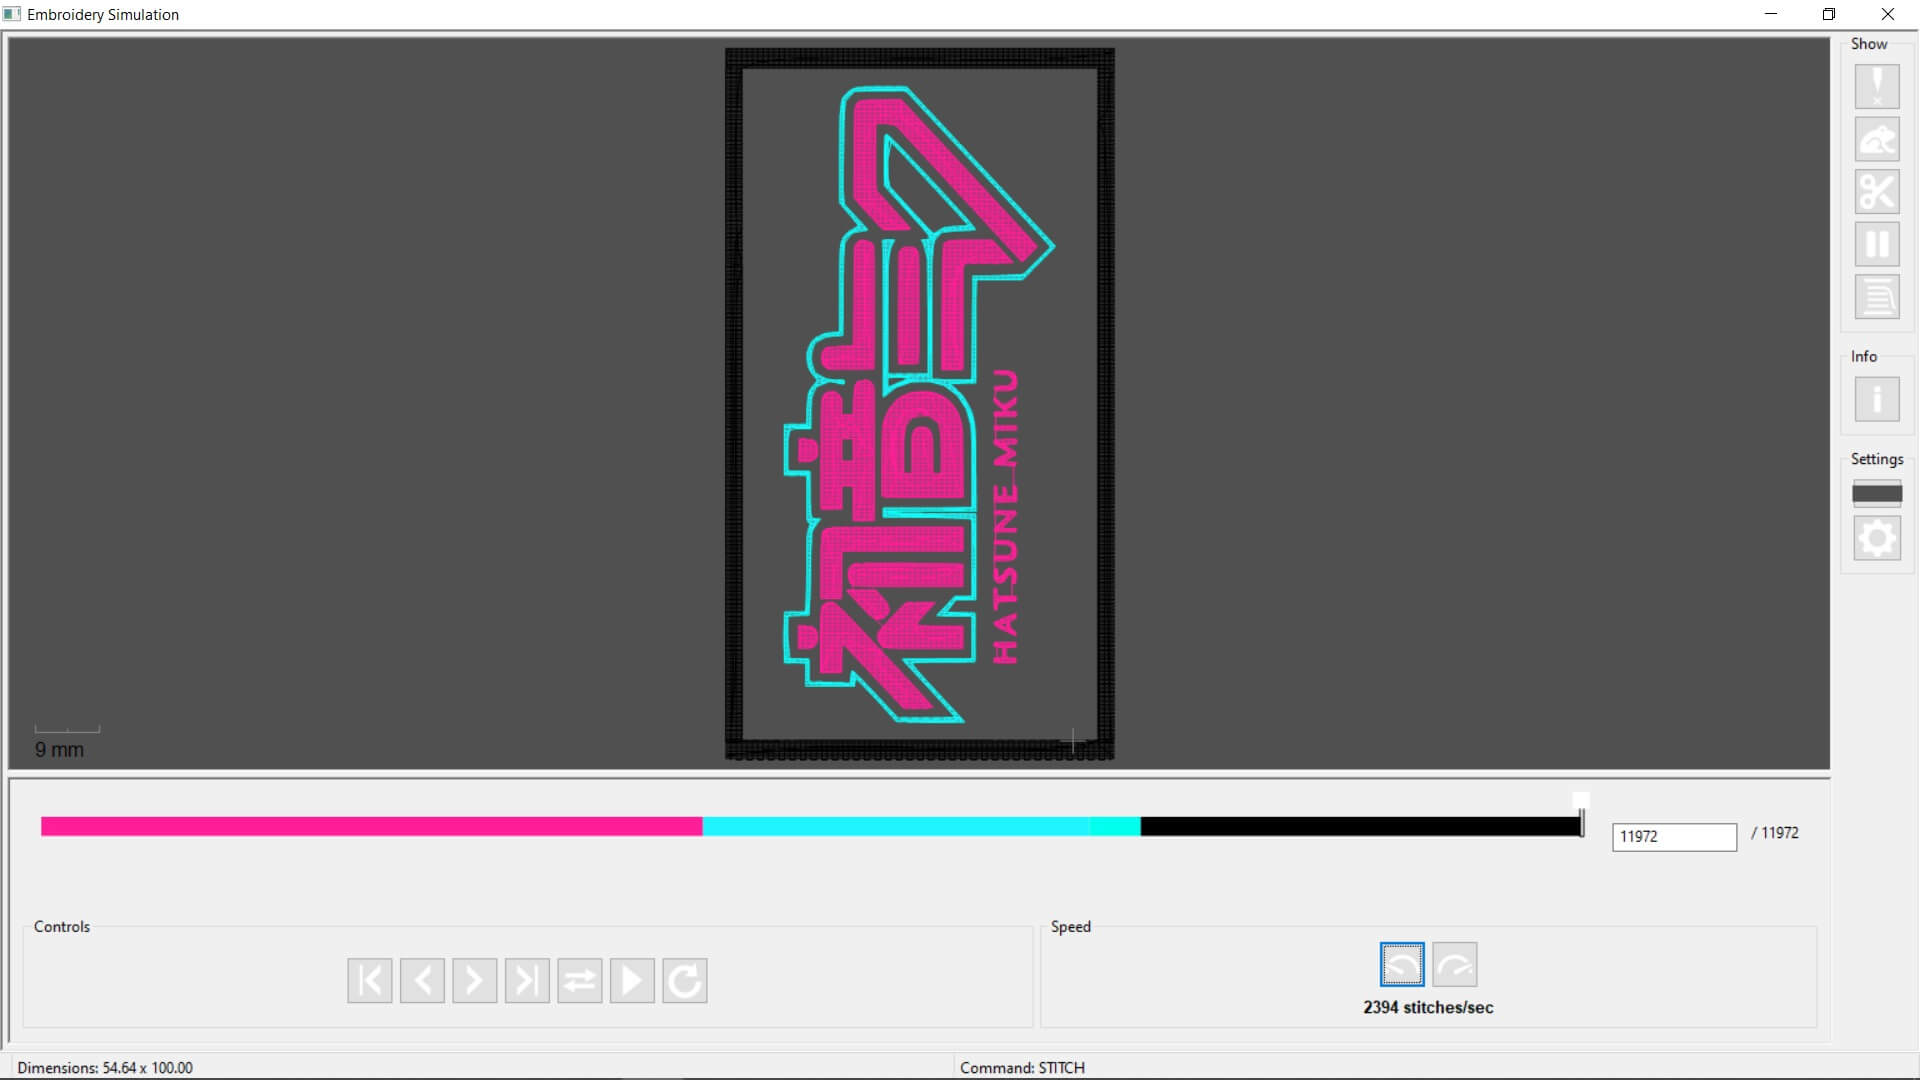
On the right side of the Parameters window, Ink/Stitch displays a live simulation preview of the stitching path. This is particularly useful to verify the logic and order of stitching operations before committing to export. Once satisfied, I clicked Apply and Quit to generate the stitch definitions.
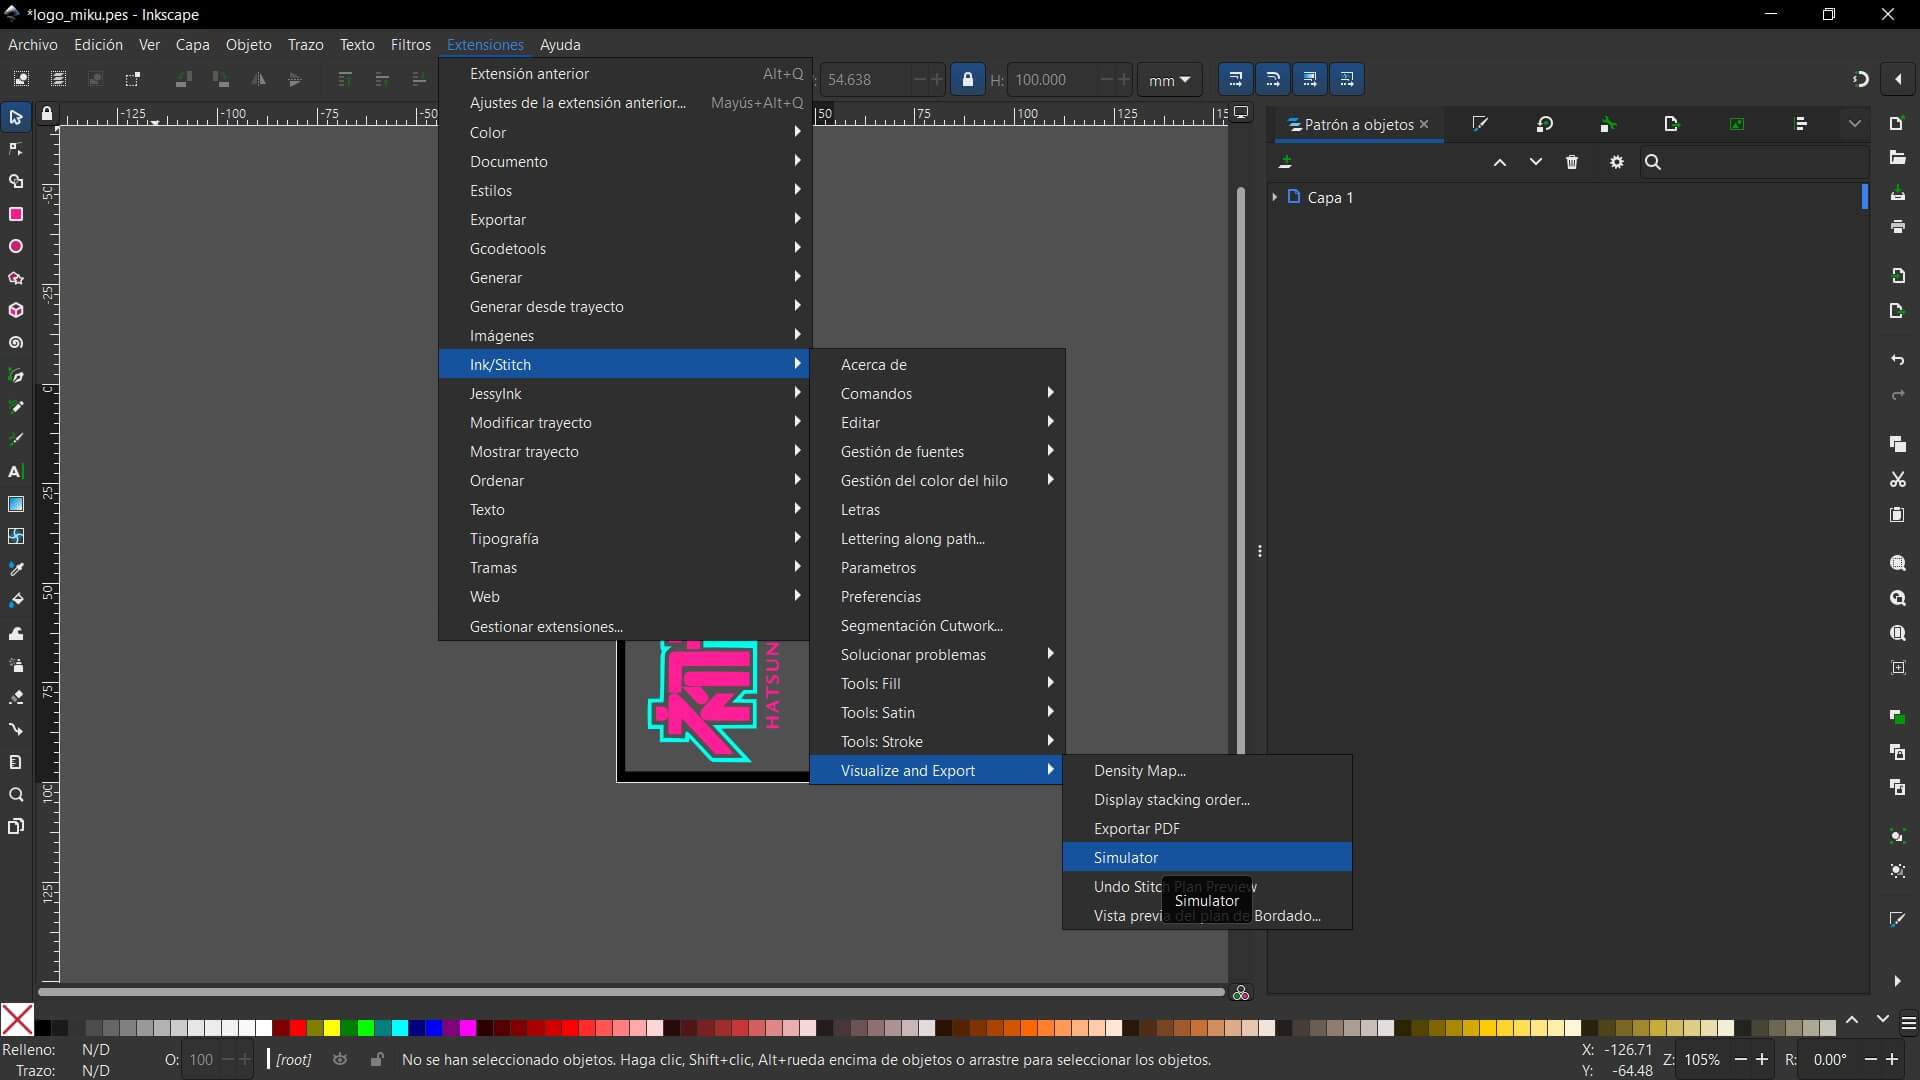
To further verify that the toolpath was correct, I opened Extensions → Ink/Stitch → Visualize and Export → Simulator. This tool animates the needle path in order of execution and highlights any potential stitching issues. However, I experienced repeated software crashes when using the simulator without saving beforehand, so I highly recommend saving your work frequently when performing simulations, especially on larger designs.
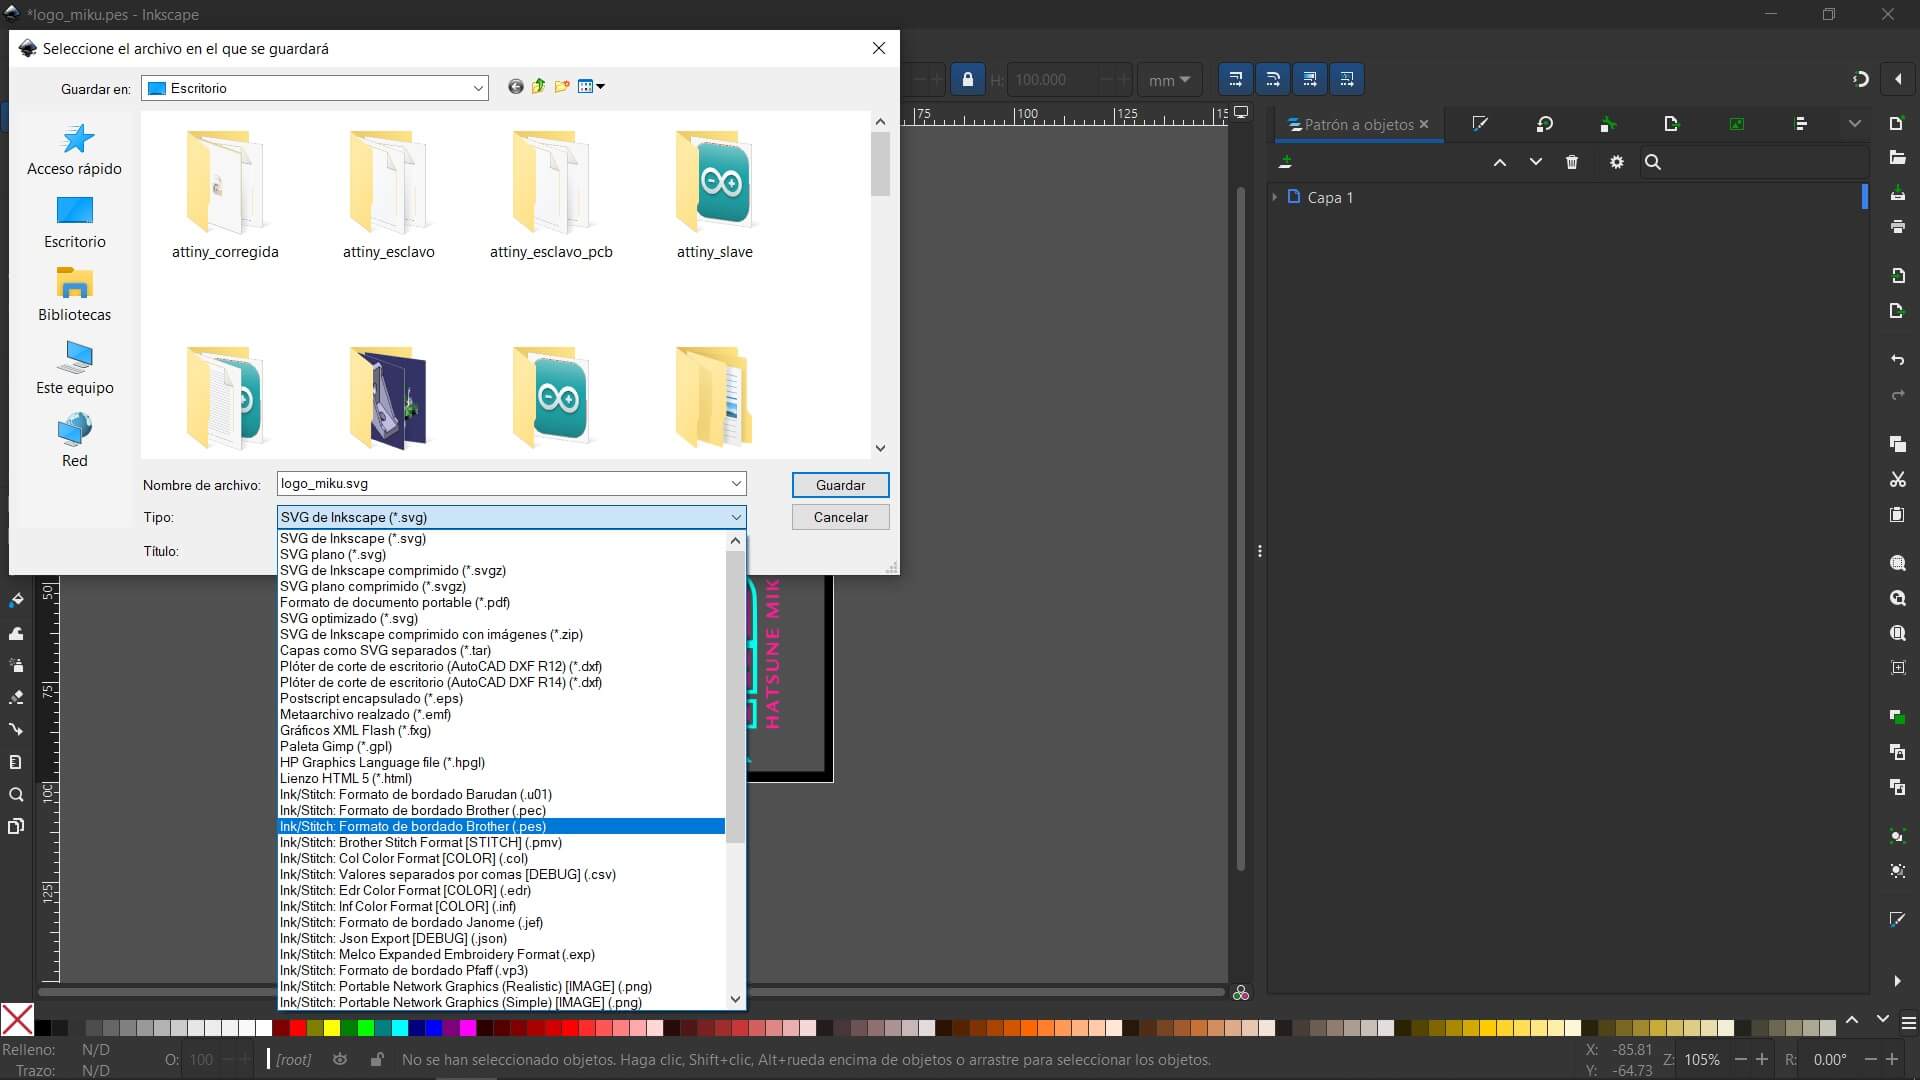
Once ready, we return to our canvas and save the file as a .PES file. This is the file that we will load into the machine. We then copy it onto a USB drive. With that, we are now ready to use the machine.
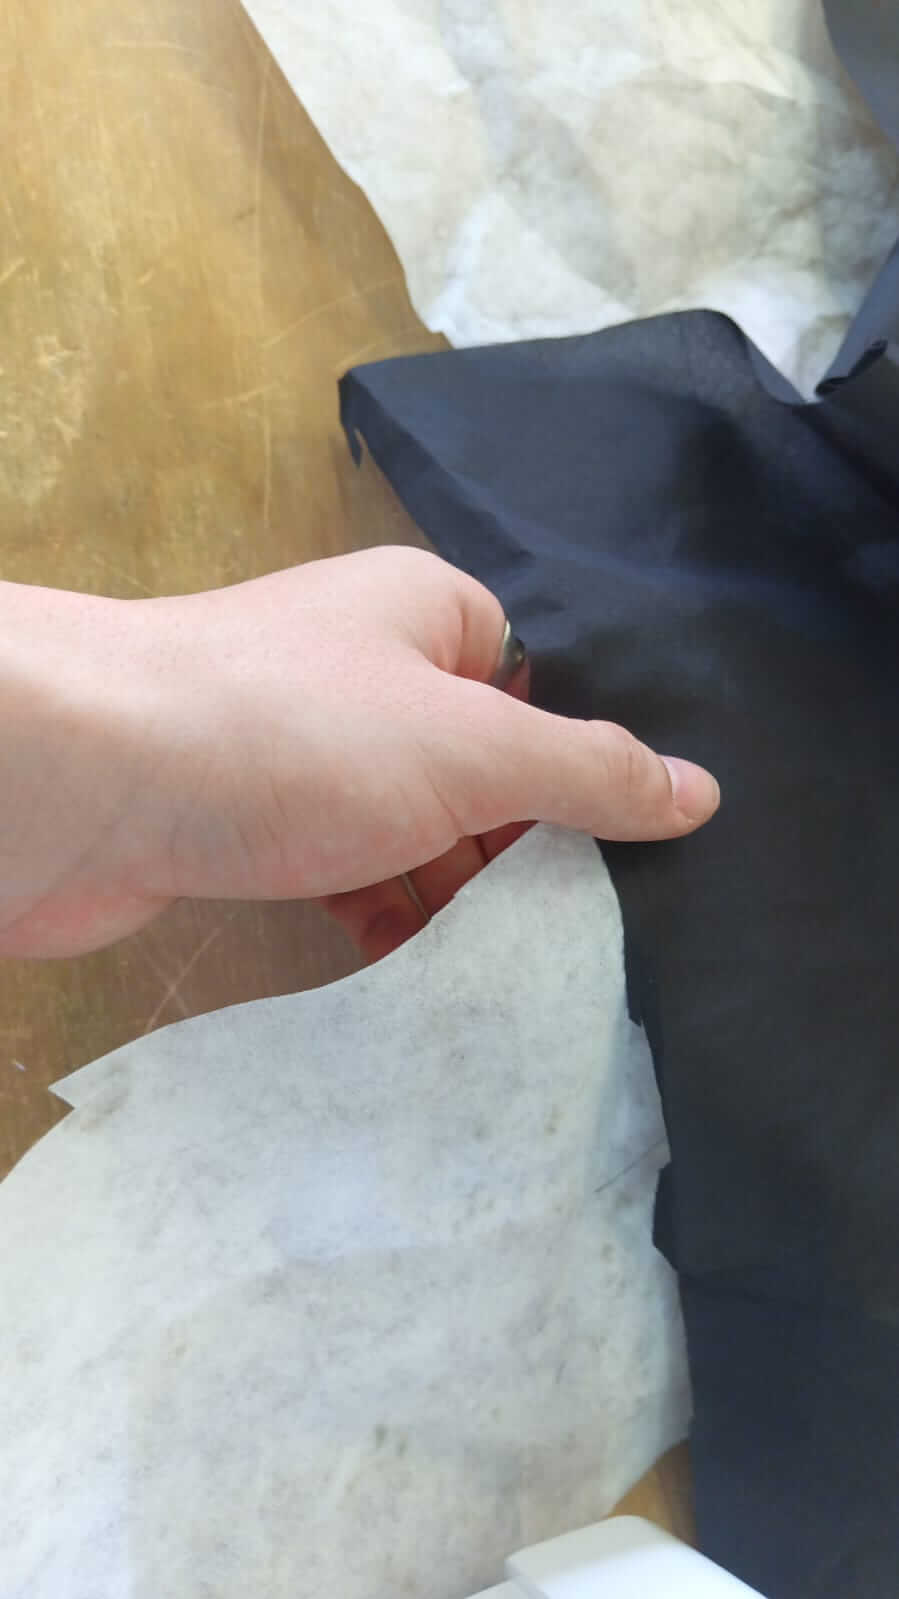
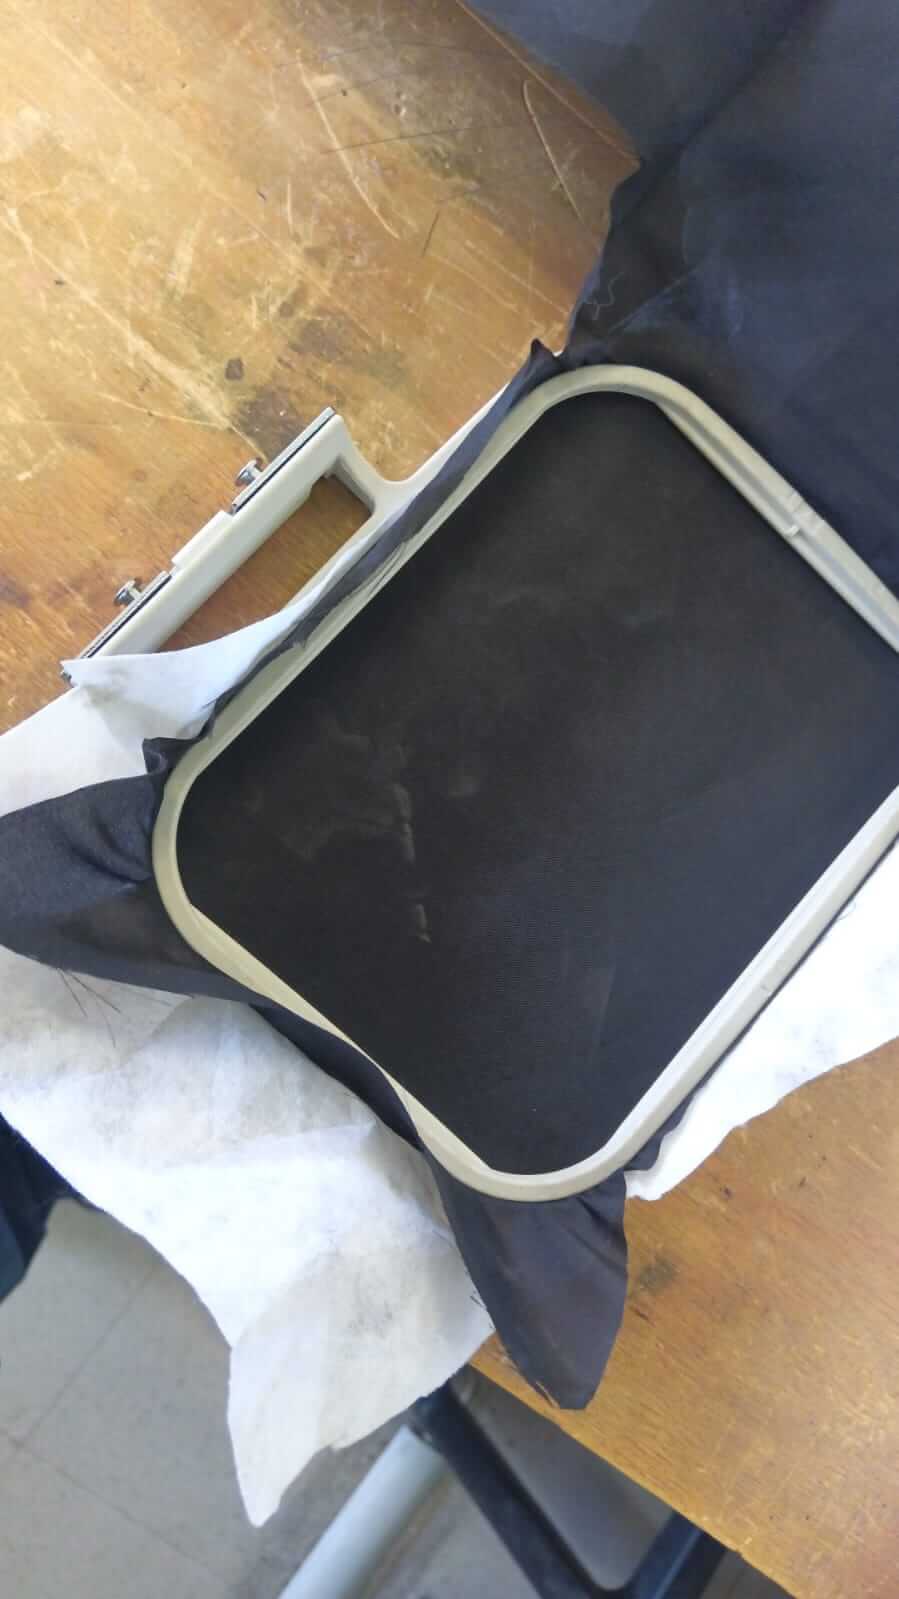
Now, before using the machine there are a few things to do: for our embroidery hoop, we need two parts — the front fabric and a backing fabric to prevent stretching and deformation of the design. In my case, I used black fabric on the front and interfacing on the back. These are both placed on the hoop and tightened, then mounted onto the CNC support that will move based on the G-code.
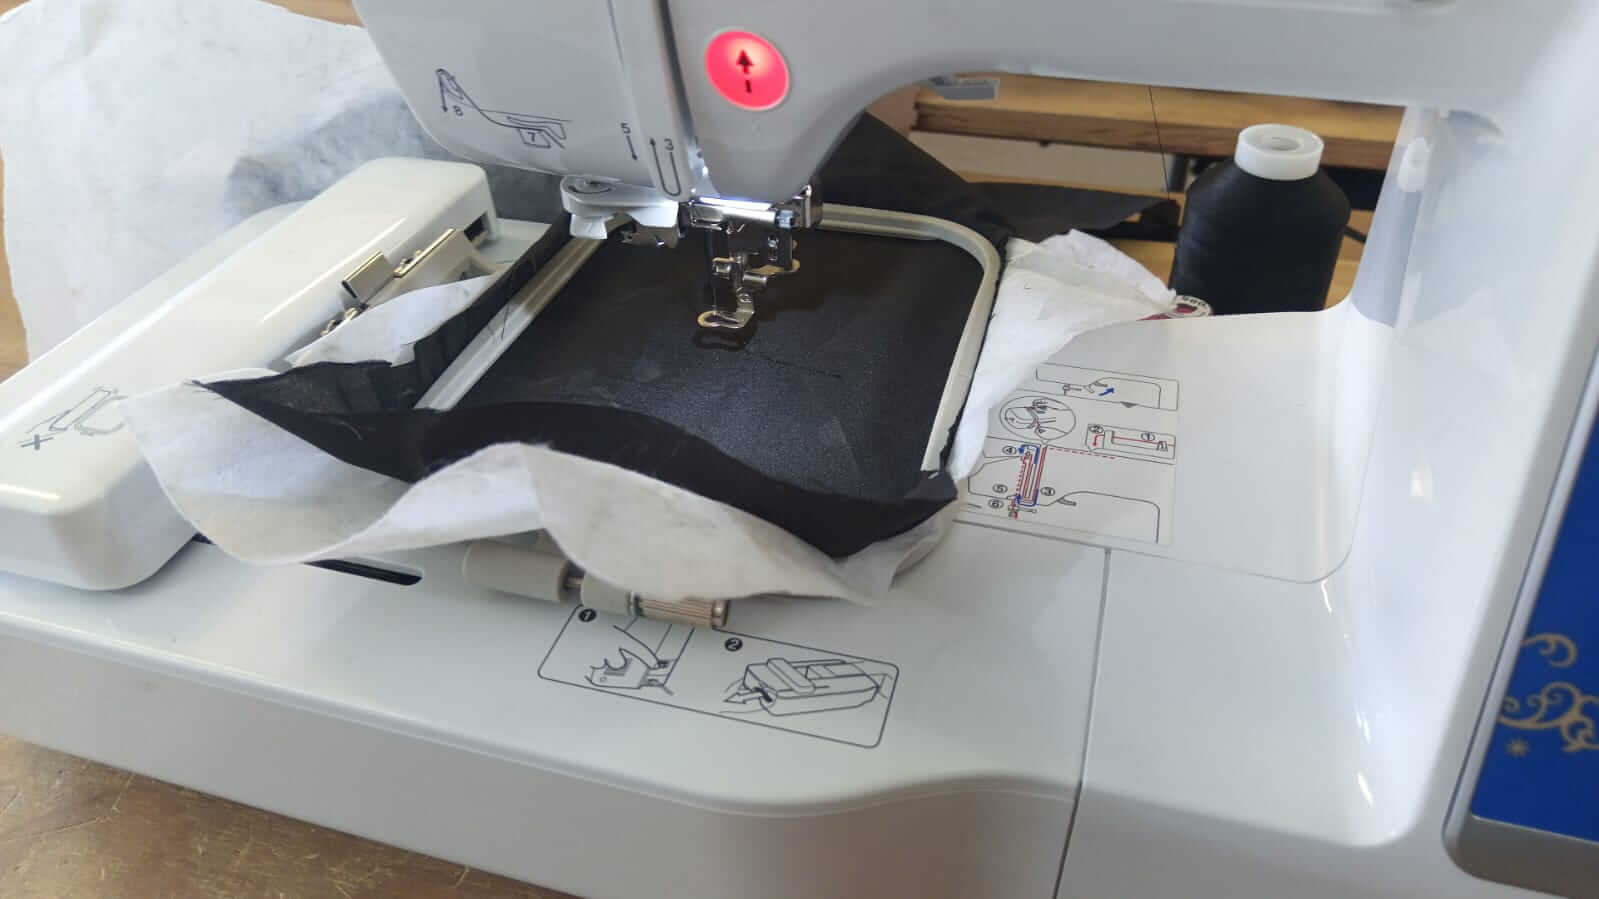
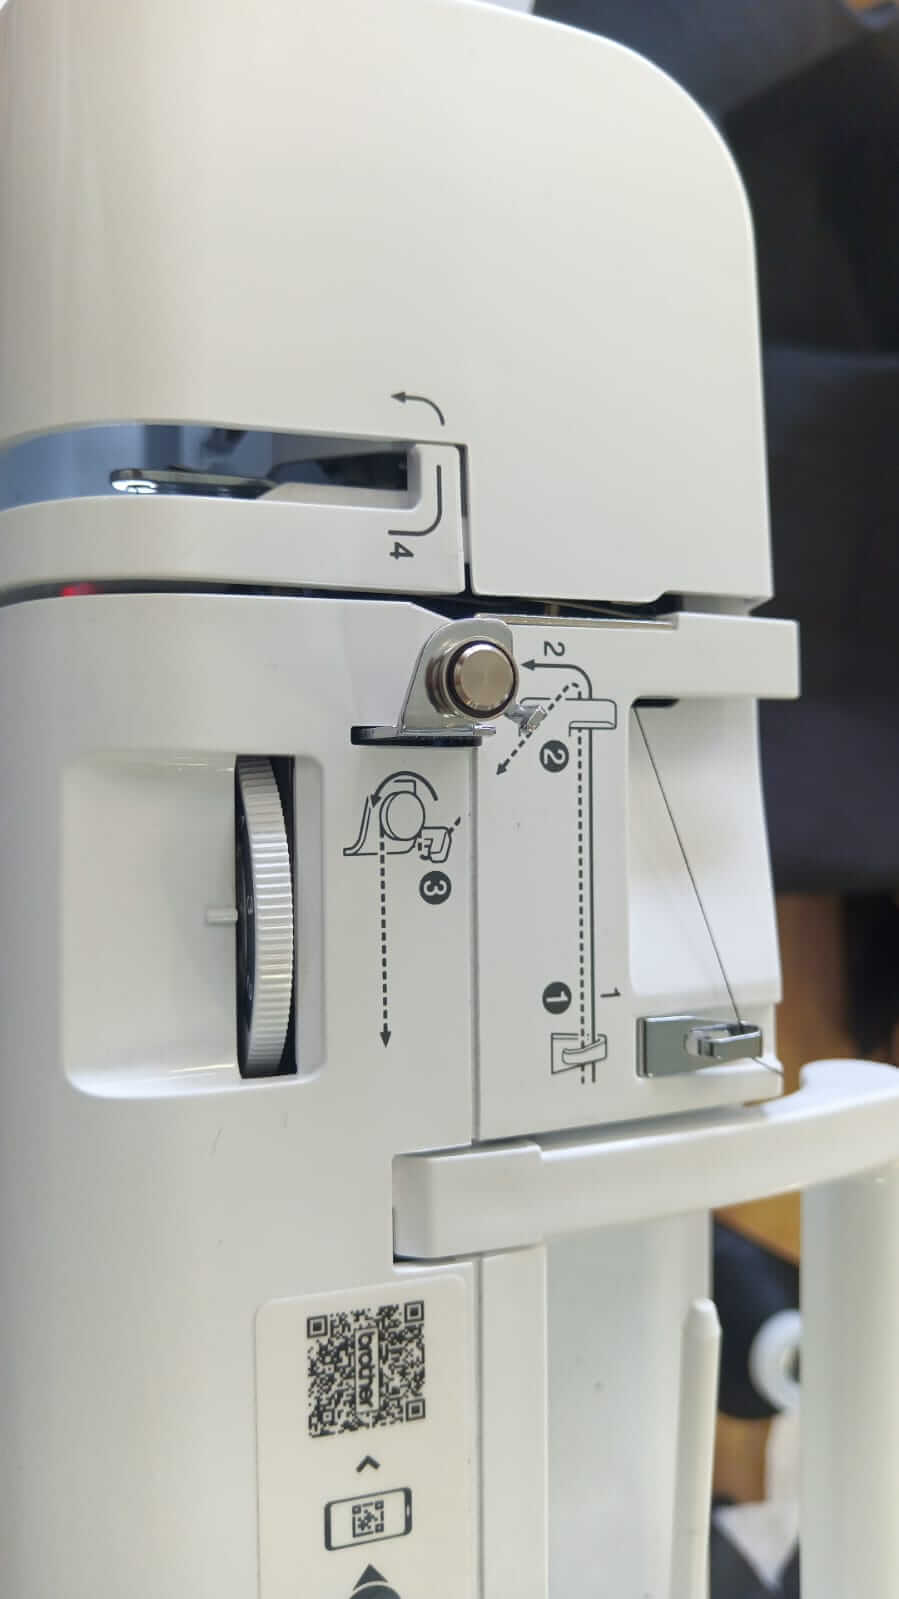
Before starting to sew, we need to thread a bobbin that sits under the sewing area. The bobbin is wound by following the instructions printed on the machine. To start winding, press the button with an upward arrow when it turns orange. The machine will start winding and stop automatically when the bobbin is full.
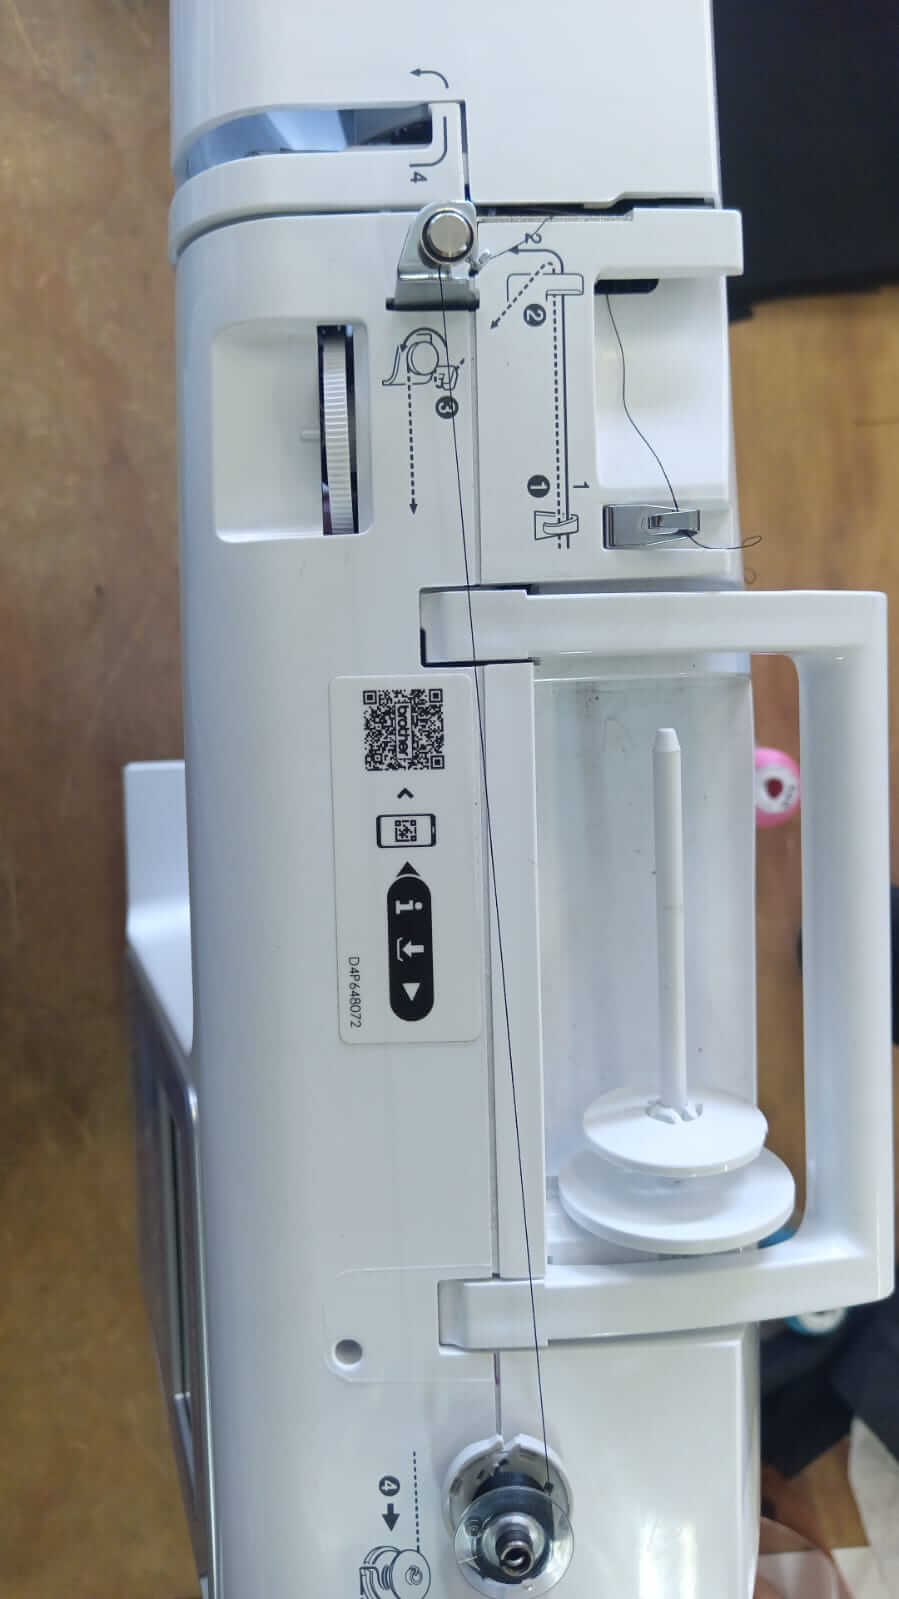

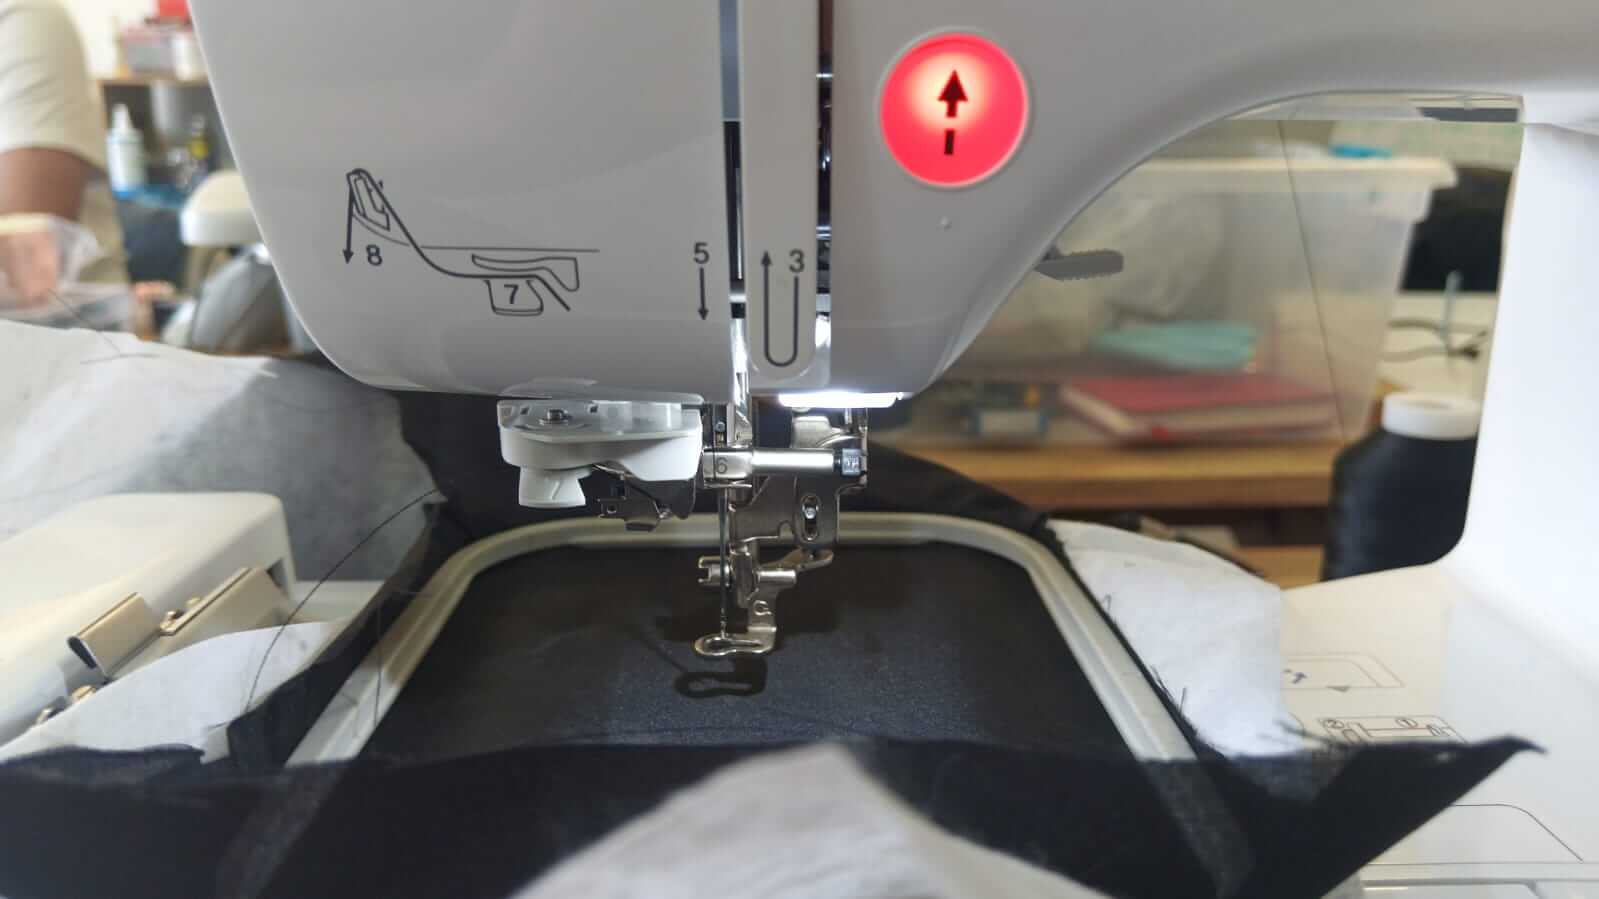
To thread the top thread with the color we need, follow the printed steps on the machine from 1 to 9. The final step is to pull a lever on the left side of the machine to pass the thread through the needle.
To select our file, insert the USB on the right side of the machine and follow the steps shown in the video. (In my case, I didn't have to move anything since my design filled the maximum available workspace.)
}During the process, thread changes are automatic. You don't have to stop the machine — it stops itself when it detects a color change. All threads are changed the same way as initially installed.
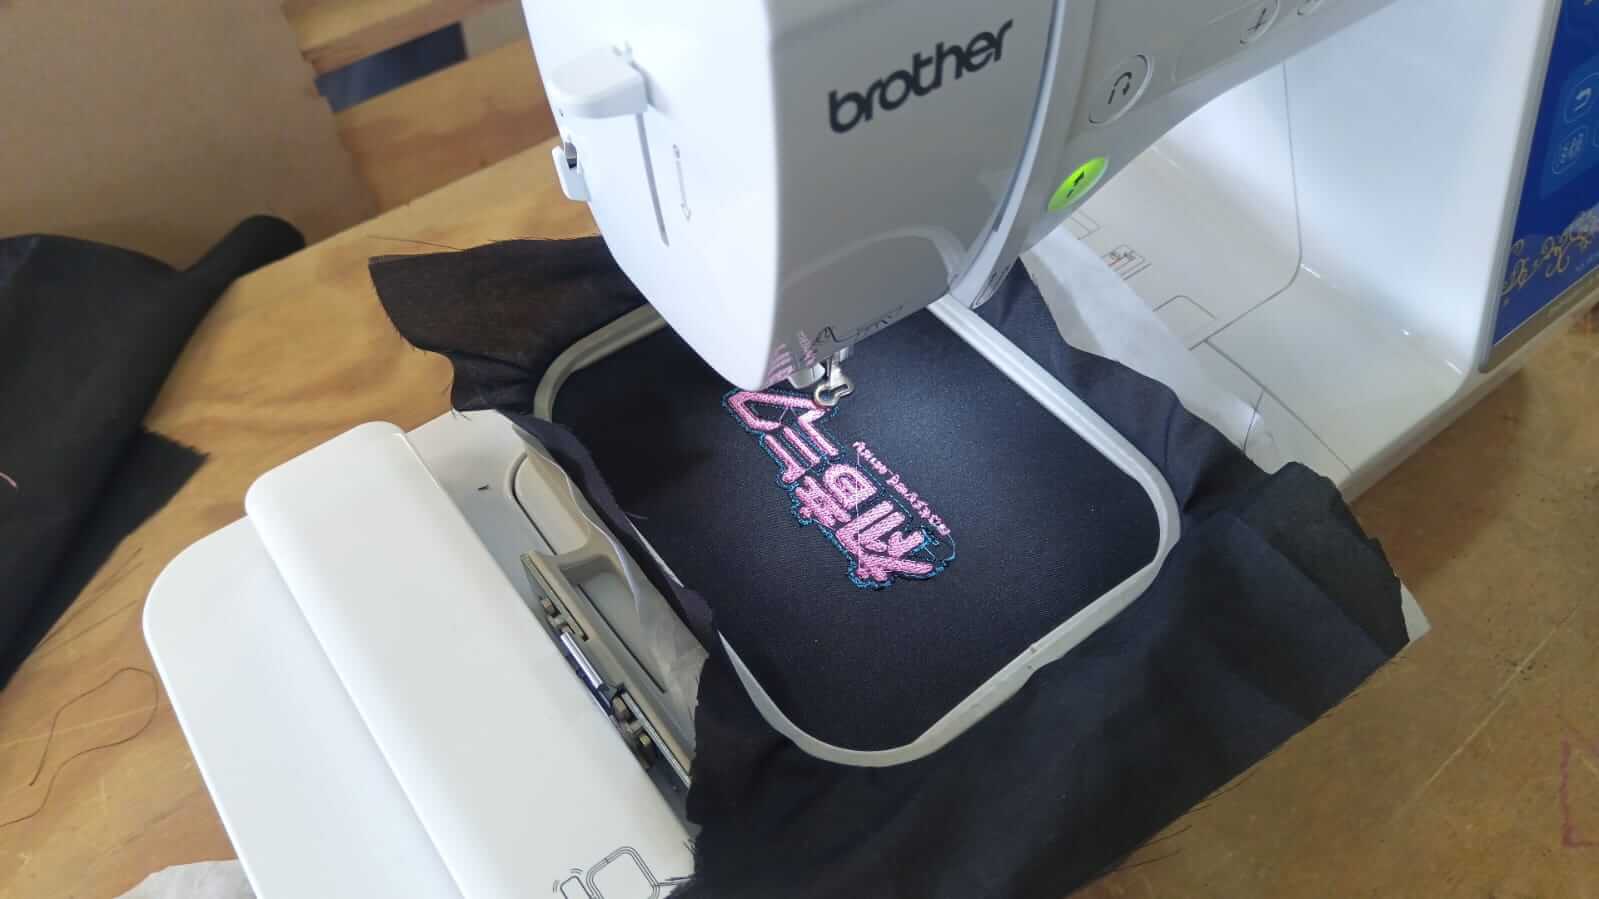
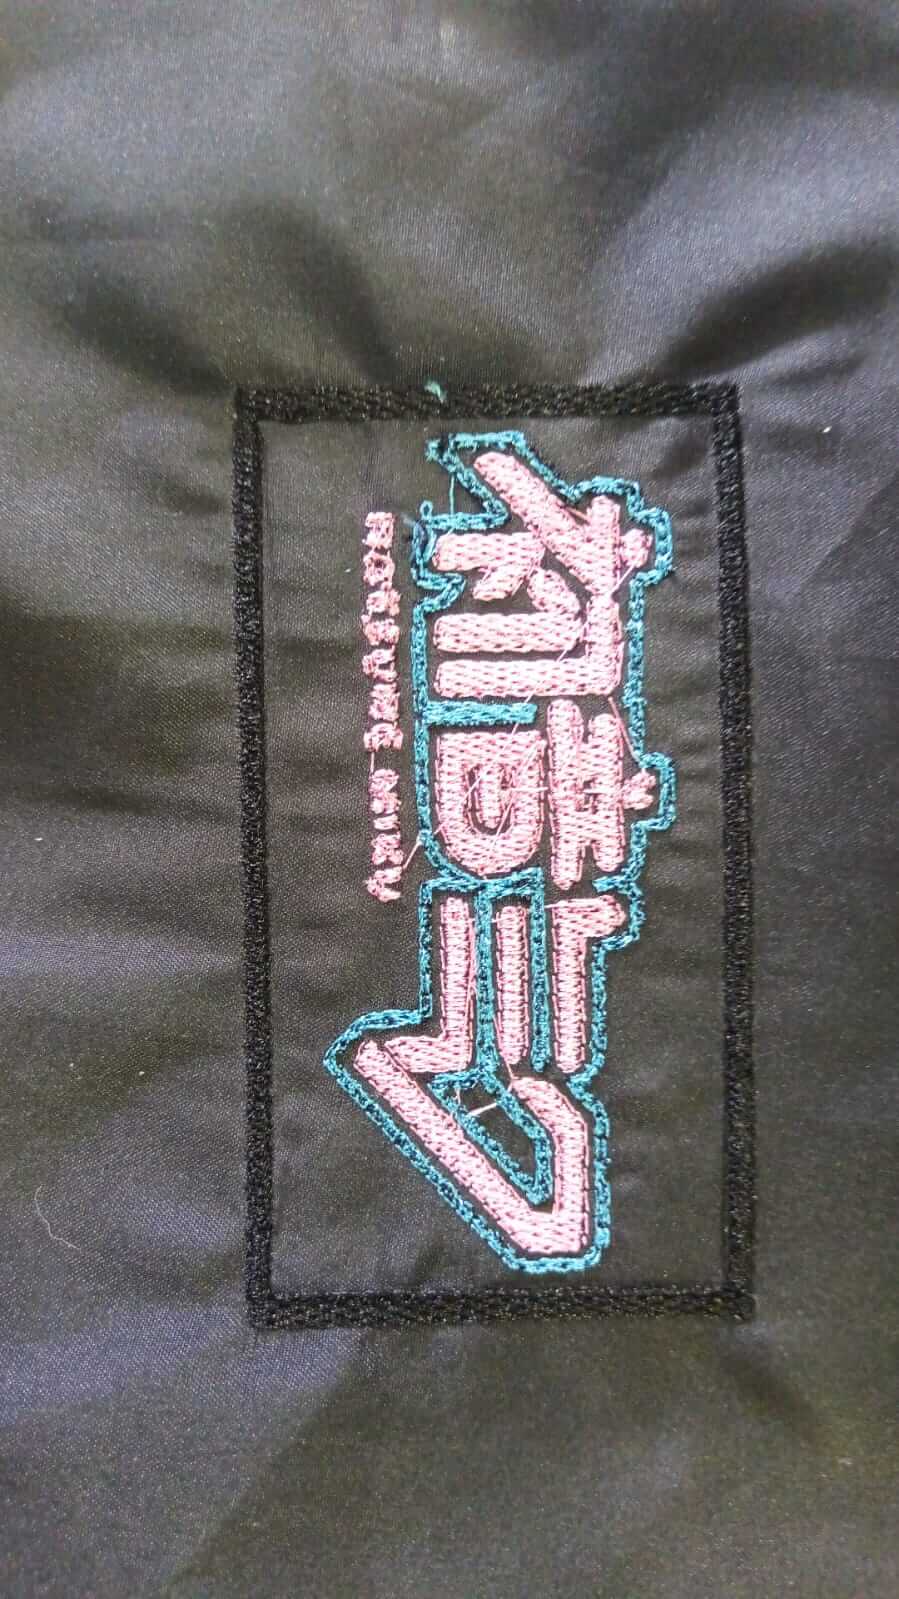
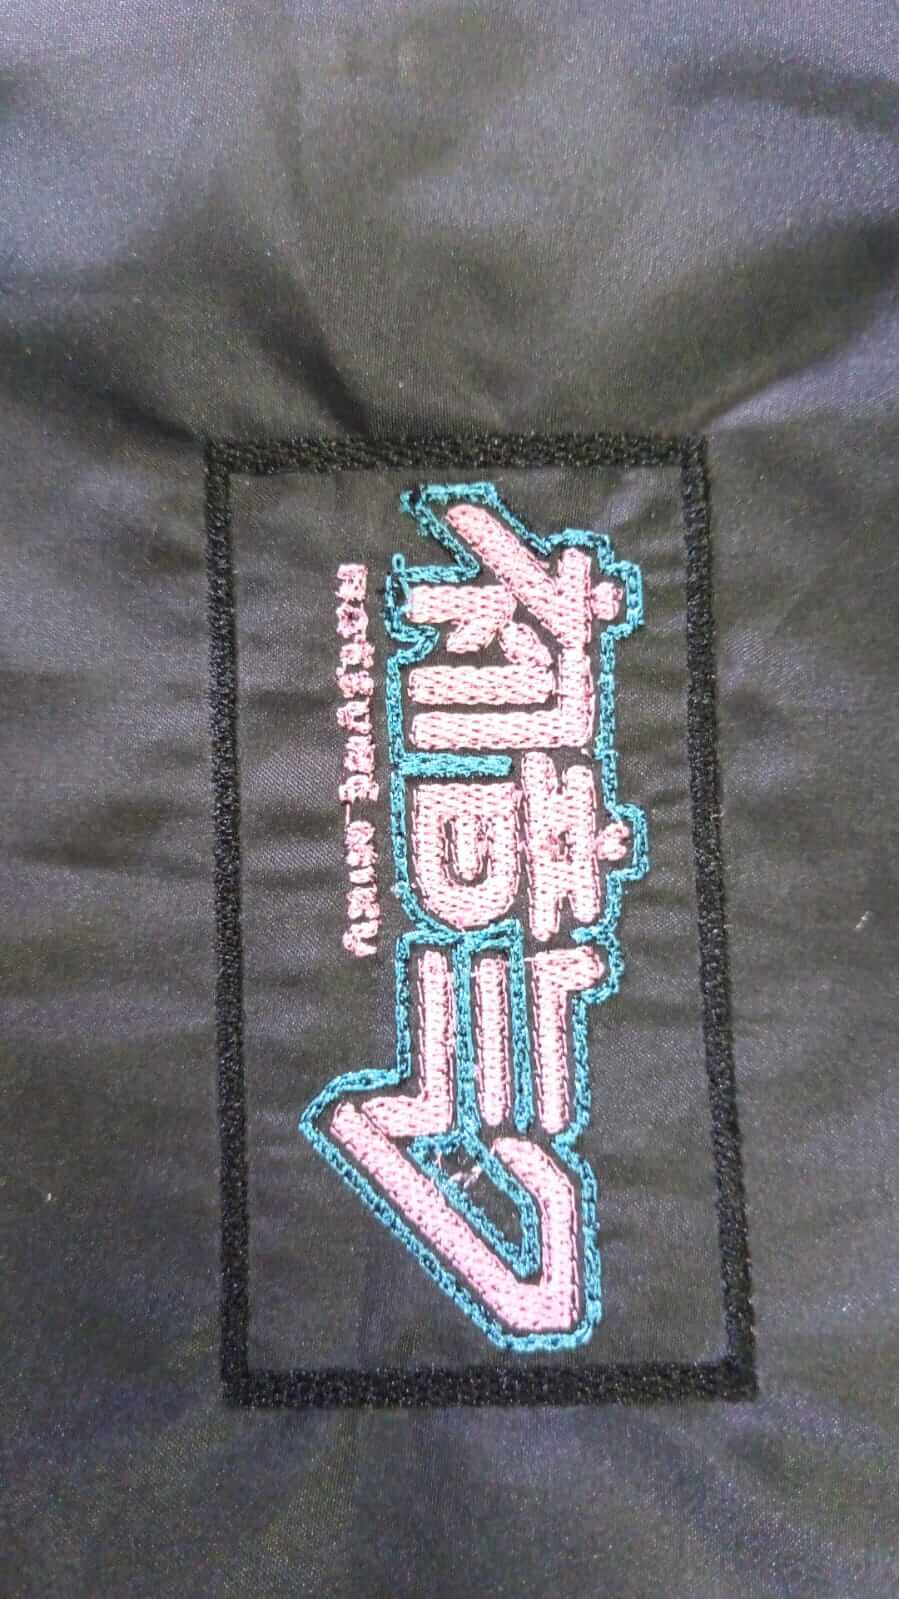
Once the process is finished, there are overlapping threads that need to be trimmed. In my case, I also cut out the patch. This is how the process looks and the final result:
This week I had no issues at all. In fact, I completed everything in about 30 minutes since I had already used the machine before, as I mentioned at the beginning of the week.