Week 01 Project management
Learning to document and communicate with gitlab
Configuring Git Bash
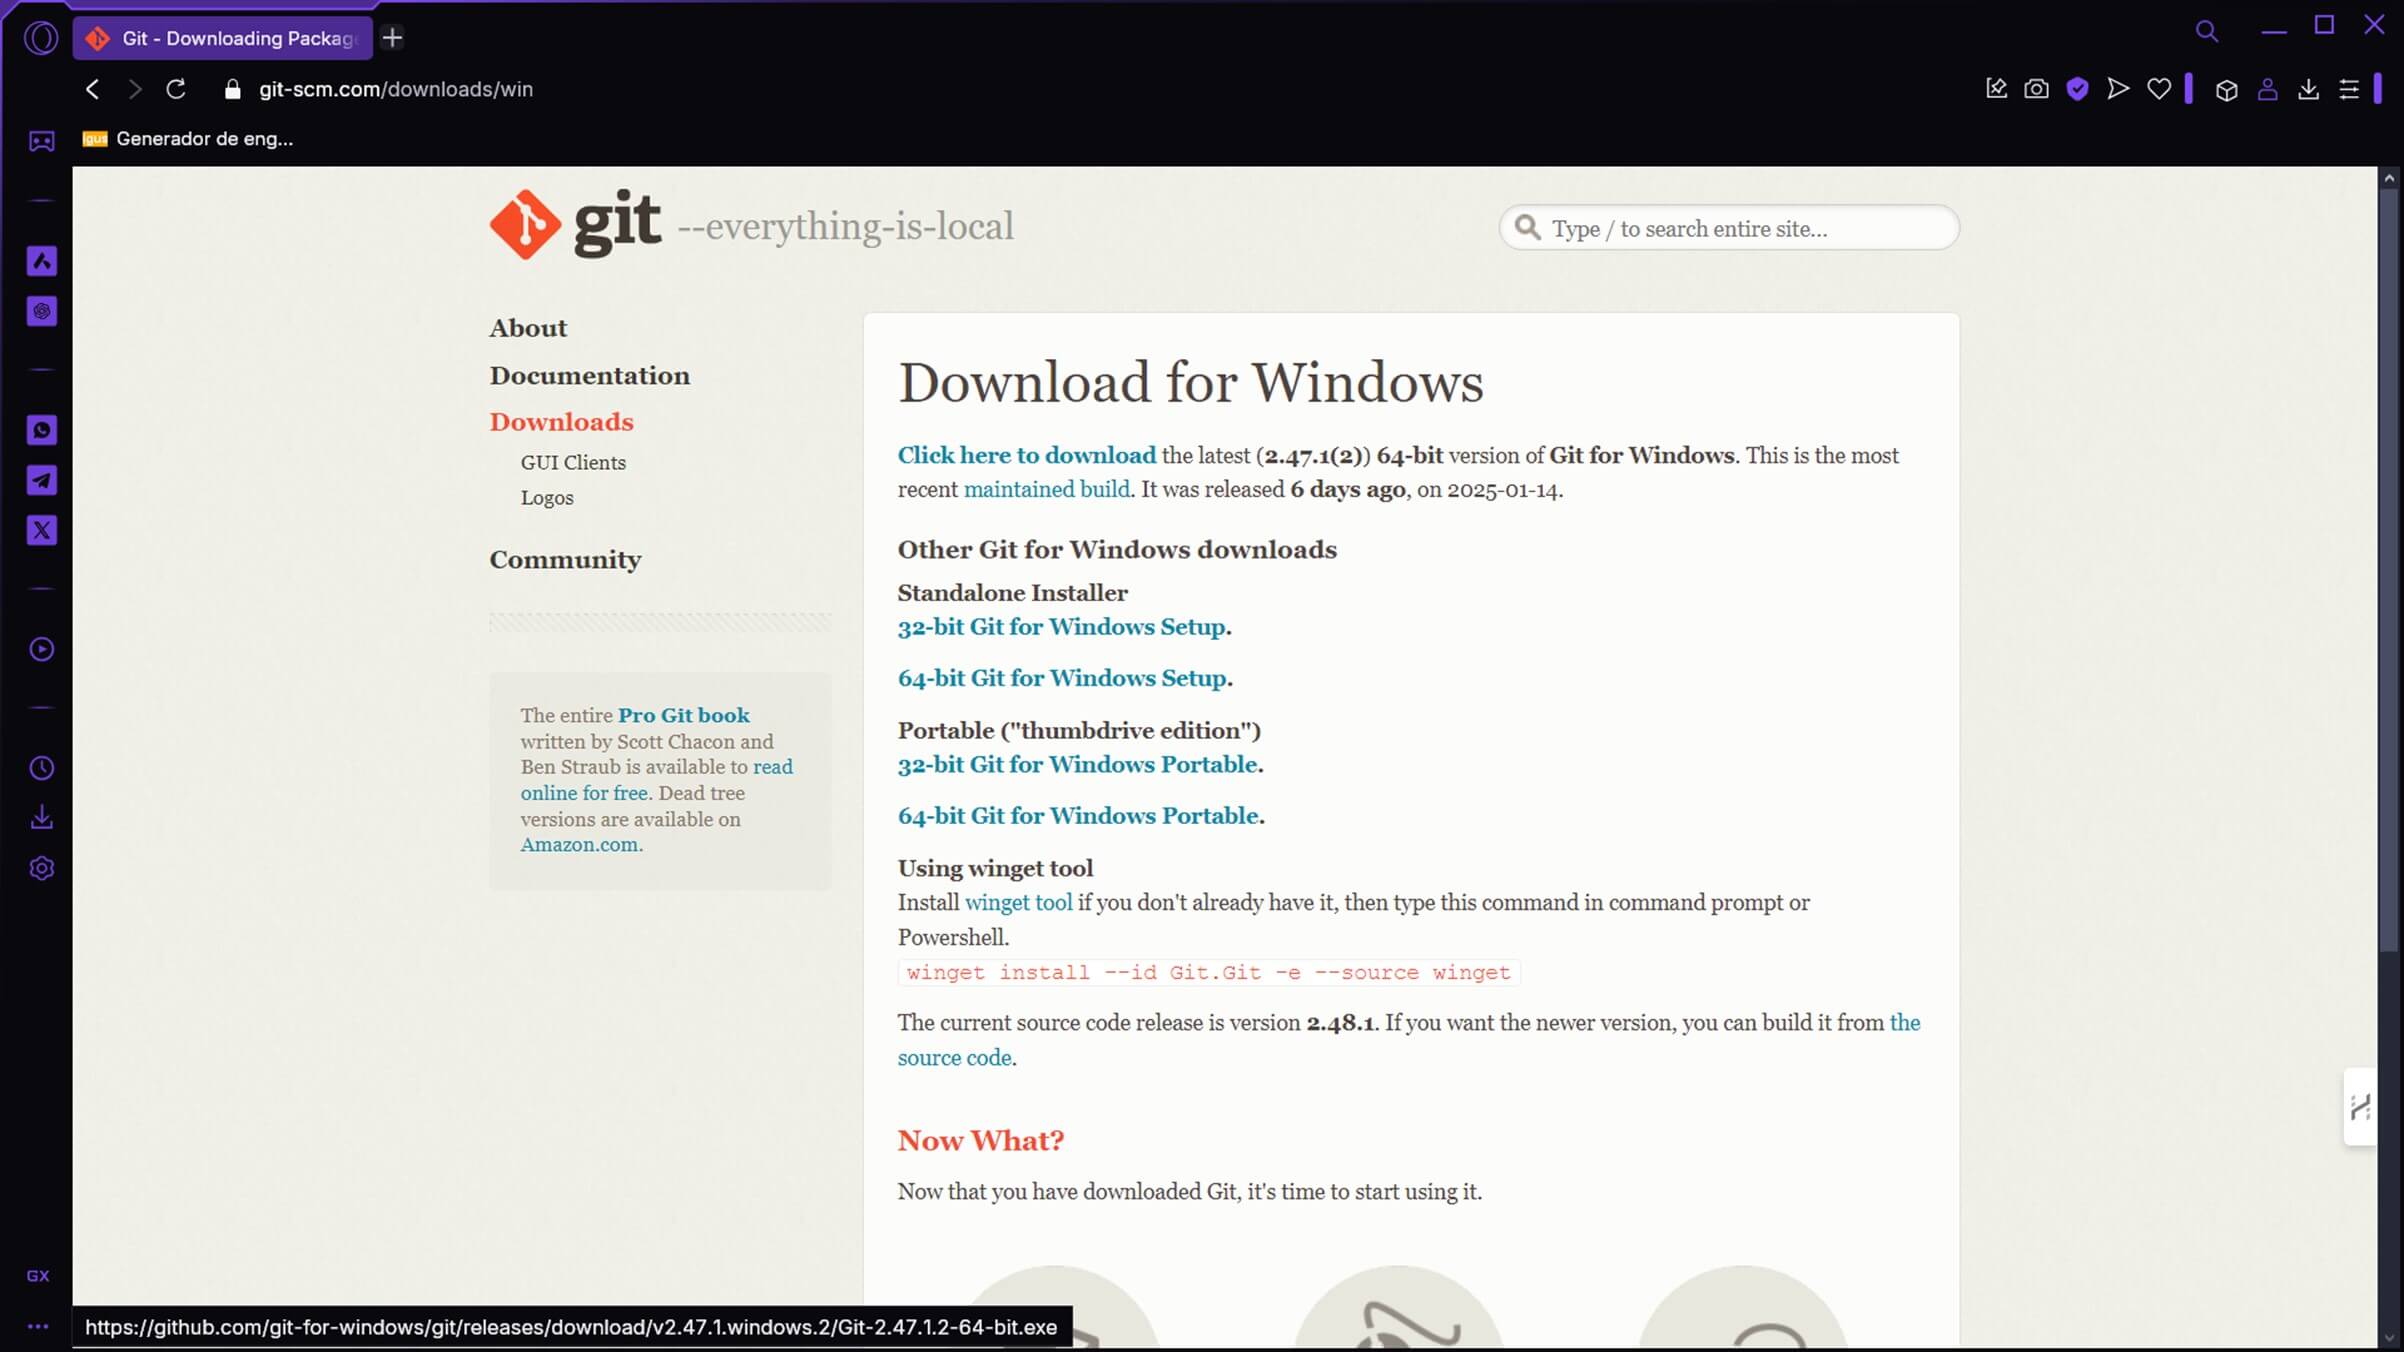
First, git was downloaded from its website for later installation. In my case for 64-bit Windows
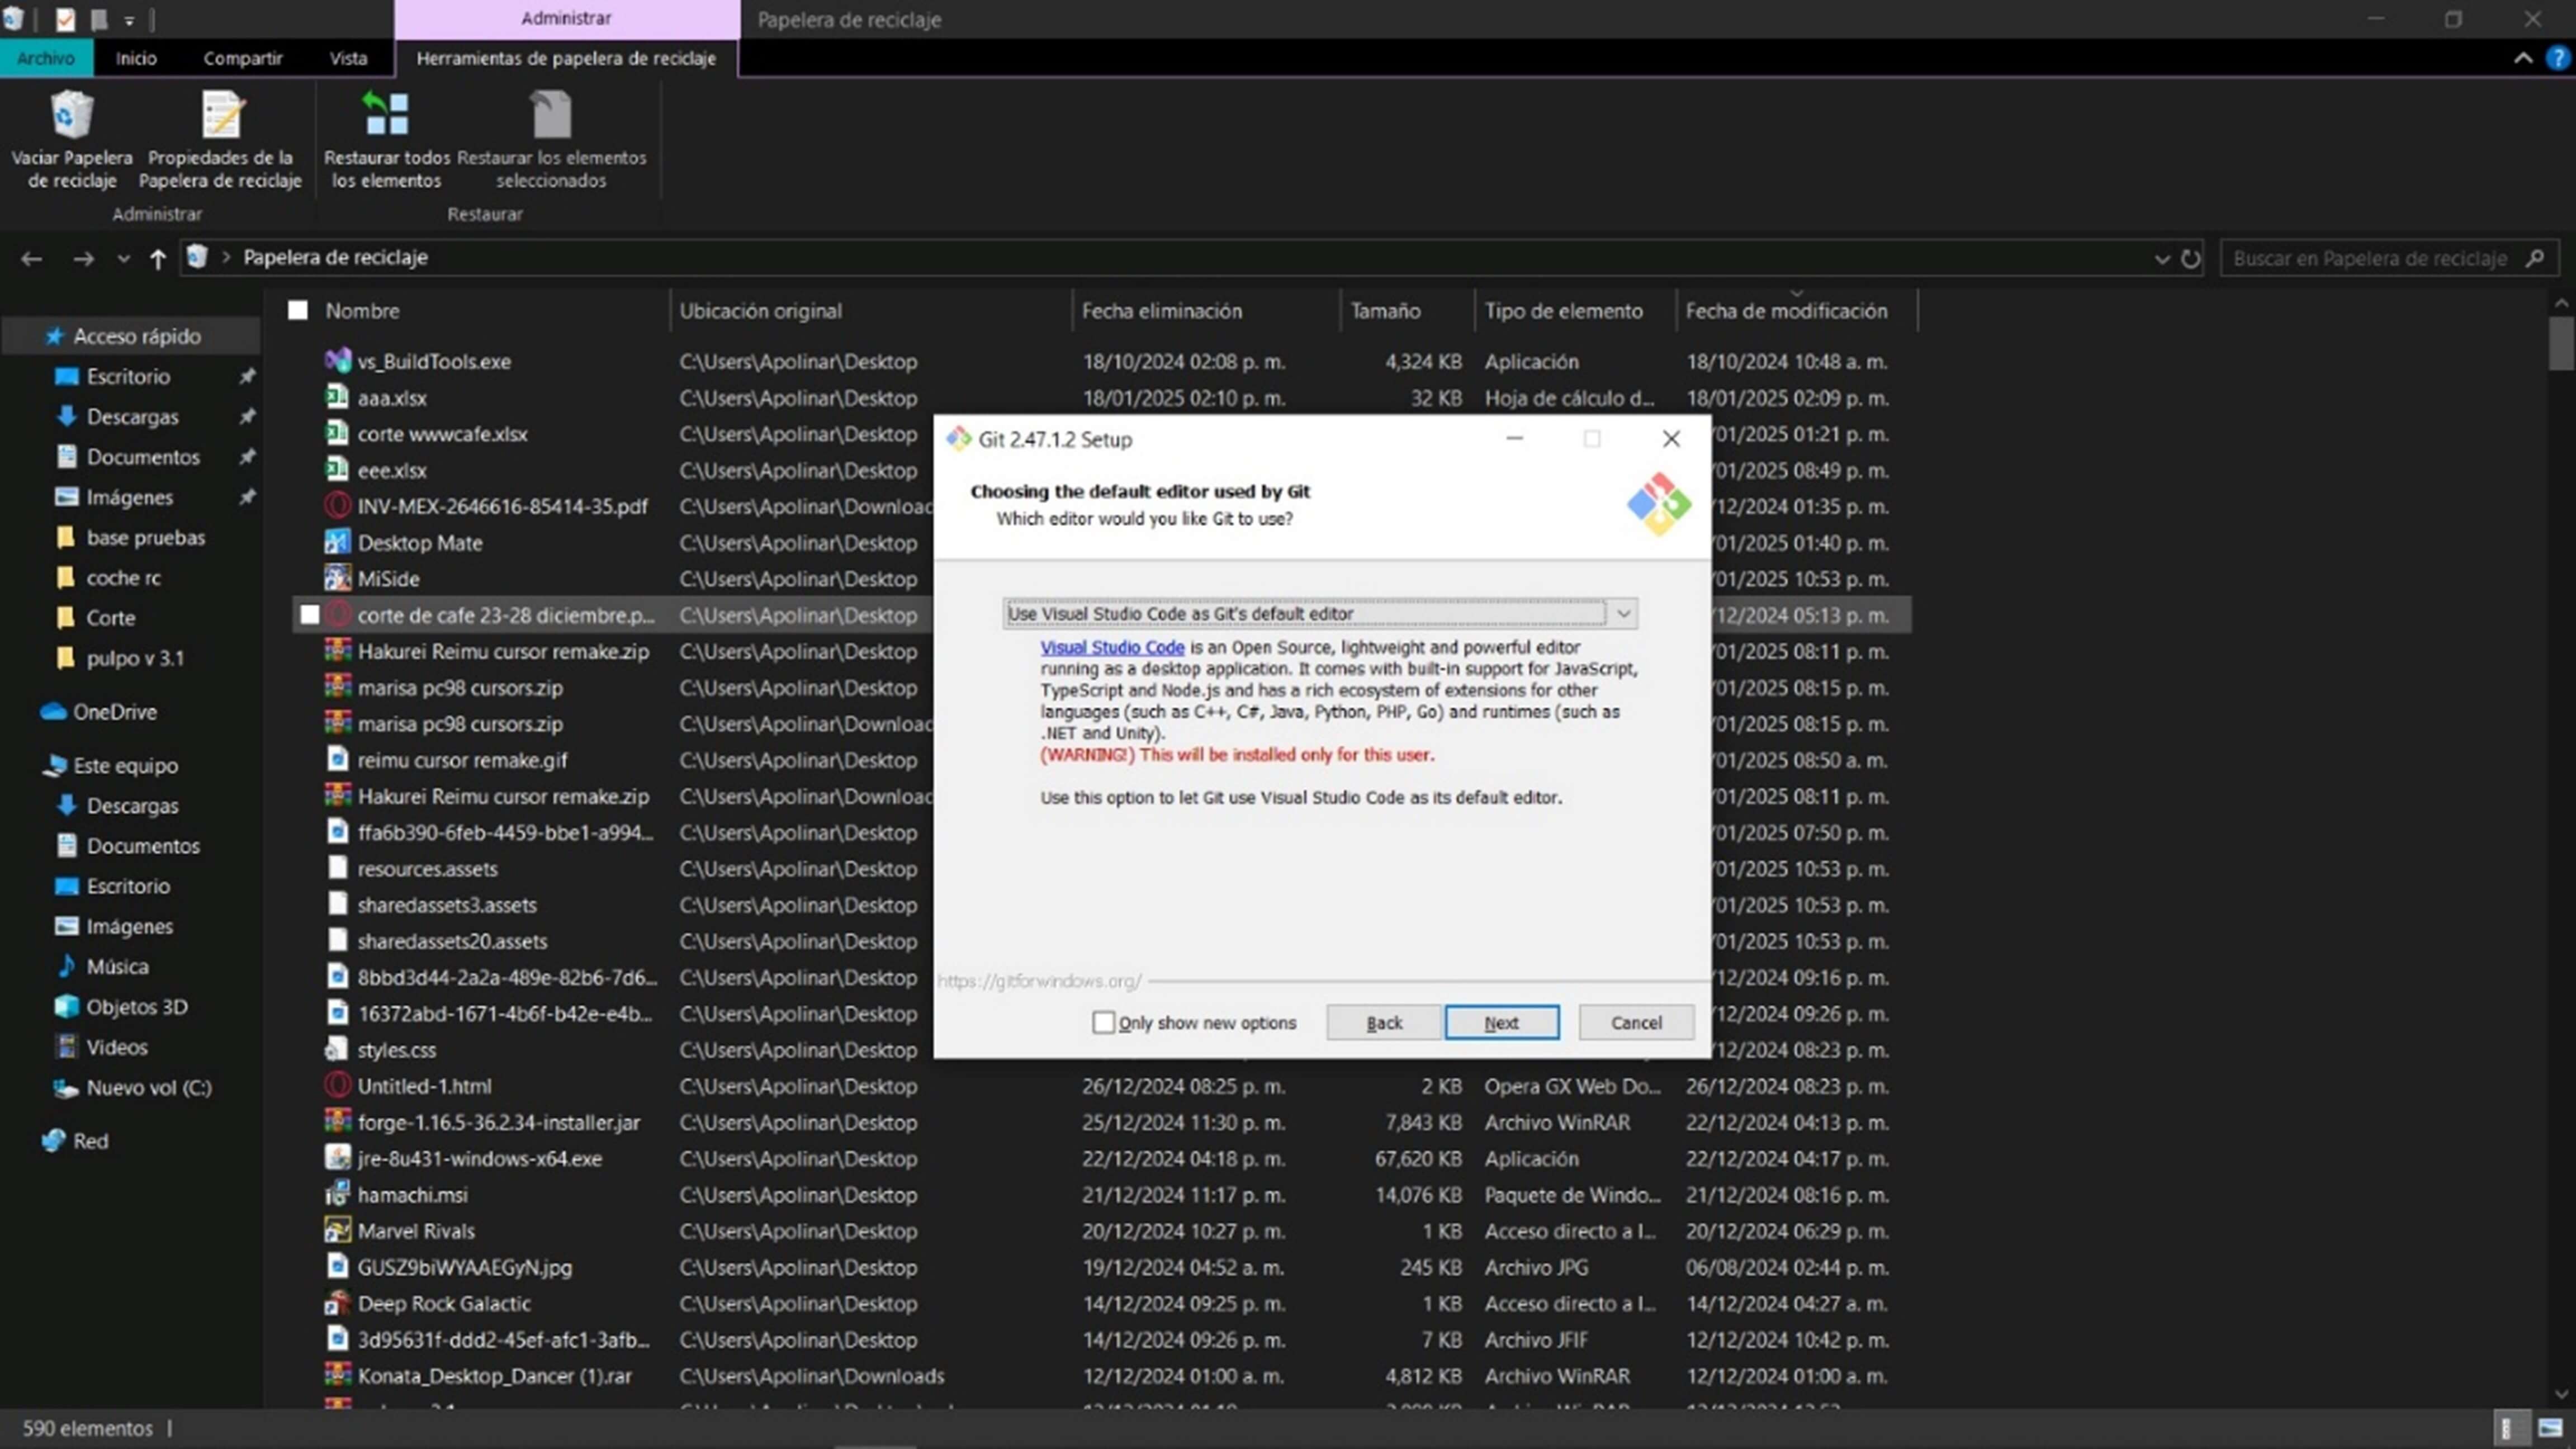
This option was changed to "Use visual studio code as Git's default editor", this because of the freedom that this program gives us to edit code
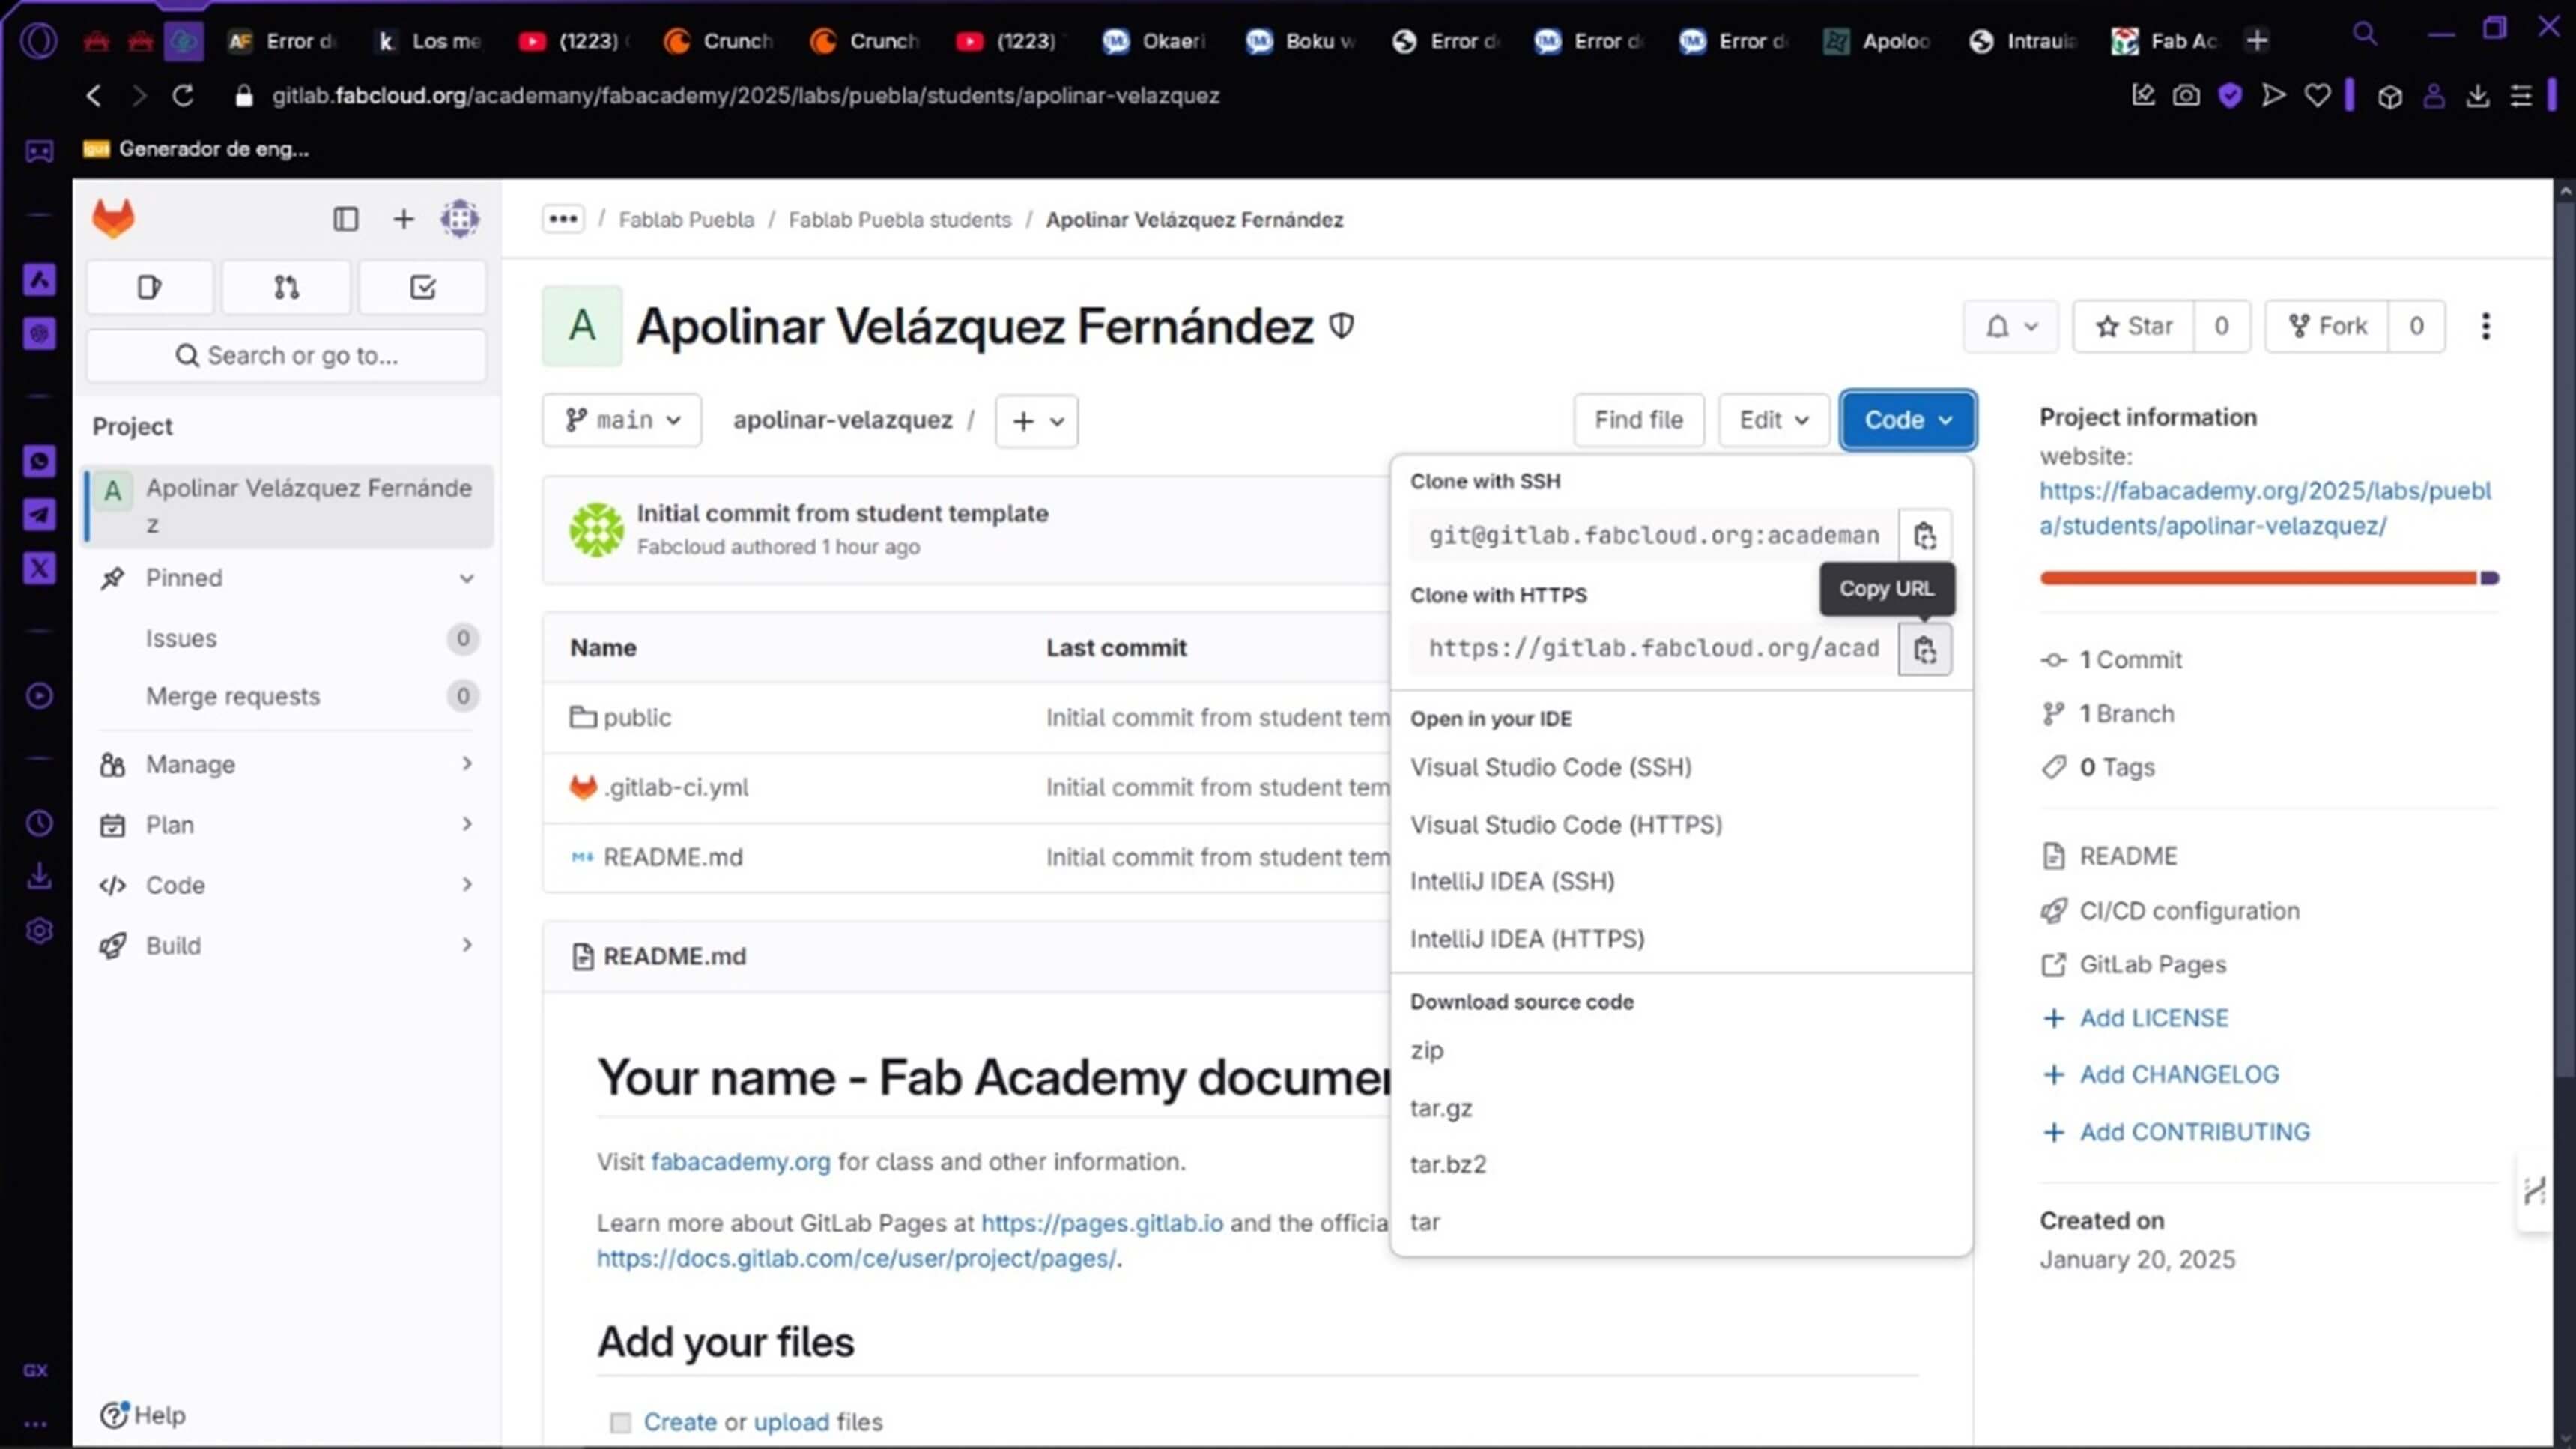
Now, to be able to edit our repositories from our device, we cloned the complete GitLab repository by copying the repository's reference link by HTML
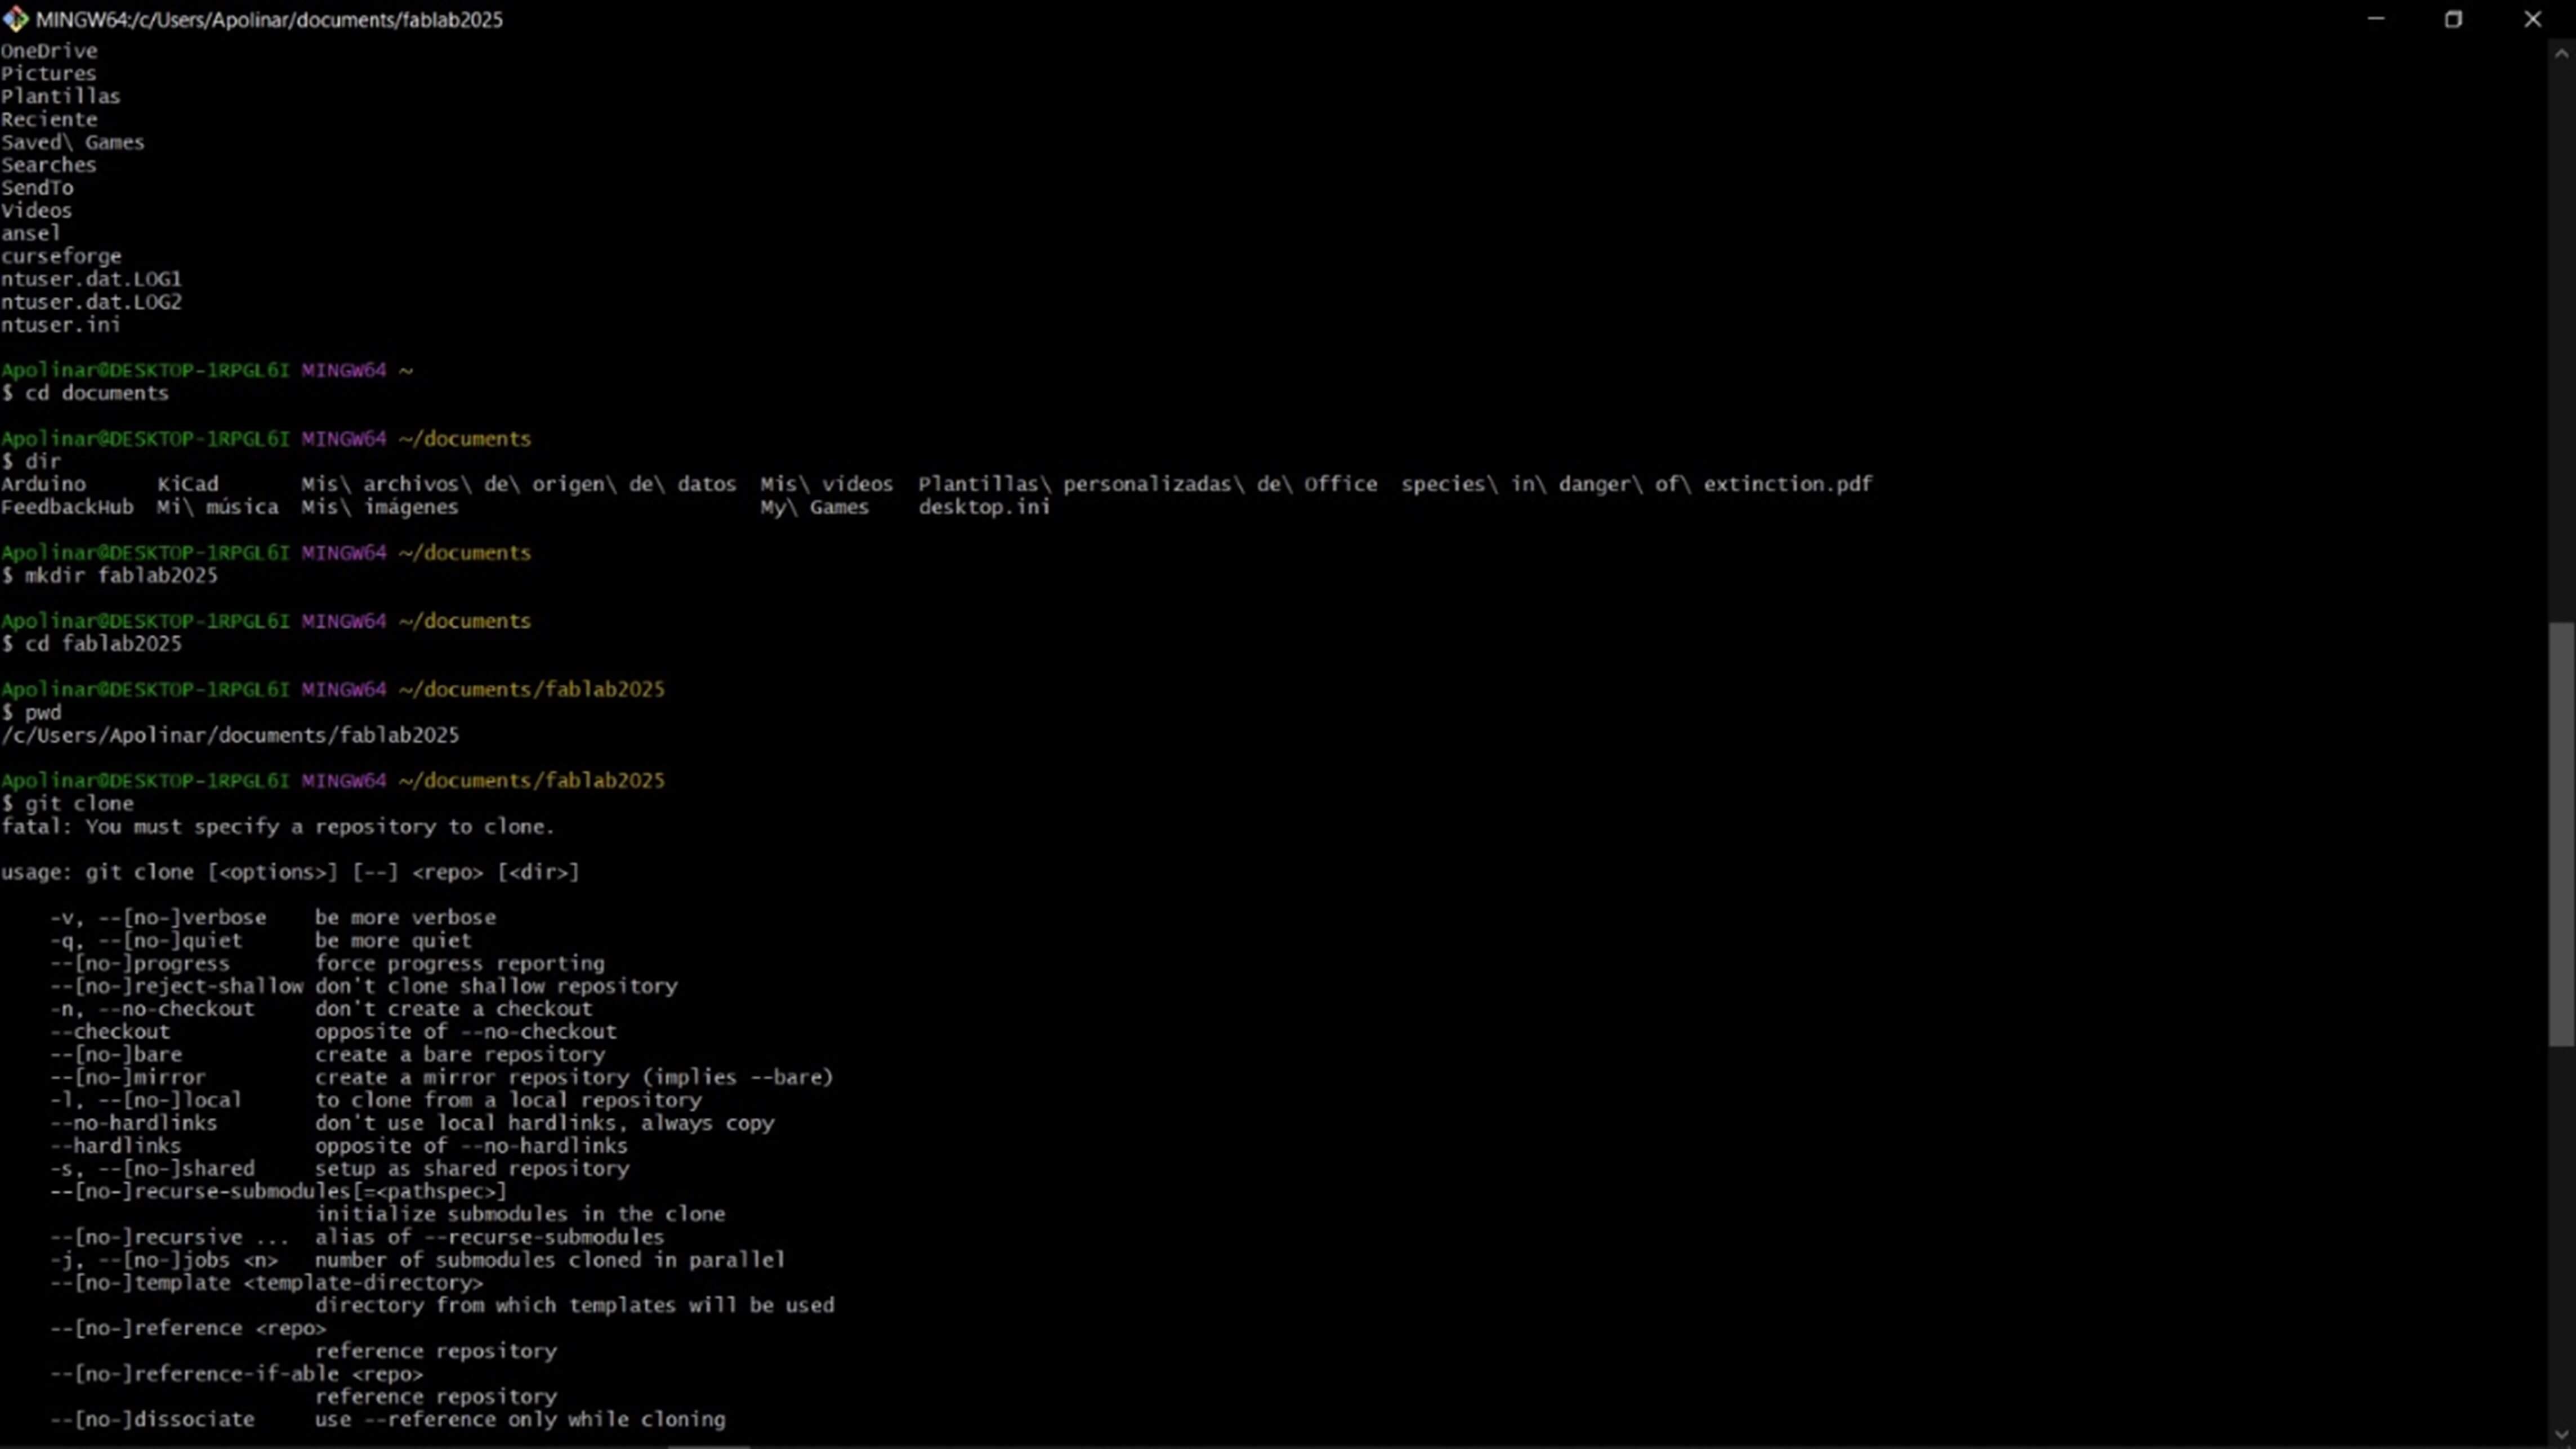
Here I first located myself among my folders with "pwd", then little by little I went to my folder "documents" with "cd", and then I made a new directory called "fablab2025" with "mkdir", inside this I used the command "git clone 'link'" with the link that I previously copied from my gitlab online repository, to be able to clone it whole in the folder that I previously created, but as you can see in the image, i can't clone my repo, afterwards I just add the link that was mentioned and all my repo was successfully cloned
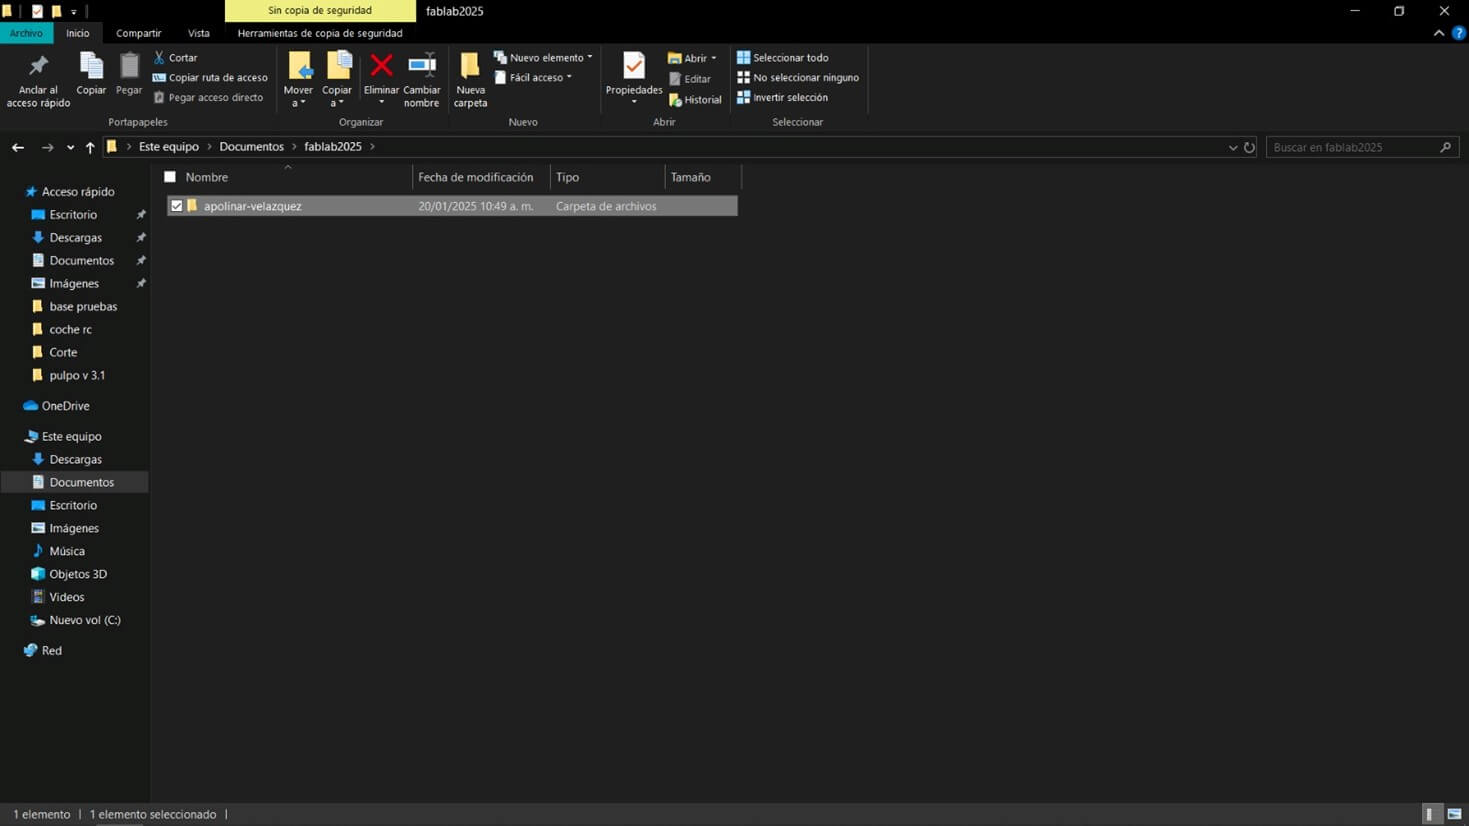
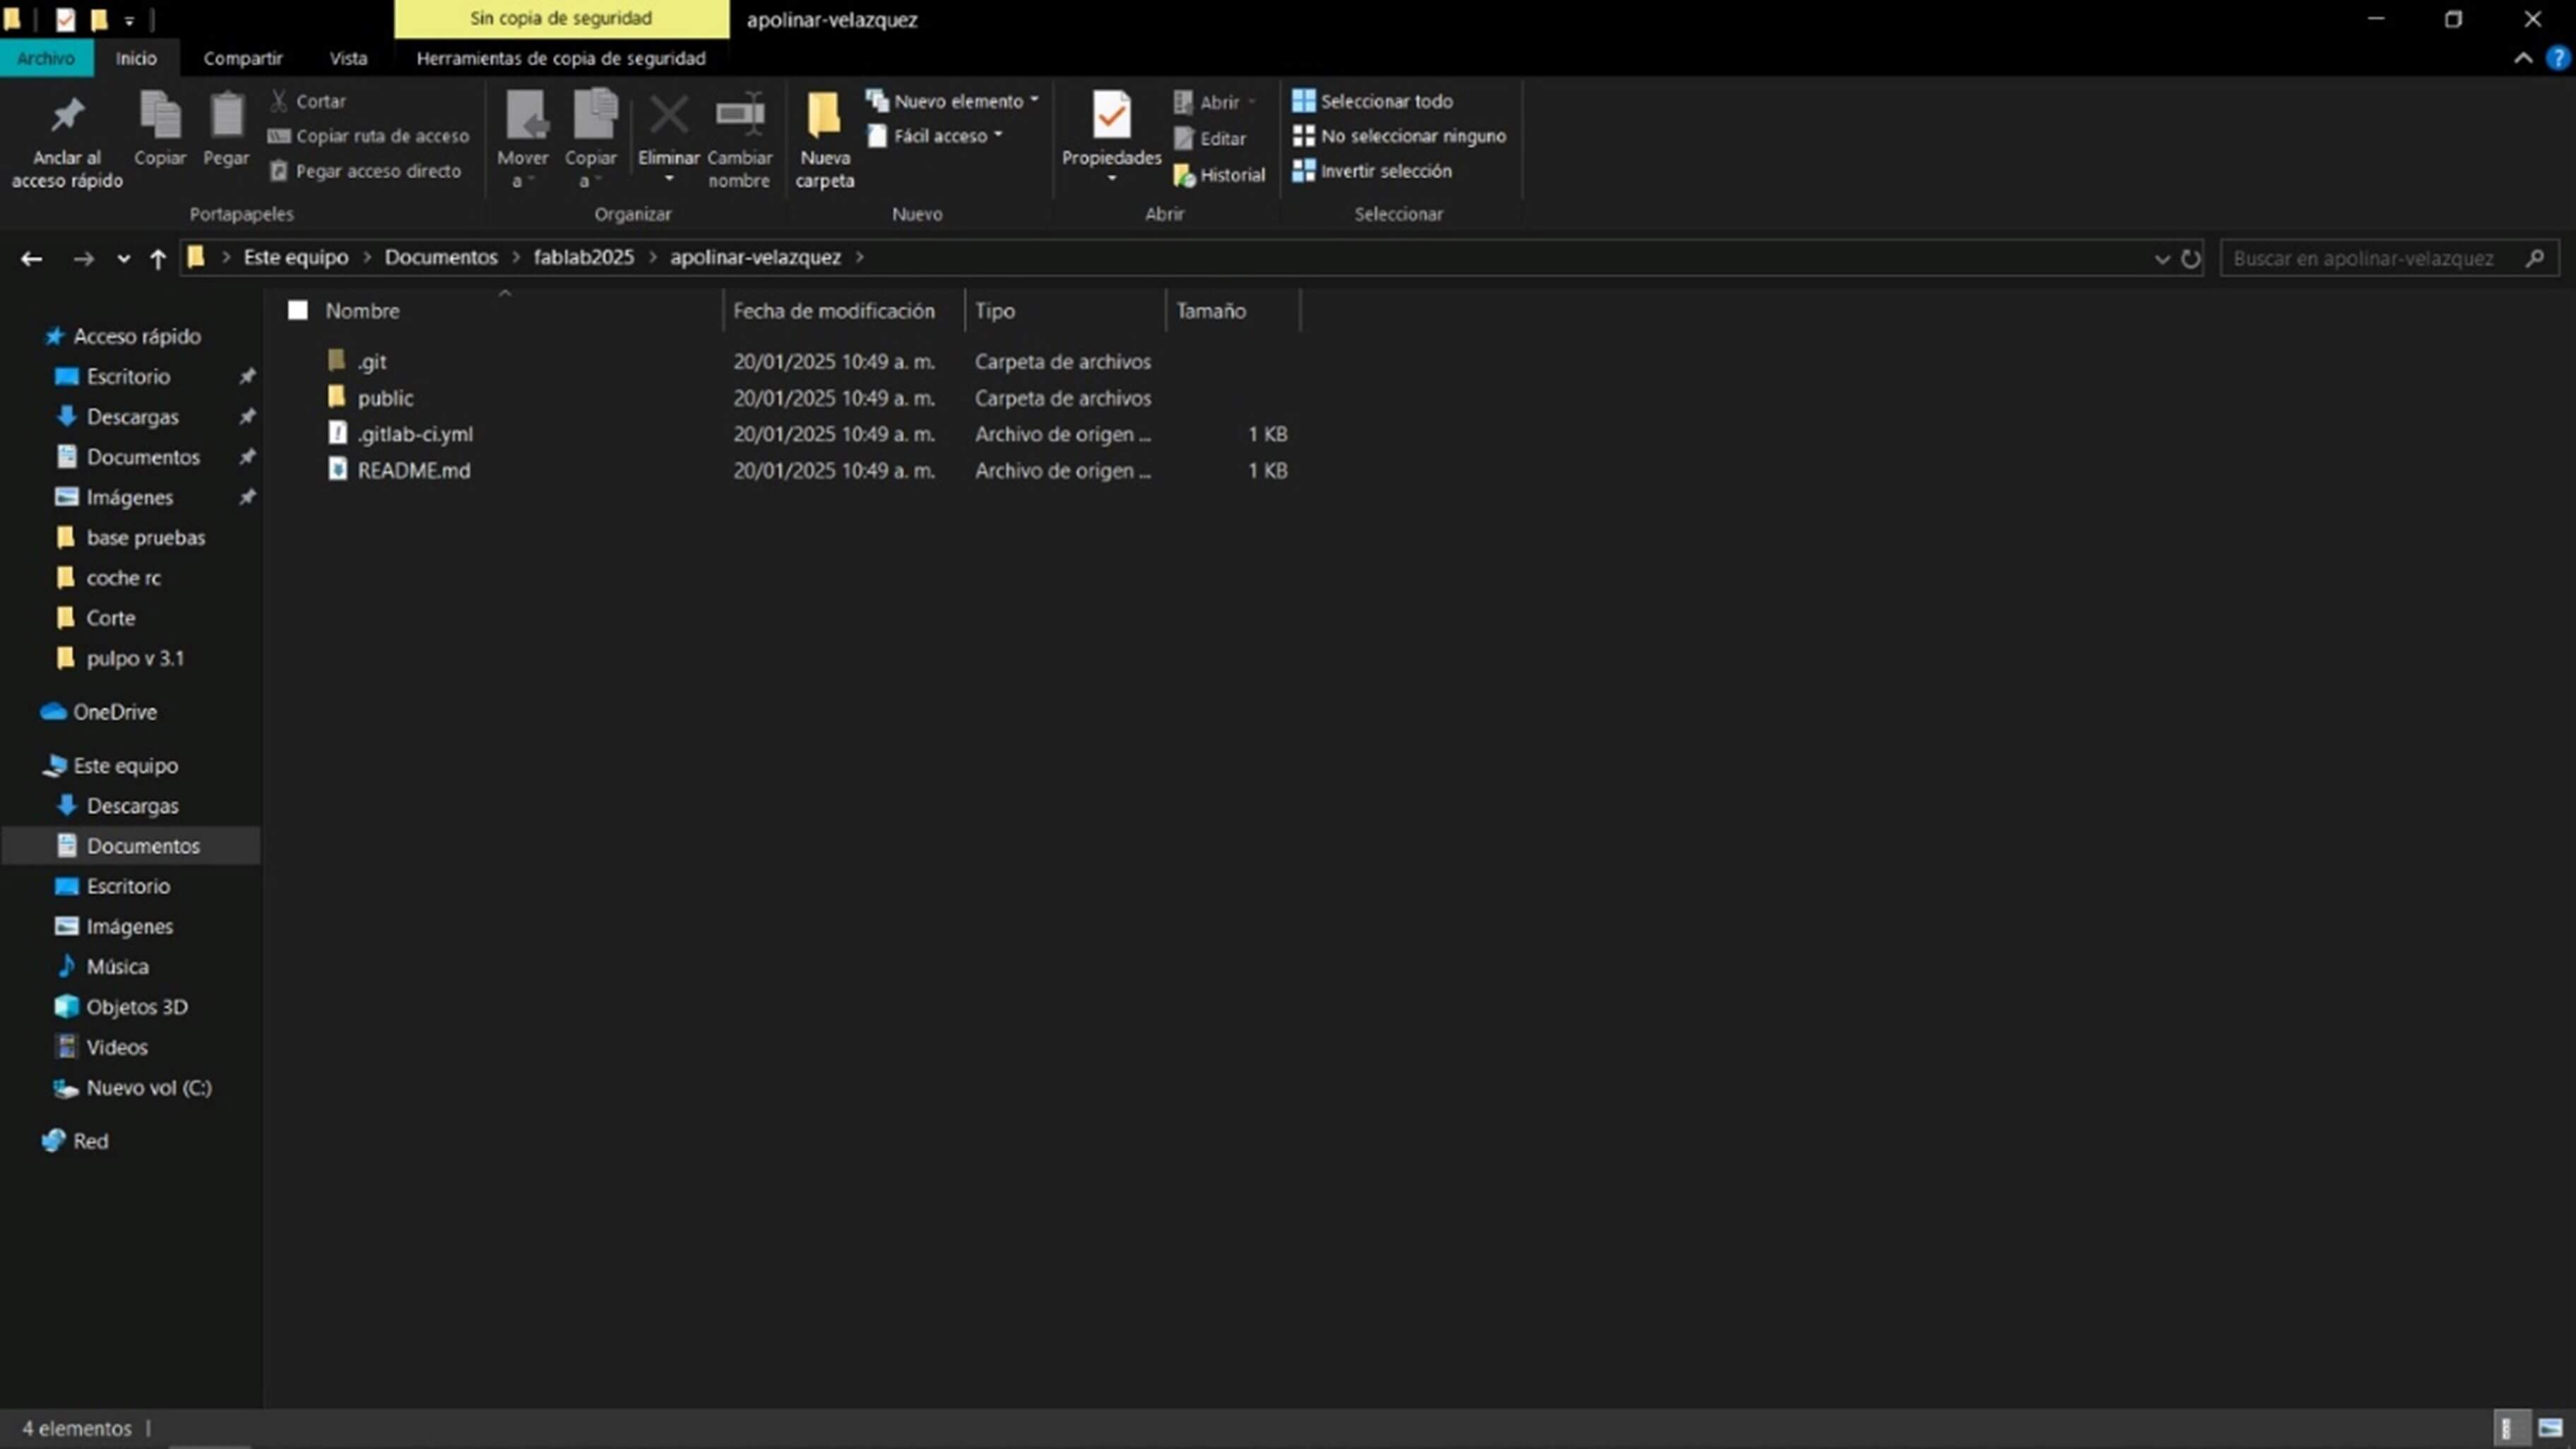
Here you can see the cloned folder "apolinar-velazquez" from the online repository and its contents
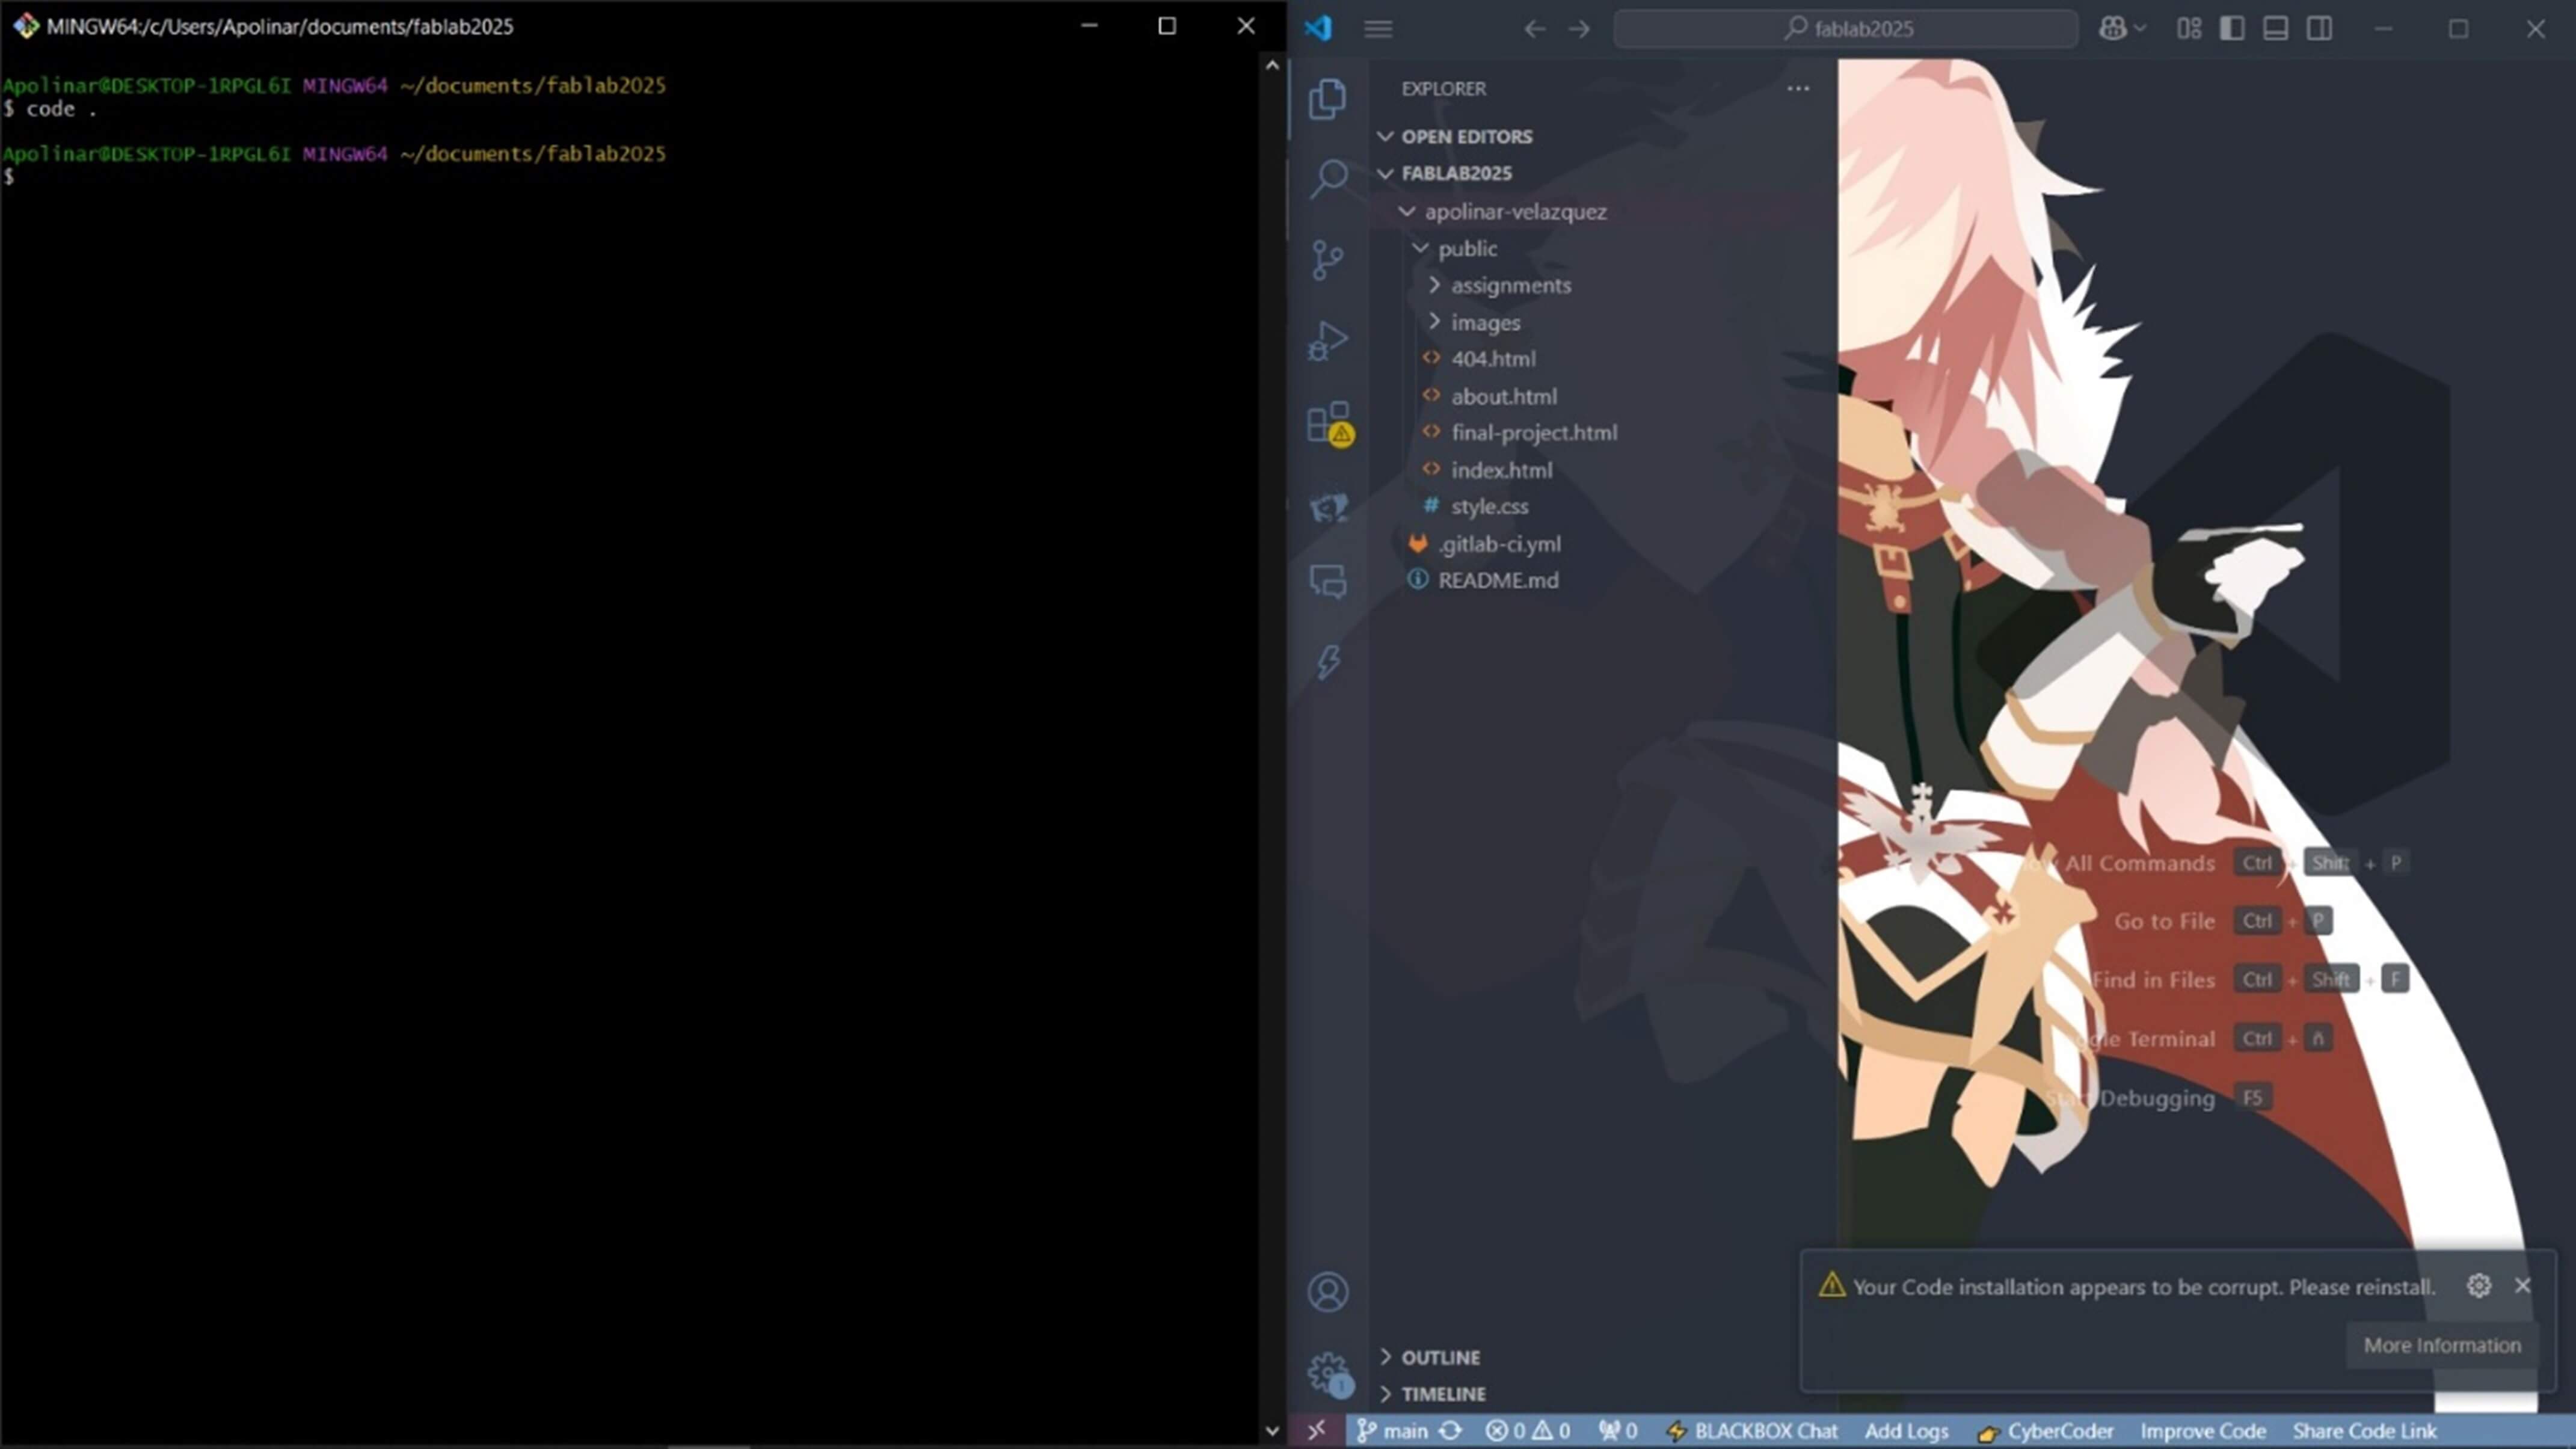
The "code." command was used to open the directory in which we find our preferred editing application by the system (previously configured by us)
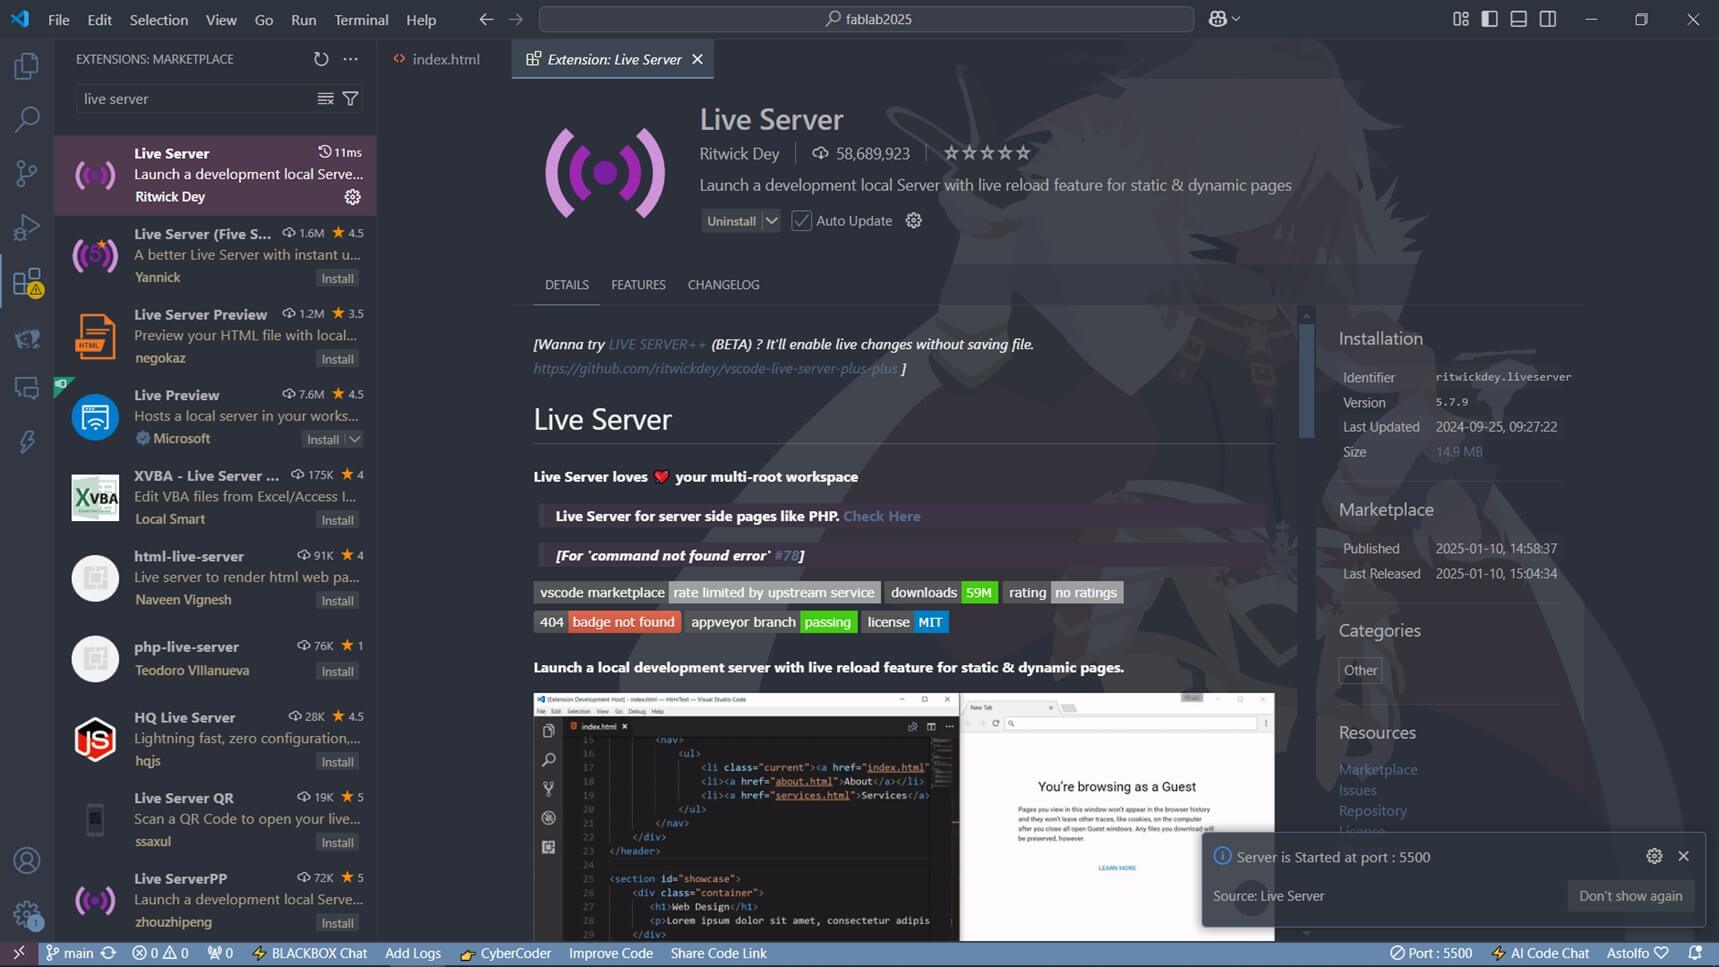
This extension makes a new button appear at the bottom right which says, "Go live", it does not serve to see the changes that are generated on our website instantly
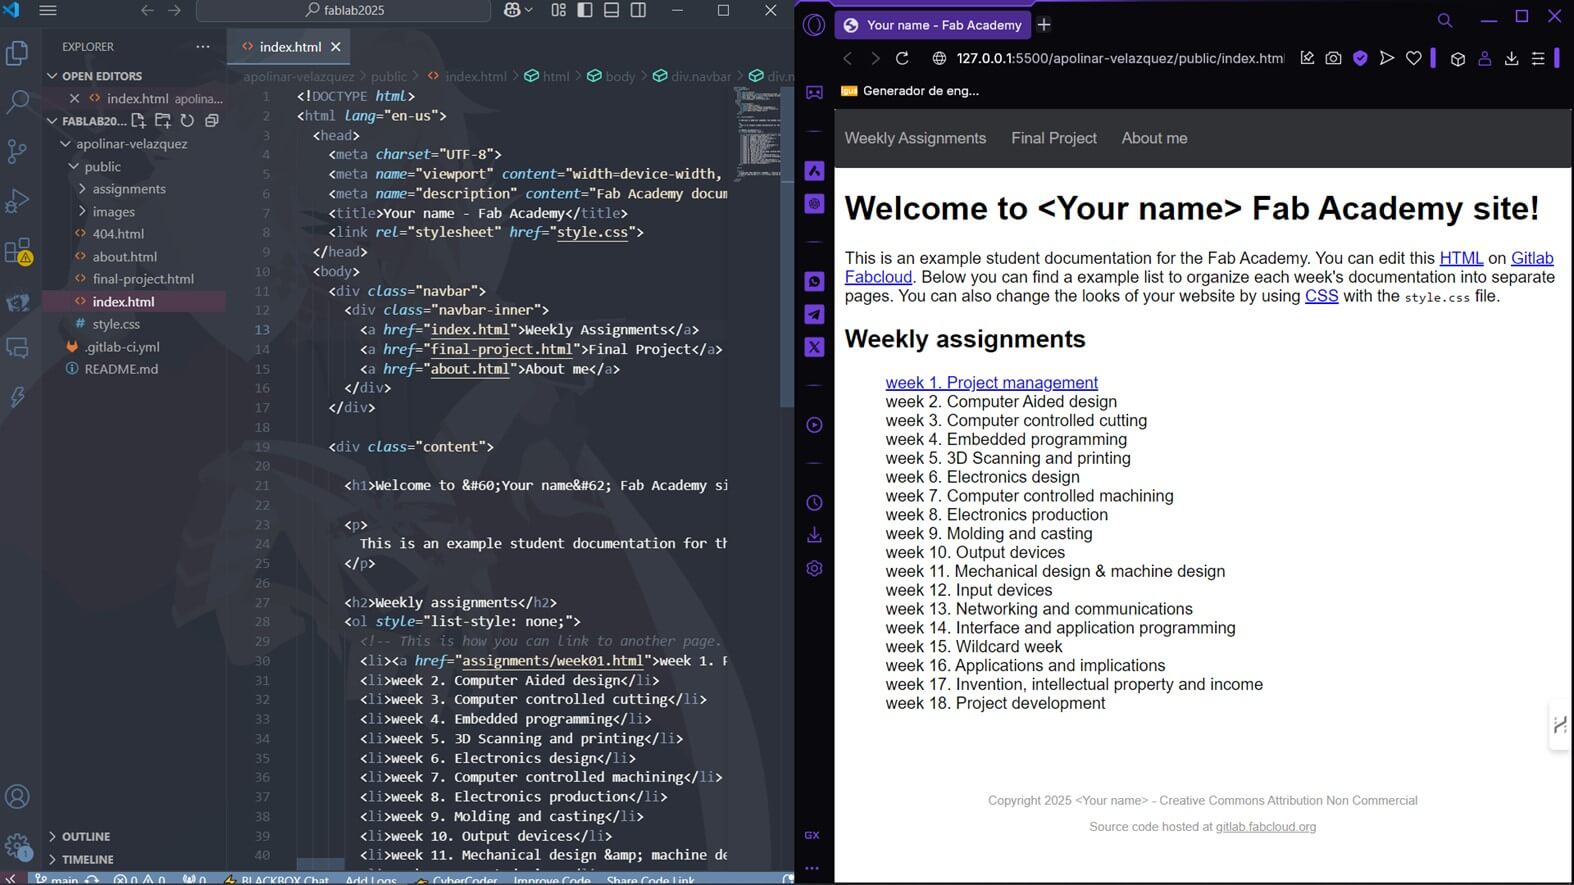
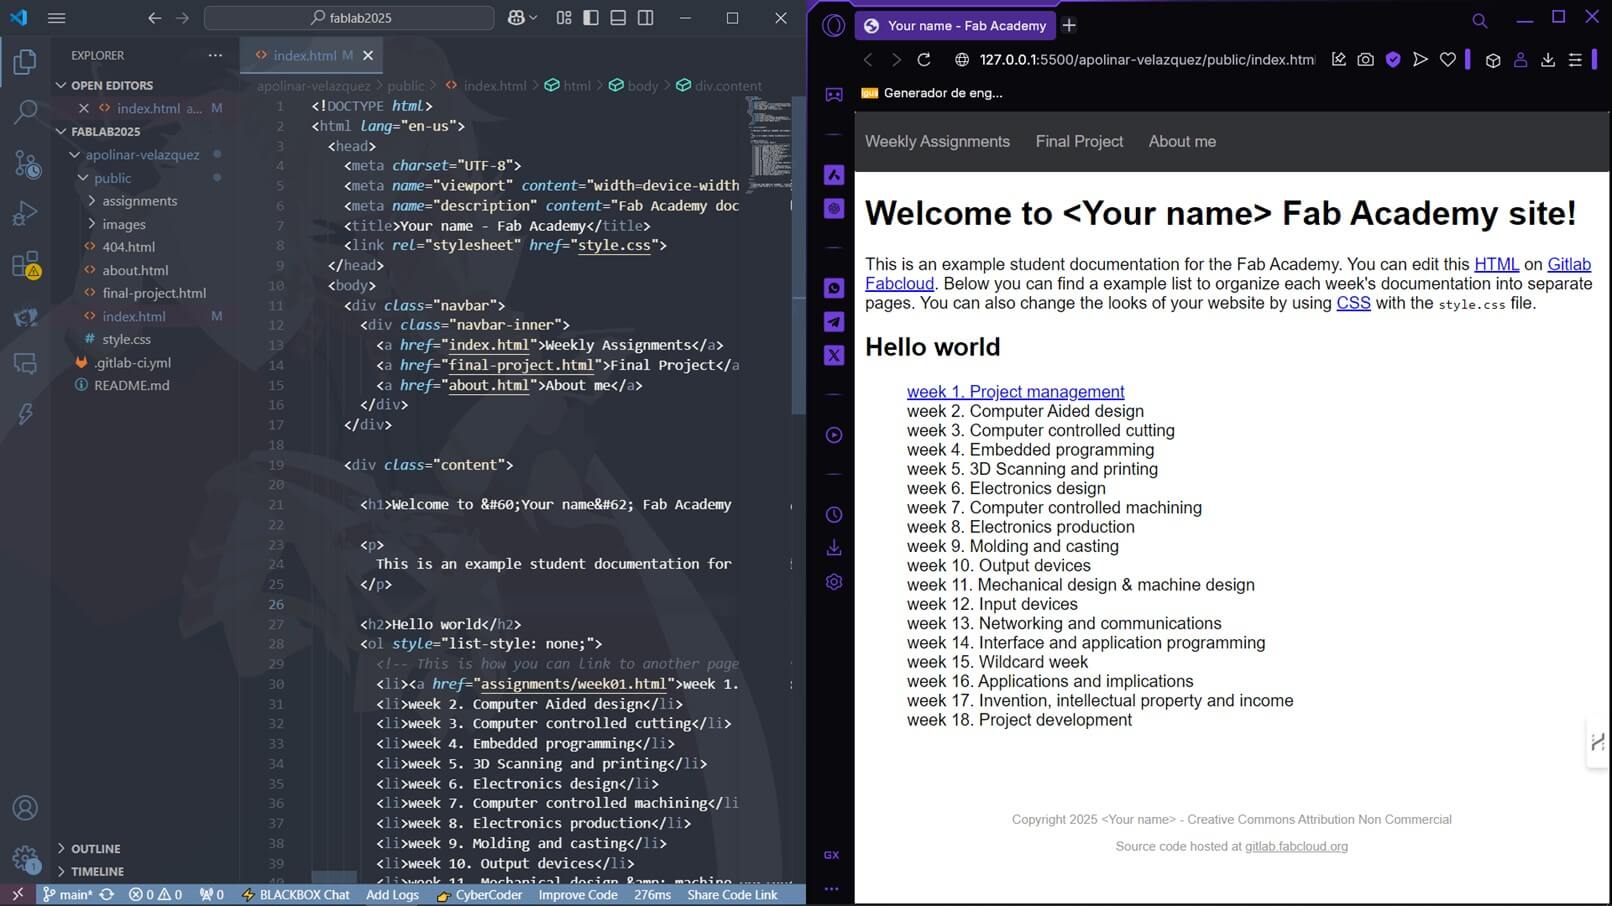
Changed the text "weekly assignments" to "Hello world" instantly Likewise, the button that used to say, "Go live", now indicates the ms of our page, that is, the speed of sending data, if we click on it the transmission will stop
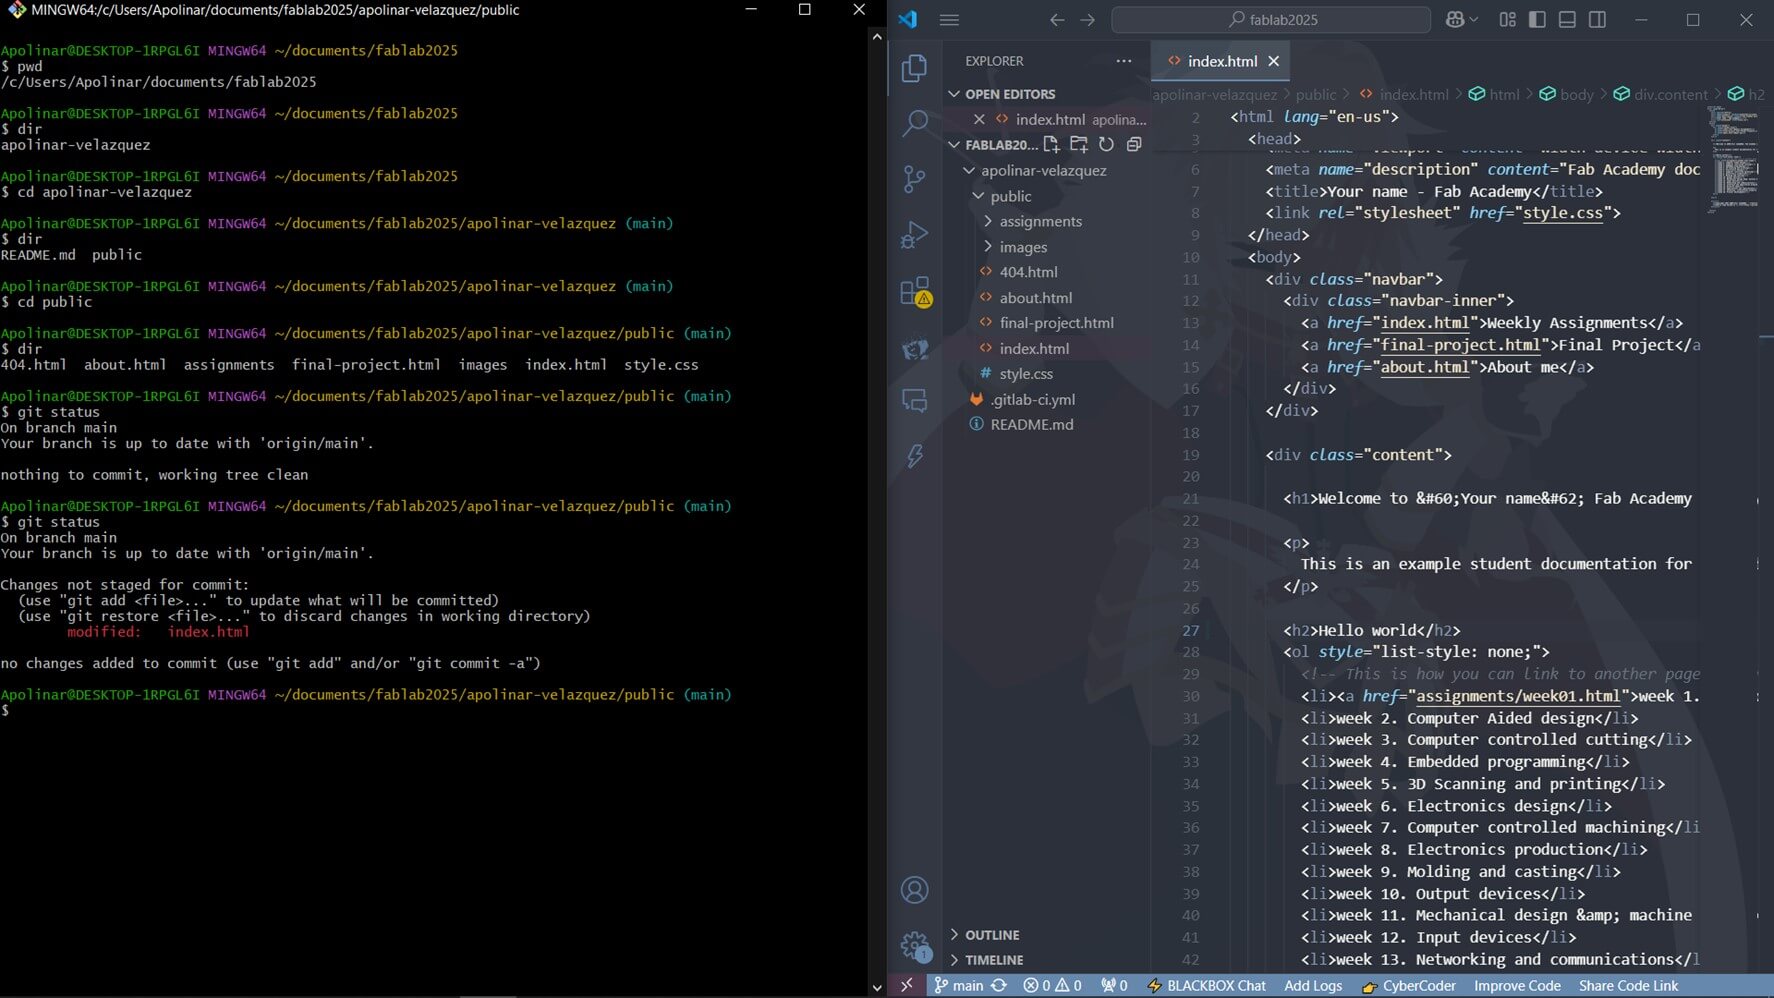
We place ourselves in the directory "C:\Users\Apolinar\Documents\fablab2025\apolinar-velazquez\public" with the previously learned commands The command "git status" was used to know what changes have happened in the file, in this case only the text "weekly assignments" was changed to "Hello world"
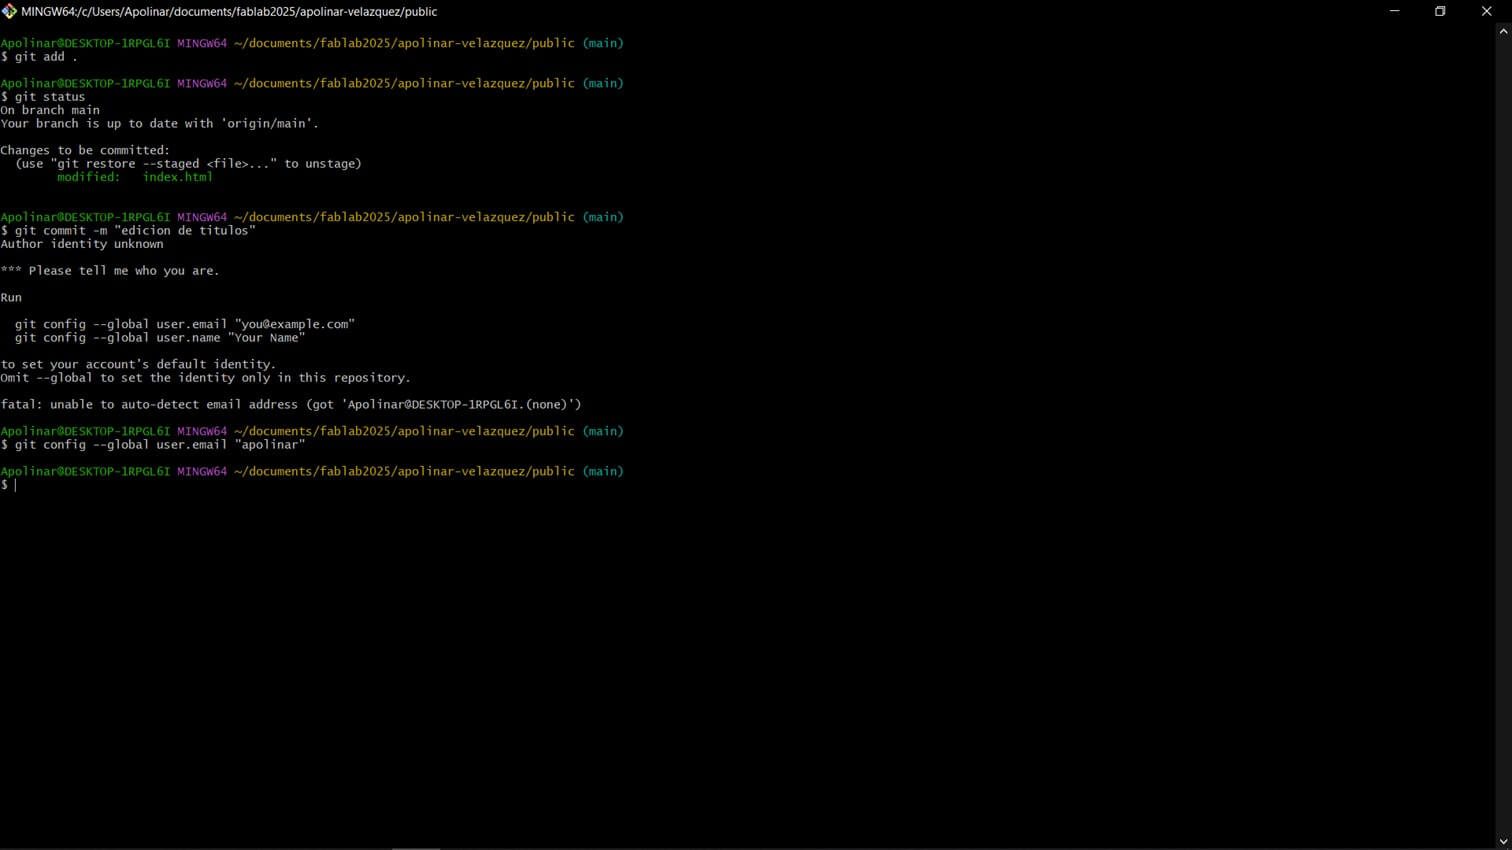
The command "git add." was used to add all the changes saved in visual studio, then "git status" to know if all the changes were saved, then we tried to upload the files with "git commit -m "title"", but since there was no registered user or email, they had to register them with "git config –global user.email "your@example.com"" and "git config –global user.name "your name""
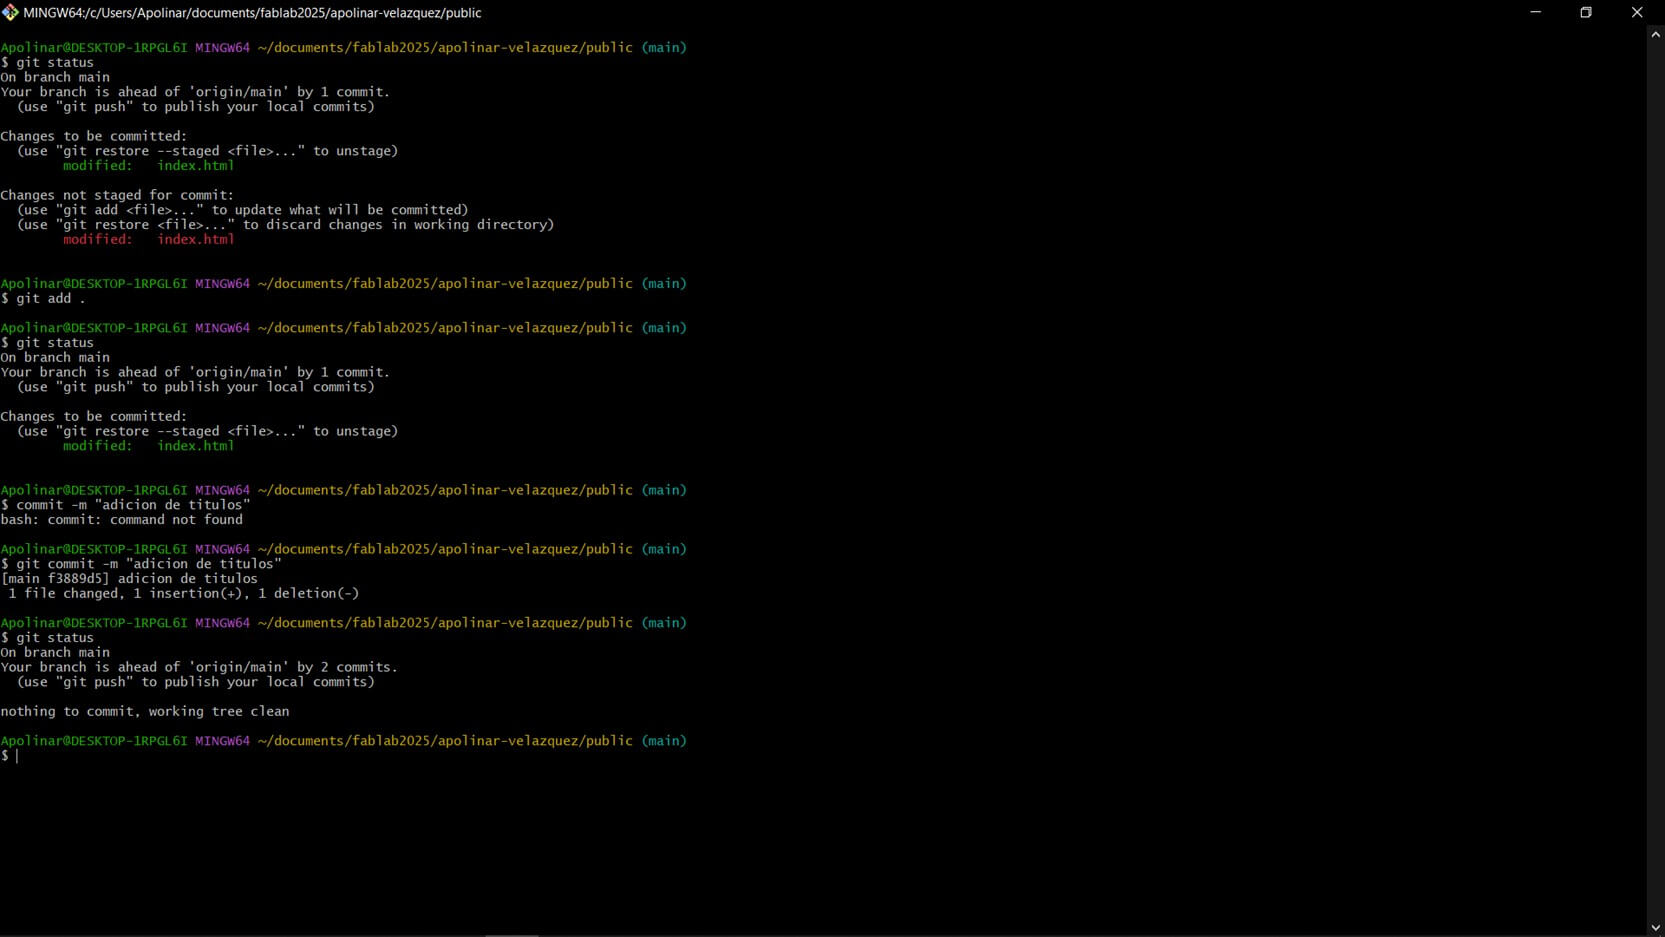
We tried to upload the files again and now it was successful, we can see it with the "git status" command, which tells us that there are no pending changes to upload
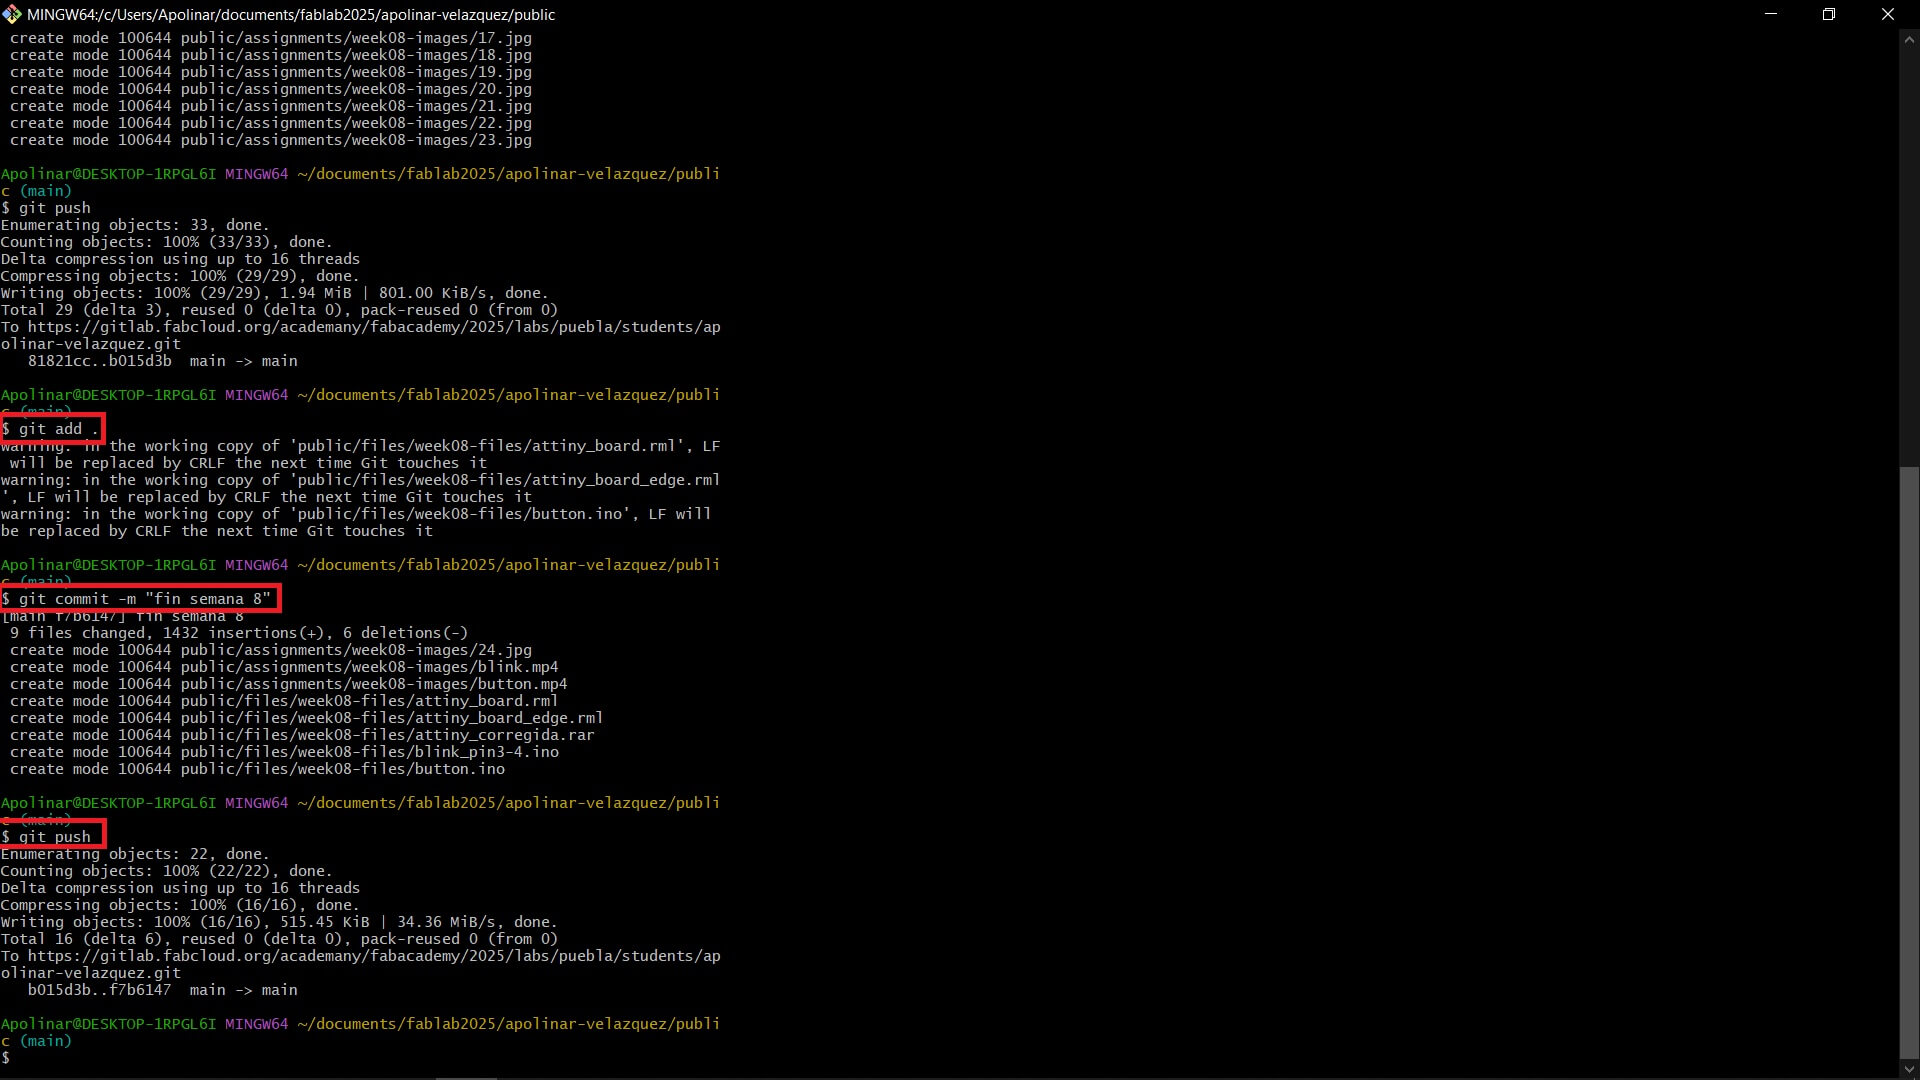
Here is an example of the complete process for making new changes. First, run `git add .` to add the changes, then `git commit -m 'changes'` to make it easier to locate the changes in the logs, and finally, `git push` to upload everything to the online repository.
Now that we know how to communicate with the gitlab online repository, it's time to make our own website.
Making our website
For the website, I really wanted something that would be comfortable to look at, with few interactive features due to the limited time available in the course, and a structure that would be simple to copy and paste for creating all the web pages. The same applies to the design—I will use a single CSS file to format all the pages by just defining the class that my HTML tag belongs to. On the other hand, I will also use JavaScript for a few animations here and there, but that's all. This way, I can achieve dynamic documentation.
First, I created my welcome page, which includes 5 main sections:
- The navigation bar (found on all web pages): It will be present on all other pages. It contains an image of the FabLab on the left side and links to all related pages on the right. I must say that the animation of hiding was made by GPT with java script. Below is the code provided by the AI
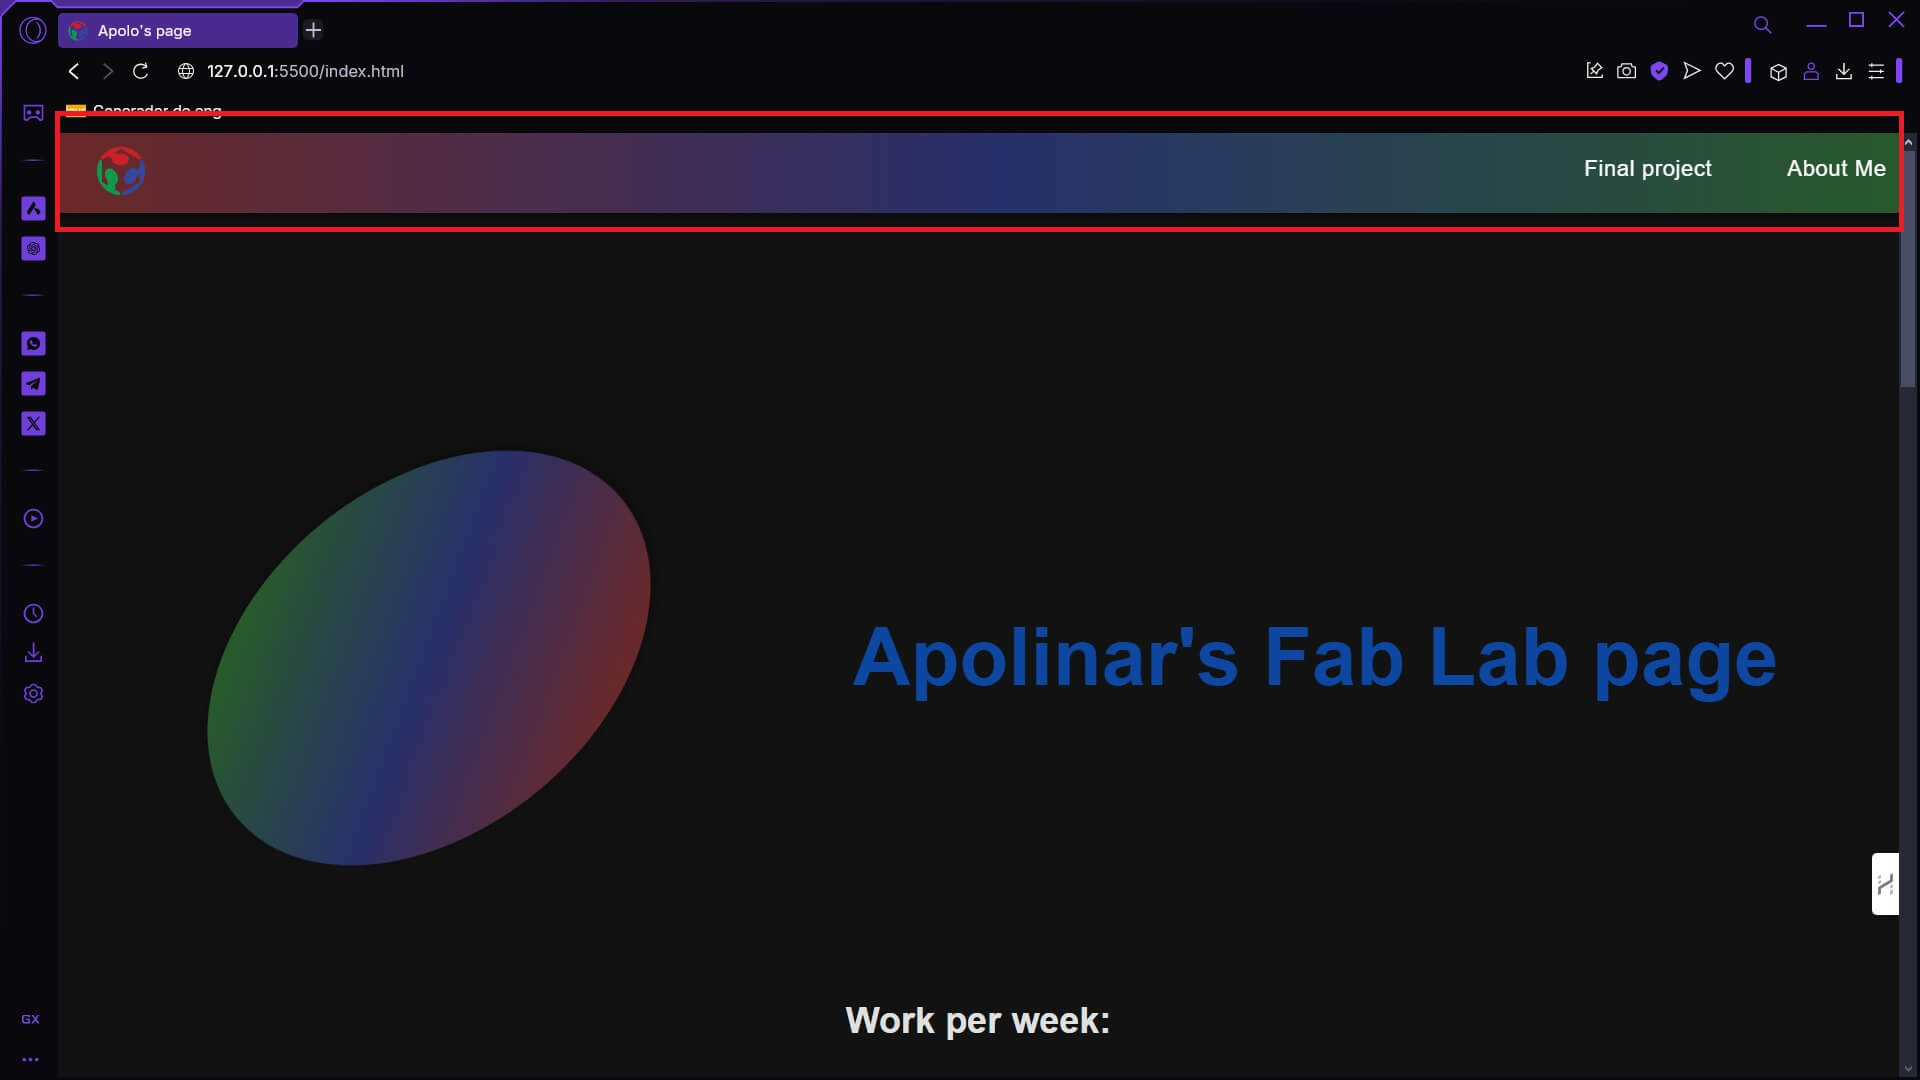
Prompt for GPT 4.0: Hice una barra de navegación, pero quiero que se esconda cuando se haga scroll down y vuelva a aparecer cuando se haga scroll up, por favor dame el codigo de Javascript, asi mismo toma en cuenta que hay una imagen del lado derecho de esta, por otro lado, dale los colores rojo, azul y verde degradados a lo largo de esta.

//animacion para que la barra de navegacion se esconda
let lastScrollTop = 0;
const navbar = document.querySelector(".navbar");
const logo = document.querySelector(".logo-animation");
const navbarLogo = document.querySelector(".logo-navbar");

document.addEventListener("scroll", () => {
    const currentScroll = window.pageYOffset || document.documentElement.scrollTop;

    // Si el scroll es hacia abajo
    if (currentScroll > lastScrollTop && currentScroll > navbar.offsetHeight) {
        navbar.style.transform = "translateY(-100%)"; // Oculta la barra de navegación
    } else {
        // Si el scroll es hacia arriba
        navbar.style.transform = "translateY(0)"; // Muestra la barra de navegación
    }

    lastScrollTop = currentScroll <= 0 ? 0 : currentScroll; // Para evitar valores negativos

    if (currentScroll > logo.offsetHeight) {
        navbarLogo.style.display = "block";
        navbar.style.backgroundColor = "rgba(0, 0, 0, 0.8)"; // Black end doing scroll down
    } else {
        navbarLogo.style.display = "none";
        navbar.style.backgroundColor = "linear-gradient(to right, #6b2828, #28306b, #285b28)";
    }
});
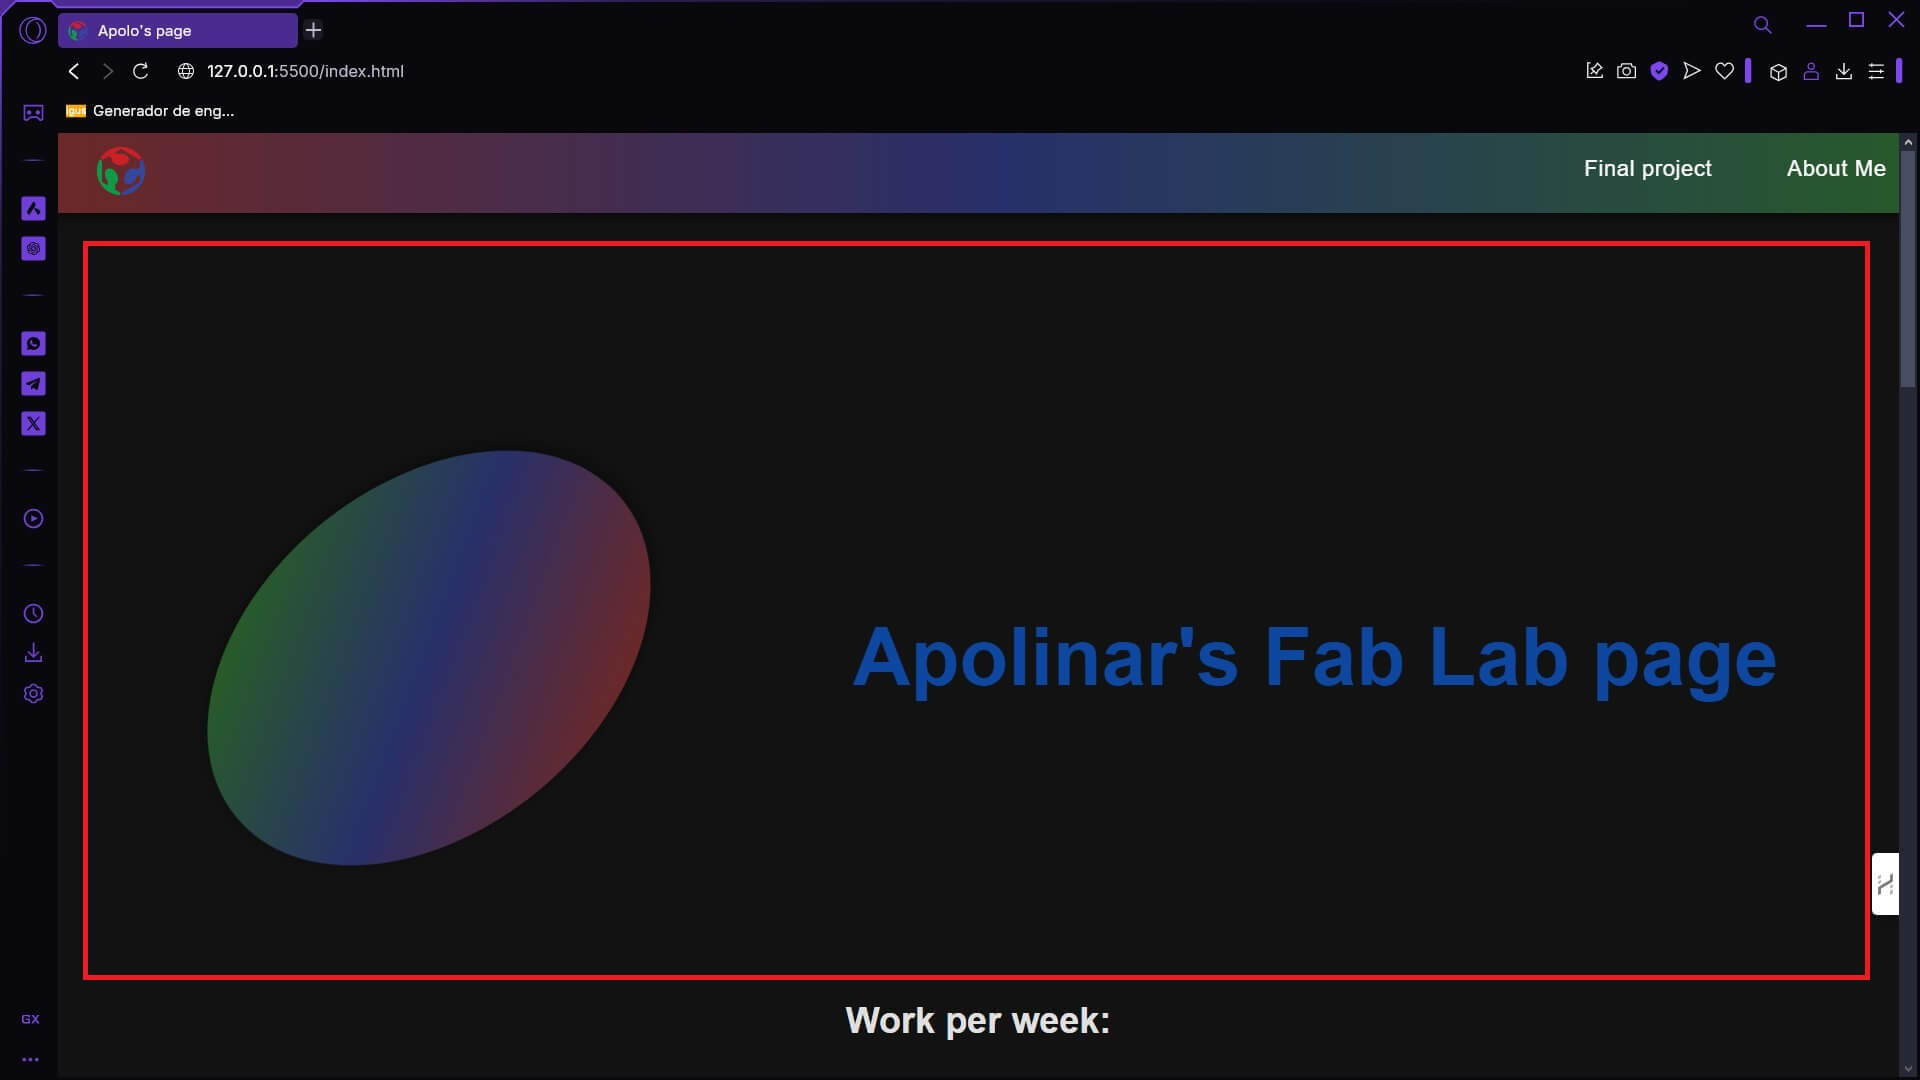
Prompt for GPT 4.0: Hice una sección para un logo, dame un espacio circular de unos 400px de diametro con los colores rojo, verde y azul degradados dentro de este, asi mismo dale una animación de giro de izquierda a derecha y arriba a abajo.

/*spinning logo*/
.logo-animation {
  width: 400px;
  height: 400px;
  /*
  background-image: url(images/simbolo1326.png);
  */
  background: linear-gradient(to right, #6b2828, #28306b, #285b28);
  border-radius: 50%;
  animation: spin3d 3s infinite linear, fadeIn 2s;
  transform-style: preserve-3d;
  box-shadow: 0 4px 20px rgba(0, 0, 0, 0.5);
}
/*control de giro*/
@keyframes spin3d {
  0% {
    transform: rotateY(0deg) rotateX(0deg);
  }
  100% {
    transform: rotateY(360deg) rotateX(360deg);
  }
}
/*desvanecimiento al entrar*/
@keyframes fadeIn {
  0% {
    opacity: 0;
  }
  100% {
    opacity: 1;
  }
}
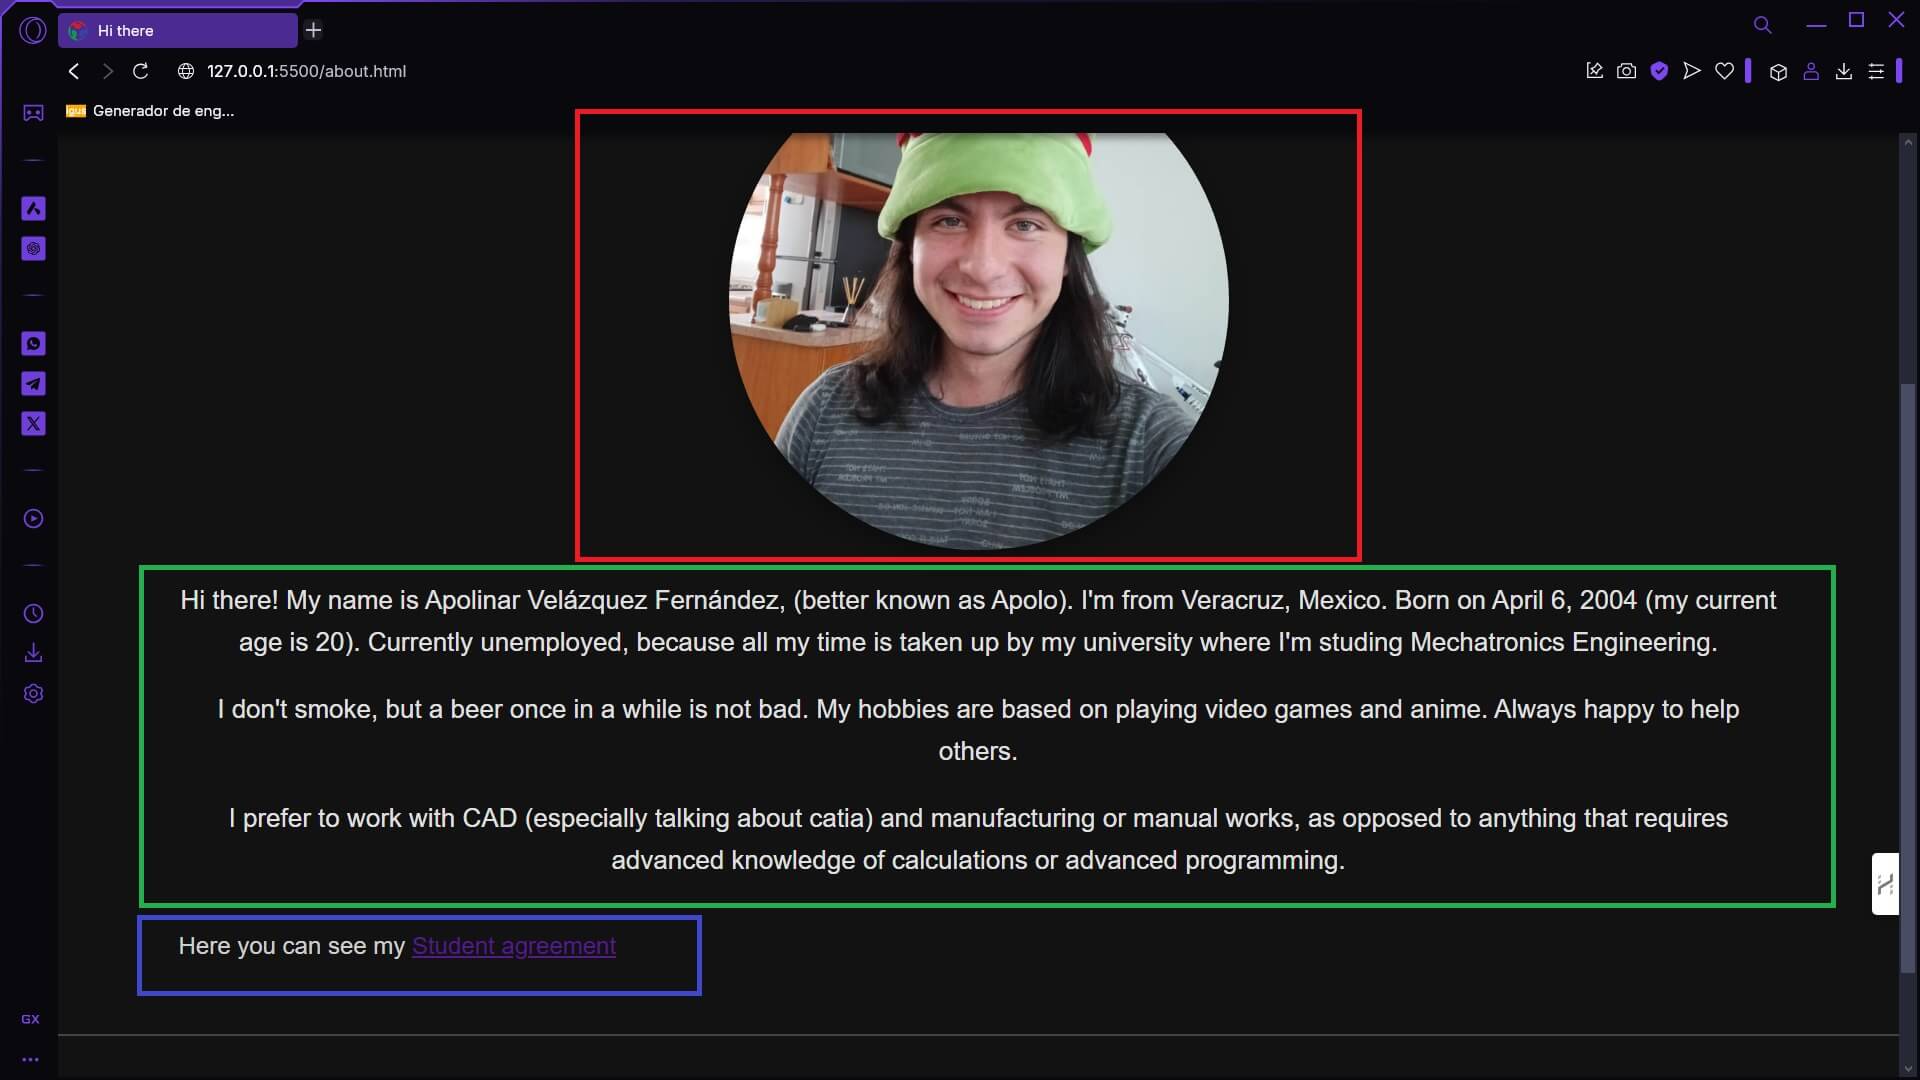
For my introduction page, I followed three simple requirements: A picture of myself, which includes a small easter egg (this was also done by the AI in javascript), a short introduction about me, and my student agreement, which can be viewed.
Prompt for GPT 4.0: Puedes ponerle una interaccion a este cuadro de imagen de tu elección haciendo uso de Javascript?

// This is my no-no square
document.querySelector('.profile-photo').addEventListener('click', () => {
    alert("Please don't touch me");
});
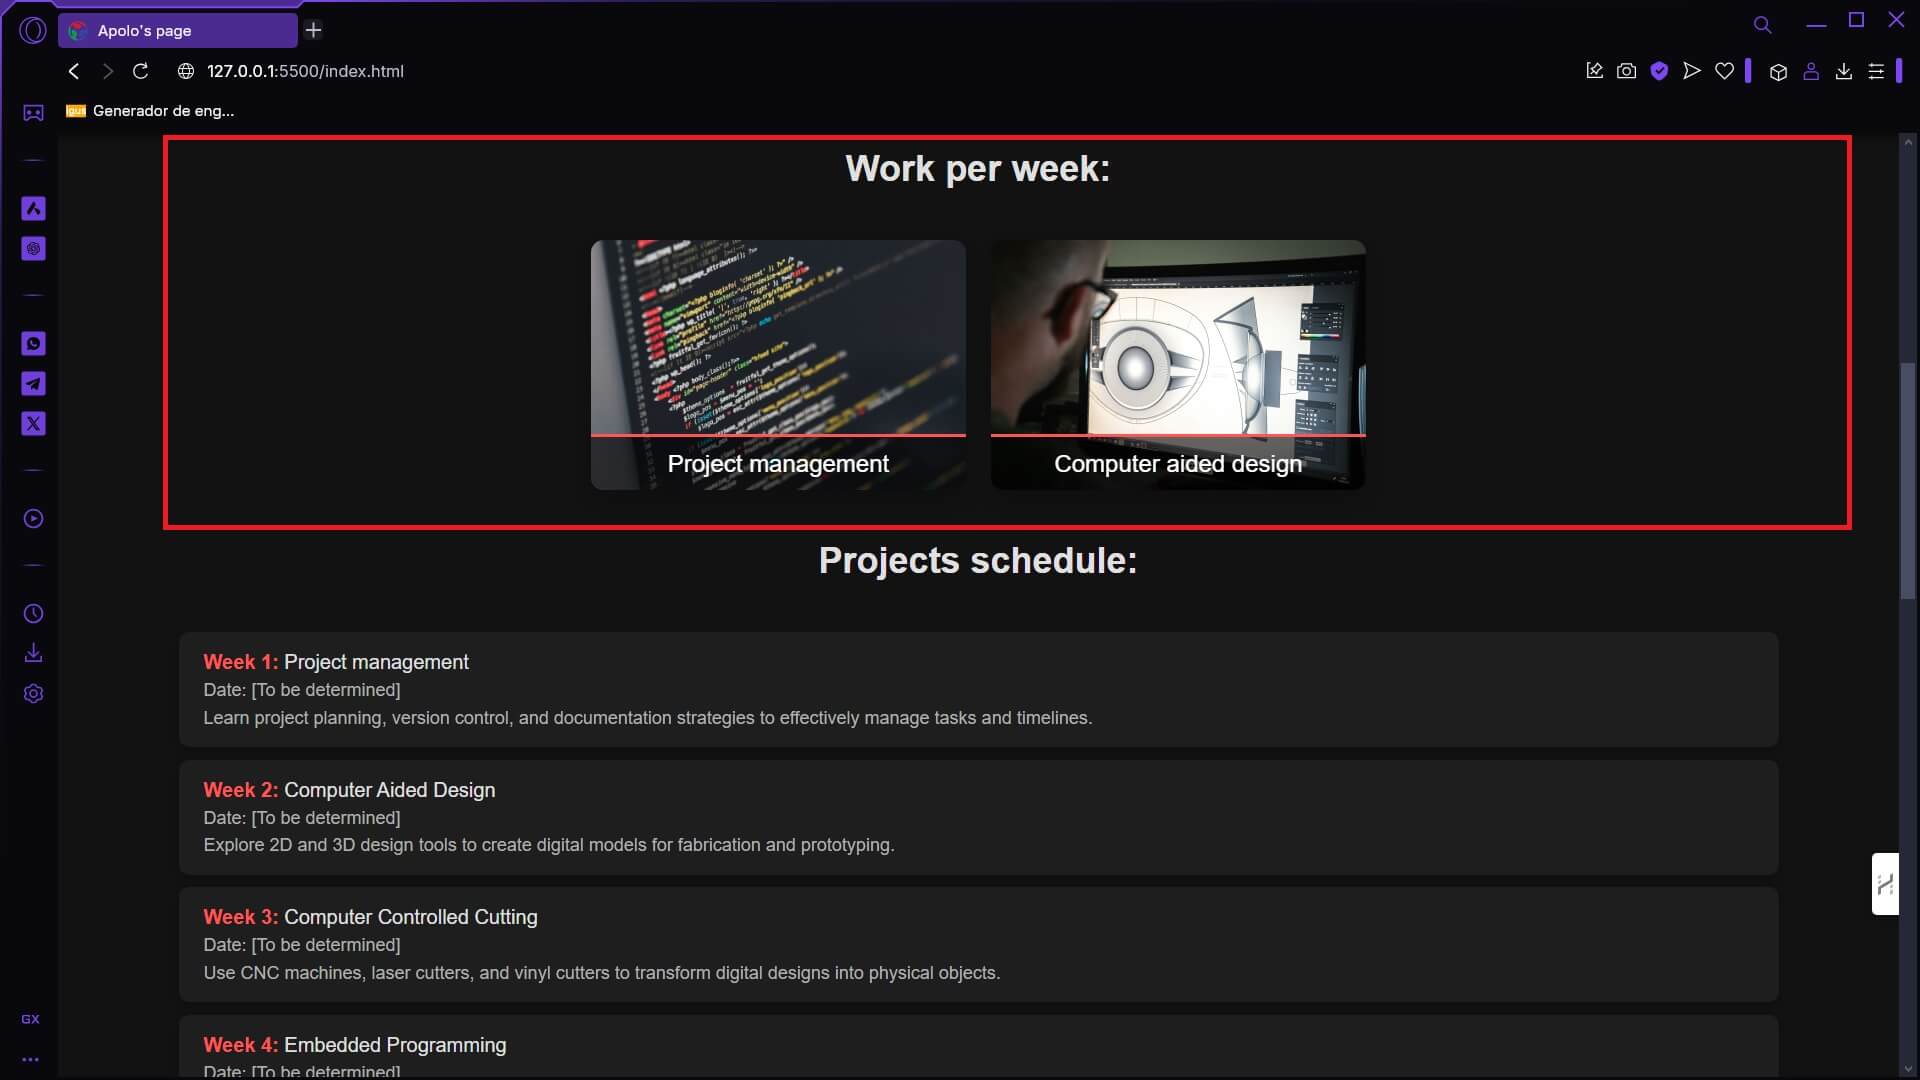
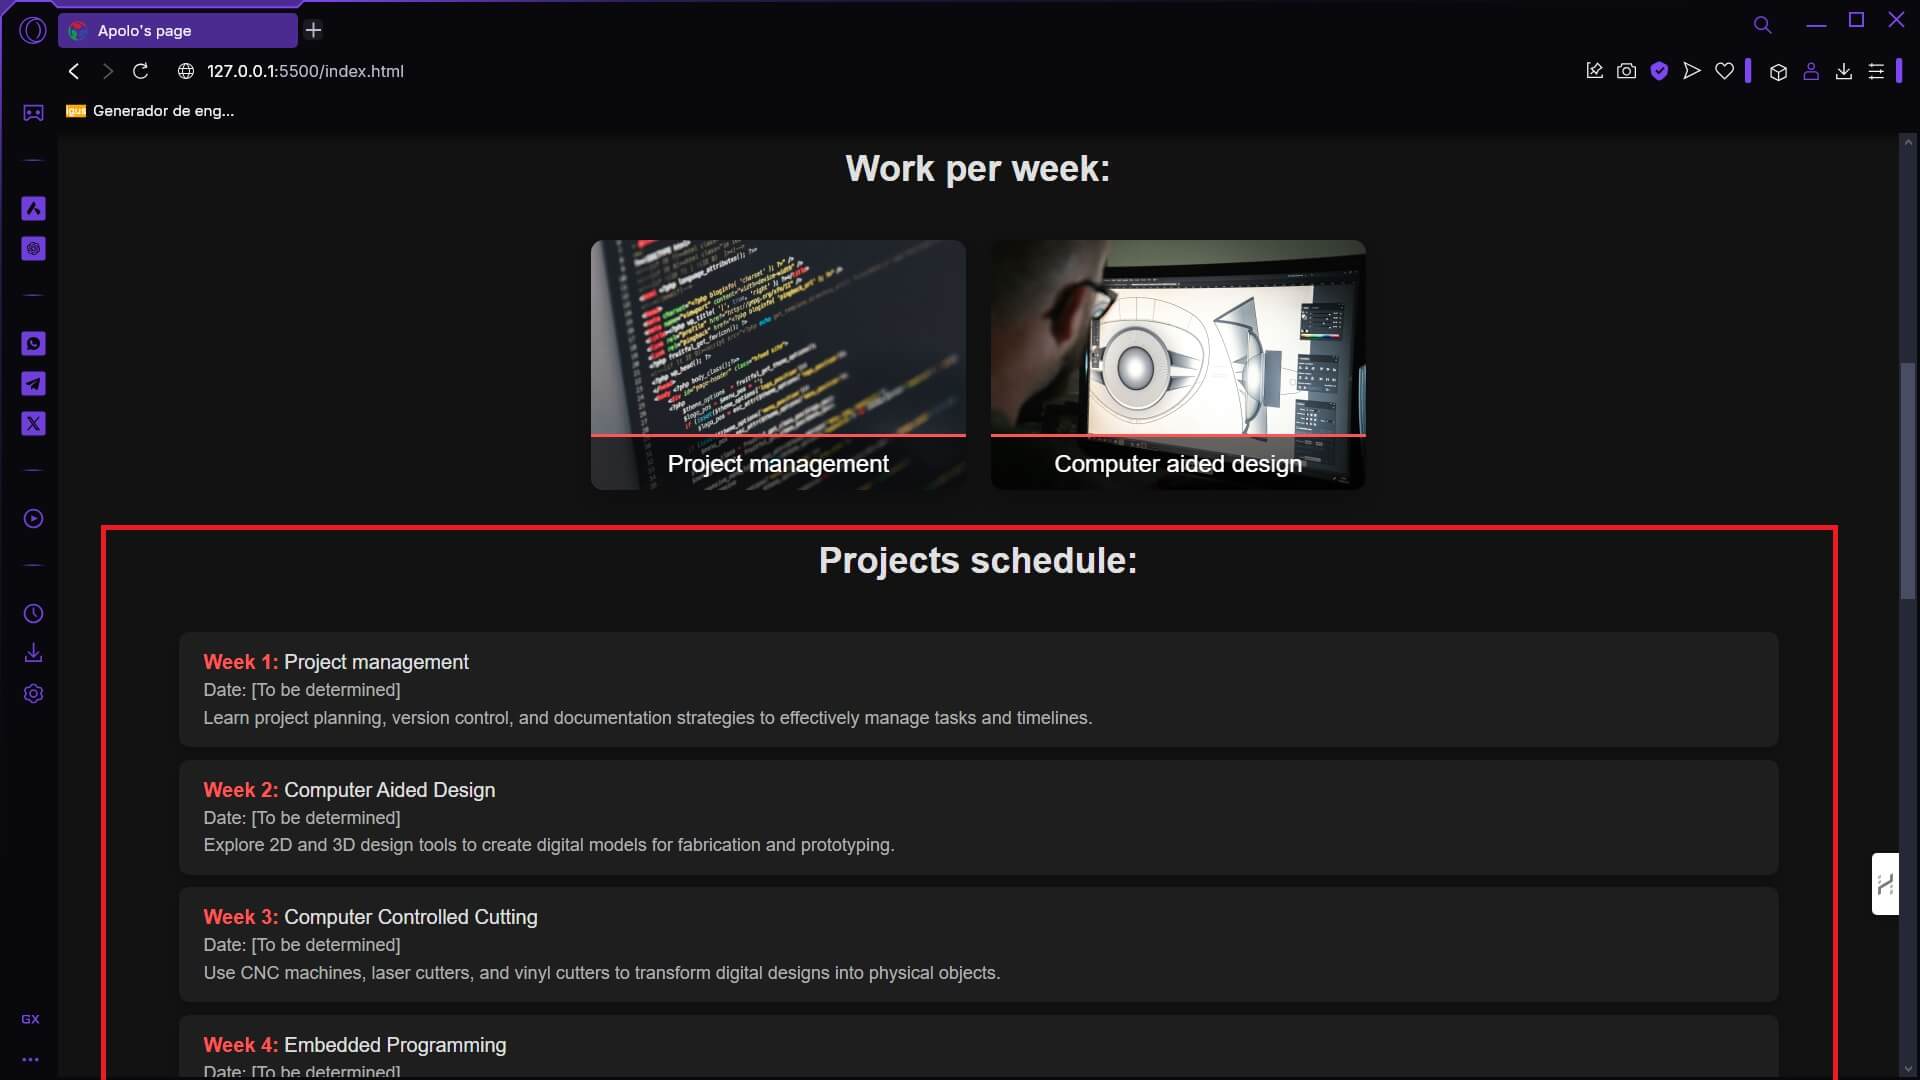
For the documentation pages of all weeks, I used a basic method. As you can see, there's one or two images with a short description below each. If needed, I’ll use tables, lists, videos, or graphs, but the concept will remain the same—media files followed by a relevant description.
Now, it's important to mentione thatI didn't have much trouble learning the commands regarding communication with Git between my computer and the website, since I’ve already worked with terminals before. Similarly, creating my website wasn’t difficult either, as I had previously made web pages using CSS. The only difference this time was that I implemented a bit of JavaScript, but since it wasn’t a large amount, it wasn’t a problem.