Week 02 Computer Aided Design
Learning how to design simple things
For this week, I will create a simple 3D design that I hope to use in my final project. Basically, it is a kind of "metallic shirt" that will serve the purpose of containing the different resin molds I will be using. It has three holes, which act as inlets for the plastic material or as air vents to prevent unwanted air bubbles. Additionally, it has four holes, one in each corner, which I hope to use to secure it to a surface, preventing it from moving. I say "hope to use" because I am still unsure about the orientation of my project.
On the other hand, the 3D design itself is simply a symbol I created when I was a child. It does not have any particular function or purpose.
The measurements of all the following pieces are 200 x 200 x 20 mm for the overall rectangle. The hollow section has a difference of 15 mm compared to the walls. In other words, the hollowing left walls are 15 mm thick. The outer circles are 8 mm in diameter, the holes have a diameter of 15 mm, and the main opening has a 90° angle.
Fusion 360
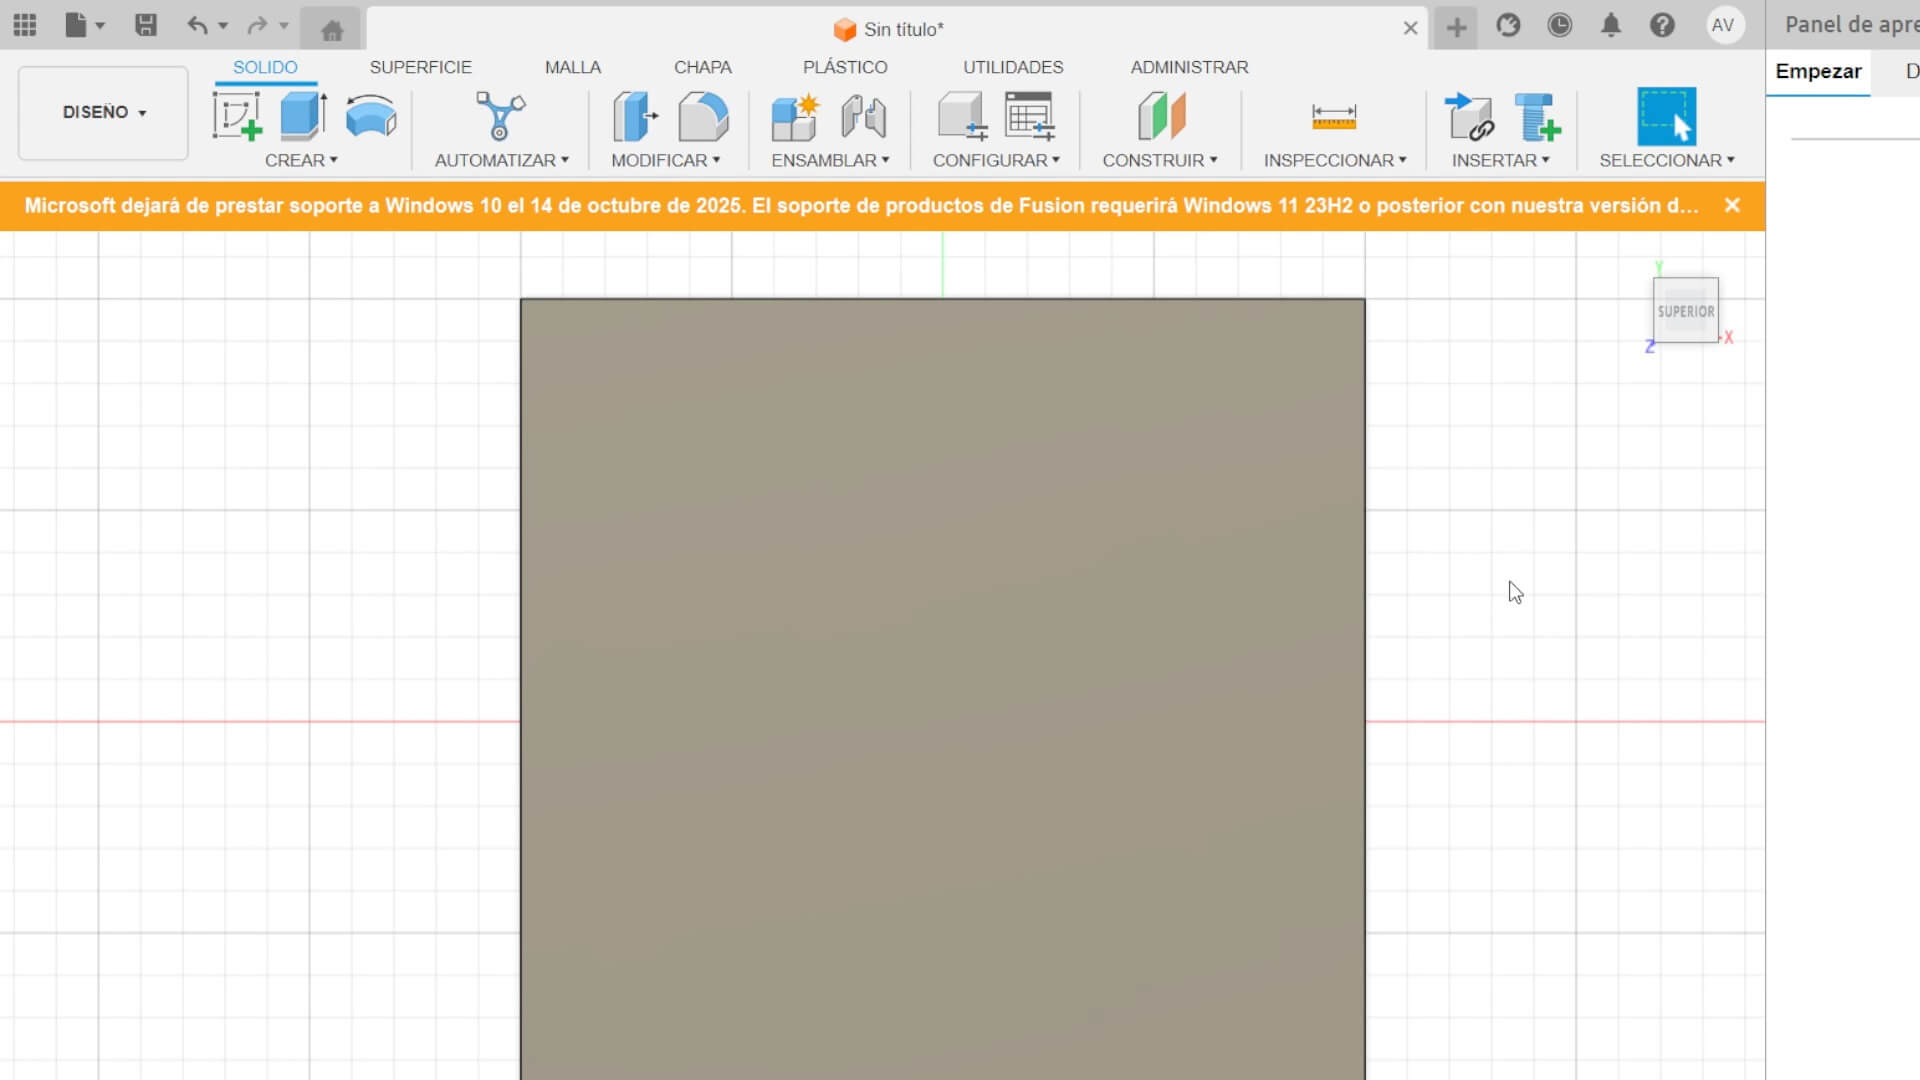
First, I created a sketch of the base rectangle, then I extruded it.
Next, I created another rectangle, which I used to remove material.

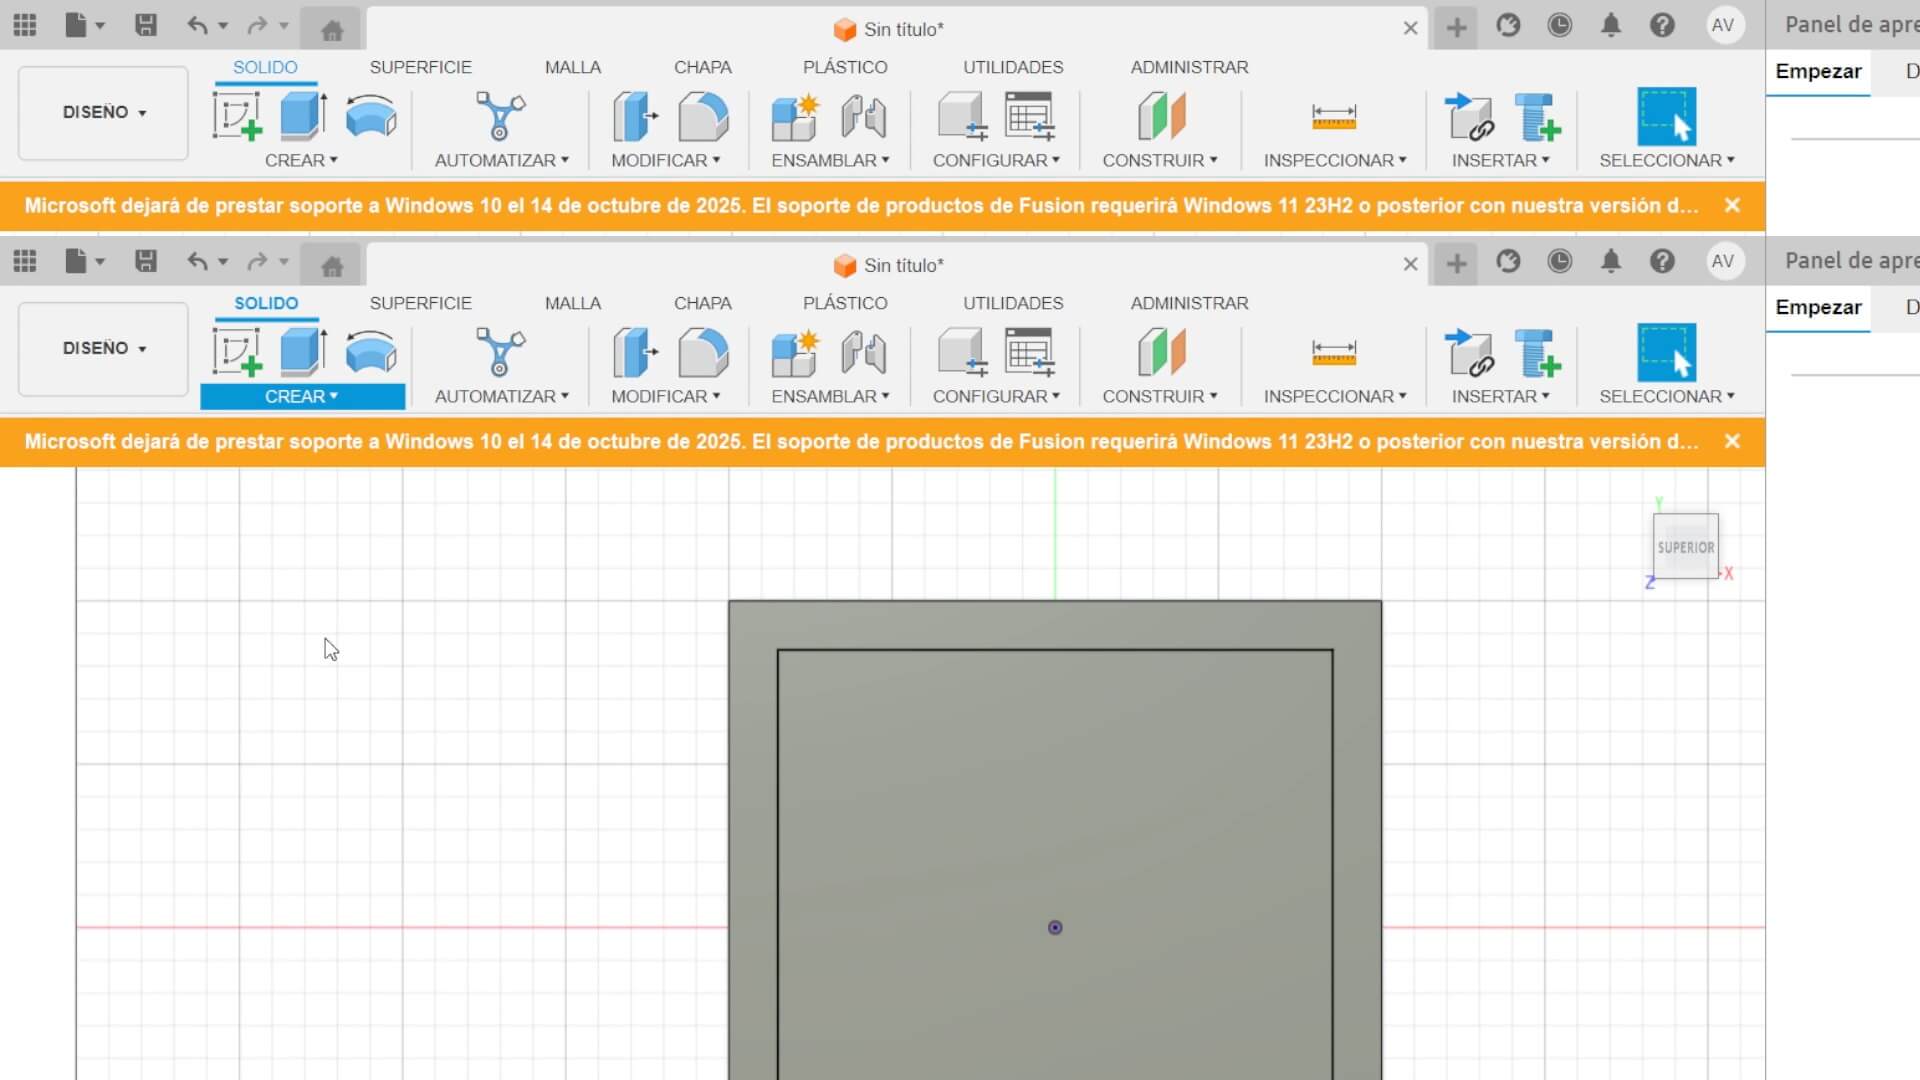
Then, I drew a circle in one corner, used the mirror function with respect to the center, selected both circles, and used the mirror function again with respect to the opposite center.
For the plastic inlet holes, I used a circular pattern to generate a total of 3.

Inkscape
For this logo, I didn’t use measurements, as it’s a vector, and I can make it as large or small as I want without losing quality.
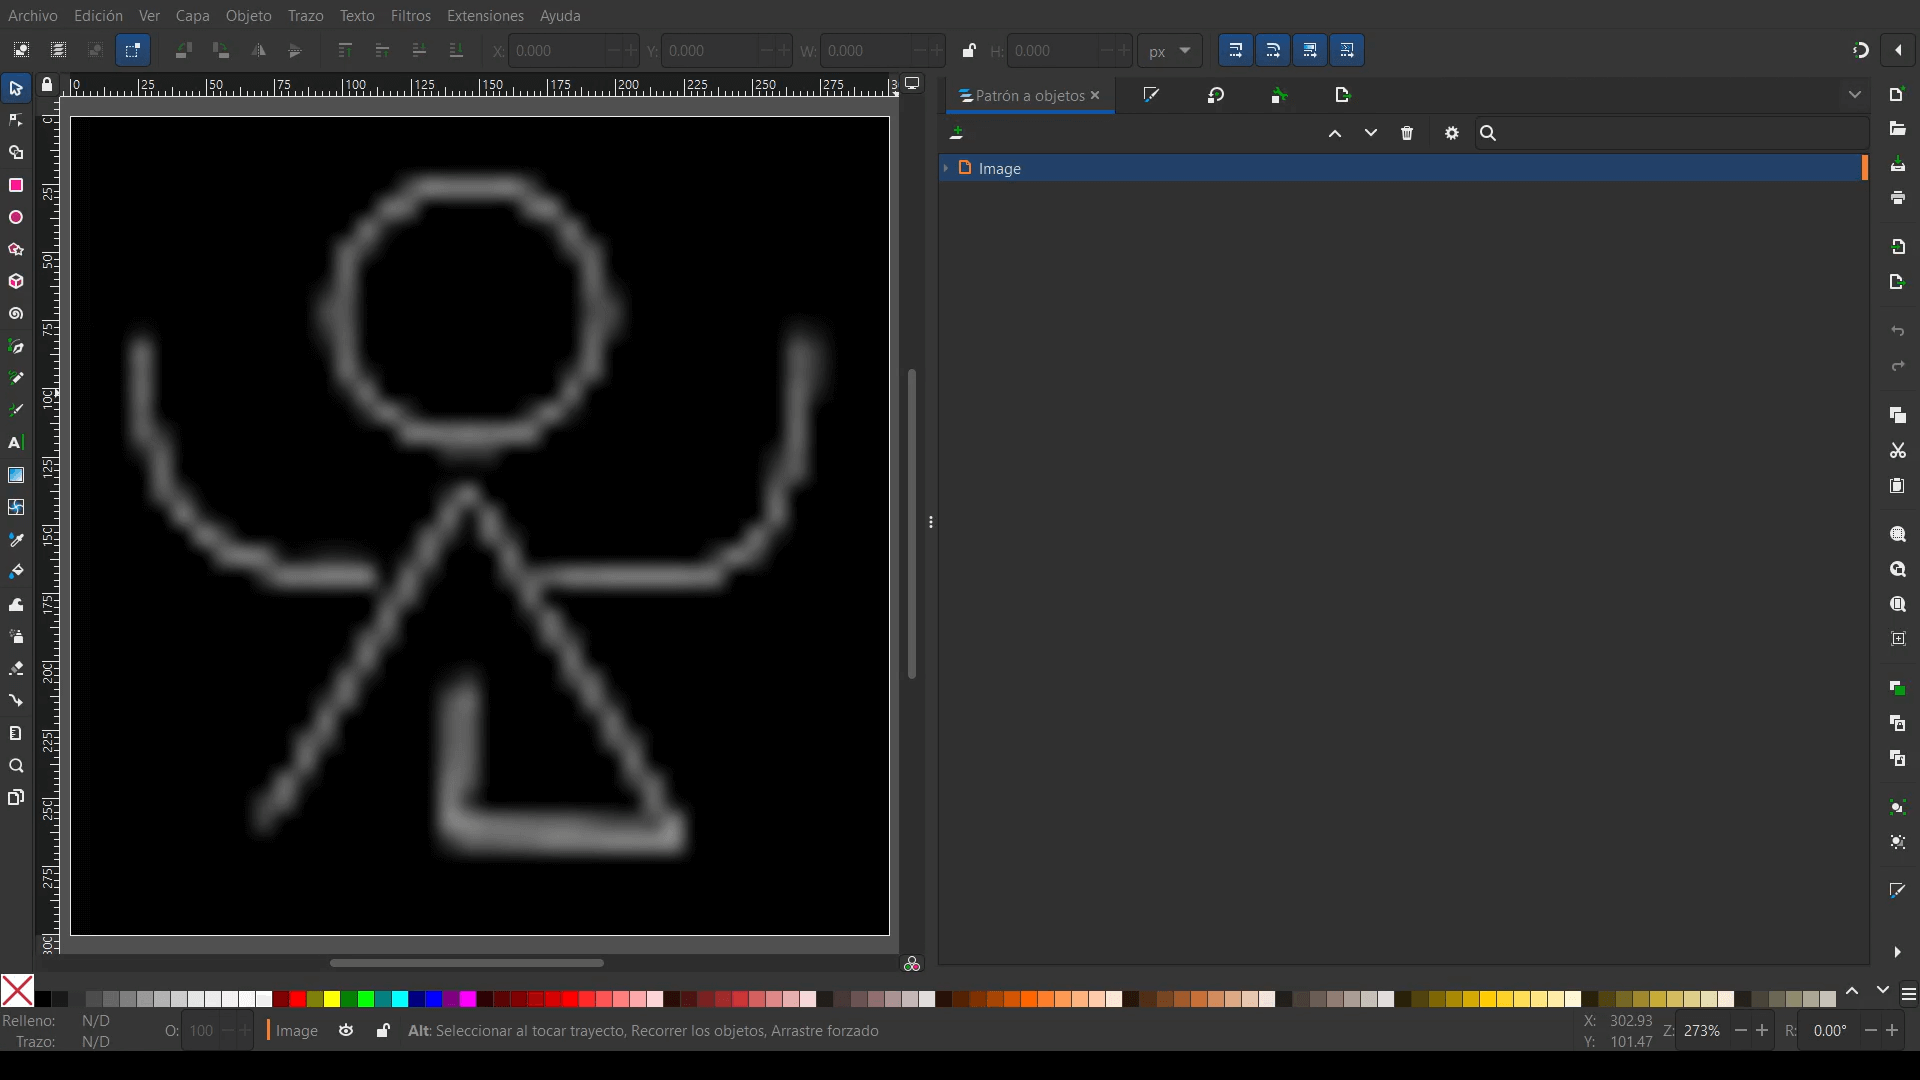
First, I imported the image of my logo (which has terrible quality).
Next, I used the trace tools and traced the outline of the image below.
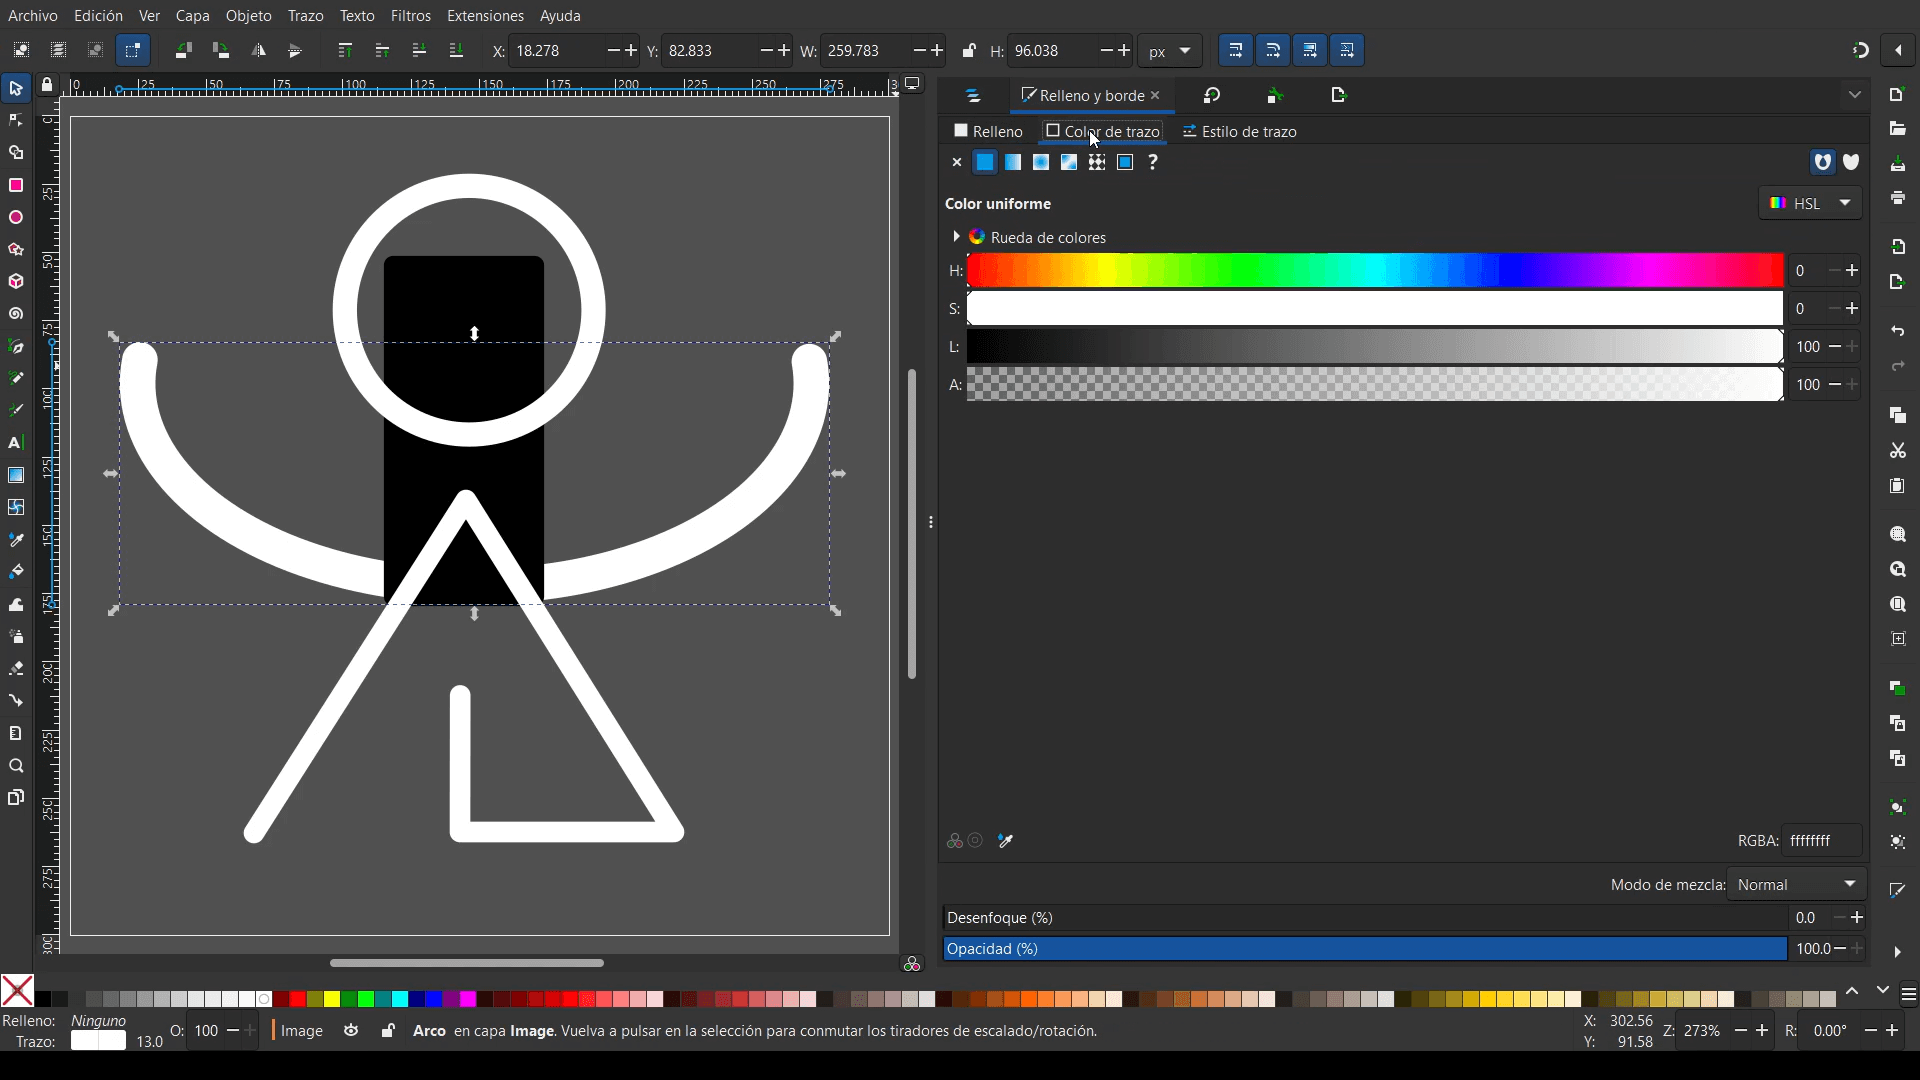
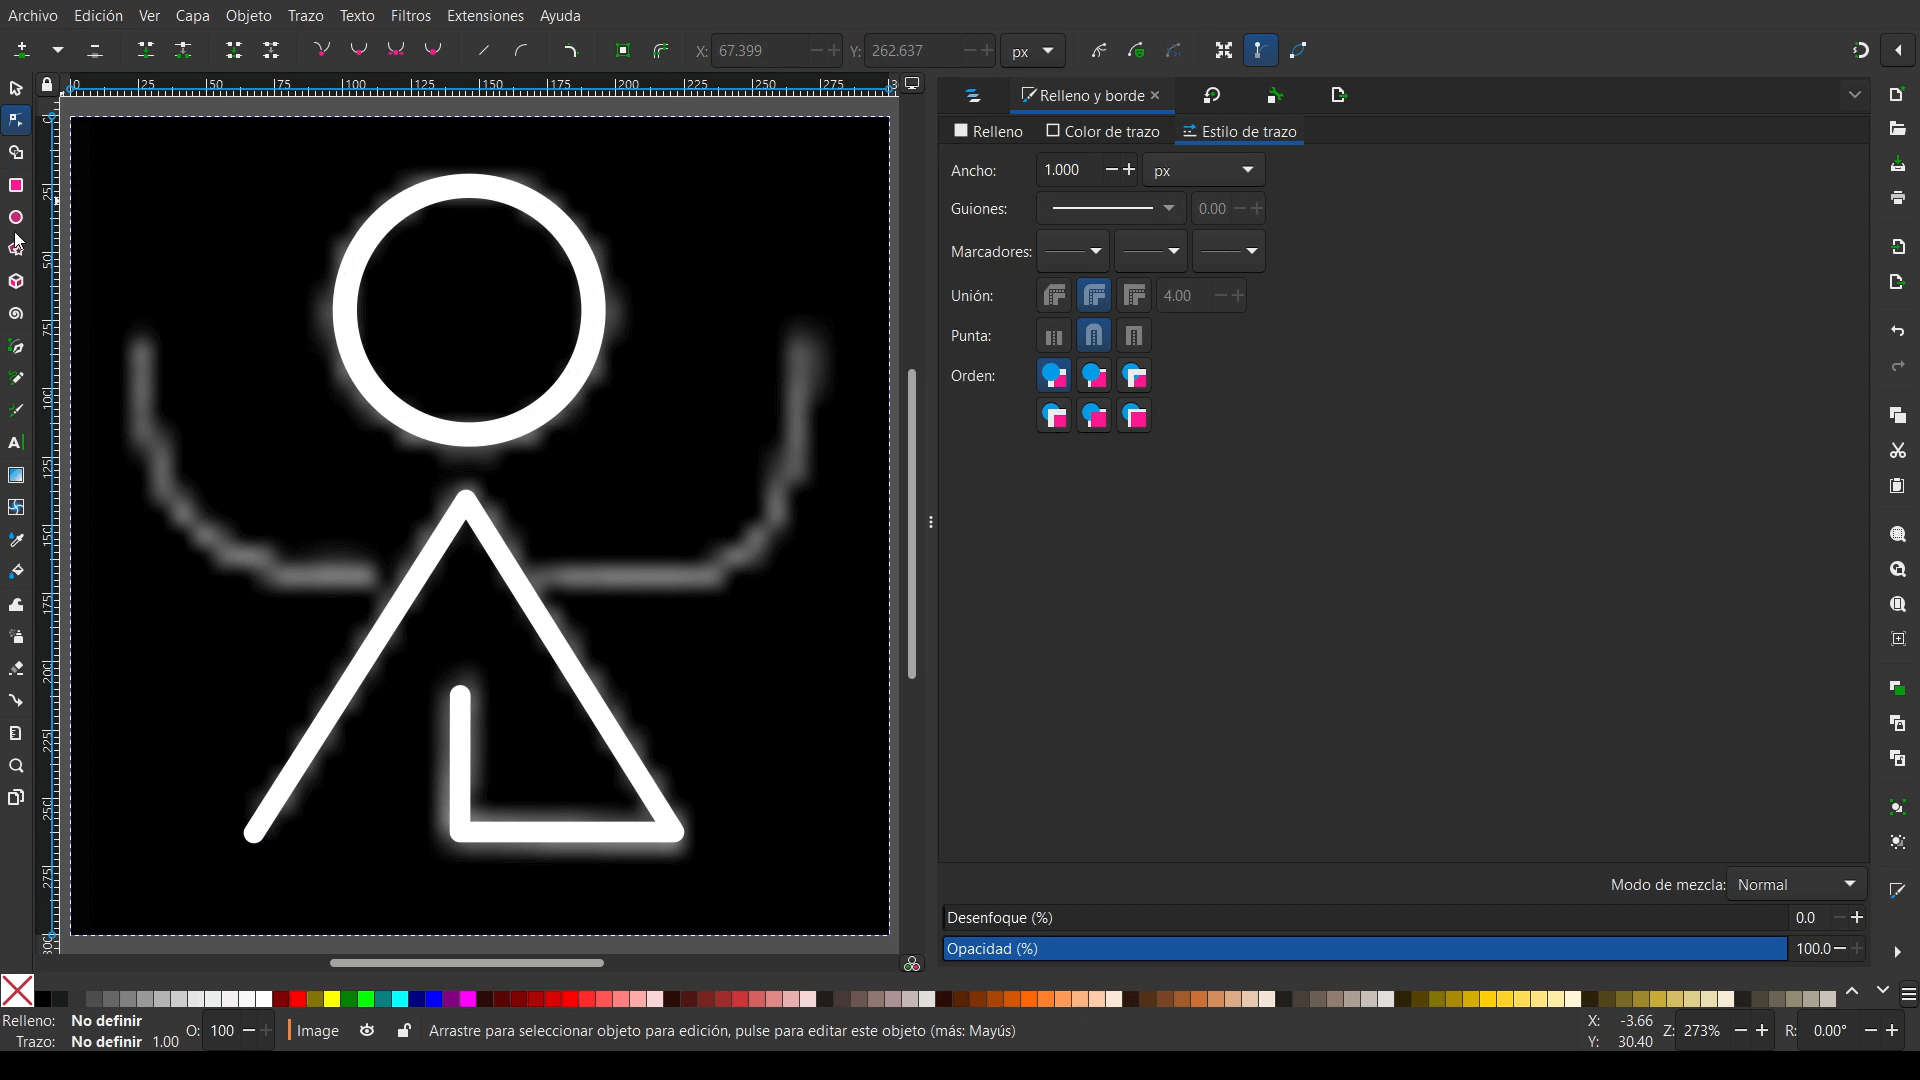
For the two outer semicircles, I used a partial oval, adjusted its position using the layers, and split it with another black shape placed over them, but not over the central triangle.
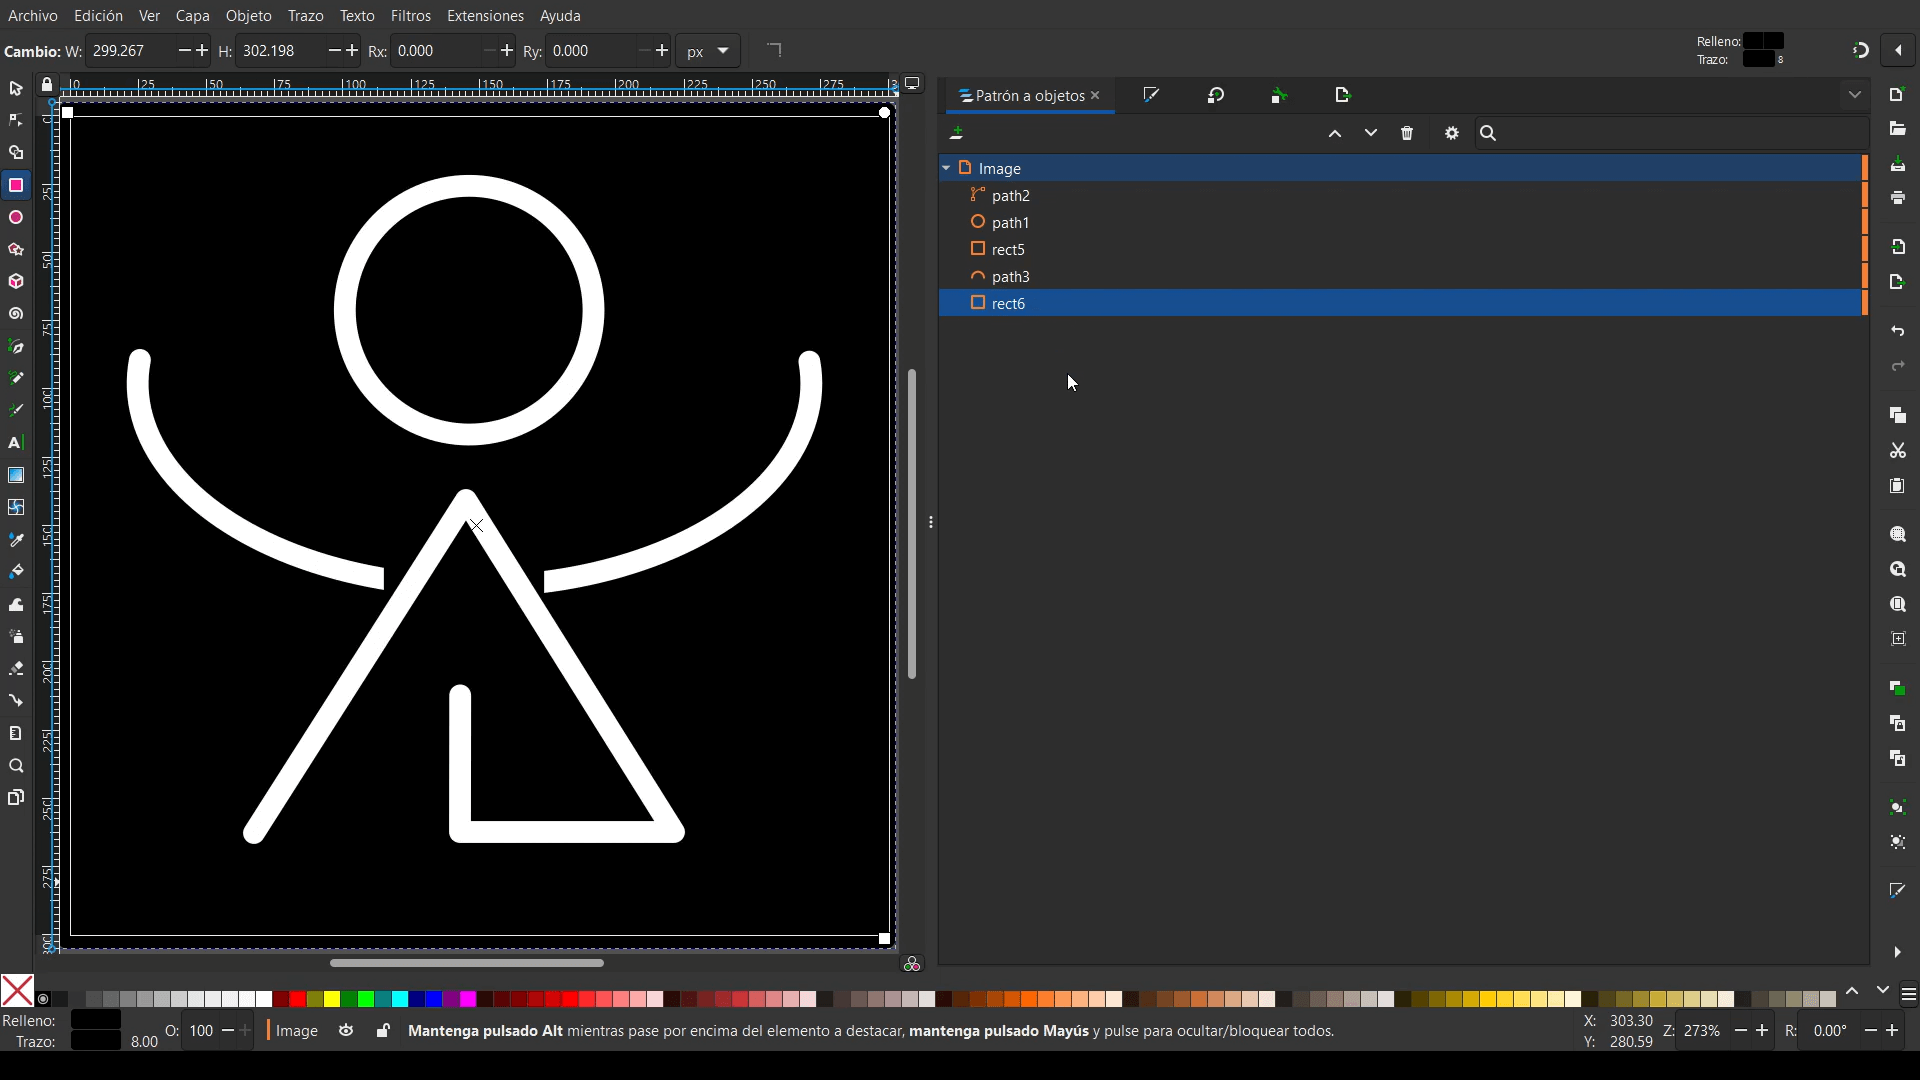
Finally, I placed a black square at the end and deleted the underlying image.

Onshape
For the initial operations, I did basically the same as in Fusion 360.
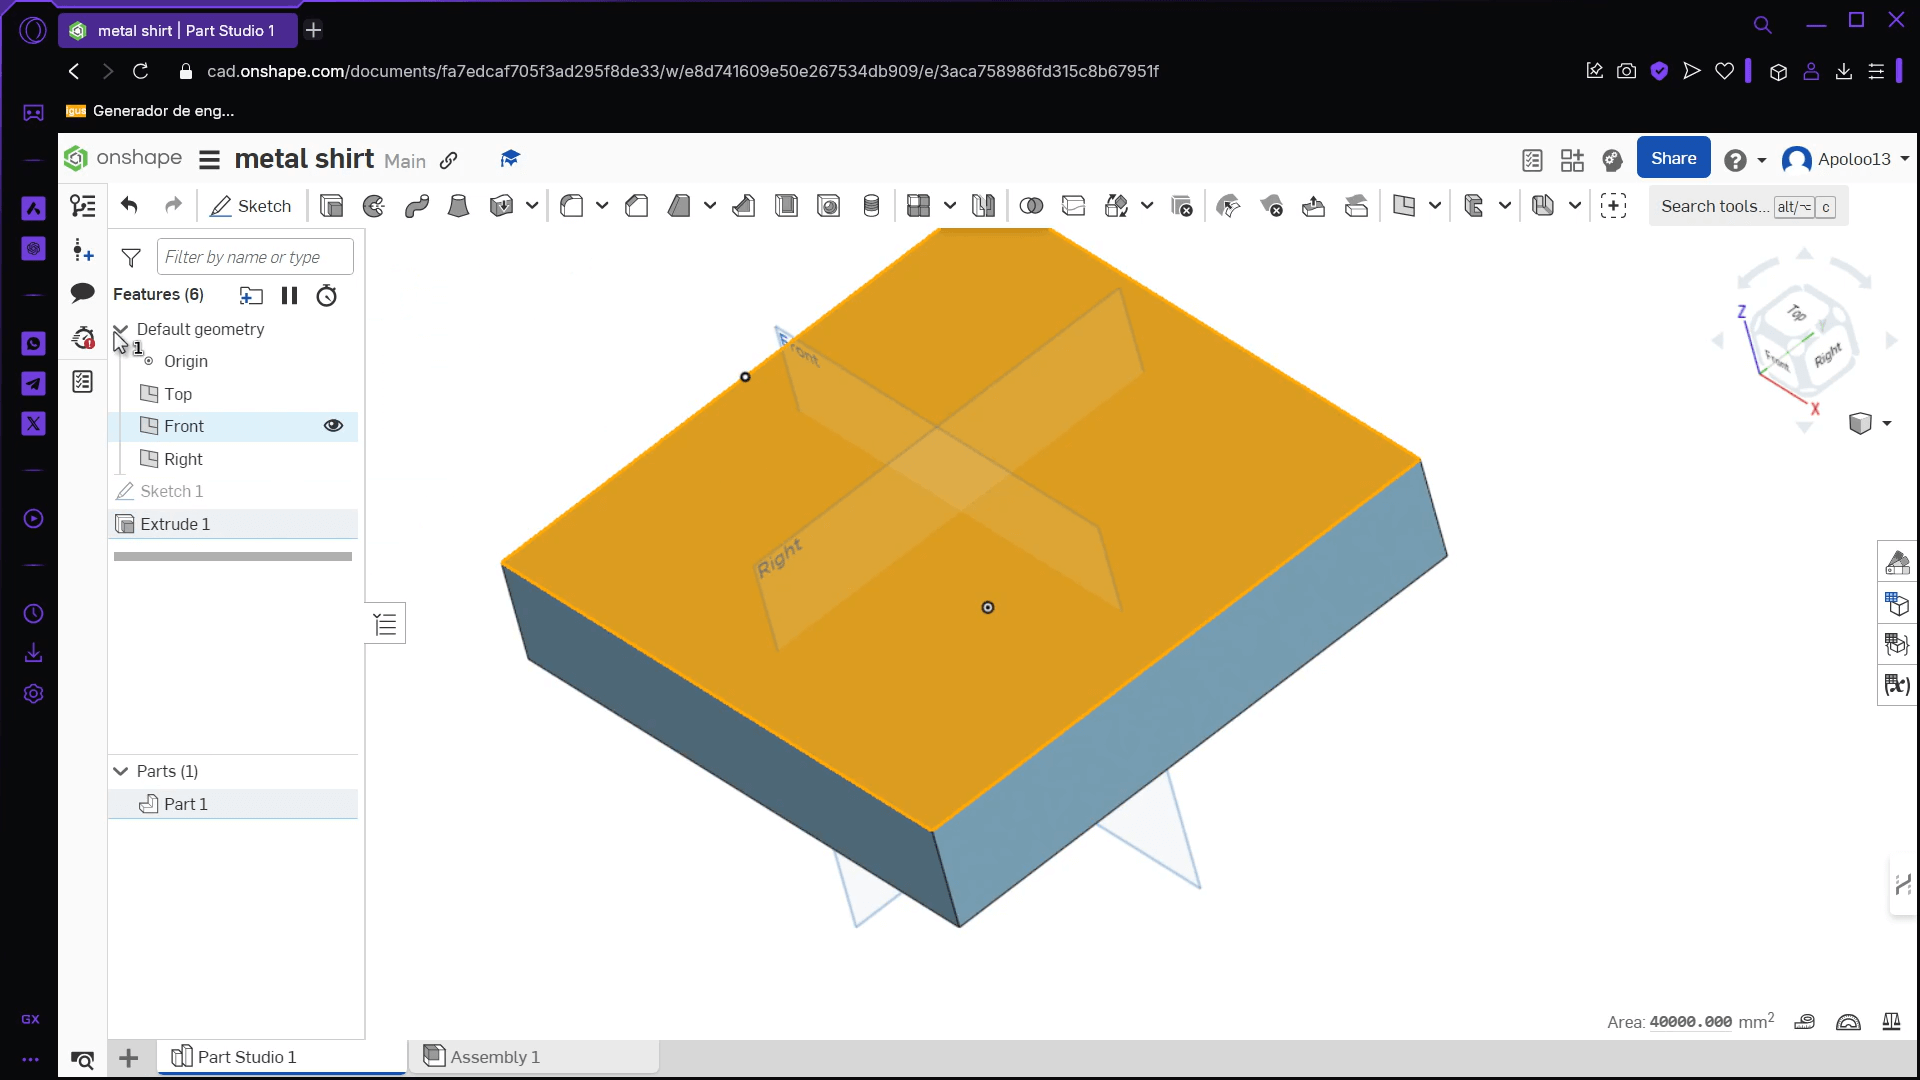
Extrude
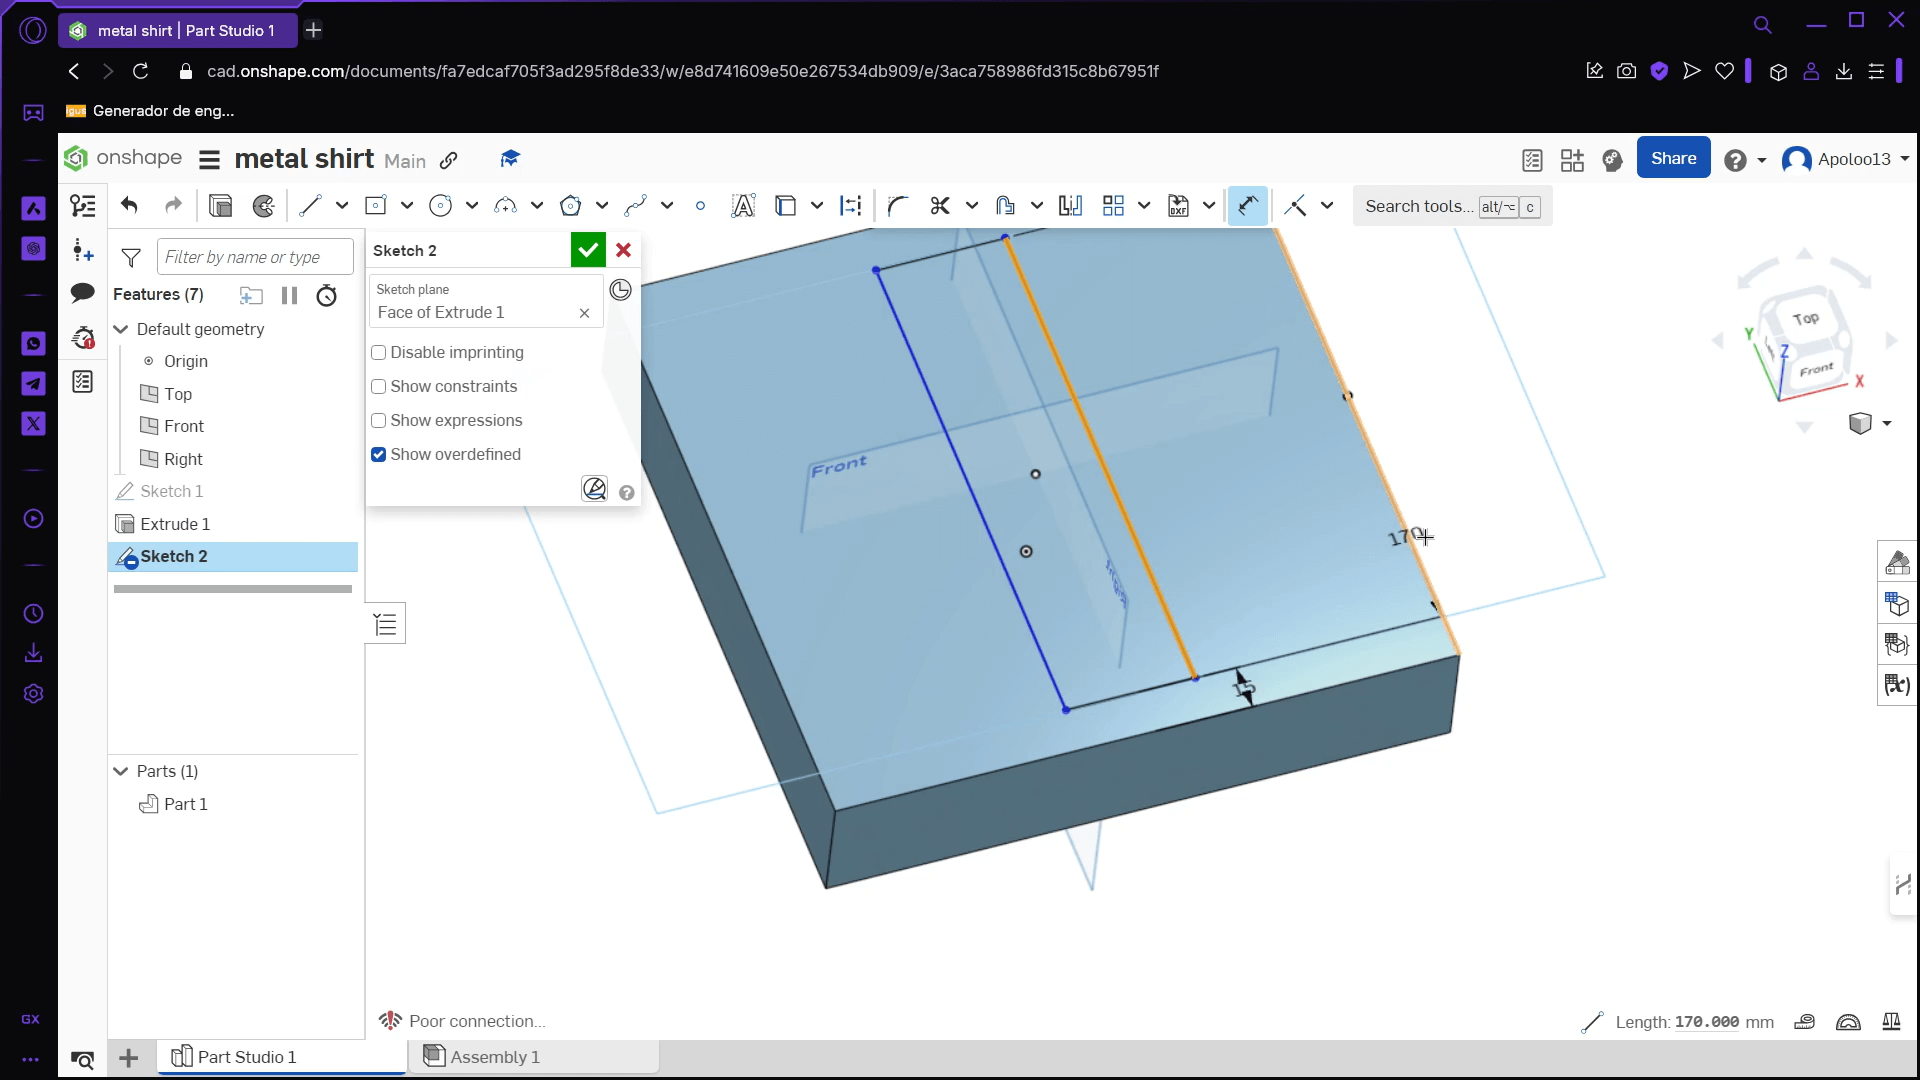
Erase
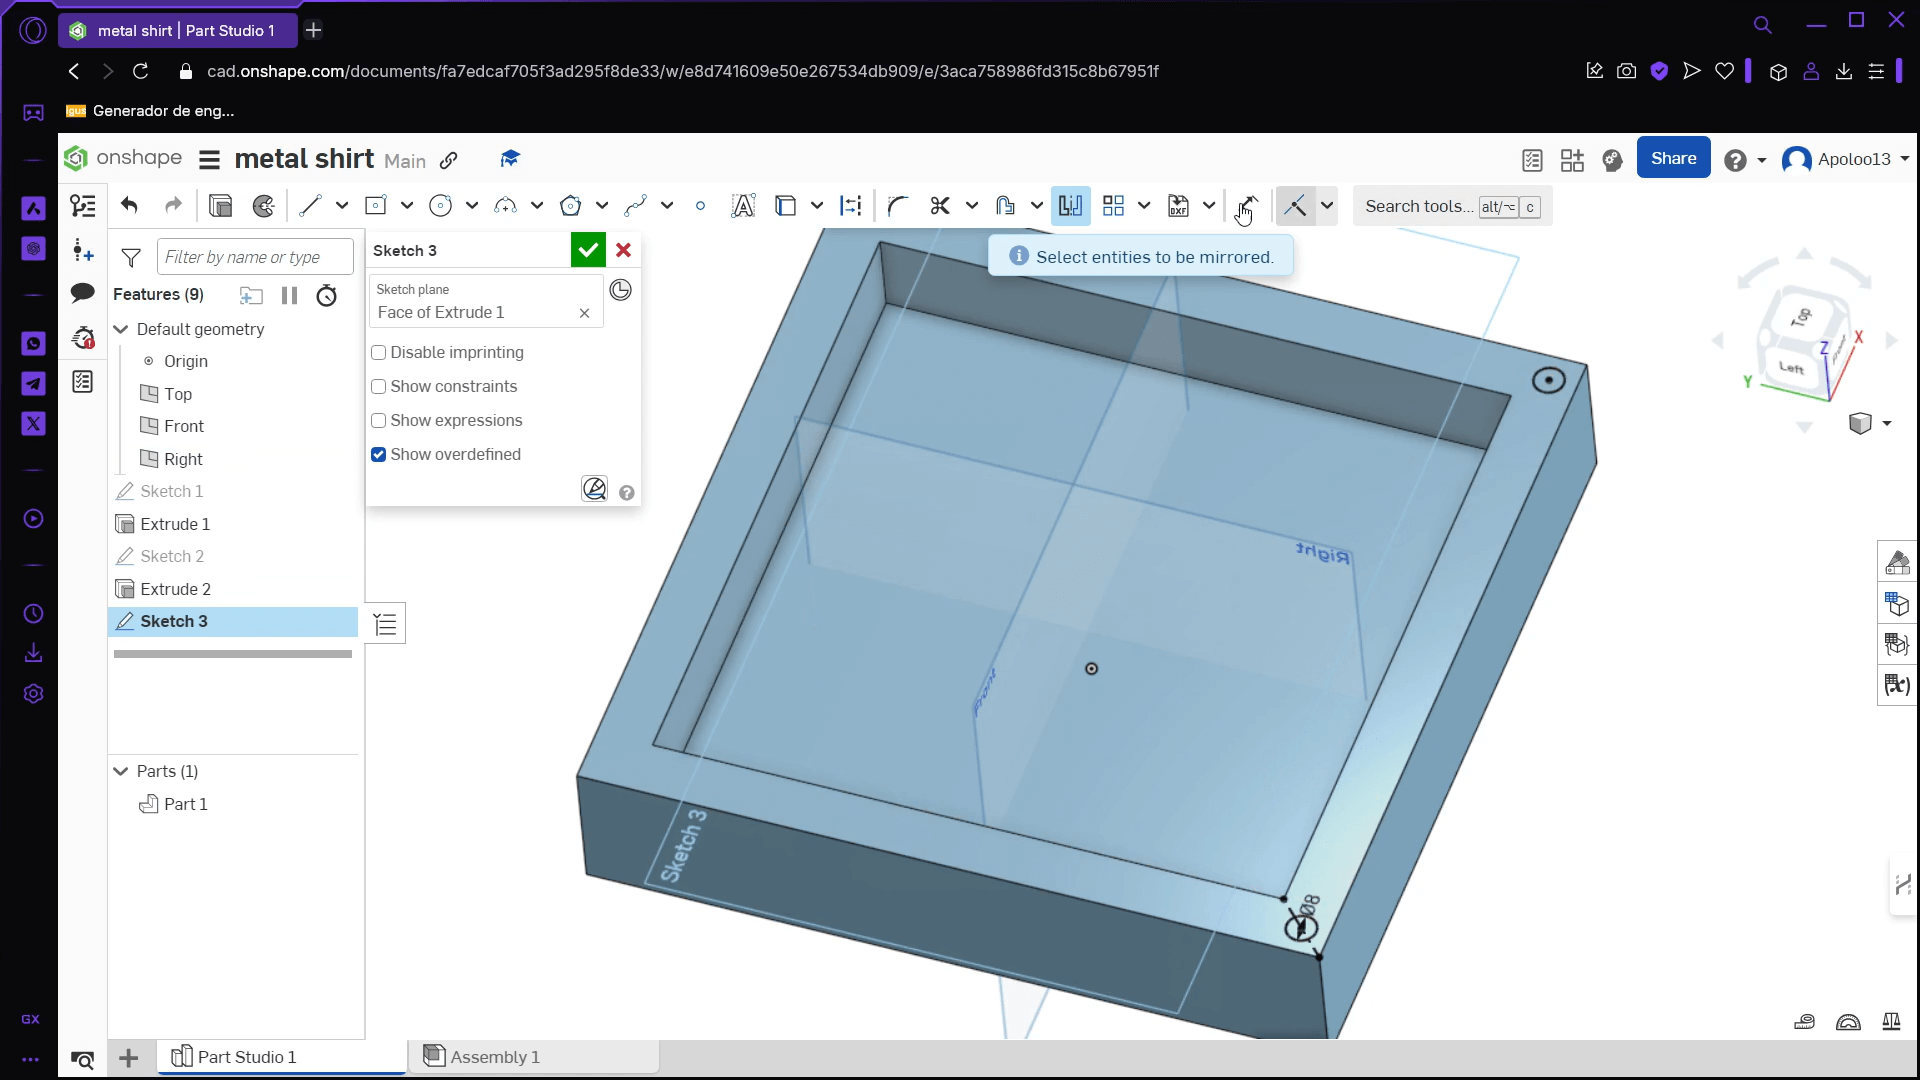
Place holes
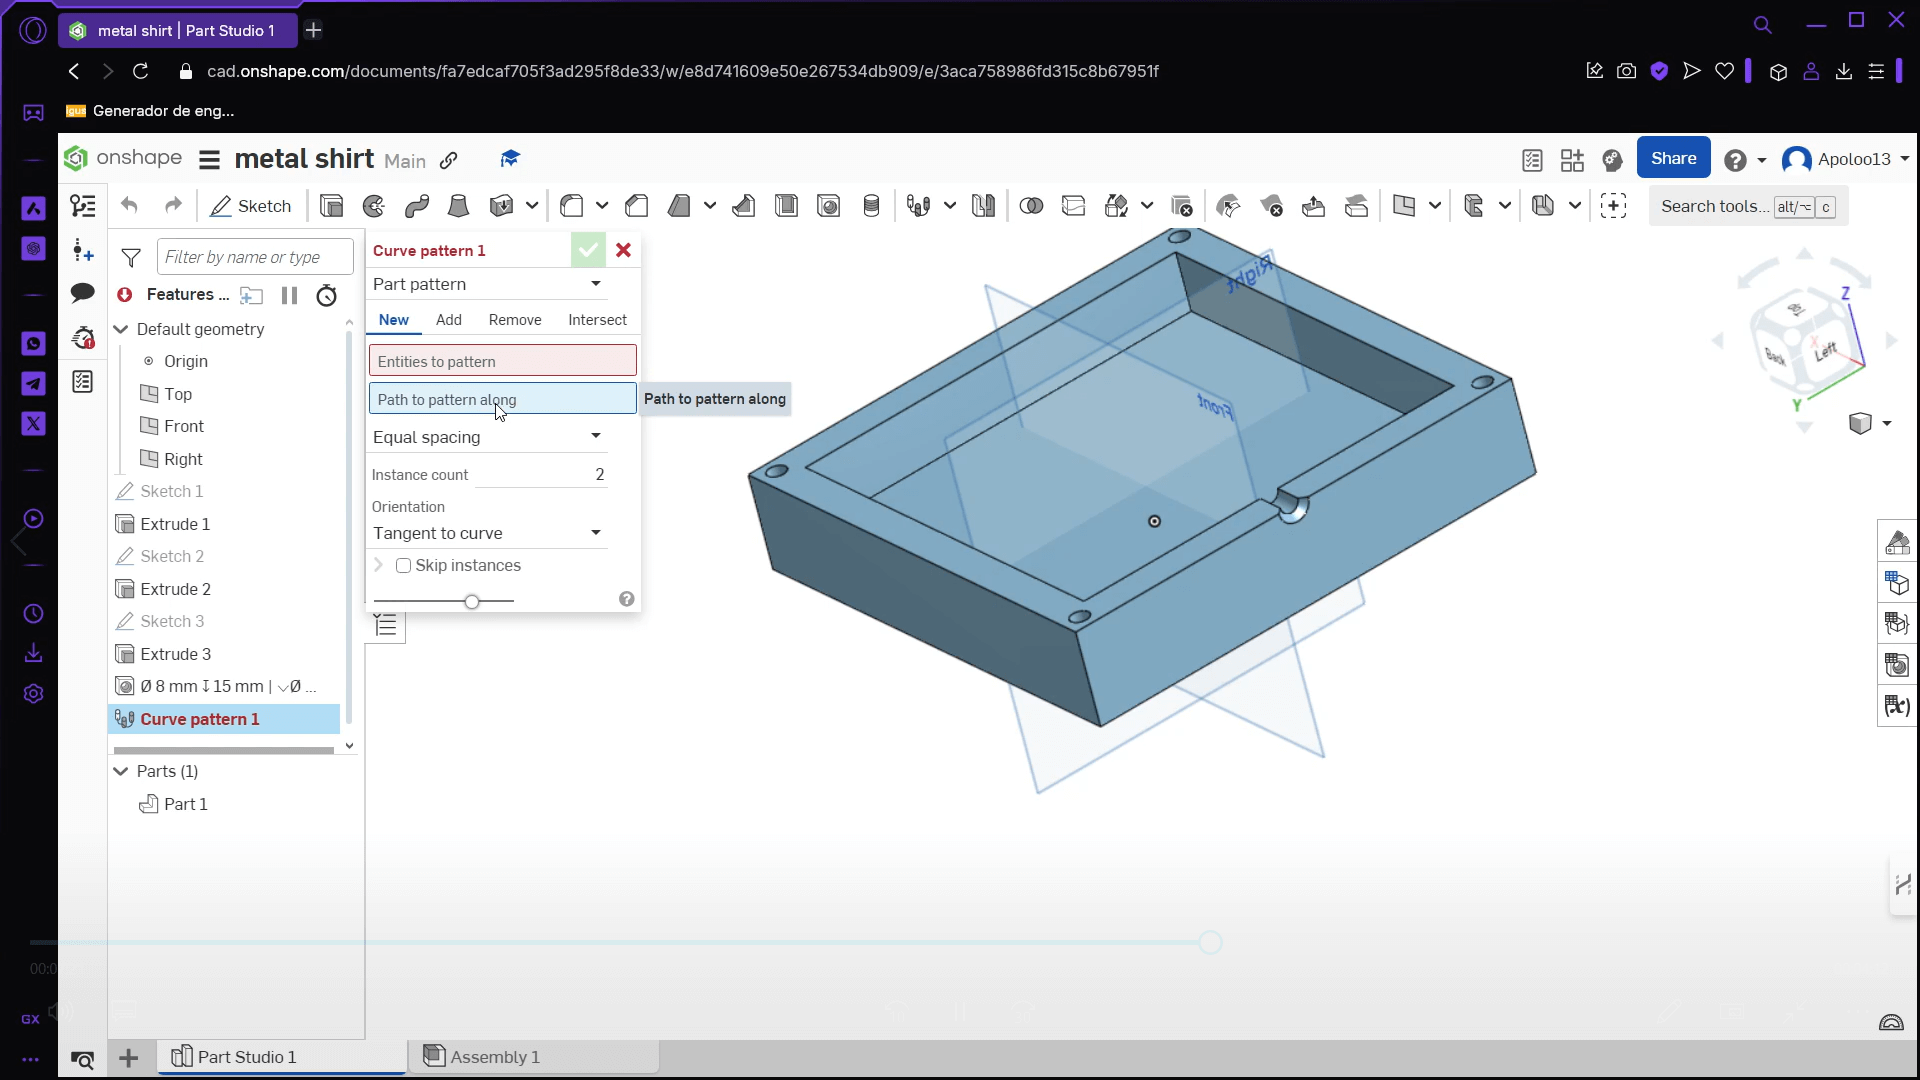
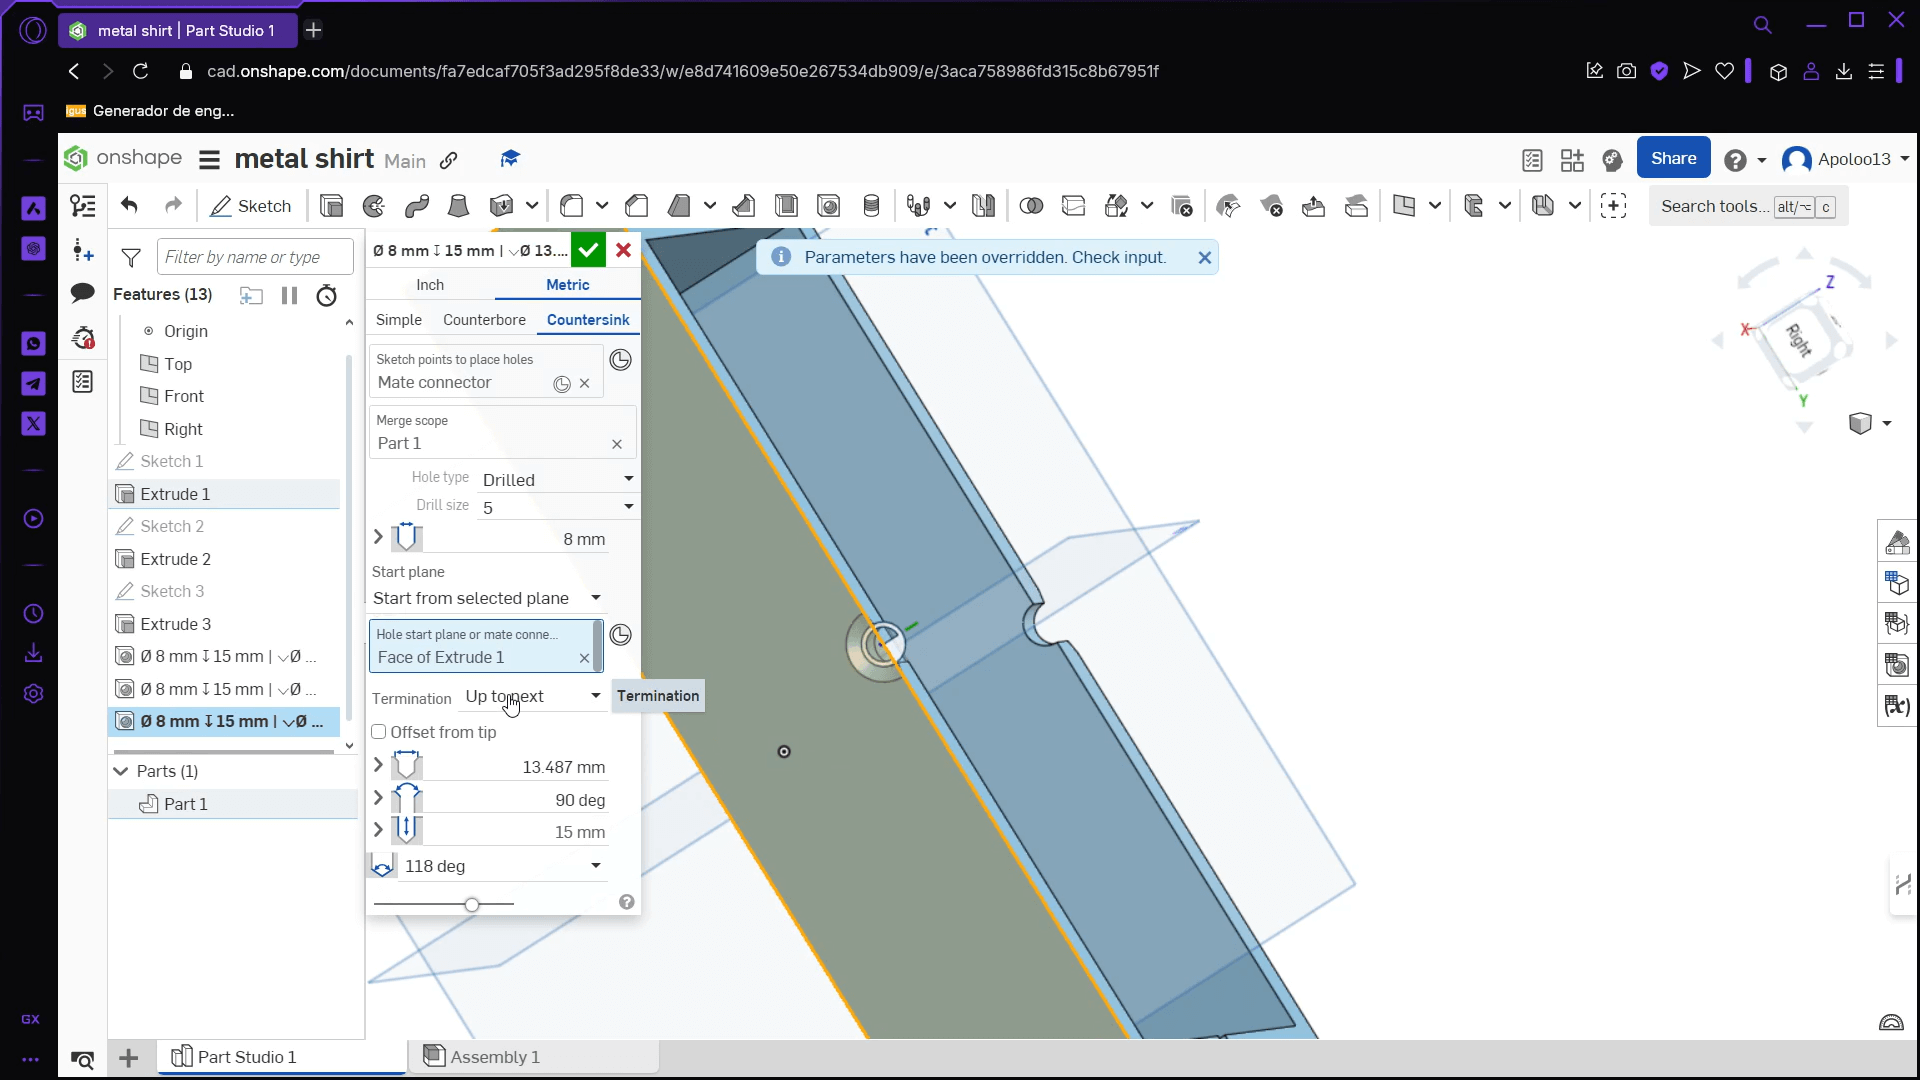
For the last step, since I couldn’t find a pattern function, I had to create the three drill holes individually in the three walls.

Solid Works
Part design
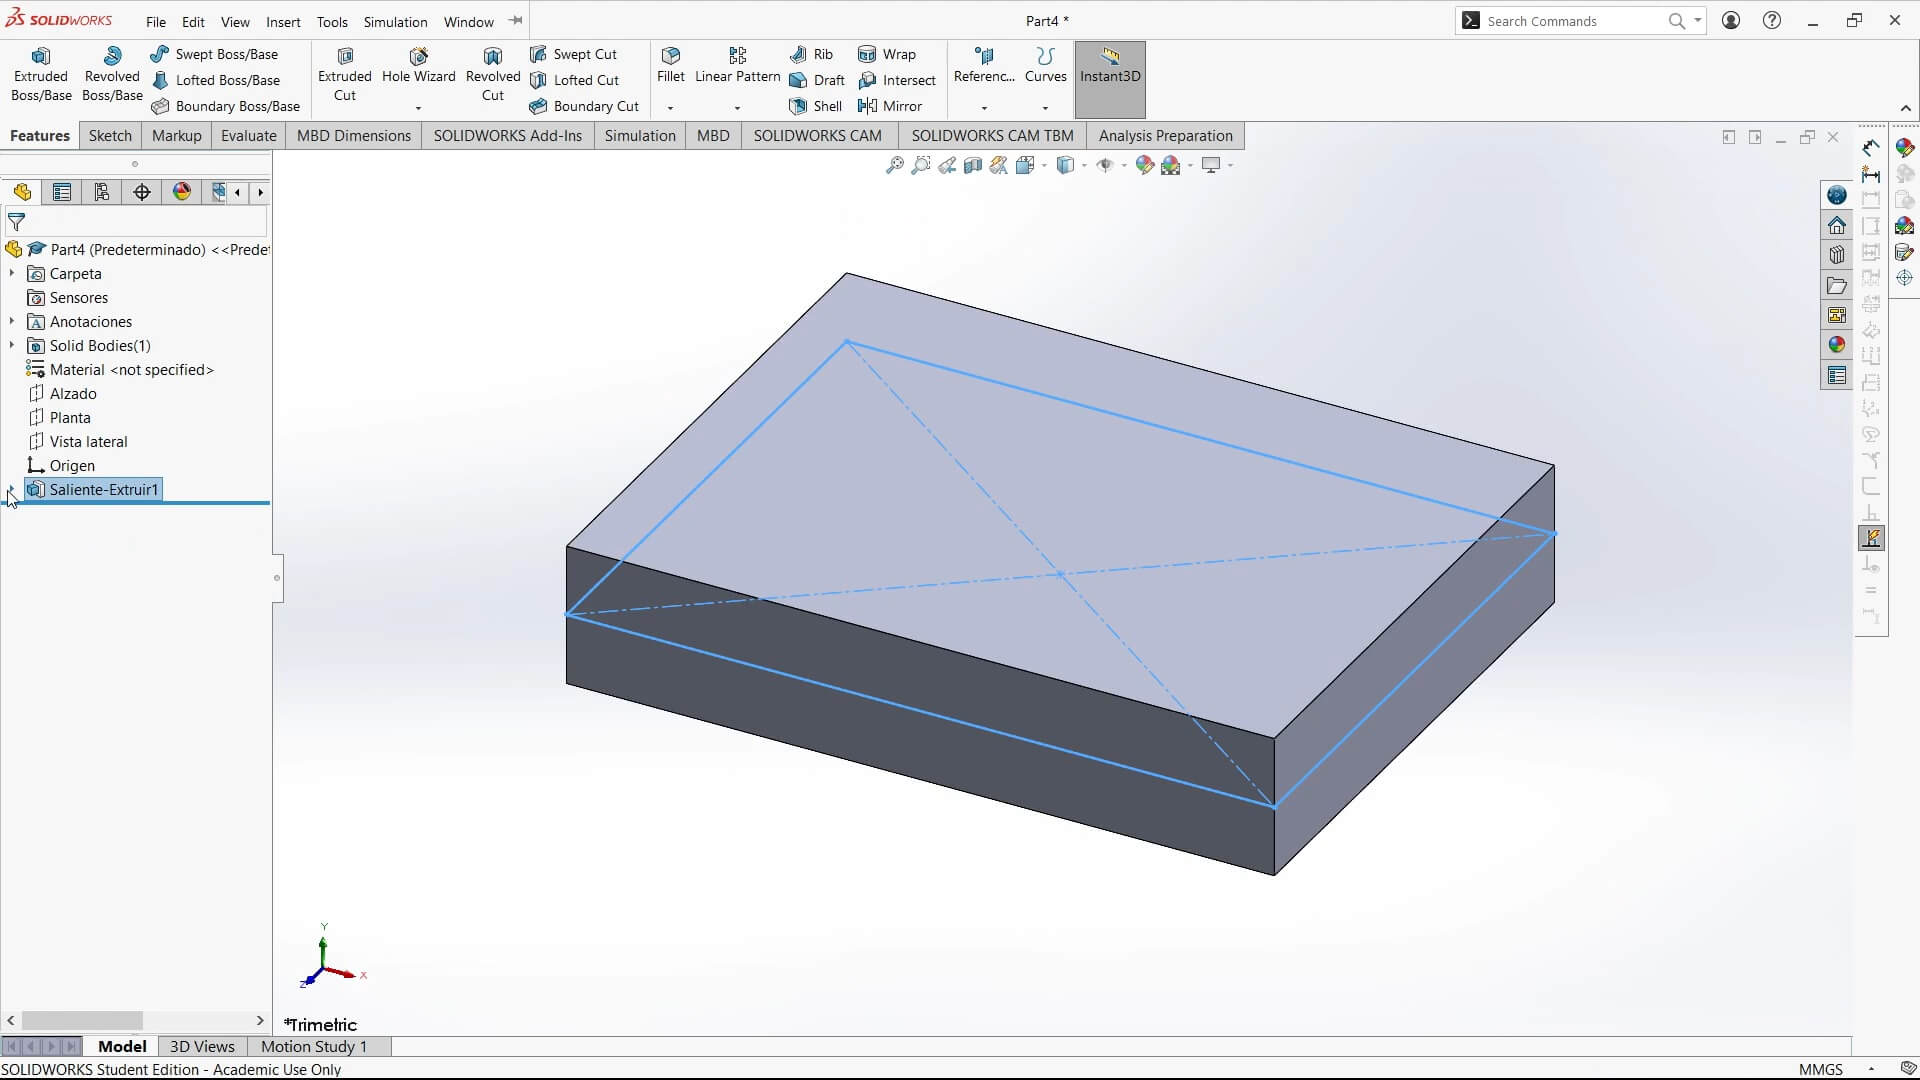
First, I created the basic square.
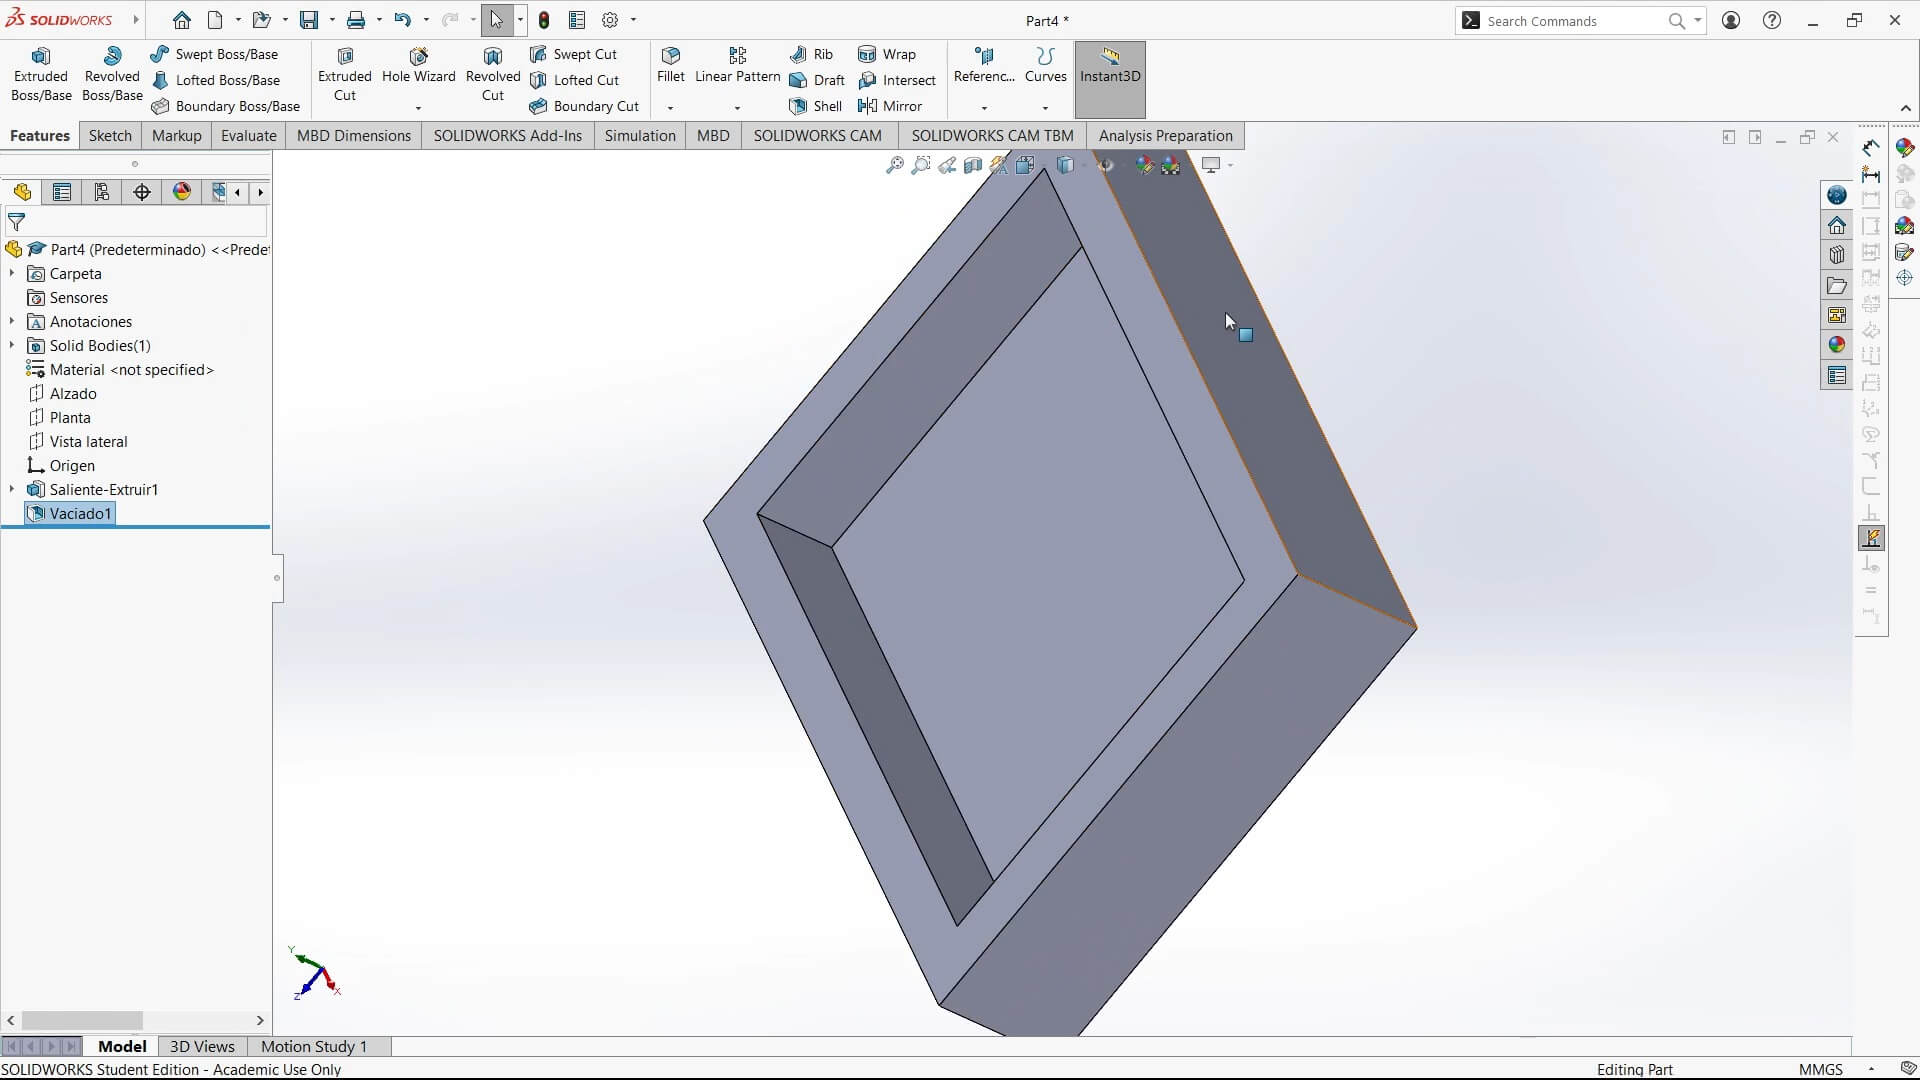
Then, unlike the other processes, I used the Shell function to create a hollow interior in the piece.
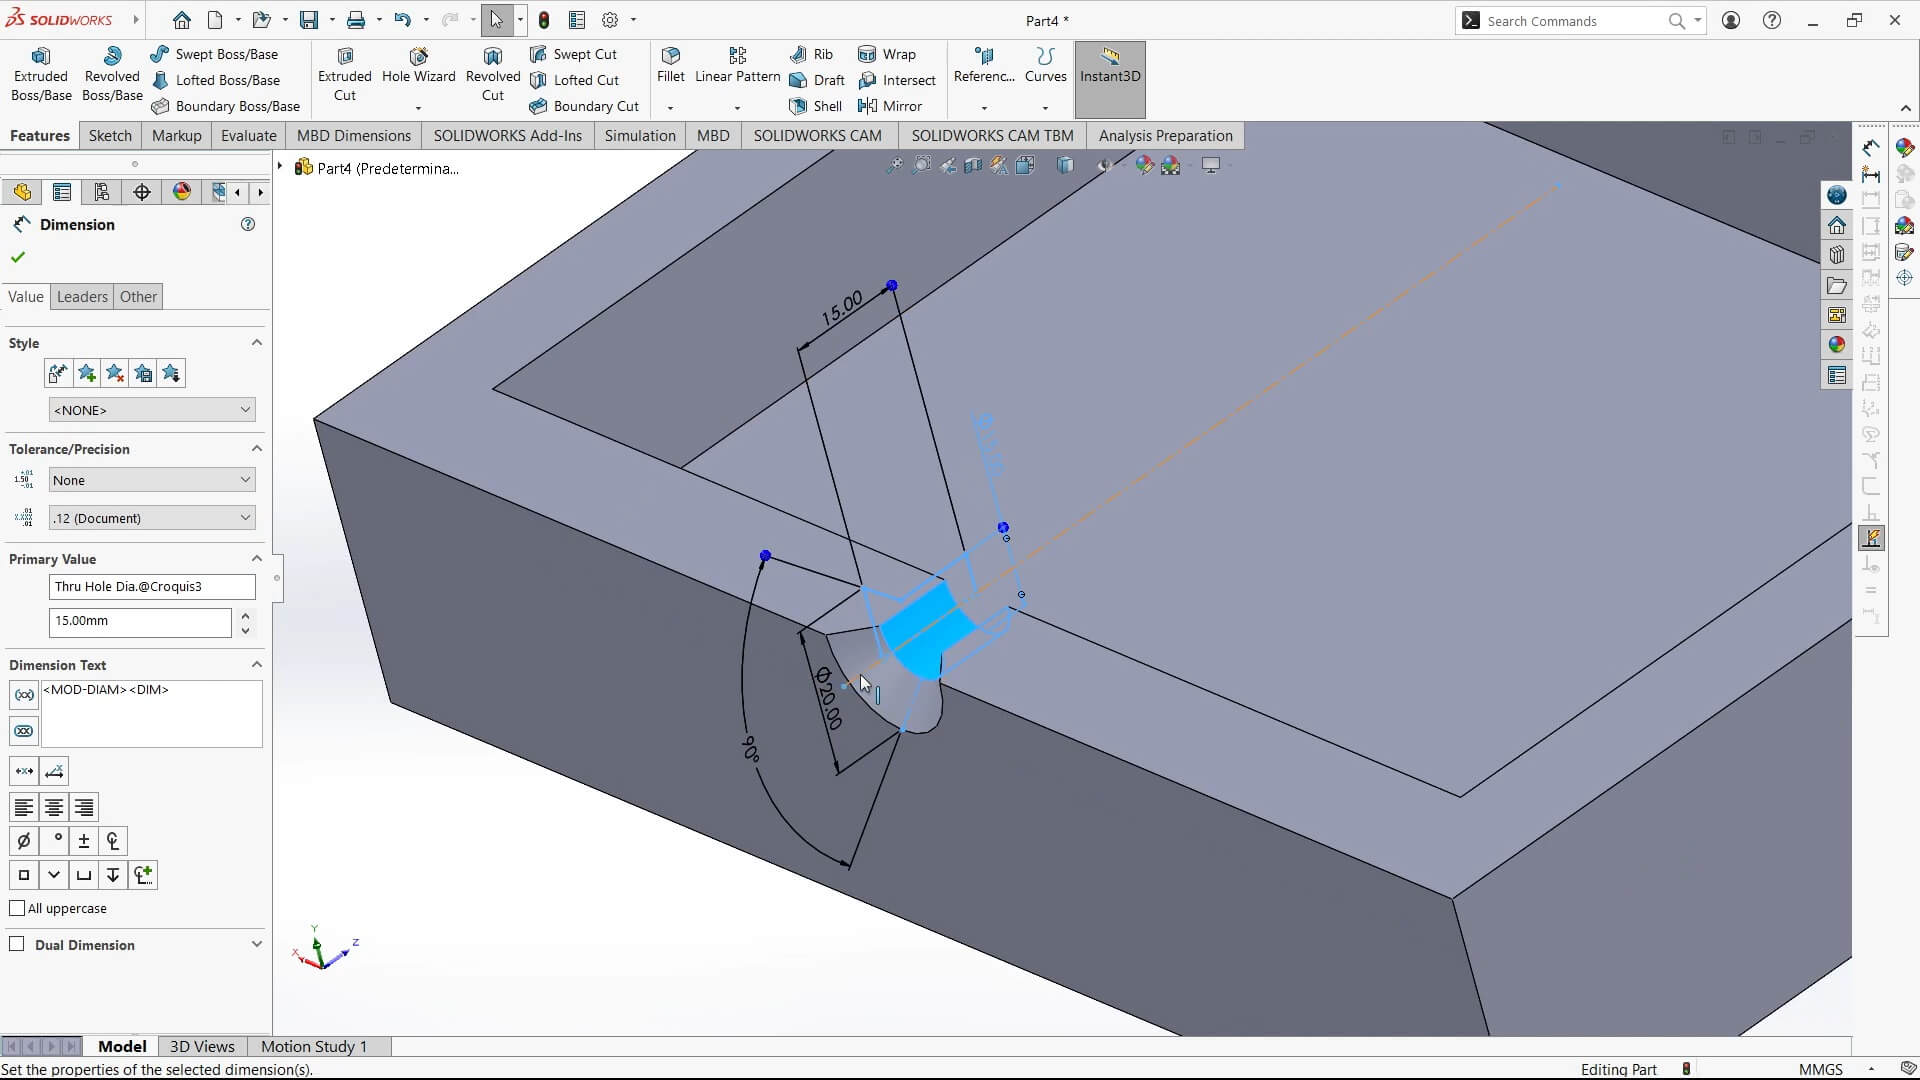
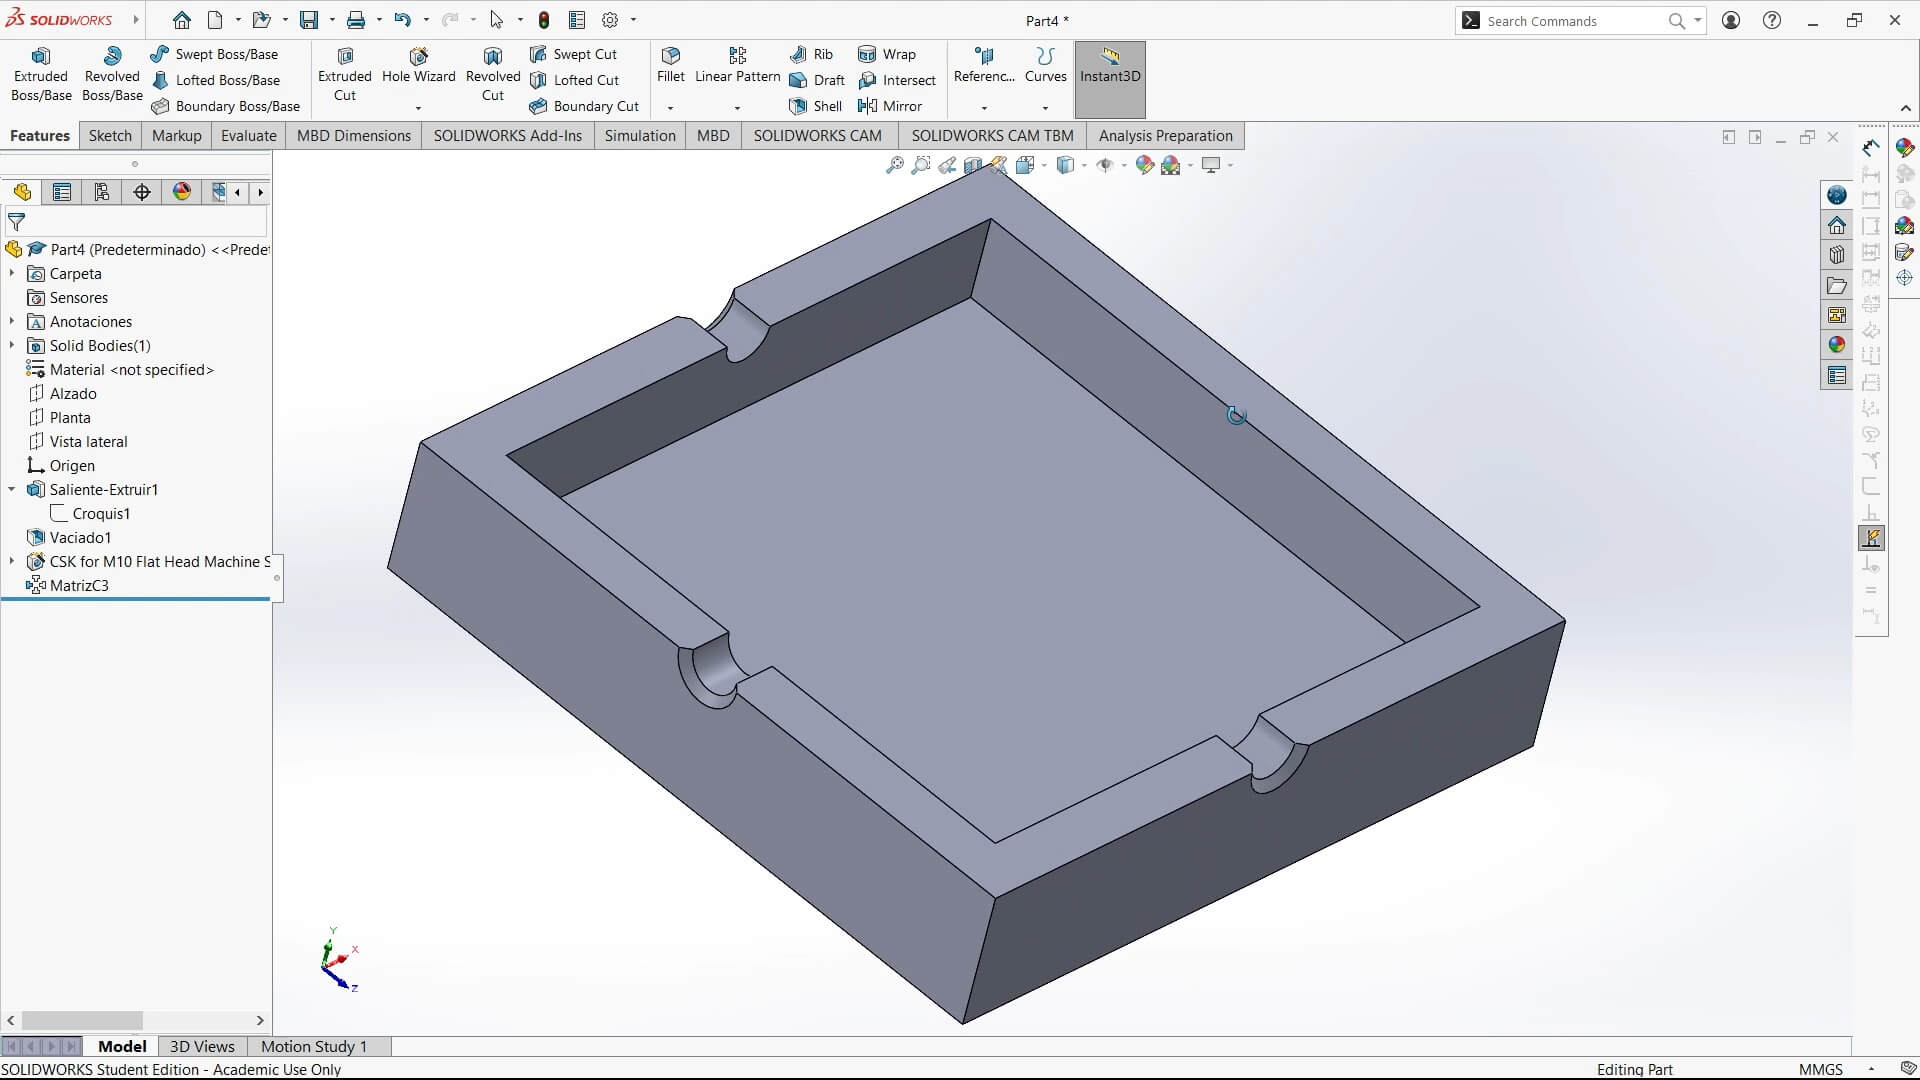
Next, I defined a hole on one of the sides. After that, I used a circular pattern to create three identical holes.
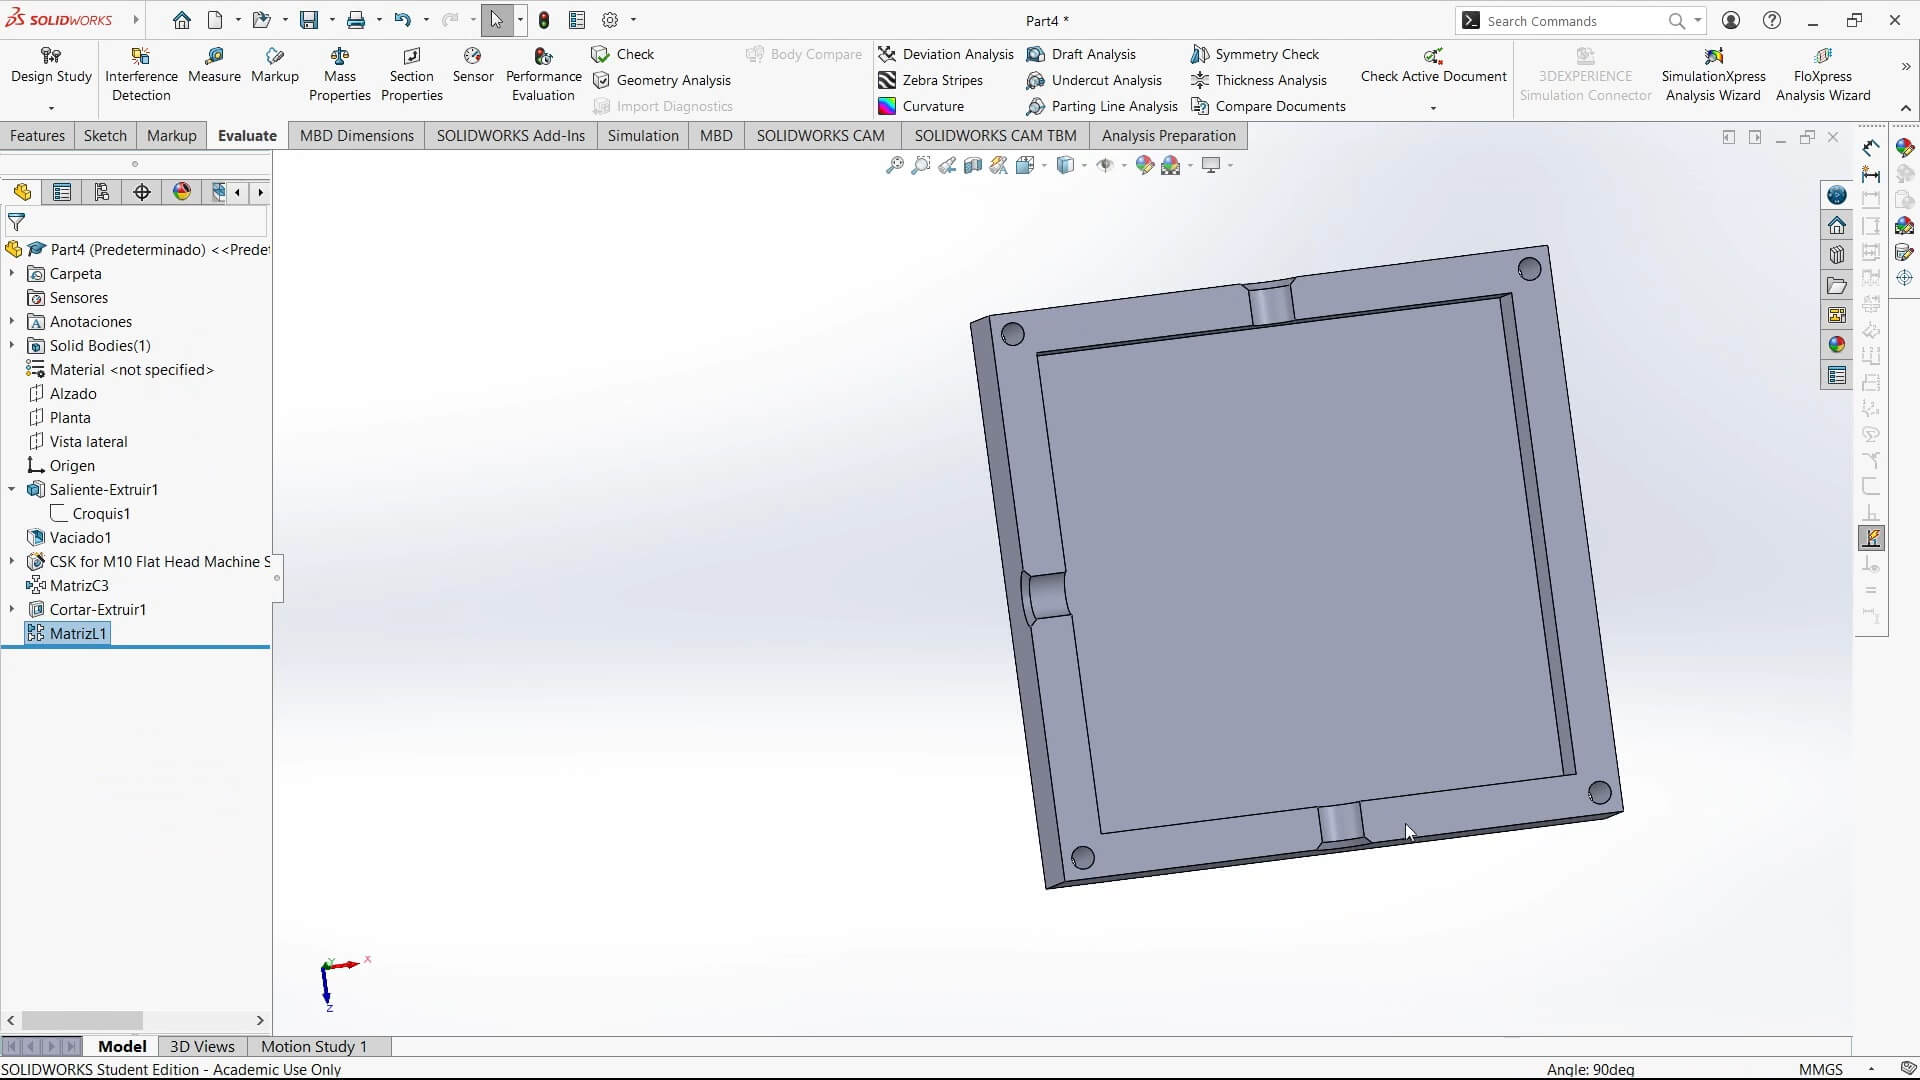
Finally, I created a circle to remove material in one corner and then used a linear pattern in both directions to generate a total of four.
Rendering

For the rendering, I first defined a background, which can be found under Scenes > Basic Scenes > 3 Point Green.
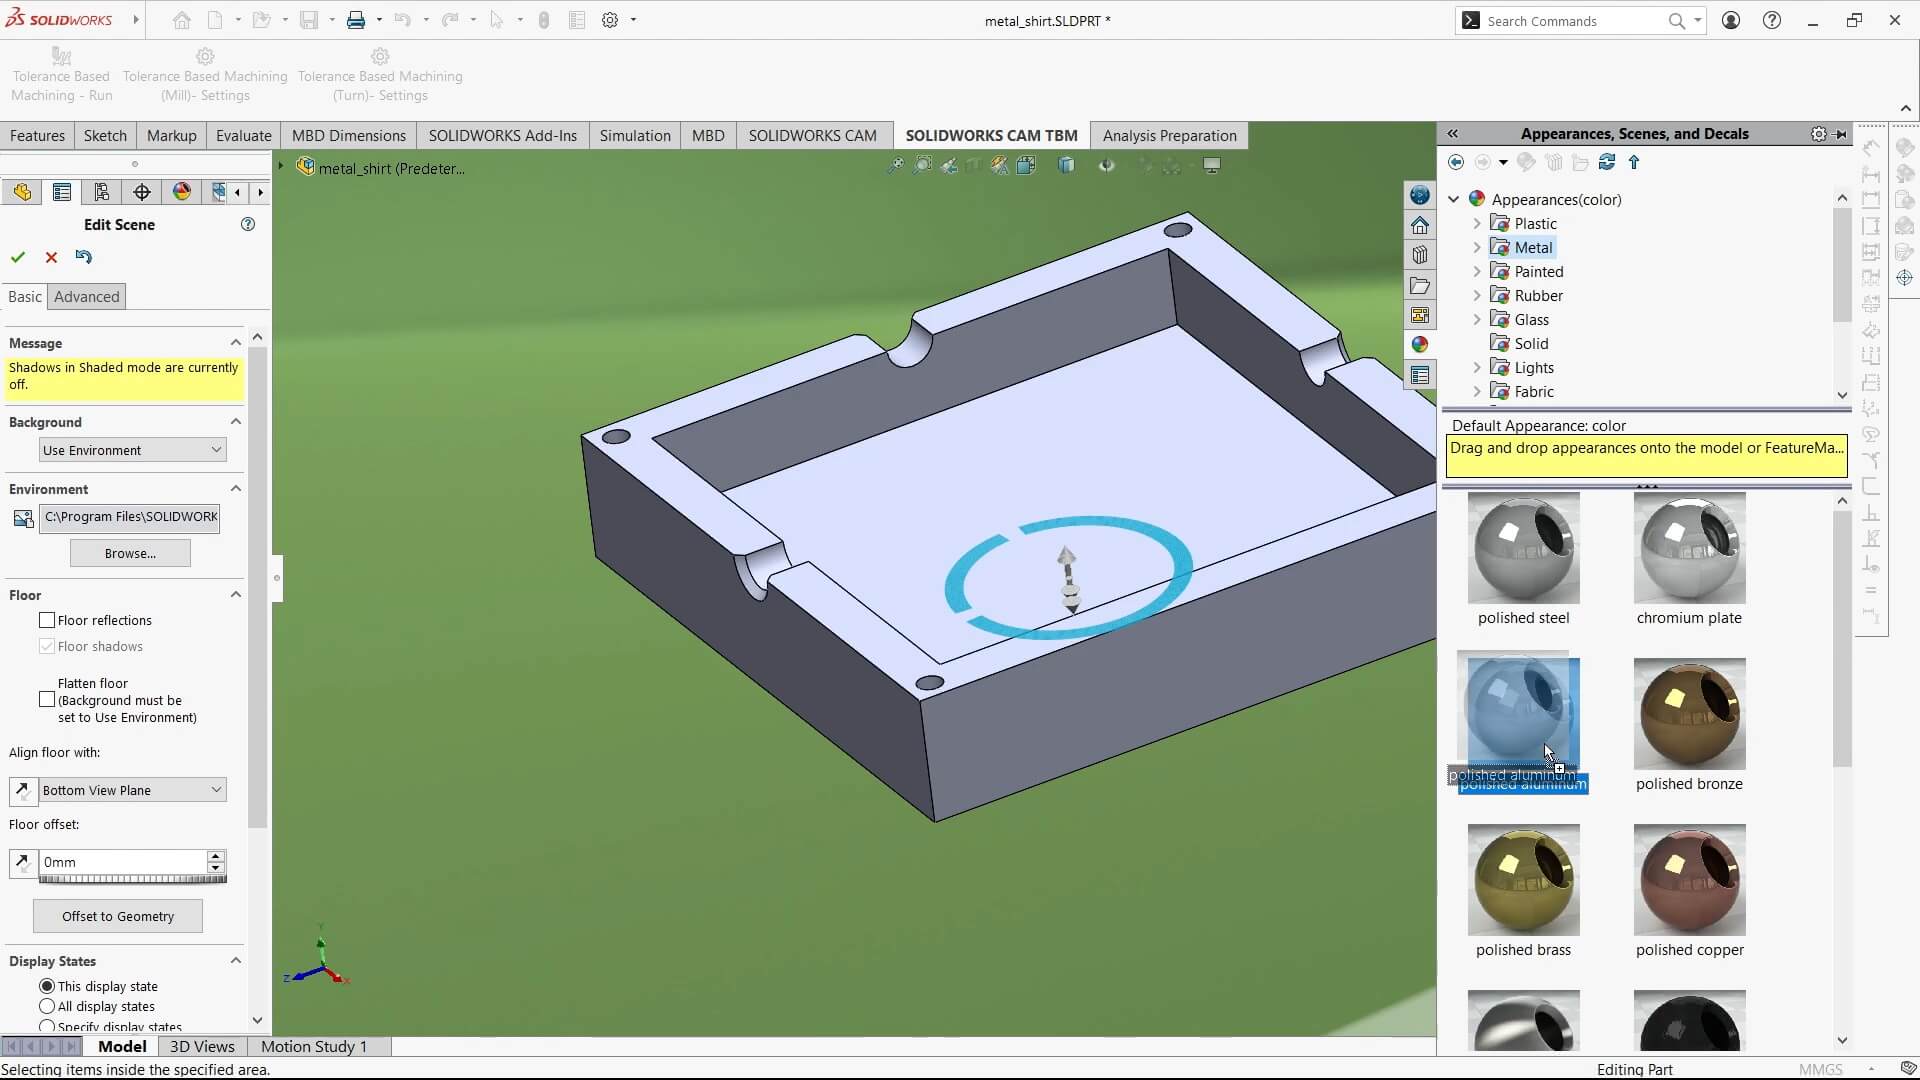
Then, I applied the aluminum color, found under Appearances > Metal > Polished Aluminum.
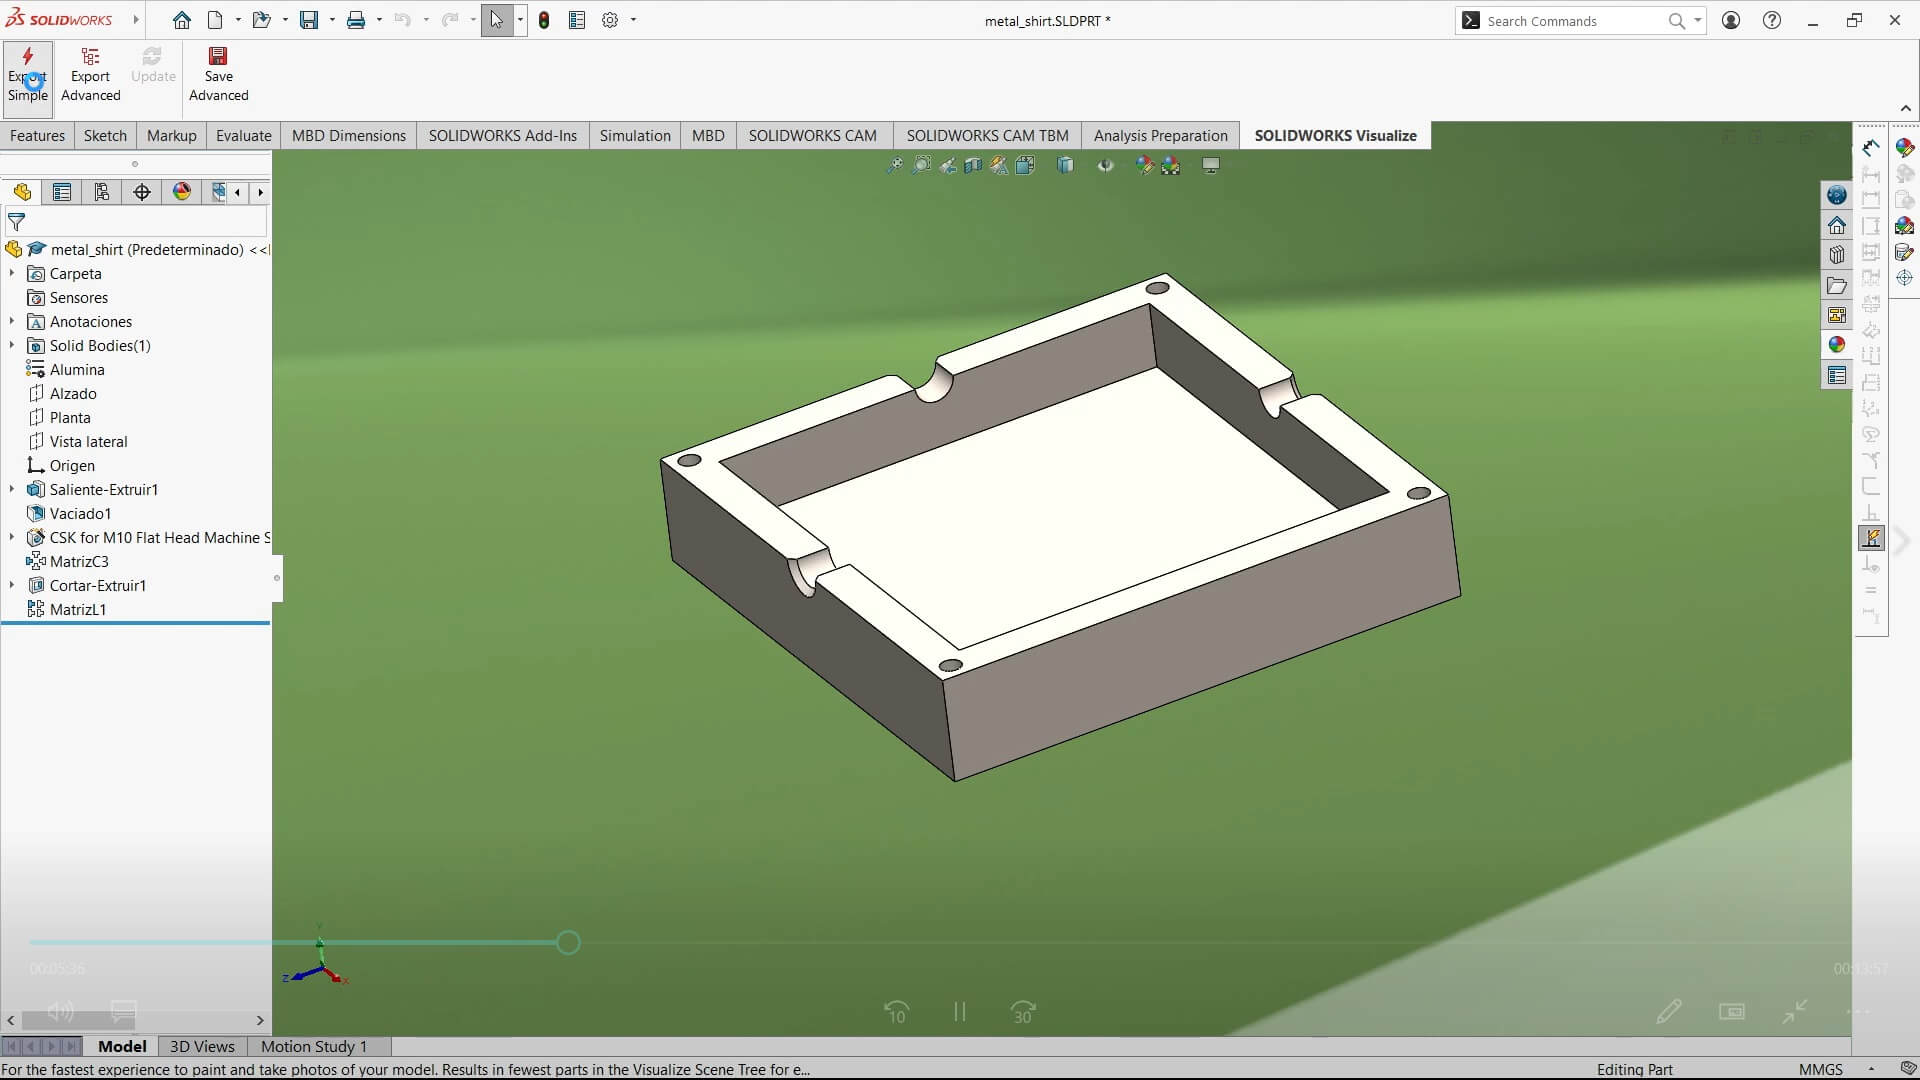
Later, I activated the SOLIDWORKS Visualize tab.
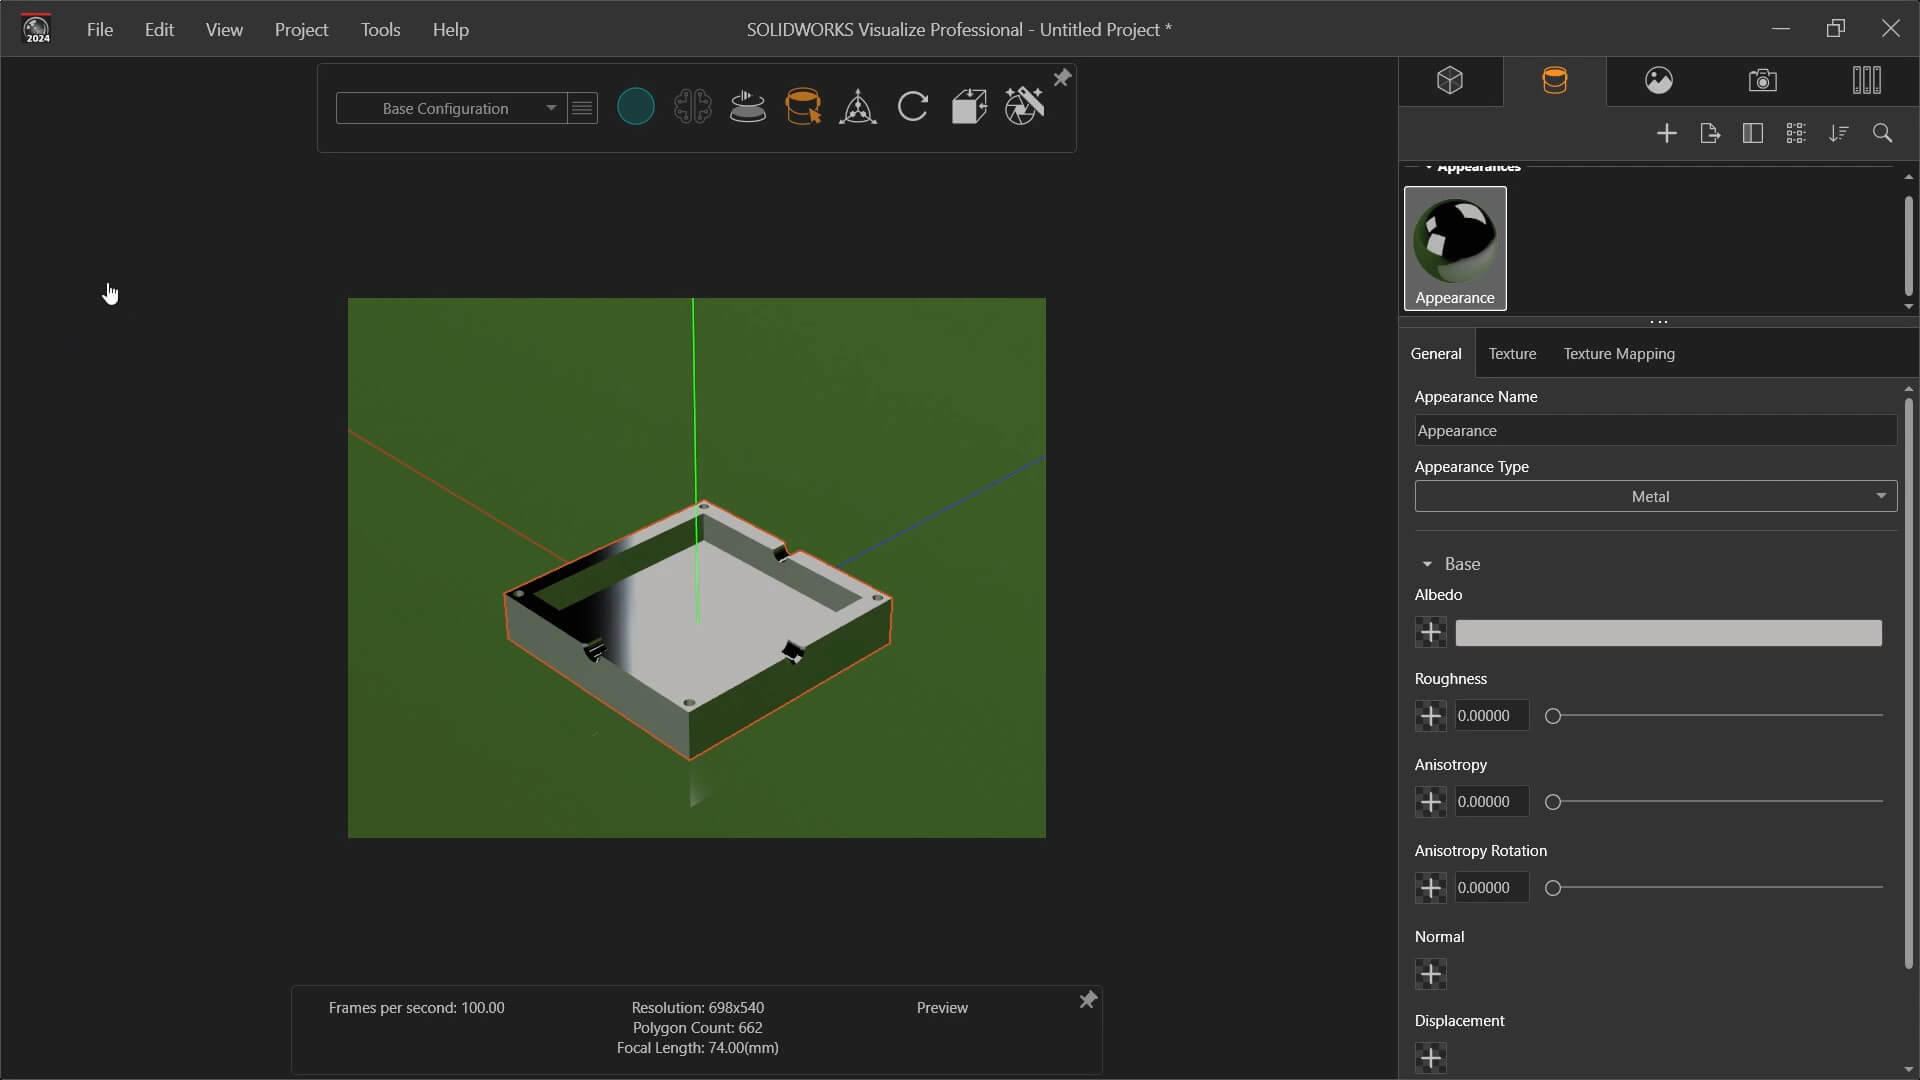
Toward the end, I accessed "Export Simple" and started adjusting the different rendering options to my liking. I exported the result as a PNG, which is shown below (in my opinion, a mediocre result, but I think it’s because I’ve never done this with care or patience).
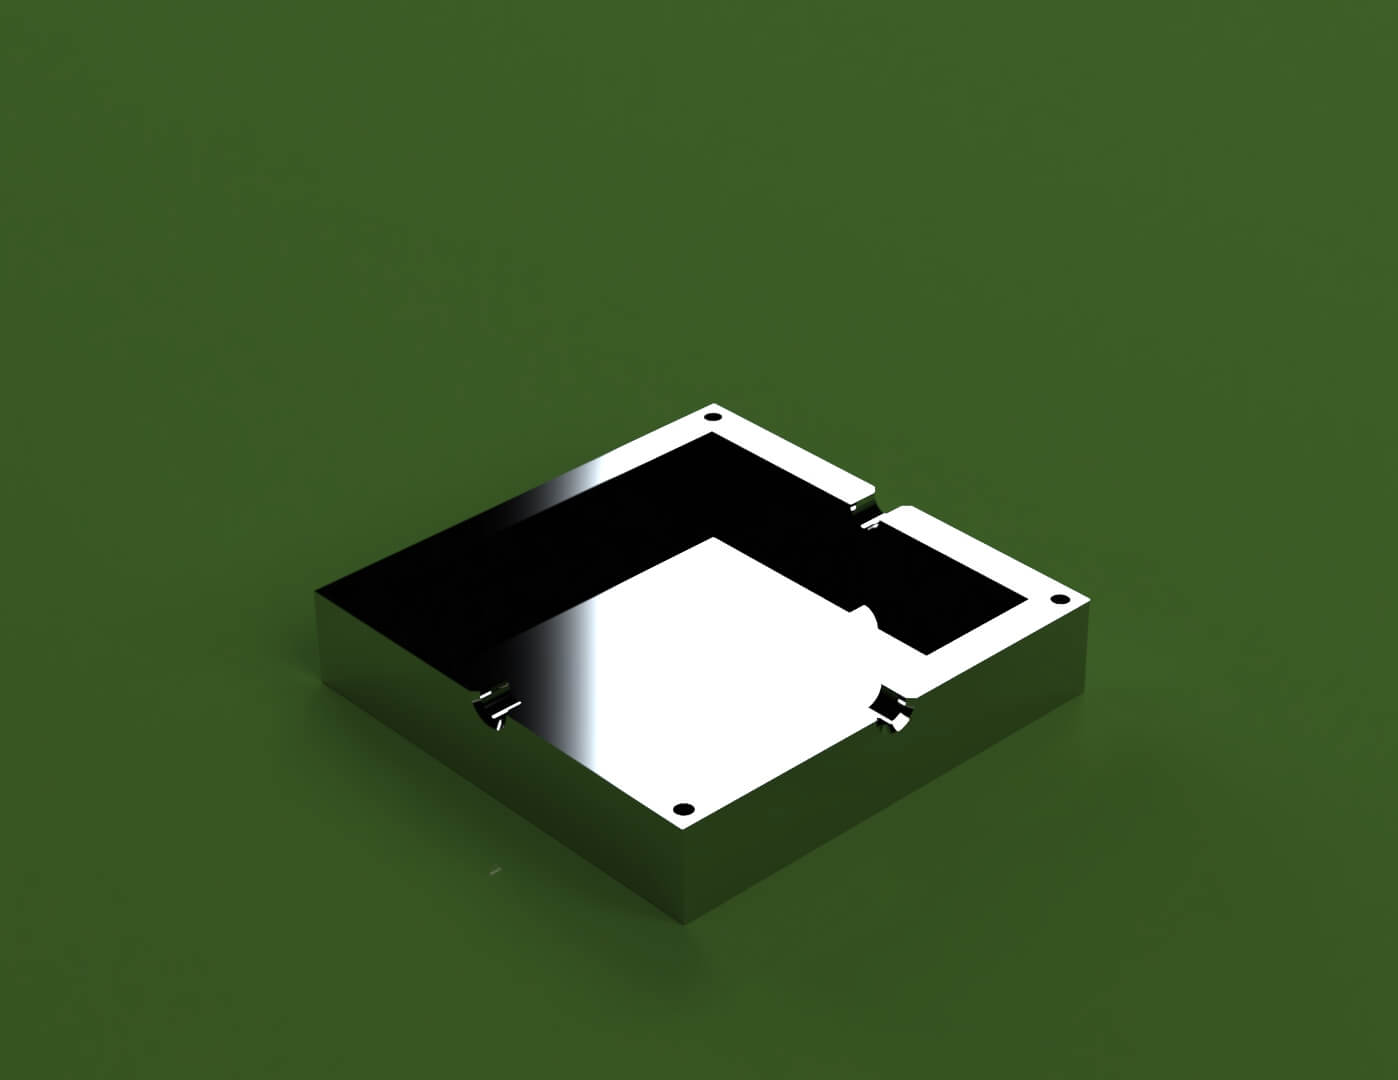
Final result
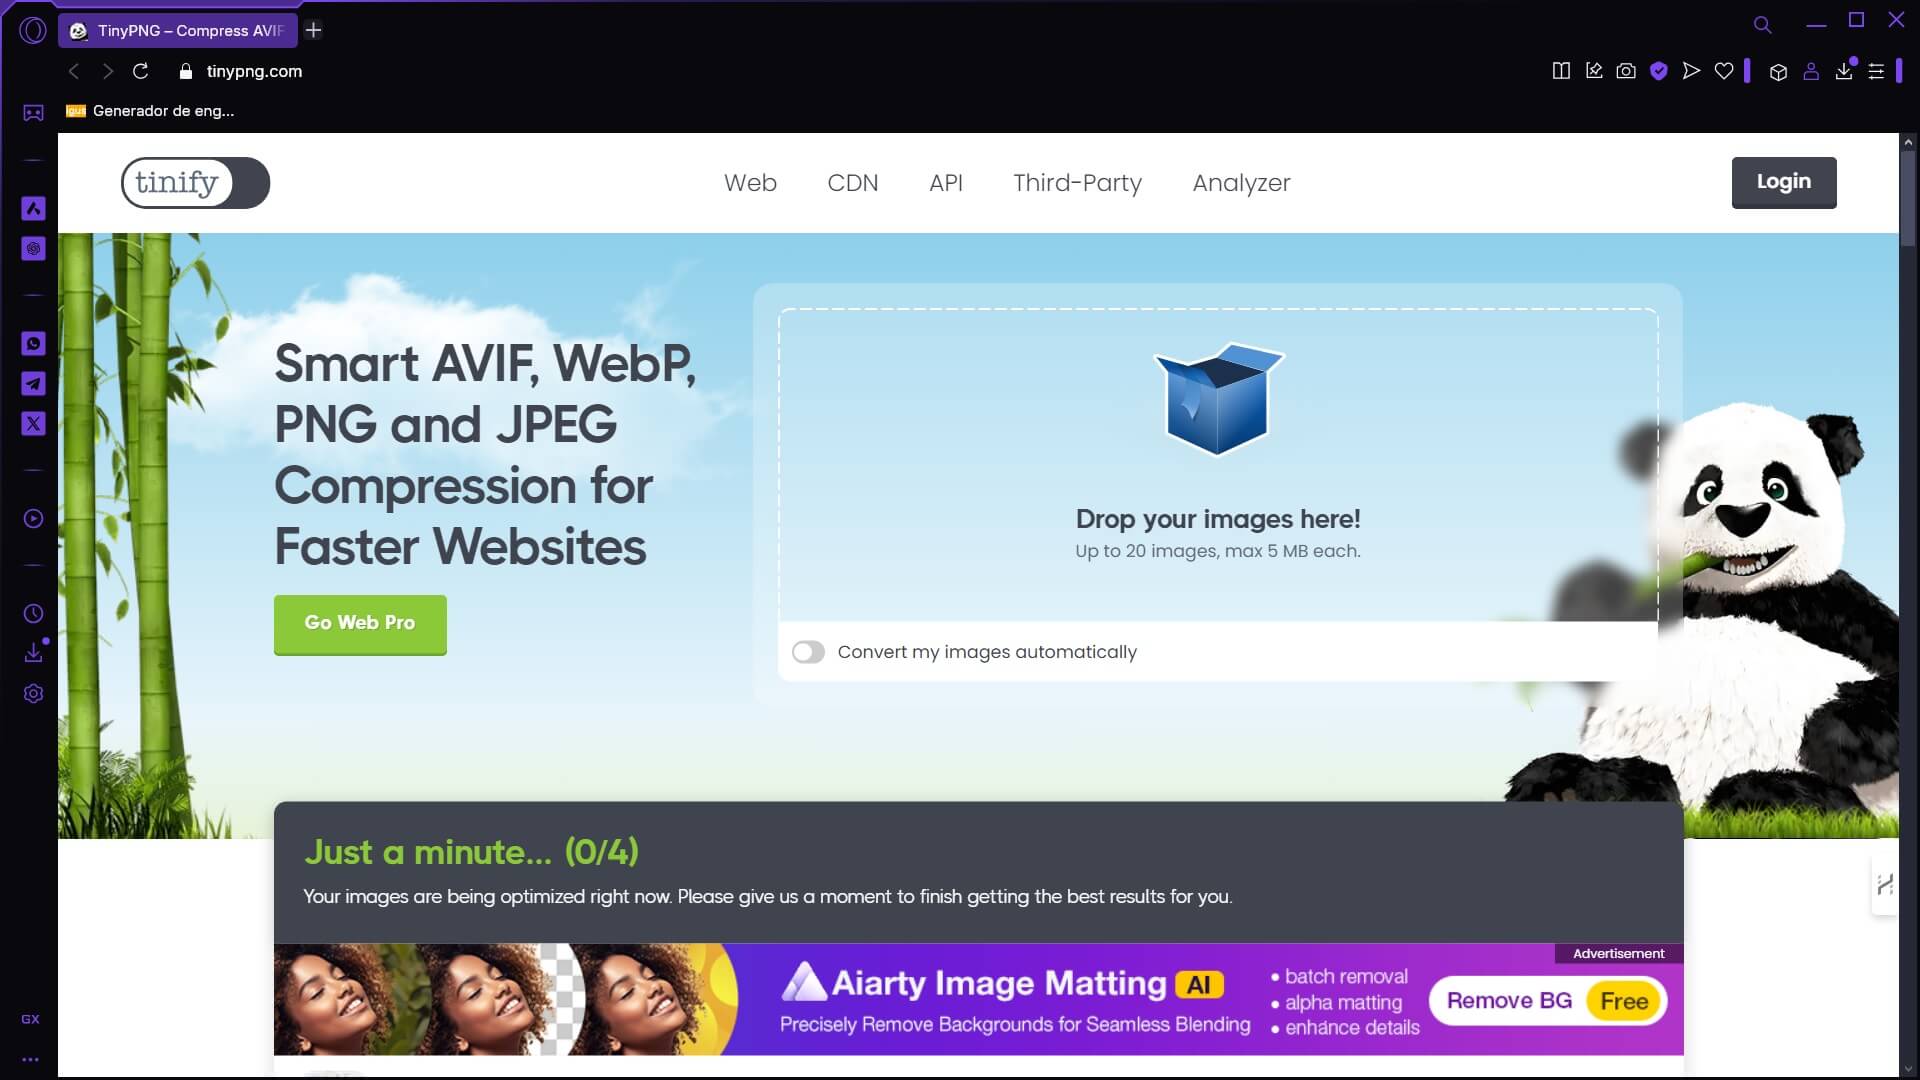
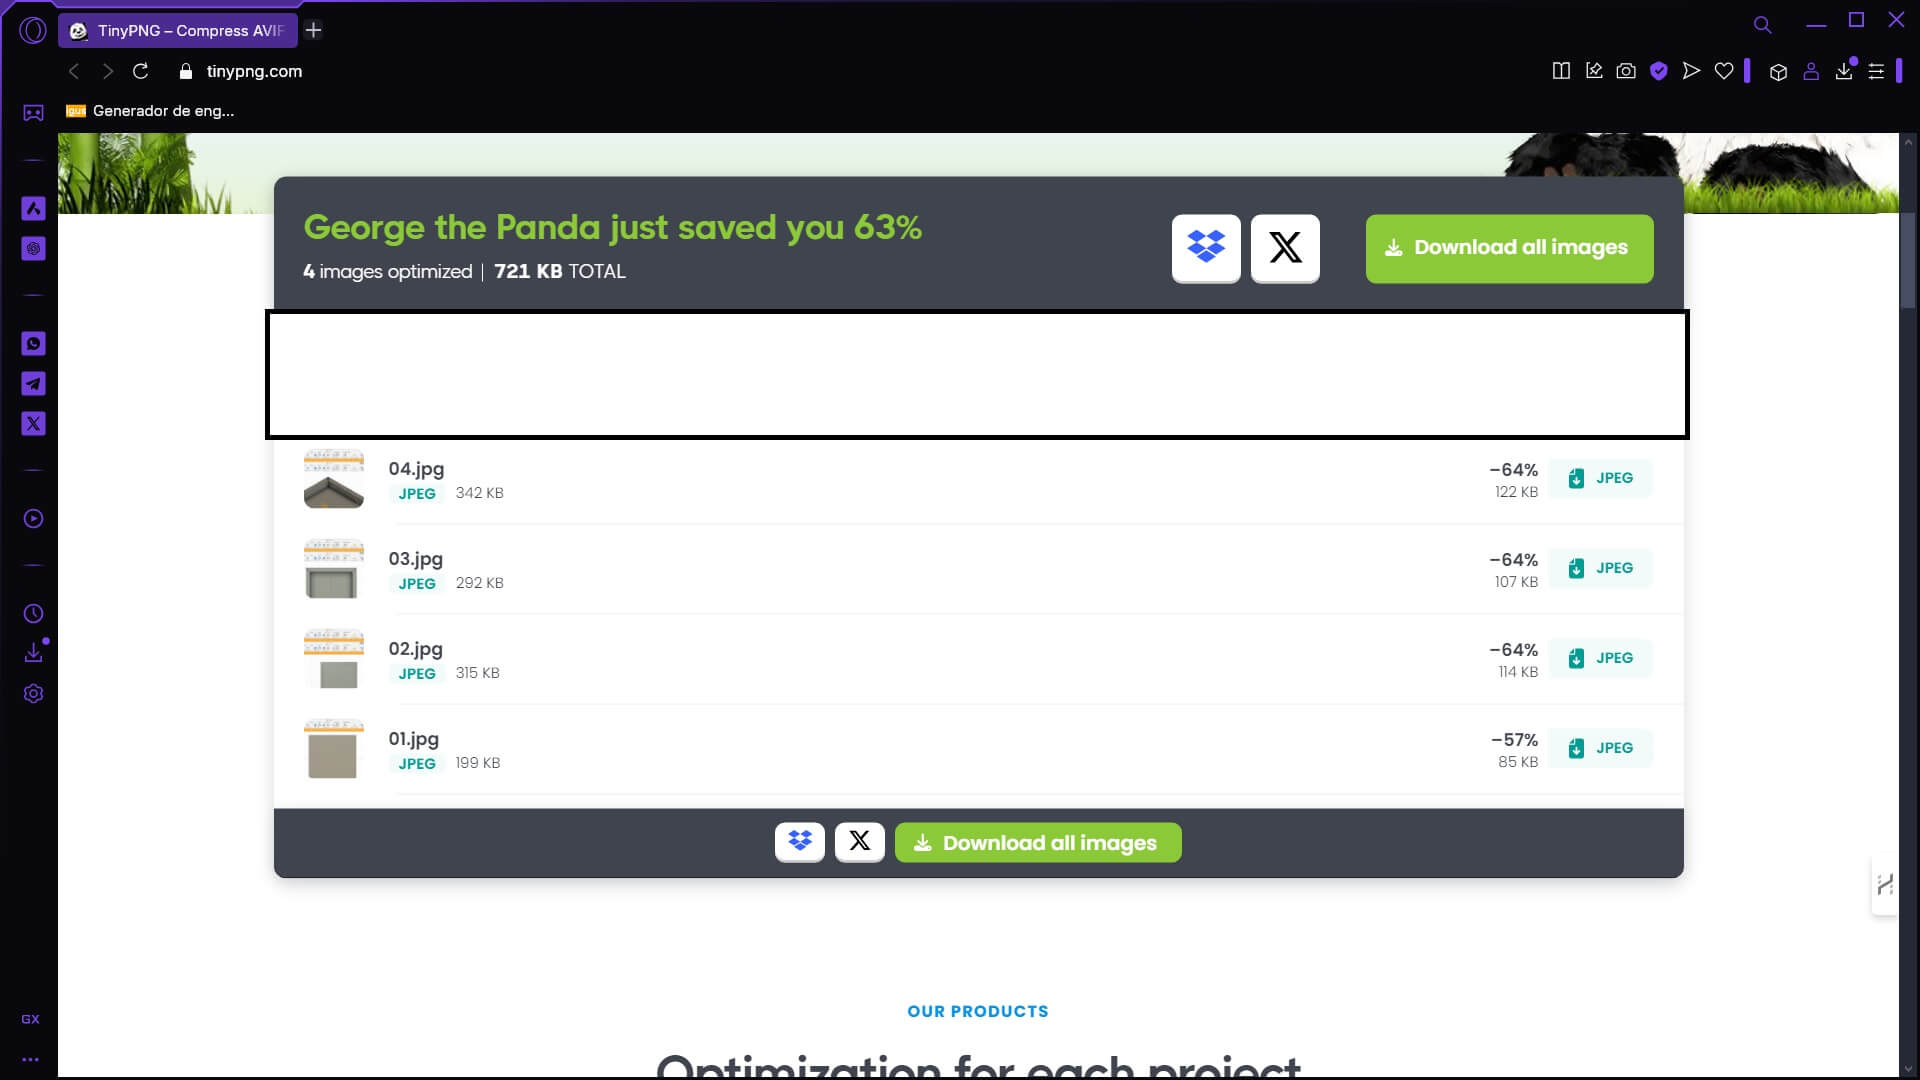
My way of reducing the size of the images I use is through this website. I upload the images by dragging them to the page and then download the files in a .rar.

DaVinci Resolve
The simplest ways to reduce the size of a video when editing is:
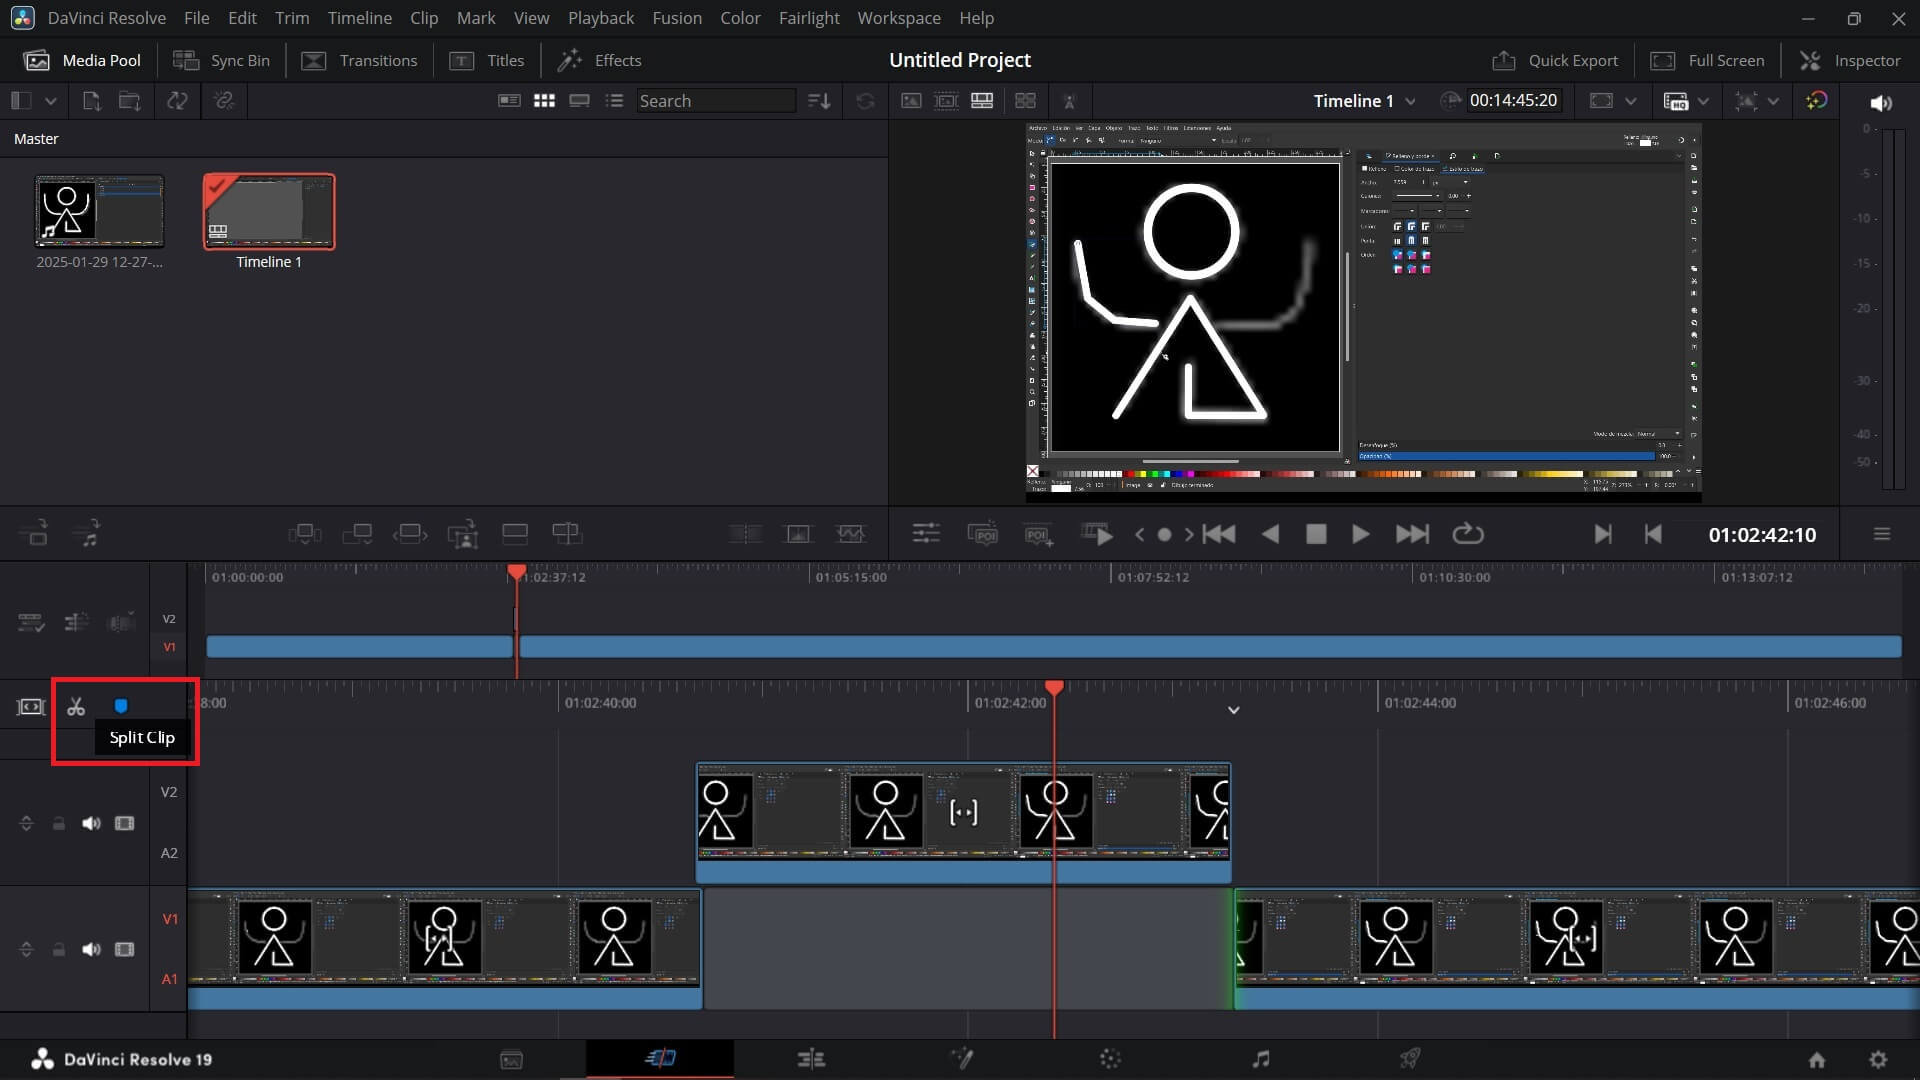
Trimming the video to keep only the essential parts
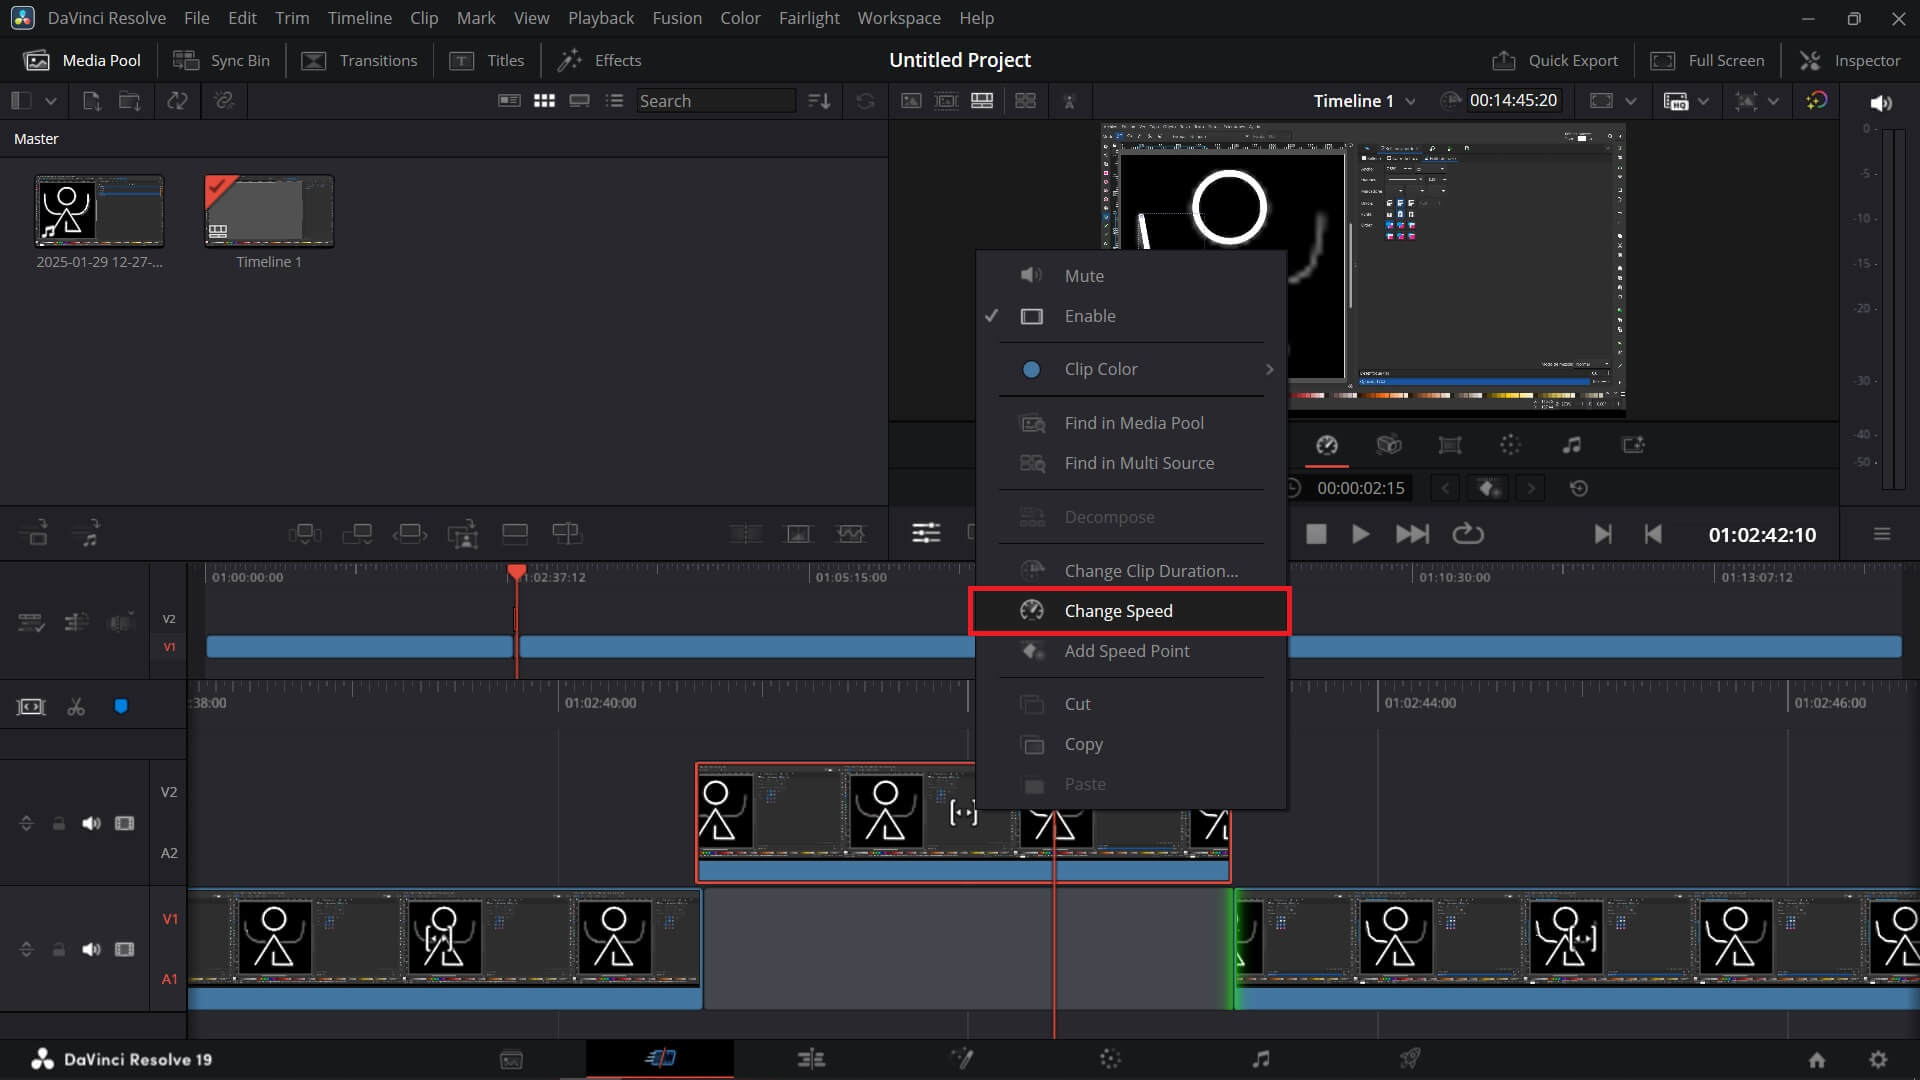
Reducing the frame rate

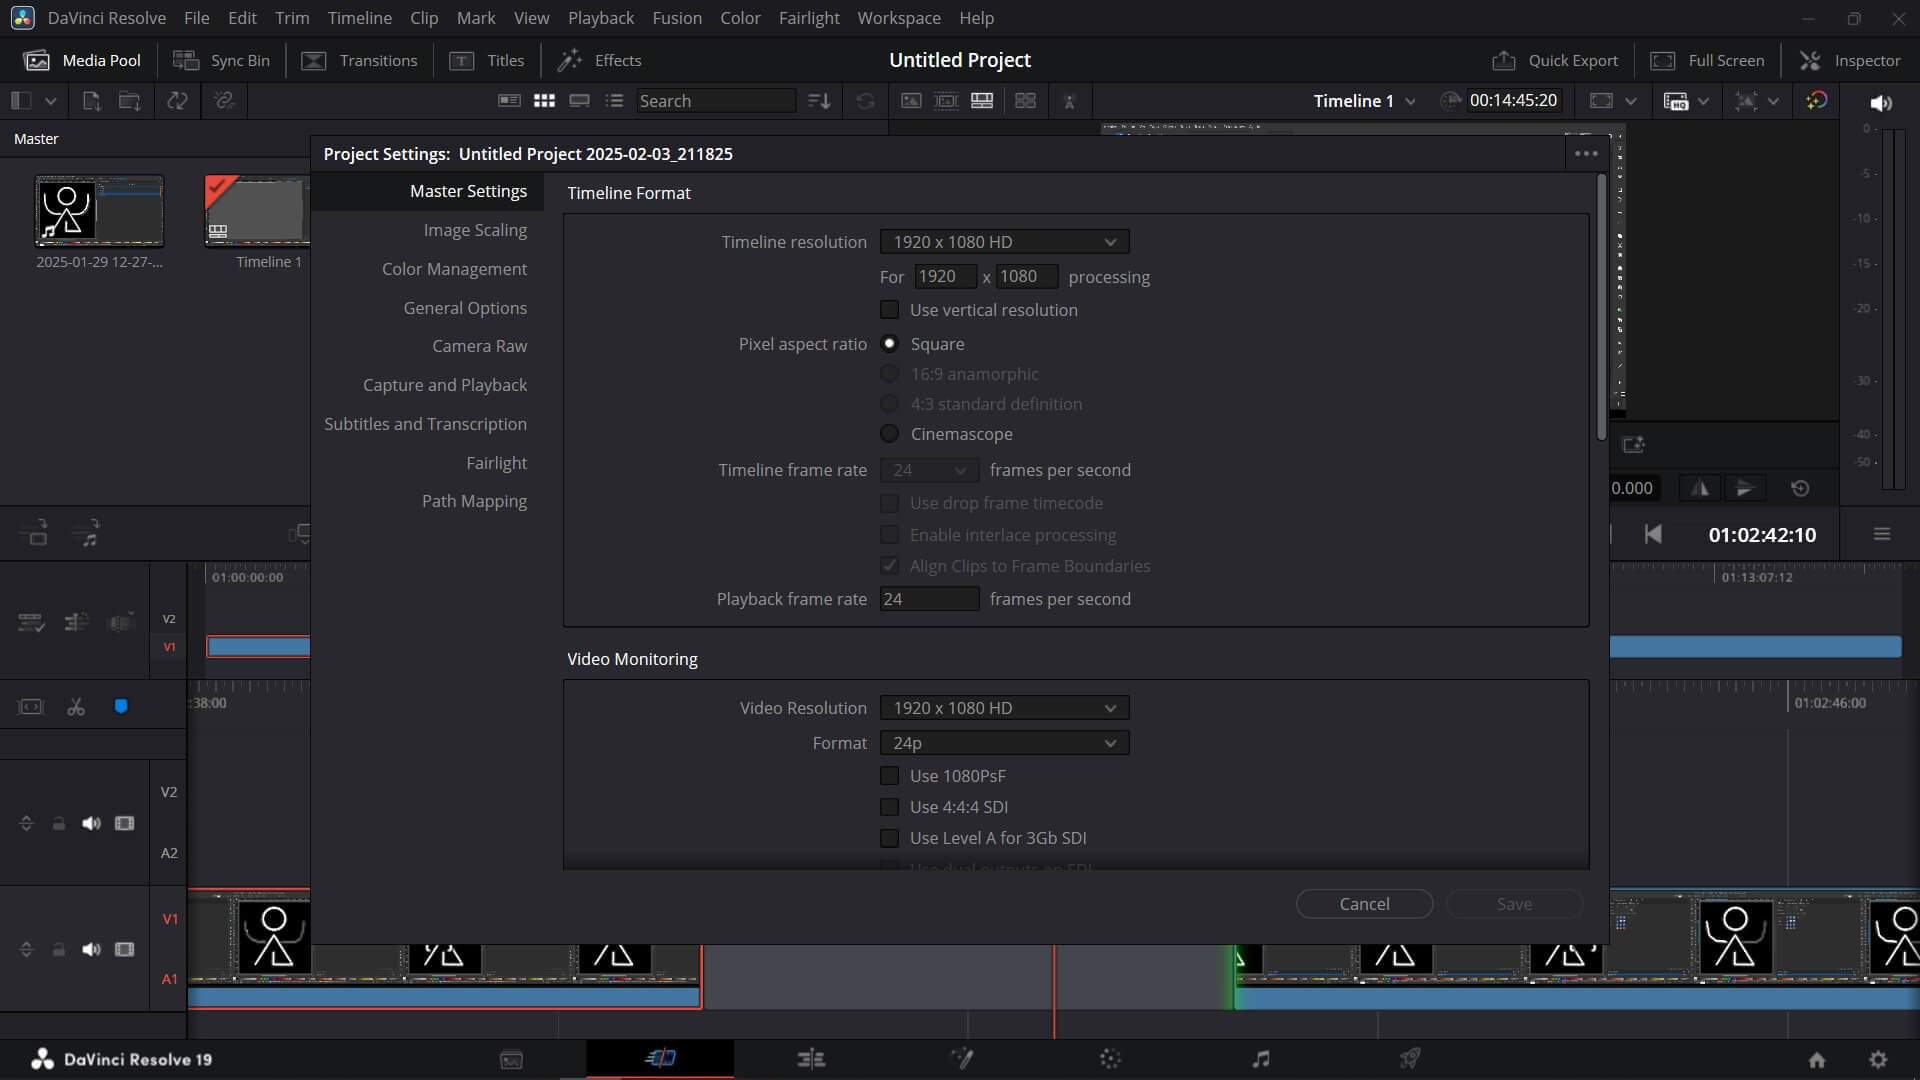
Lowering the resolution
Throughout the entire process of creating the pieces in different programs, I had the same issue: I couldn't find the tools, and I didn't know how to navigate the interface. However, since my operations were quite simple, I was able to use the most common tools, which are easier to find. Honestly, I didn't like any of the 3D design software I tried. The one I found easiest to use was SolidWorks because I was already somewhat familiar with it. Similarly, for 2D design, I used Inkscape, but I had also used it before. Compared to the previous programs, I haven’t used DaVinci Resolve at all. I haven’t done anything beyond exploring its interface since I haven’t needed it yet, but it doesn’t seem much different from other video editing programs I’ve used.
Here you can find the files of each process: