Week 15 System Integration
Starting to finish our project
This week, I will present the progress made on my project, including the materials being used and the way the system is being assembled. In addition to showcasing the current state of development, I also describe how each component contributes to the construction and overall functionality of the final build.

Bom and costs
Electronics
| Material | Quantity | Unit Cost (USD) |
|---|---|---|
| Xiaorp2040 | 1 | $7.06 |
| Push button | 3 | $0.09 |
| Transistor 2n2222 | 3 | $0.88 |
| Relay G5Q-1A4-EL3 | 1 | $0.59 |
| Diode 1N4007 | 1 | $0.24 |
| 1kΩ Resistor | 9 | $0.18 |
| OLED Display 0.96 inch | 1 | $2.94 |
| Magnetic Sensor D-M9P A | 2 | $7.06 |
| Band Heater 500W 120V | 4 | $25.88 |
| PID Temperature Controller REX-C100 | 2 | $18.41 |
| SSR Relay CPC1964B | 2 | $4.71 |
| Dual voltage source 24 and 5 volts | 2 | $20 |
Mechanics
| Material | Quantity | Cost (USD) |
|---|---|---|
| Pneumatic piston DZH-40-600-PPV-A | 1 | 260 |
| Aluminum tube 2" | 1m | $20.59 |
| Aluminum cylinder 2" | 50 cm | $23.53 |
| Steel flat bar | 12 cm | 2.5 |
| Steel tube 2" | 12 cm | 5 |
| Pneumatic hose | 1 m | 3 |
| Regulator filter AW20 F01E-B | 1 | 105 |
| SAI4-2050 - solenoid valve 3/2 monostable NC | 1 | 15.75 |
| SAI4-2092 distributor block | 1 | 15.75 |
| Metal bell coupling reducer 2" to 1" | 1 | 15.75 |
| 1" metal plug | 1 | 5 |
Electrical - Mechanical connections
Electrical
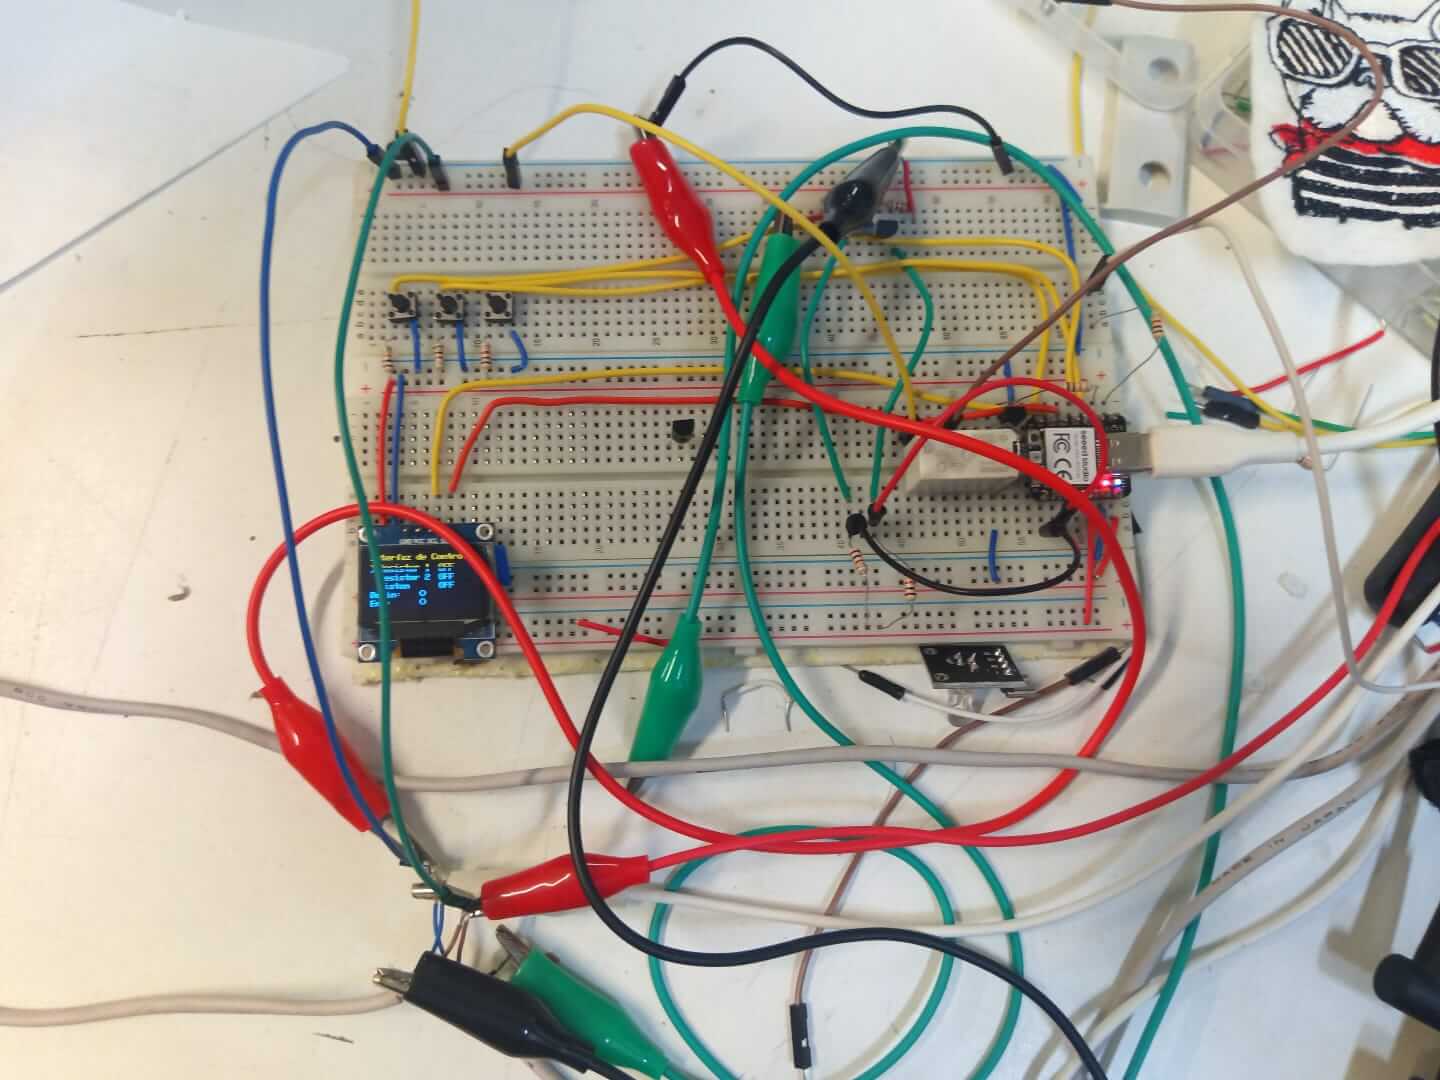
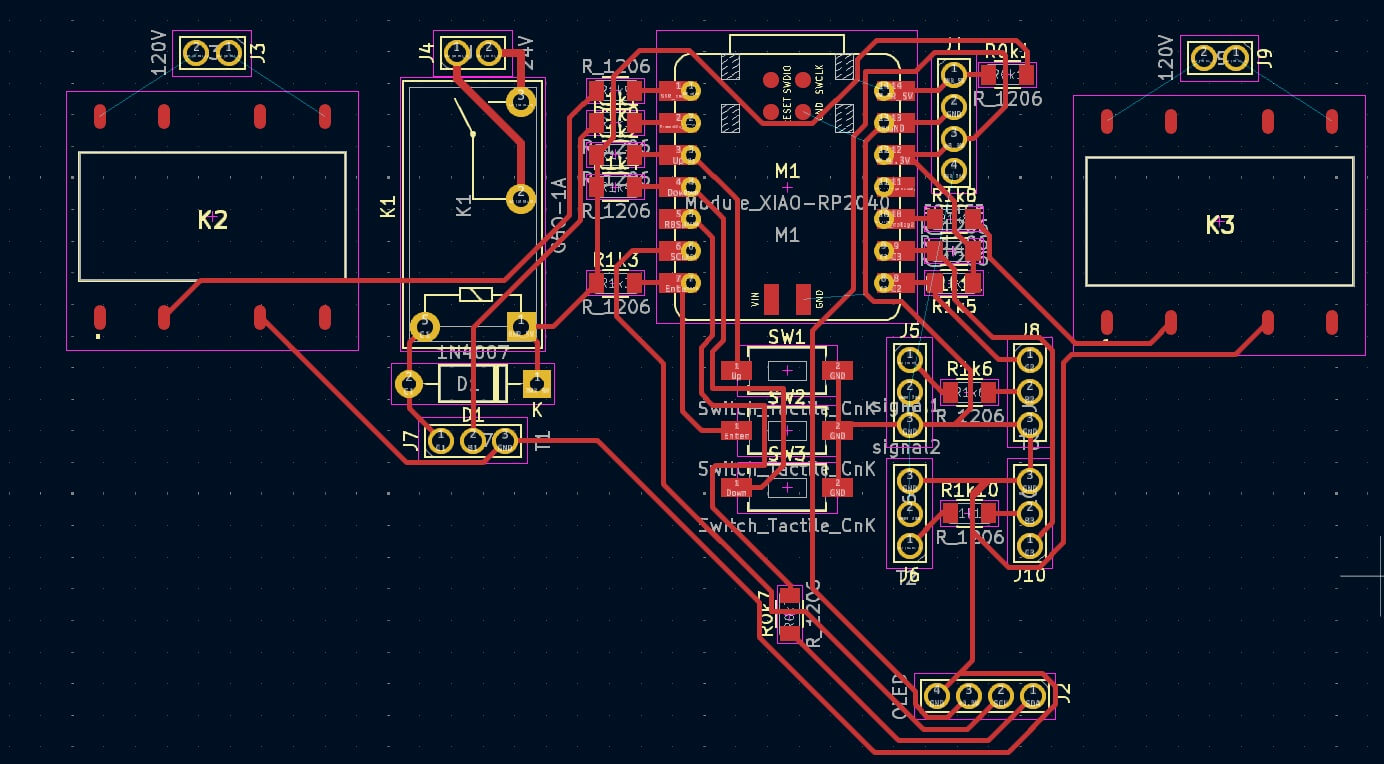
In my electronics setup, I have two solid-state relays, each responsible for switching a PID temperature controller on or off. Each PID controller, in turn, regulates the temperature of a pair of band heaters. I chose solid-state relays because they are suitable for switching AC current.Meanwhile, I also have a coil relay that controls another relay responsible for actuating the pneumatic piston—either pushing or pulling it. I set it up this way because the final relay operates at 24V. Additionally, I included an OLED screen where I can control what components to turn on or off. This display is navigated using three buttons configured with internal pull-up resistors.Here is what my electronics look like when connected. I know it doesn't explain much visually, but I'll include my KiCad schematic below for clarity.

Mechanical - structure
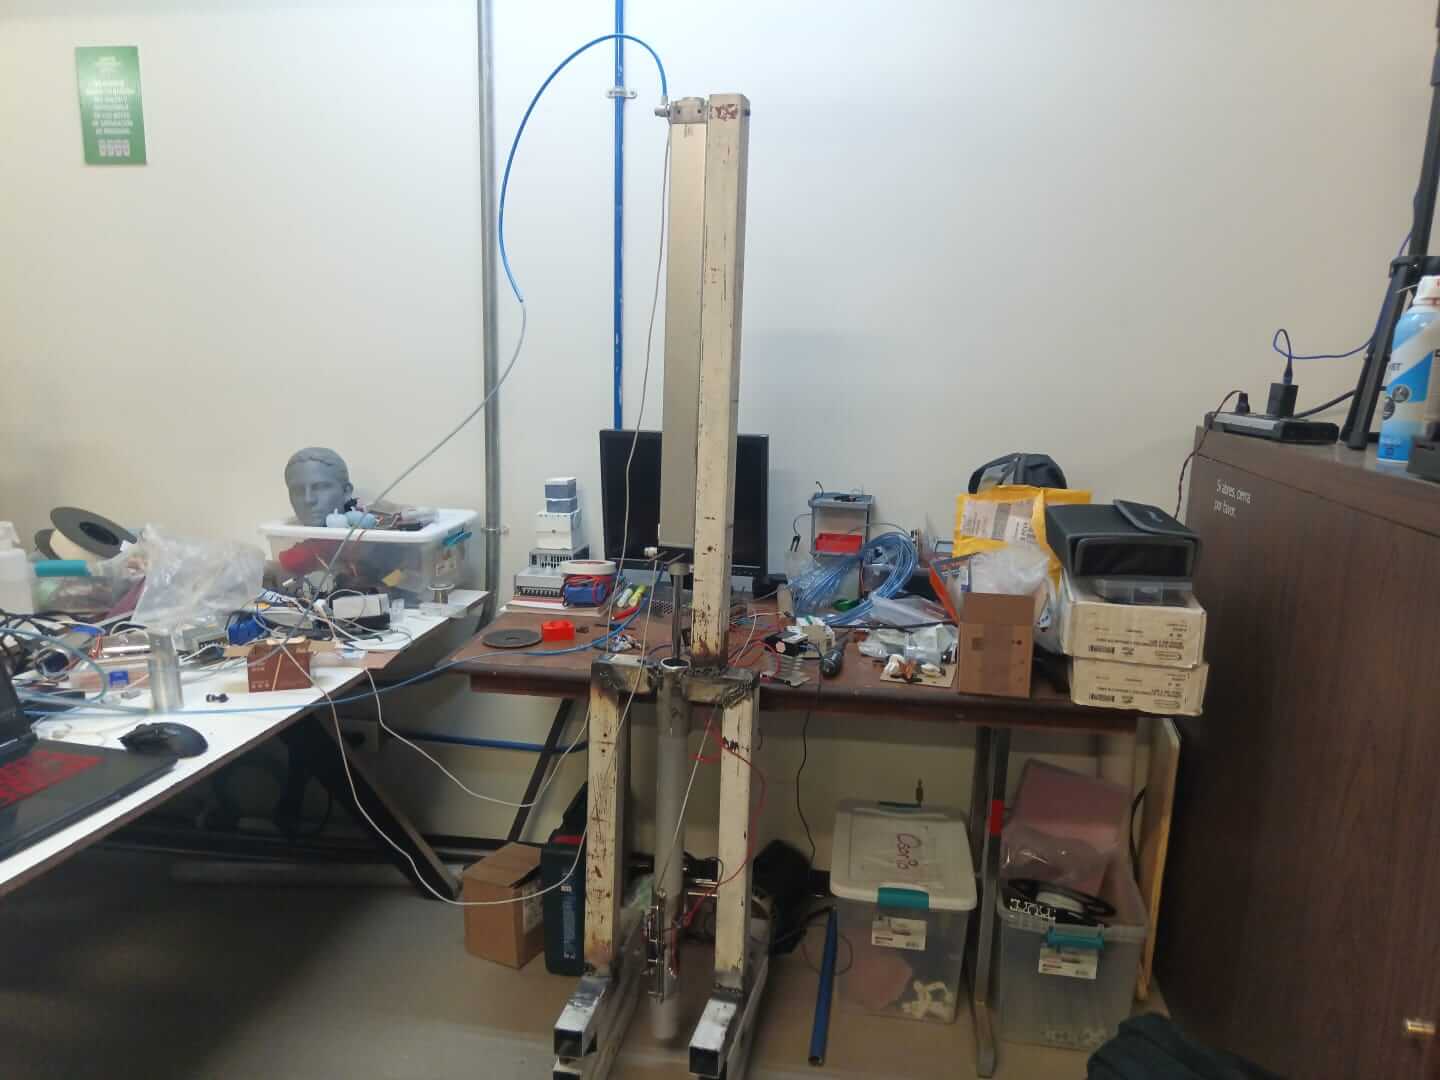
On the mechanical side, the system is fairly simple. It features a double-acting pneumatic piston, along with an AW20 F01E-B filter regulator, an SAI4-2050 3/2 mono-stable normally-closed solenoid valve, and an SAI4-2092 distribution block to control both the pressure and direction of airflow. The piston's only function is to push an aluminum part through an aluminum tube to compress and extrude preheated plastic. For the structure, I used steel profiles with a wall thickness of 3 mm, which I cut and welded together.

Learning outcome
What remains is to properly manufacture my PCB and finish the nozzle of the extruder, as I still haven't defined a way to hold the melted plastic in place for compression.
Here's the link to my Final project page