12. Moulding and Casting

| Day | Supply | Tasks | |
|---|---|---|---|
| Thursday | 10:00-13:00 | Lecture from Michelle | [x] |
| 14:00-18:00 | Group assignment | [x] | |
| Friday | 09:00-11:30 | Prep files for cnc | [x] |
| 13:00-17:00 | cnc and moulding | [x] | |
| Saturday | 09:00-12:00 | Electronics design | [x] |
| Sunday | 09:00-12:00 | Final project planning | [x] |
| Monday | 9:00-17:30 | casting | [x] |
| 20:00-23:00 | Documentation | [x] | |
| Tuesday | 9:00-17:30 | Final project/ mosfet tests | [] |
| 20:00-22:00 | Documentation | [] | |
| Wednesday | 9:00-11:00 | Documentation | [x] |
Class notes
We will be using machinable wax to first make our mould, then with that mould we can then cast. Important to note when making something hard, we first need to make a flexible mould by 3D milling the blocks.
what goes wrong
- Not measuring tool length for depth of wax block or subject material
- Not making holes for pouring the cast material and for air escape
- Casting curing times, the clock is ticking
- Material management, pot life, shelf life
Doing things right
- Adding color to 1 part of the material mix to determine the difference
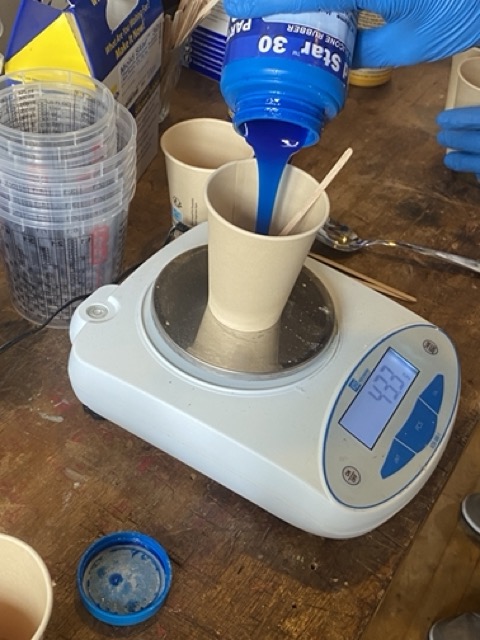
- Use water to measure the volume of the mould
- Vacuum mixture to get rid of bubbles/avoid making bubbles in the first place
- Model your milling bit and make sure it can pass through your mould
- Pour in the highest point of the mould so gravity can work the material in place to avoid bubbles
3D Milling
V-carve
Job size (measure block and go a bit smaller) 90mm x 140mm. Actual block size 97mm x 143mm.
Z zeroing either on the top of block or sacrificial layer.
- could be helpful to mill off a top layer to make your piece level
X axis (long side) Y axis (short side)
Modeling tab:
- Initial orientation top (zero at top of material? )
- import file
- Zero plane position (not sure, needs better explaining)
Toolpaths
Material set up ( also needs better explanation) I think it to do with placing a start point of the milling, so to set at the top of the material.
machine limit boundary
- Material Boundary: Tool path moves the entire width and length of the wax block (what i did) knowing now I would have used model boundary.
- Model Boundary: Tool path moves within the perimeter of your model piece, saving time.
- Vector boundary: Used if you create a vector around your design piece, could also be useful for saving time.
Roughing strategy
- Raster Y is easier on the machine, just the tool moves and not the hole bridge.
- 3D raster takes quite a long time.
- step over 1.8mm (dependant on tool diameter)
- Feed Rate 50 mm/s
- Plunge Rate 15 mm/s
Finishing Settings
- step over 0.3mm 10%
- spindle speed 9000
- feed rate 50
- plunge 15
- No pass depth
We don't use ventilation because the machine wax is saved for re-use.
Group assignment:
- Review the safety data sheets for each of your molding and casting materials
- Make and compare test casts with each of them
- Compare printing vs milling molds
For the group assignment we all read through a data sheet an marked down the safety guidelines and material properties. After that we made casts of various materials in cups, some with additional parts we found around the lab.
- Mold star 30
- Jesmonite starter kit
- Smooth cast 305 liquid plastic
Bio material
- Gelatin, glisarin and water
- Oomoo 25
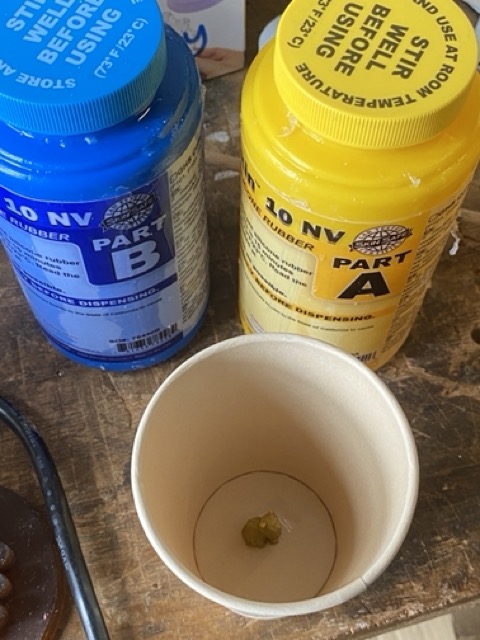
Data sheet
Dragon Skin 10 NV (Platinum Cure Silicone Rubber)
| Safety | |
|---|---|
| Room conditions work environments | Use a properly Ventilated area, store and use at room temperature |
| PPE Personal protection equipment | Wear long sleeves, glasses and vinyl gloves only (rubber gloves will inhibit cure of rubber ) |
| Exothermic or endothermic | No data available |
| Toxicity | No data available |
| Environmental harm | No data available |
| Specials or others | Respiratory protection not normally required |
| Material properties | |
|---|---|
| Pot life | 15 minutes |
| Curing time | 75 minutes |
| Ratio mixing | 1A : 1B |
| Viscosity | cps: 6000 |
| Shore A hardness | 10 |
| shrinking | 0.1in or 2.5mm |
| Specials or others | N/A |
These were the finding for the dragon skin, you can follow the links below to see what each of the group tested and their results.
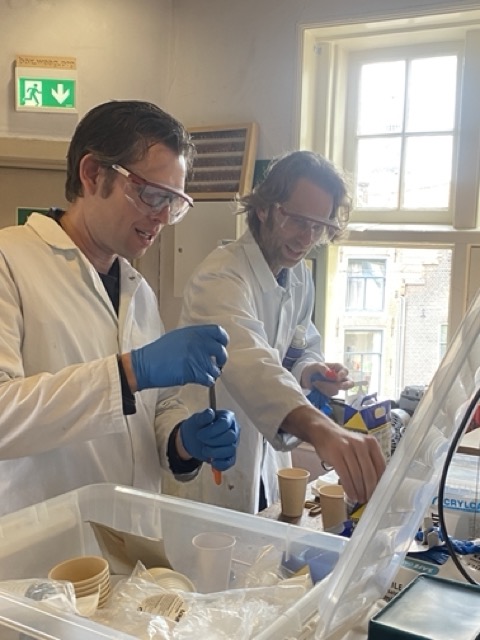
Two guys one cup
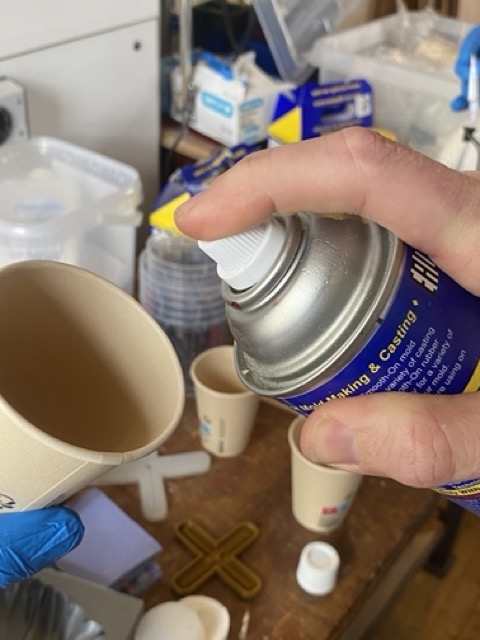
Making our cast/mould tests: making sure we have our PPE, plenty of ventilation, using the correct mix ratio's (1:1 for the dragon skin) and adding a splash of release spray. Then to waiting for them to cure...

And finally some of the results:

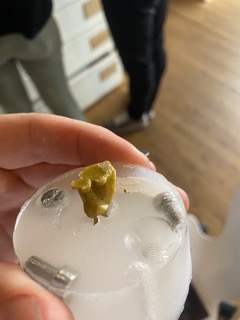
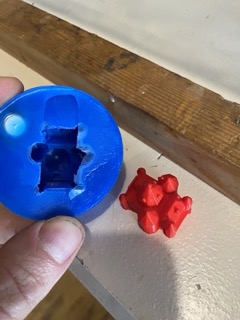
As you can see, because we were using old pots of mix we didn't quite have enough to cover the pieces, so we added what we could find lying around to increase the volume of mix, now i have a cat and bolt mould, great!
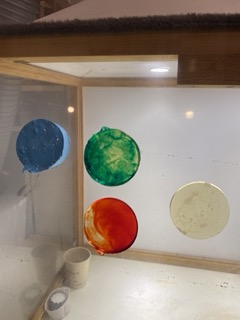
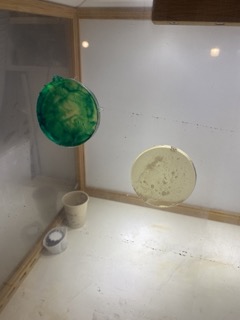
We also had some nice results with the bio materials.
Individual assignment:
- Design a mold around the process you'll be using, produce it with a smooth surface finish, and use it to cast parts.
For this week I really didn't have anything spring to mind that I wanted to cast, so I'm hopefully going to cast something useful for my friend. She recently got into pottery, so my idea is to make her a "jig", in essence a pottery tool allowing you to create shapes on a pottery wheel.
Design

Fairly simple design, but that's more than ok for this head fuck week.
- Save file as stl
- Open V-carve
- Create file
- Import component/ 3d model
- Roughing tool path (tool,z level, raster Y, model boundaries)
- Calculate
- Finishing toolpath
- Mill parameters
- Model boundary
- Raster angle 45 (seemed to give a better finish than straight lines)
- Calculate
- Save files
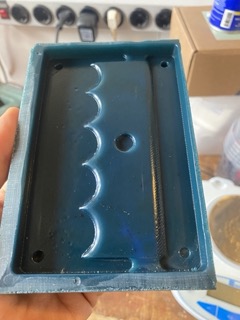
Milling
to secure the wax to the sacrificial layer we use double sided sticky tape and then make a jig to tightly secure the block in place.
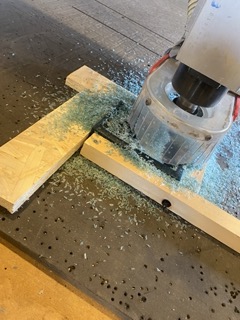
As mentioned, I could have cut time here by selecting model boundary, the tool was making unnecessary passes over the material in this set up. It turned out ok, but some rough edges and lines.For that I did what I could with sand paper before using the heat gun to get a smooth finish.

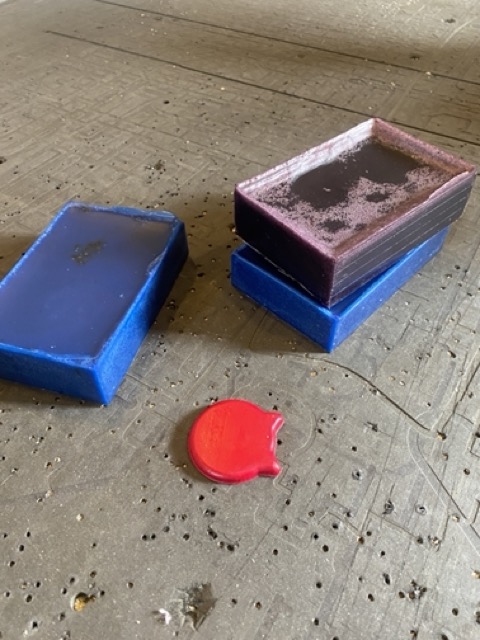
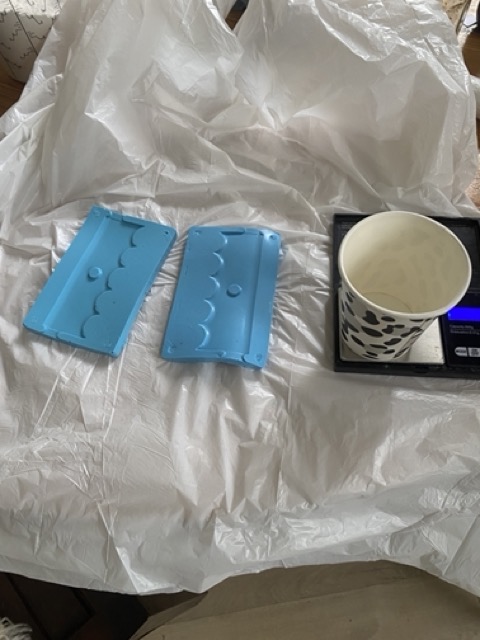
Casting moulds
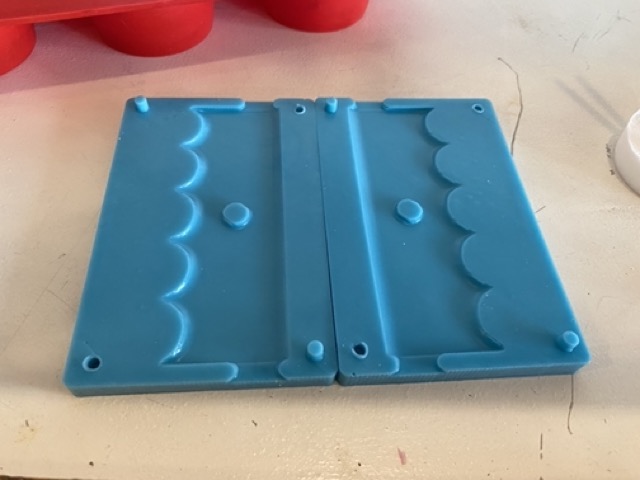
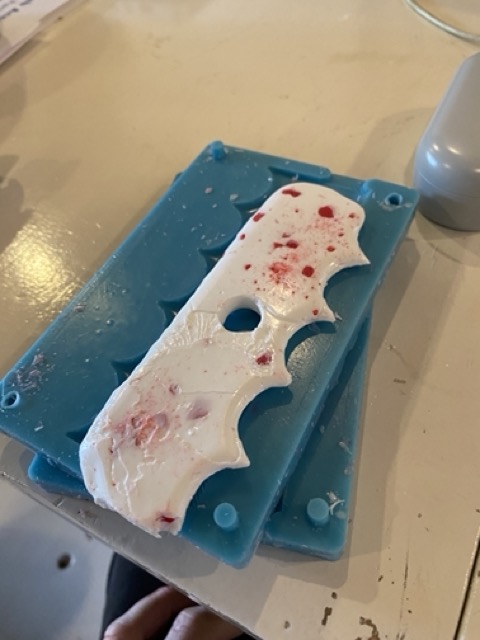
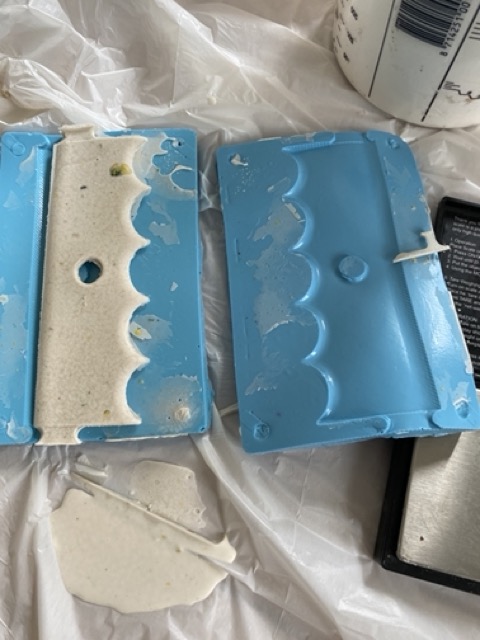
Then casting the mould. I used oomoo 25 which gave weird instruction, firstly it say no measurements required 1A:1B, but then it gives a different ratio of 1A:1.3B when weighing the mixture. This is obviously due to the volume and weight, but not everyone will use everything in the tub, so I don't see why they would say no measurements required. Anyway, for this reason my first cast of my mould is by eye 1:1 and my second by weight 1:1.3, I wait to see the results...

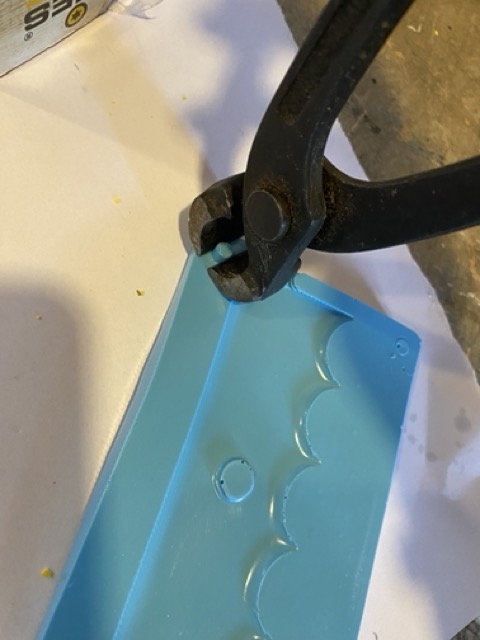
I would say the by eye measurement has turned out better, but they're both deformed slightly. There was a slight issue, I made all negative holes, instead of creating negative and positive to fit the pieces together when flipped, so they received a little nipple removal mod.
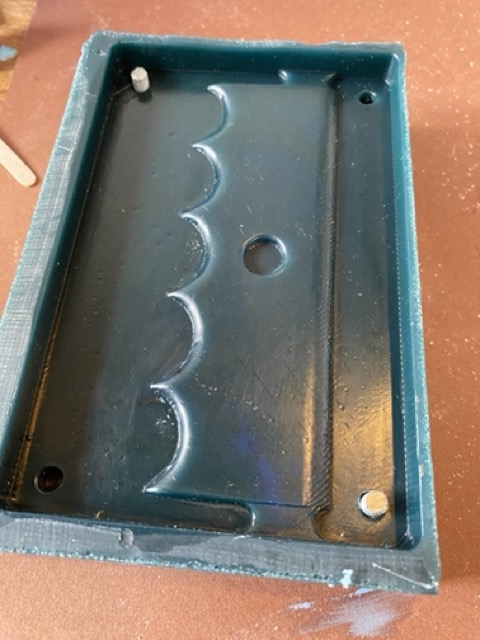
2.0
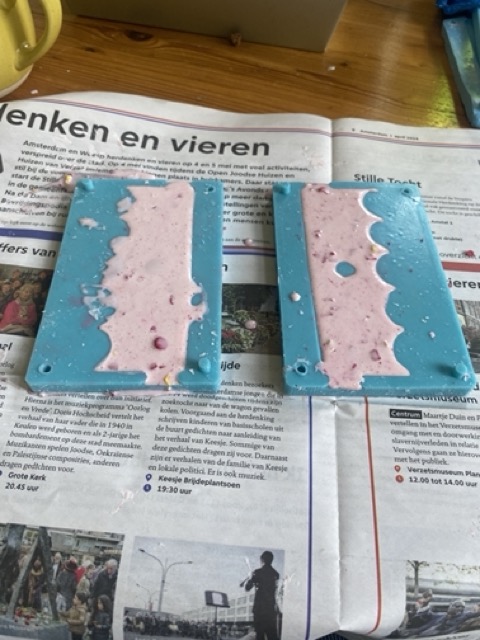
For a result comparison and to test another product, I used Mold star 16 fast. This time I put pins in the wax blocks to create negatives in the mold. I also used a vacuum to get rid of any bubbles. These turned out pretty nice, it has a harder feel that the Oomoo and no bubbles after the vacuum.
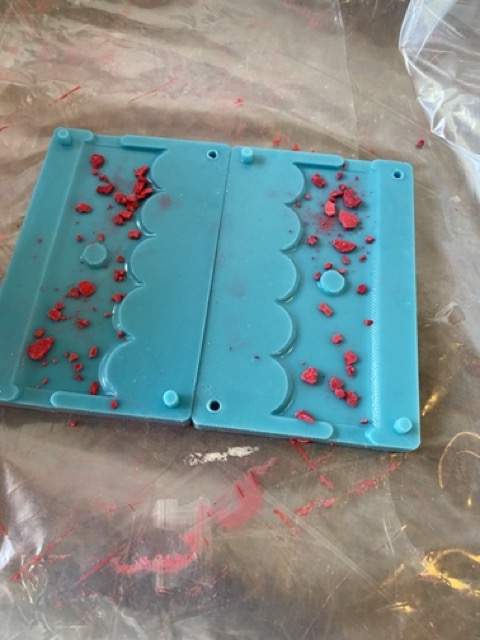
Creating terrazzo chips
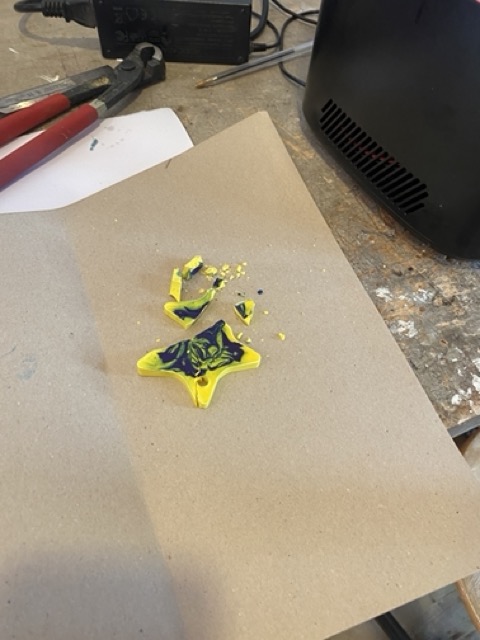
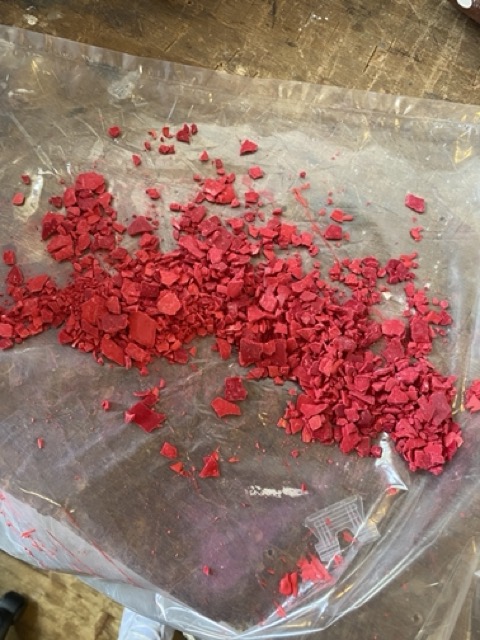
Terrazzo chips are commonly used in jesmonite to give the final piece some color and detail, you can buy the small chips online, or like I have, you can make your own. The first method was to smash up the jemonite cast star with beautiful blue pigment artwork. Another method i used was to make a small mix of jesmonite and add pigment to it, you can then past a thin layer to dry out, I used a plastic sheet to do this. Once dry you can then break into small pieces and add them to you mix.

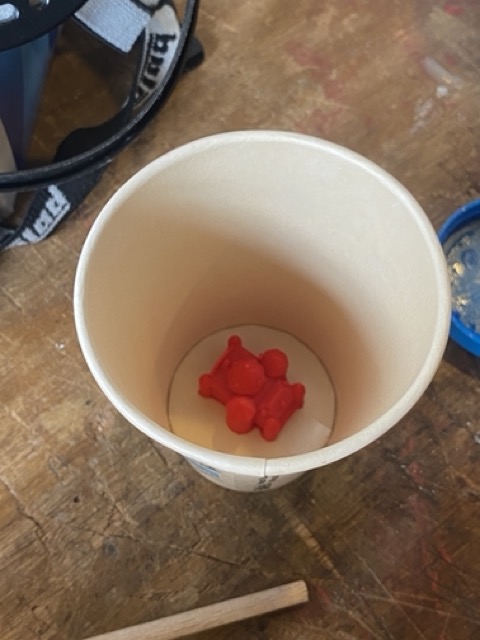
Casting
I played around with a couple of different products, I mainly wanted to use jesmonite, but also tried with some liquid plastics adding in some jesmonite for decoration.
-
The smooth cast 305 from 2018 didn't set in the specified time
-
smooth cast 300 First attempt started solidifying as i was pouring into the mold, I quickly pressed down on what was in the molds and got something out of it.
I tried a second time, but as its a liquid it ran out of one side, again poor result. I didn't want to keep trying with the liquid plastics too much as the data sheets highlights some nasty stuff.
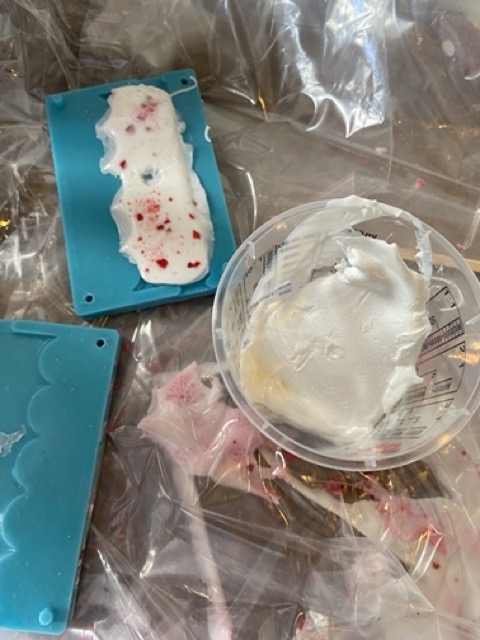
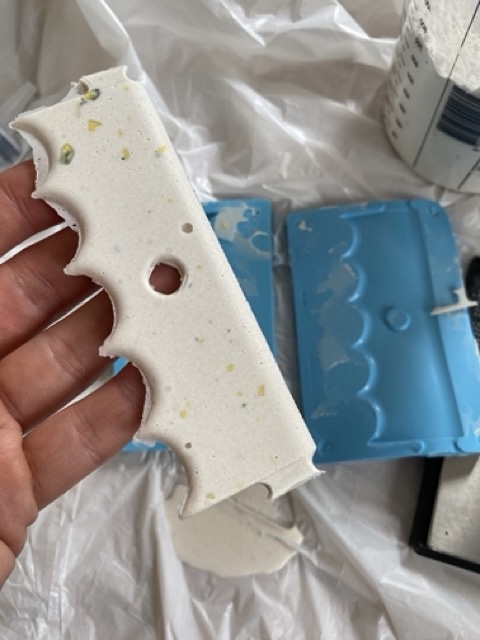
Jesmonite
Then to a healthier more sustainable product, I used Jesmonite that comes as a gypsum based powder mixed with a acrylic at a ratio of 2.5:1 . I made a few cast adding the self made terrazzo chips. There were some varied results, I think I should have made the model slightly thicker. It's quite hard to pour a liquid onto a flat surface that's only 2.5mm deep and then try to sandwich the two pieces together. The modification with the pins became more of a hinderance too in the end, as the holes were quite small so fitting the molds together in the corners became a little tricky.
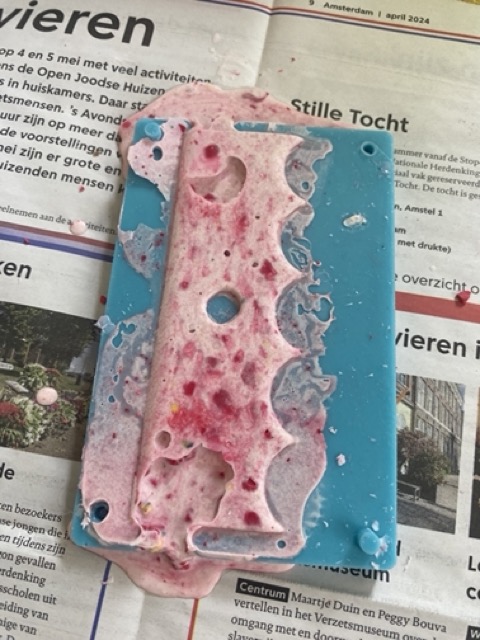
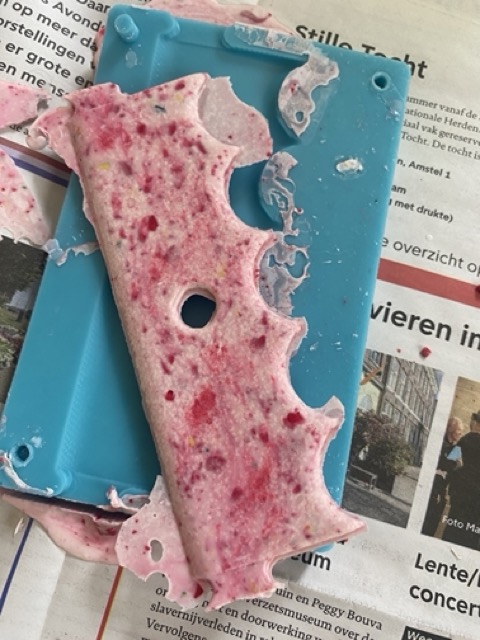
I would say some of the better result were made with the first moulds without the pins, they obviously pressed together better and I probably had more patience with the first cast.
Reflection
Nice introduction to moulding and casting, the difficulty comes in trying to figure out the positive nagative and how your parts will fit together. I'm glad I kept it simple and my friend got to use the tool (once). After her pottery class the Jesmonite broke into pieces on her way home, probably not the best material to use for a pottery rib, I would probably print one with better results.