12. Molding and casting
Overview
This week's activity is to design a mold, show the process that went into making it. It also has to have a smooth surface finish. Finally, we use molds to cast parts with different materials. You can consult the group assignment in the following link
Modeling figure in Fusion 360
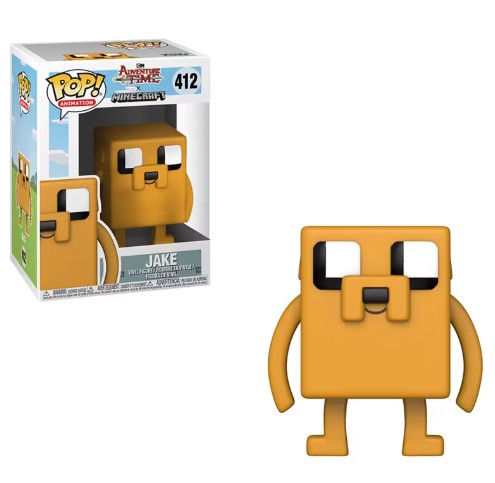
To make the figure I was inspired by the character of the cartoon “Adventure Time” from Cartoon Networks “Jake the dog”. Reviewing several images on the internet, I liked the figure that is funko pop as you can see in the image below.
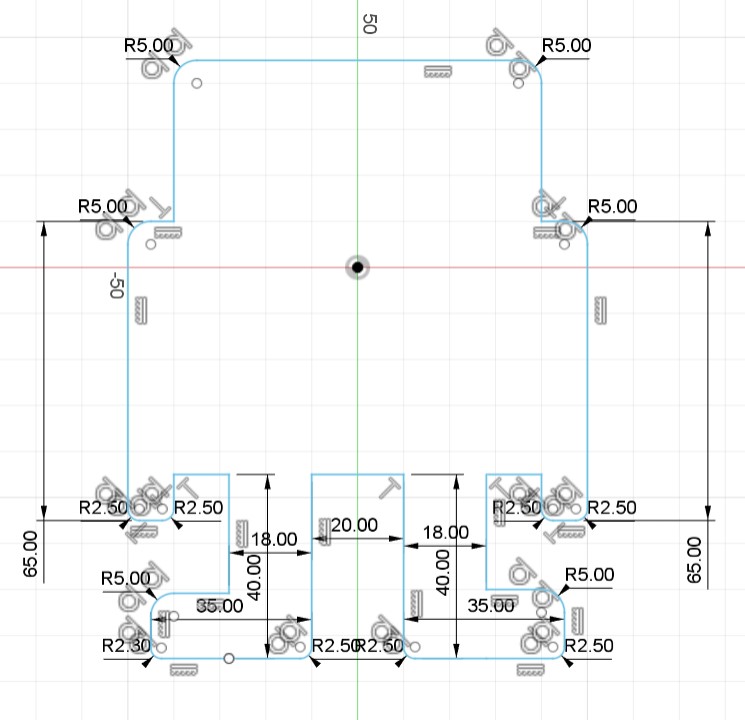
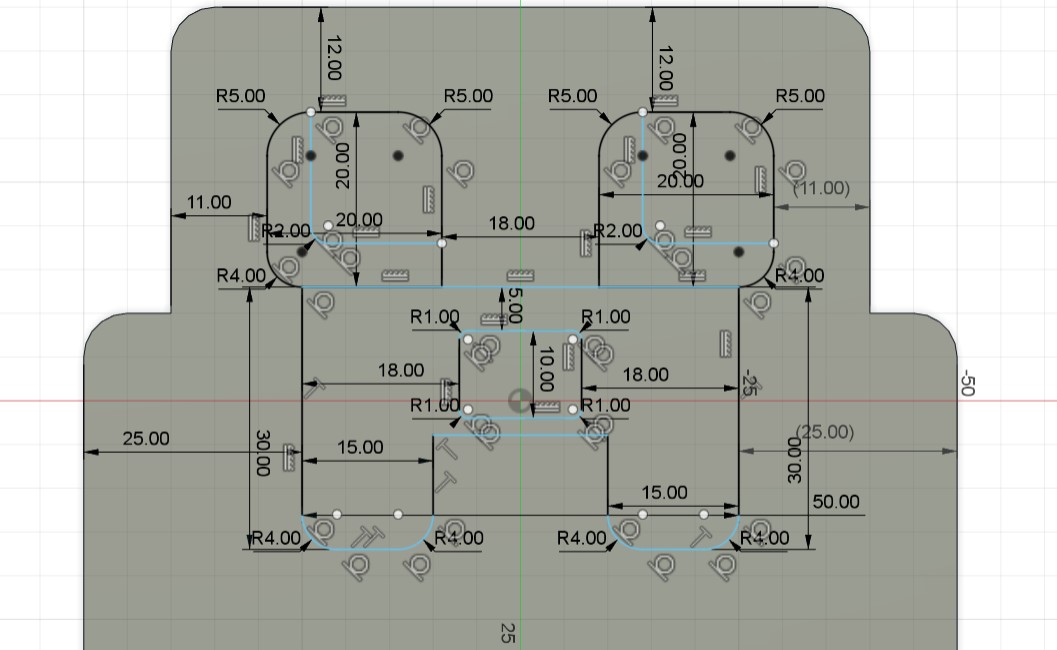
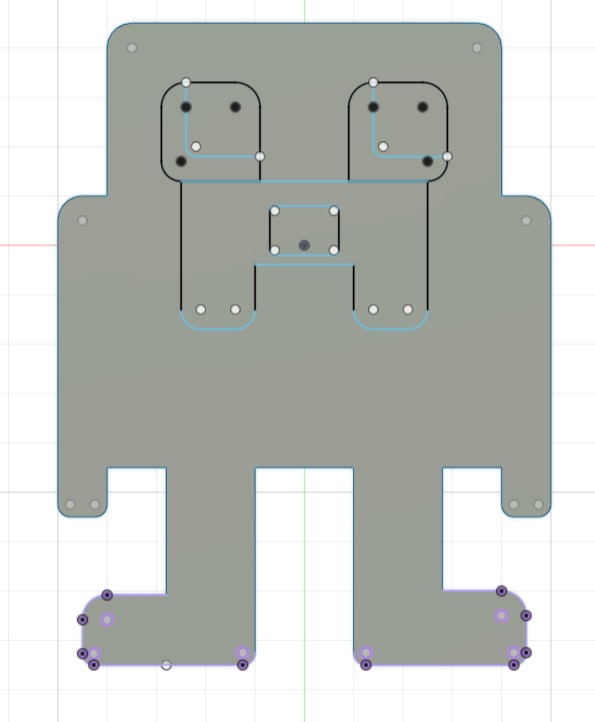
The first thing I did in Fusion 360 was to create the sketch of the dog. The dimensions I used in this step were not so important, since I changed the size later in Tinkercad. After I had the sketch ready, I extruded the image.
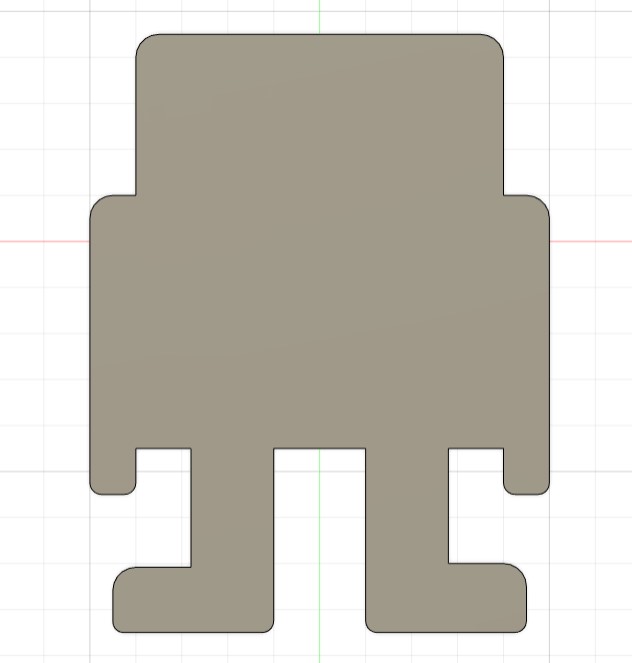
Then on the main face of the figure I made another sketch to create the dog's eyes, nose and mustache. When I finished I extruded the figure and the result is the one you see on the right.
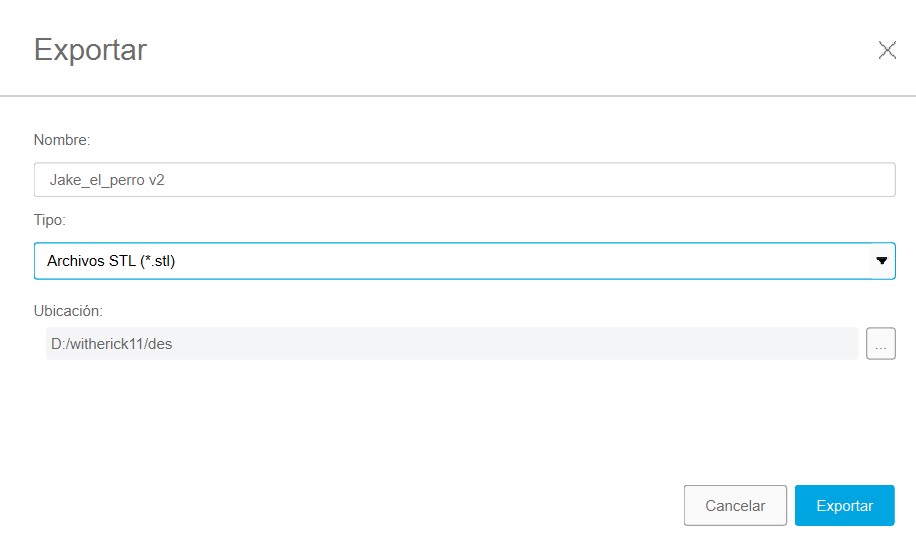
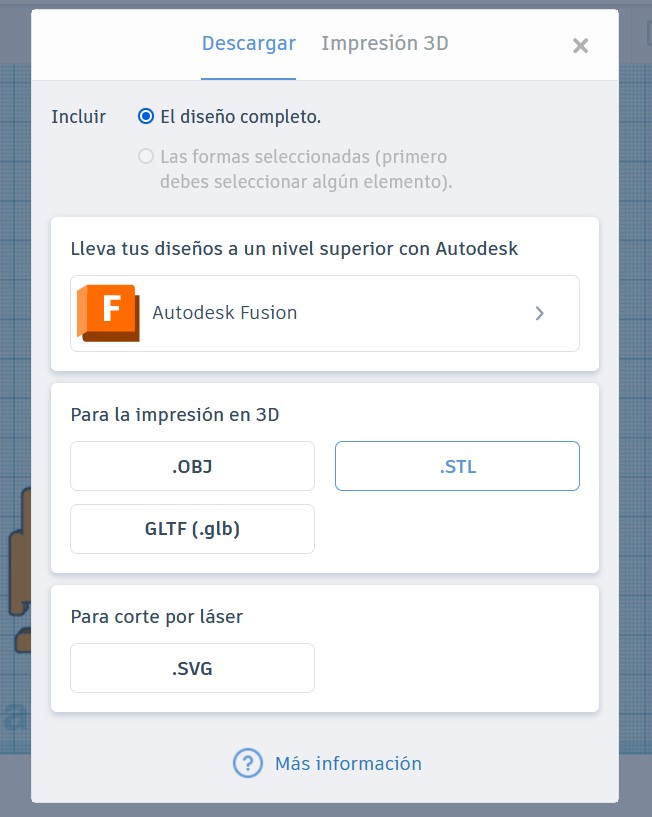
To export the figure I went to File -> Export. And I chose the option to export in .stl format.
Configuring figure size in Tinkercad
I decided to use Tinkercad because is a free online platform that allows users to easily create and edit 3D designs using basic drag-and-drop modeling tools.
What I did in Tinkercad was to change the size of the figure taking into account the dimensions of the material in which I was going to make the mold.
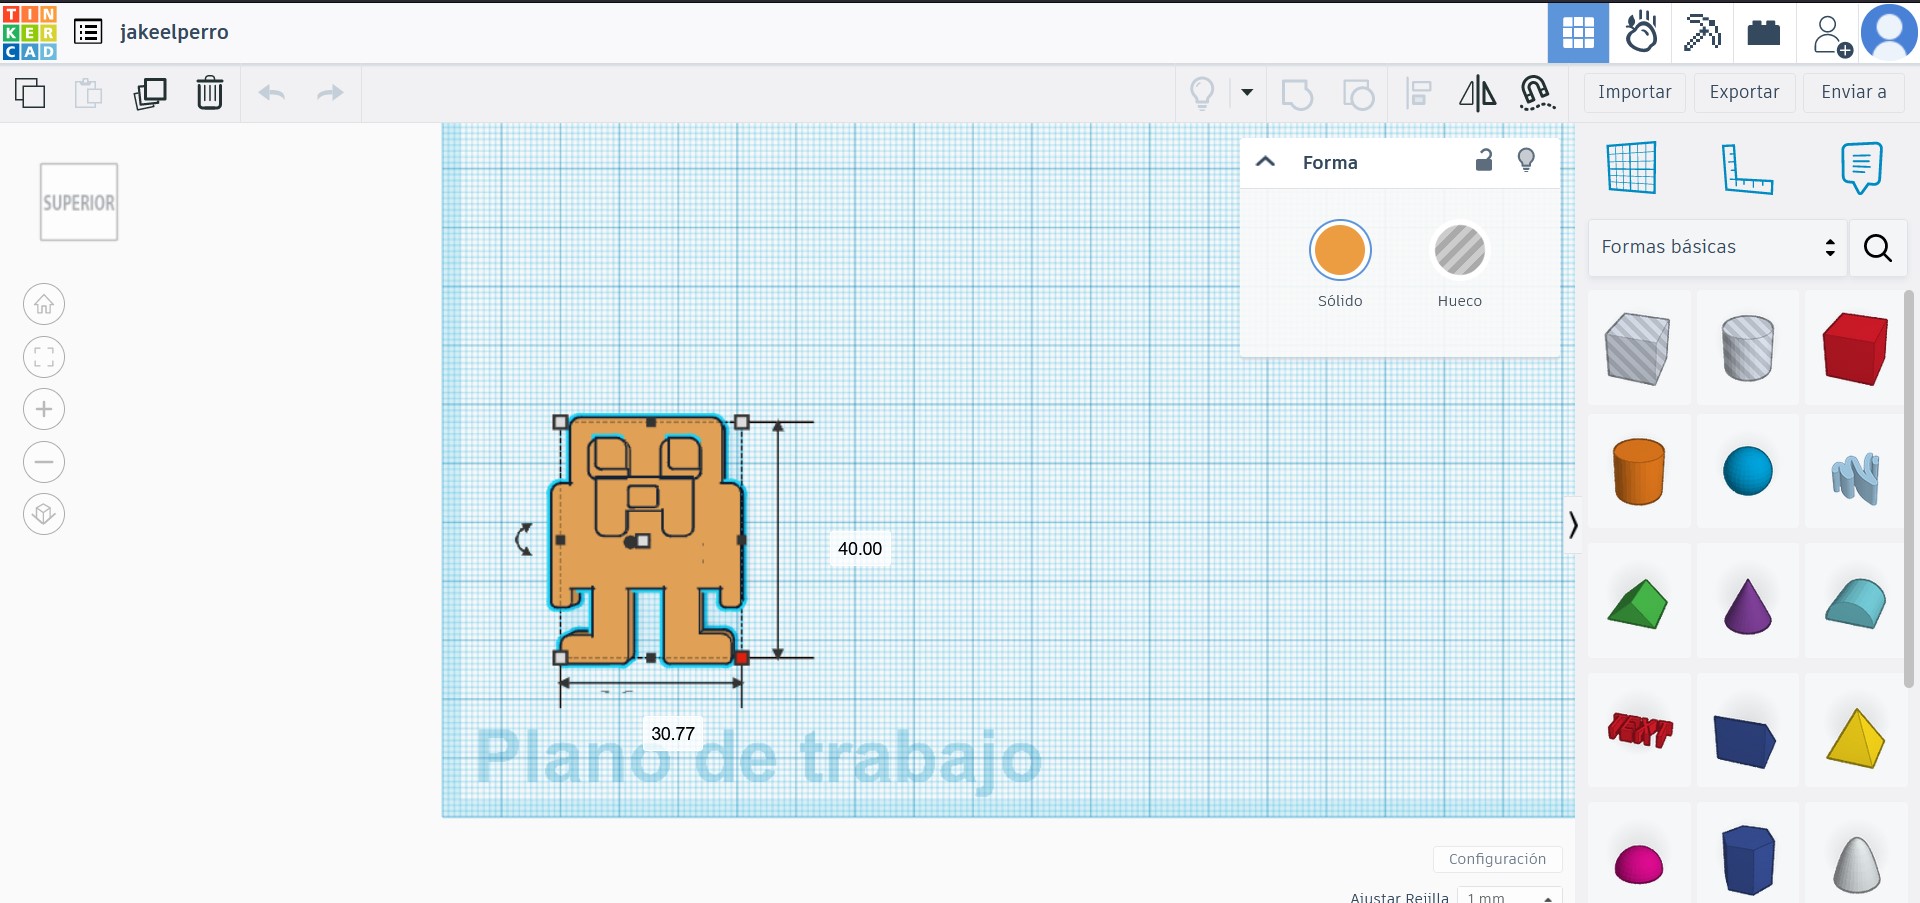
When finished, I exported the figure in .stl format.
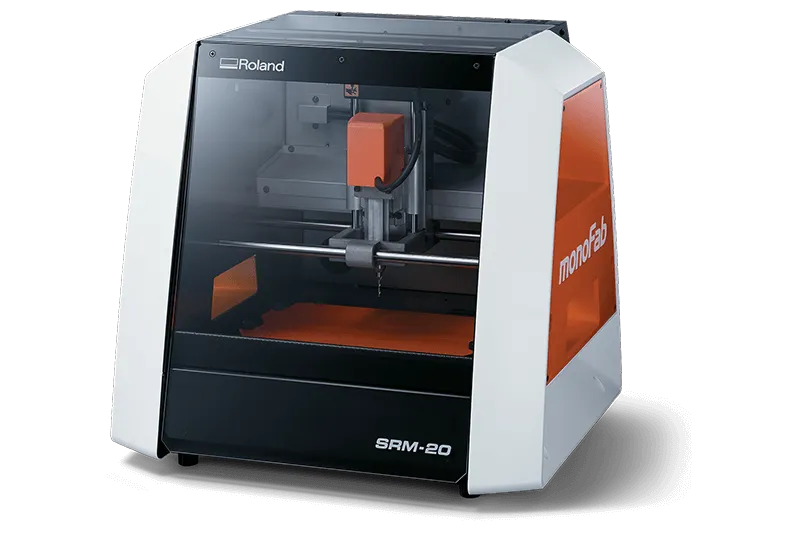
Setting up figure in SRP Player for ROLAND SRM-20 machine
Roland SRP Player is Computer-Aided Manufacturing (CAM) software designed to simplify the CNC milling process. It allows users to easily prepare their 3D models for production by providing intuitive tools for toolpath selection, cutting simulation and machining adjustments, thus optimizing efficiency and accuracy in the manufacture of prototypes and final parts.

This software is designed to be used on the ROLAND SRM-20 machine.
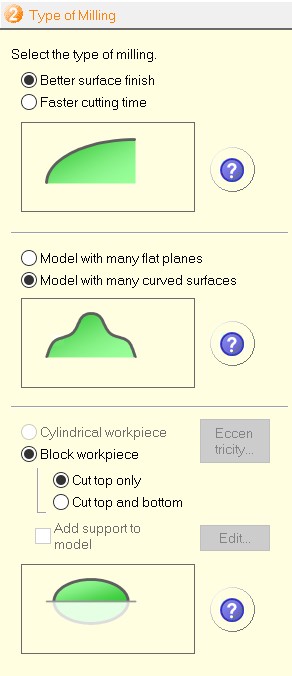
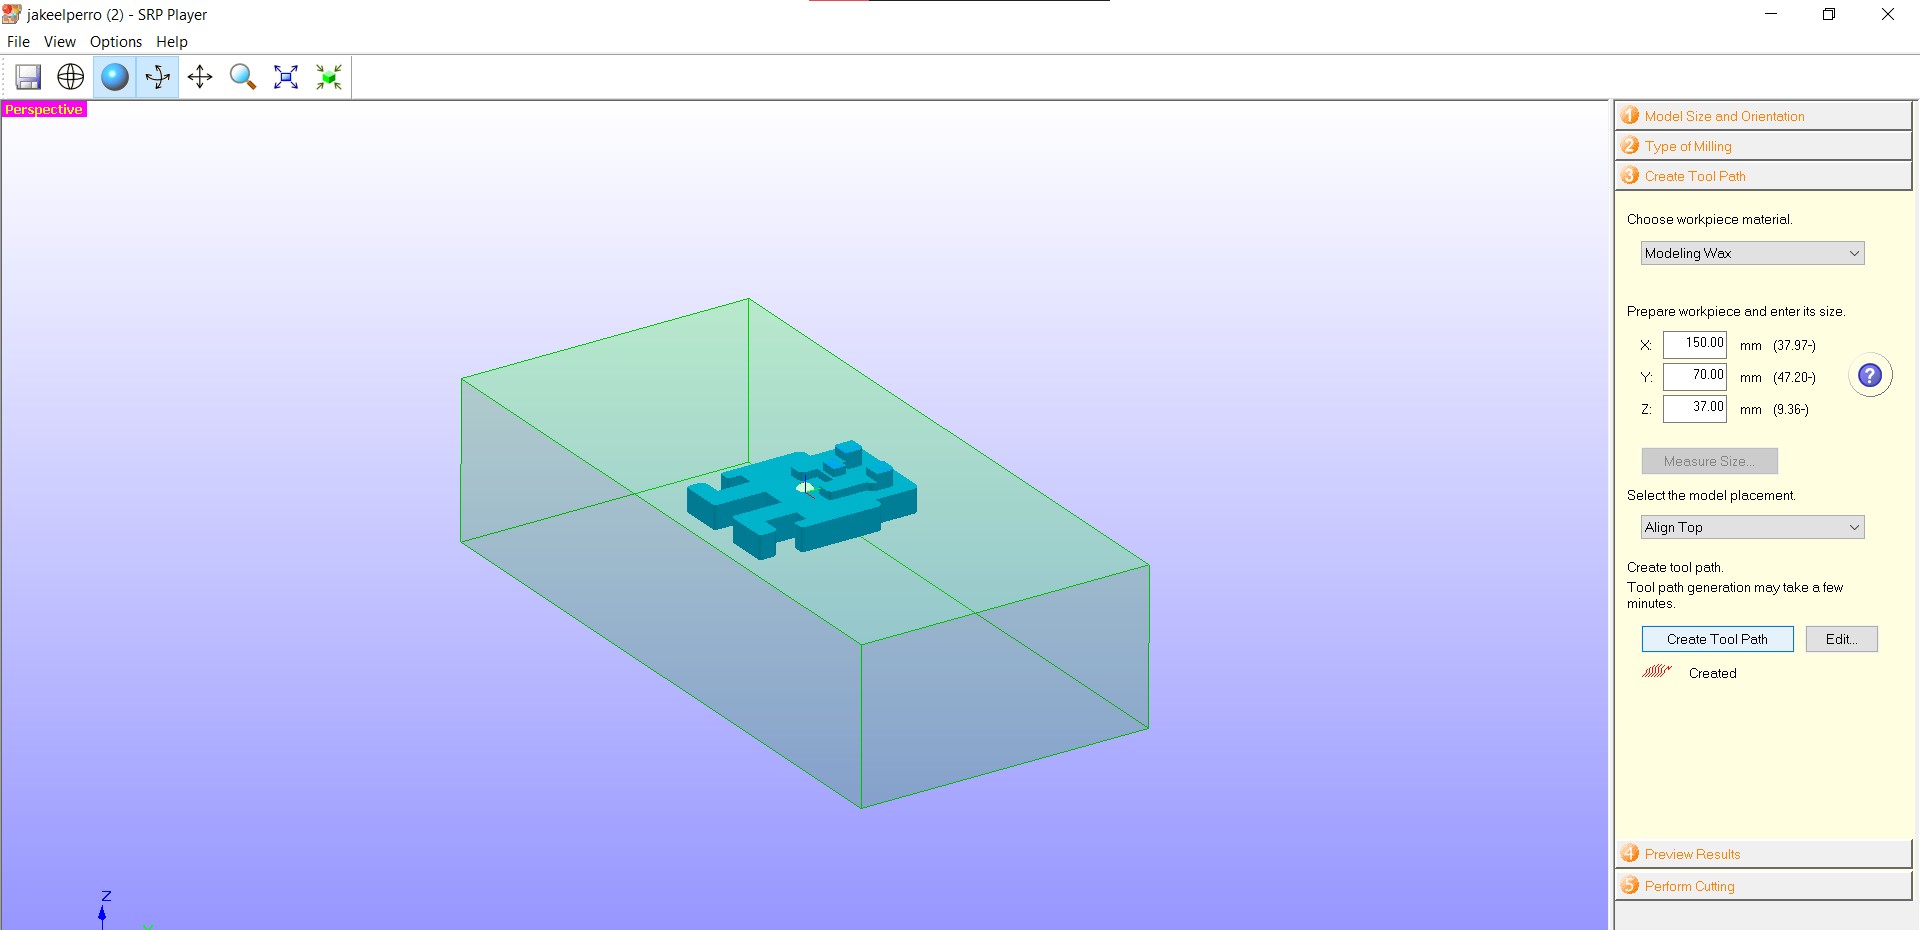
This program has a fairly well explained documentation. In addition, its interface is easy to use and includes a series of steps to configure your model. The first step is to open your model, this can be done in the top left corner: File -> Open. The next step is to confirm the size of the model, this is done on the right side of the program. Then we select the orientation of the figure. The second step is to choose the type of milling, then according to the figure I chose the model with many curves. Finally I chose the option to cut only the top of the part block.

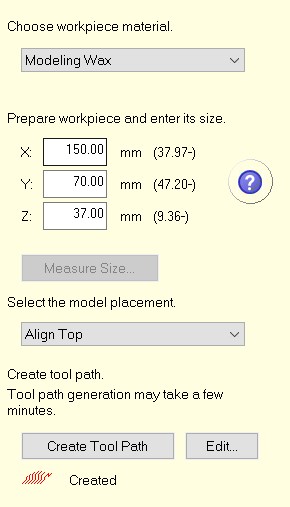
The third step is to choose the material with which we will work. In my case I used modeling wax. Then I set the size of the piece. So first I had to measure it. The next step was to define the placement of the model. I defined it to be aligned at the top.
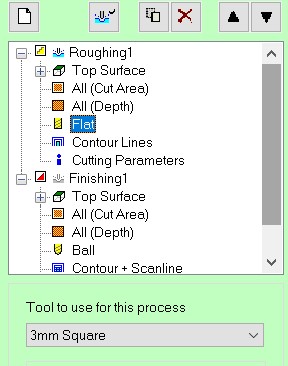
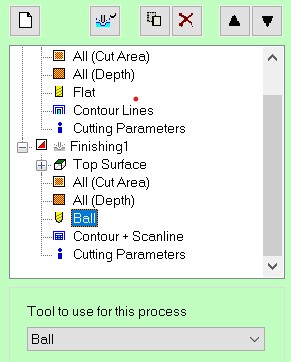
Then select the Edit option and more options will appear. Click on the “+” button next to Roughing to see all the tools. The only one I modified was Flat. When I clicked on it I changed the tool to 3mm. Then I did the same for Finishing1, instead of choosing Flat, I selected Ball and chose the ball tool. These tools were already predefined in the program. However, some colleagues had to choose the tool following more steps.
When you have finished configuring the tools, click on Apply. After having the third step ready we click on Created Tool Path. When finished at the bottom of the button we will see the message “Created”.
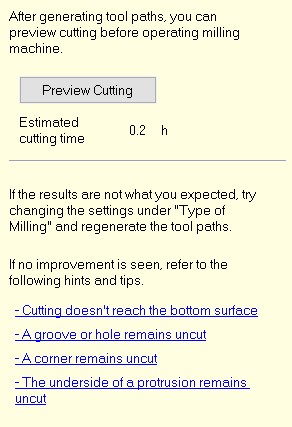
The penultimate step is to preview how the cut will look like with the Preview cutting option. When the preview is finished we click on the next step which is the last one to start cutting by clicking on the Start cutting option.
For the finishing we have to change the tool, when the first part is finished the program allows us to do this action, after having changed the tool we can start with the finishing of the figure.
One more fact, the program works only when connected to the machine.
Making the mold!
The SRP Player software is configured to link to the Roland machine, so we have to use the software we used previously to make the PCBs. This software is called VPanel. It is a program that I have used quite a few times, so I know how it works.
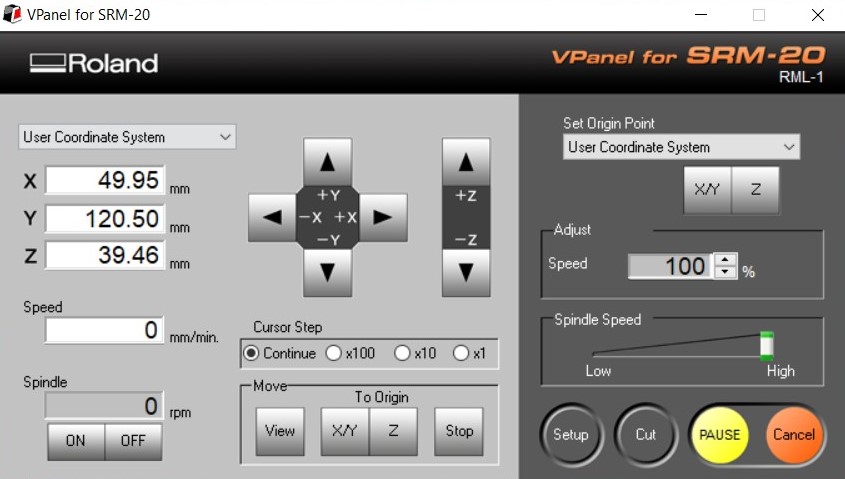
With Vpanel we adjust the machine axes, this is important because the engraving of the figure will start where we save the x and y axes. It is also important to adjust the z-axis of the machine, we have to adjust the tool to the height of the wax block. After saving the position of the axes, we can return to Vpanel and start engraving the figure.
We go back to SRP Player, where we left it before and click on "preview cutting" to start it. Note: The machine works in the same way as when we do pcbs. The safety cover has to be closed for it to start working.
The material I used is a block of wax, specifically the one shown in the image. The dimensions of the material are as follows:
Height: 37 mm
Width: 70 mm
Length: 150 mm

To place the wax block on the machine I had to use double-sided tape to keep the block from moving. I had to use a lot of it because I saw a coworker's work where his wax block moved.
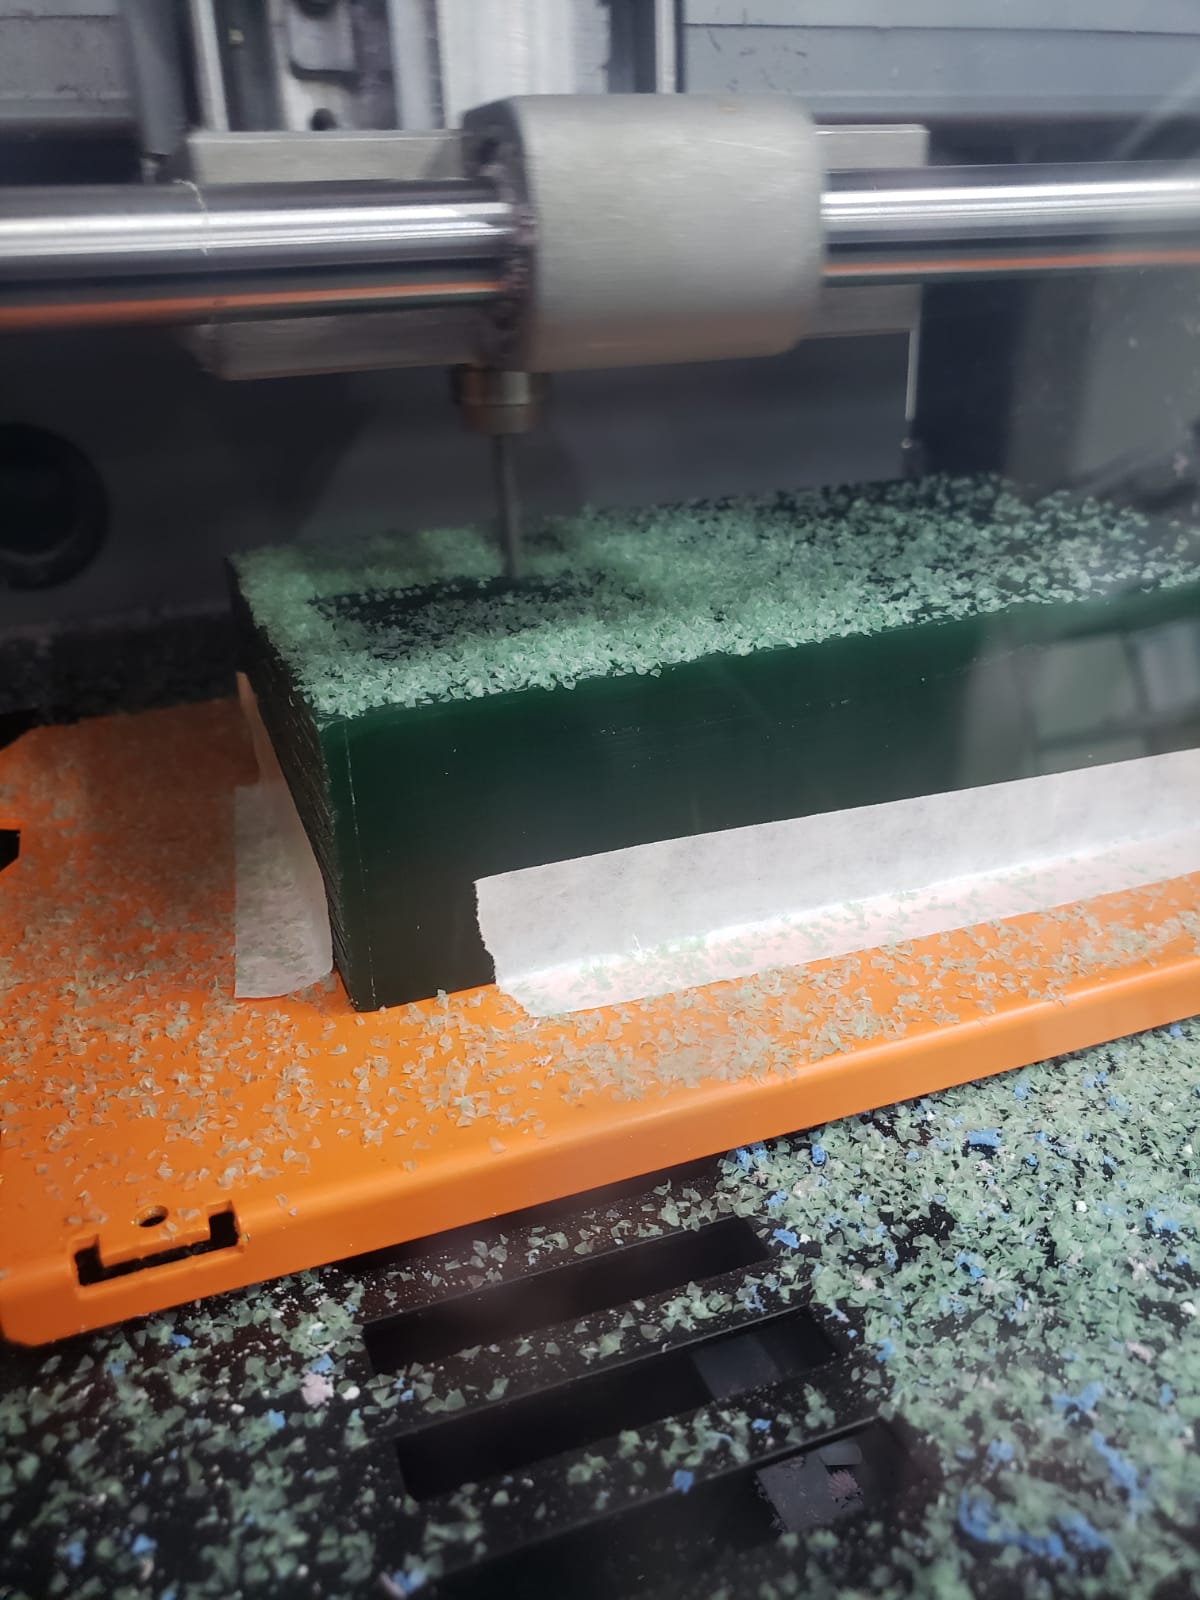
Below is a video of how the machine works on the wax block. It should be noted that some profiles had to be removed from the machine to be able to put the wax block, no big deal. It was just a matter of removing some screws and leaving the orange part that you can see in the image and the video.
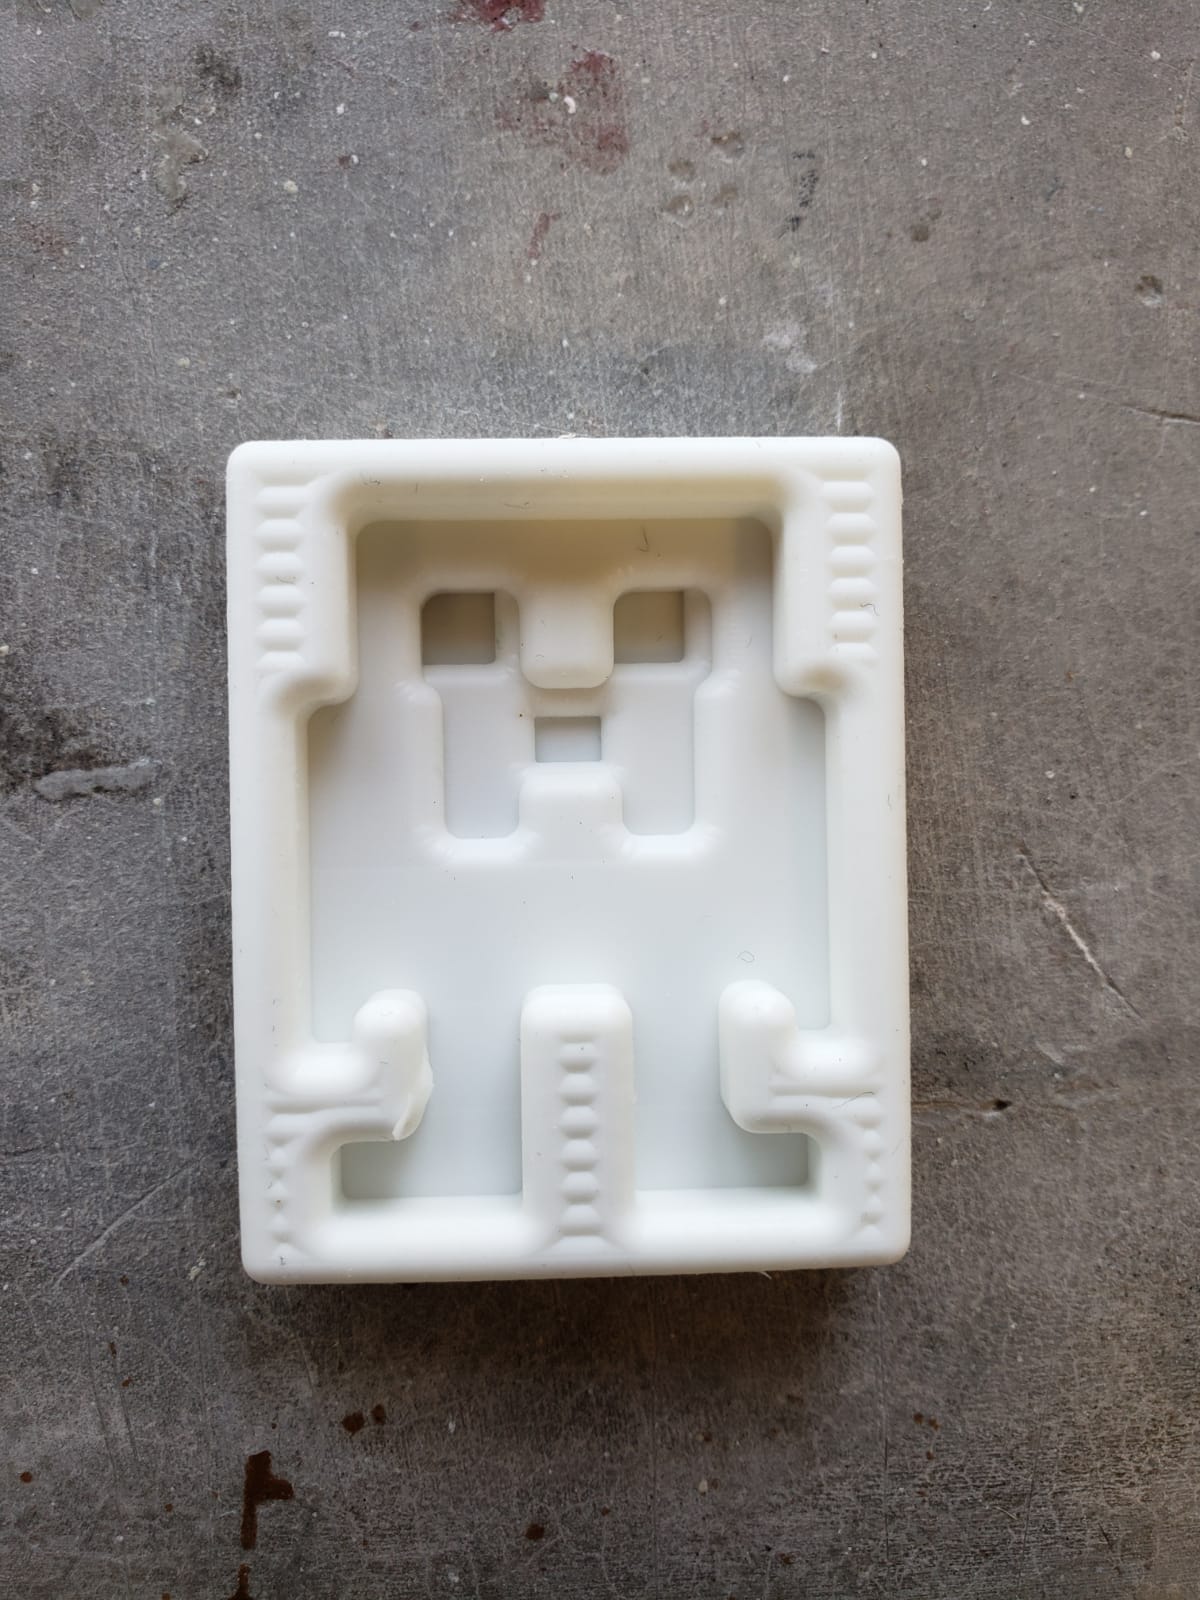
Result
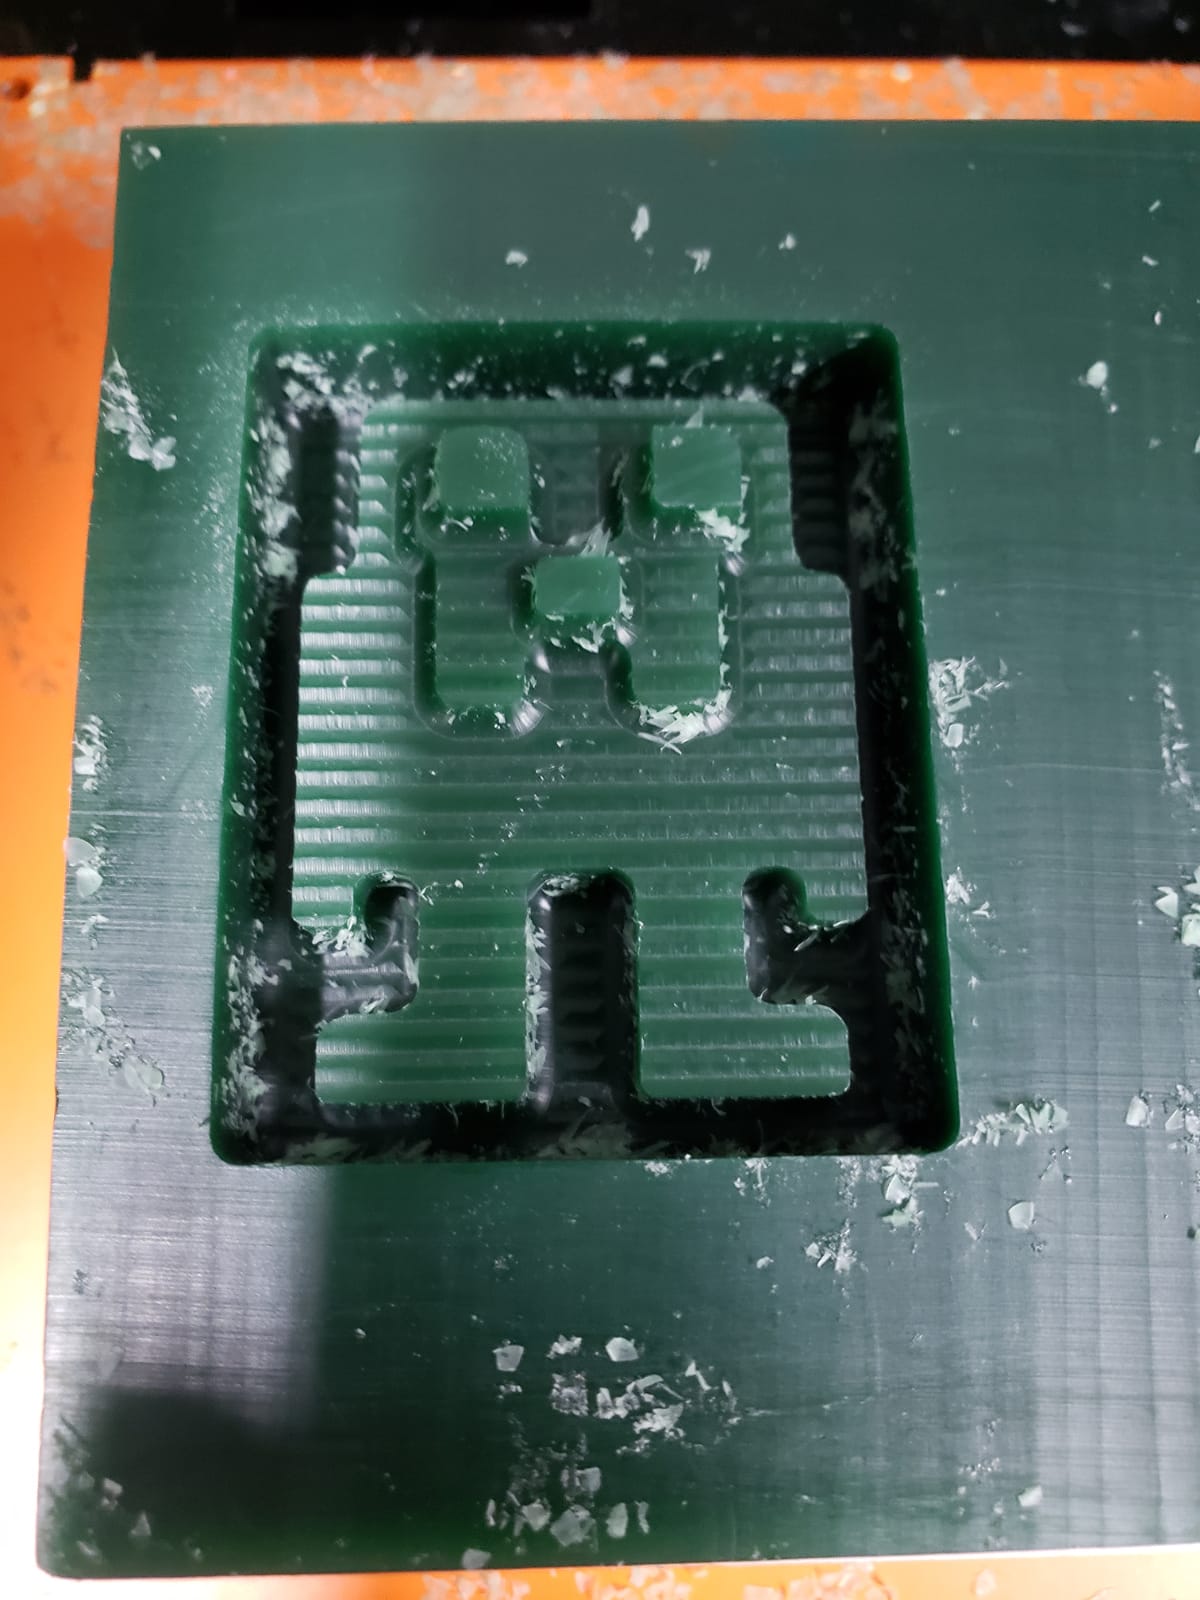
The result of the first attempt was fine, however, it did not have a good finish due to the lack of a tool. Specifically the ball-shaped tool. So I decided to try making the mold with this figure.
However, later I got the necessary tool to finish it and was able to make the figure again.
The advantage of using this machine was that I have used it so many times for my projects and helping other people that it is no longer complicated for me to use it. Also using the 3mm tool the waiting time is shorter compared to those who made their mold on the cnc router. However, you have to know how to use the SRP Player software to be able to set up the machine to do a good job.
After doing the finishing process on my other figure the result is as shown in the image below. Comparing it with the previous image you can clearly see the difference, it looks much better. Before making the figure again I thought about using a heat gun to remove the lines, however, they were too big to remove and the result was not the best.
Casting the mold
The material I worked with to make this part was silicone. To use this material I had to make a mixture. The day I made the mixture I worked with a partner, we both made the mixture. These are the substances I used:
Silicone
SILICONE 3030 is a low-viscosity and easy-to-use condensation silicone for mold construction. The vacuum deaeration for bubble-free castings is not necessary due to the low viscosity. It reproduces the finest details and is suitable for numerous industrial and artistic applications. By adding THIi-VEX®, SILICONE 3030 can be thickened and adjusted to be spreadable. It can also be colored with SILC-PIG® or IGNITE® color pigments. SILICONE 3030 can be used to cast wax, polyurethane, polyester, epoxy resins, gypsum, concrete, etc. without the use of a release agent.
Features:
Hazard classification
It is NOT a hazardous substance or mixture.
Eye contact
Flush eyes with plenty of water.
Skin contact
Wash with soap and water.
General housekeeping
Use good general housekeeping procedures. Wash hands after use. Do not get in eyes, on skin, or on clothing.
Respiratory protection
Not normally required when using this product in open environments with adequate ventilation.
Protective gloves
Wear any liquid-tight gloves such as butyl rubber, neoprene, or PVC.
Workplace safety
Never eat, drink, or smoke in work areas.
You can consult the silicone datasheet in the following link.
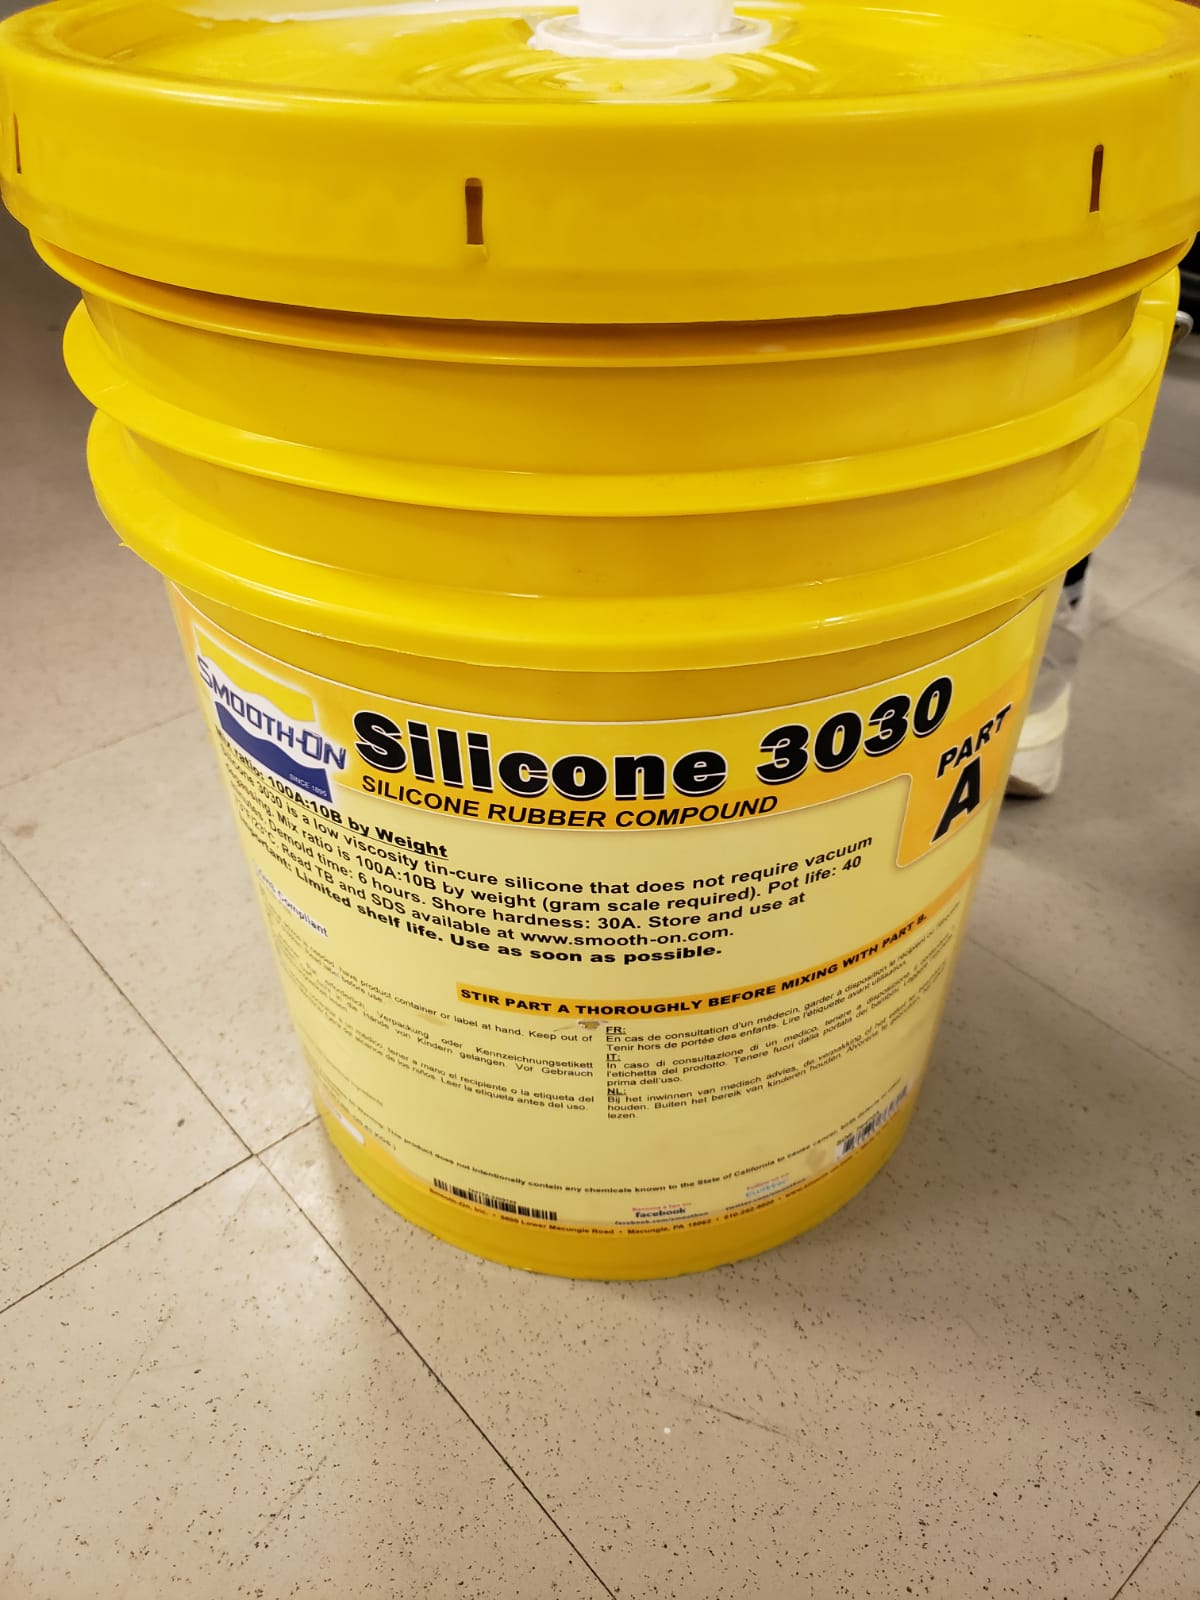
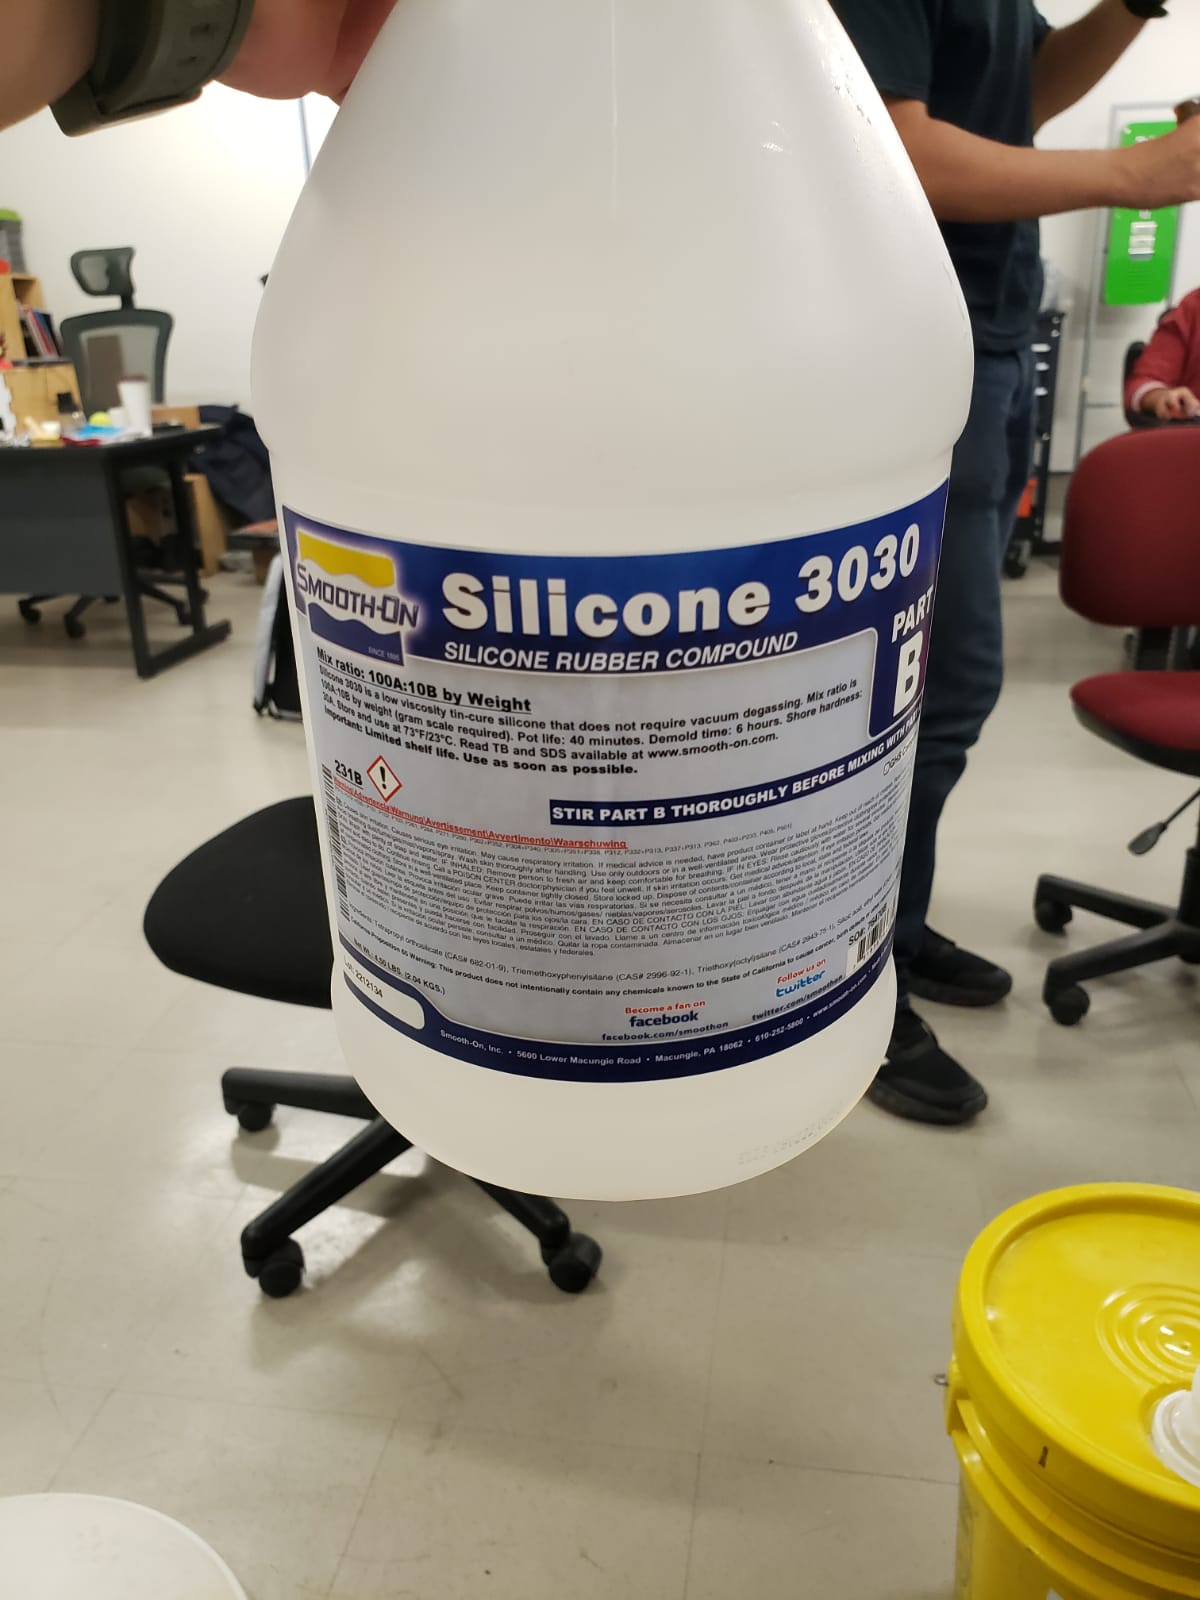
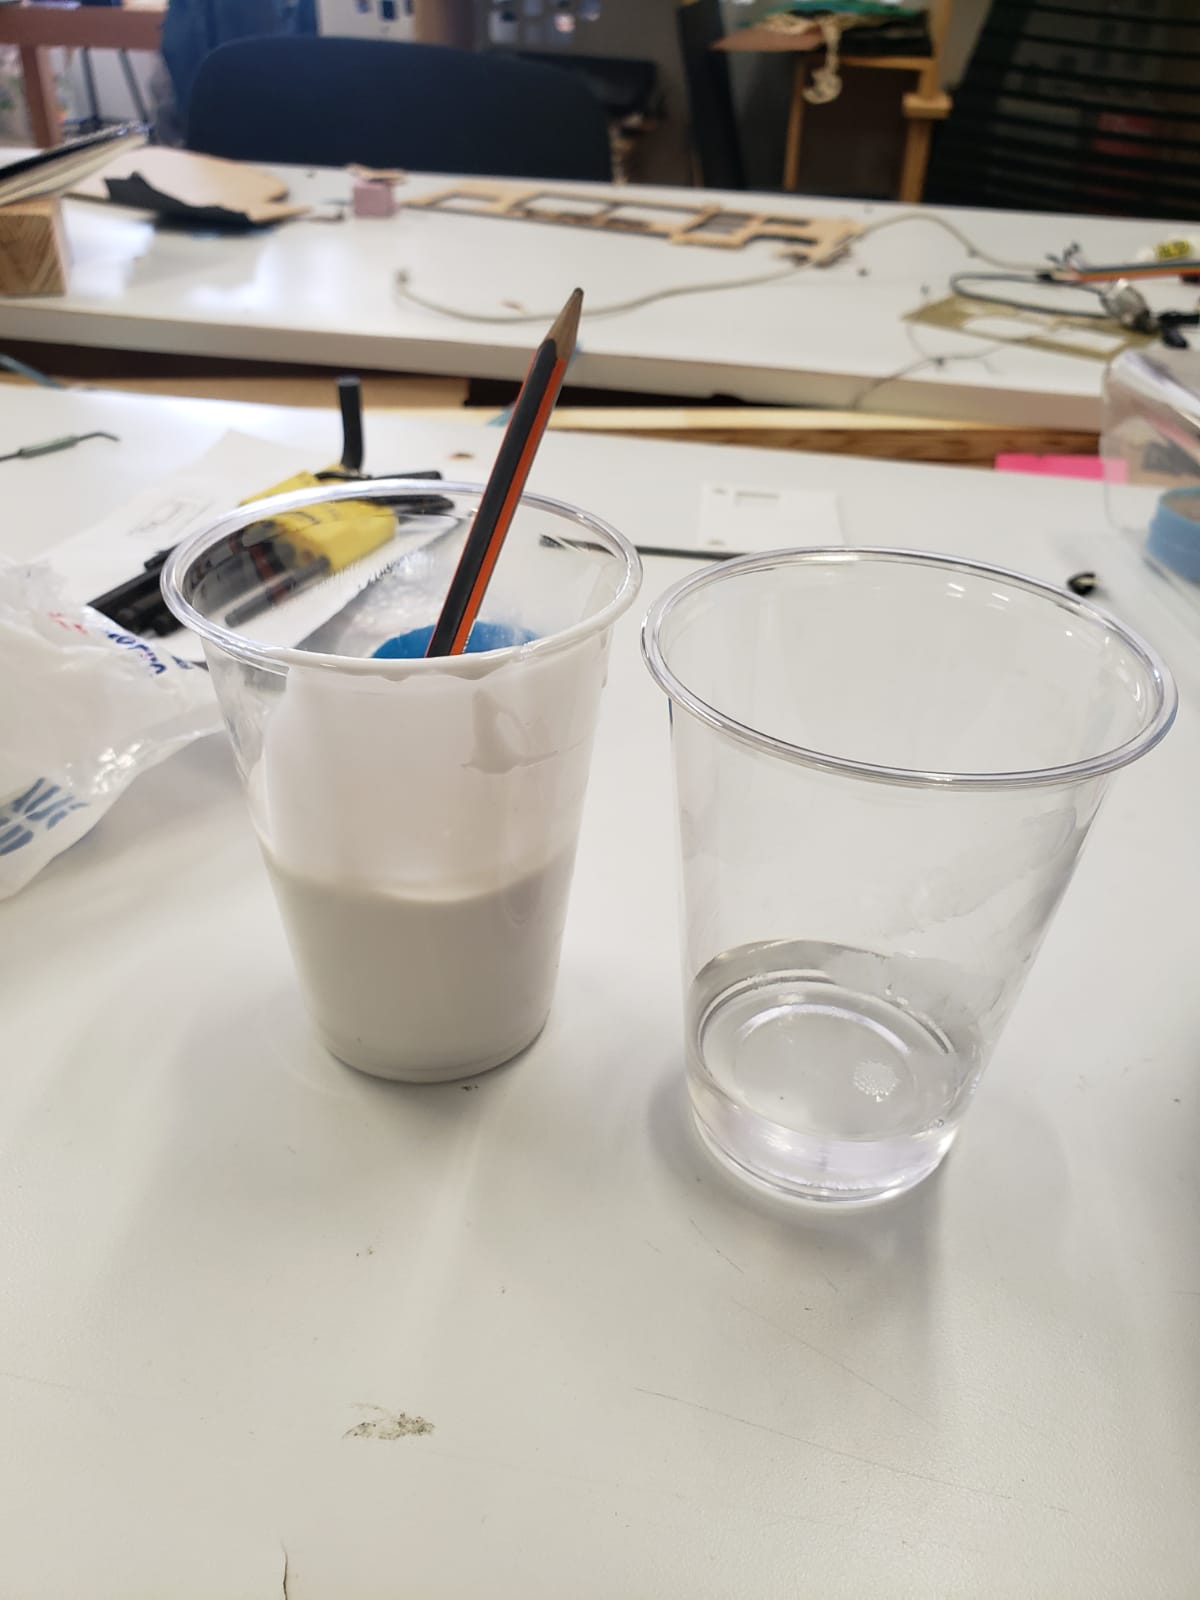
The ratio used was 100 parts silicone to 10 parts catalyst.
(The silicone is the one in the yellow can and the one on the right is the catalyst).
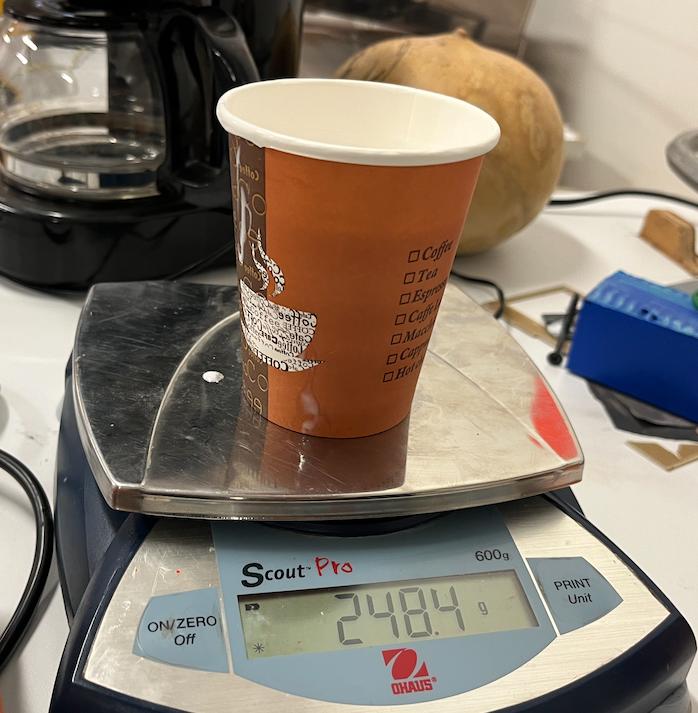
Let me explain, we first weighed the container in which we worked which was a 7.4 g beaker.
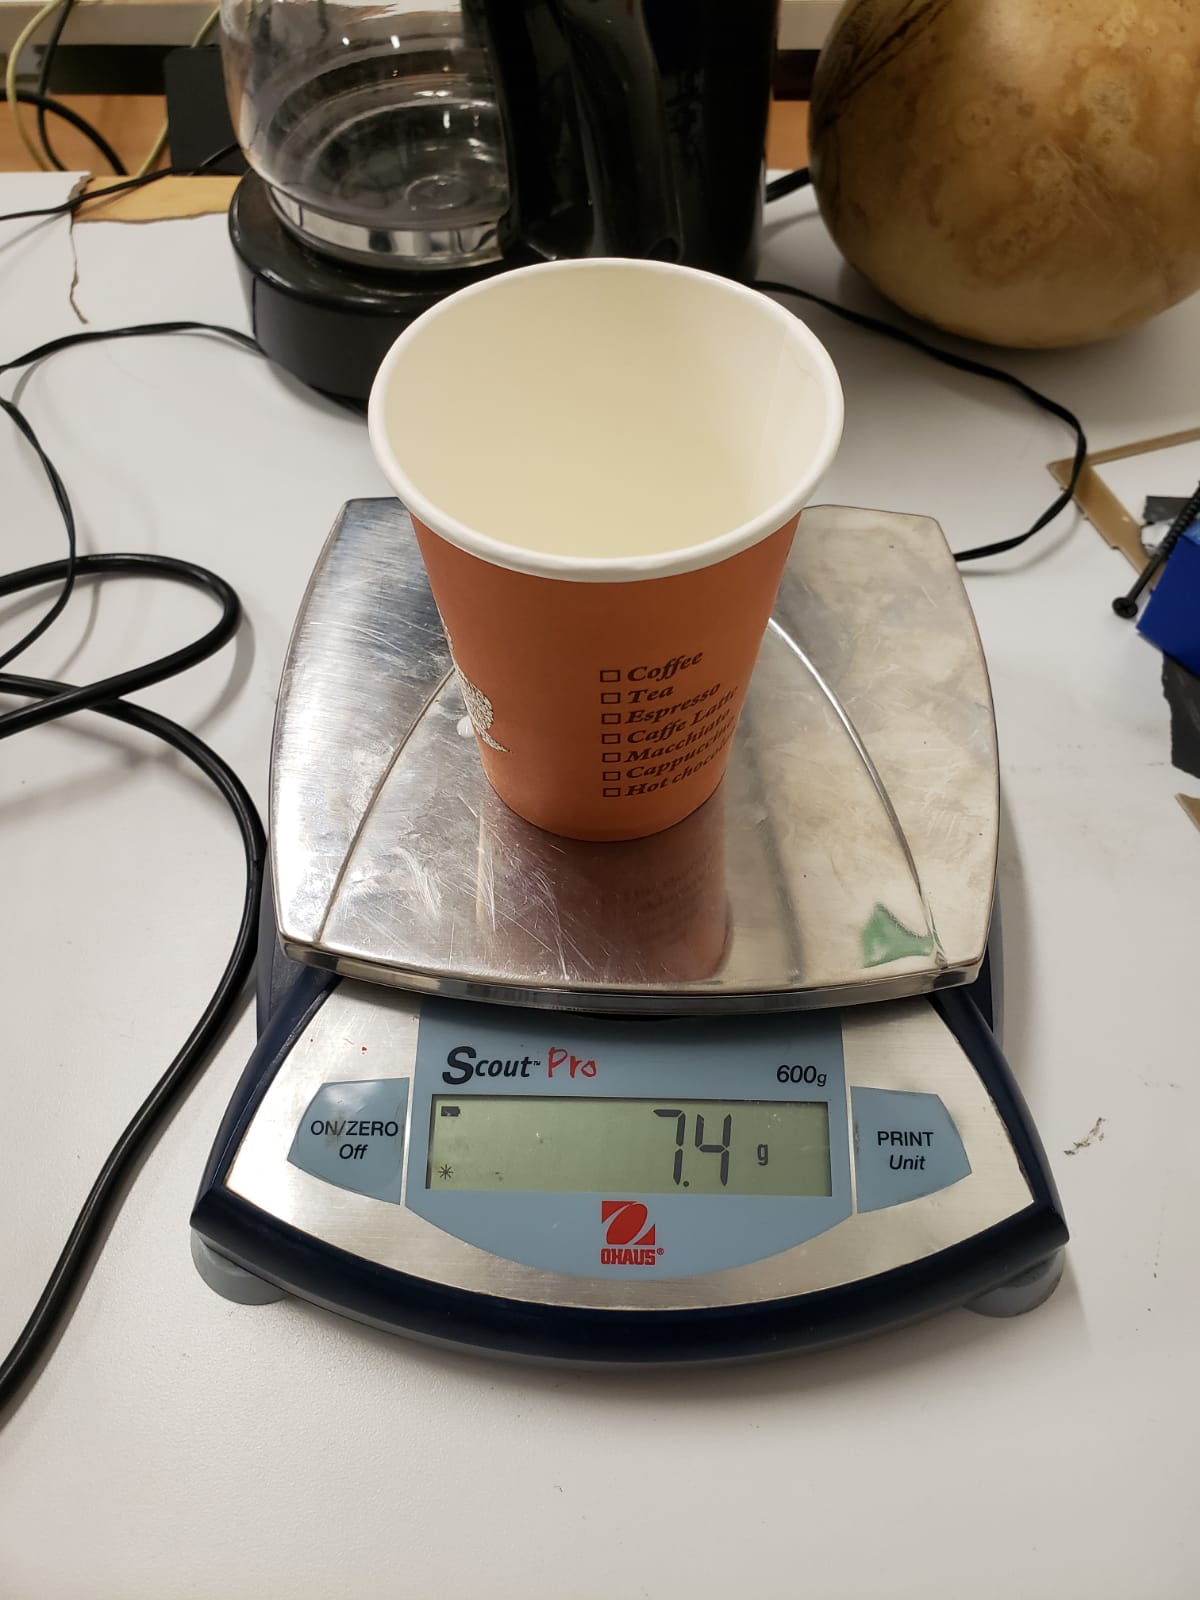
Then we added silicone from the yellow can to the beaker, in total we put 241 g of silicone in the beaker. The total weight together with the glass was 248.4 g.
To calculate how much catalyst we needed to use we took 10% of the weight of the silicone which gave us 24.1 g. This measurement was taken from the weight of the silicon alone, not counting the weight of the beaker. Finally, using the scale we placed an empty beaker and added 24.1 g of catalyst to it, in total the beaker had to weigh 31.5 g.
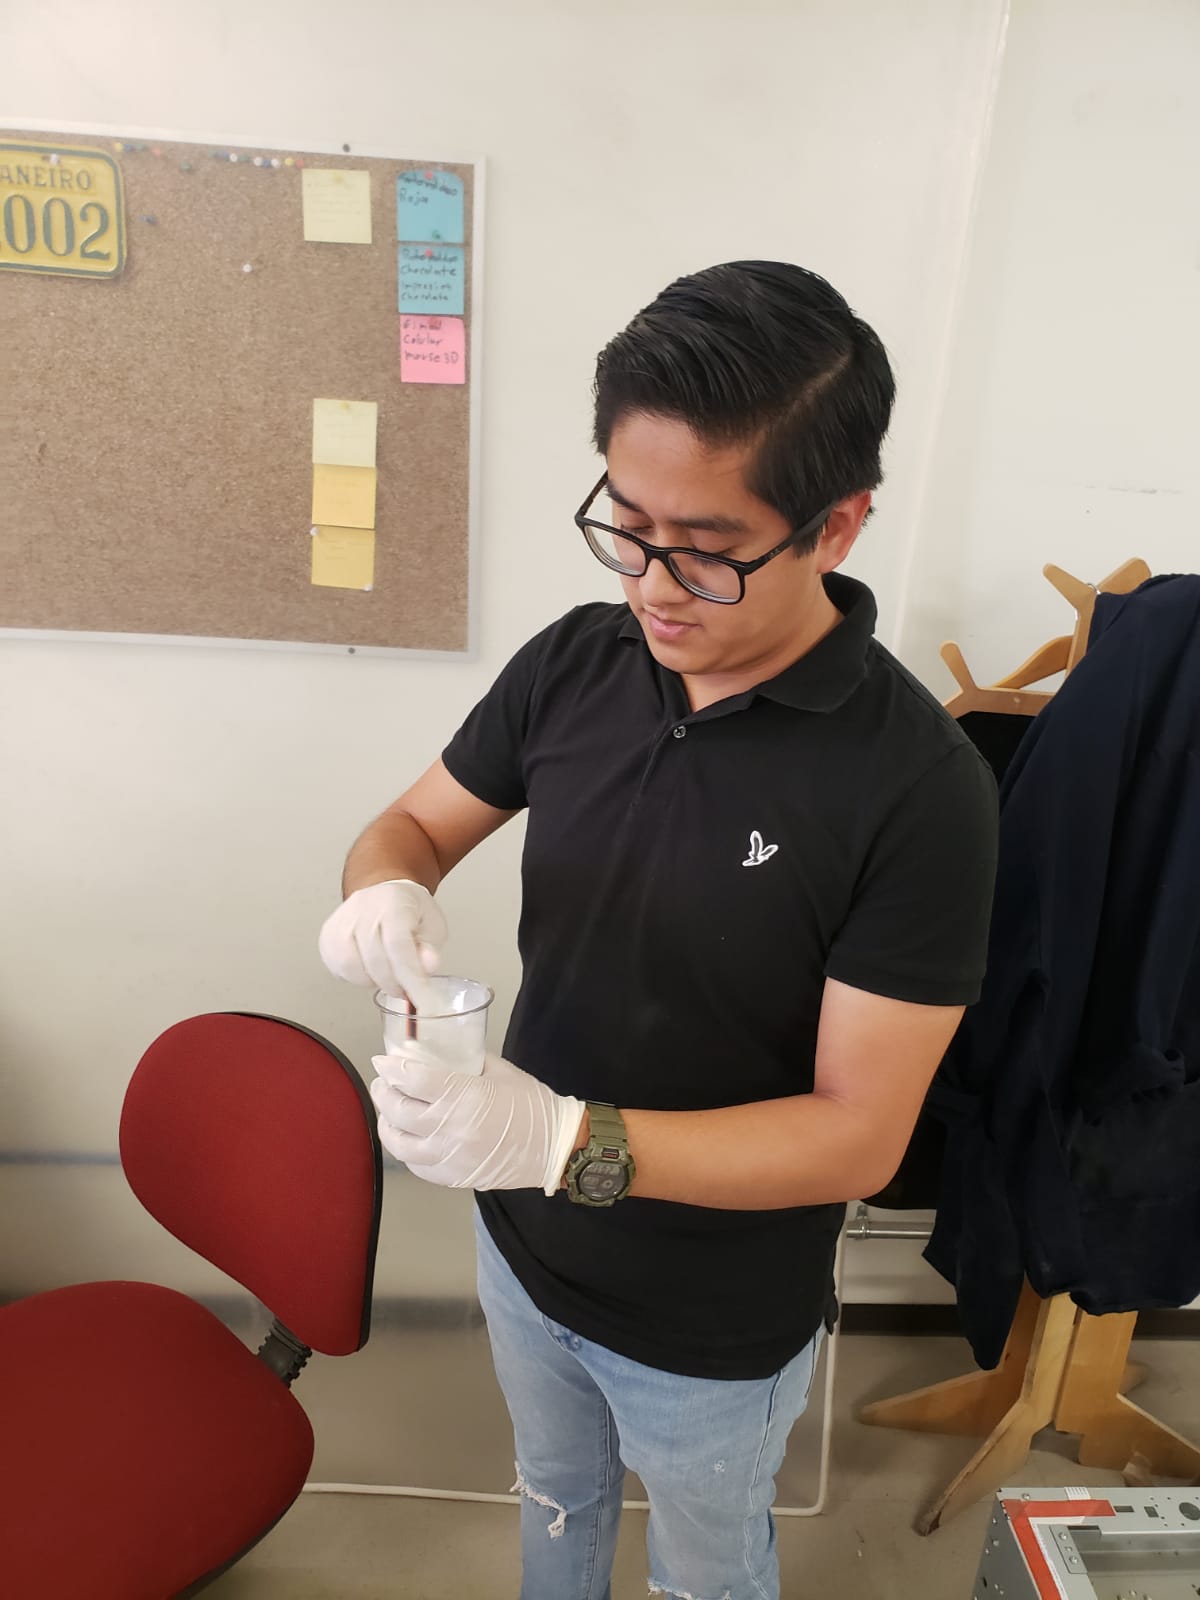
After we had the mixture, we had to stir it for about 5 minutes.
Result
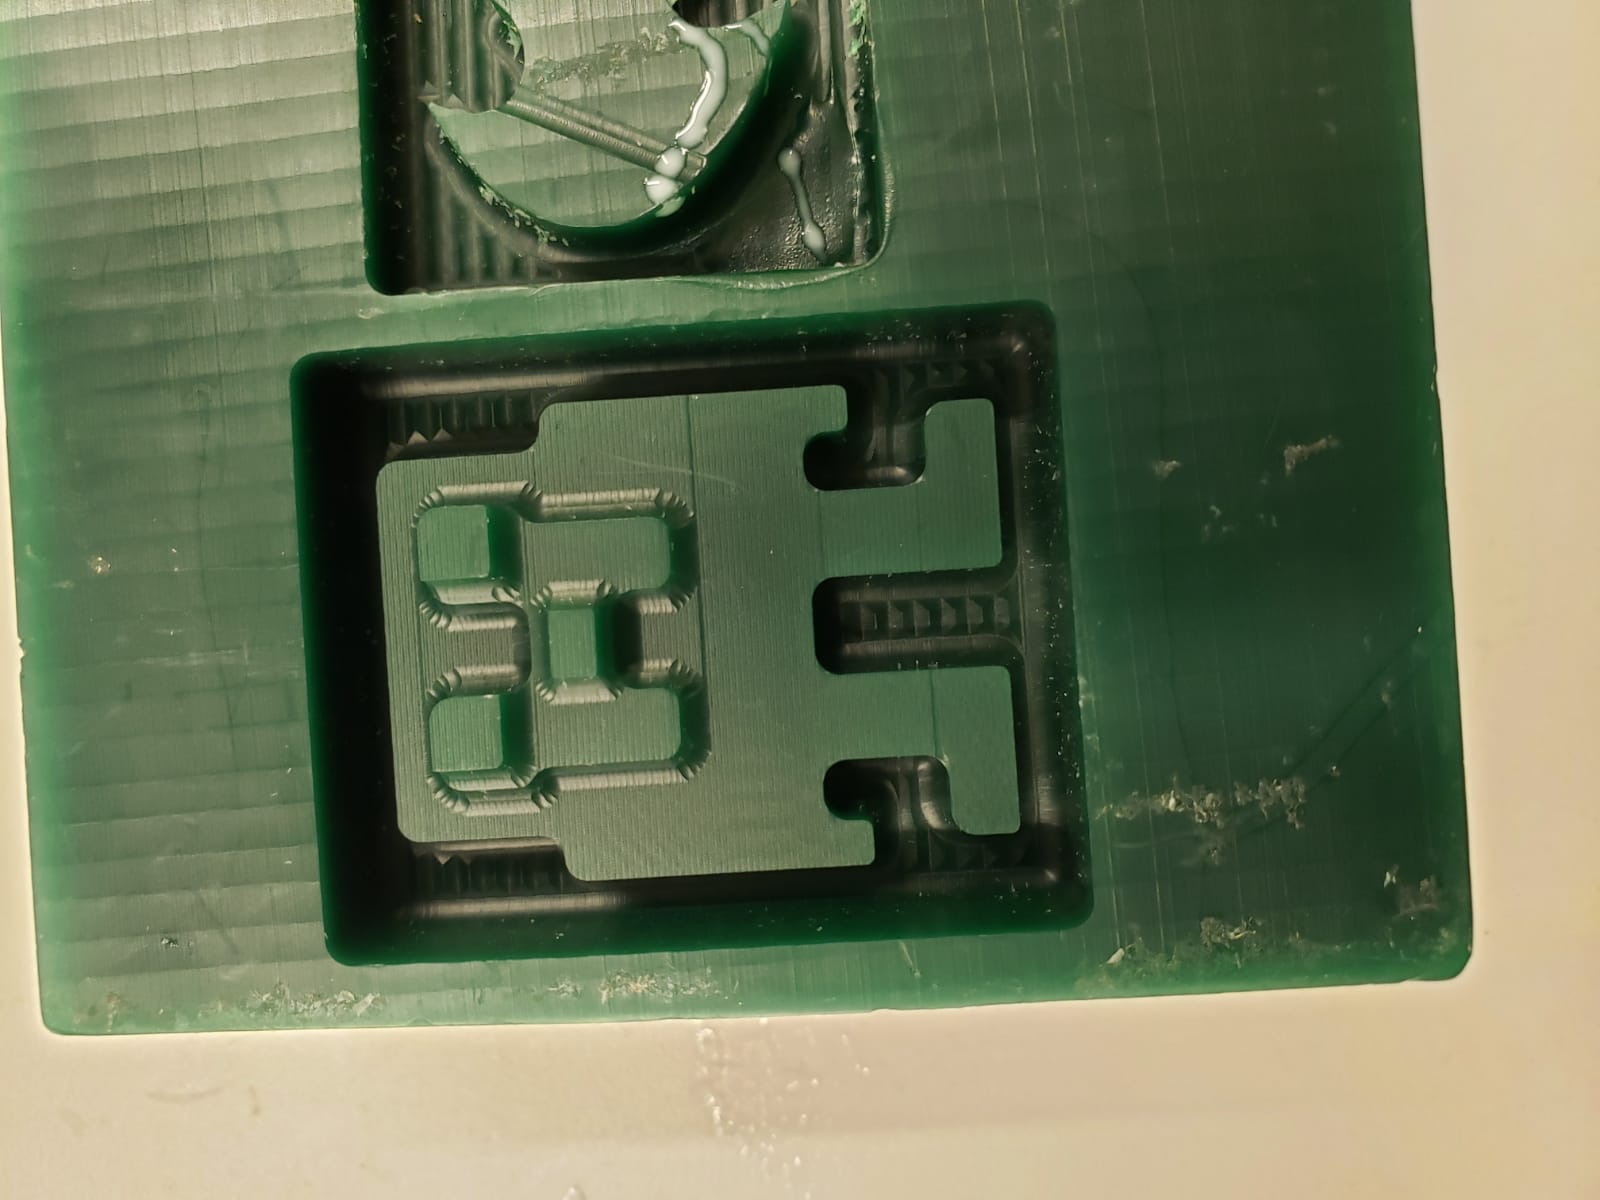
After waiting approximately one day this was the result, the truth is that it came out quite well, I liked the result, however, it does not have the finish that the assignment asks for. But as I said before, I made the figure again using the tool that makes a good finish to the figure. However, it still does not dry :(. (I will change this part later).
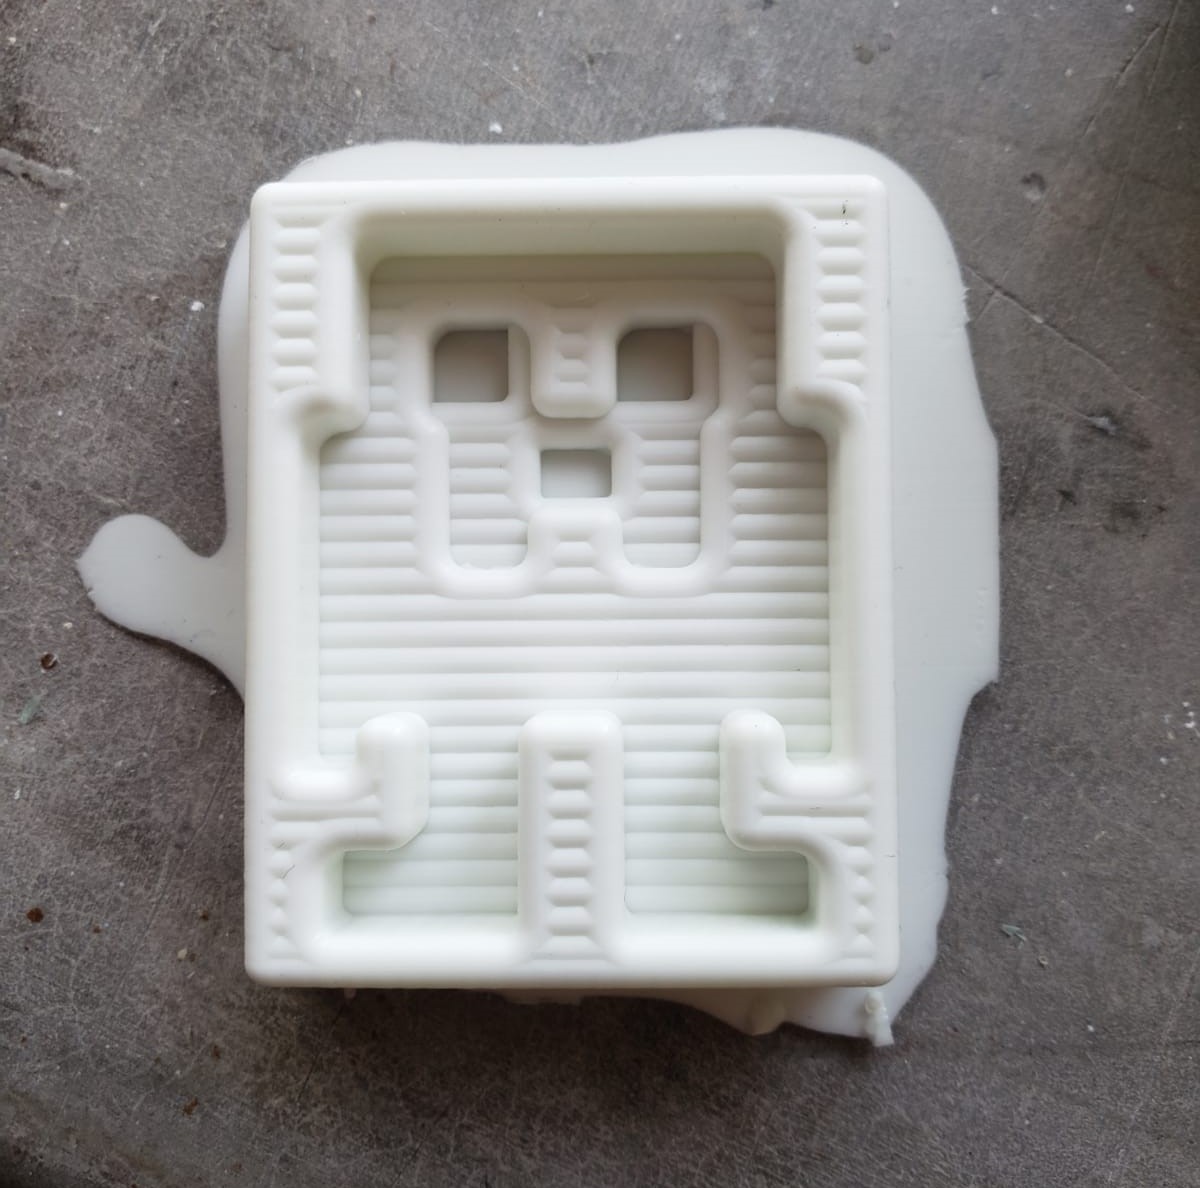
After repeating the same process for the new piece, the mold was as shown in the image:
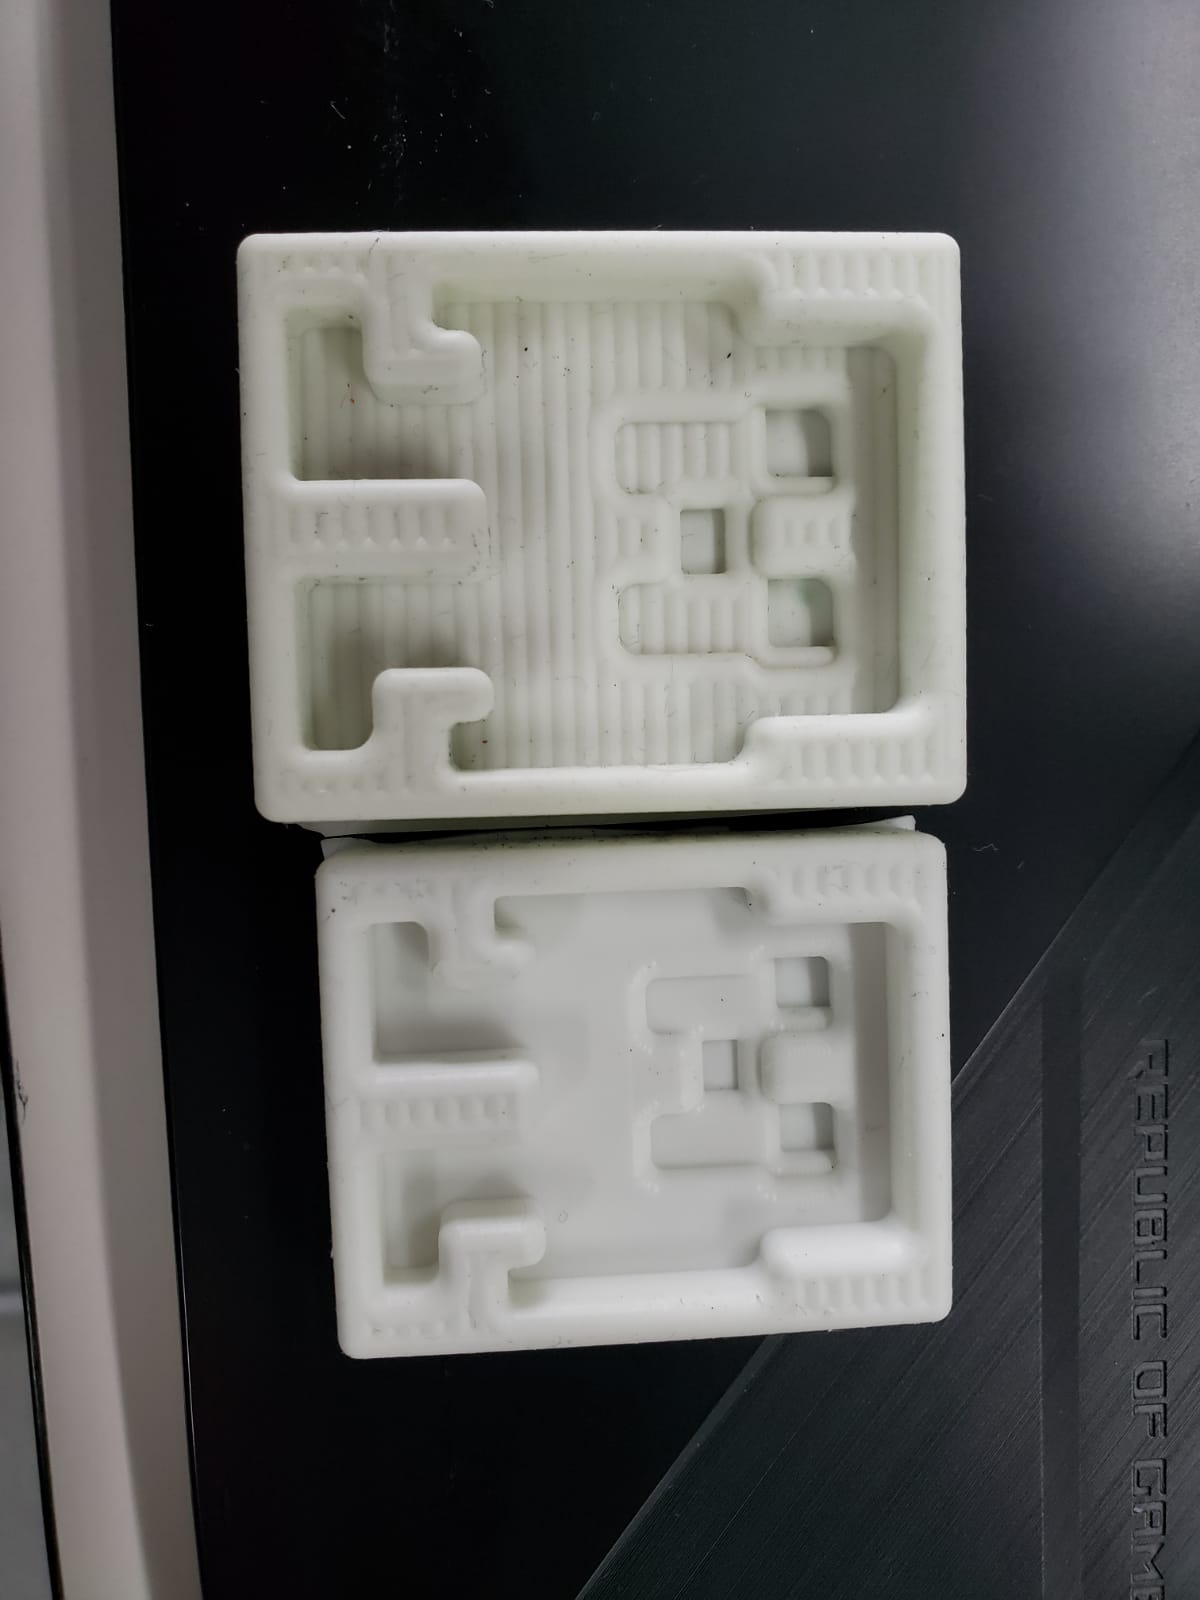
The next image is the comparison between the figure one and the figure two. Making the finishing the mold has better results.
I tried to make several figures and as the wax block is not big, I had to resize the second figure, since in the first one I could not give it the finish, because I removed the wax block from the machine and the coordinates I had marked were not saved, so it was going to go wrong and I decided to do it in another space of my wax block but a little smaller. To resize the figure, I used Tinkercad.
Testing the mold
The material I used for the mold was candle wax. It is a fairly easy material to use, just melt it and pour it very carefully over the mold until it cools.
The first step was to buy some wax candles. Then I grabbed a pan and placed two candles in it.
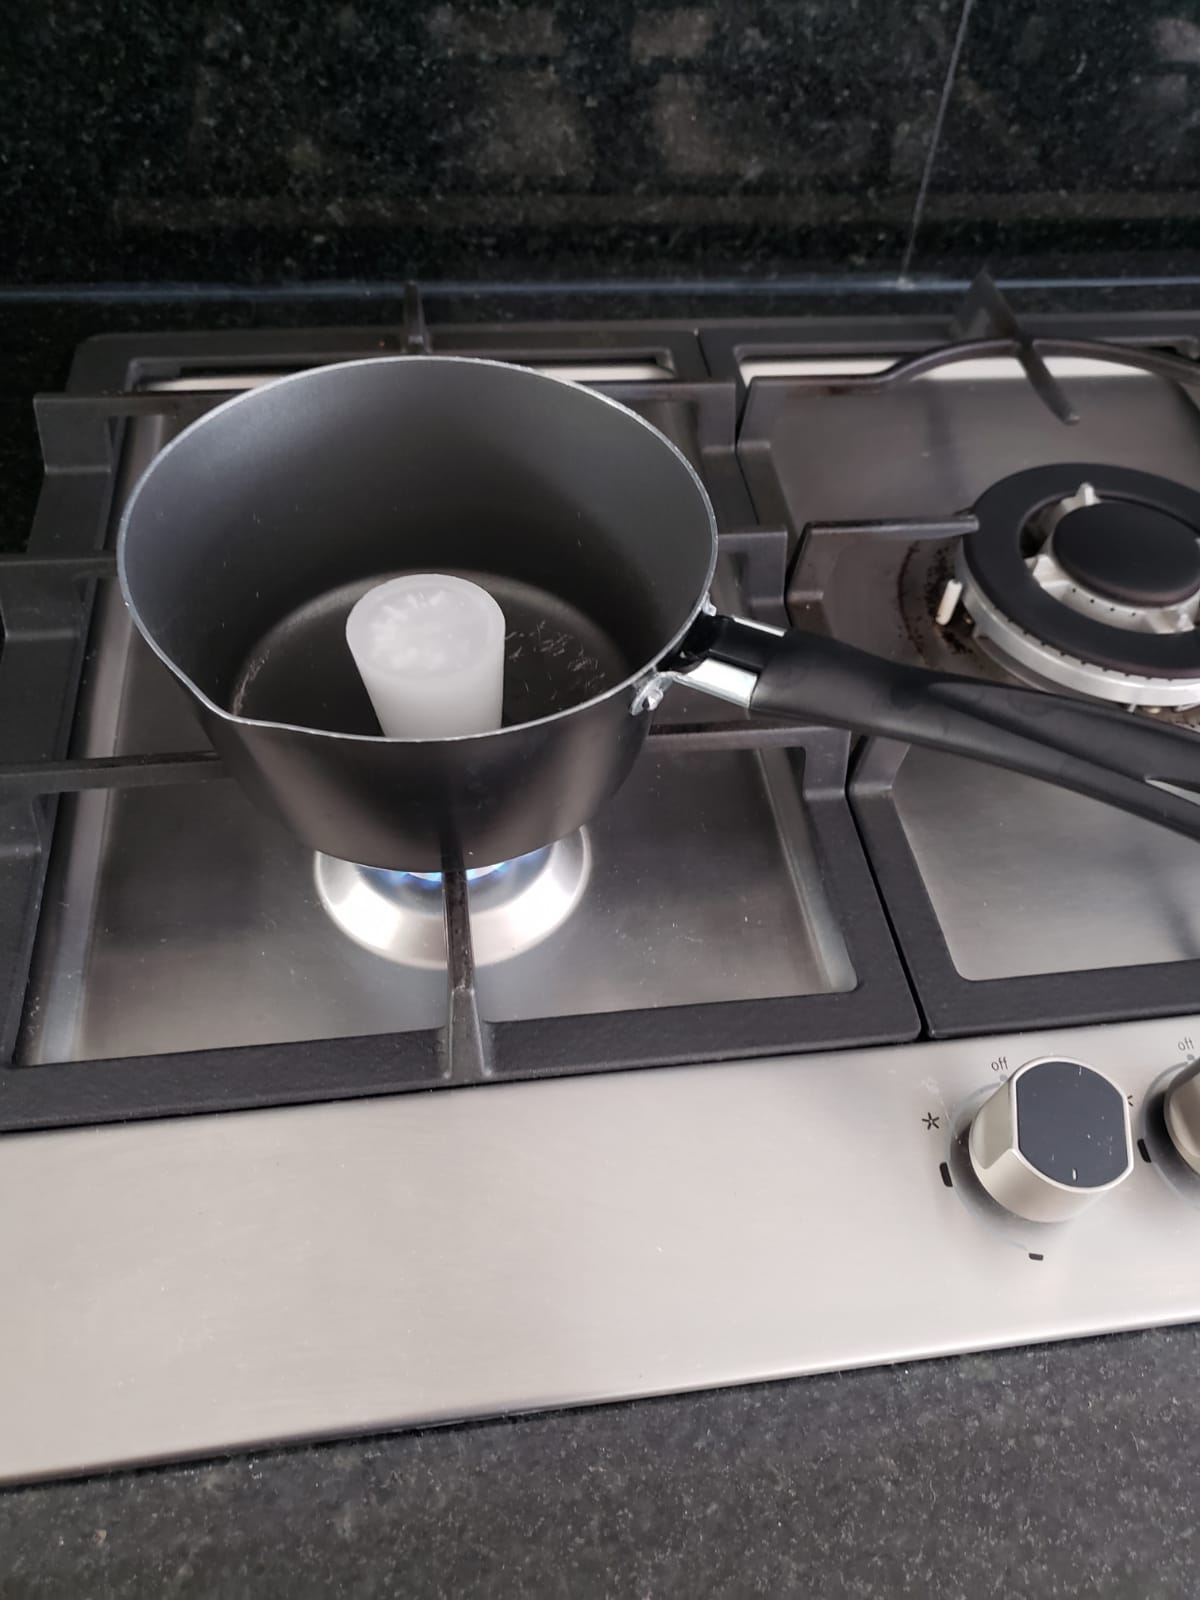
Then I waited for them to melt completely. I waited a few seconds and poured the hot wax into the molds.

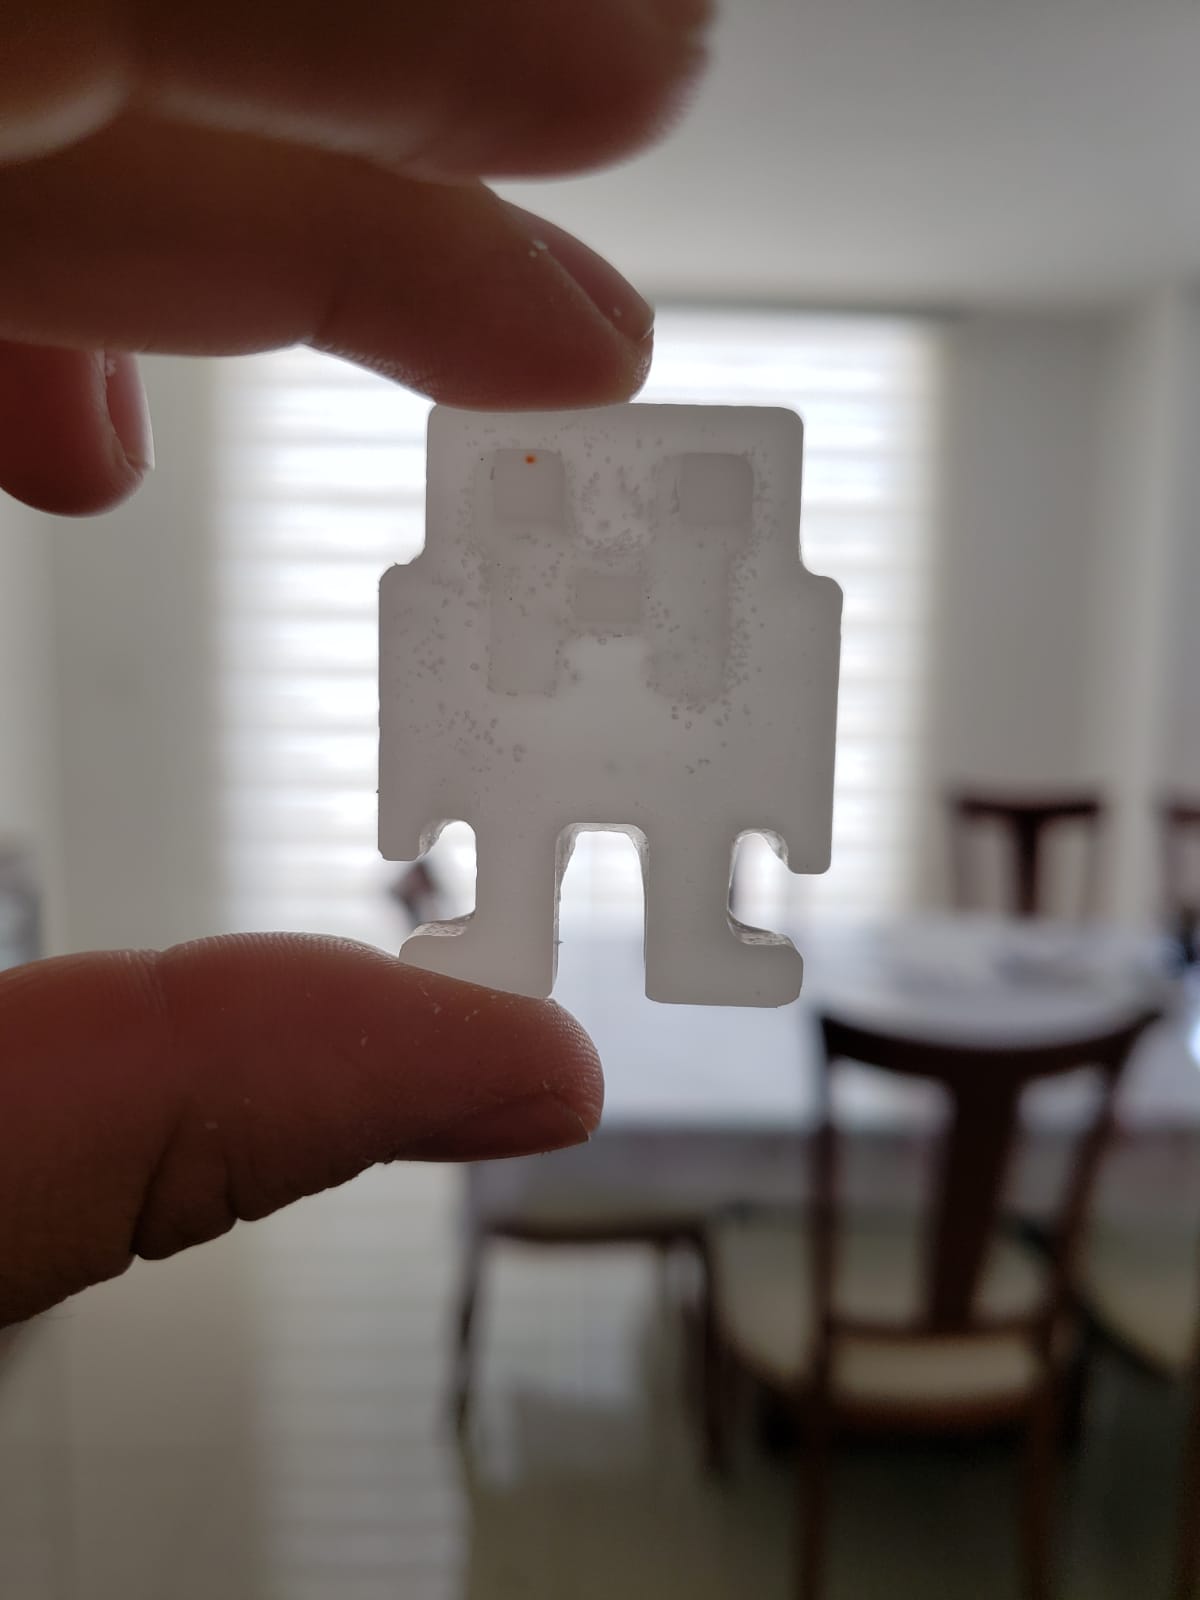
I waited about 30 minutes for the wax to solidify and removed the figures from the molds.
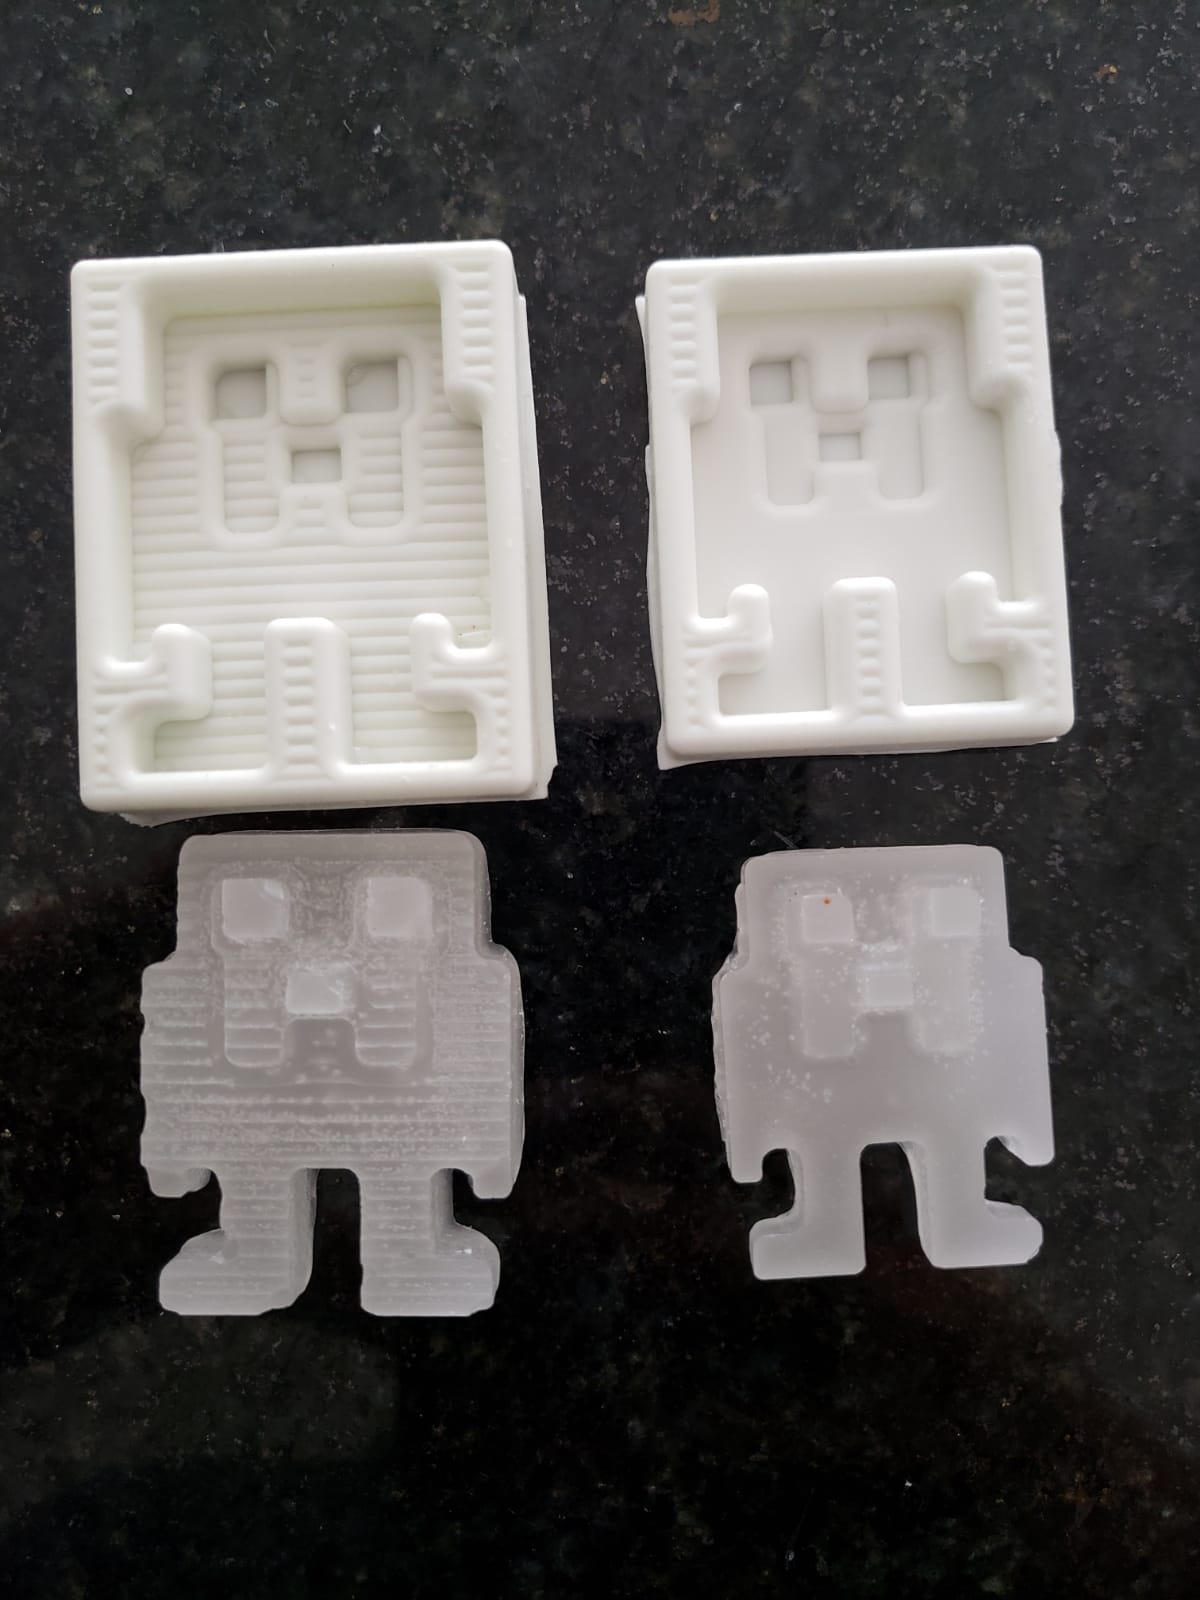
And this was my result: