
5. 3D Scanning and printing
Overview
This week's group activity was to test the design rules of the 3D printer(s) at the university. You can consult the group assignment in the following link.
What did I learn from the group assignment?
After exploring the various 3D printing technologies and printers available at FabLab Puebla, I can say that 3D printing is an incredibly versatile tool. Technologies such as DLP and MSLA offer precision and speed, while printers such as Ender 3 and Sindoh 3DWOX are affordable and reliable, ideal for a wide range of projects. In addition, the variety of materials available, from PLA to Nylon and TPU, provides options to suit the specific needs of each print.
Figure development in Fusion 360
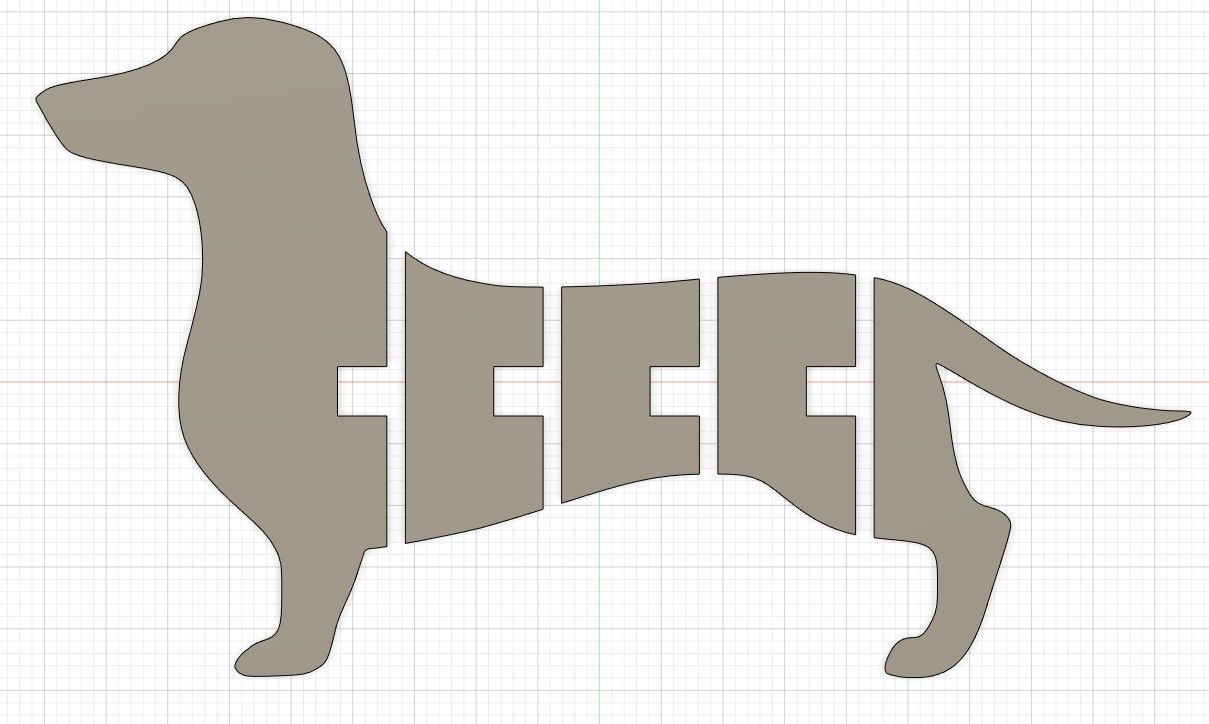
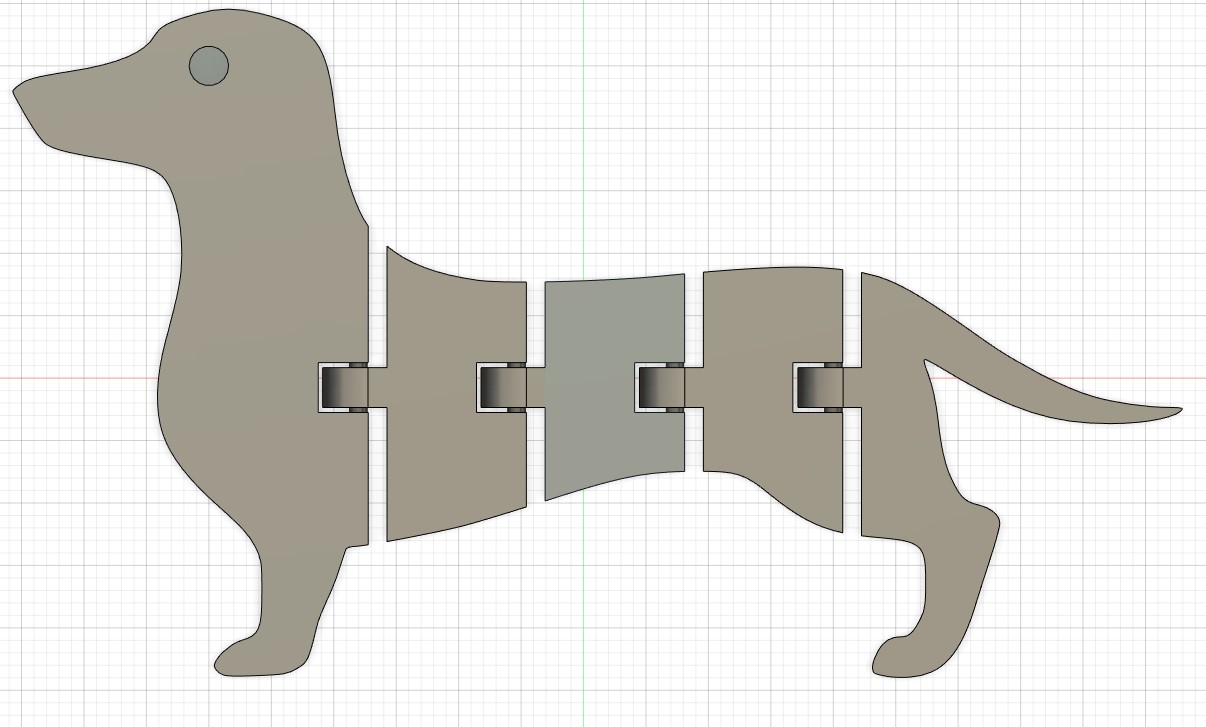
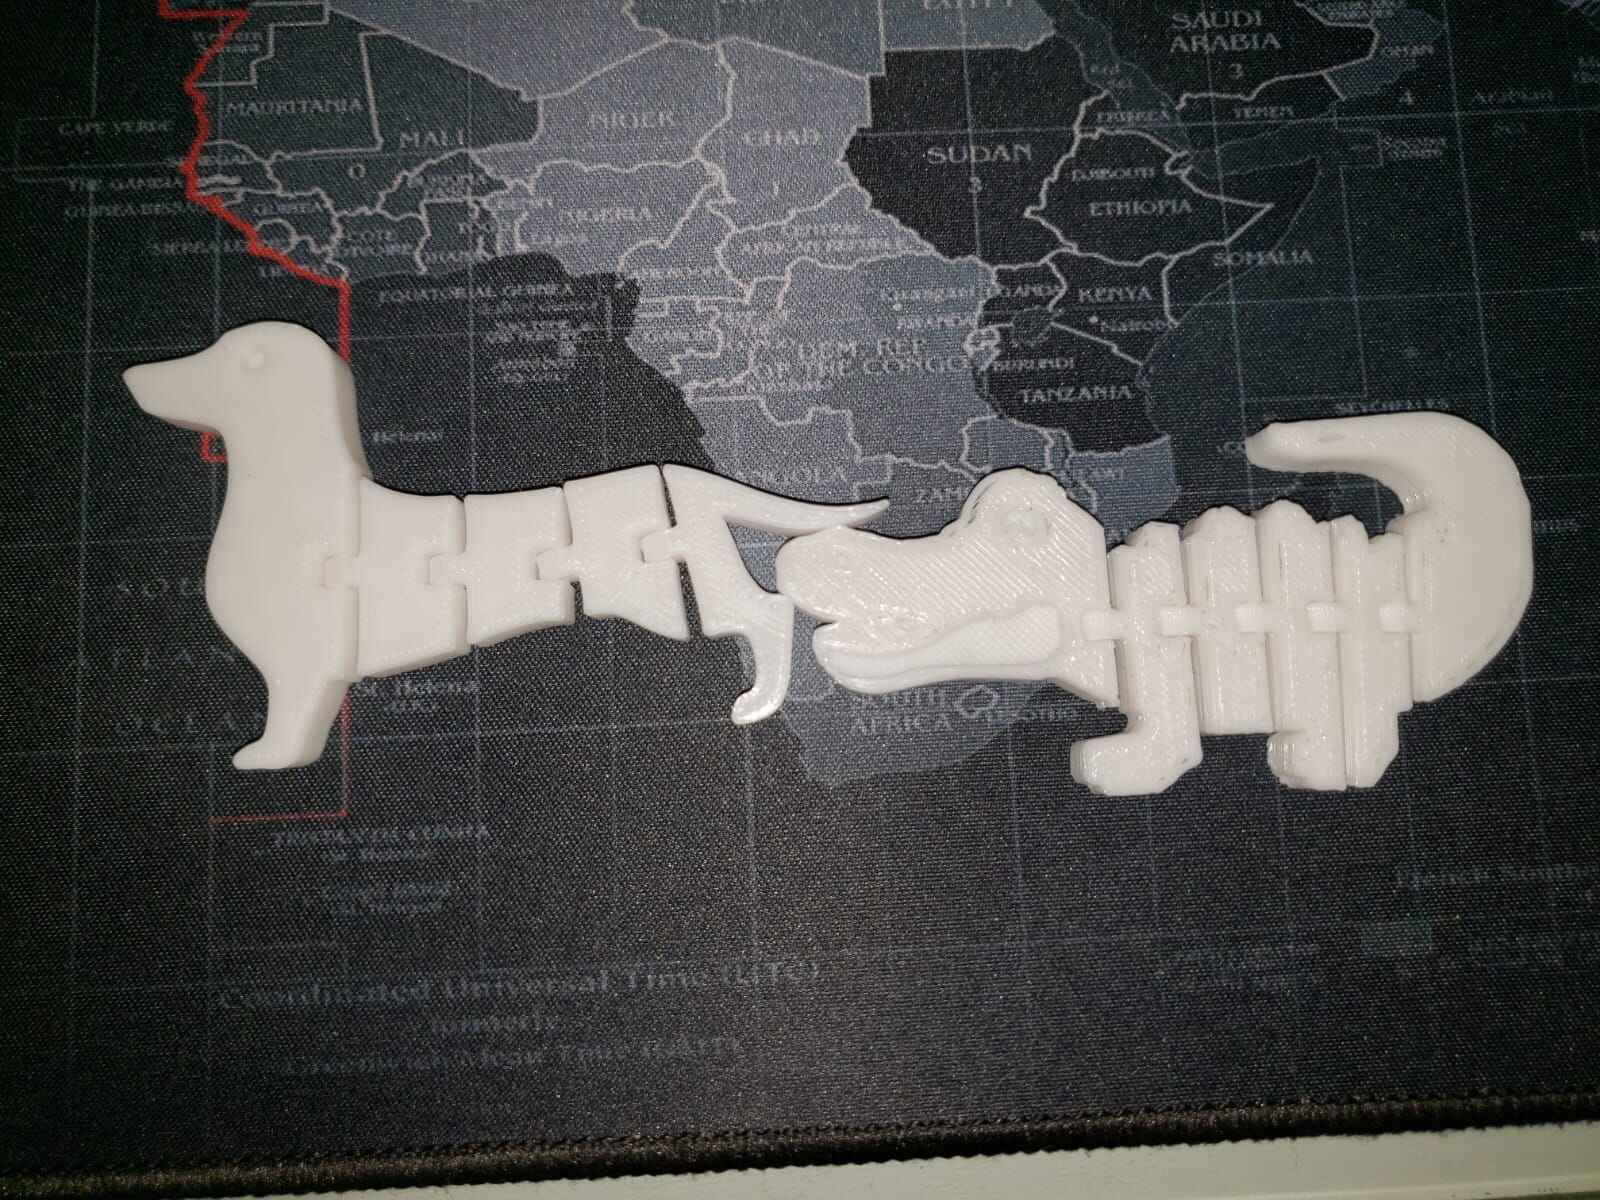
For the elaboration of my figure I thought of making an articulated object. I chose a dog to make the design. You can see the dog design in the following link.
The design of the figure was made in Fusion 360. I have been using this program and I am getting used to its interface.
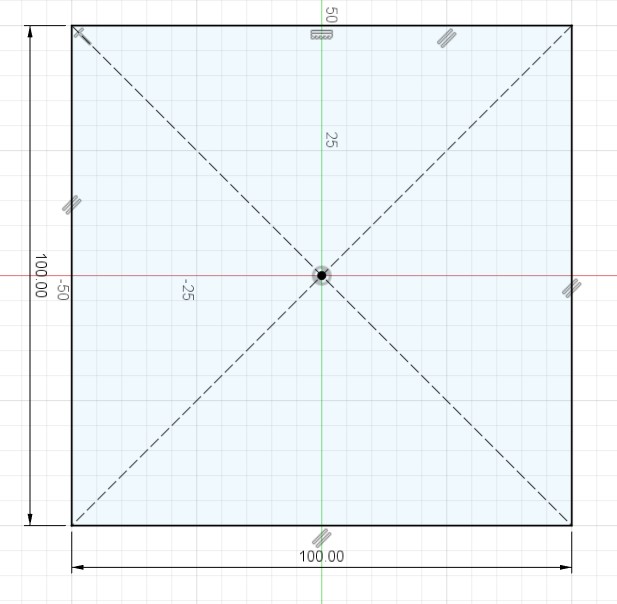
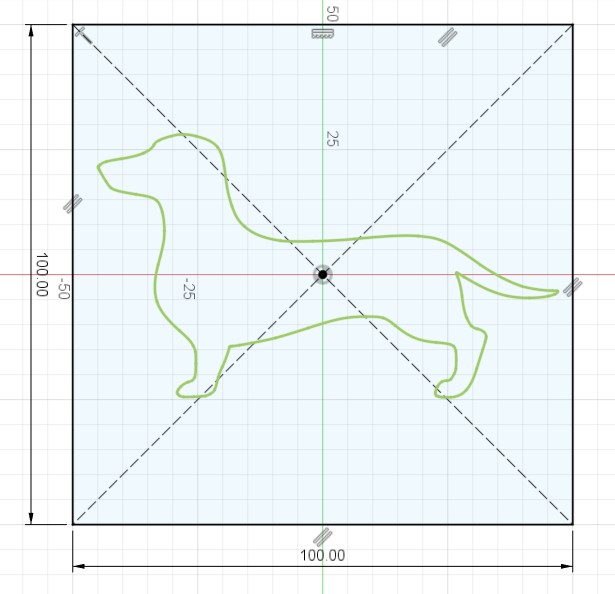
To start with the design I draw a square on my sketch, with 100 mm of side. Then I inserted the dog design in svg format. I put it inside the square and used the Extrude tool on the dog with a distance of 8 mm.
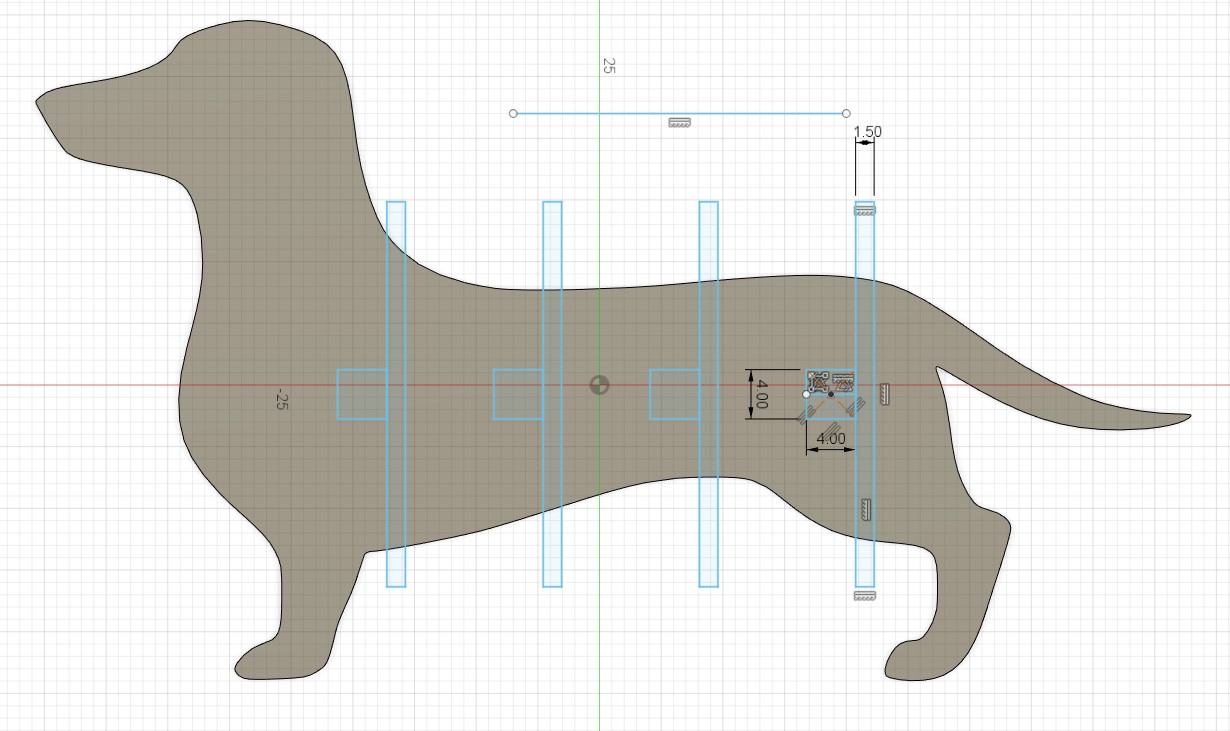
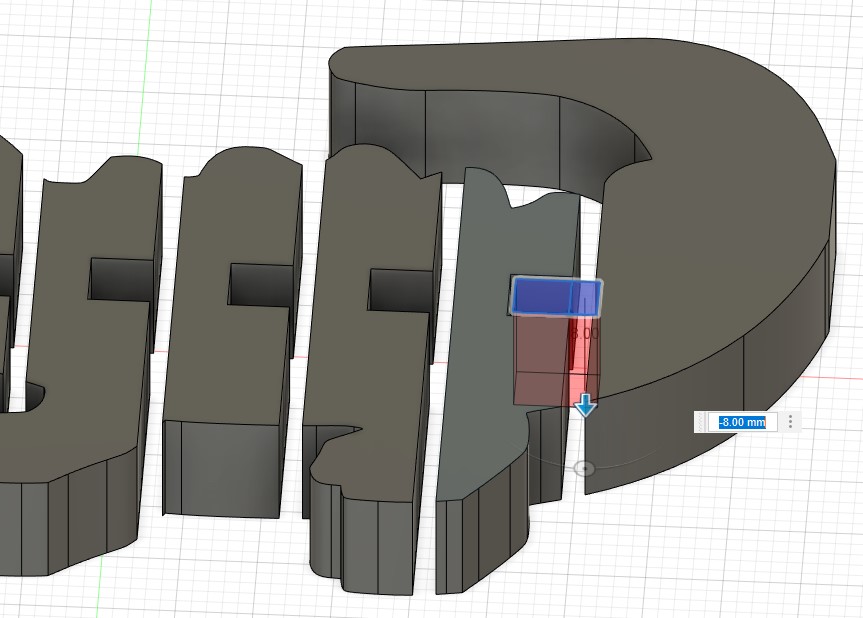
Then, draw a rectangle along the figure and also a square in the middle of the rectangle I drew. I drew a line parallel to the rectangle and used the Rectangle Pattern tool to replicate it 4 times. Using the Extrude tool I cut the 4 rectangles I had made.
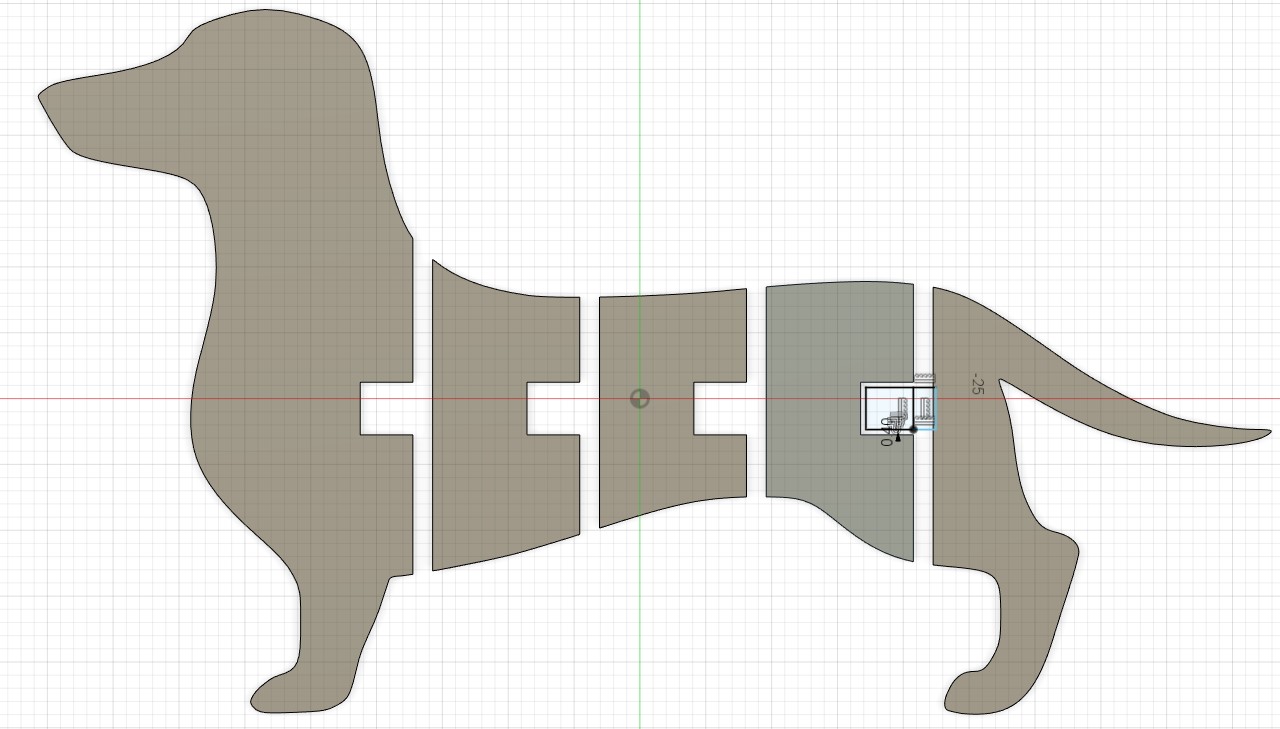
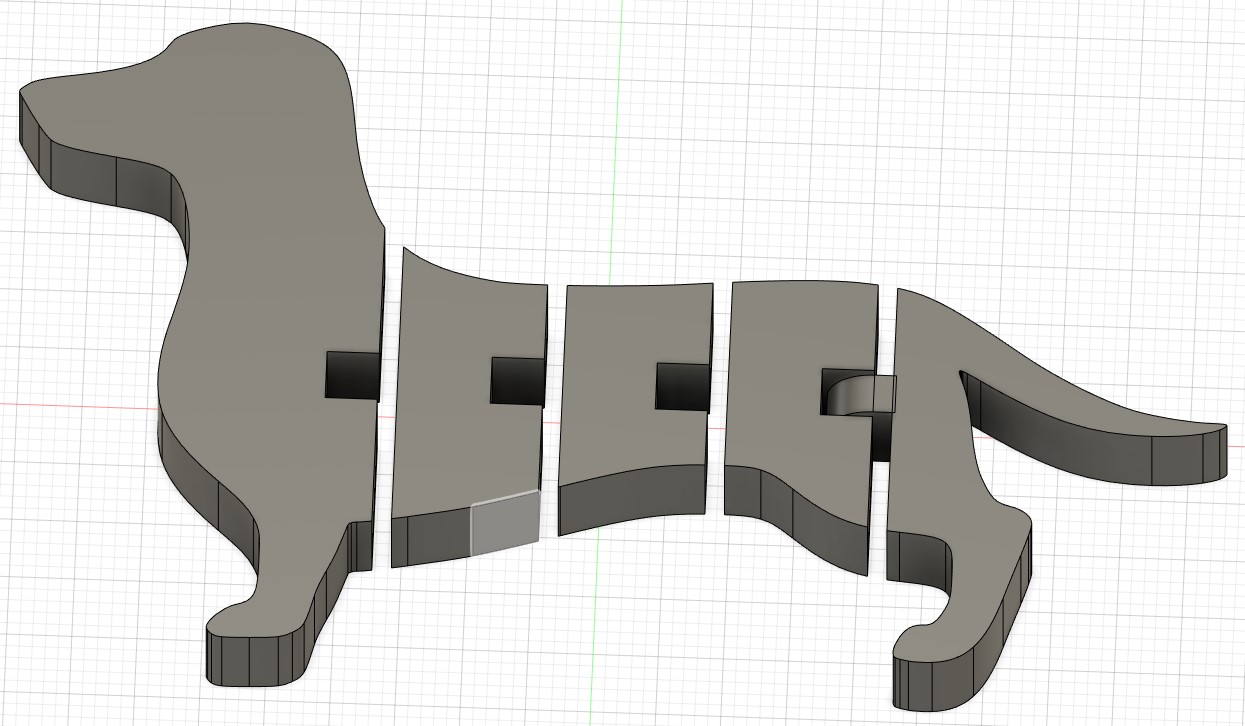
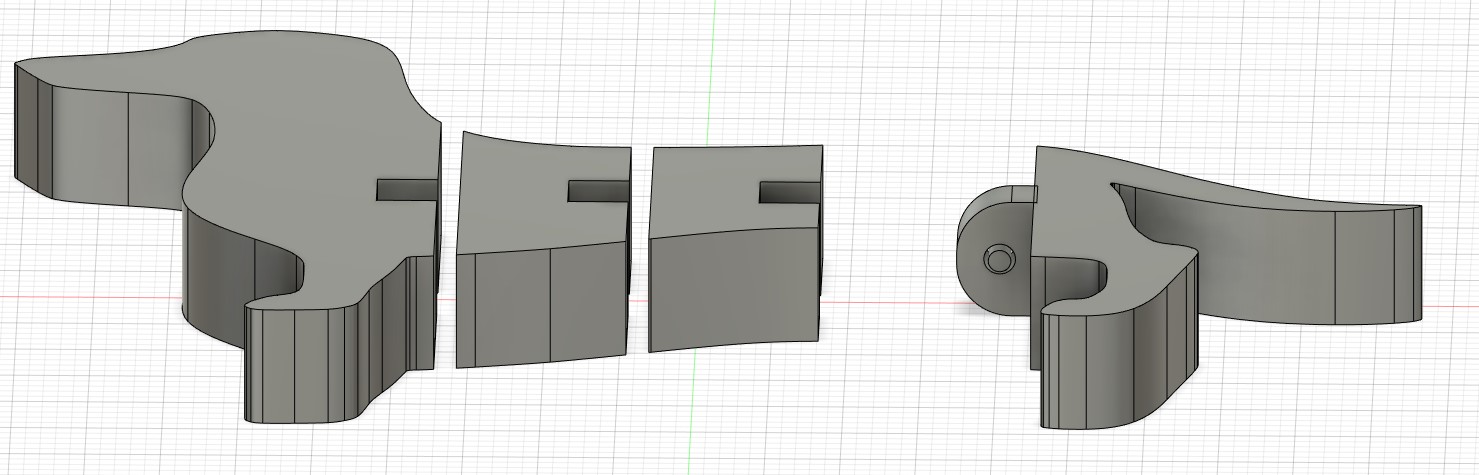
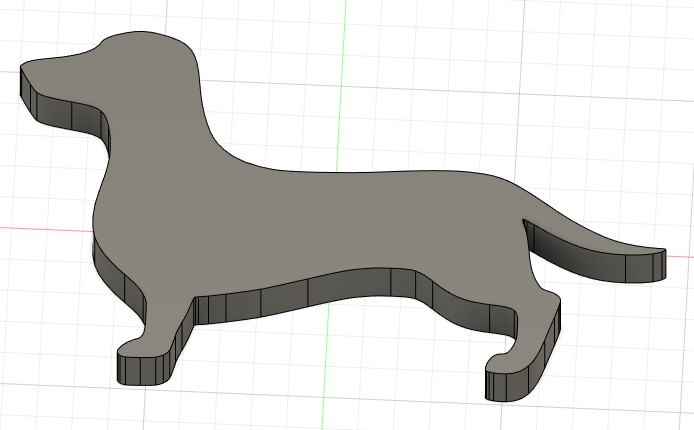
I made the last pieces so that the figure could move. I did it once and using the Pattern on Path tool I replicated it 4 times. When I finished I made the dog's eyes.
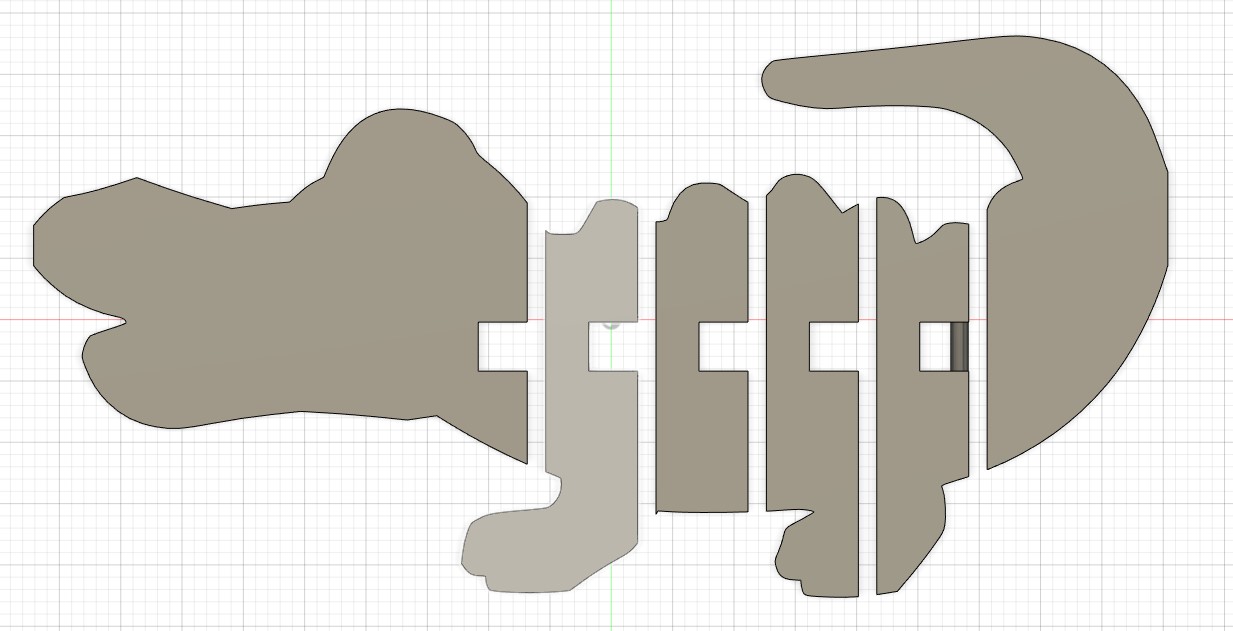
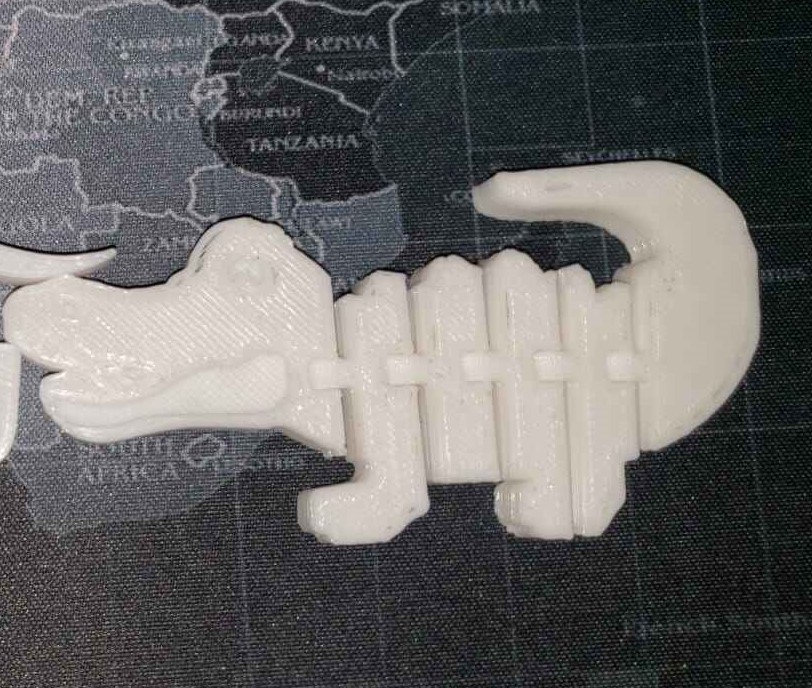
For this assignment I made two figures in Fusion. I made this to test different configurations in Fusion 360 and to compare the results between both figures. Actually, first I made the next figure. It was the test figure.
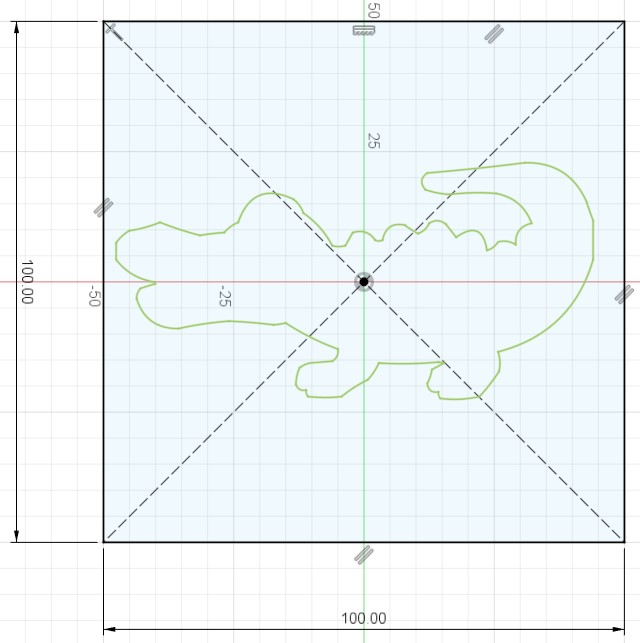
The steps I followed to design the figure are similar to the dog figure. First, I downloaded the file of the figure. For this I used a
cocodrile image in svg format. You can see the cocodrile design in the following link.
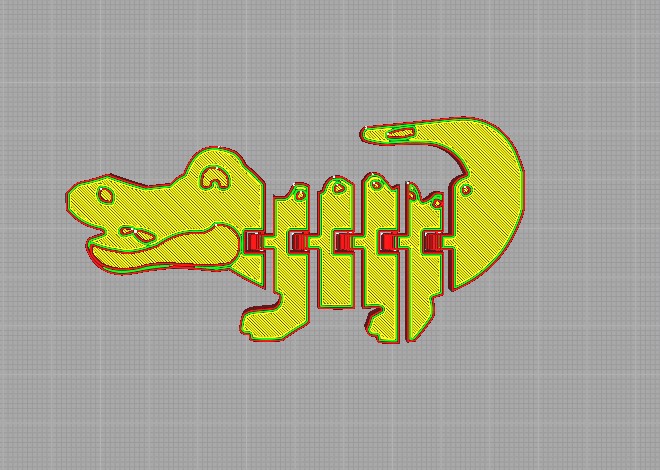
In Fusion 360 I added the image with the tool Insert. After, I drawed a rectangle and I put the figure inside the rectangle and used the Extrude
tool on the cocodrile.
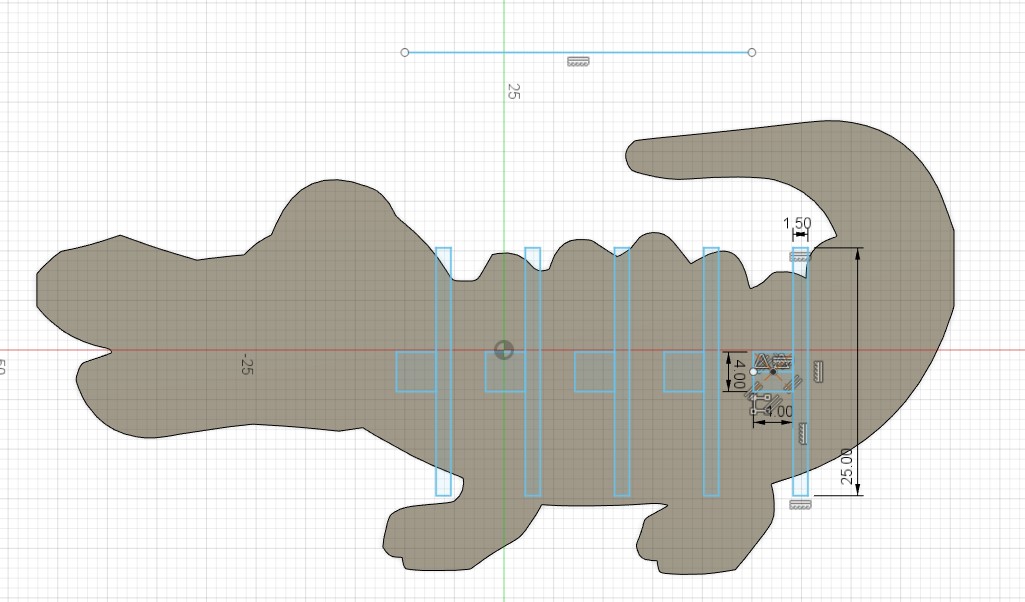
Then, draw a rectangle along the figure and also a square in the middle of the rectangle I drew. I drew a
line parallel to the rectangle and used the Rectangle Pattern tool to replicate it 5 times. Using the Extrude tool
I cut the 5 rectangles I had made.
The difference between both figures is the number of rectangles that I repeated.
The next part is very important, because with this configuration I modified the figure of the dog.
The space I put in this figure is 2 mm compared to the dog figure which is 3 mm.
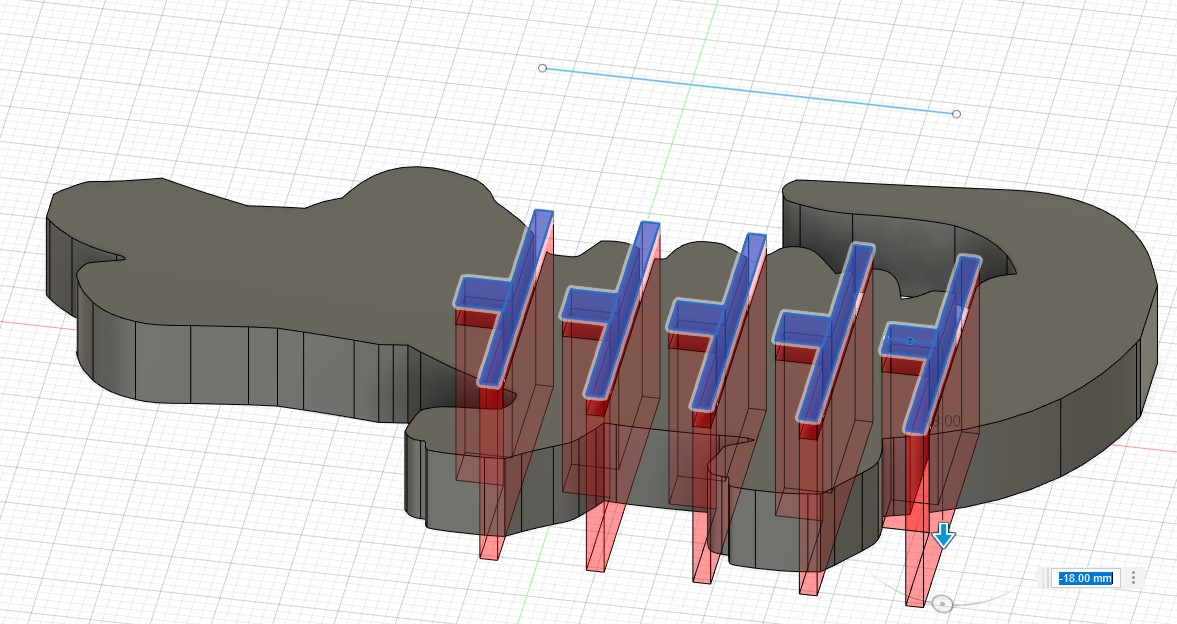
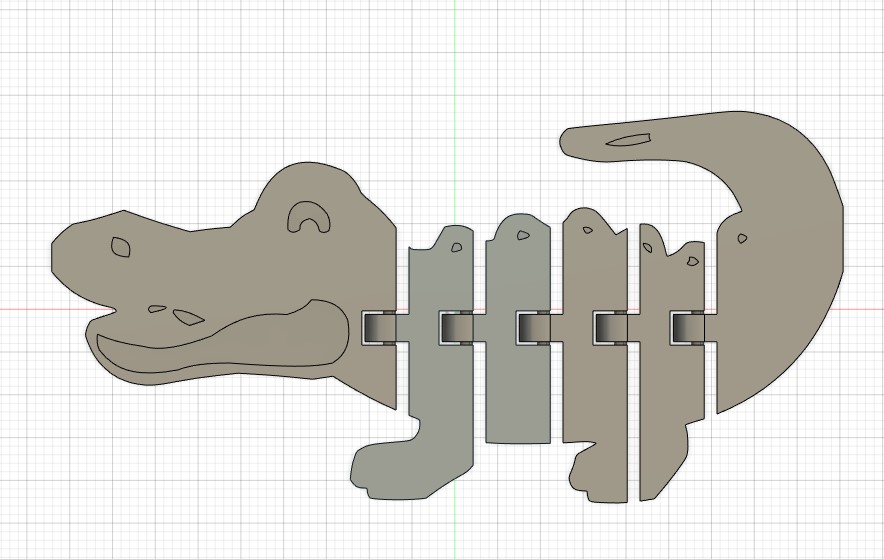
I made the last pieces so that the figure could move. I did it once and using the Pattern on Path
tool I replicated it 5 times. When I finished I made some parts of the crocodile so that the figure
didn't look so simple, like the eyes and the mouth.
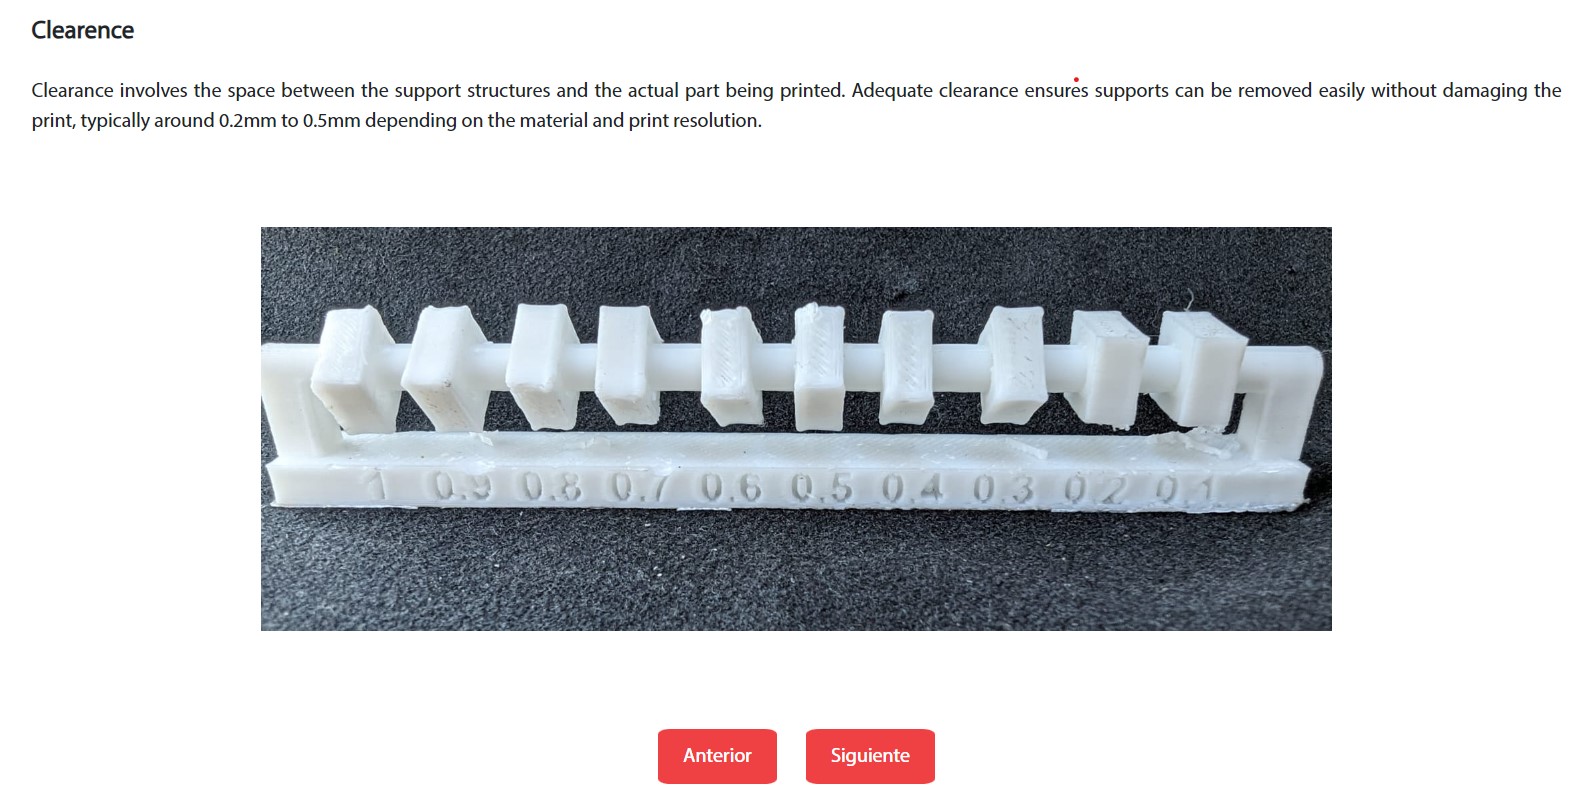
It is a little strange to explain first the figure that came out well and the second one that did not come out so well. The one I did first was the crocodile figure with a 0.2 mm space and the second one was the dog with a 0.3 mm space. I took these measurements from the group assignment, where it is recommended to work with measurements from 0.2 to 0.5 mm. I used two different measurements to test the results.
Exporting files
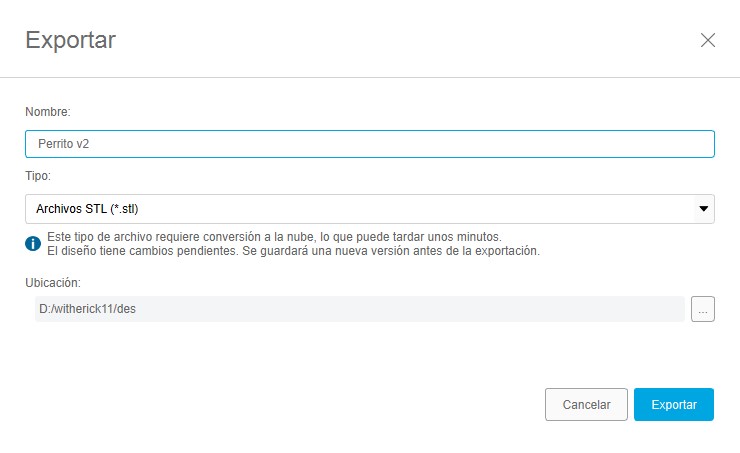
After finishing the figure design in Fusion, I exported the file in .stl format.
UltiMaker Cura
What is Ultimaker Cura?
Cura Ultimaker is a free and open source 3D printing software developed by Ultimaker. It functions as a solution for 3D print preparation, management and monitoring. It allows users to convert 3D models into optimized printing instructions, adjusting settings such as resolution, infill, and supports to achieve the best results. You can download Ultimaker Cura at the following link.
After downloading the program, the 3D printer must be selected. In my case, I used the Ender-3 S1 Pro printer.

Next, we load the file we created in Fusion 360.
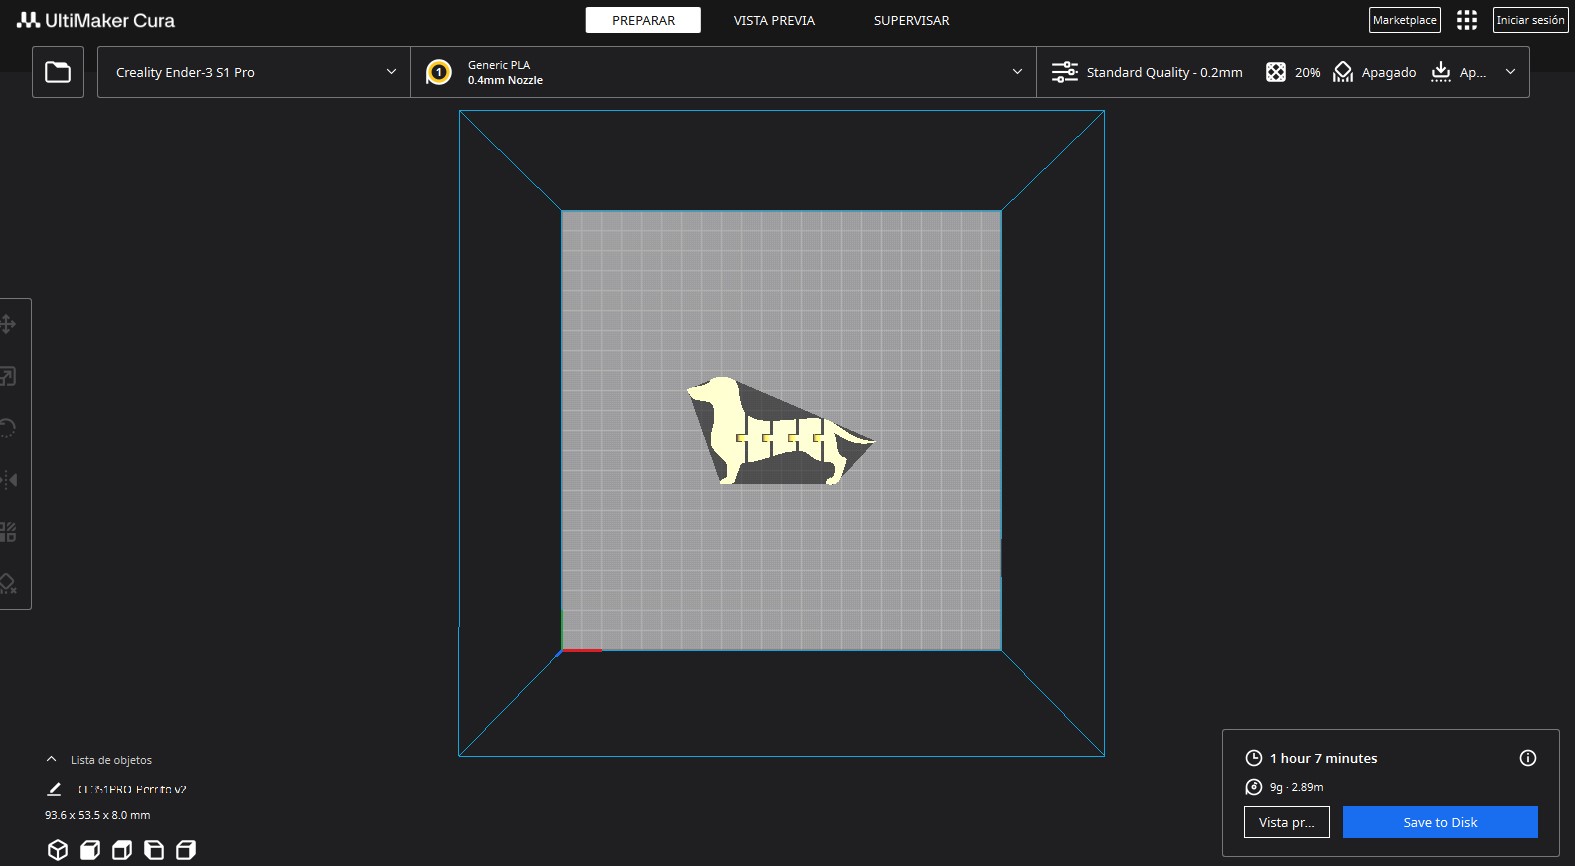
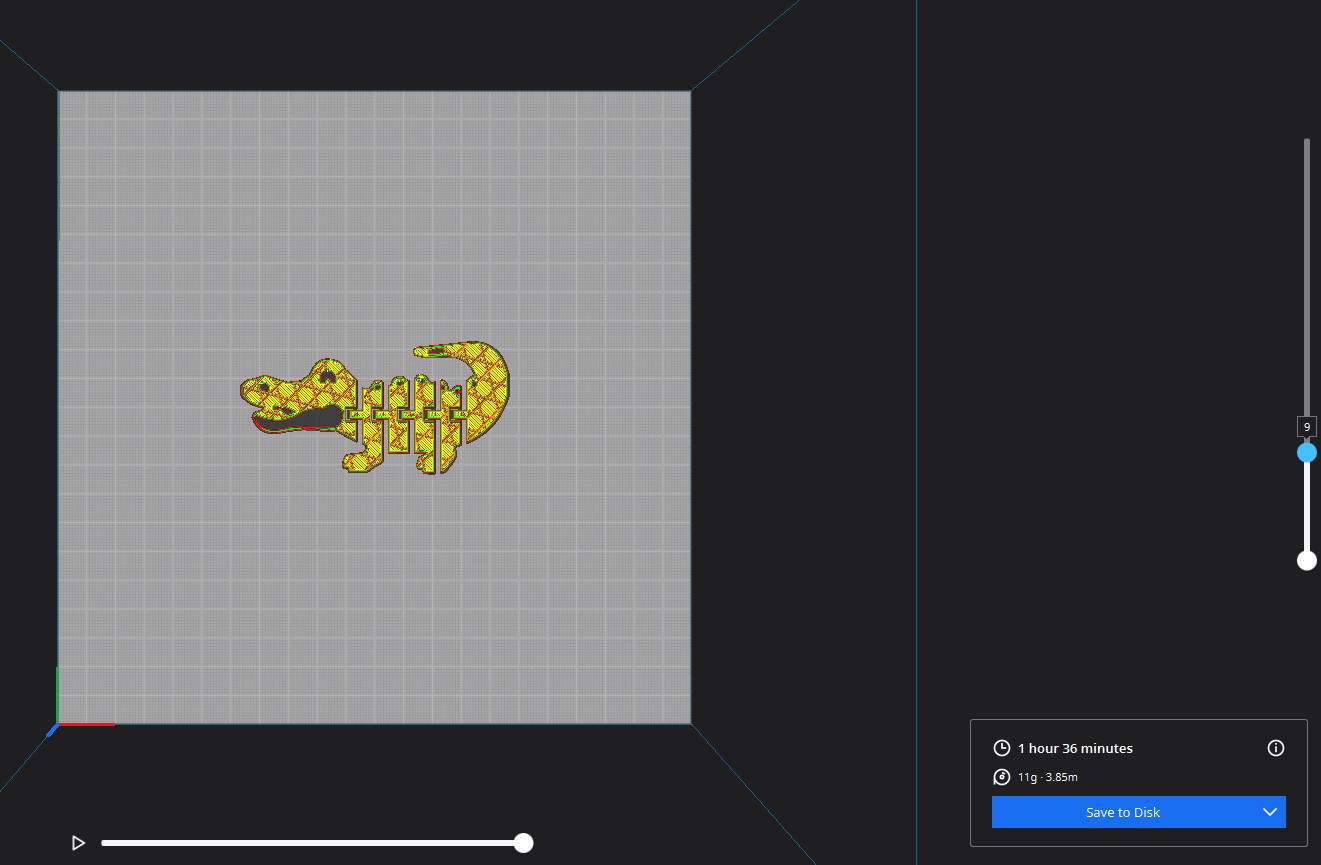
In Cura we can make several adjustments to the figure, such as adding supports. In my case I did not make any modifications. When I select Preview, I can see how long it will take to print. My figure took 1 hour and 7 minutes.
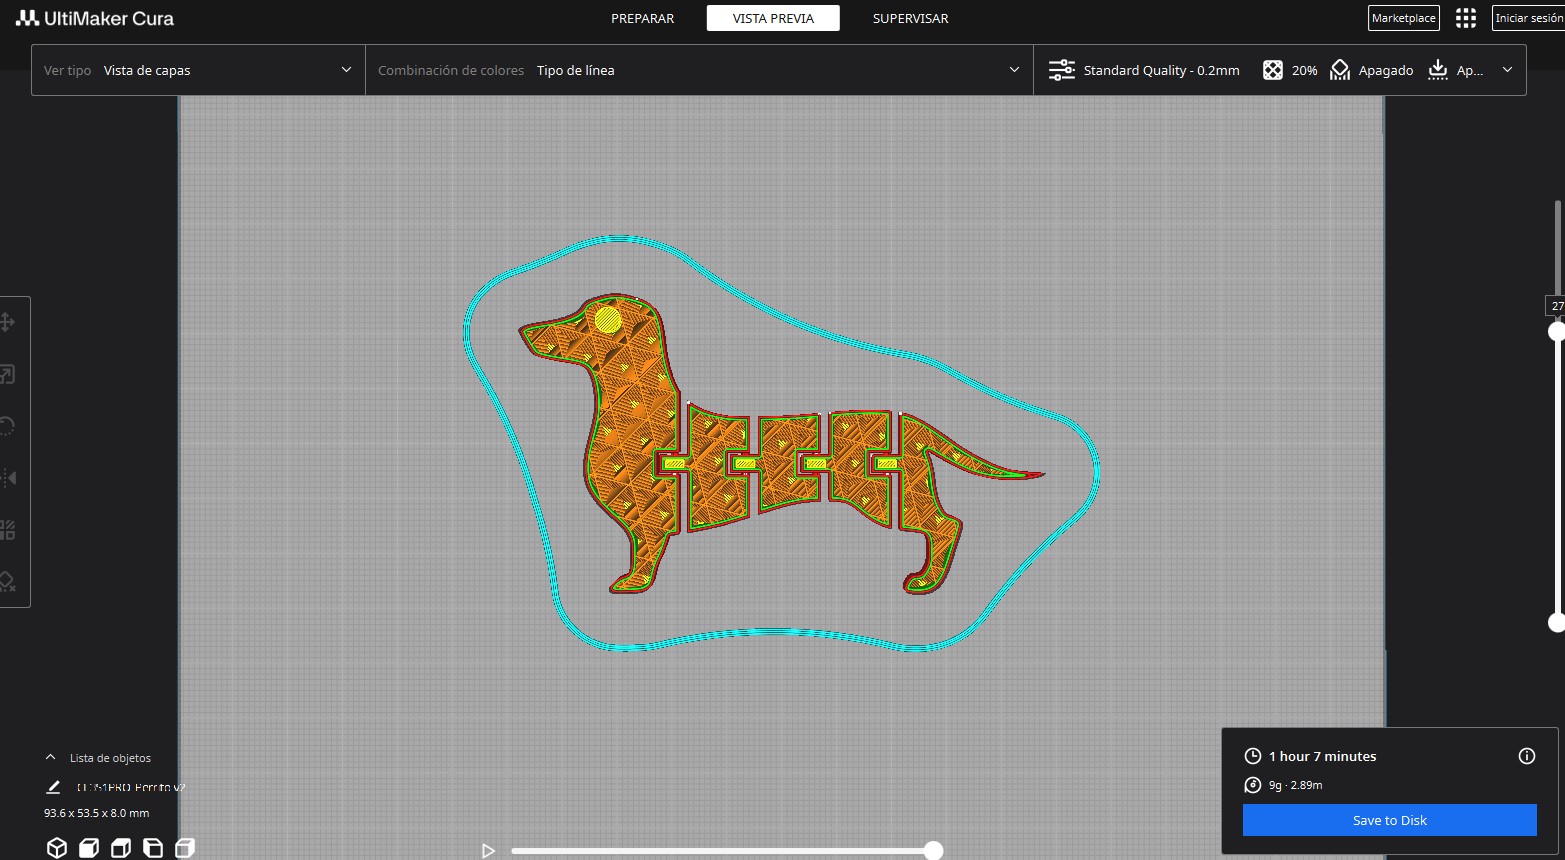
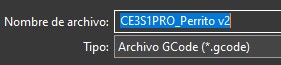
Finally, select the Save to disk option to save the file in .gcode format.
This is what Cura looked like for the crocodile figure.
The waiting time was similar to the other figure, it took a little longer. It took 29 minutes longer.
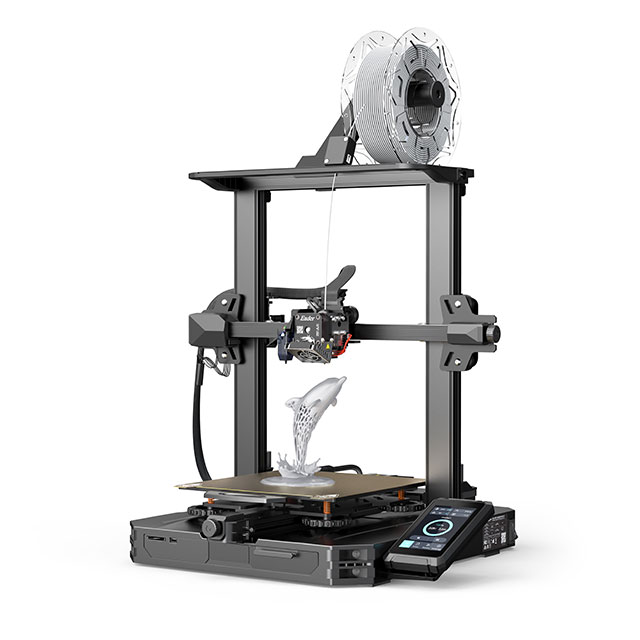
Ender-3 S1 Pro:
The Ender-3 S1 Pro is a 3D printer that stands out for its excellent print quality and its ability to work with a wide range of materials. It is capable of printing in materials from PLA to more specialized materials such as TPU and PA.
Some characteristics of the printer:
Printing Technology
FDM
Build Volume
220 x 220 x 270 mm
Printing Speed
150 mm/s
XY Resolution
± 0.1 mm
Layer Height
0.05 - 0.4 mm
Nozzle Temperature
Up to 300° C
Supported Materials
PLA, ABS, PETG, TPU, PA, WOOD
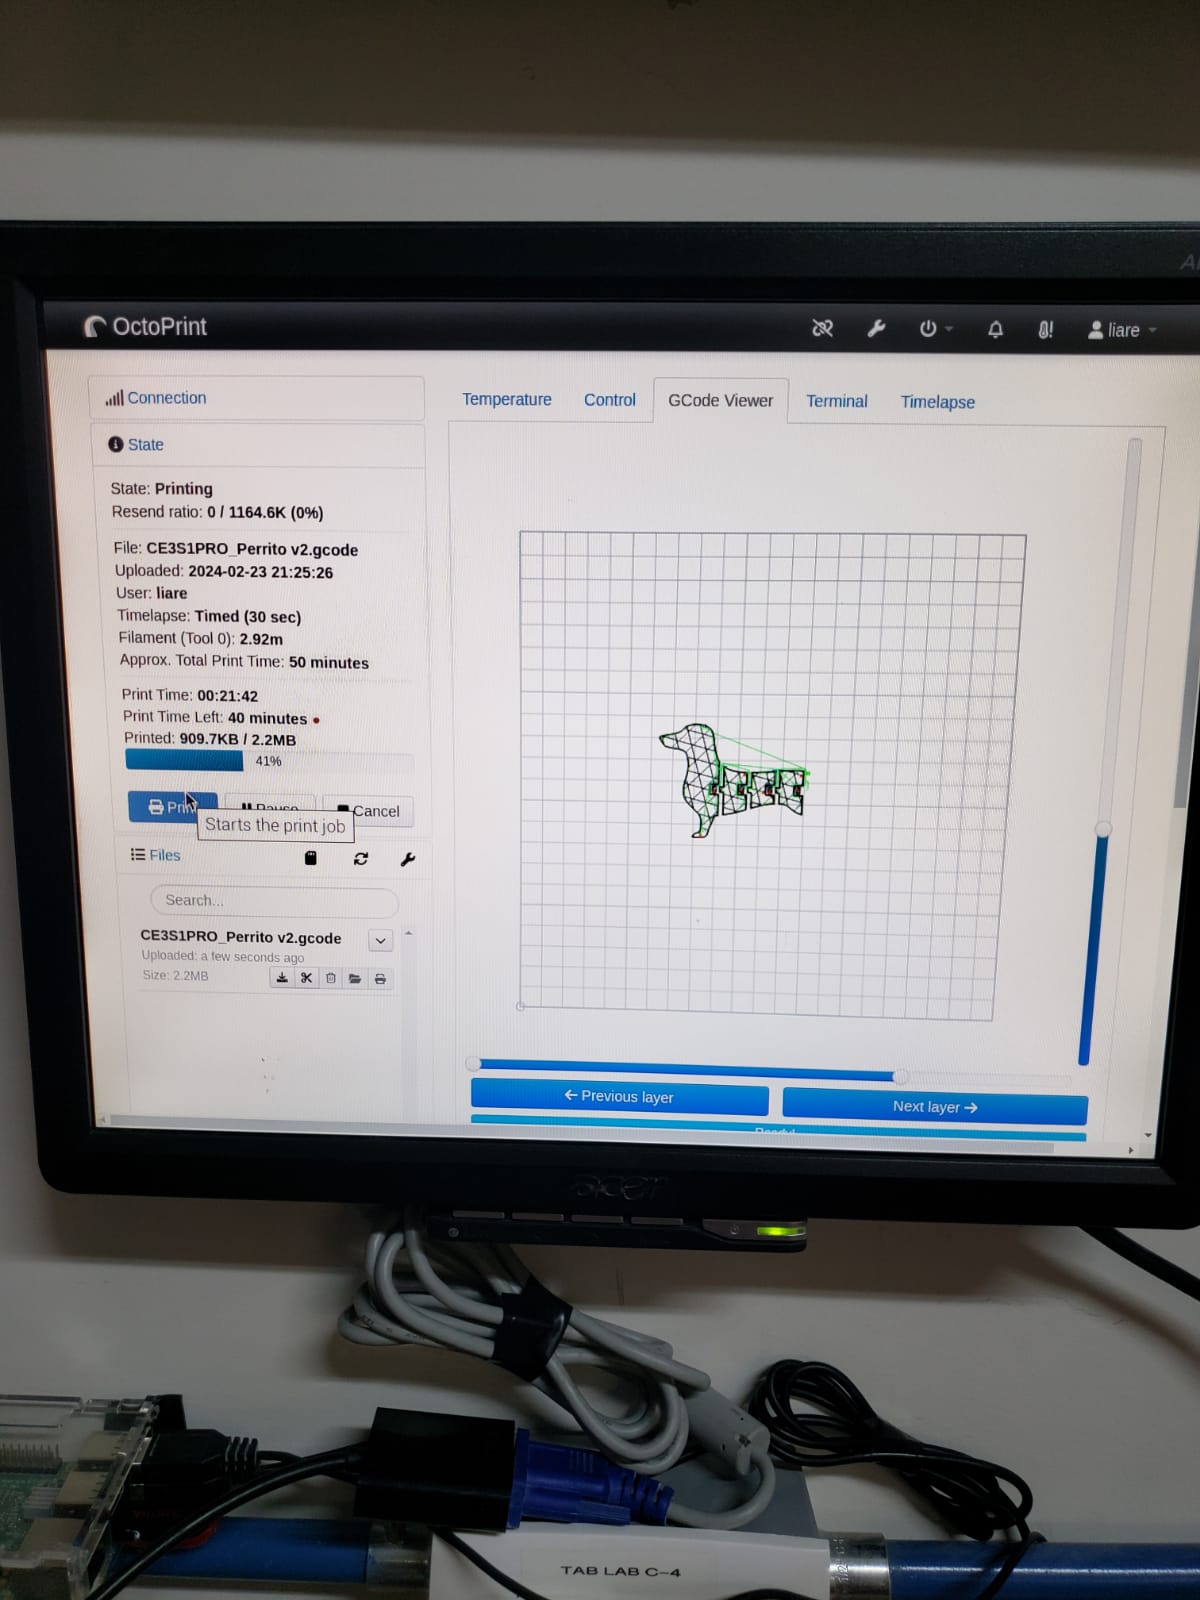
OctoPrint:
OctoPrint is an open source web interface designed for remote management of 3D printers. It allows to monitor and control 3D prints from any web browser, offering functionalities such as print start, pause, and real-time monitoring through a webcam. You can check the OctoPrint website at the following link.
Printing figure:
To start with the printing of my figure, I used OctoPrint. With the file ready in .gcode format. The first thing I did was to select the file and after having the printer ready, I selected the Start option.
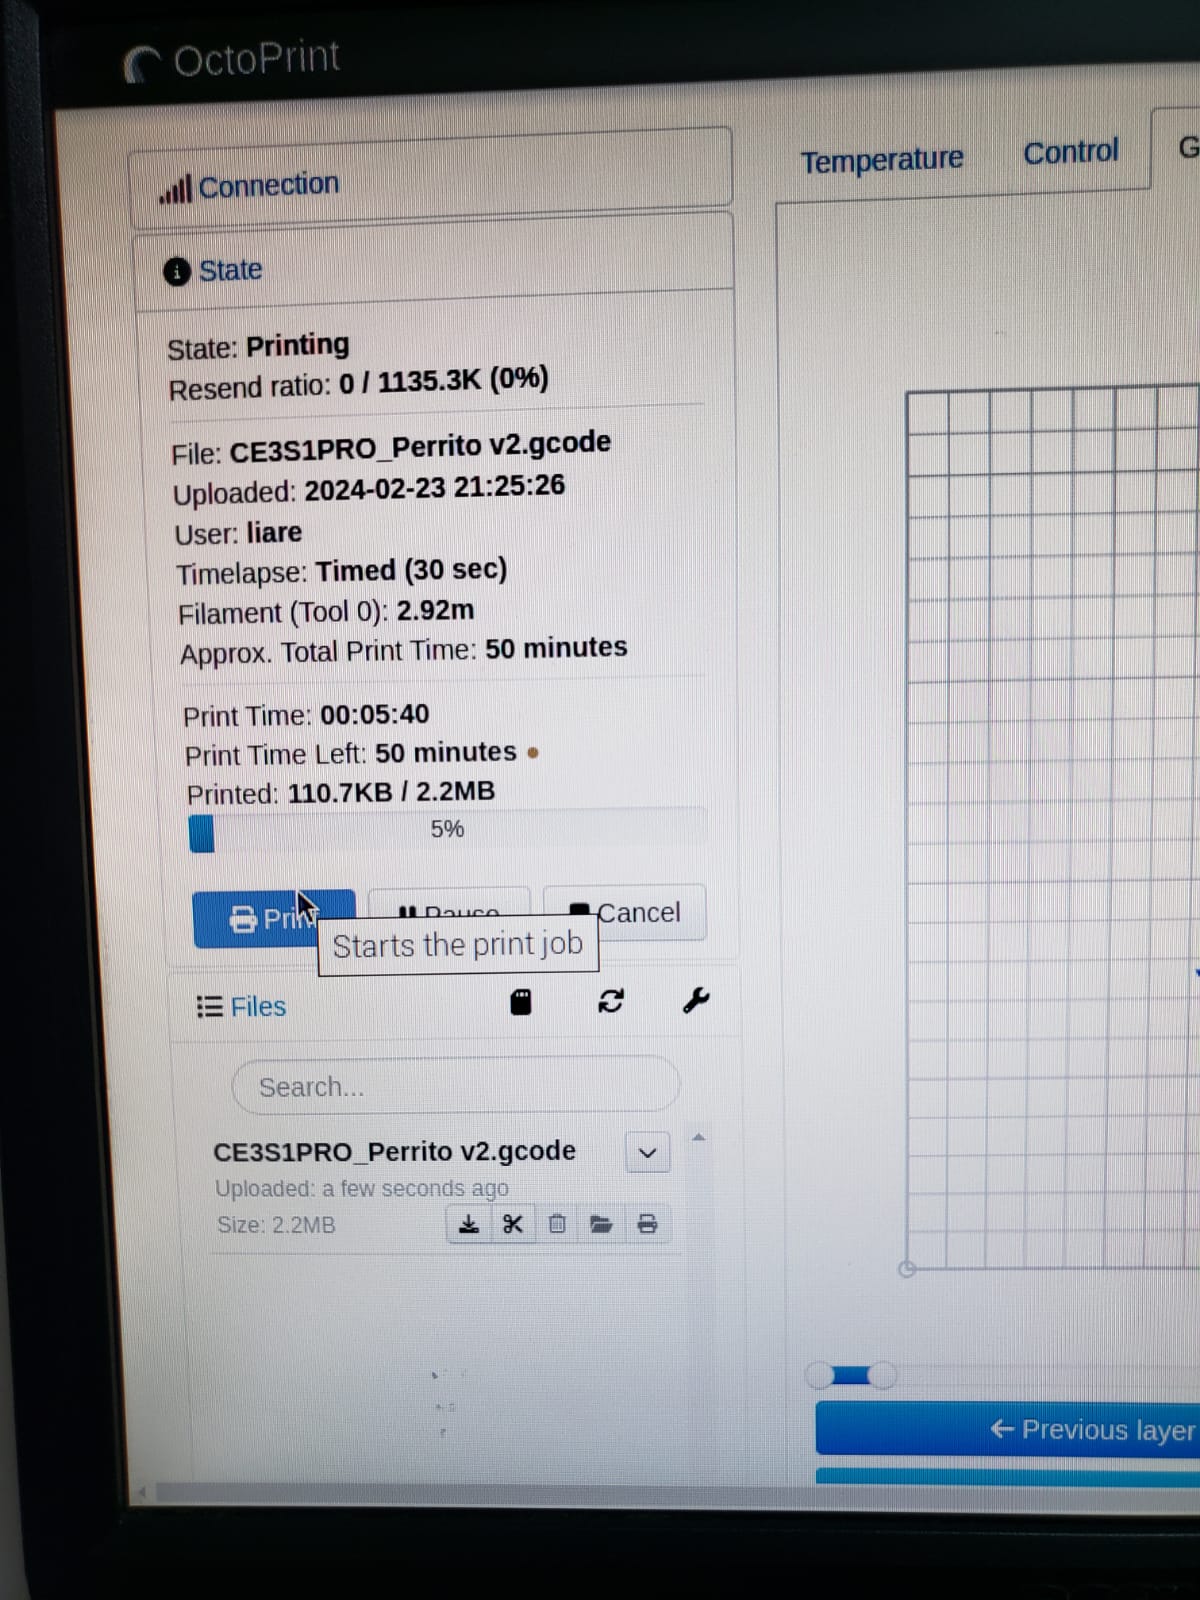
The printer will start printing until a print temperature of 200 °C and a print bed temperature of 60 °C is reached.
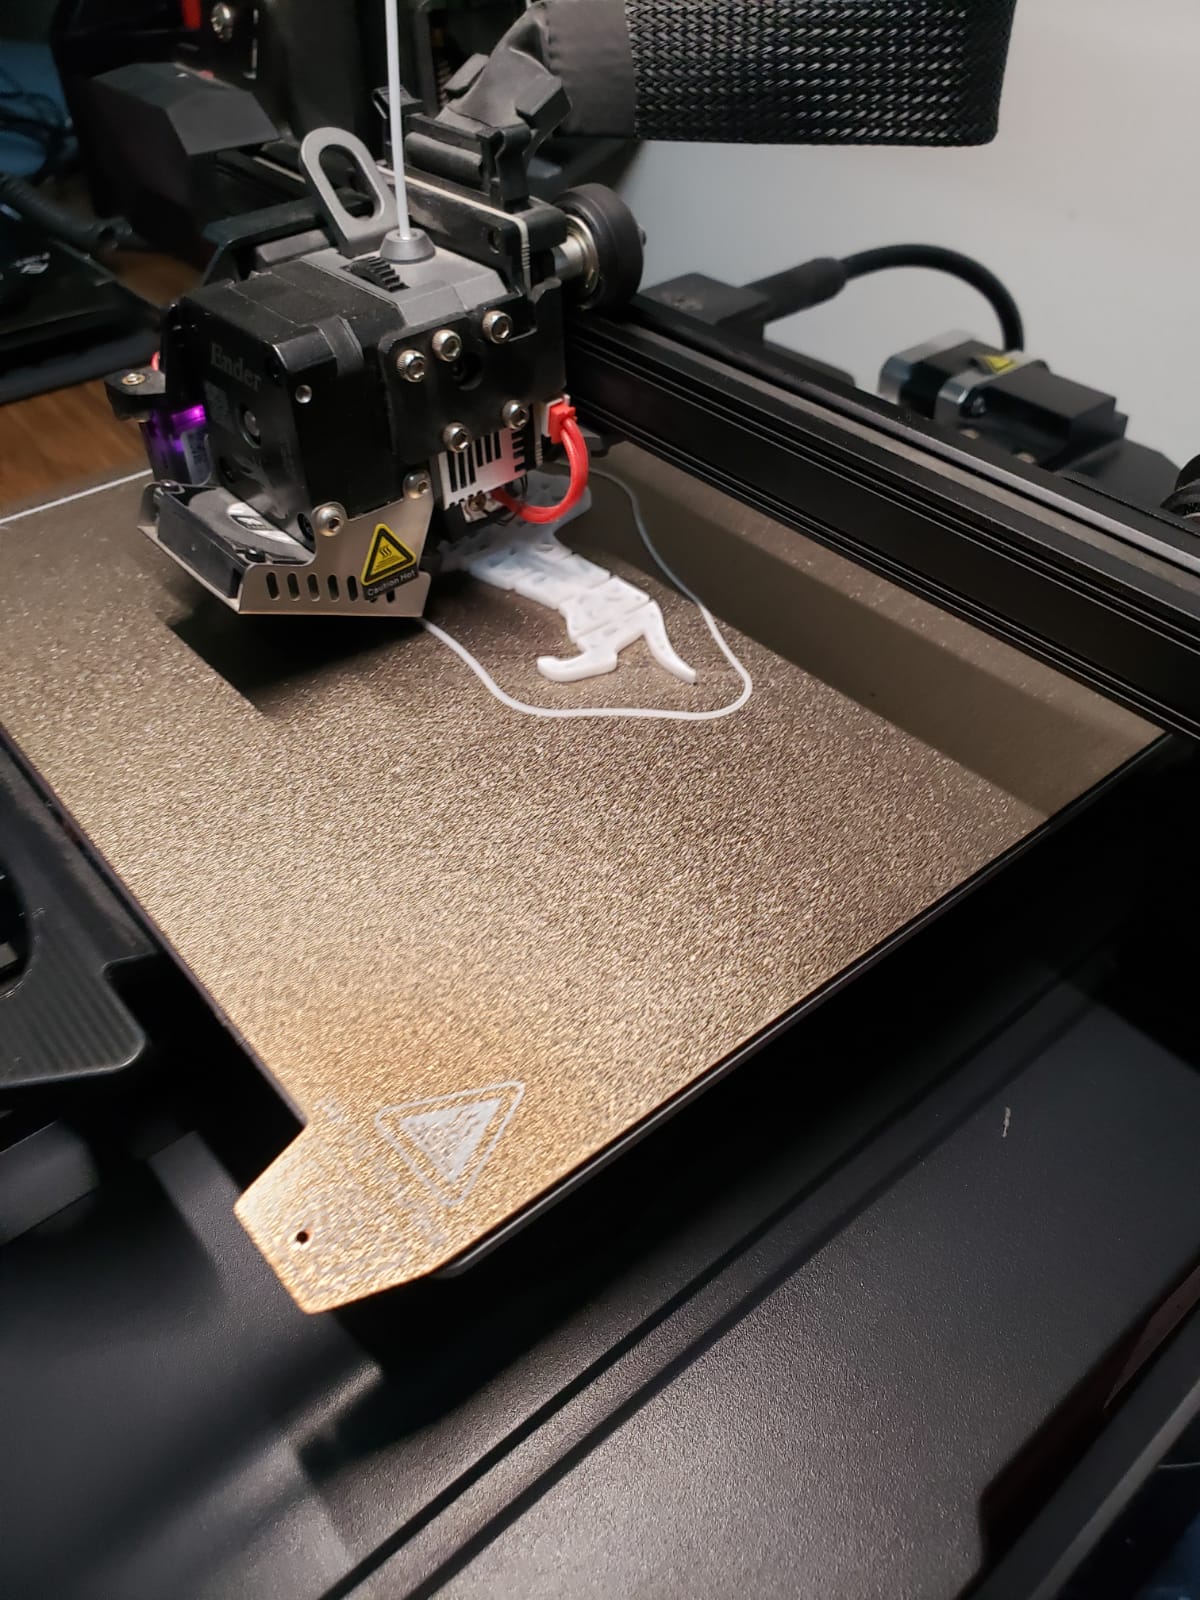
The next step was to monitor the process. Waiting for the figure to print well. In OctoPrint I could check the time left to finish.
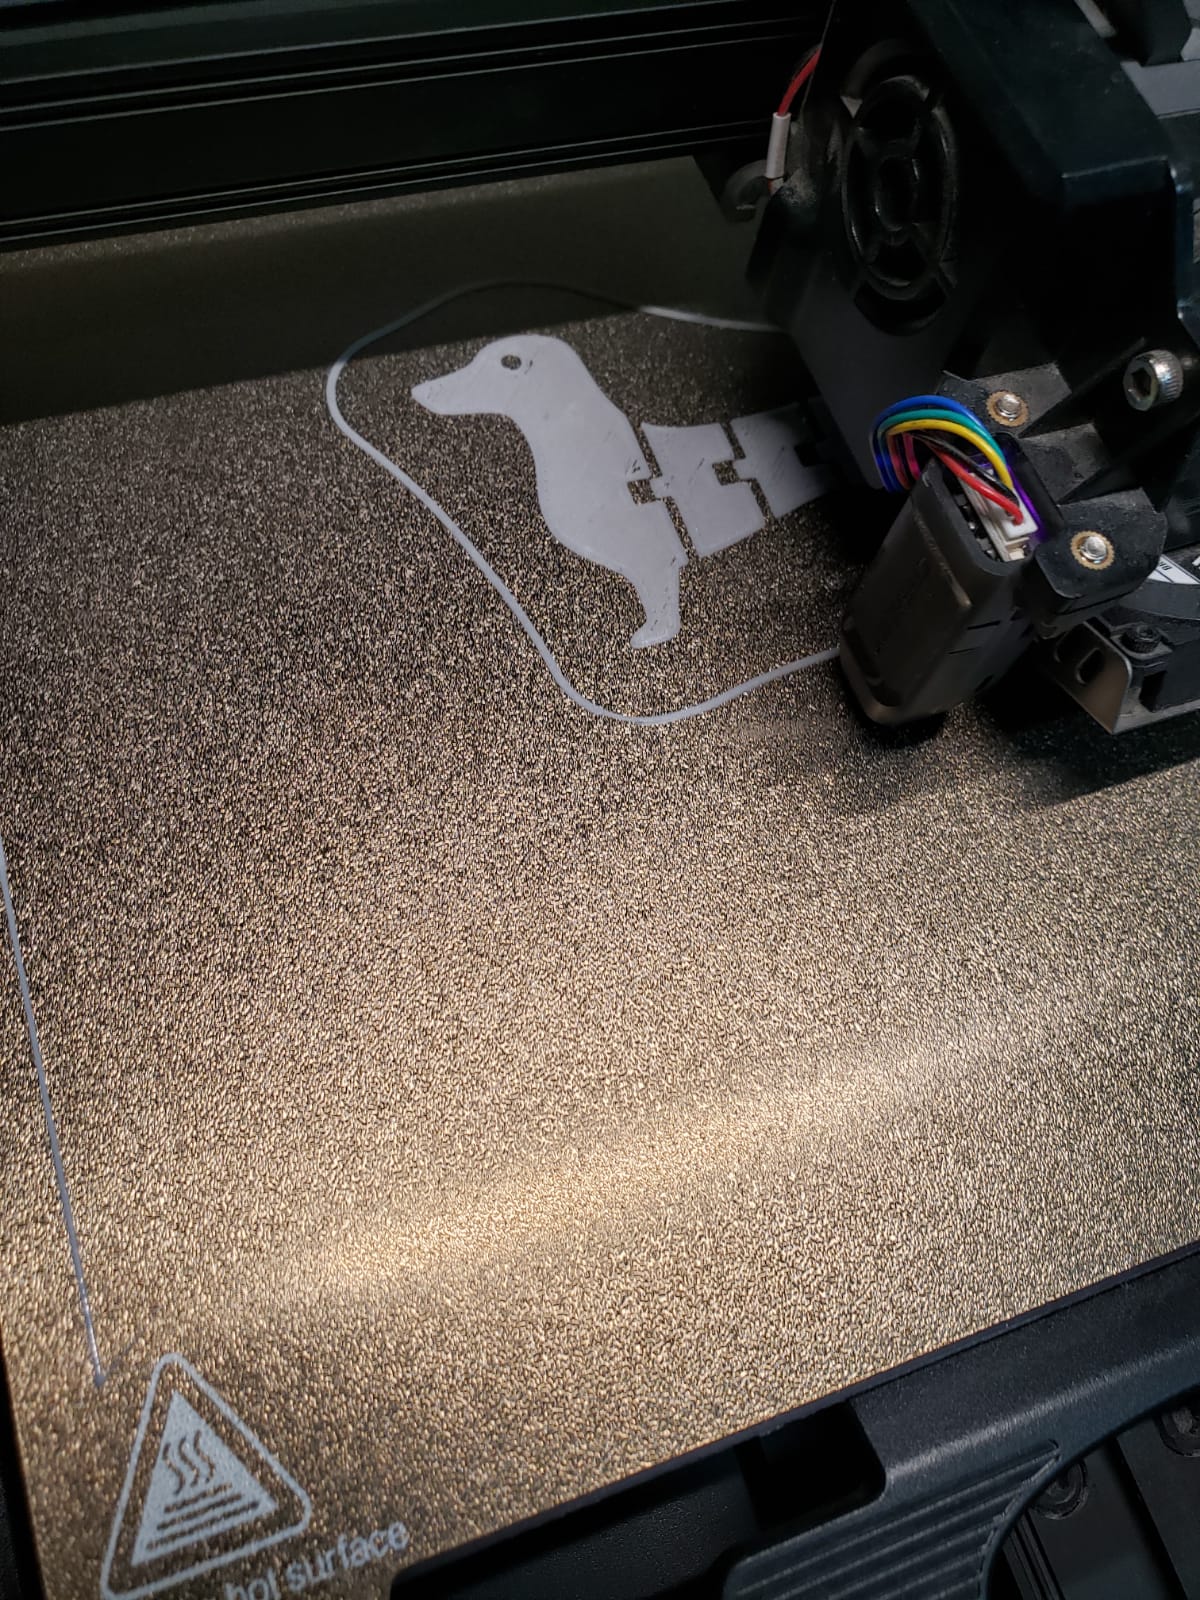
I took some pictures of the printing process.

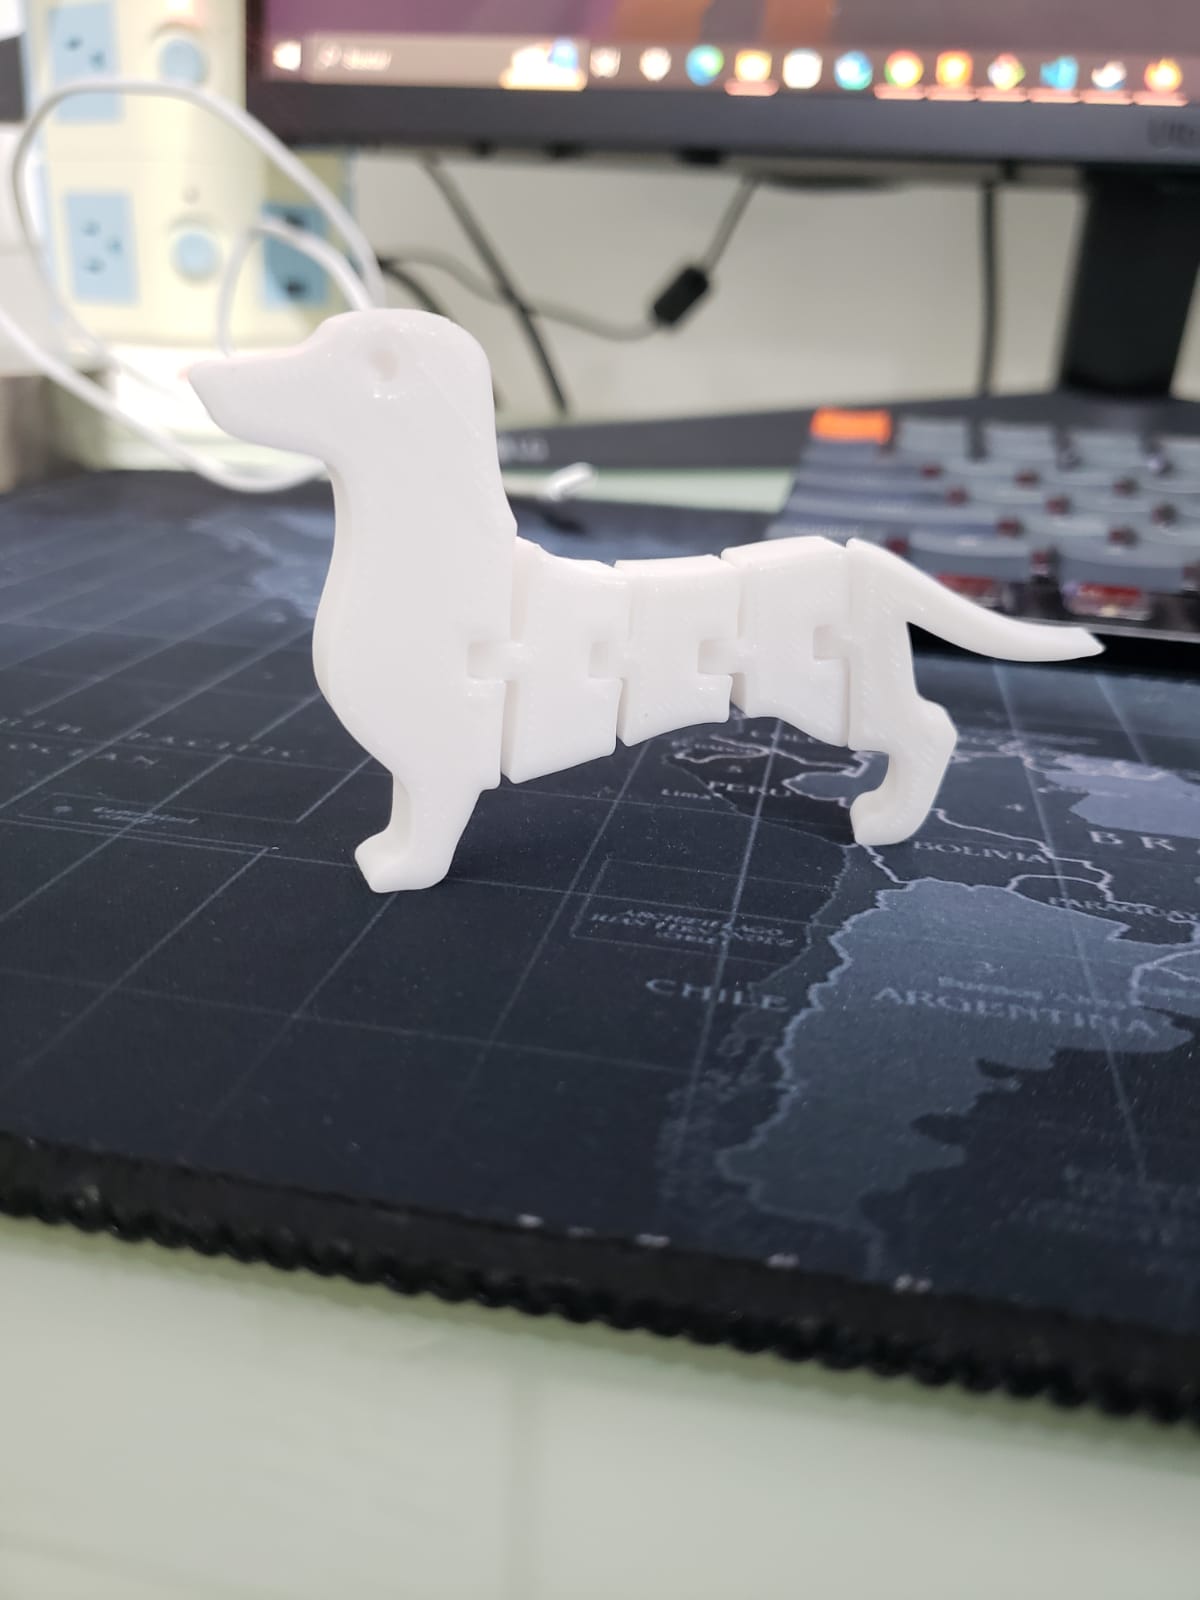
Result:
For the crocodile figure I lost the photos I had taken of how it was printed. But this was the result:
Scanned object:
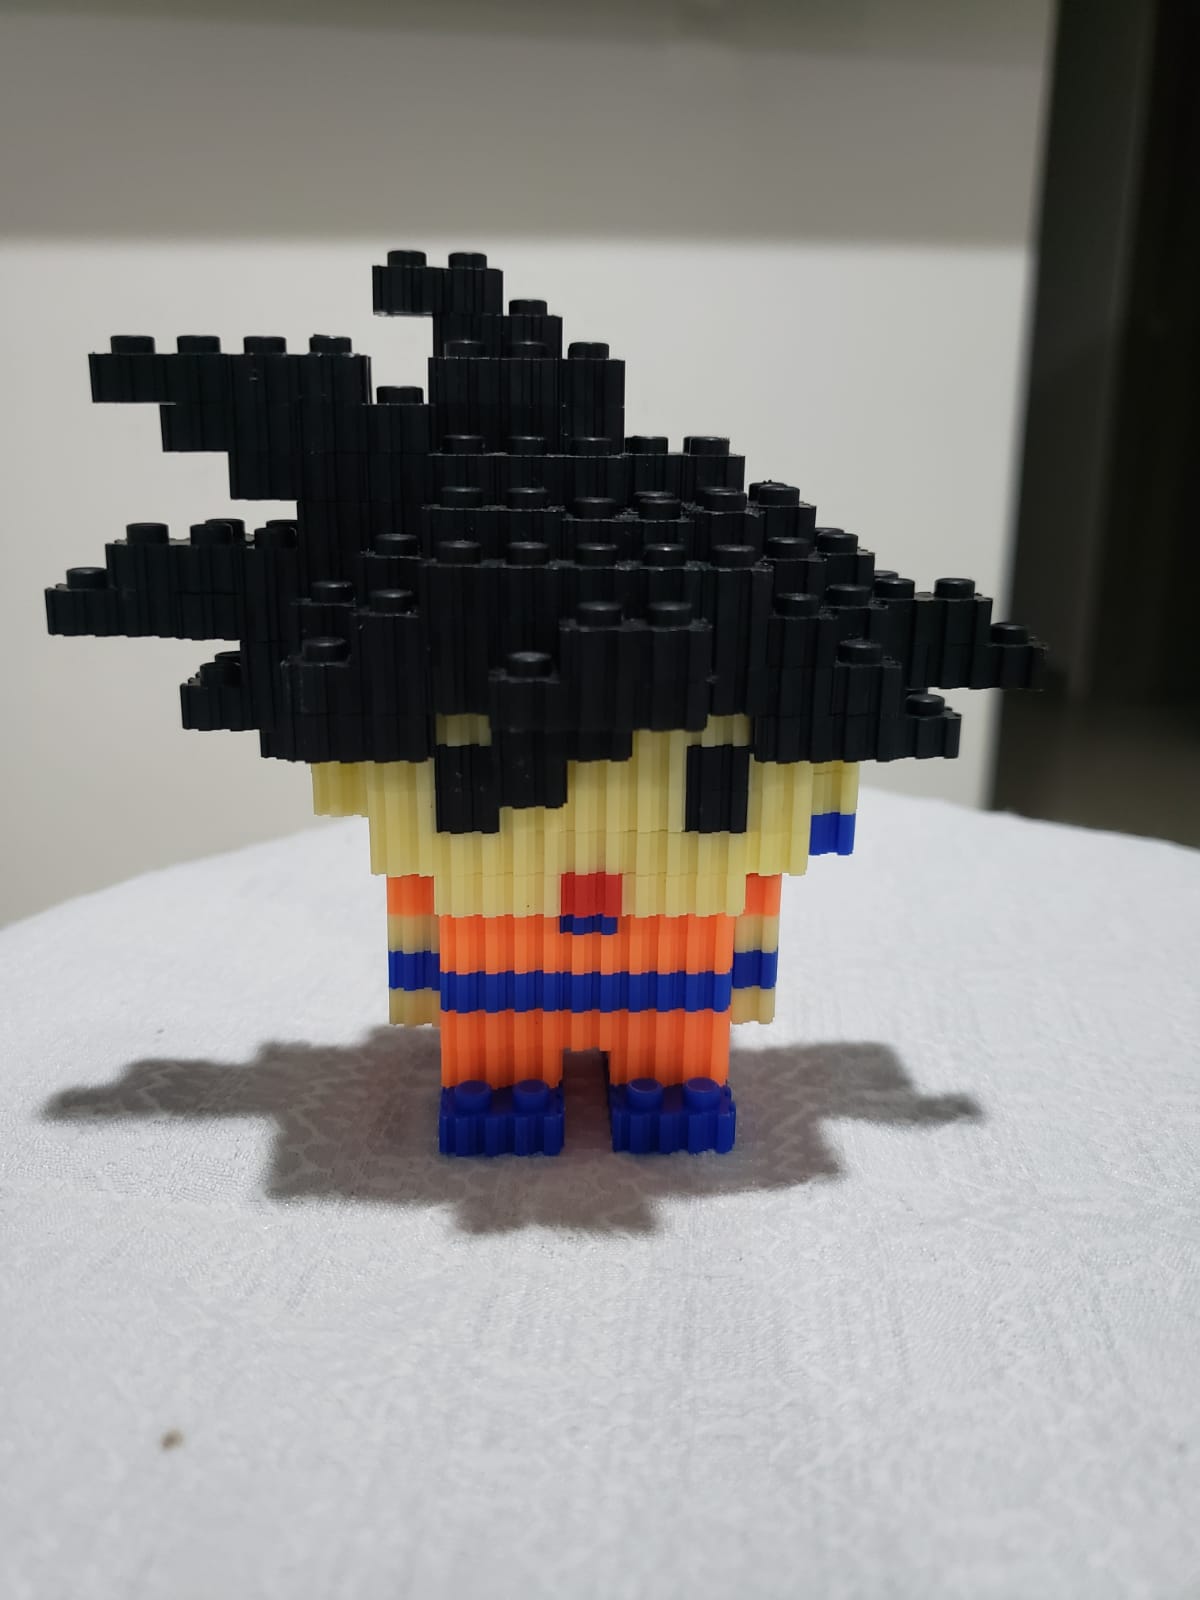
The figure I selected to scan is a mini Goku. It is made with lego type pieces. For the scanning I used the Polycam application. Since it has a very simple interface, it was easy to use. You can download Polycam at the following link.
In total, I took 88 pictures of the figure, the file I was going to upload and process weighed 35 MB. The app took a while to give me the result.
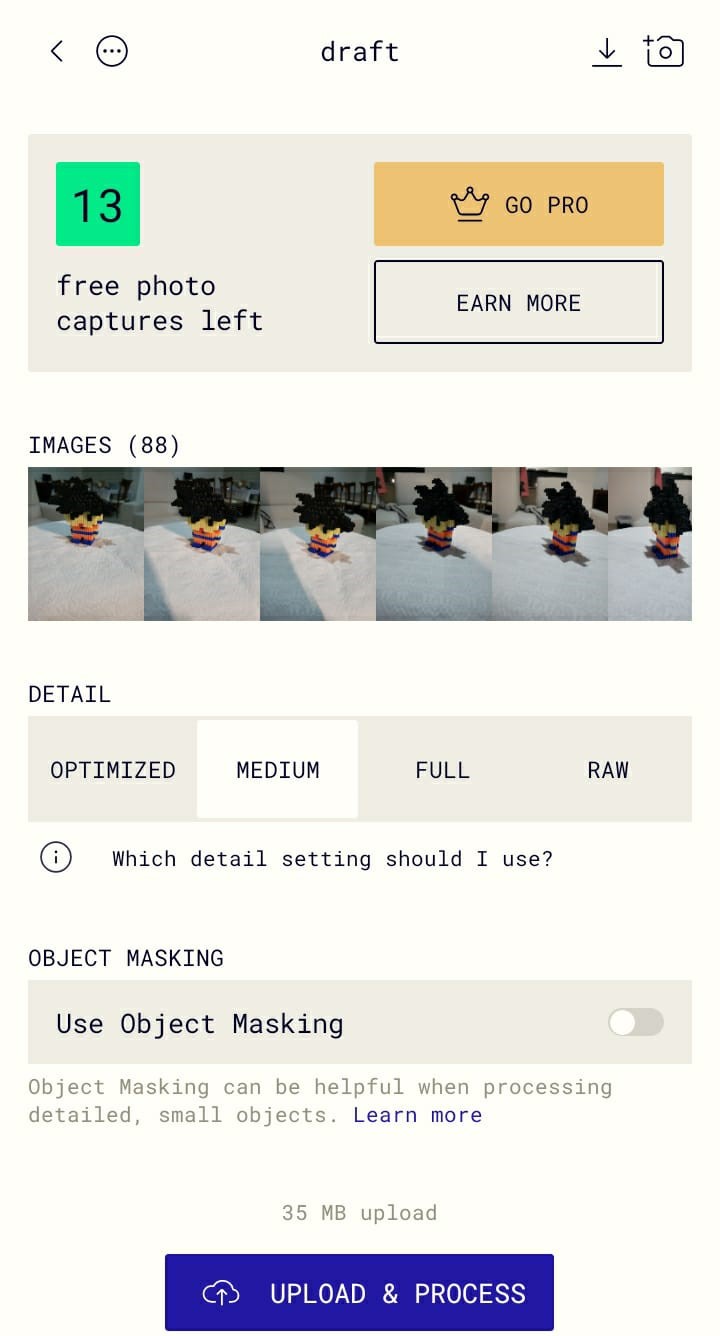
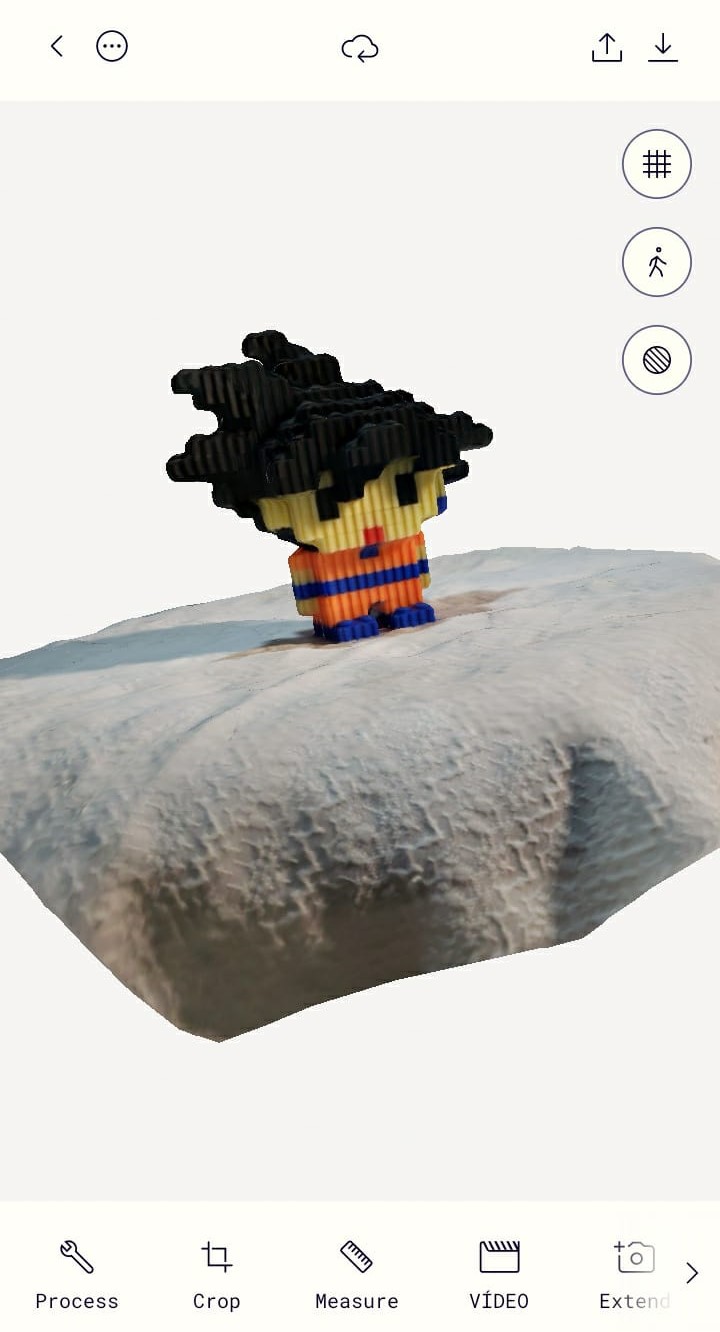
The application only let me download a sample video. To download it in another format I have to pay.
Advantages and limitations of 3D printing
3D printing has revolutionized the way objects are created, offering several advantages and also facing some limitations.
Advantages
- Customization: Allows the creation of customized objects with ease, which is ideal for applications that require a high degree of customization, such as medical prosthetics.
- Complexity without additional cost: The complexity of a design does not significantly influence the cost of production, allowing the creation of complex structures without increasing costs.
- Material efficiency and waste reduction: 3D printing minimizes material waste.
Limitations
- Print size: The dimensions of the objects that can be printed are limited by the size of the 3D printer build volume.
- Speed: 3D printing can be slower than mass manufacturing methods such as injection molding for the production of large quantities of parts.
- Surface quality and precision: 3D printed objects may require post-processing processes to achieve smooth surfaces.
Returning to the last point of limitations. I could see it when I printed a second figure and noticed that the quality was lower than the first one.