

Embedded Programming (AI Generated by ChatGpt)
Embedded programming is a specialized field of software development focused on
creating
applications that run on embedded systems, which are dedicated computing devices
designed for specific tasks.
These systems can be found in a wide range of everyday
devices, such as household appliances, medical devices, automotive components, and
industrial machinery. Unlike general-purpose computers, embedded systems typically
have
limited resources in terms of processing power, memory, and storage.
Group Assignment
The Kannai team as usual was divided into two and i worked with Ahmad Tijjani Ishaq The task is to browse through data sheet for our microcontroller and our documentation can be found at Our group assignment page
Individual Assignment
All source files can be found Here at the side bar.
For the weeks assignment, each student is tasked to write a program for a microcontroller development board to interact (with local input &/or output devices) and communicate (with remote wired or wireless devices)
Individually i worked with the following board and circuitry.
- Quentorres board
- Custom made Final Project test board
- Raspberry pi pico development board
- Micro bit development board
Quentorres board
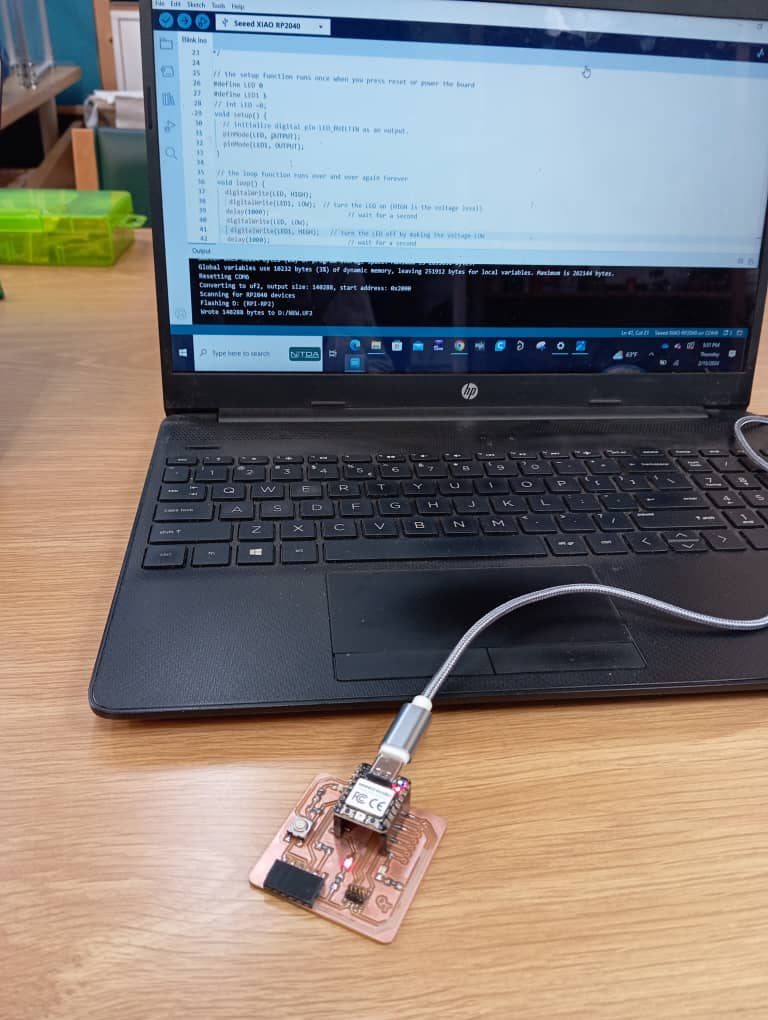
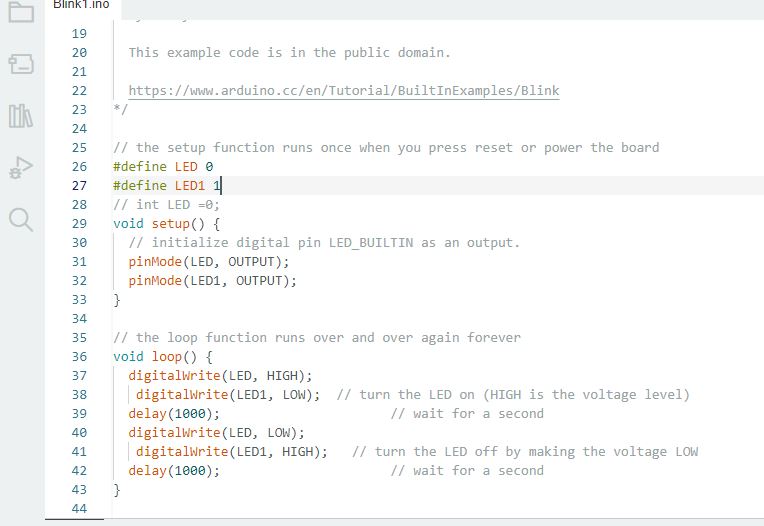
I used the quentorres board i made during our electronic production week to try programming. It has three LEDs attached to it and i made use of two, i formated the follow come basic blink example code found in arduino IDE to control two of the quentorres LED's and the result is seen below.
Custom made board
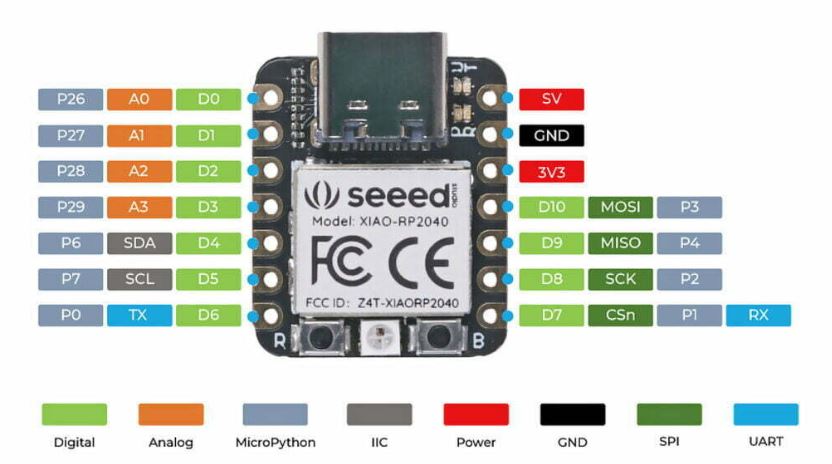
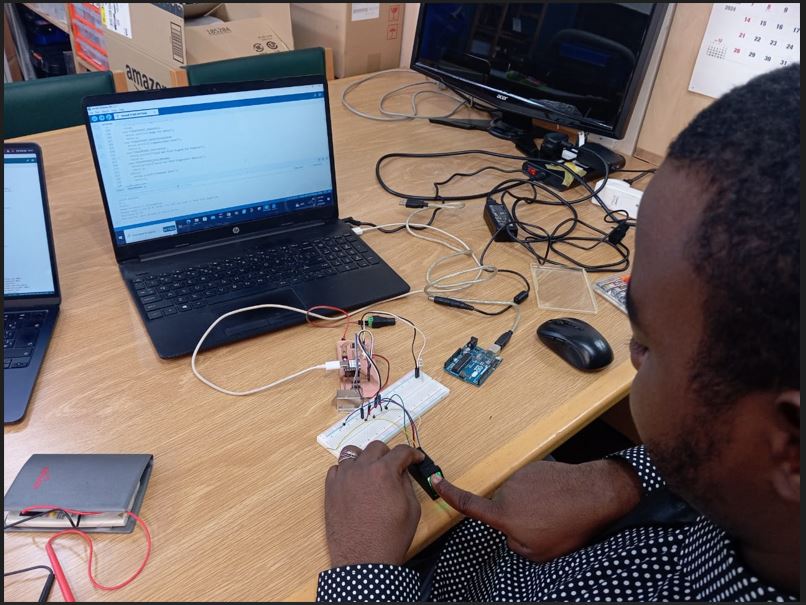
The quentorres board uses the Xiao rp2040, i also used a custom board i made using similar microcontroller. The board was designed for my final project and i used it to test some input and output devices.

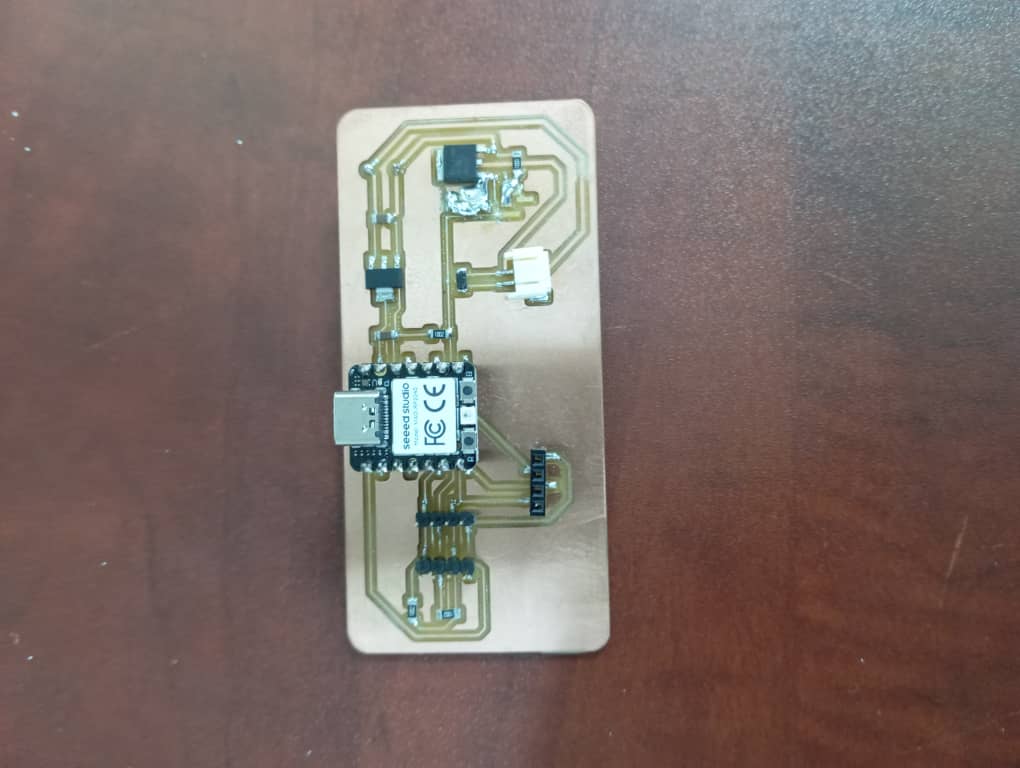

My Final Project is a thumbprint based door locking system. It uses a thumbprint as an input and a solonoid lock as an output. I program the board to lock and opens (solonoid contraction) when a thumb-print matched is detected.

I started by downloading the adafruit finger sensor library, i then open and uploaded enroll sketch examples
by going to file , example, adafruit sensor library, and enroll.
The enroll sketch is used to register new finger print data which is then stored in the sensor's
memory. The sensor can store approximately 162 finger data.

After that i Uploaded the sketch example "fingerprint" in a similar way as i did earlier and this sketch detects
if it senses an already stored finger data and prints matched up.
It is this sketch that i edited to fit the functions of my solonoid device.

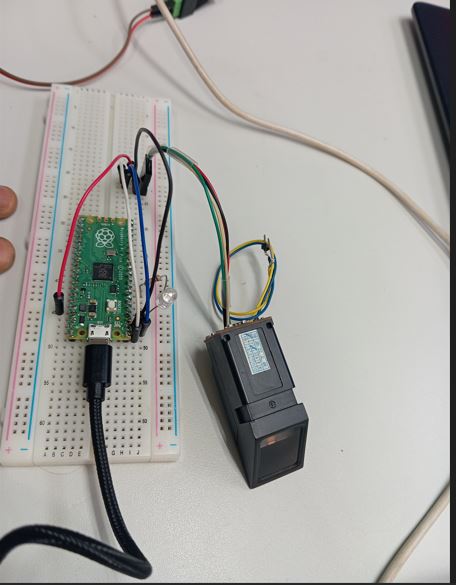
Raspberry pi pico
The Raspberry Pi Pico is a low-cost, high-performance microcontroller board with flexible digital interfaces featuring the new RP2040.

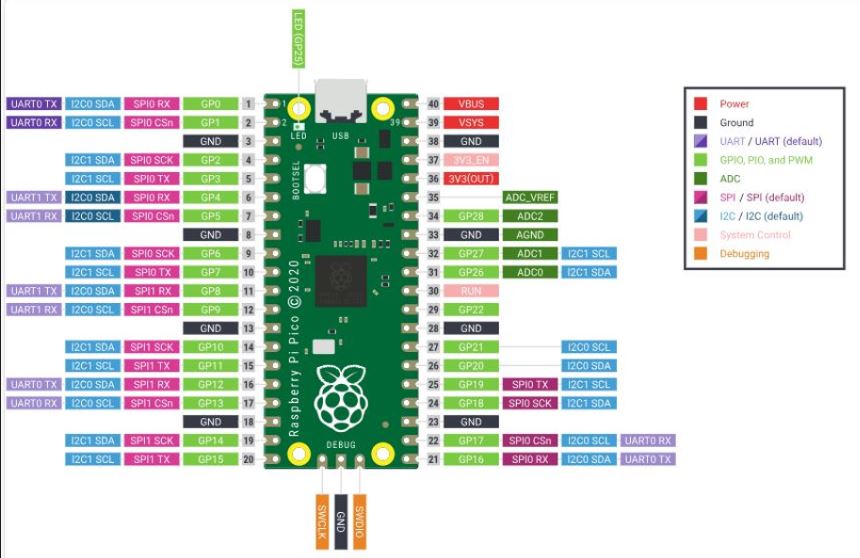
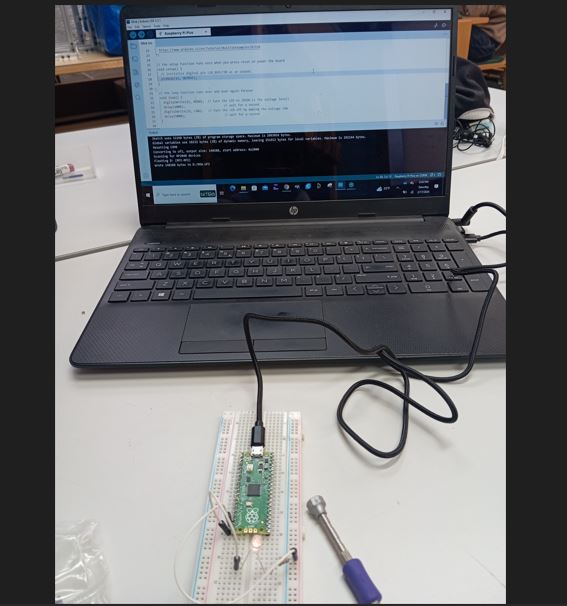
The pico development board came without the headers attached, Thats the first thing i did (Soldering).

I then connected an LED to pin 25 and uploaded a blink program to test it and it worked fine.
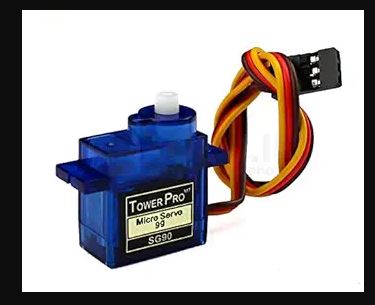
I tried programming a servo motor, According to wikipedia,
A servomotor is a closed-loop servomechanism that
uses position feedback to control its motion and final position.
A servomotor (or servo motor or simply servo) is a rotary or linear actuator that allows
for precise control of angular or linear position, velocity, and acceleration in a mechanical
system.
It has three pins which are power, ground and signal pin for controlling its angle/motion.

I uploaded an example sketch by going to file, examples, servo (rp2040). I uploaded the sketch and the result was ok.

finger print
When i tried using finger print sensor on the pico i observed that pico has a lot of serial pins
. I decided to use gp 16 and gp17 but to my suprise it didnt work out. i tried hardway serial and
software serial but i didnt get the result i wanted and after researching i found out that only the default
pins 0 and 1 work for serial transfer in arduino IDE. Then i changed and used those pins and all worked out well.
With good and promising results, i then tried my finger print sensor and i uploaded both the enroll and the finger print sketch,
and it works fine just as my custom made xiao board did.
When ever there is a matched finger detected, the LED lights up which will ofcourse
be replaced by my solonoid.
Micro Bit
According to twinkl
A micro:bit is a tiny, pocket-sized computer.
It was created by the BBC and is sometimes called a “microbit” without a colon
in the middle.
To work with it i followed the documentation on microbit page
On how to get started and coding. I followed their instructions and i was able to display symbols and words on the installed
LED gallery found in its rear side.

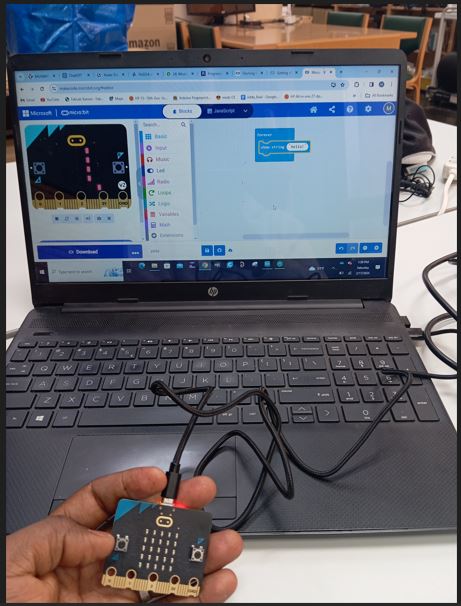

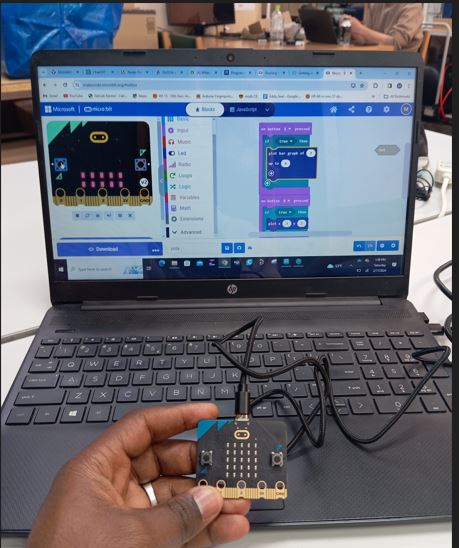
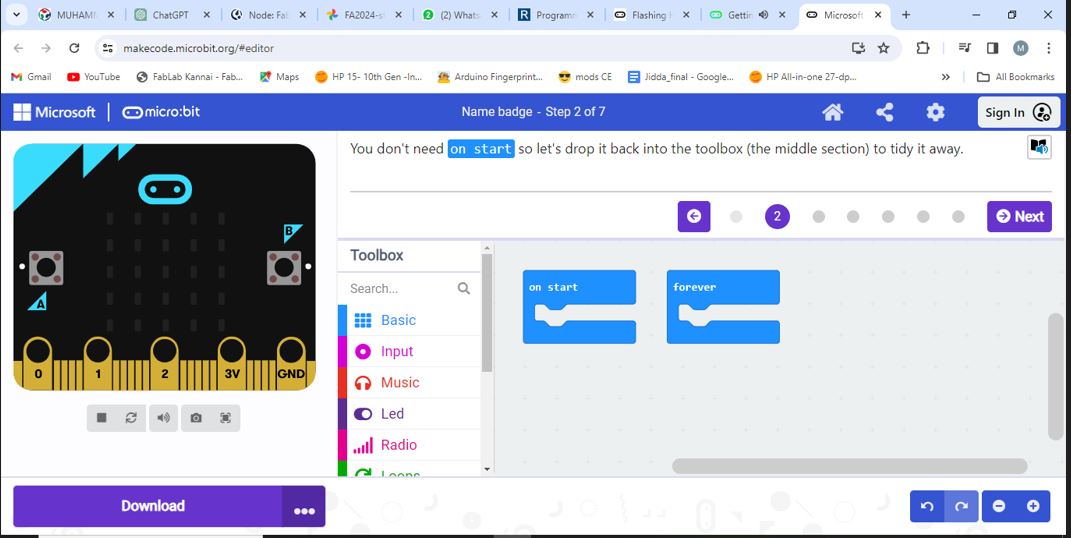
I didnt like it much but its a kind of fun to play with especially for kids.
Conclusion
There are tons of micro controller board out there but i chose to work on these selected few because
they were made available to me and i am completely new to using them. I have worked with esp32, esp8266, arduino family
as well as raspberry pie 3 and 4.
I enjoyed working with the rp2040 based development board its a huge step to my learning.
All source files can be found Here at the side bar.