

Computer controlled cutting
Week3 assignment is the practical application of knowledge gained during the week2 activity (2D and 3D design) on machines to make product or outputs. We students are expecyted to design and cut using cnc machines.
CNC (Computer Numerical Control) machines are a type of automated manufacturing equipment that use computerized
systems to control and operate machining tools. These machines are widely used in various industries for precision
machining, cutting, shaping, and fabrication of materials. The primary advantage of CNC machines is their ability
to execute precise and complex tasks with high accuracy and repeatability.
CNC machines are integral to modern manufacturing processes, providing efficiency, precision, and automation
in the production of intricate components and products across industries such as aerospace, automotive, electronics, and more. (AI generated by ChatGpt )
In Our Lab we will be working with CNC Laser cutter and Vinyl Cutter for our week3 activity and assignments.
The weekly activity is divided into two :
- Group Assignment
- Individual Assignment
Group Assignment
We are divided into two groups and i work with Ahmad Tijjani Ishaq
for the group project.
We are Tasked to find out the following parameters for our machine ( Laser cutter):
- Power
- Speed
- PPI
- Focus
- Kerf
- Clearance
Safety
We are dealing with machines which could be dangerous if safety precautions are not followed, we were told about safety measures before we started using them. such as:
- One has to be around when machine is in operation
- Fumes collector pipe must be directed outside for disposal of hazardous fumes when operating the laser cutter
- Always turn on the vacuum pumps that such fumes and also push dust away before starting cutting operation
- only recommended materials should be used.
We succeeded in completing the group assignments and our documentation can be found Here The activity was fun and interesting, we were introduced to new ideas and we really appreciate, our results are as follows
- SPEED = 10
- POWER = 70
- PPI = 300
- KERF = 0.2
- FOCUS = 4.7
- CLEARANCE = 0.1
Individual Assignment
All source files can be found Here at the side bar.
For Individual assignment we are asked to:- Design a parametric kit that can be assembled in multiple ways to form multiple objects or shapes, Use laser cutter to cut the design out.
- Use the vinyl cutter to produce any design
Parametric Design (AI generated by ChatGpt)
Parametric design is an approach to design that involves the use of parameters or variables to define
and manipulate the characteristics and relationships of objects within a design. In parametric design,
elements of a design are connected through a set of rules or algorithms, allowing for flexibility,
adaptability, and automation in the design process.
Parametric designs are very useful in machining process because material thickess and sizes can be changed and
redesign can be quite time consuming. with Parametric design one will only need to change the values of his parameters.
Funny but i really cant help naming my individual parametric kit FurPose. FurPose is coined
from the term Furniture and multi-purpose. i had an idea to make a kit that can be assembled into
chair, bed, table and bed.
Of course this is more like educational purpose but its made mainly targetting young children. In order
to achive this i followed the following processes:
- Sketch and Formulation
- Design
- Cutting $ Result
- Testing and Assembly
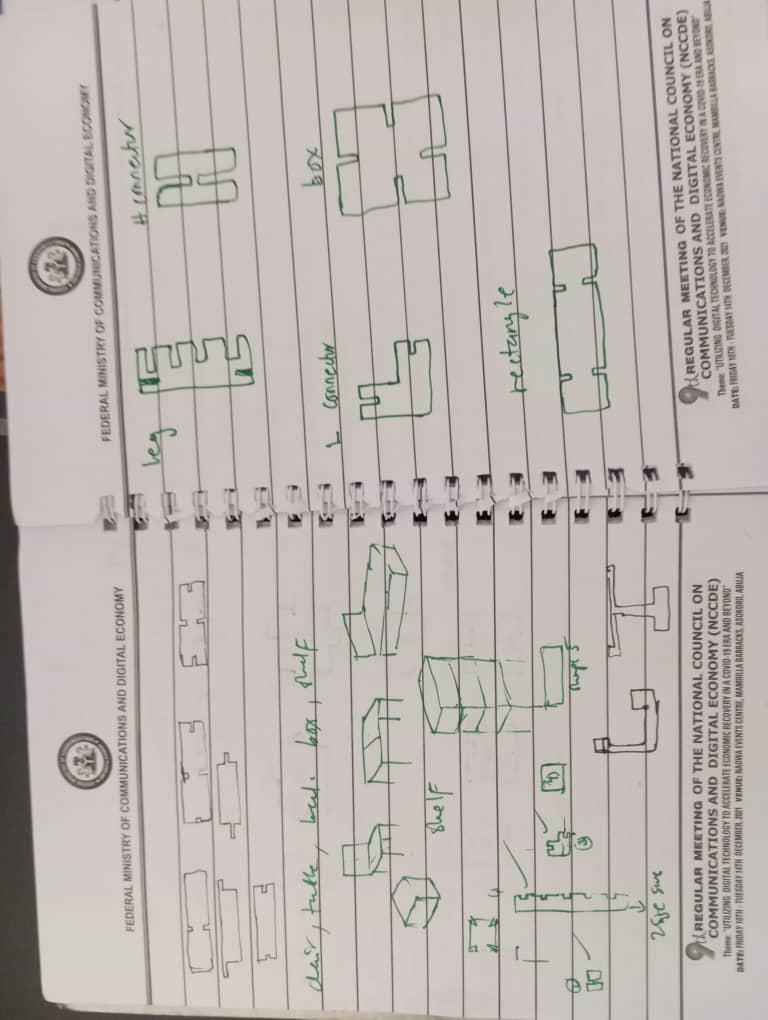
1. Sketch and Formulation
After obtaining our machine parameters as shown above, i started with sketch diagram of parts i need in my kit.
My kit consist of 5 different shapes and each is of multiple quantity as follows:
- The Box (3)
- The Rectangle (5)
- The Leg (10)
- H connector (10)
- L connector (5)

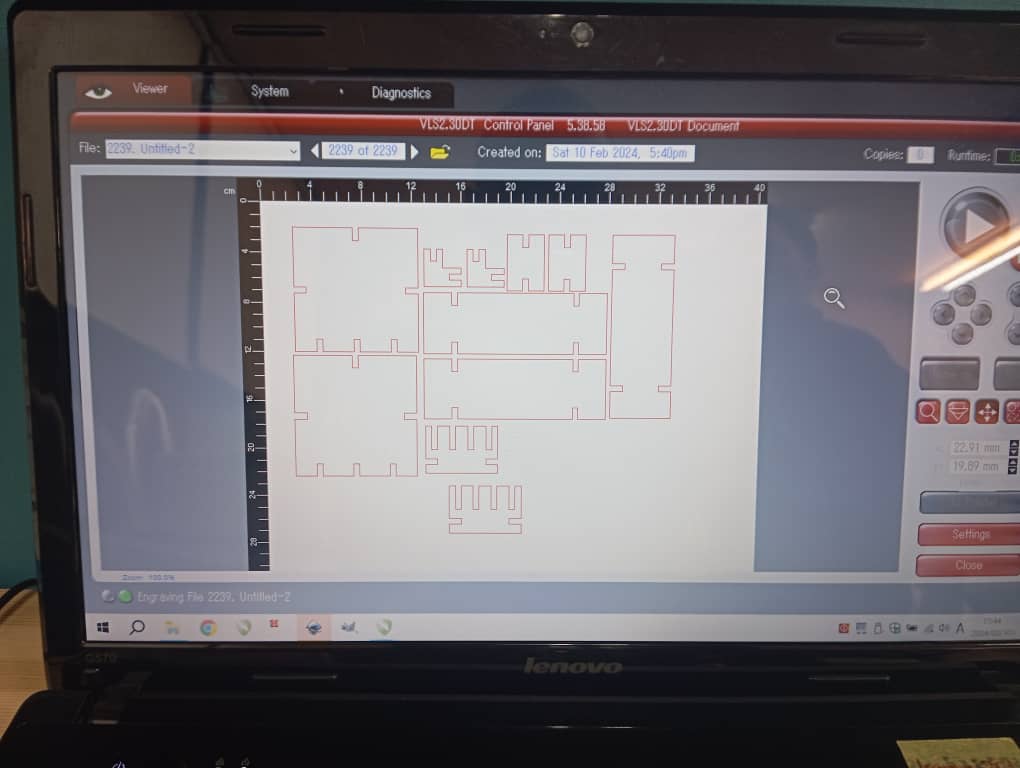
2. Design
I did my parametric design with fusion 360 and then exported as svg using the shaper utility tool.
I started by
- setting up my parameters such as kerf, clearance, thickness etc
- Then i did the sketching
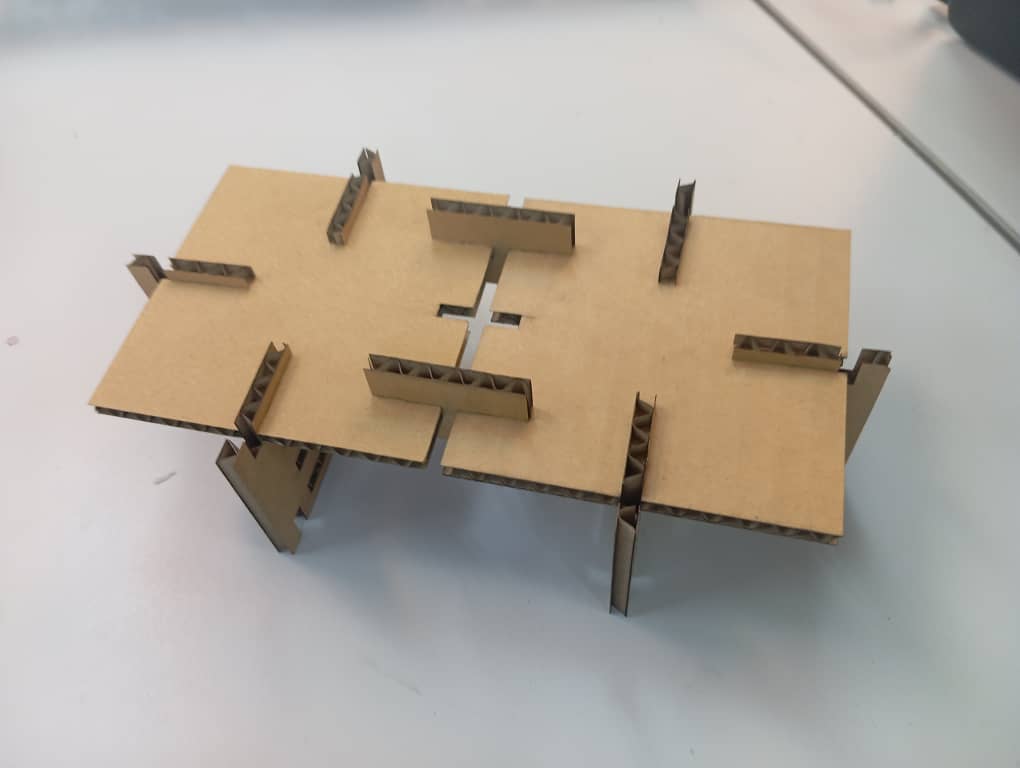
- The finished design can then be seen below.


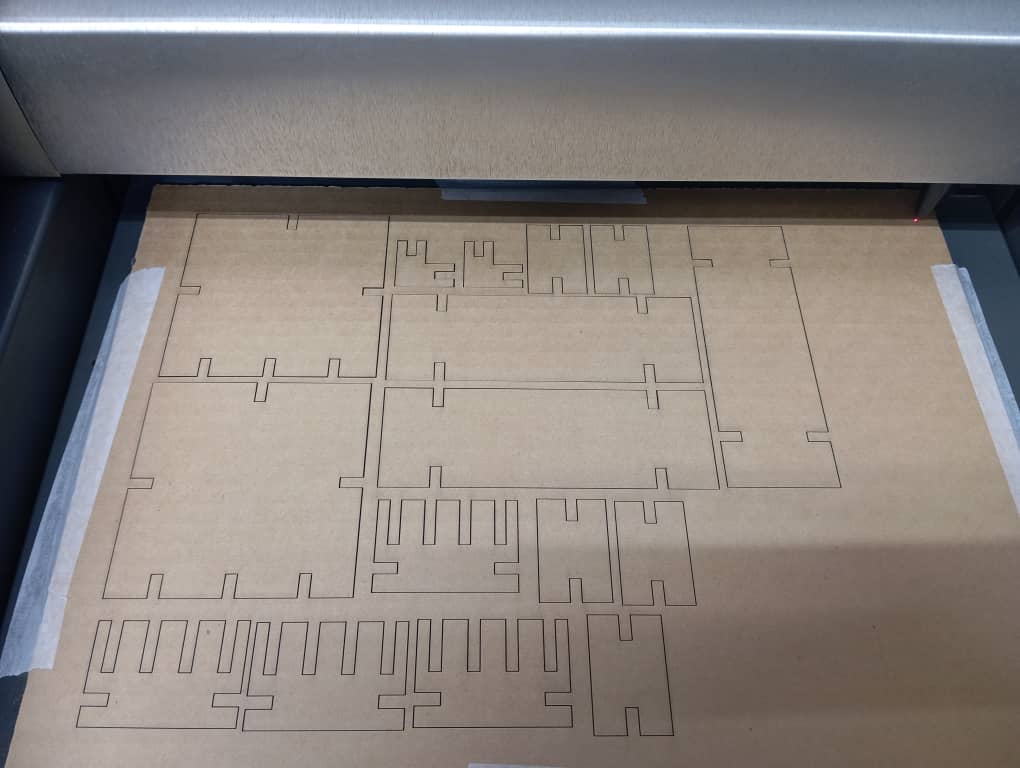
3. Cutting $ Result
To cut my kit, i used corel draw and the machines universal software. I used the values from our
group assignment as follows.
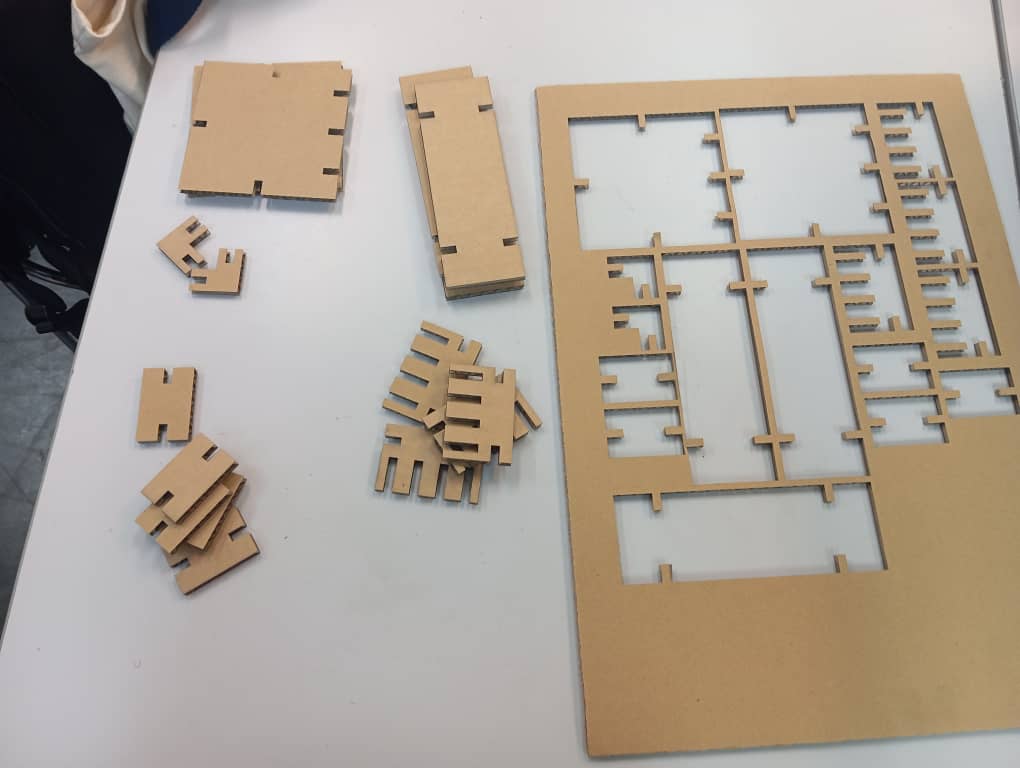
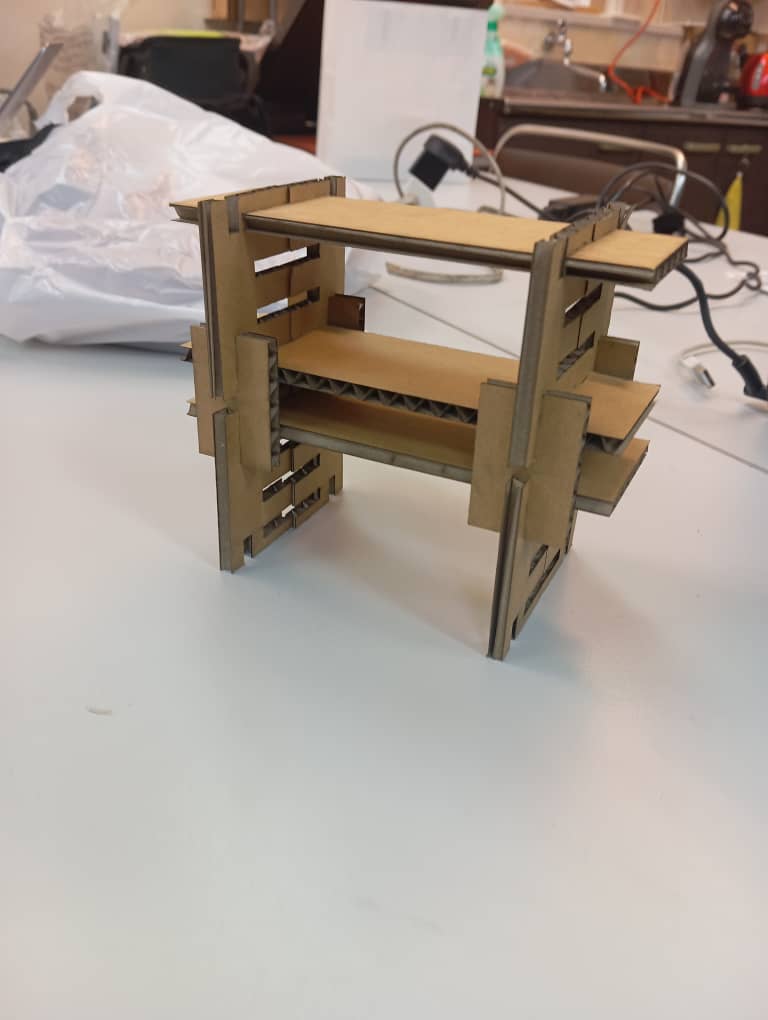
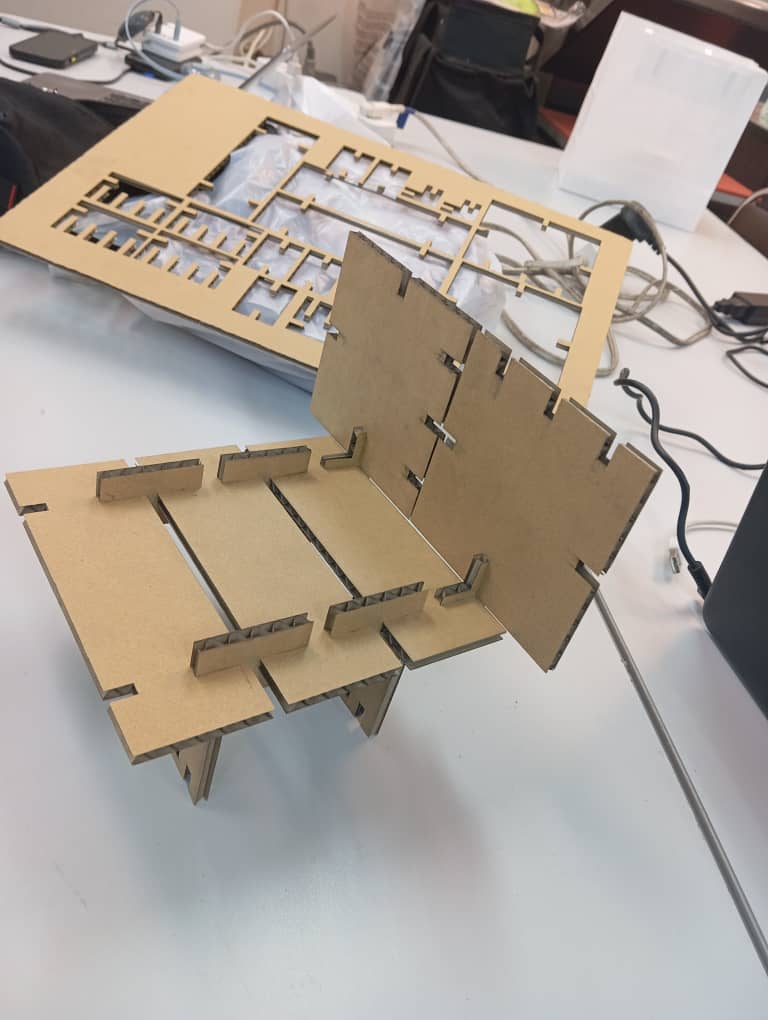
4. Testing and Assembly
As seen below, the cutting process was completed and the parts were removed and assembled.

Vinyl Cutting
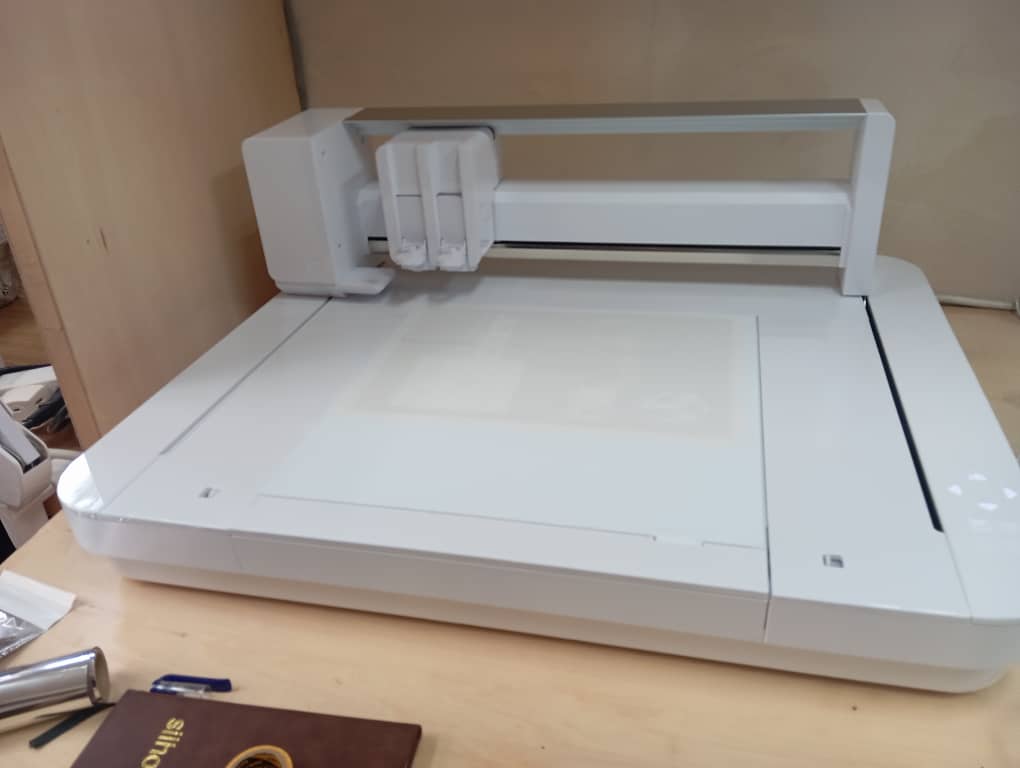
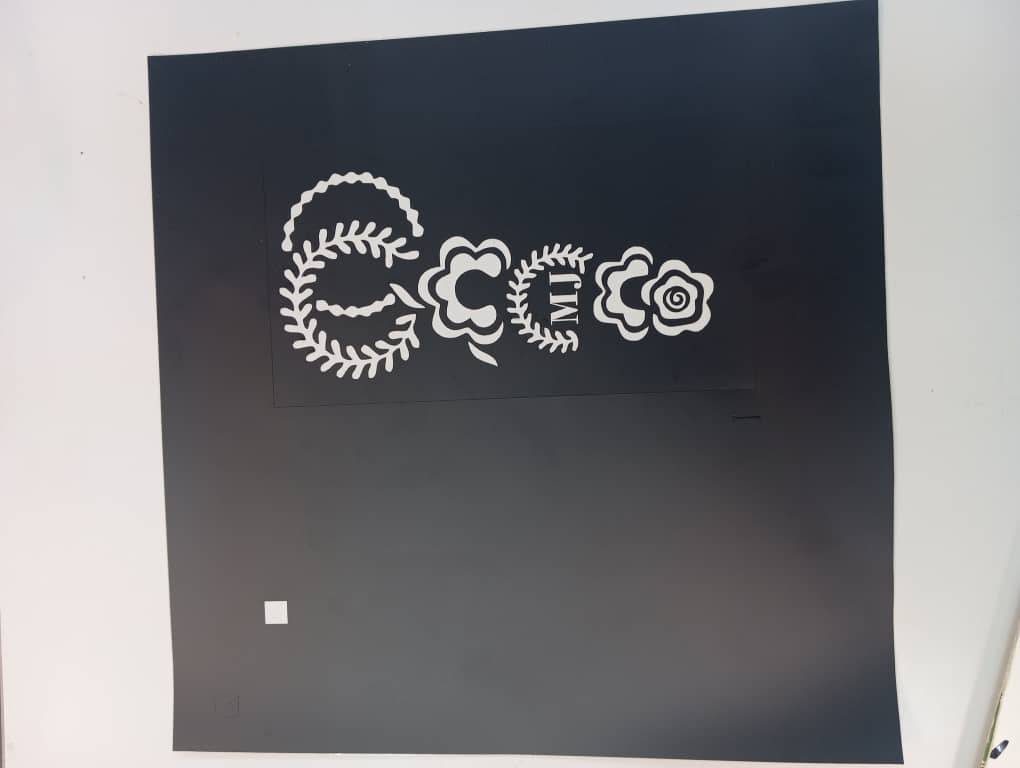
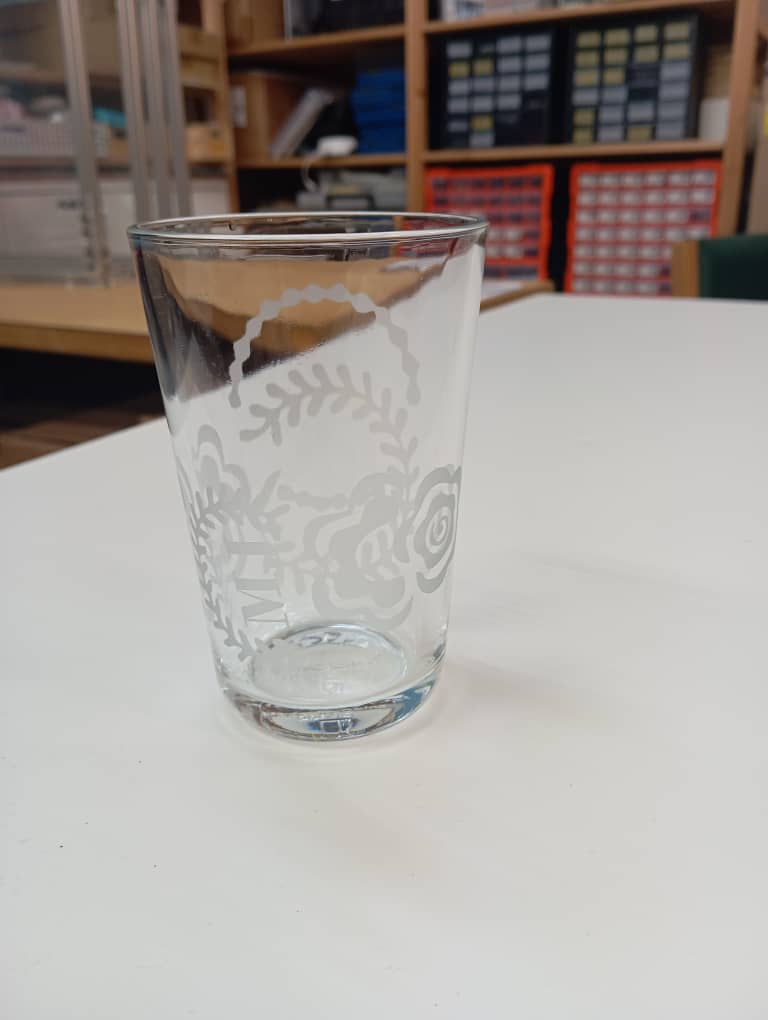
For My Vynil cut activity, i made a Henna design and sand blasted on a glass cup
, we use the silhouette Curio-2 table top vinyl cutter. It is new, precise and always
easy to use. More information about its Price
or how to use. how to use.
To complete my activity i followed the following steps
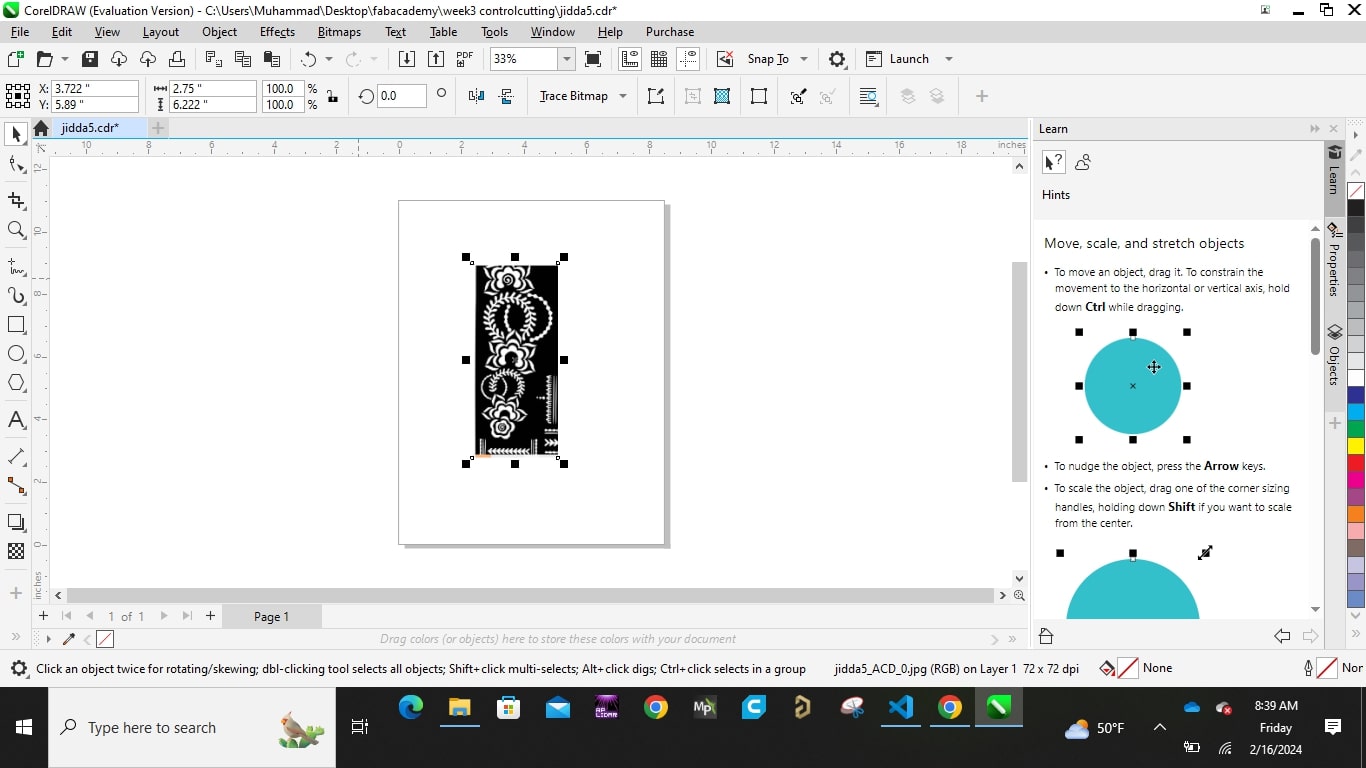
- I screenshot a henna design from online . Henna designs are famos amongst arabs and there are tone of samples available online
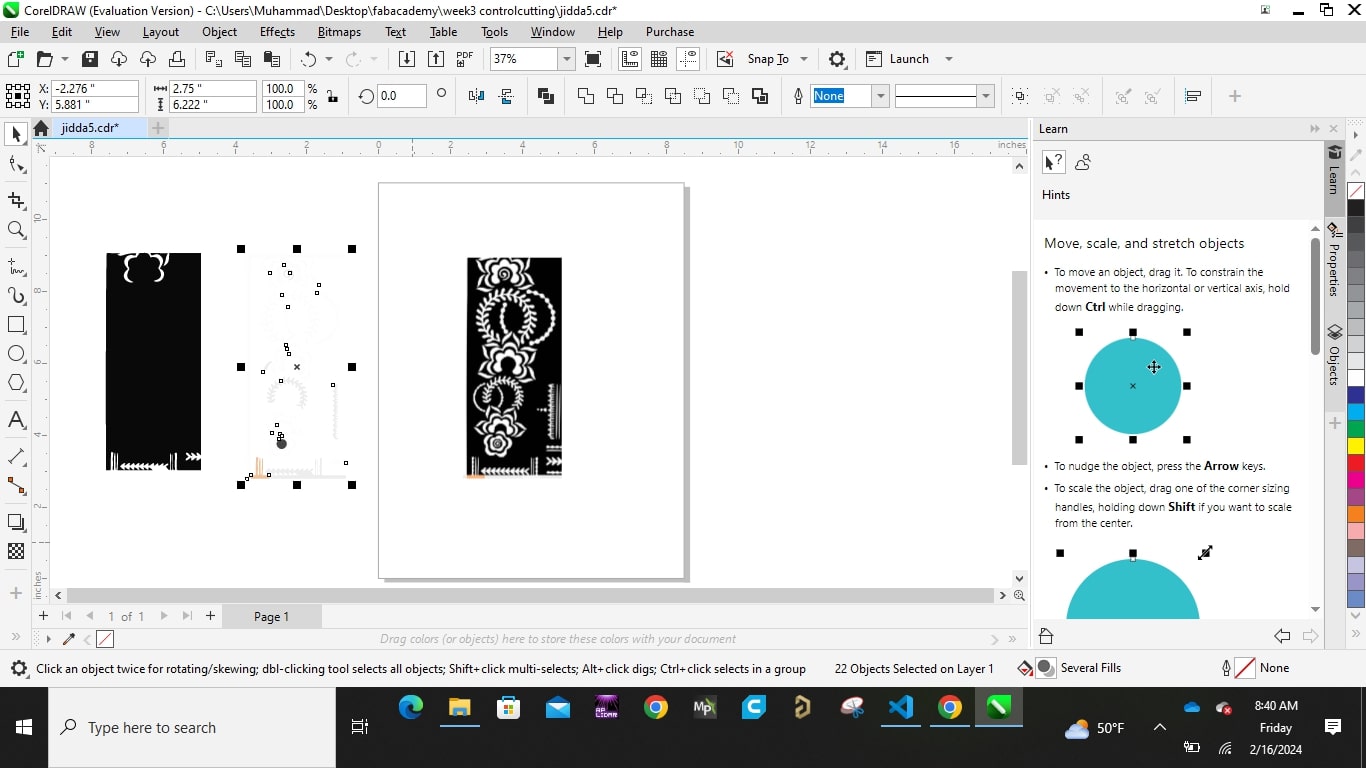
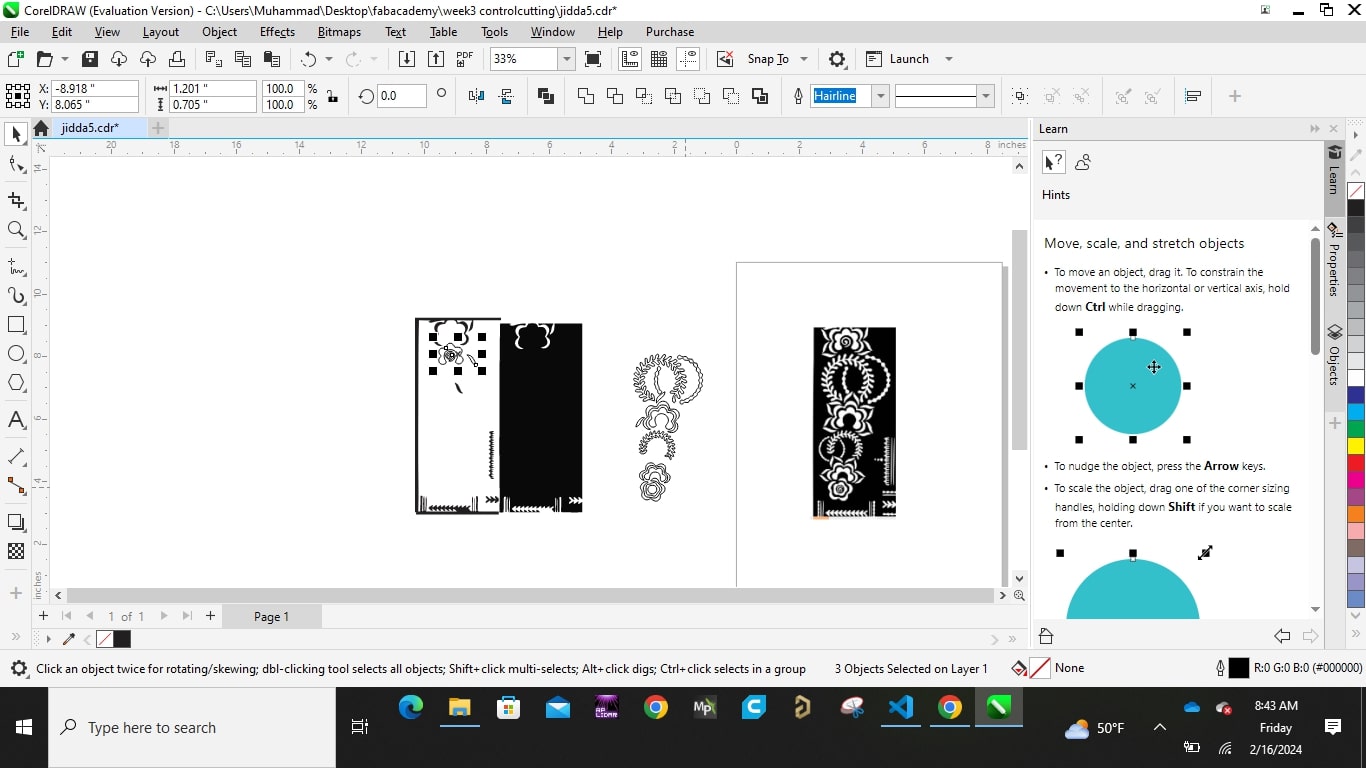
- Then i import the image into corel draw work space
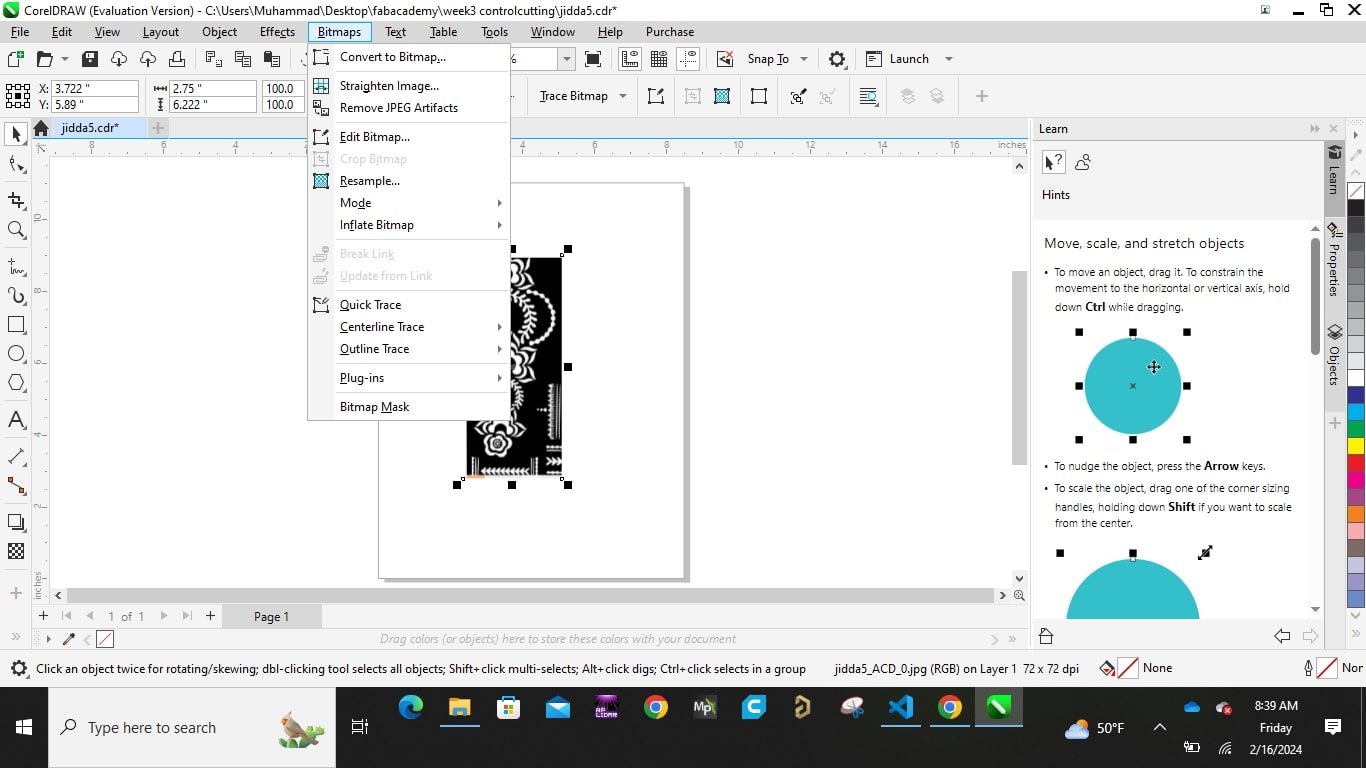
- I selected the image and chose quick trace under Bitmap in the menu bar
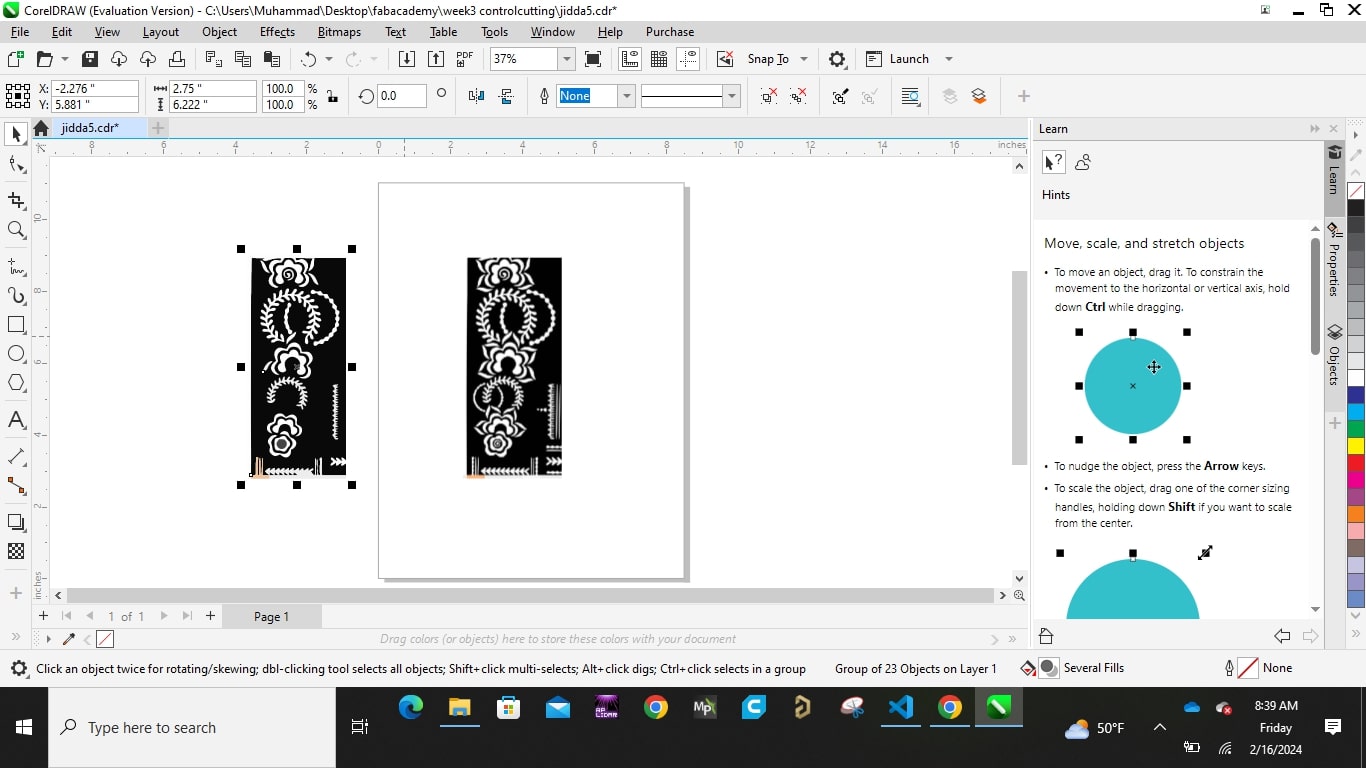
- I moved the trace from the main picture
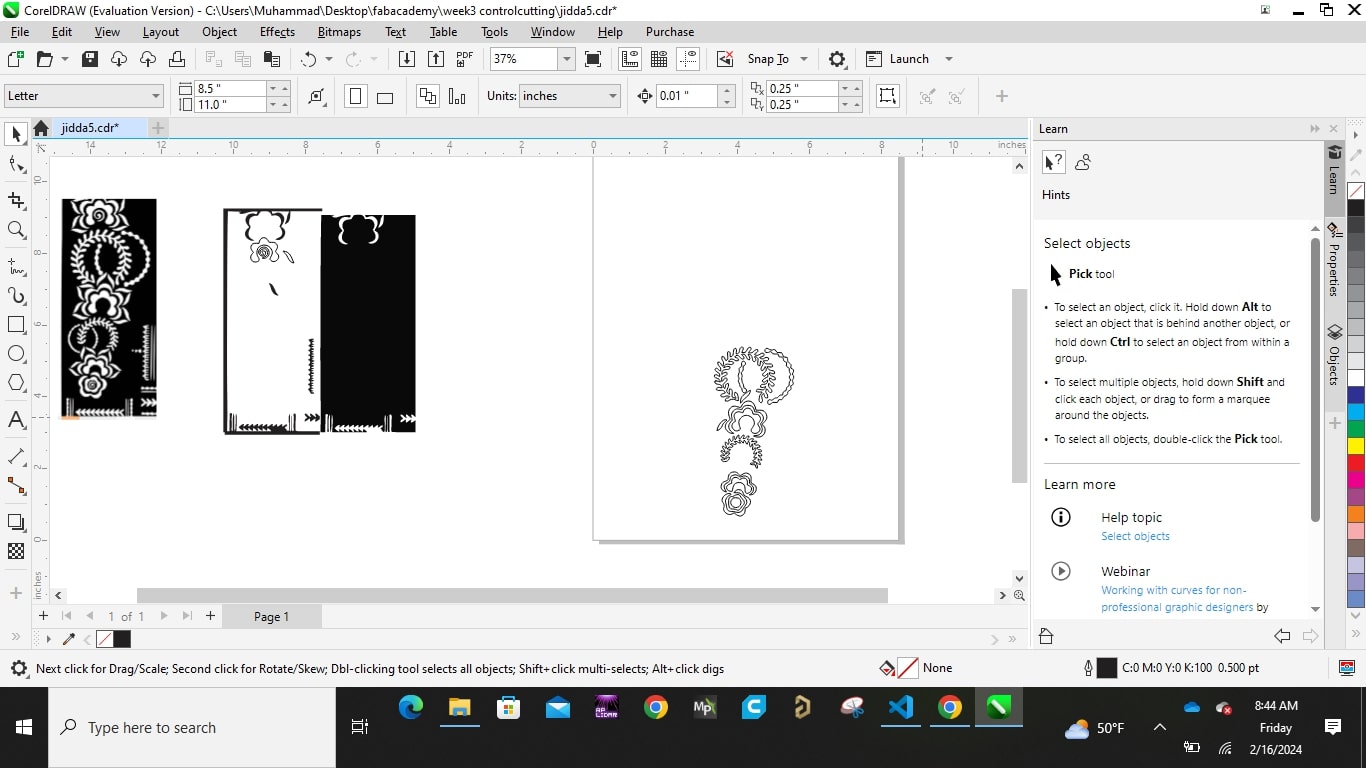
- I then ungrouped the trace, and move the frame of the image aside
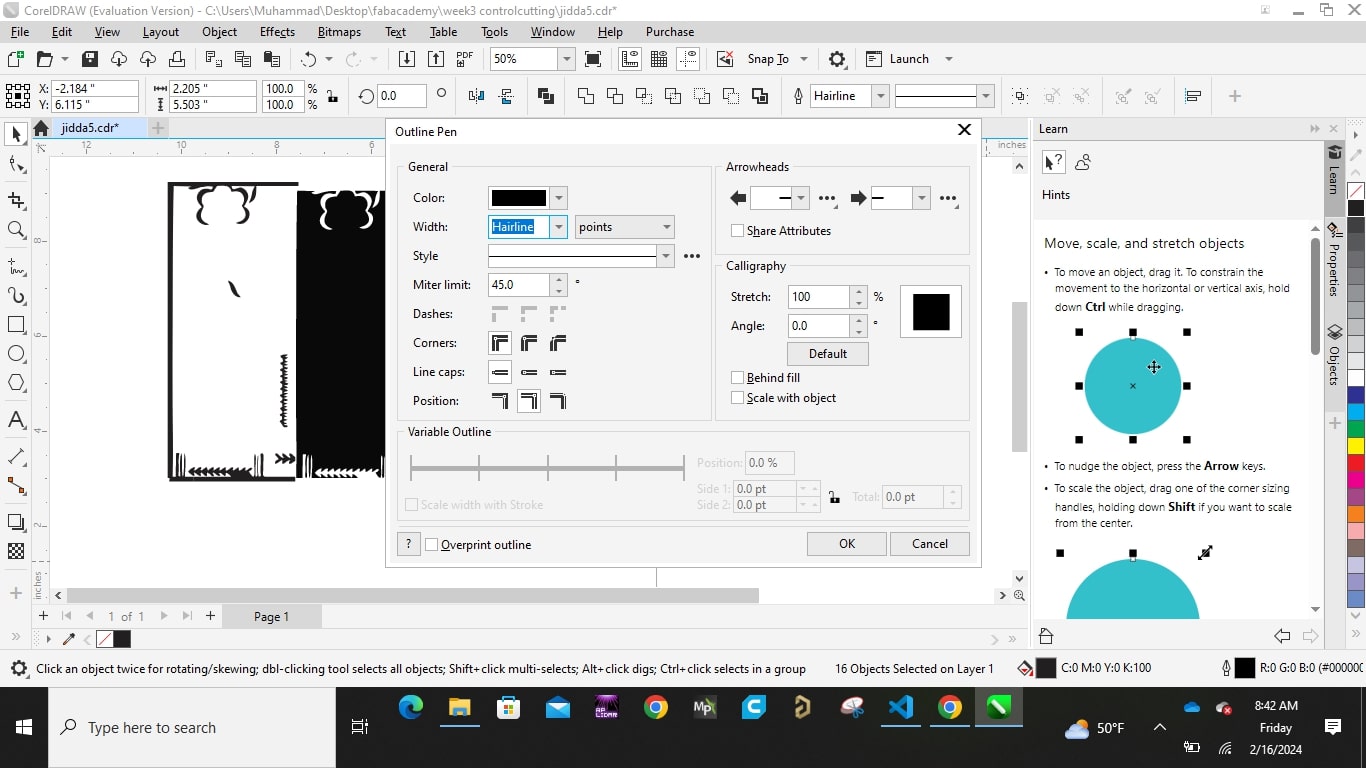
- I made the outline hairline and removed the color fill
- The File was saved as DXF and then used on the silhouette curio studio for cutting

The result of cutting was very beautiful and the cut was 100%, I could give a lady to use but i decided
to sand blast the design on a glass cup.
I used a transfer paper to remove the cut part from the rest of the unused material.
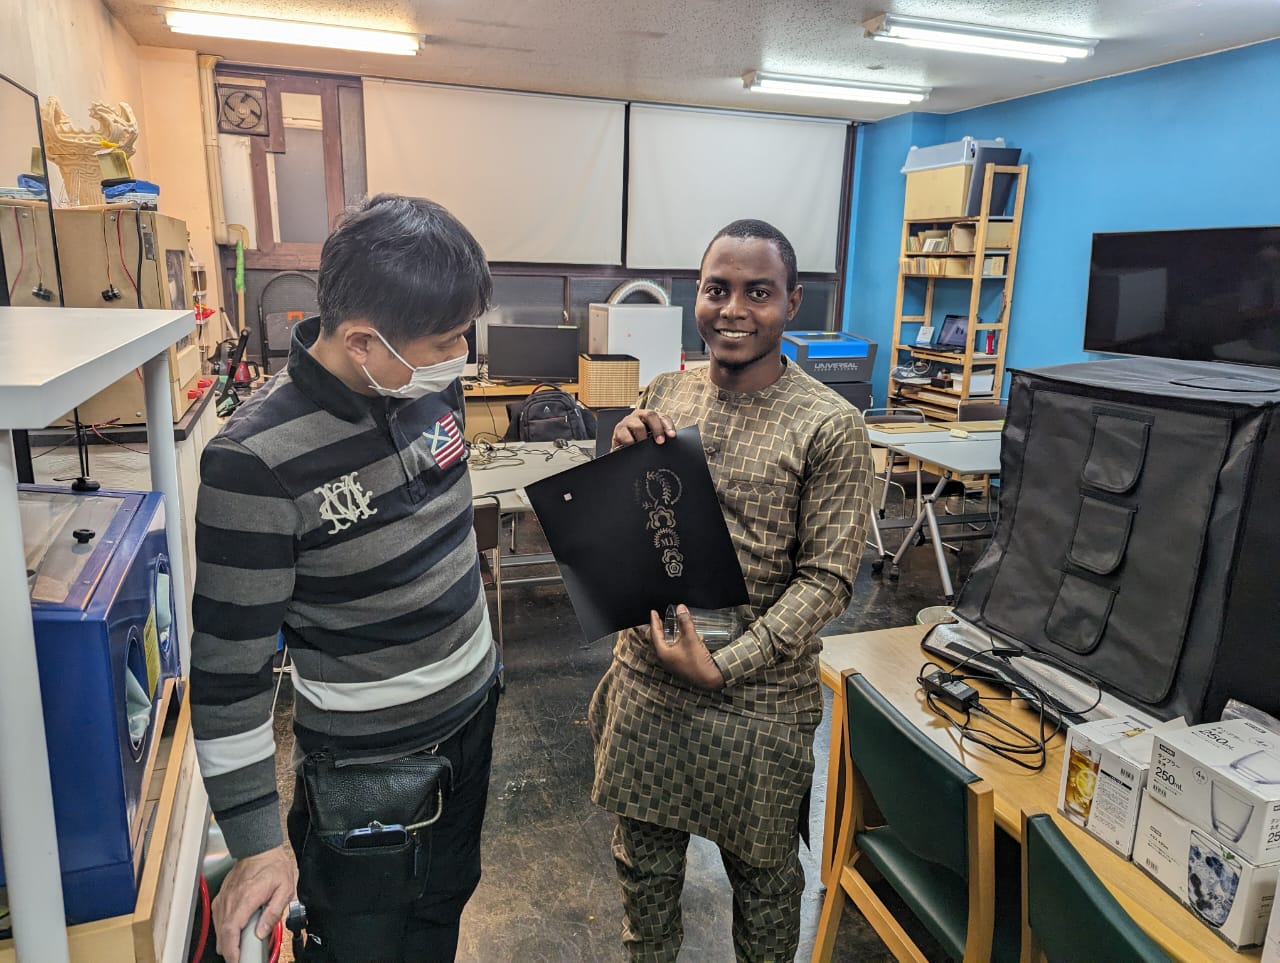
The cut out was wrapped around the glass cup, every part of the glass was then closed with a tape to ensure
that sand only touches the design around it.
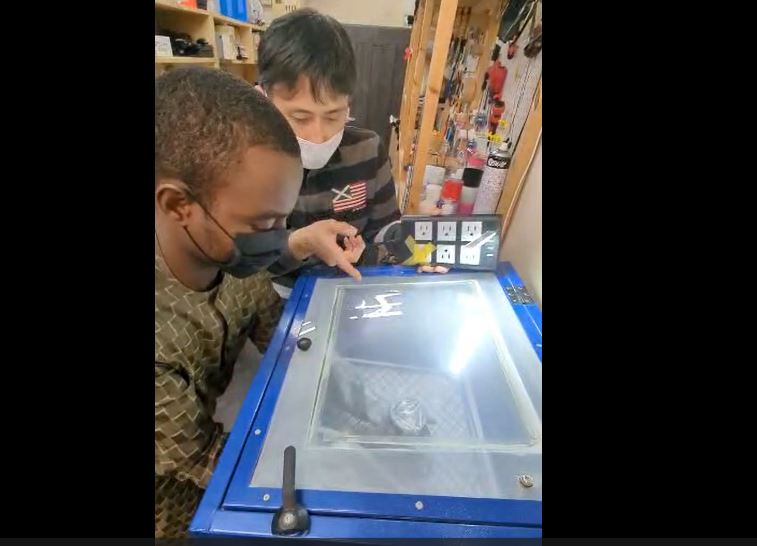
Sand blasting begins and the result is shown below
With this i have come to the end of my documentation for this weeks activity and assignment.
All source files can be found Here at the side bar.