

3D Printing and Scanning
3D Printing
This is an additive method of production that produces a component by incrementally adding pieces or parts. There are many types of 3d printing technology available such as fused deposition modelling, stereolithography (SLA), selective laser sintering (SLS) etc.
3D printing machines
3D printers are devices used for 3d printing purposes, there are many types and sizes depending on the manufacturing company such as prusa, mingda etc.
We used the FDM types of printers for our 3d activities, some common types of such
printers are
Prusa i3 MK3, Ultimaker S3, Creality Ender 3, MakerBot Replicator+, LulzBot TAZ 6
are examples of FDM 3D printers.
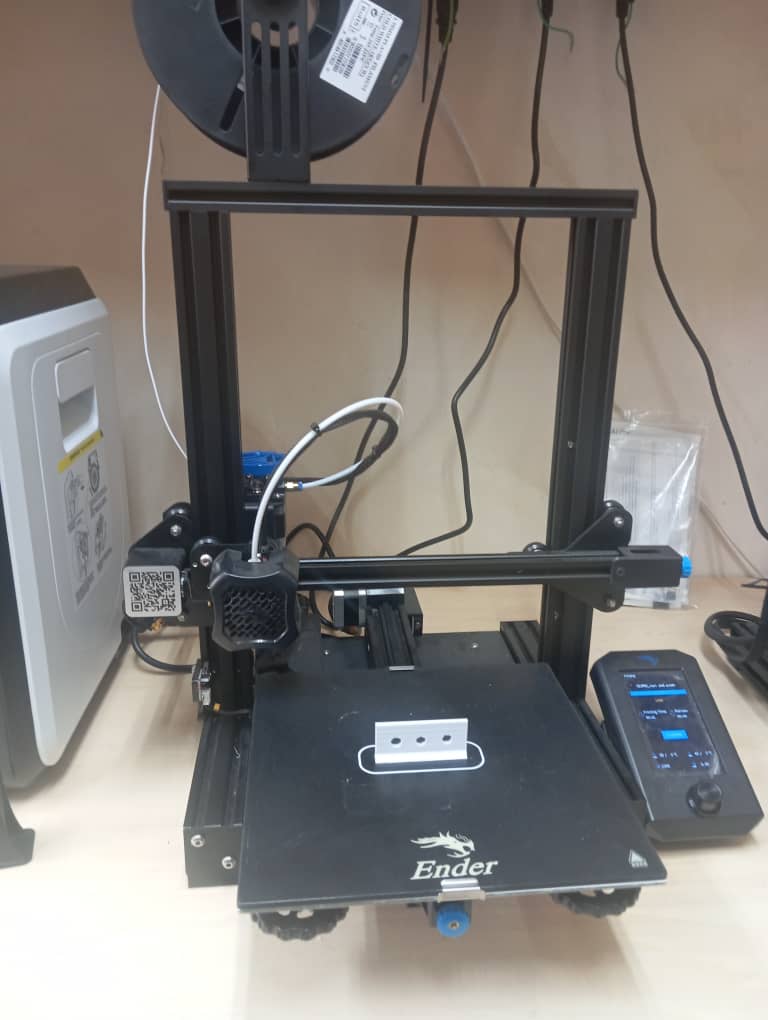
the printer i used is the creality ender 3 and ender 3 pro.
3D Scanning
3D scanning is a modern technology that scans the data of 3d objects which can then be used to reprint replicas of the scanned object without having to design from scratch.
Examples of such devices used for 3d scanning are the shinning 3d and creality scanner. I worked with the creality scanner.
Group Assignment
The Kannai team as usual was divided into two and i worked with Ahmad Tijjani Ishaq he used the prusa mk3i while i used the ender 3 pro. we were able to test print different 3D models without support. we did the bridge test, the over hang test and the angle test. and the results are as follows
- we were able to print the bridge test from 0 to 50mm without any significant fault in the printout
- after that range we observed some downward bolging of fillament from 50+ upwards
- The angular test was fine from 0 degrees to 90 degrees
- The overhang test was carried out from 0 to 10mm and was fine

Detailed Explanation can be found on our Group assignment site
Individual Assignment
All source files can be found Here at the side bar.
for the weeks assignment, each student is tasked to:
- print an object that is impossible to make by milling
- scan an object and provide the scan data
3D Printing
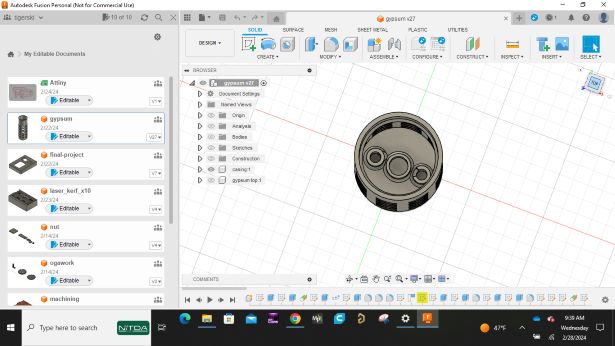
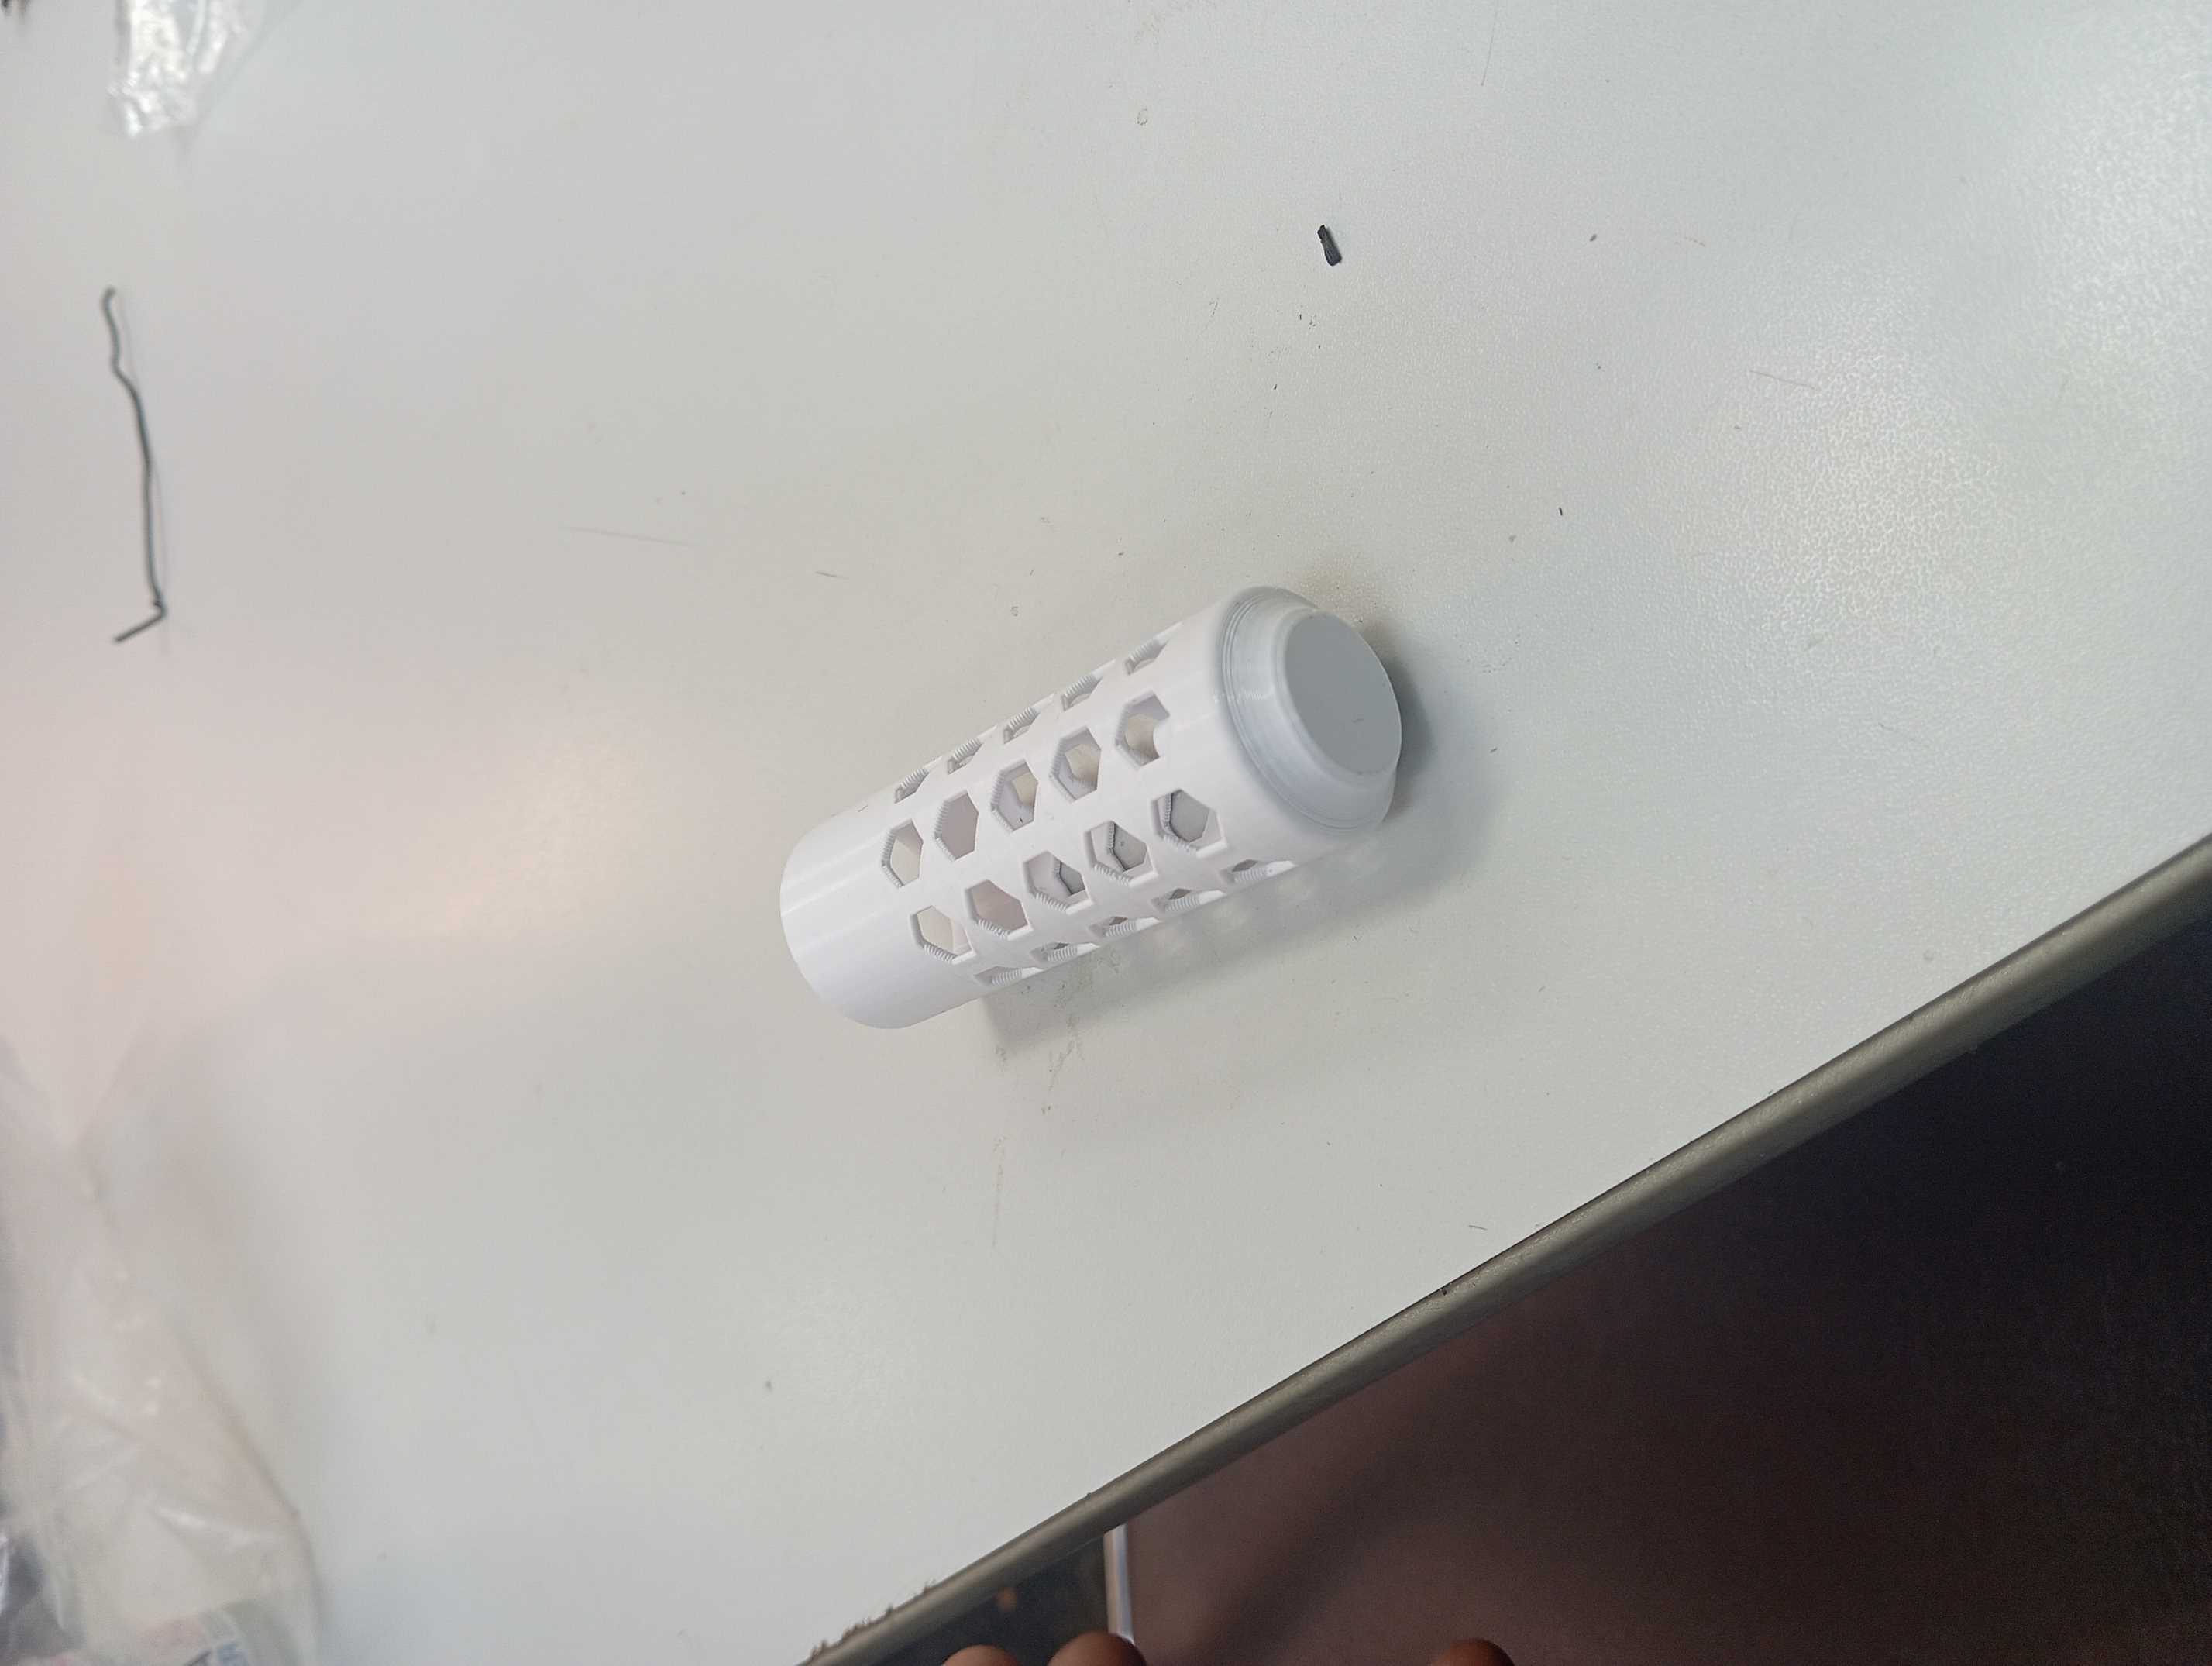
In order to achive the goal of this weeks assignment, i made up my mind to design a temperature and humidity sensor holder i which we use in Abuja for farming purposes. i follow the following processes.
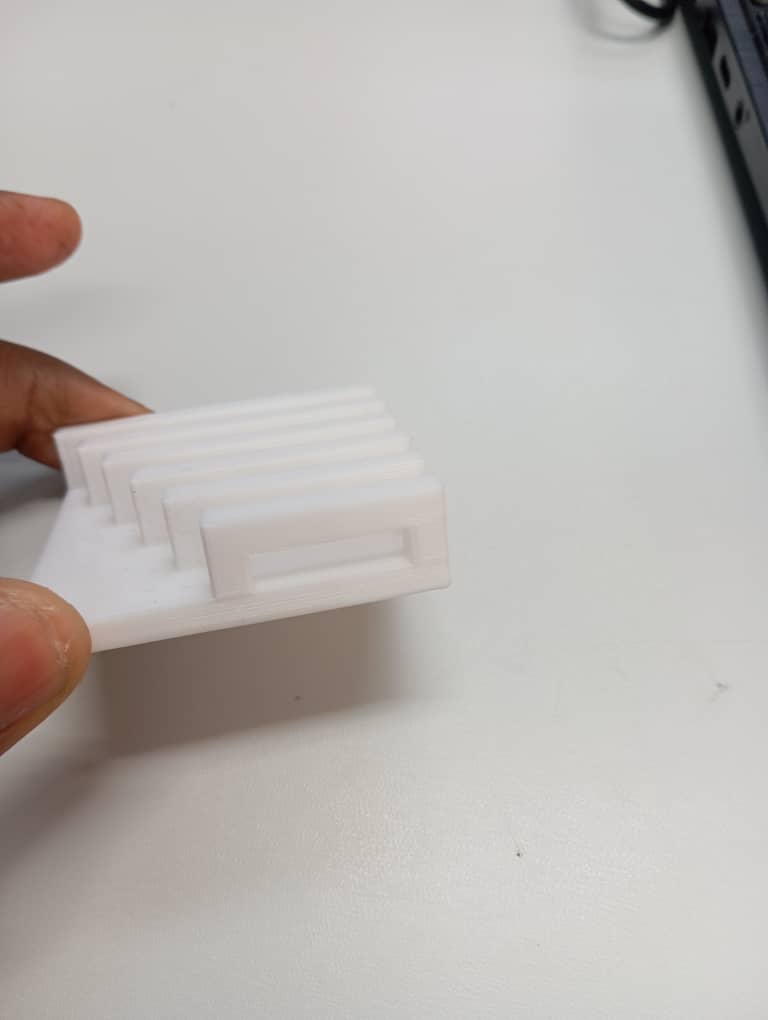
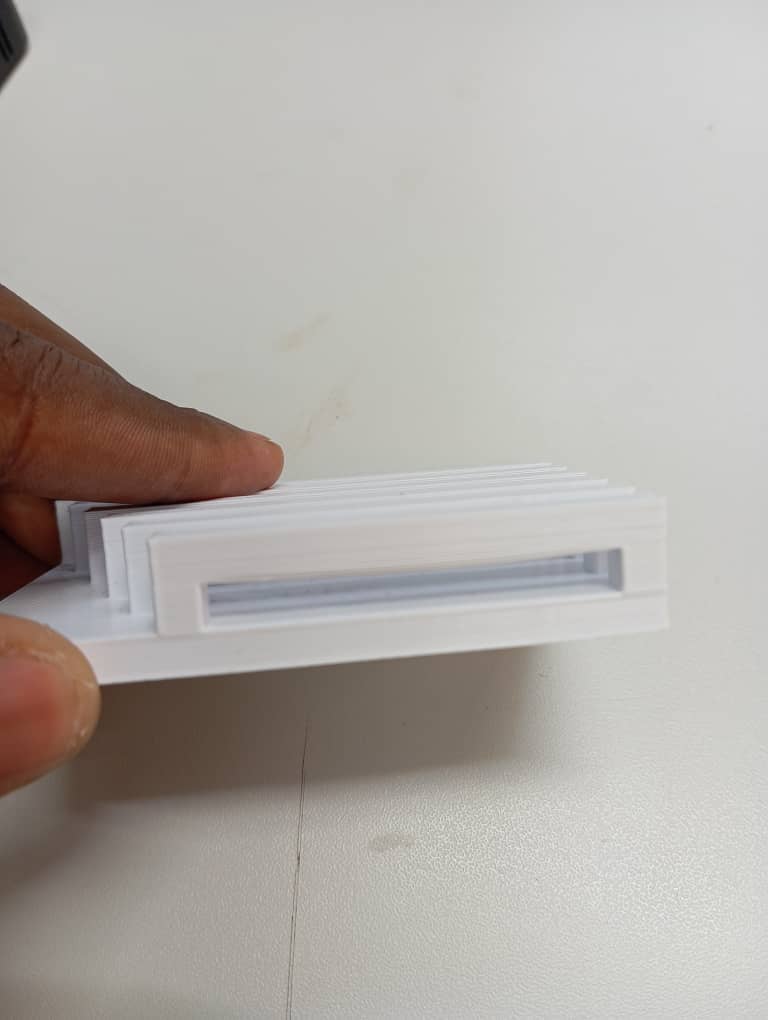
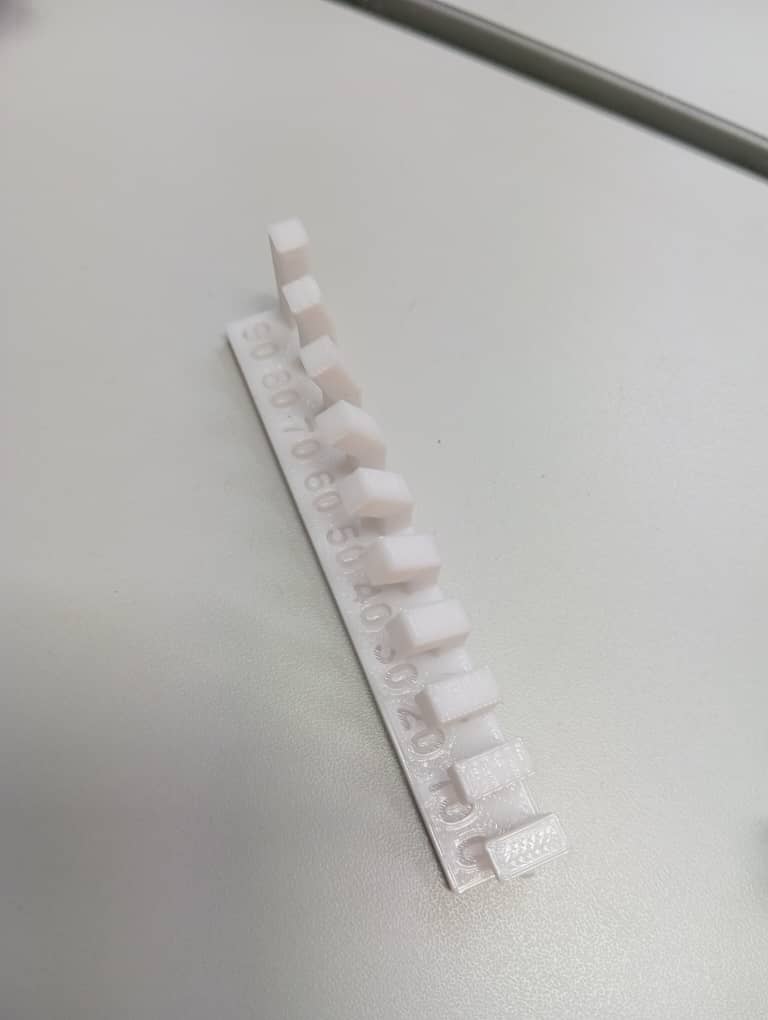
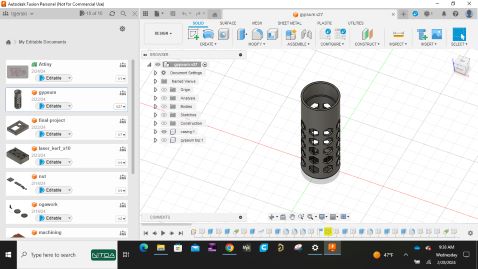
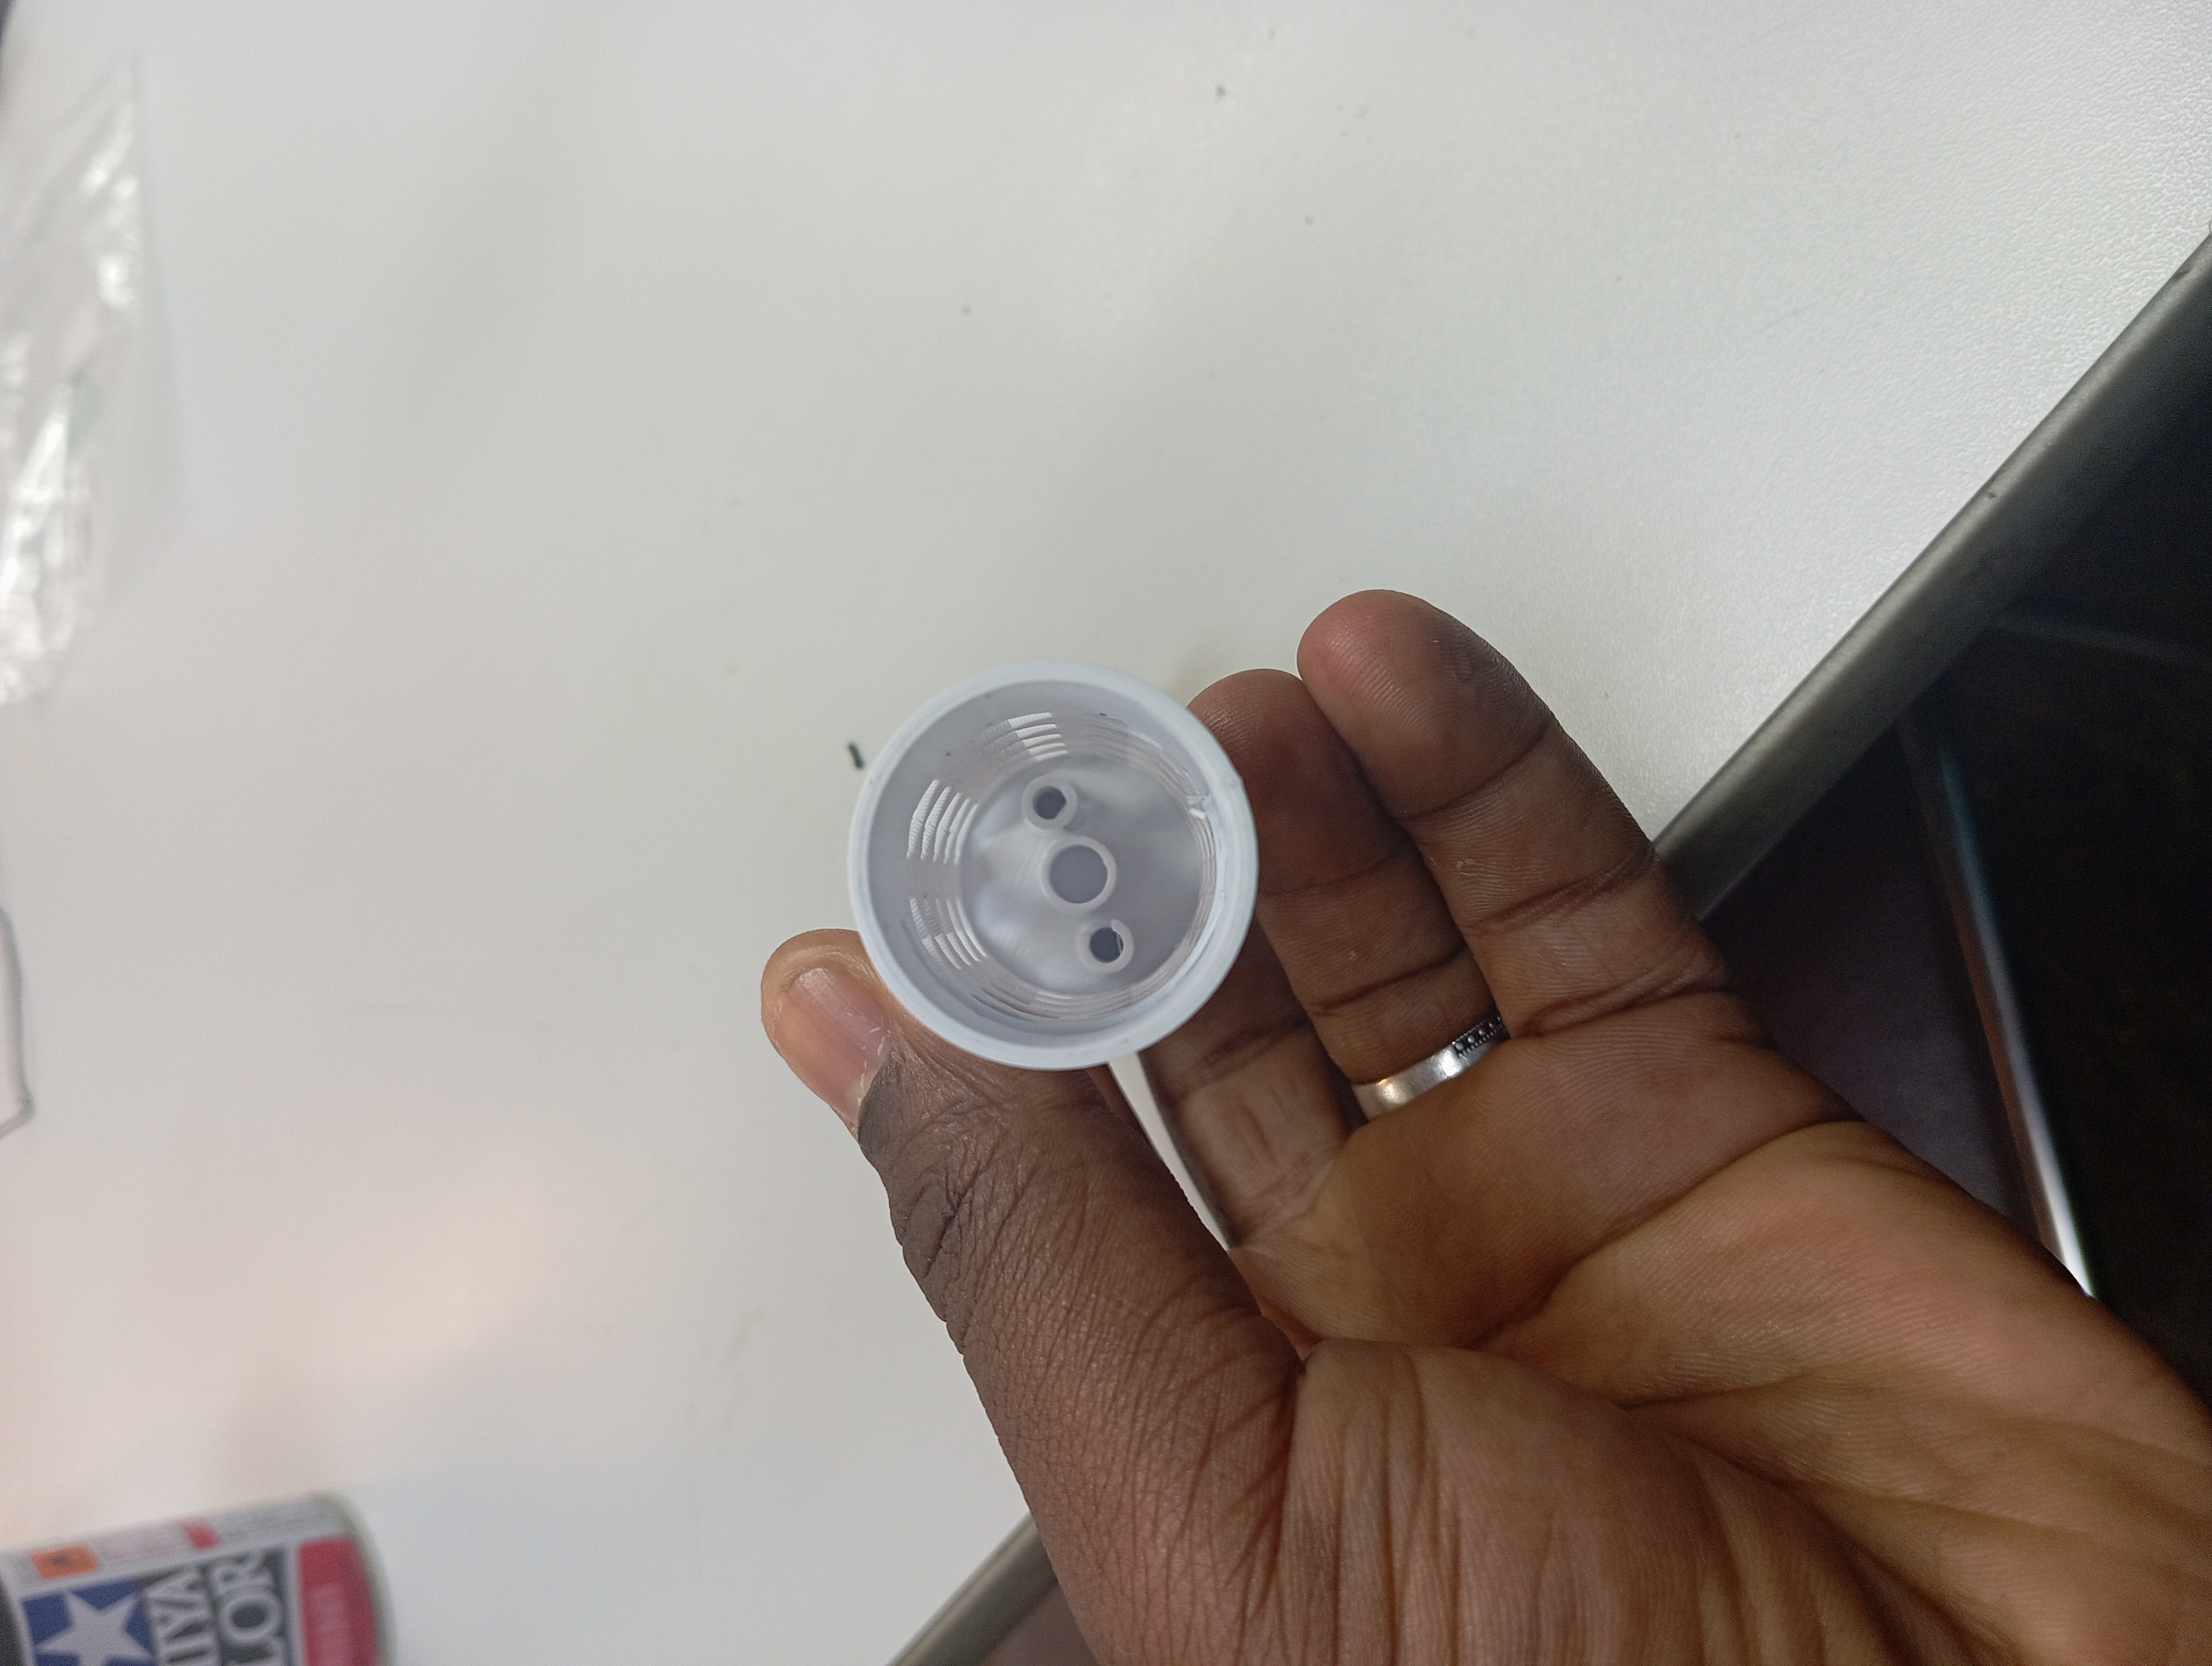
- I designed the 3D model on fusion 360, the object has openings arounds its cylindrical shape and the purpose is to let water pass to the sensor, The initial idea was to have circular opennings but i decided to make a test pad to see which opening is better.
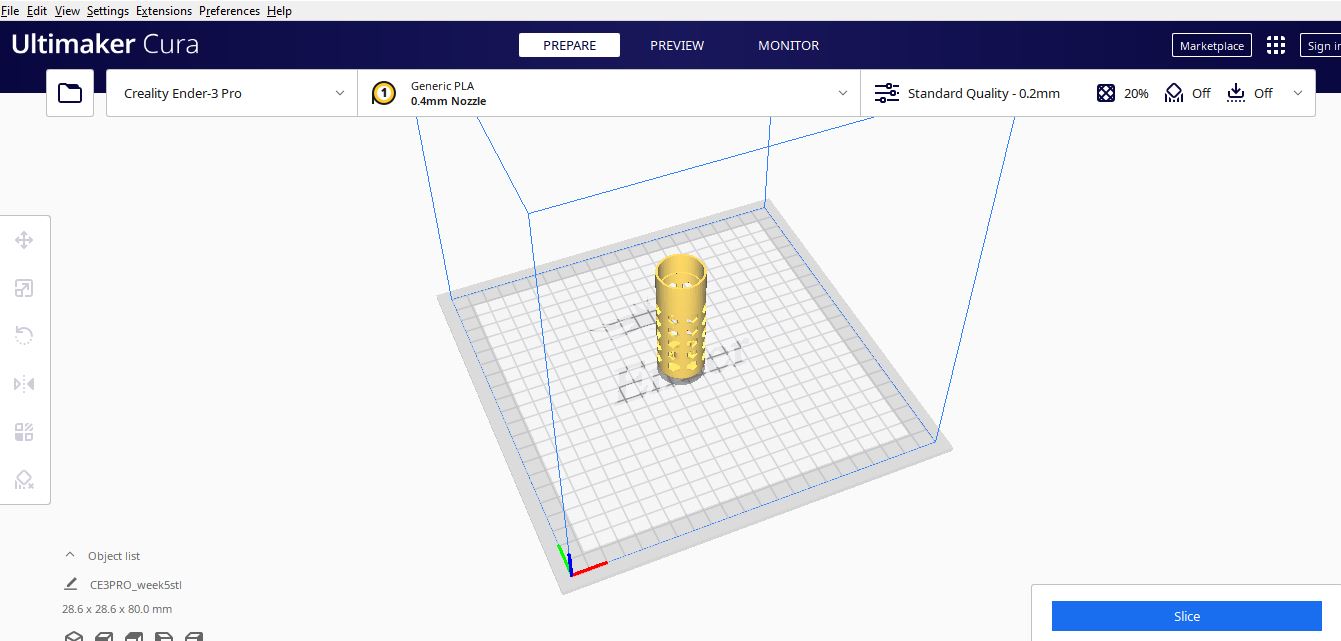
- I exported the file as stl
- Then i used cura slicer to generate my printing gcode and i used the following
settings
- Infil 40%
- profile 0.2
- hot end temperature 205 celcius
- bed temperatuer 60 degree celcius
- material PLA fillament
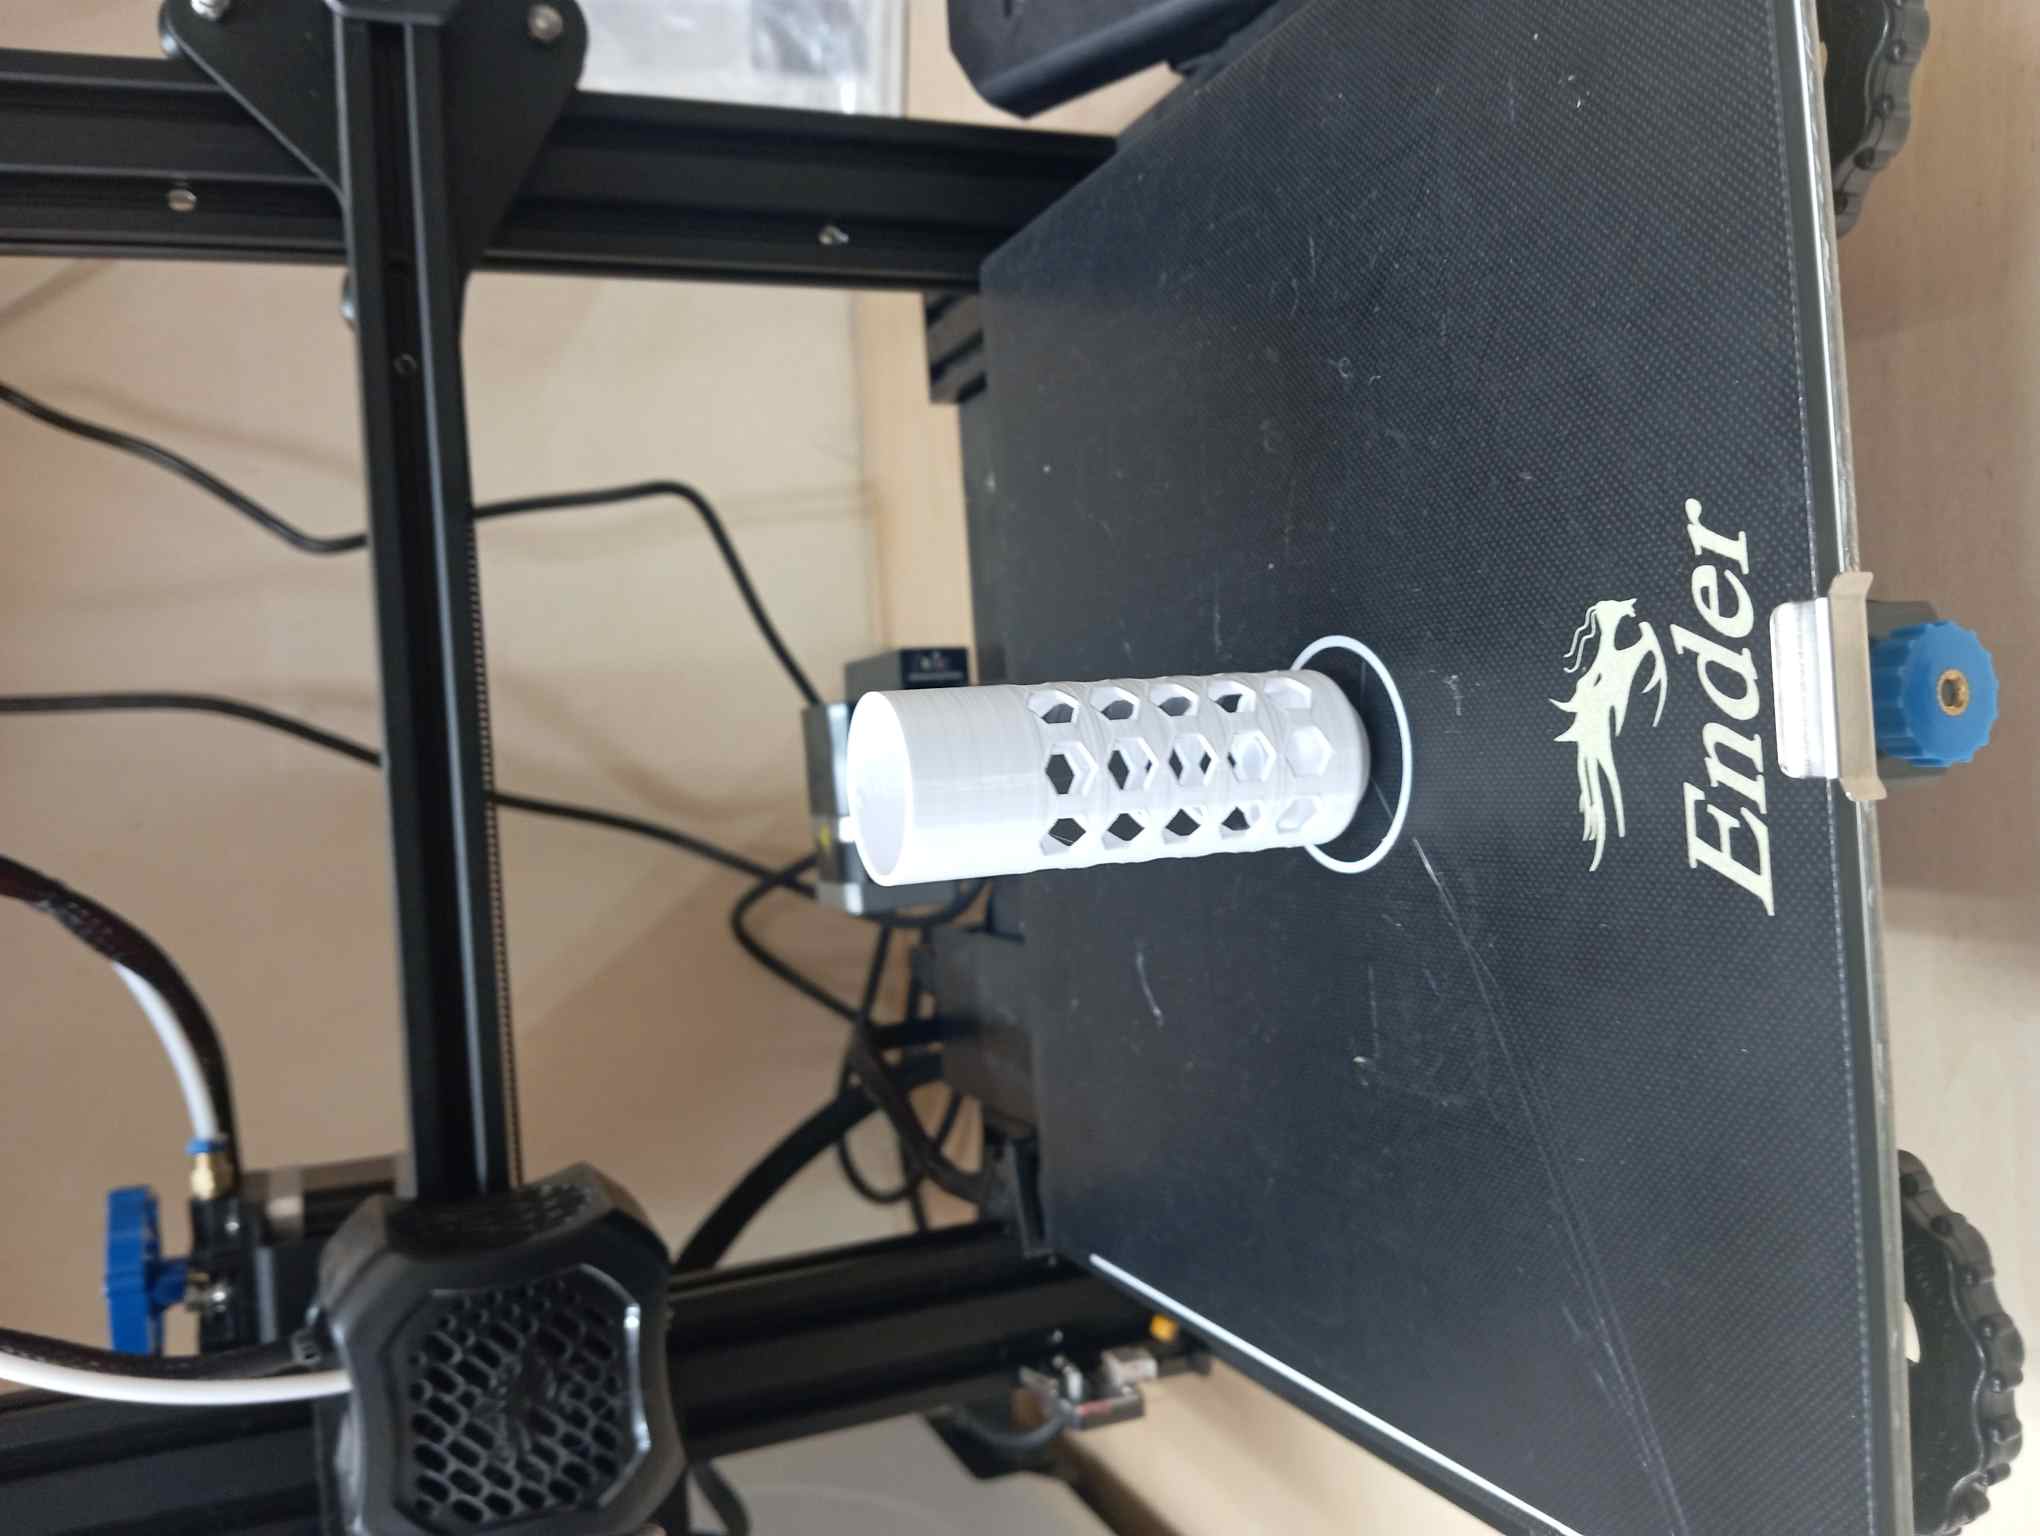
- Then i used the data from cura slicing to 3D print
- looking at the printout i obseverd that the hexagon with flat sides and pointy top is better, hence i used it in my design
- I made the 3D model of my assignment in a similar fashion as i did with the test
sample pad
which involve:
- 3D design with fusion
- exportation of model as stl
- Slicing with cura but having an infil of 20 %
- 3D printing with ender pro 3D printer
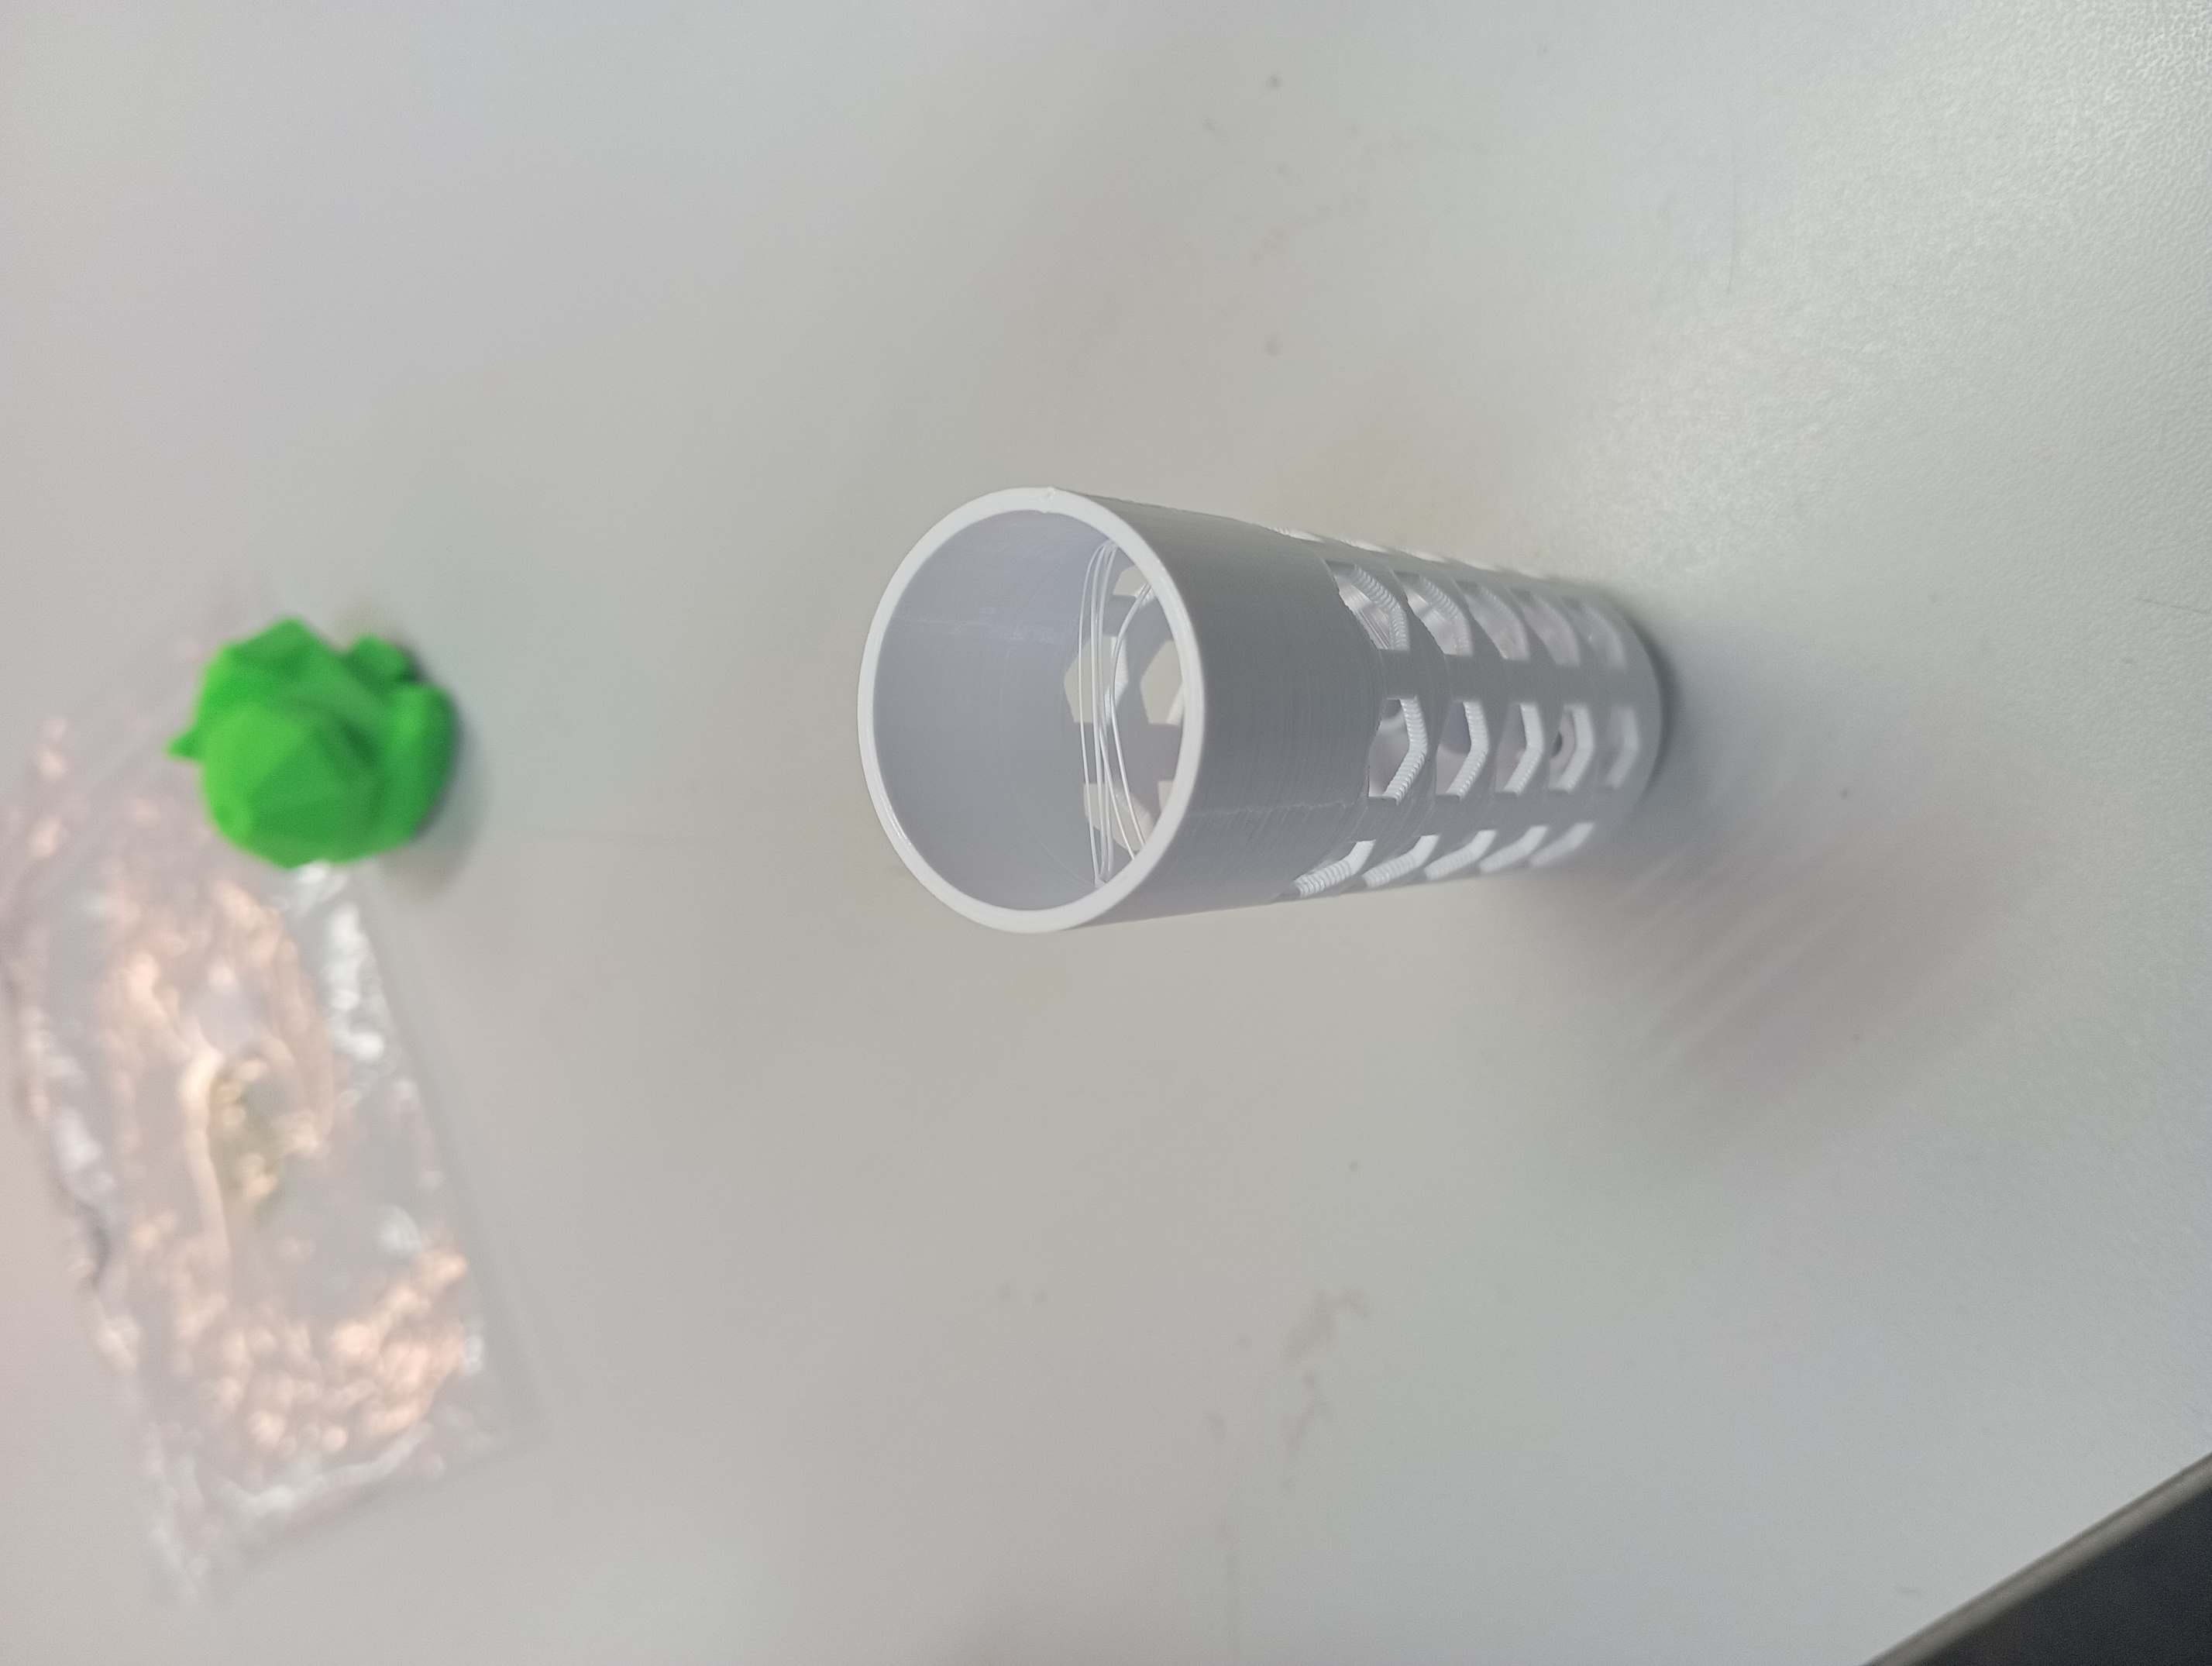
- It is narrow in width and has sufficent depth that exceeds most milling bits incase one wants to use a cnc machine
- It has small interrior cylindrical futures as seen in pictures above That makes it even more difficult to make subtractively
- The overall outer cylindrical shape couple with perfectly surface aligned hexagonal faces also poses a level of difficulty to make subtractively.
- 3D design/modelling on fusion 360
- STL slicing on cura slicer software
- 3D printing using:
- Black PLA fillament
- Ender 3 pro printer
- Infil 20%
- profile 0.2
- hot end temperature 205 celcius
- bed temperatuer 60 degree celcius
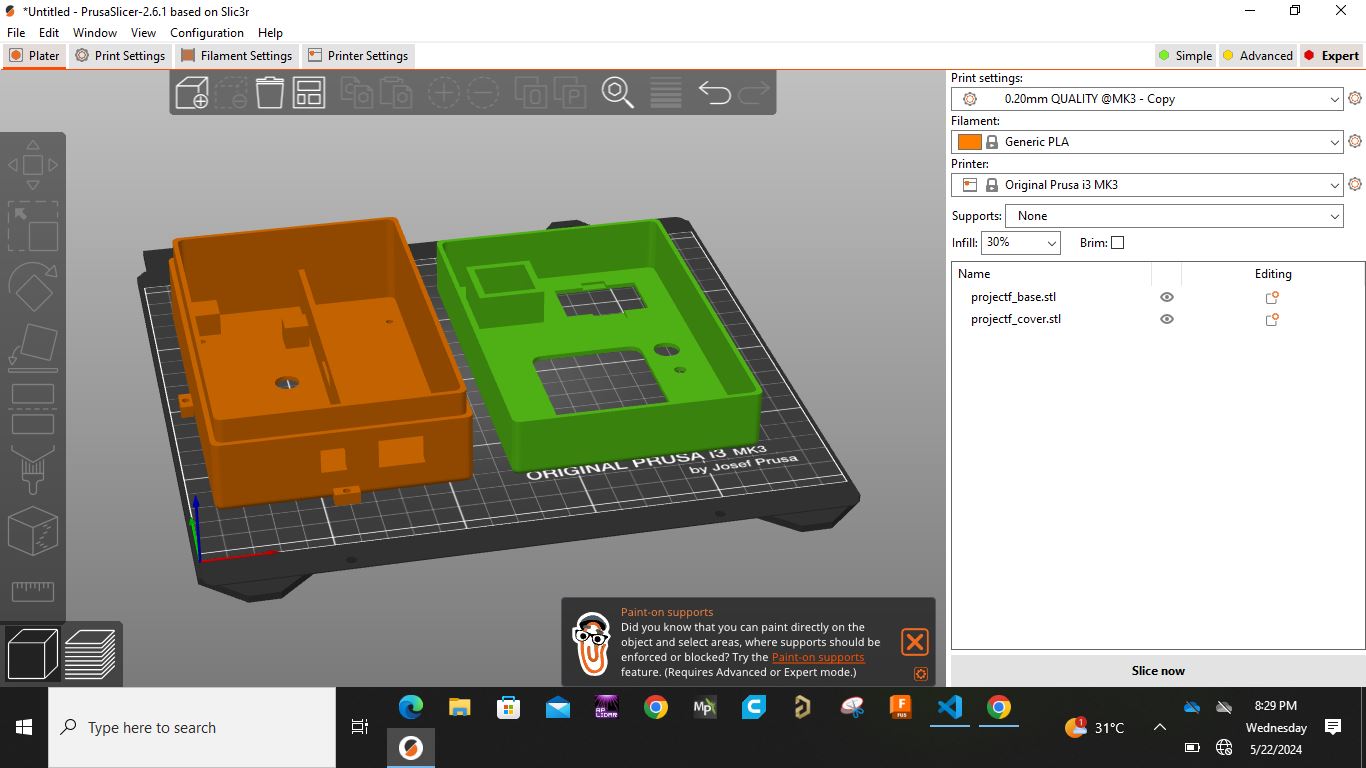
- 3D design/modelling on fusion 360
- STL slicing on Prusa slicer software
- 3D printing using:
- Black PLA fillament
- Prusa printer
- Infil 20%
- profile 0.2
- hot end temperature 205 celcius
- bed temperatuer 60 degree celcius

I beleive my 3D model can not be easily made subtractively because:
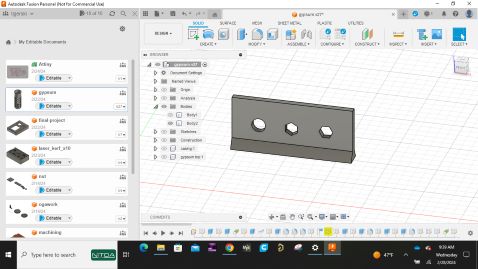
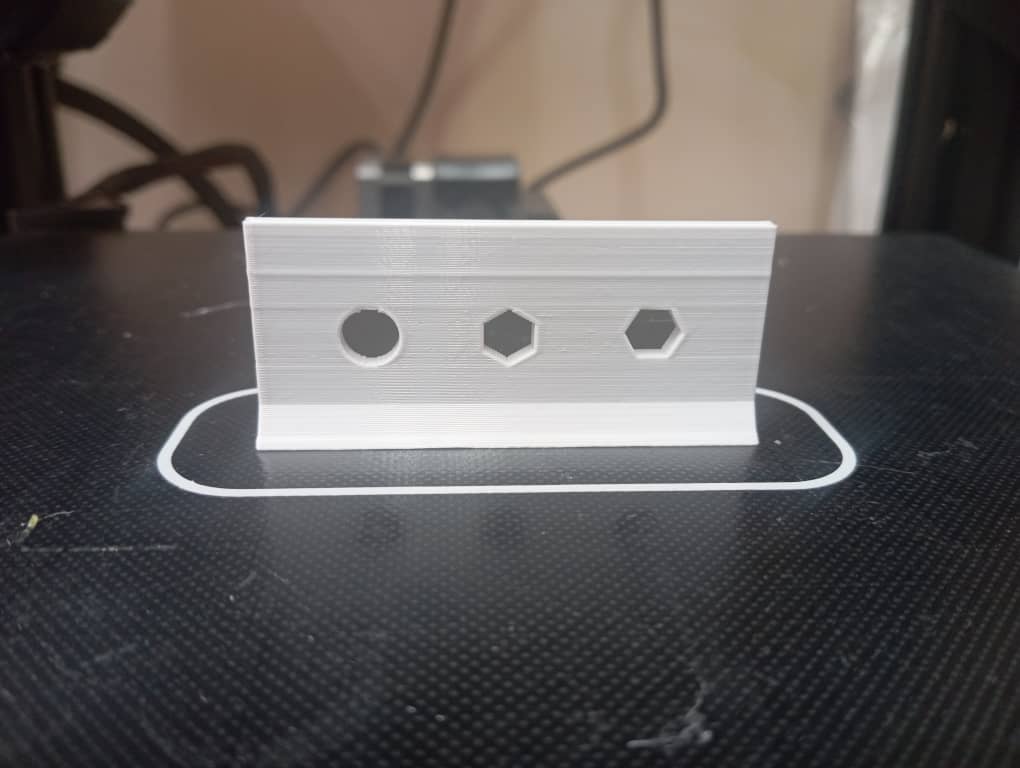
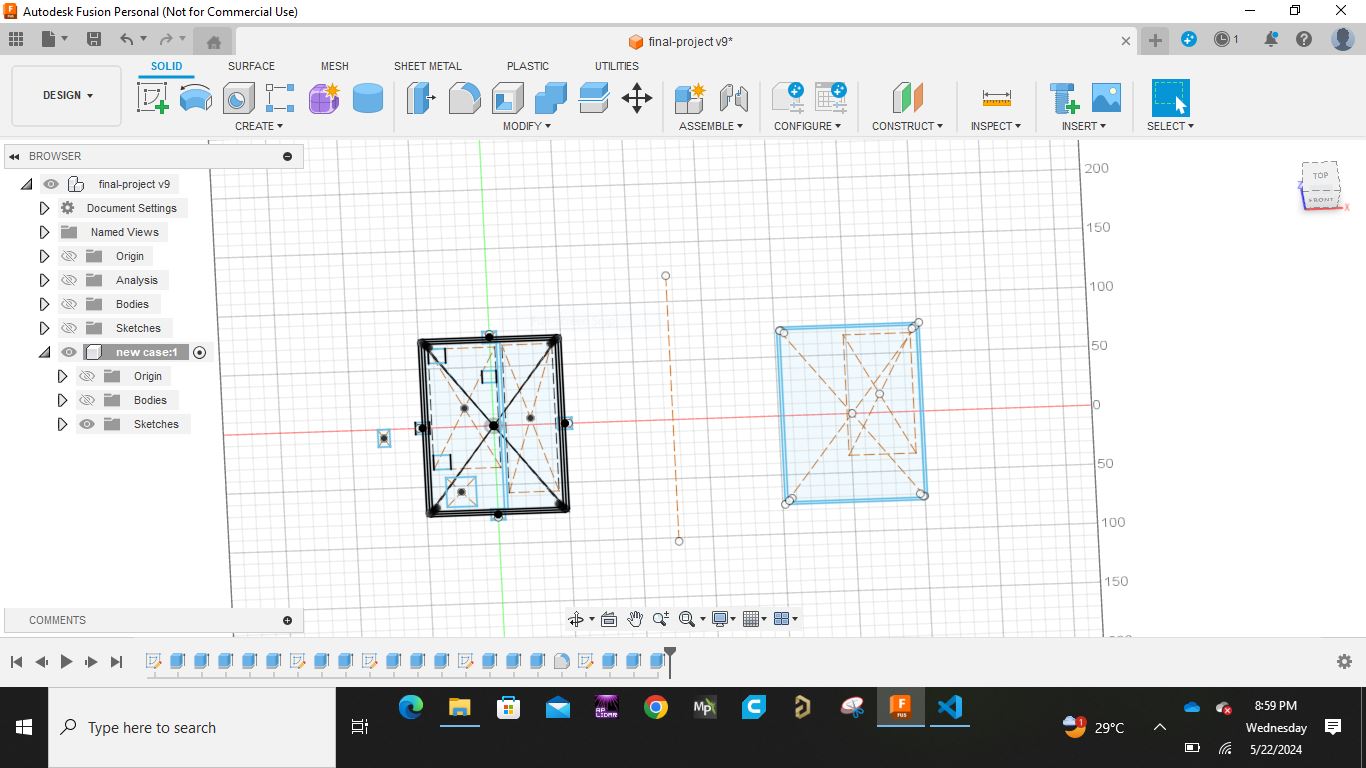
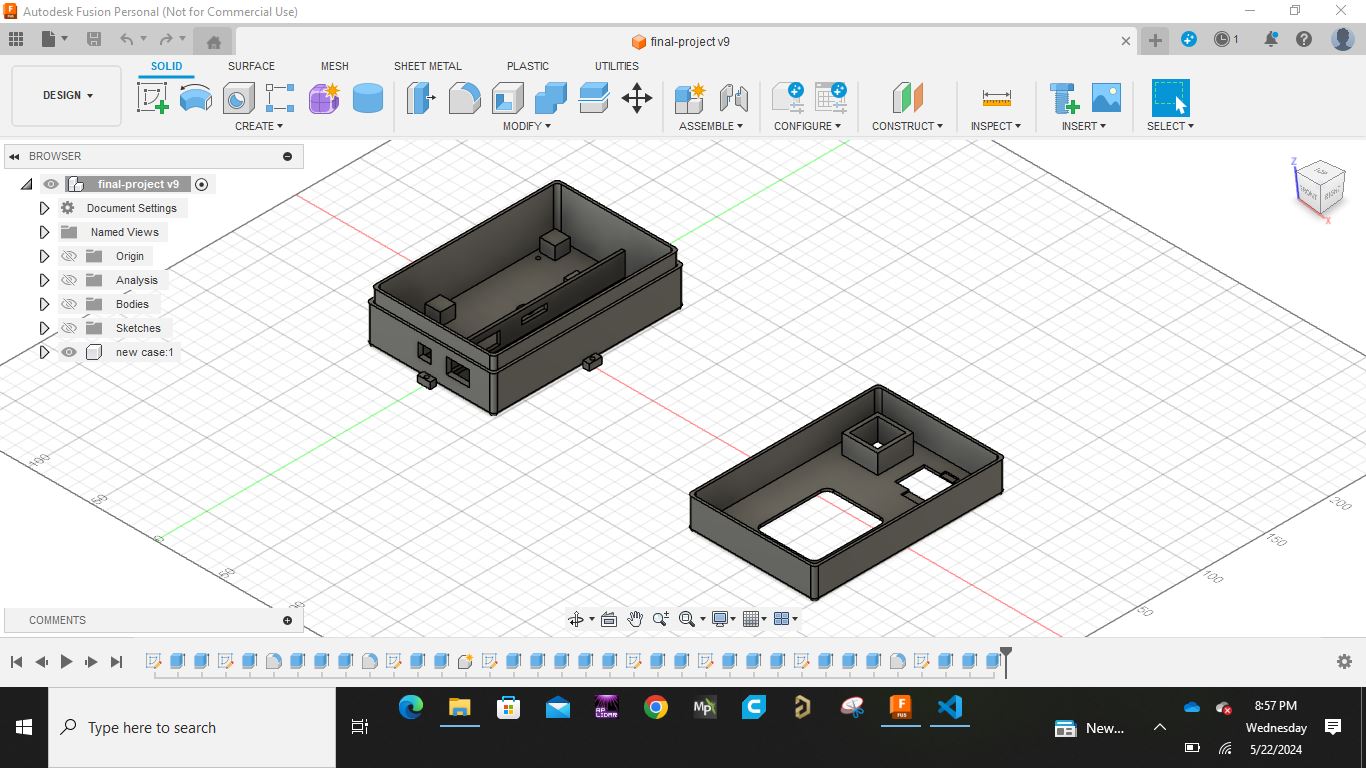
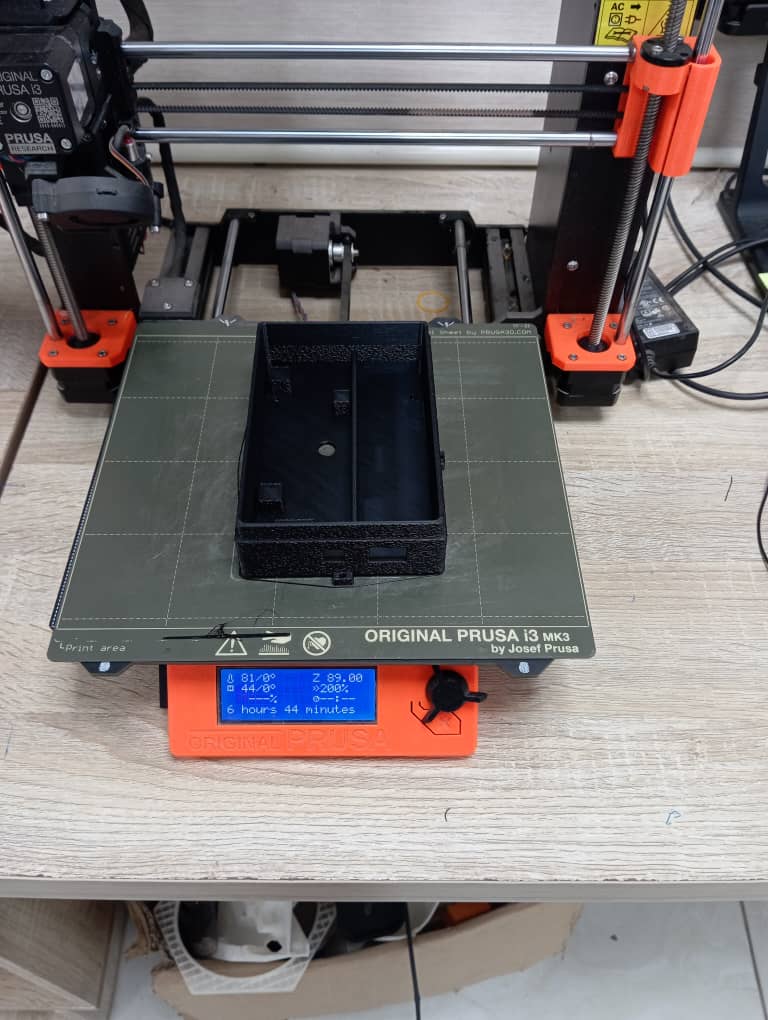
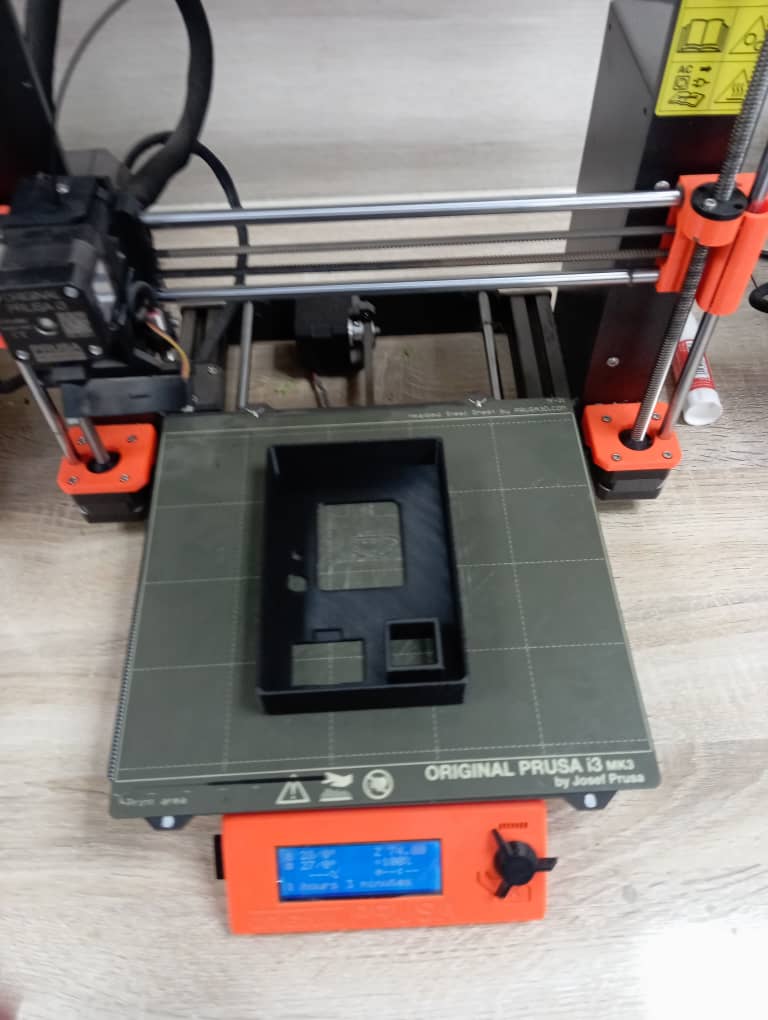
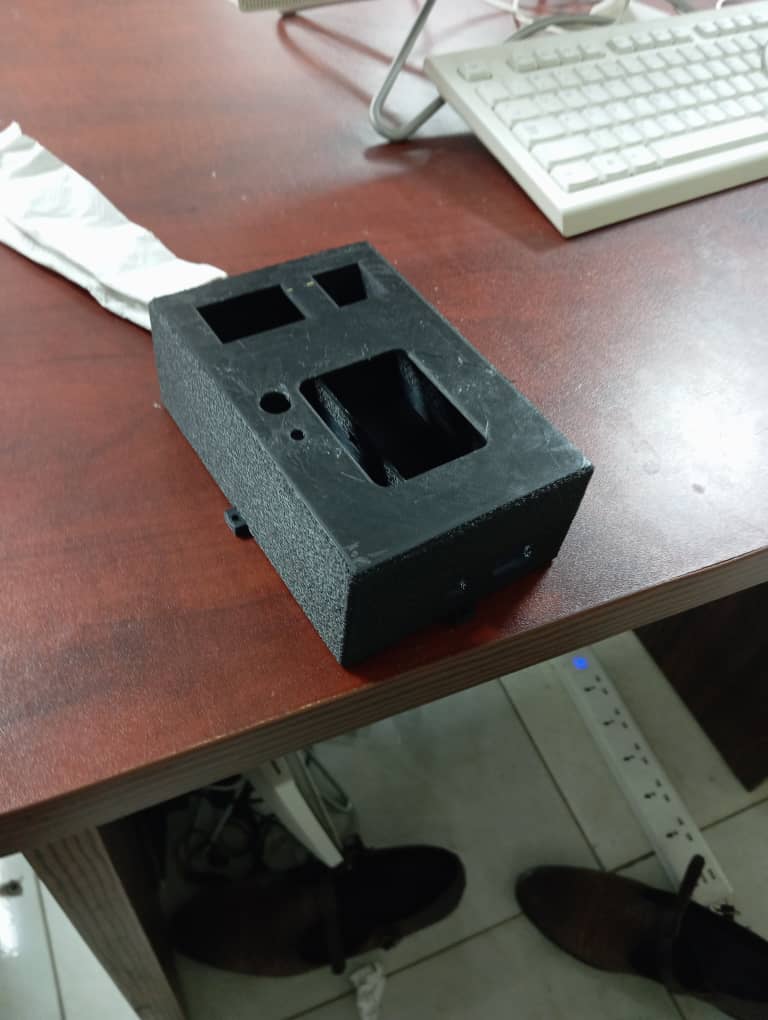
I also designed and printed a casing for my final project electronics. The control box is made up of plastic, i used ender 3 pro 3D printer to print the casing by following the processes below:
I made two boxes, version 1 and two
Verion 1


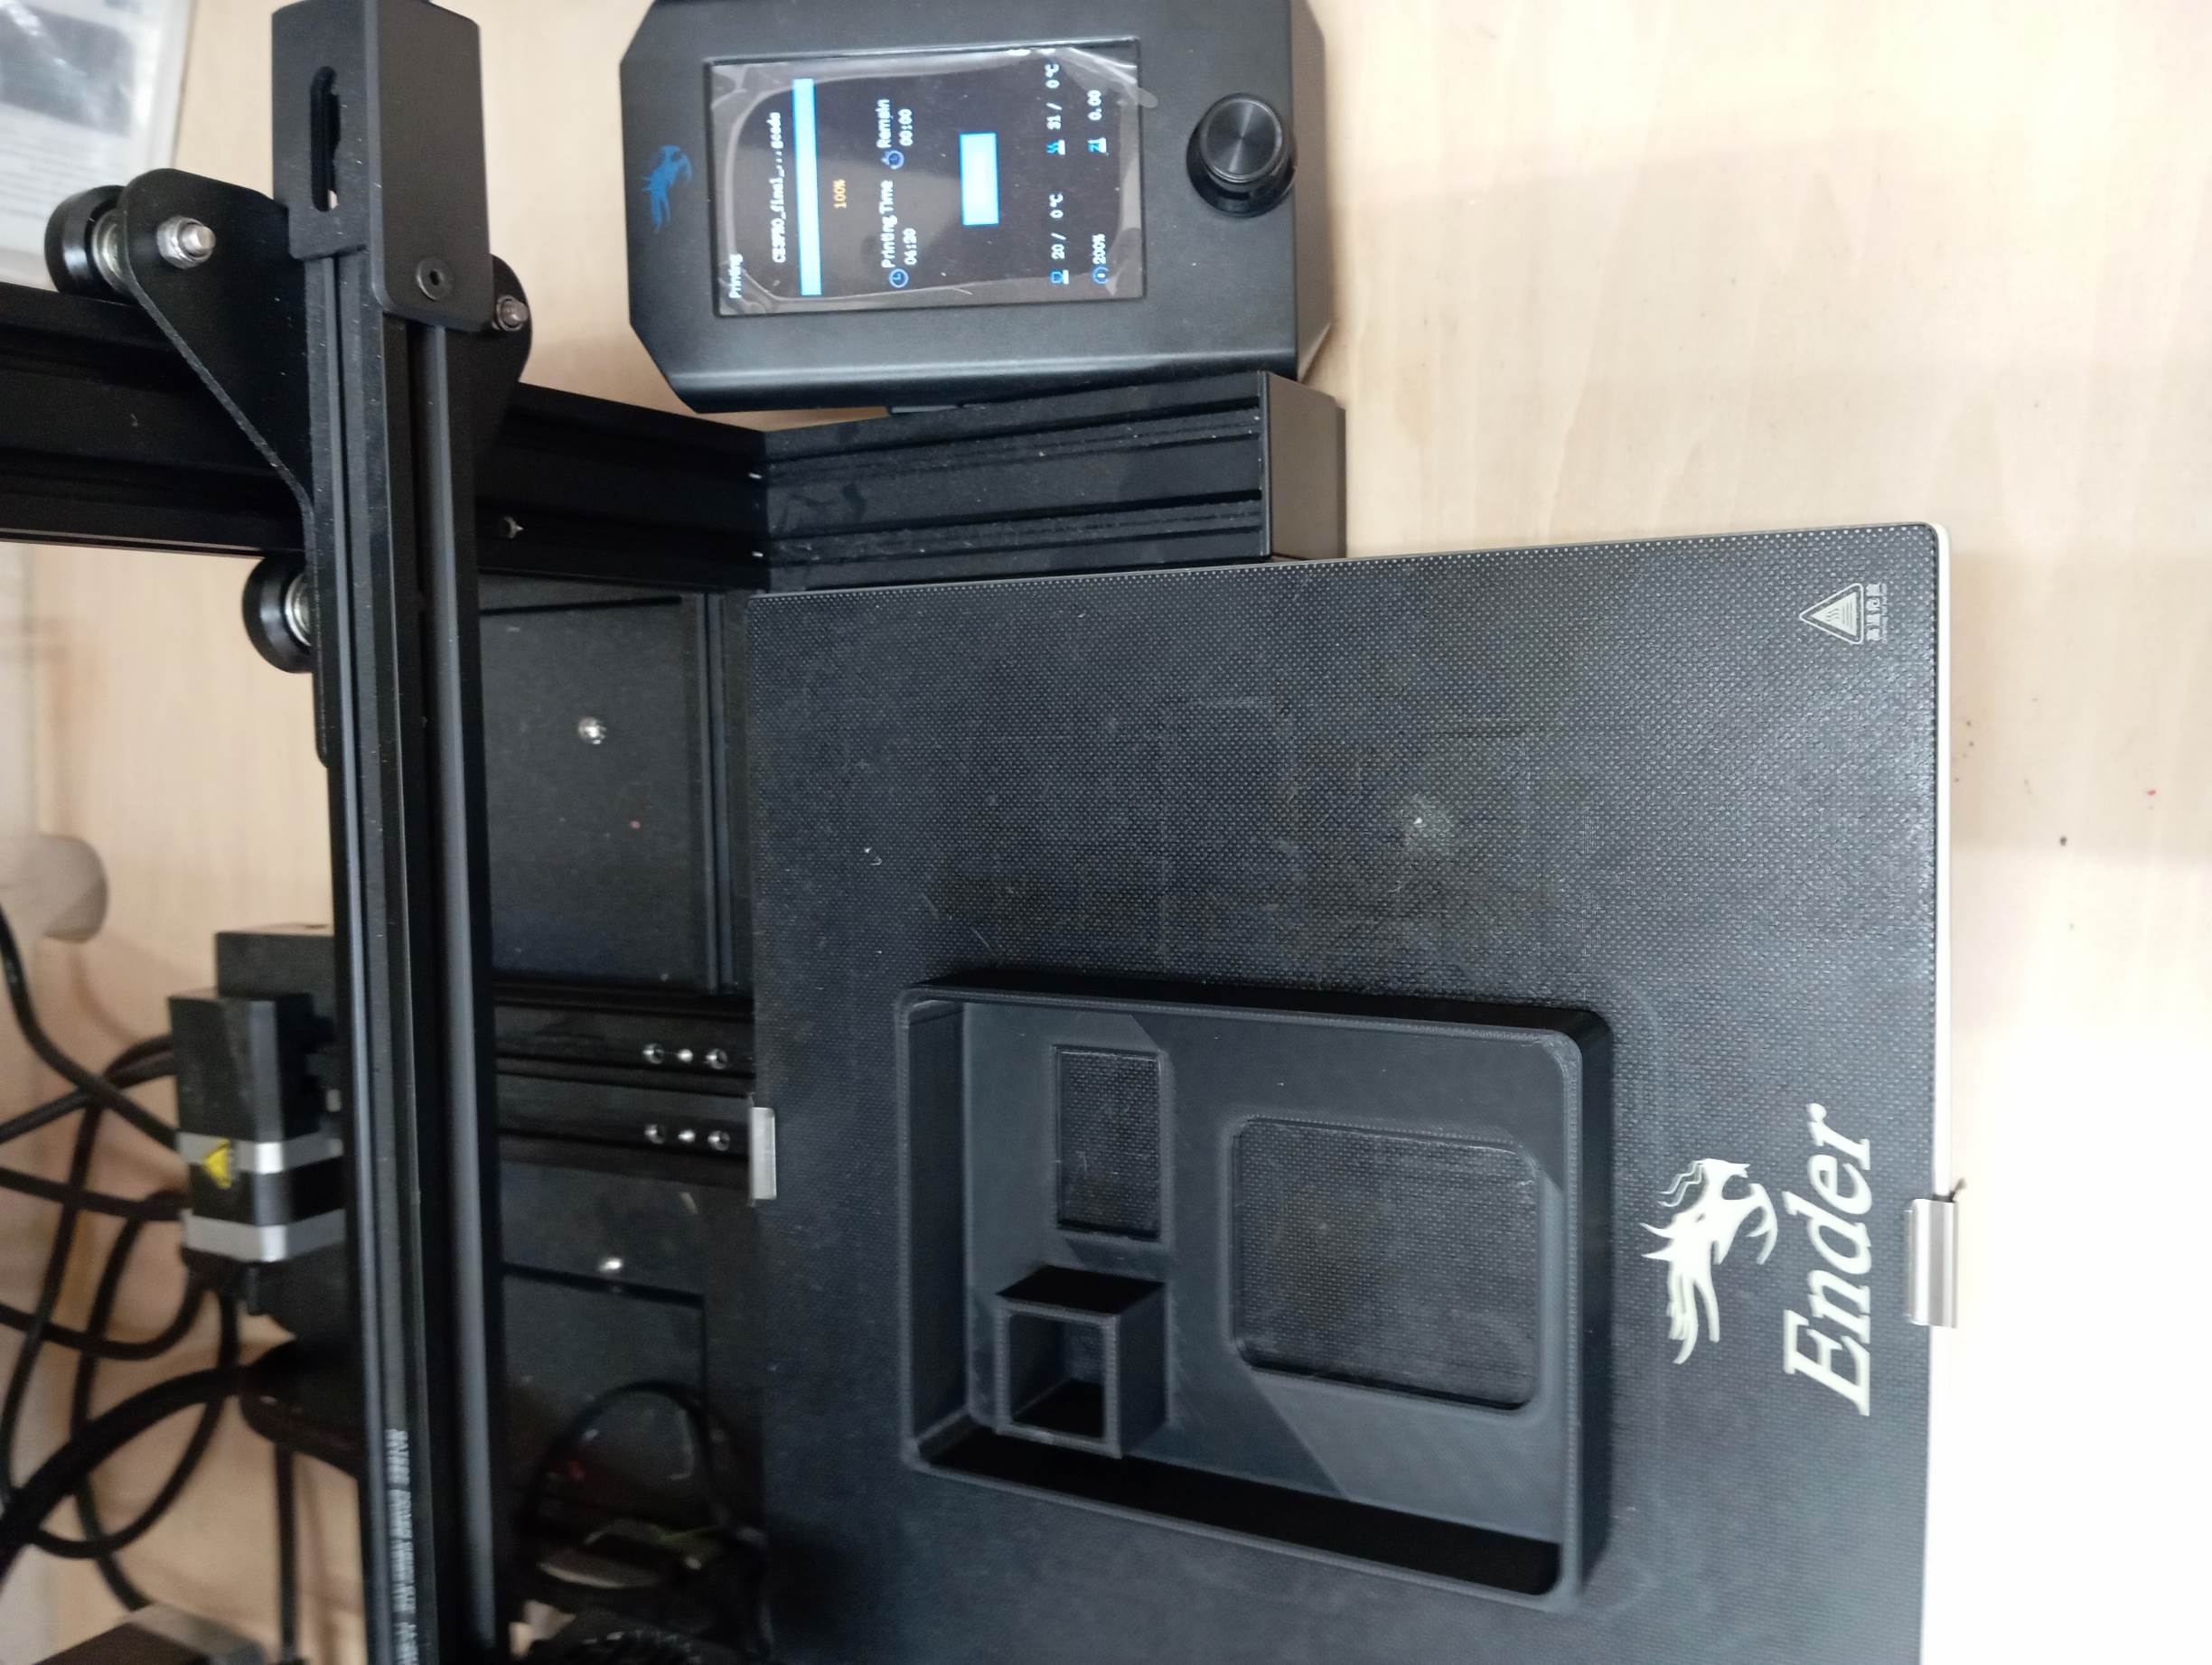
Verion 2
3D Scanning
I have worked previously with shinning 3d scanner in Abuja, but being in japan during this weeks activities i worked withe the available creality 3D scanner in our kannai Lab.
I tried scanning with the application "creality scan" using my android phone and i wasnt satisfied with the results. this ,is the process when using mobile phone.
- Download the app "creality scan"
- Launch the app
- connect the scanner/camera to the mobile phone using usb connector
- keep the 3D oject in a cleasr space
- click on new scan
- point the scanner to the object and move towards it untill the app says it has enters optimal possition/distant
- move around the object (scan) until all parts of the object is completely green by taking many frames as possible
- click complete when done and the app will run meshing and optimization .
- review your result/scan
I tried and failed as i said earlier. then i follow the following process for scanning with pc
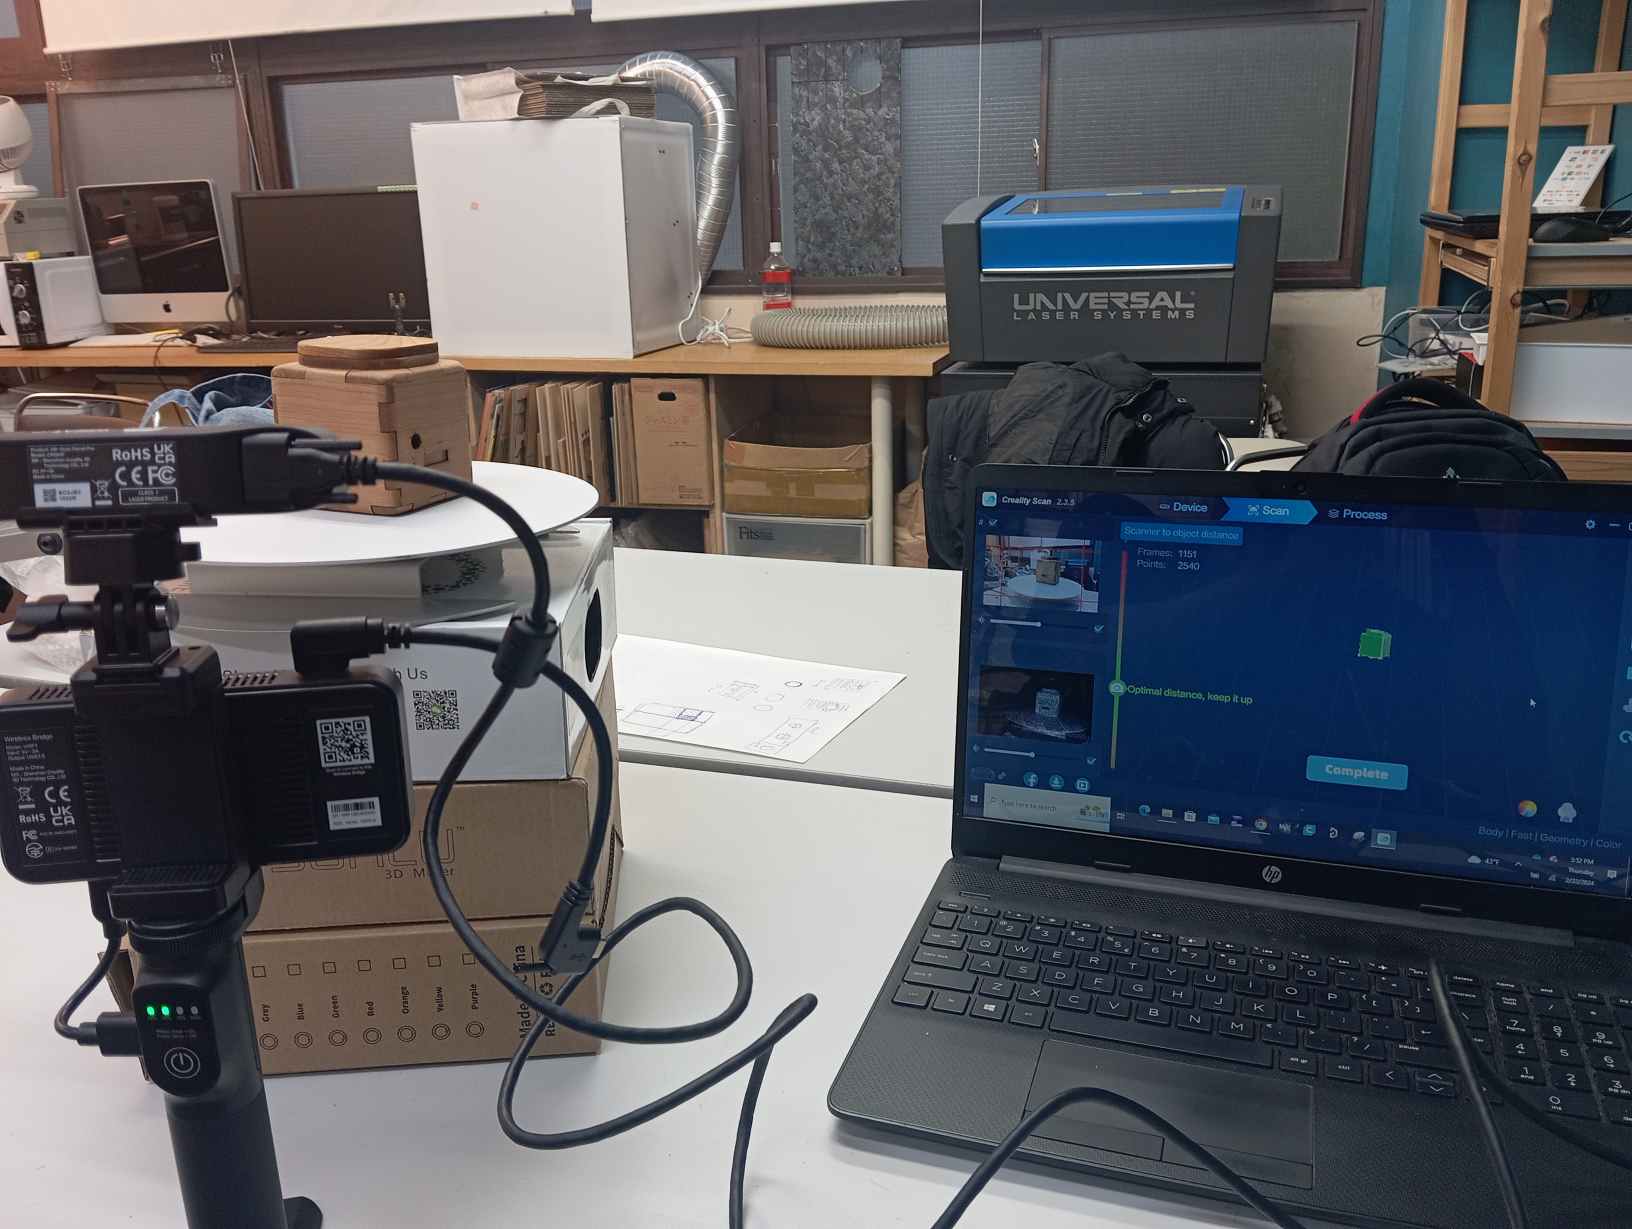
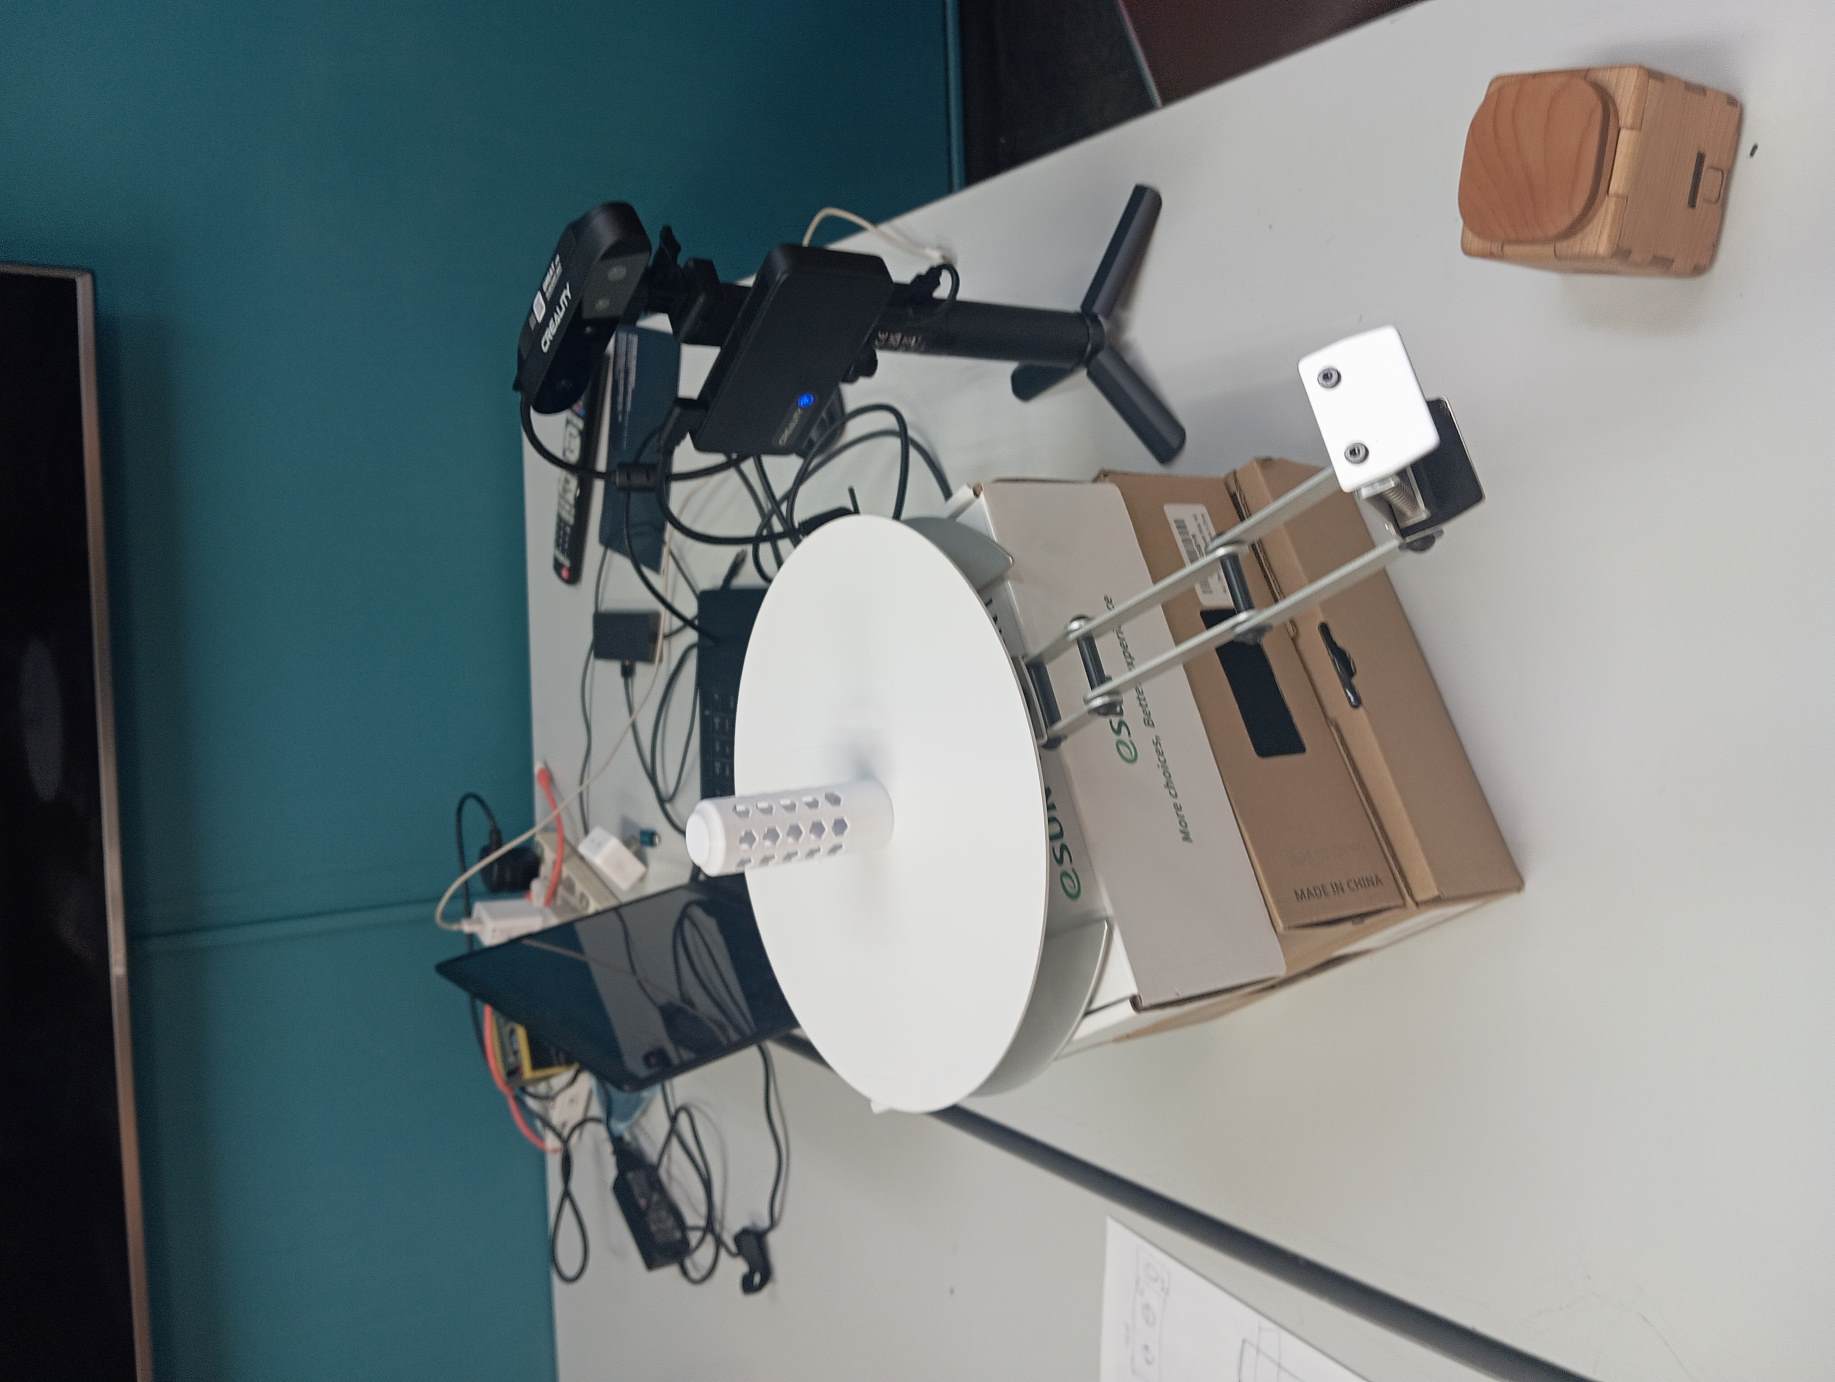
- I started by installing the desktop app software from The creality website
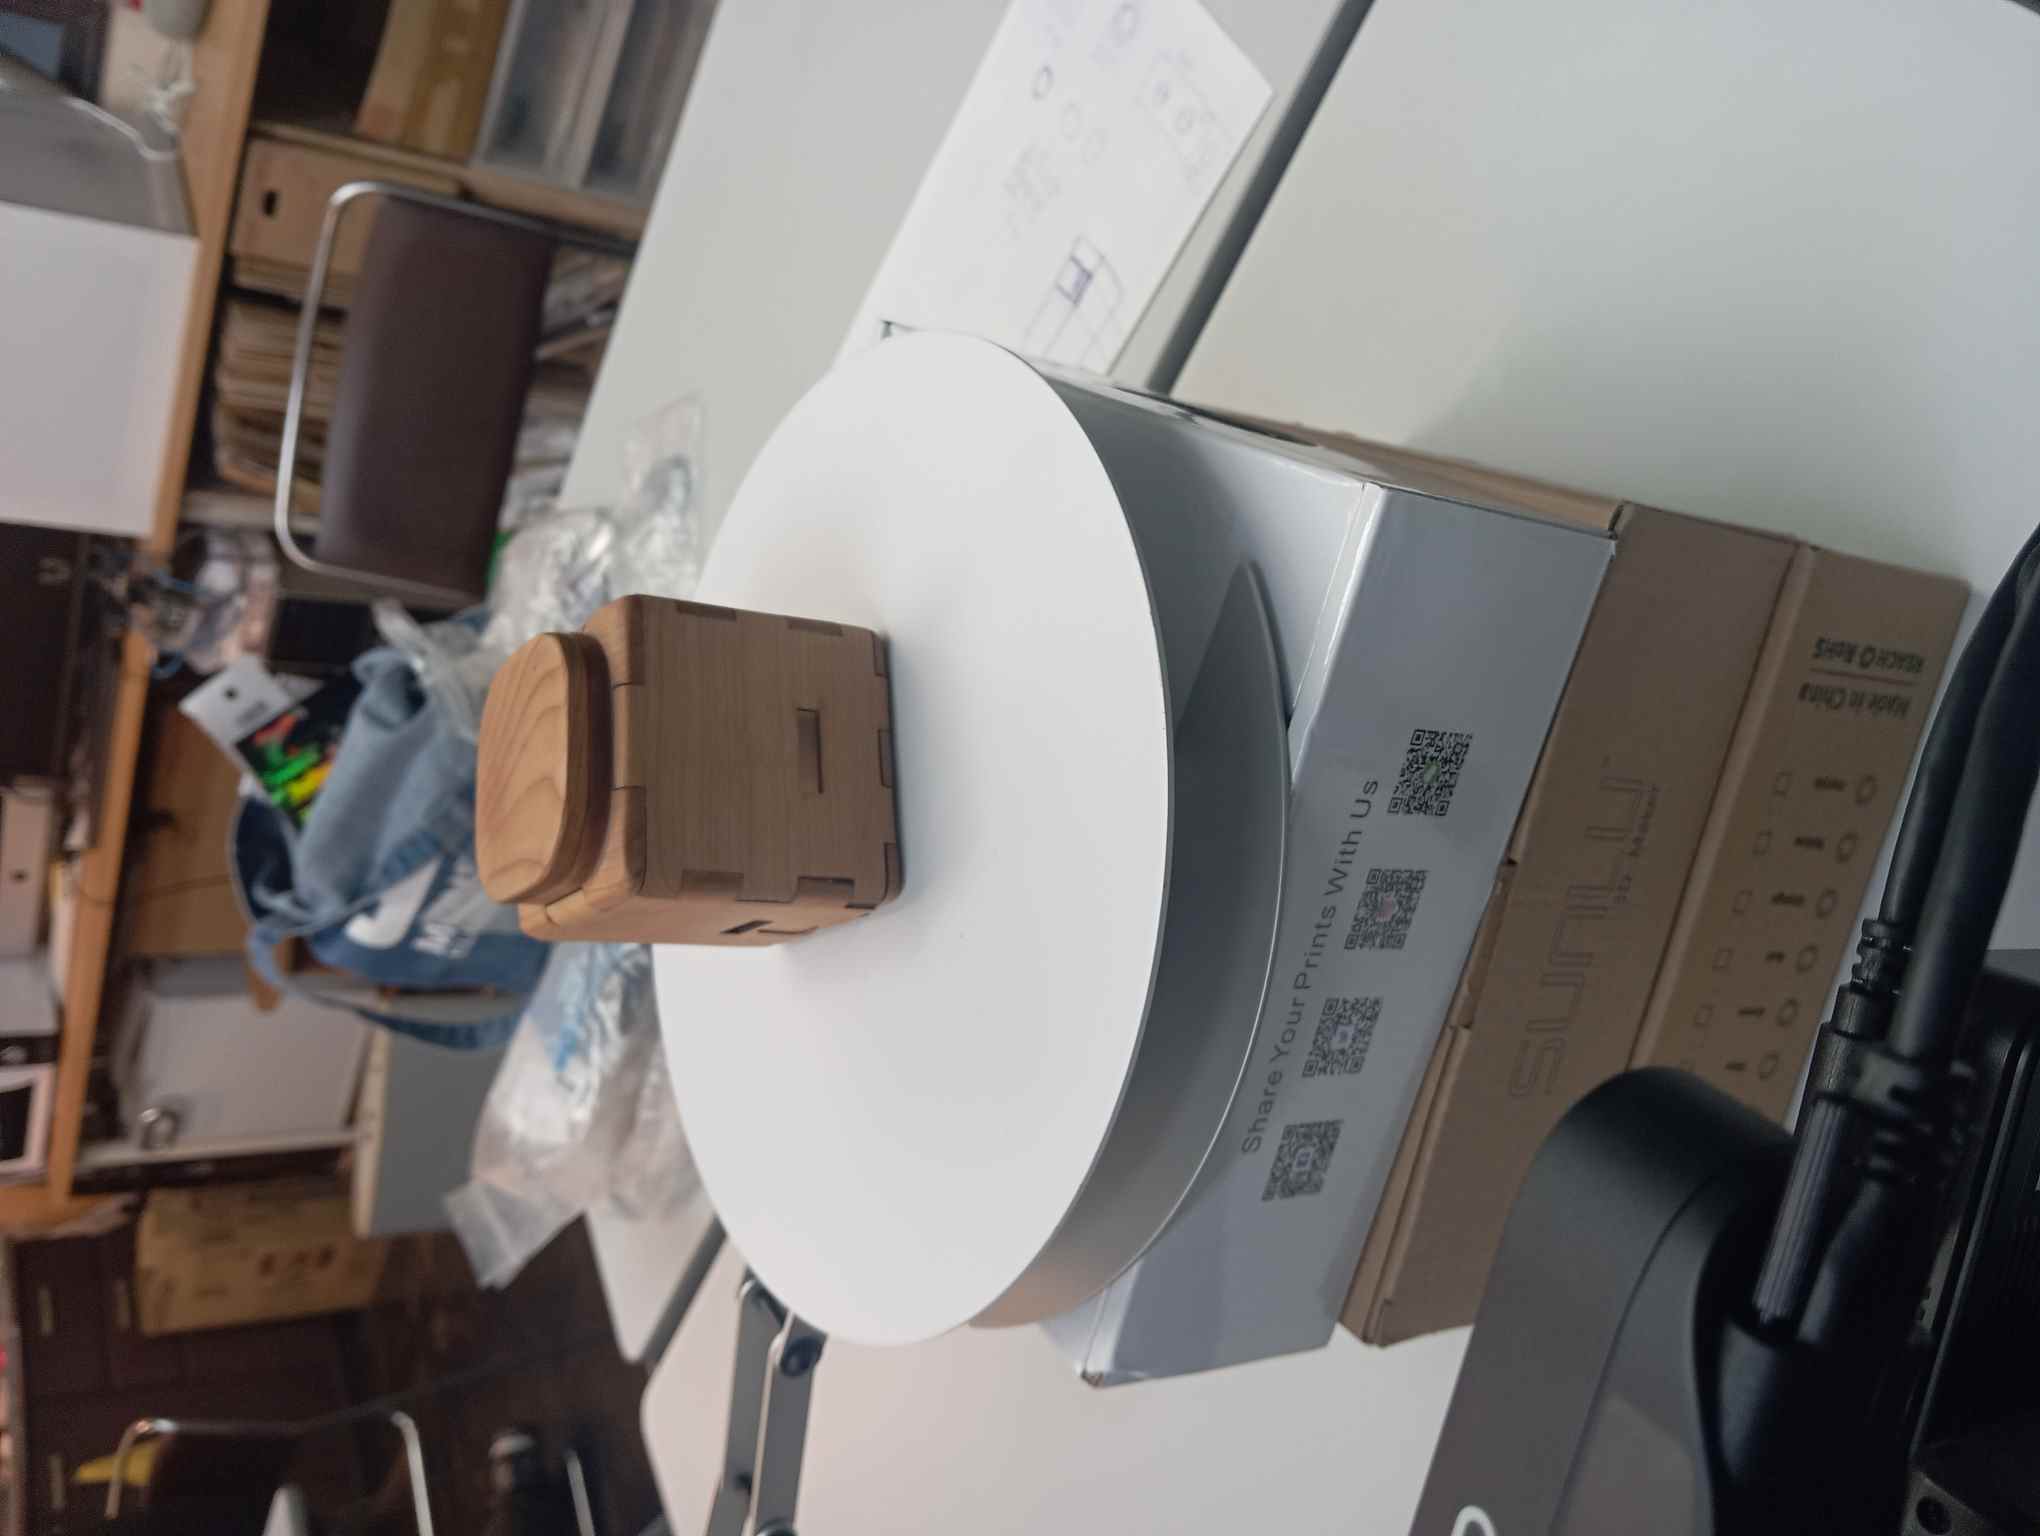
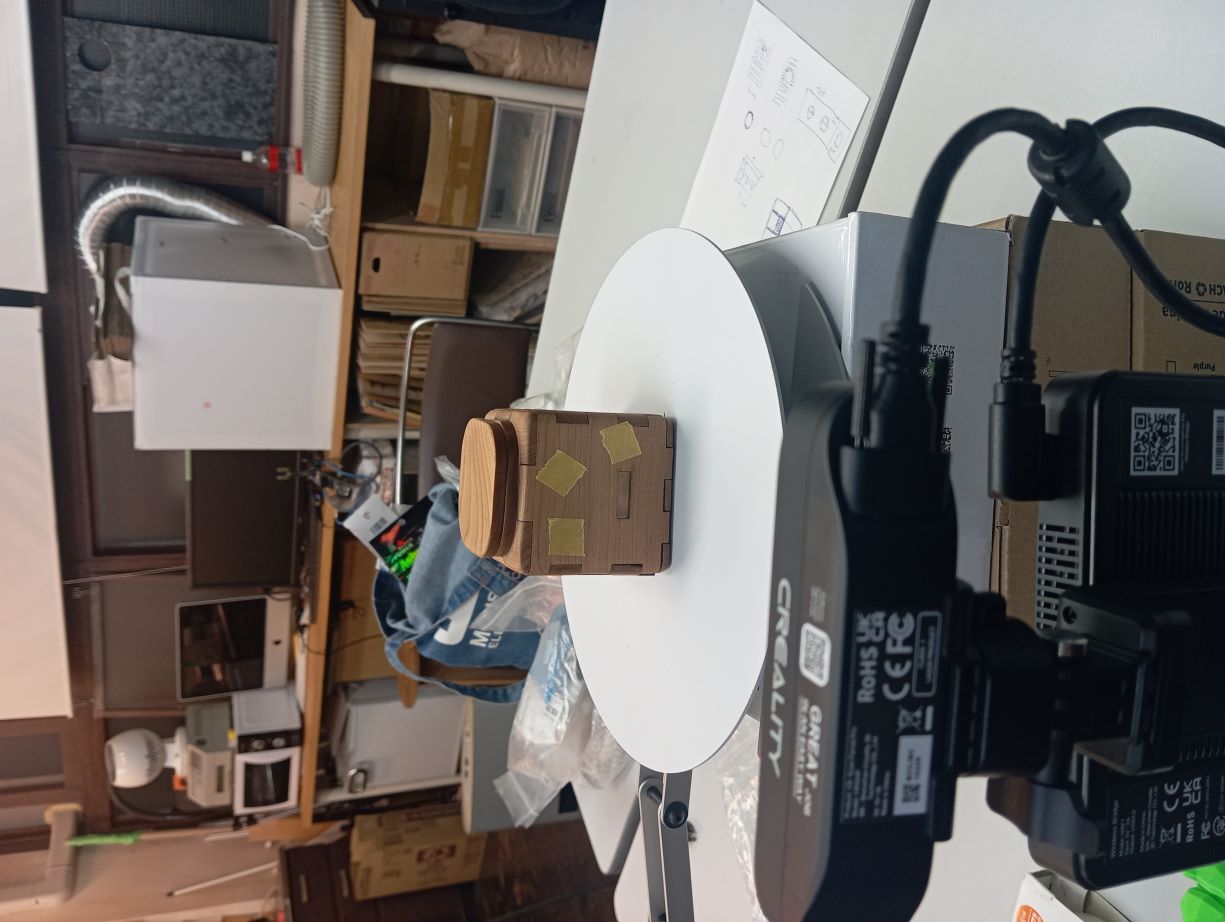
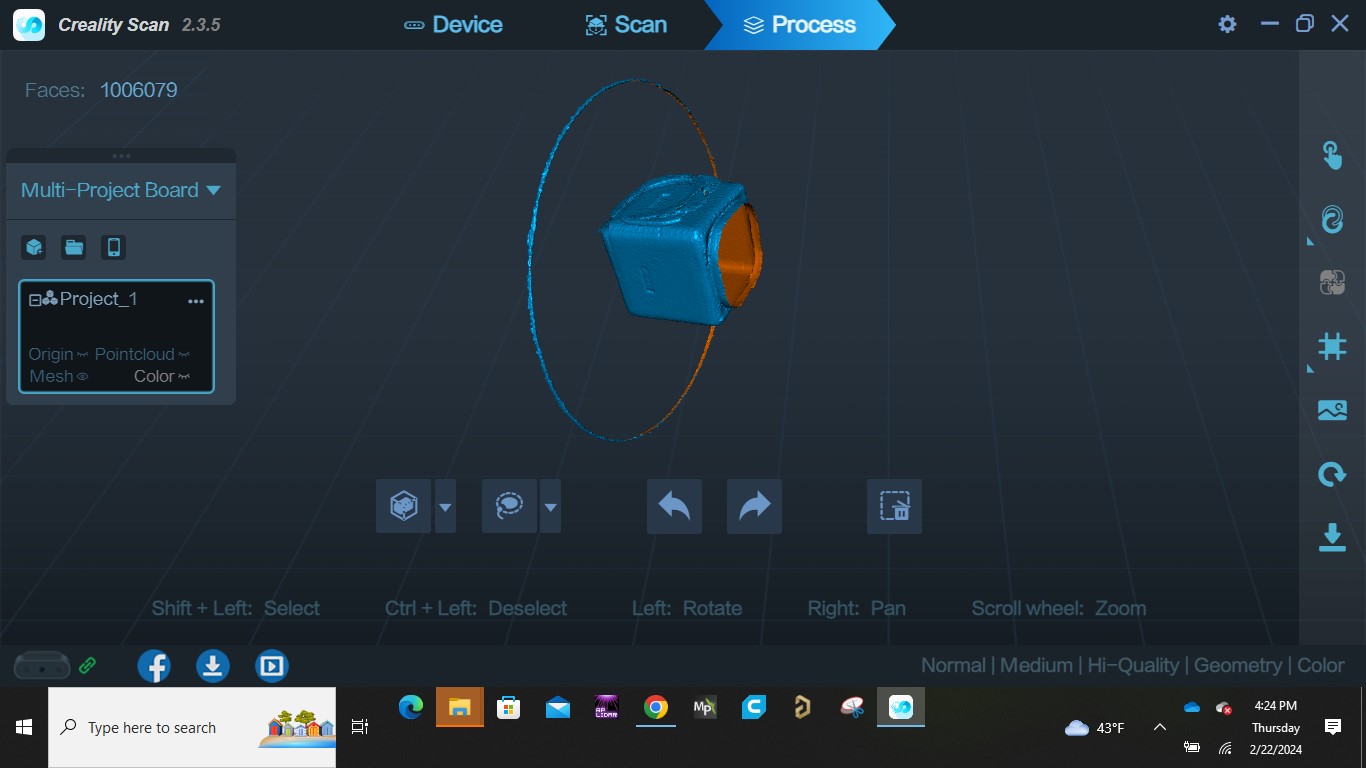
- Then i connected the scanner to my laptop as appropriate via the usb cable and placed my 3d object on a plate
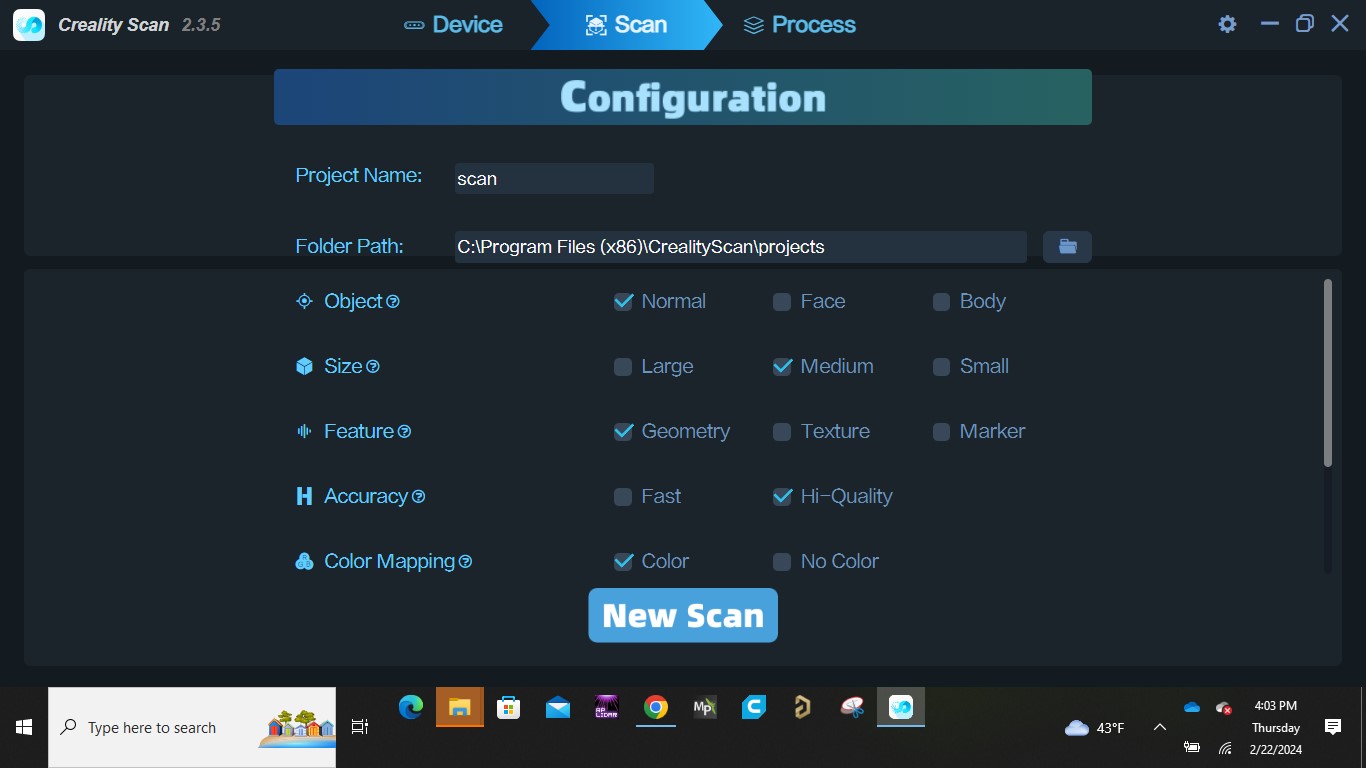
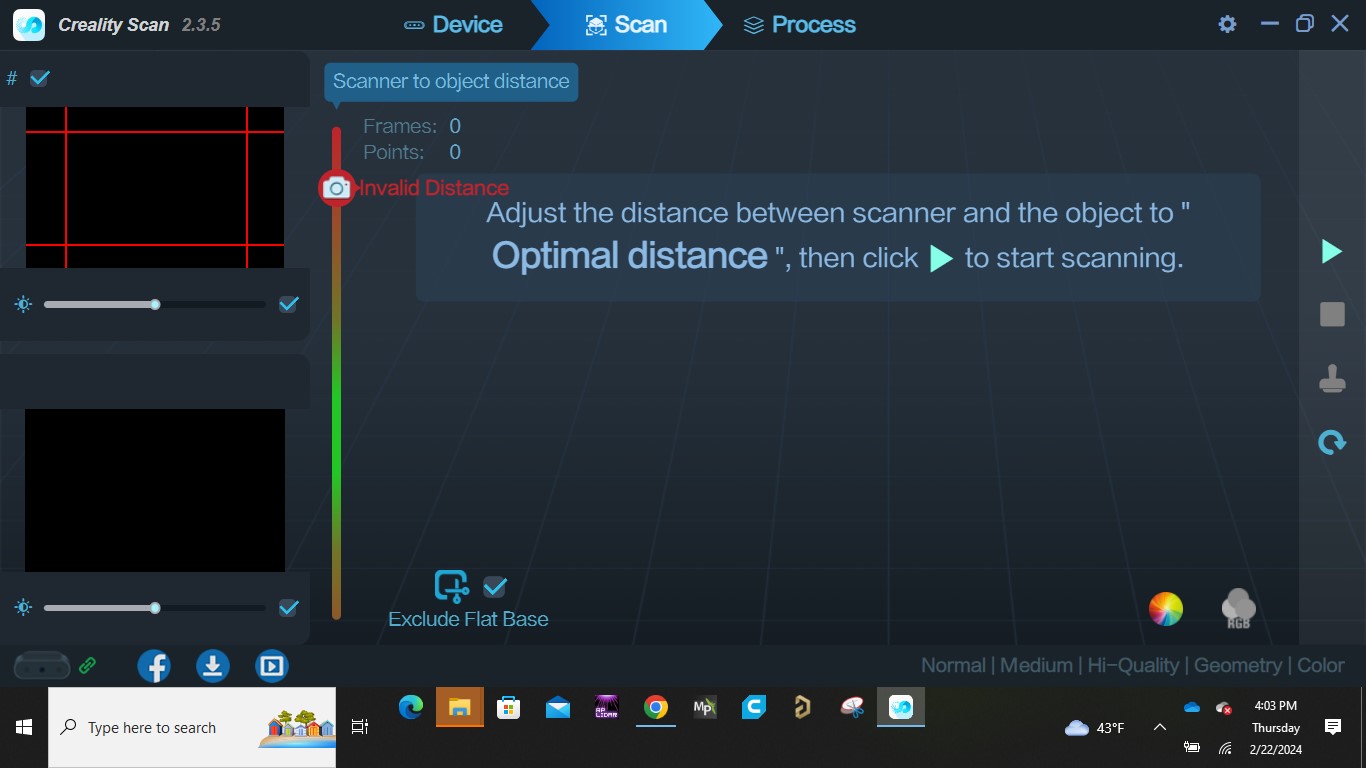
- I Then started a new project with the configurations as shown below
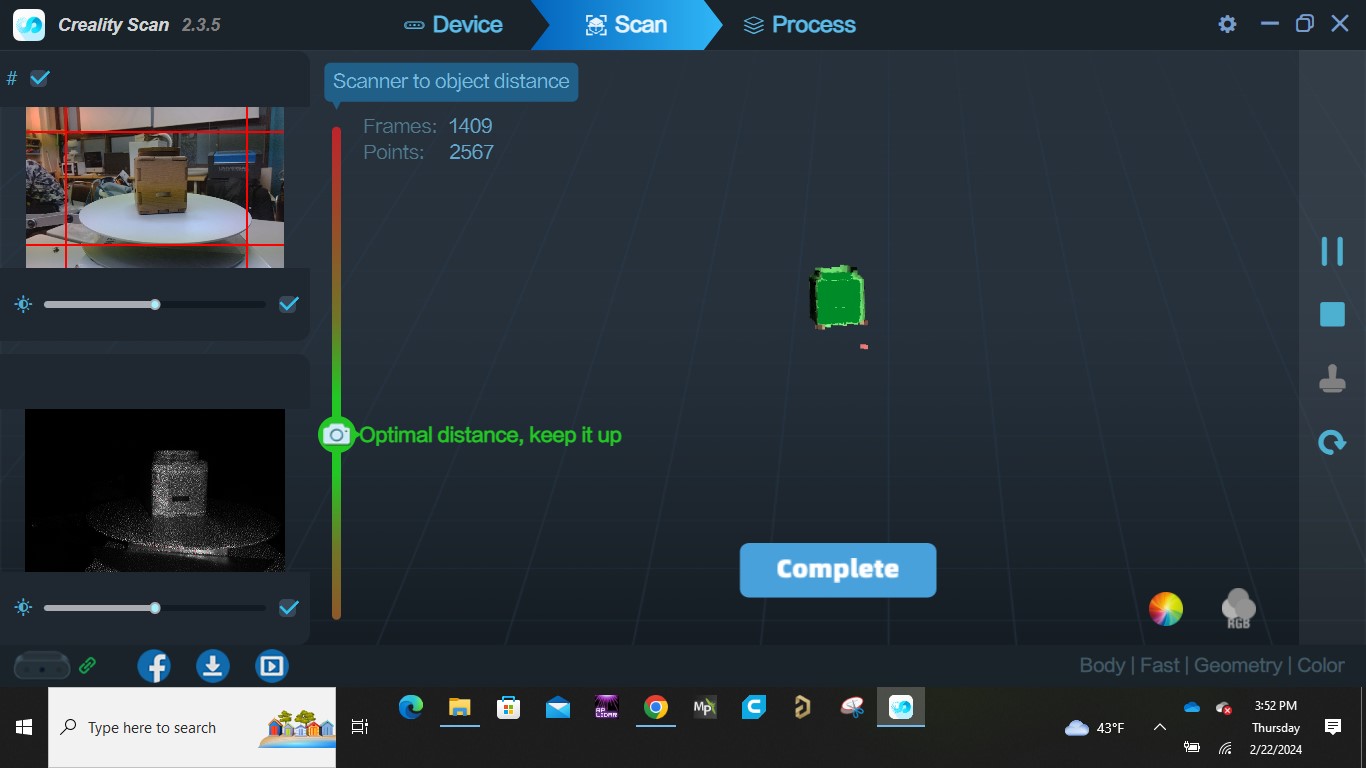
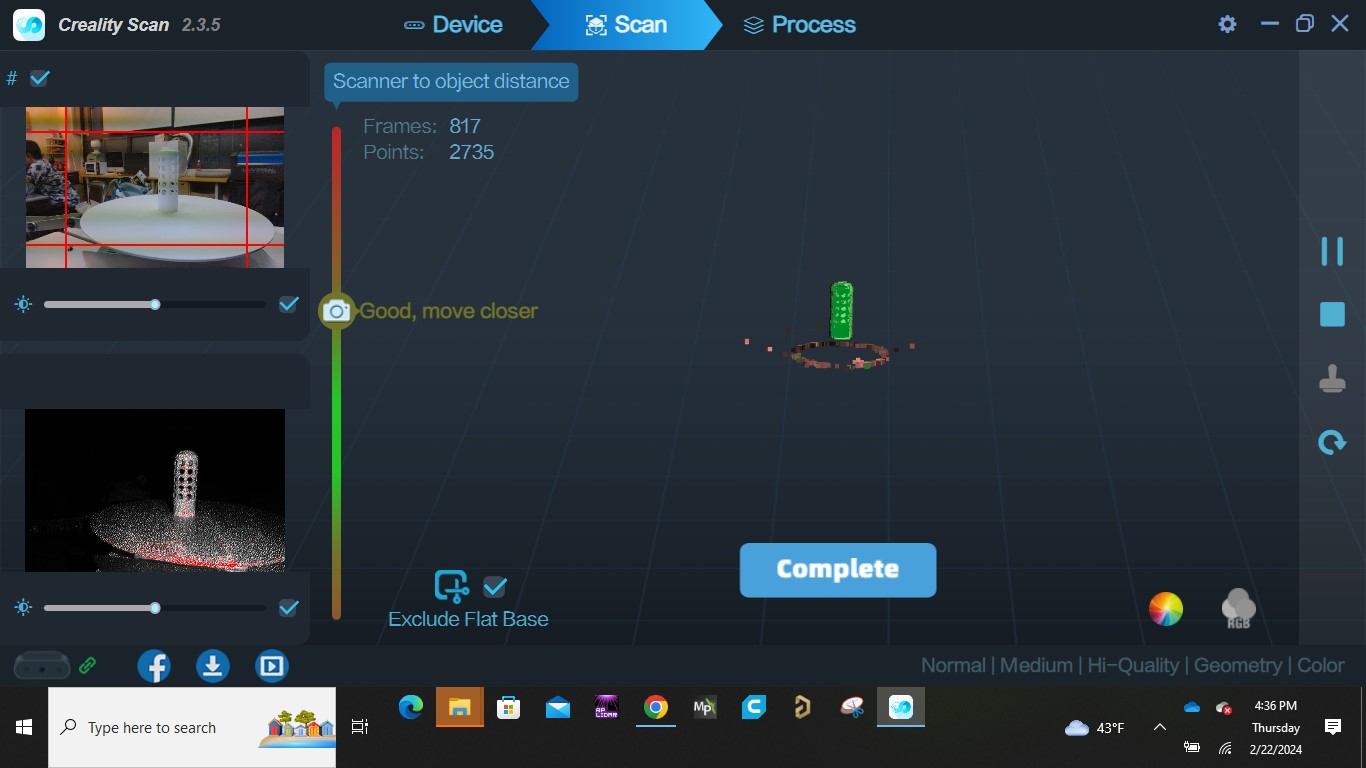
- I moved the object relative to the scanner untill the app says minimal object is in optimal distance (best distance for scanning)
- I started the scan and rotated my object by turning the plate i placed it on untill all sides are completely green, therefore i clicked complete.
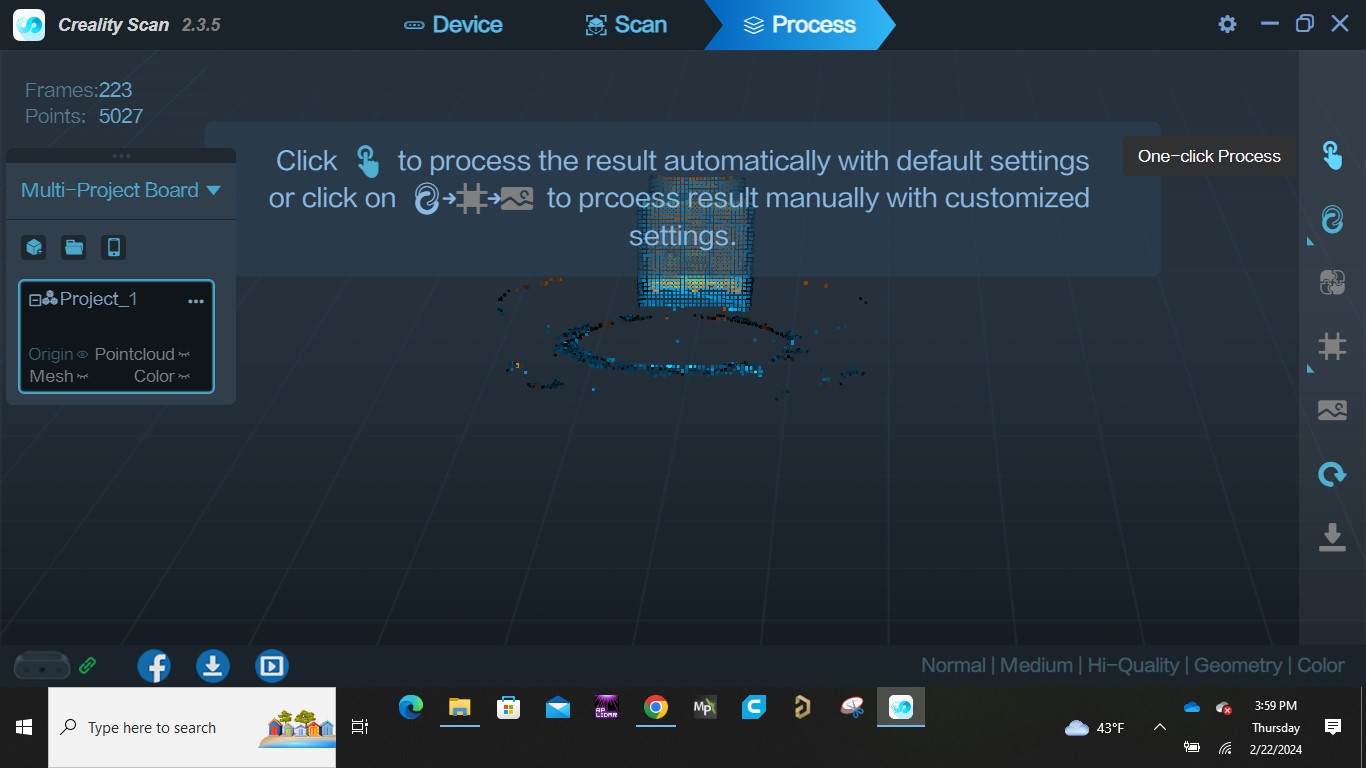
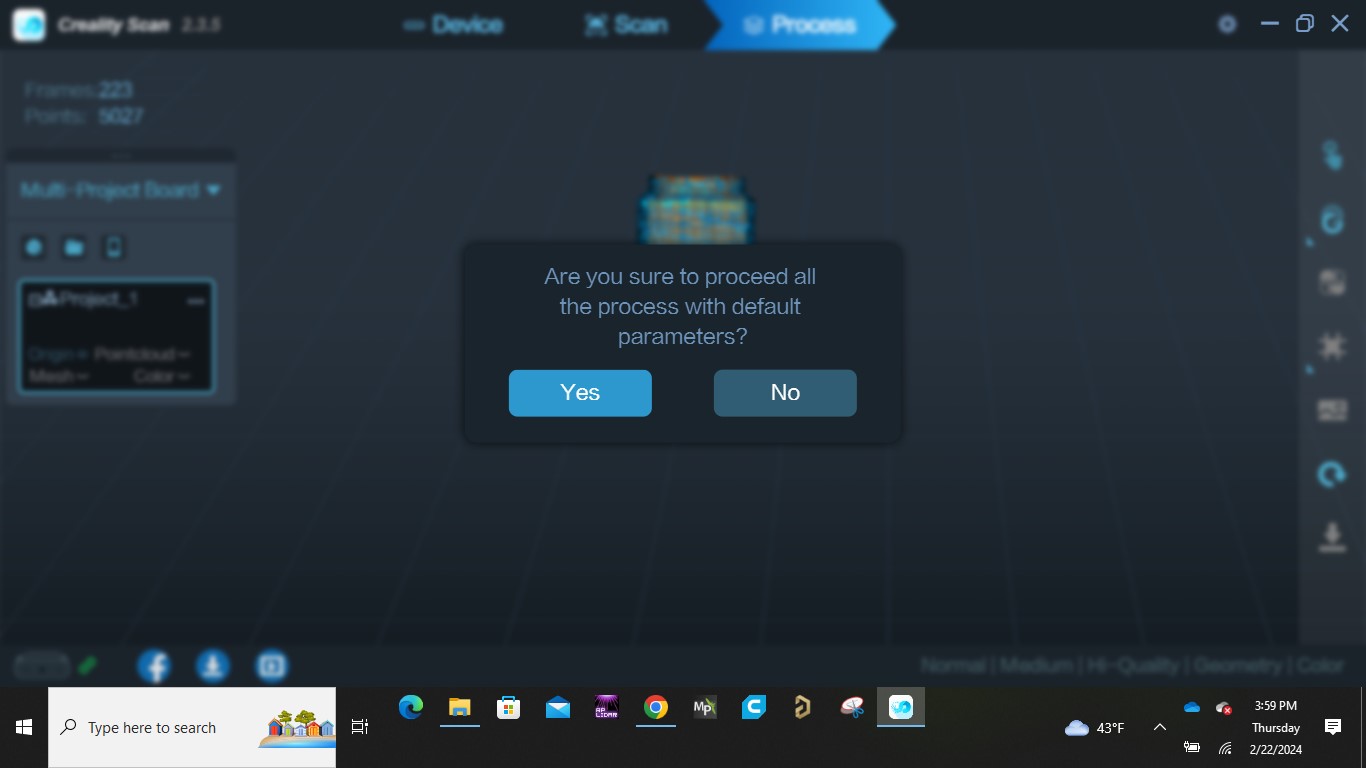
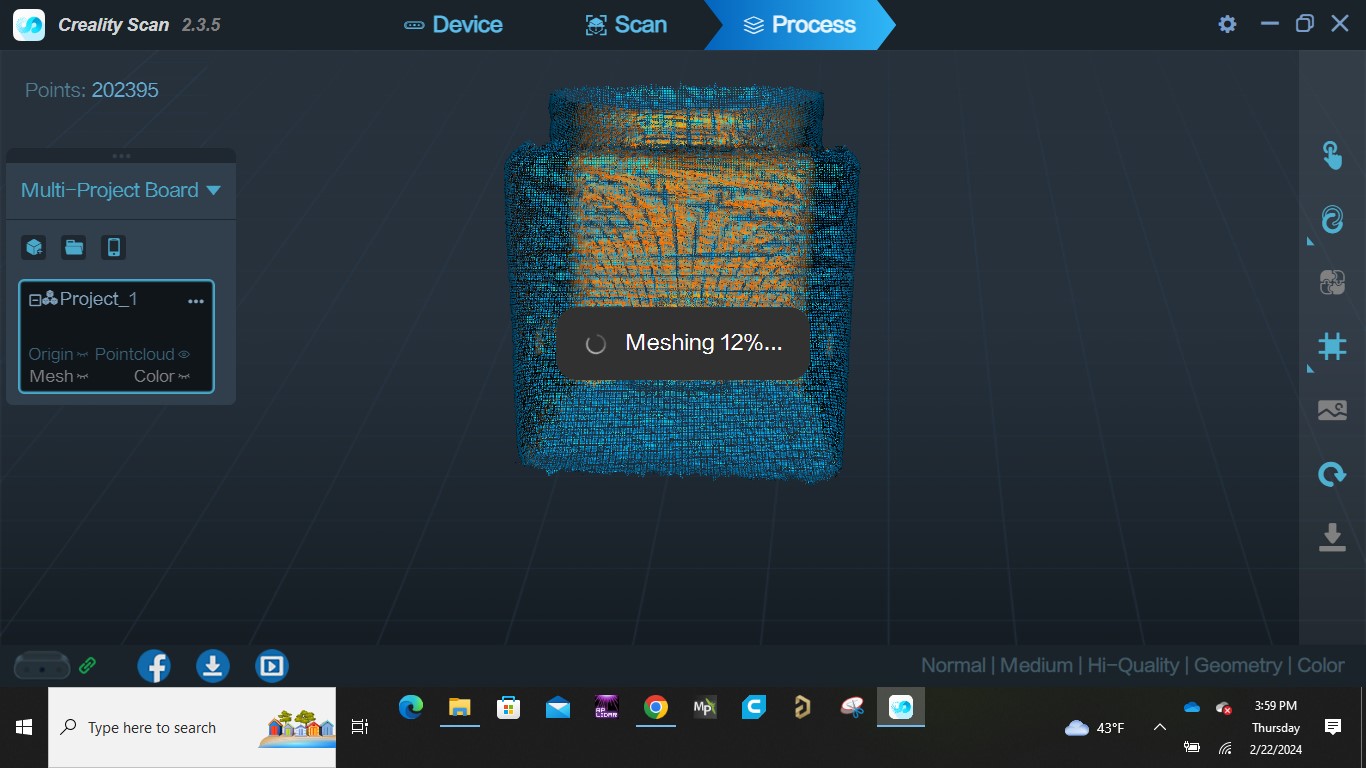
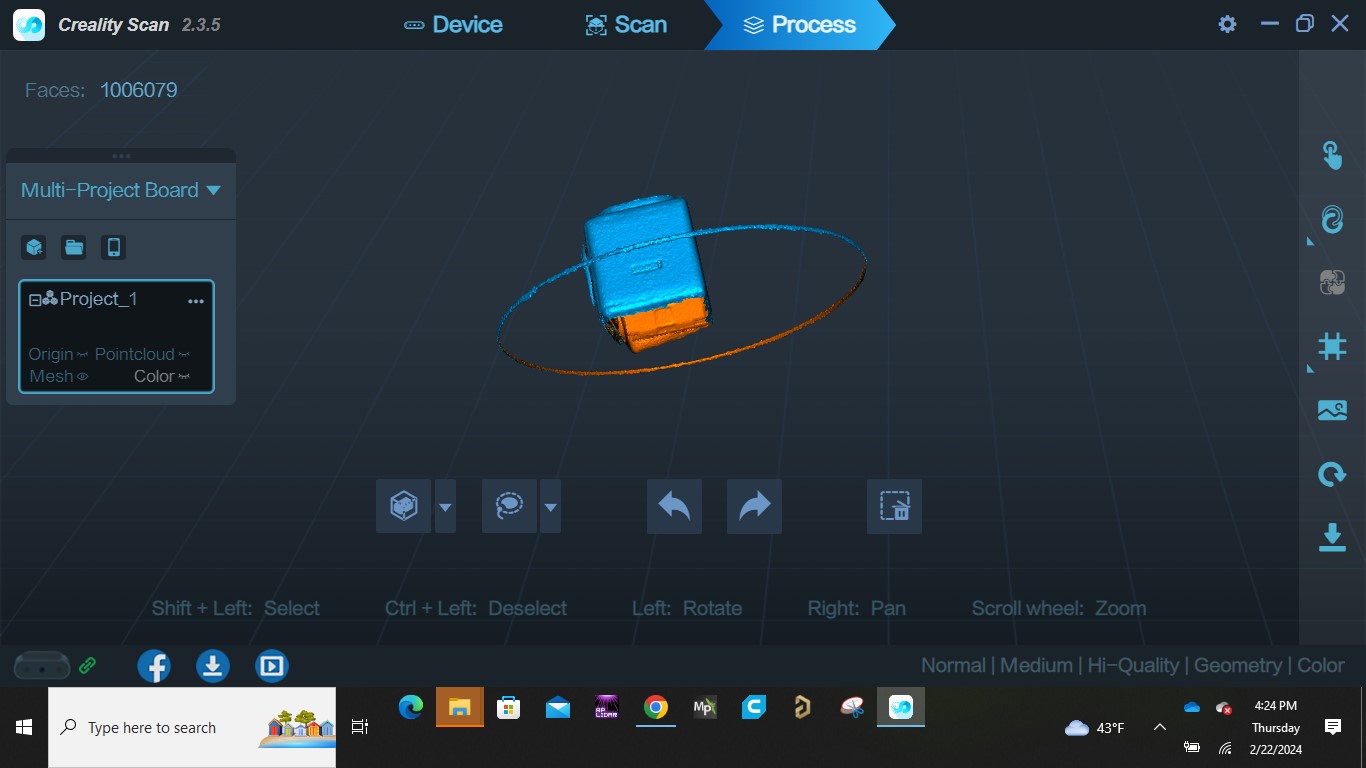
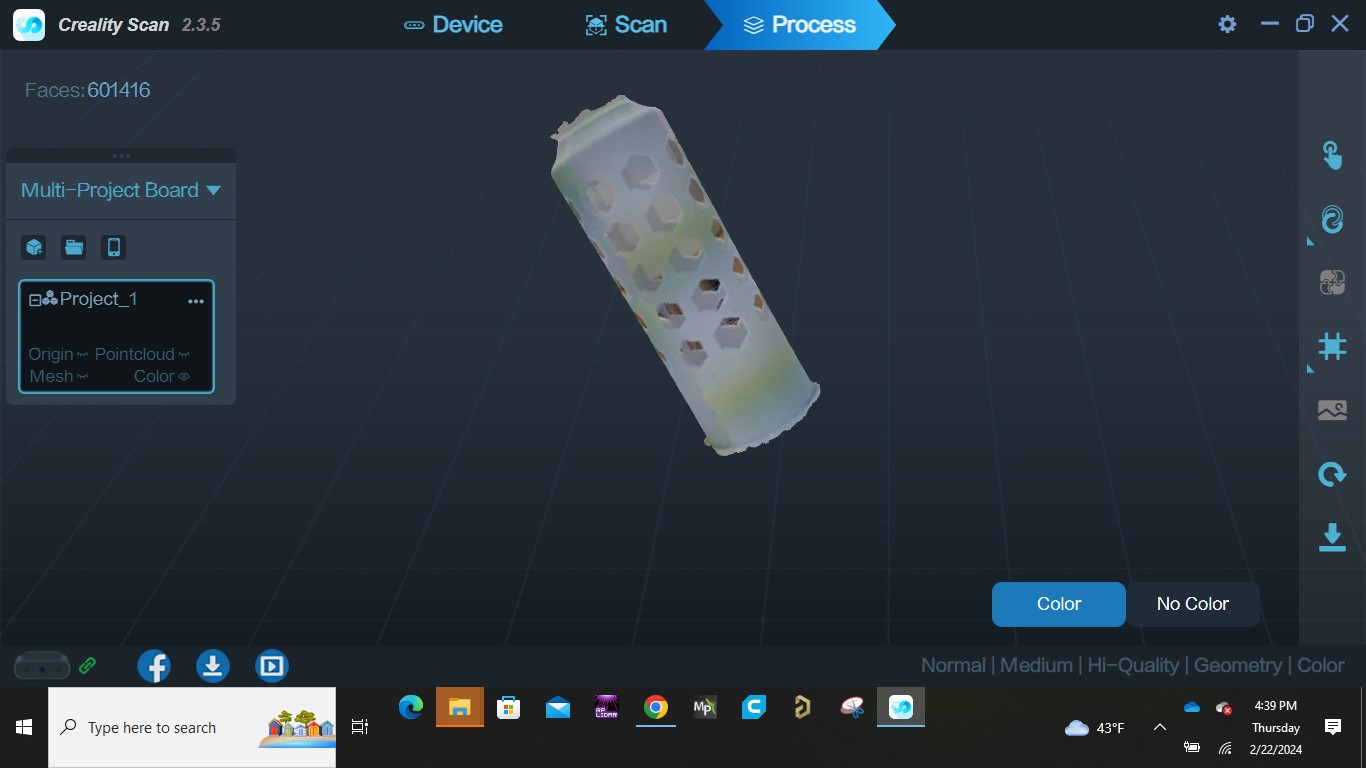
- I then started the processing by clicking the processing icon
- The object was then optimized utomatically as the default setting is auto processing
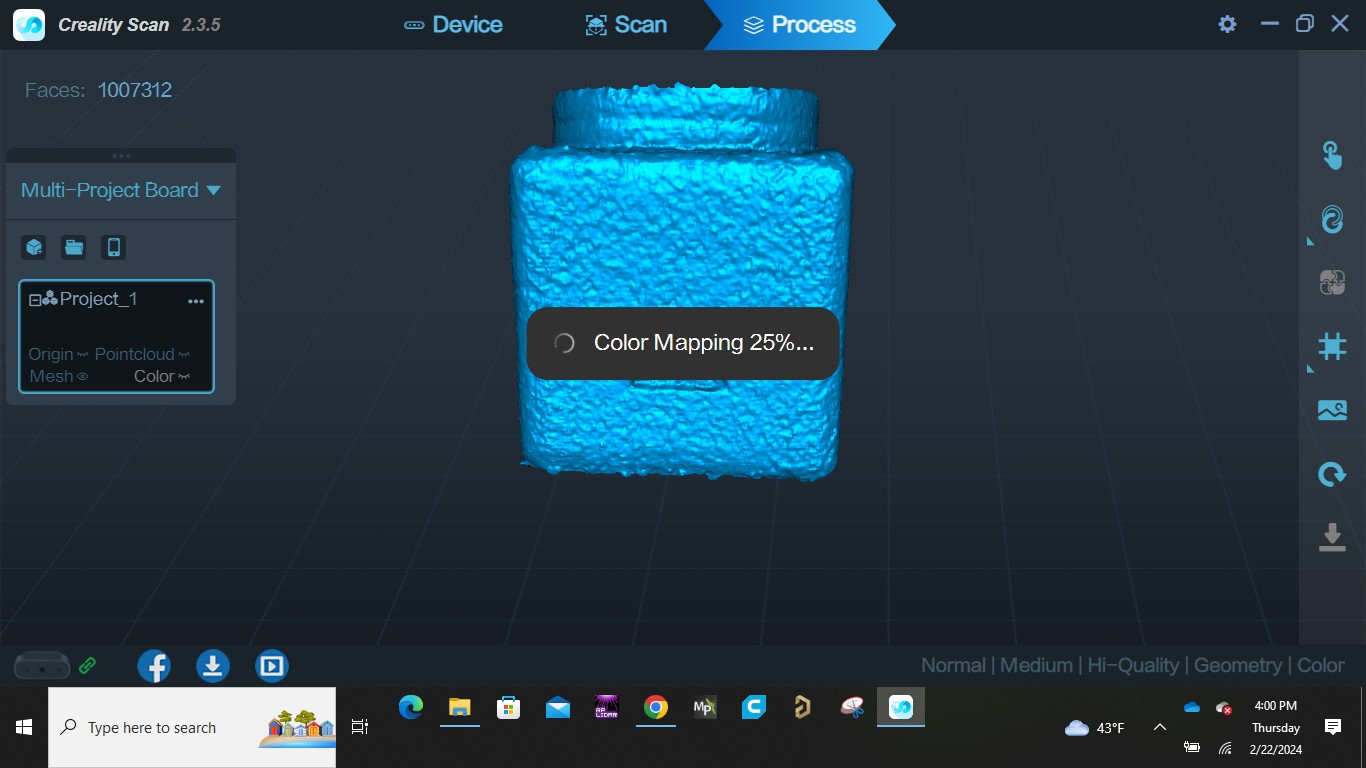
- Followed by meshing.
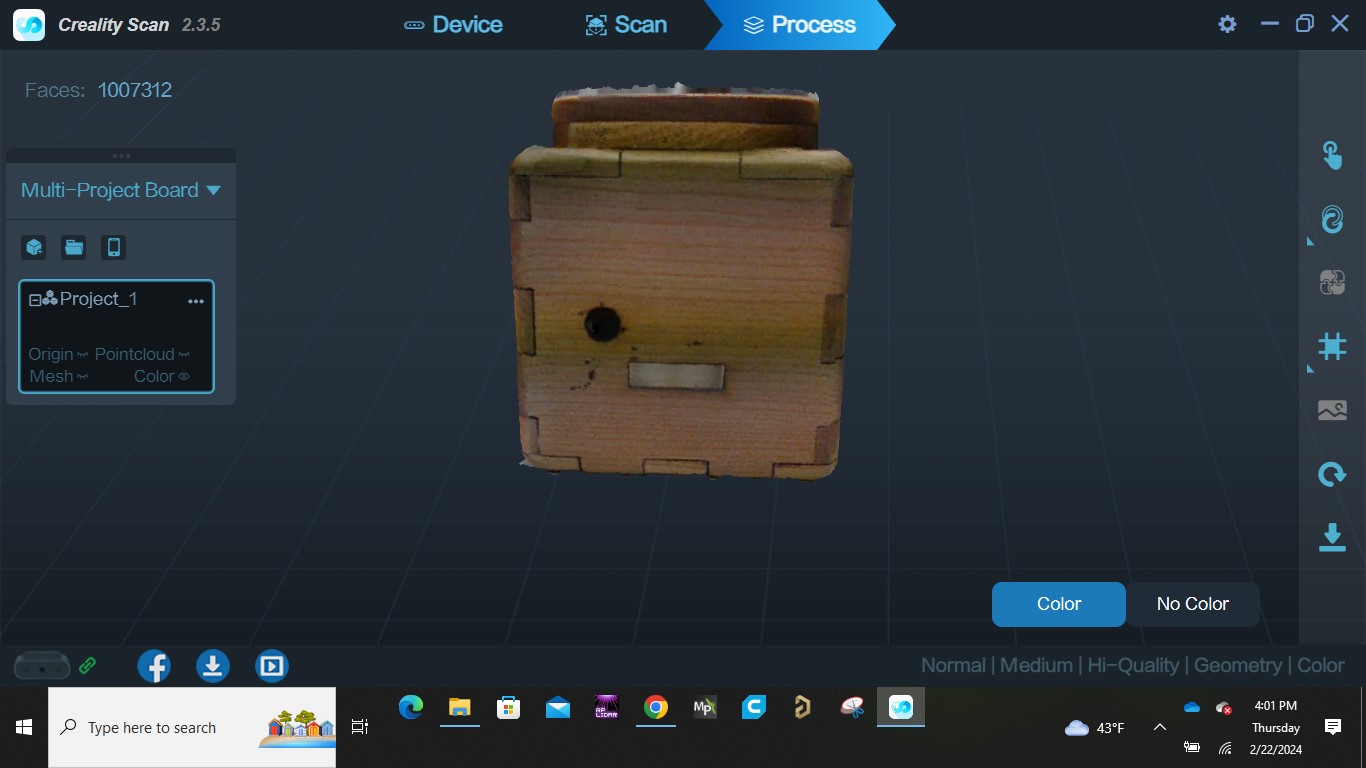
- Then color mapping.
- The reult can now be seen
- While trying to scan both the top and bottom sides of the 3d object, i paused the scanning and placed the object on its sides. but due to the symmetric nature the app couldnt understand where to place the cover (top). Thats why i restarted the scan by attaching pices of tapes on the sides.
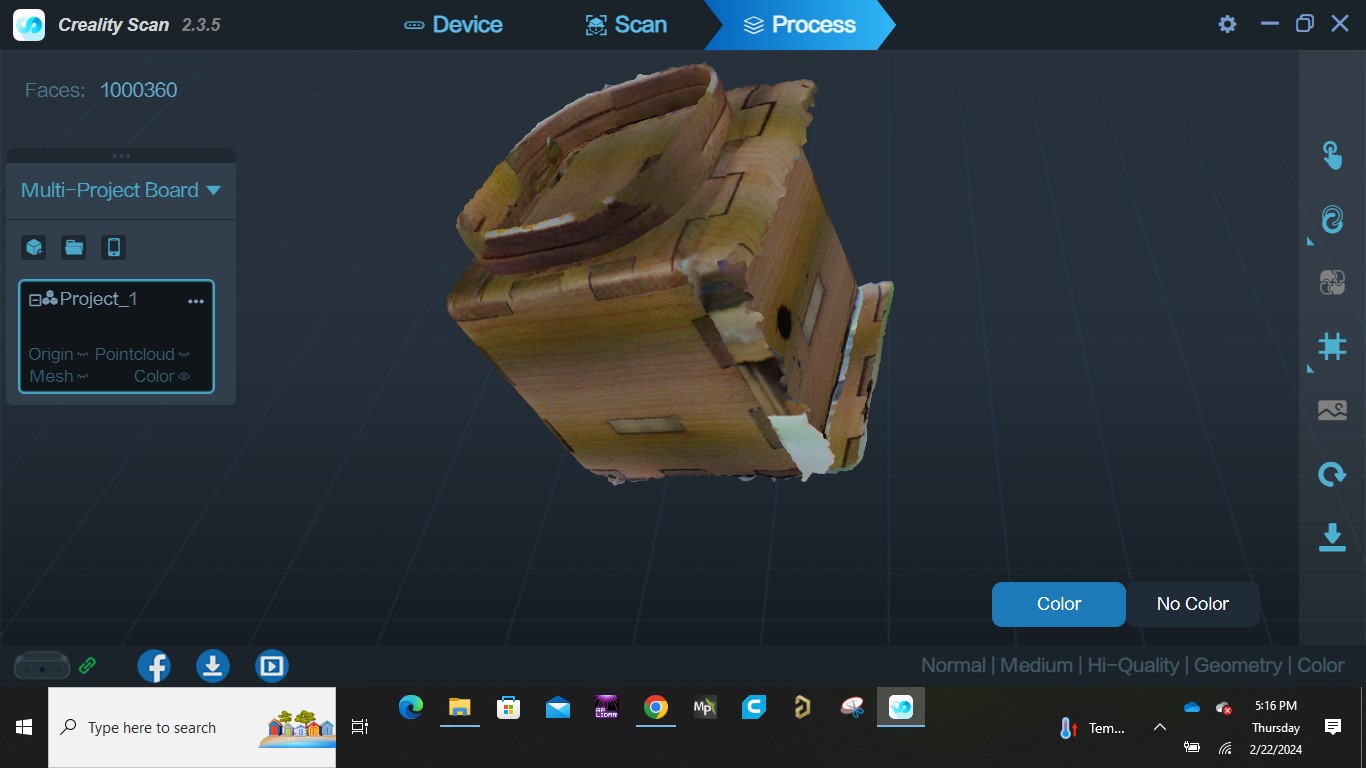
- I repeated the proceedures above
- And the result has not much of a difference to the first scan
- I also repeated the scanning for my 3d printed object by following the above processes
- And the result is as shown below

All source files can be found Here at the side bar.