

Computer Aided design
All source files can be found Here at the side bar.
The Assignment involves 2D and 3D design and manipulations using various cad softwares and AI tools. The assignment can be broken down into the following:
2D
2D cad helps a lot in fabrication activities, some machines such as vynil cutter, laser cutter and even milling machines work with 2D graphics hence the need to learn how to use them properly. We have Raster operations and vector operation in 2D graphics and i work with some of the tool for such purposes.
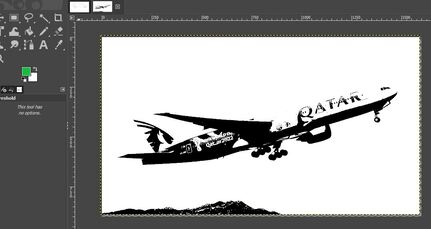
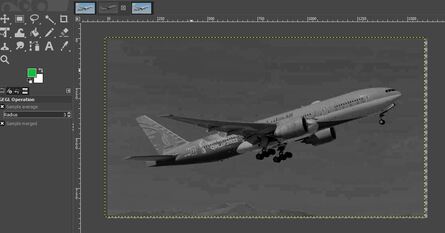
GIMP: I am new to raster design and was fascinated with gimp. I flew to Japan on Qatar Airways and I decided to get the photo of their plane and play with it. I blur it and I also play with its colors and was quite a good tool for my liking. Pictures can be seen below for the raster operation.
Inkscape: I am very used to Corel Draw for 2d and logo designs so this time I tried to use something
new and I used Inkscape to see how handy it could be. Surprisingly it turned out to be as versatile as Corel
draw can be and that makes me amazed. These are some of the things I draw with Inkscape. My final project
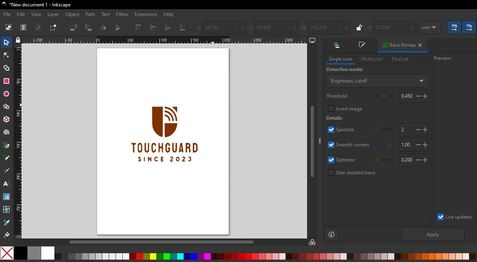
is a wooden locker hence most parts when viewed in 2d are mainly squares. I prompted the AI site Design.com to design a logo for
my project which it did and also amazingly branded the project for me as TouchGuard
which means safeguarding items with a touch hence referring to
the fingerprint sensor. I then Used Inscape to trace the logo and get a nice control over it without the background
3D
3D CAD software comes in handy when trying to design solid objects or rather objects with 3 dimensions. This is very important as the output of such designs can be used for 3d printing of models and so many others. For this assignment, I used Fusion 360 (my favorite) and onshape Cad software.
>Fusion 360: As a fusion 360 enthusiast, I did not hesitate to work with it for 3D design.
I had a lot of issues actually when trying to do my modeling, it slowed down everything and I even
had to uninstall and install the desktop app, this is the very first time this happened to me but
I have yet to figure out what the problem was, could it be internet? Or change of country? Or
perhaps due to my installation of different other software such as Gimp and Inkscape. I use
fusion360 for personal use because I do not have the key for license
Due to my journey to Japan from Nigeria I was not able to model my final project on it but I tried other
models such as NUT and a Knob as can be seen below. I plan to use Fusion 360 for the assembly of my final project and also
for rendering and animation exercises.

I also designed a bolt and Nut that i will use for rendering and animation exercise, This is because i want to try my hands on animation before actually working on my final project which i want to take my time and make more beautiful. The image can be seen below and for animation video pls see ffmpeg below

OnShape: I am new to onshape but I tried it and also enjoyed working with it. It was easy
to get started and was straight forward and it is online. For now, I still prefer my beloved Fusion
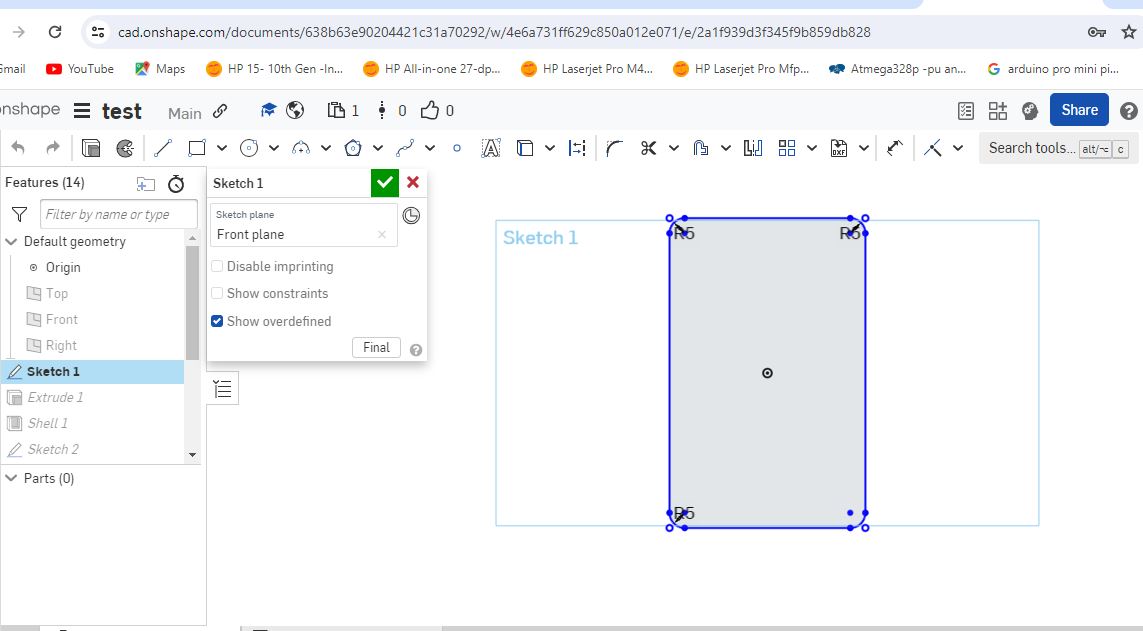
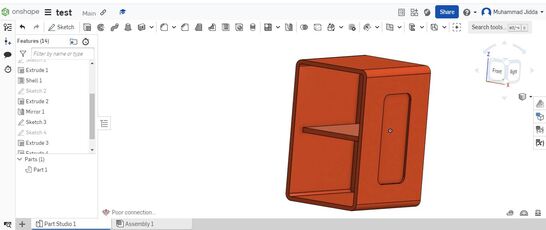
360 but I am looking forward to keep trying other options. I made the boxy shape of my final
project and I am beginning to love Onshape. The project file can be accessed Here
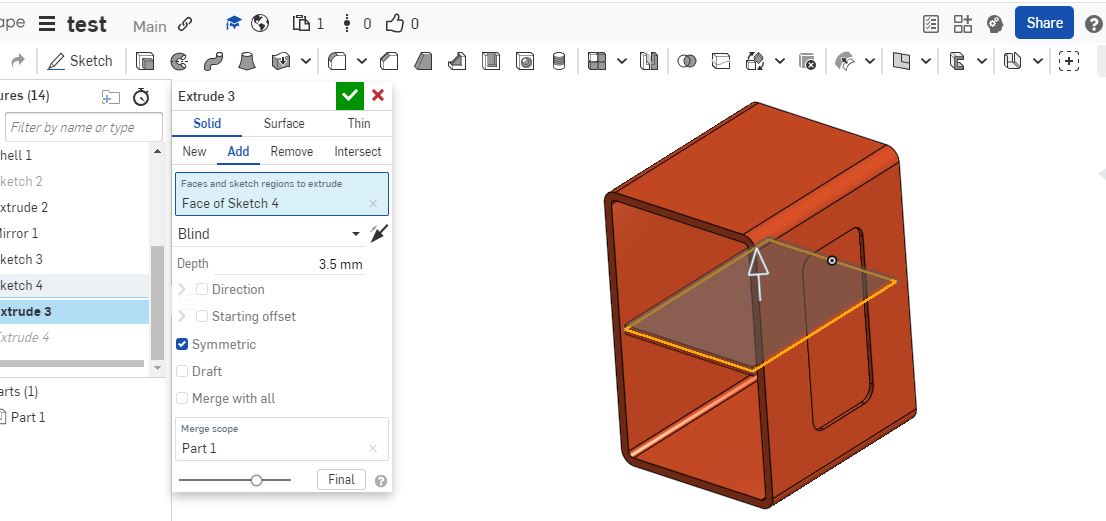
Proceedures to The Design
- I signed in to onshape and started a new project.
- I started by sketching on the sketch field
- Then i extruded the rectangular sketch i made using new body style of the extrude command and added color to it using the appearance tab
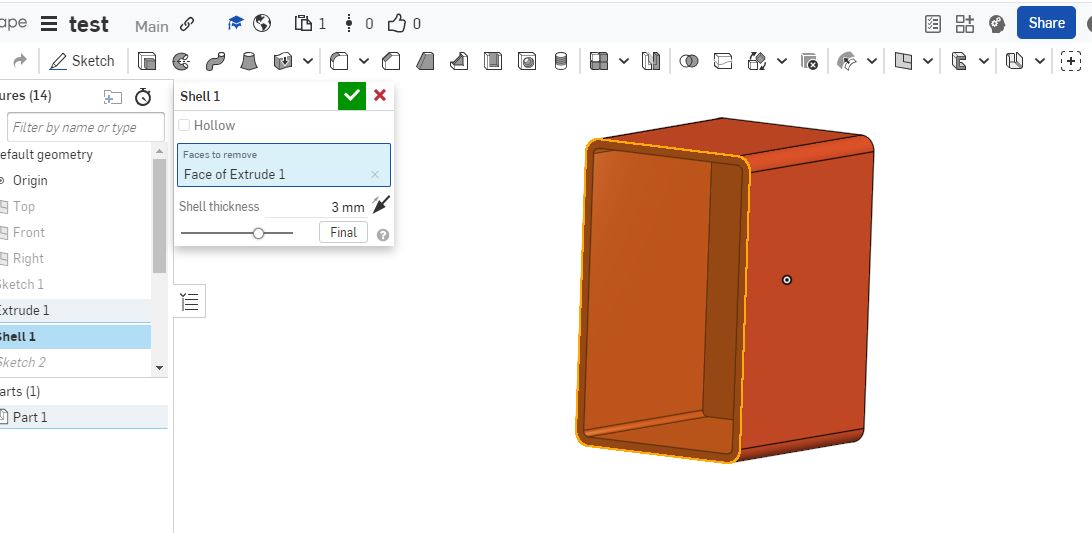
- I Then used the shell tool to empty the inner part of the box
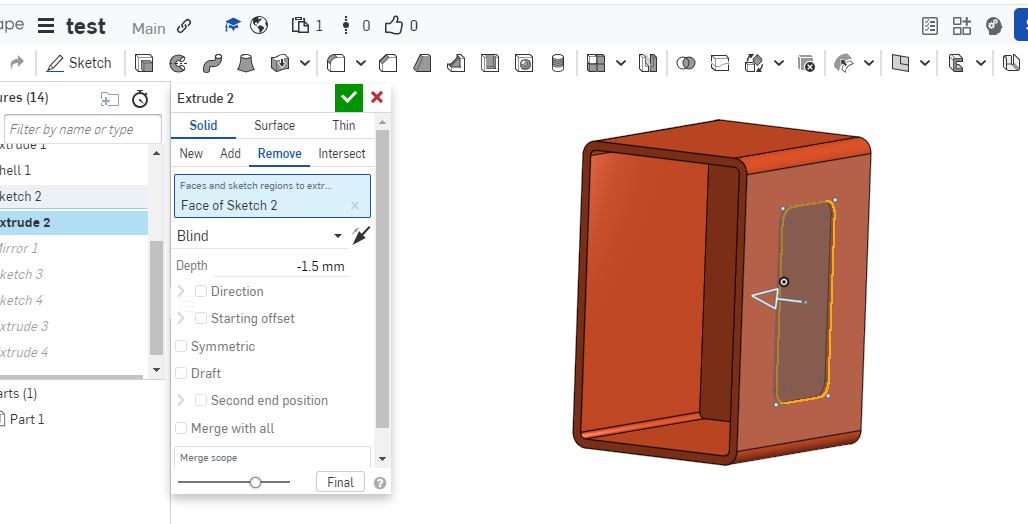
- I drew another sketch on the front face of the box
- I extruded the new shape again but this time as a cut
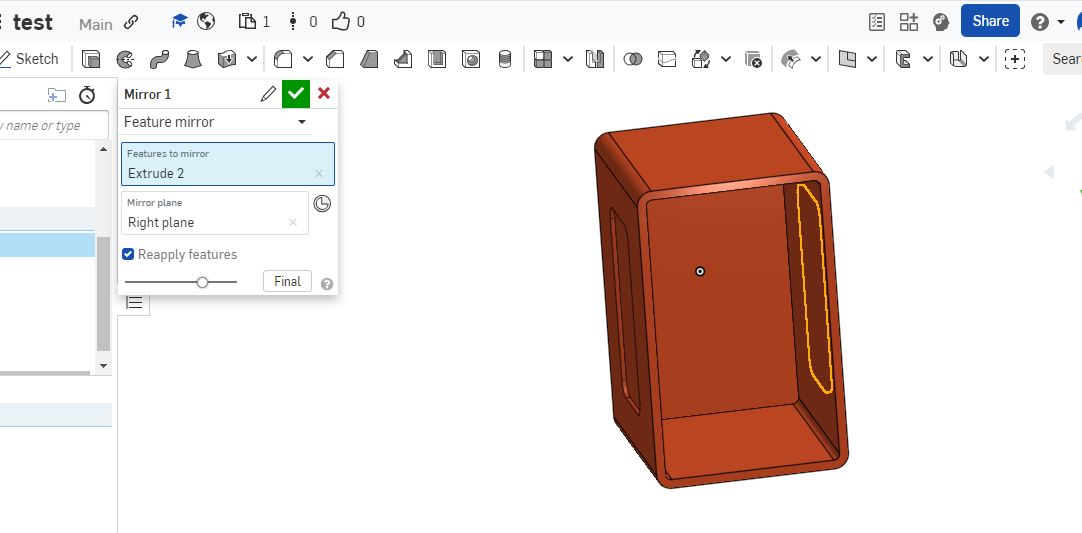
- Next i used the mirror tool to reflect the new cut feature on to the other side of the box
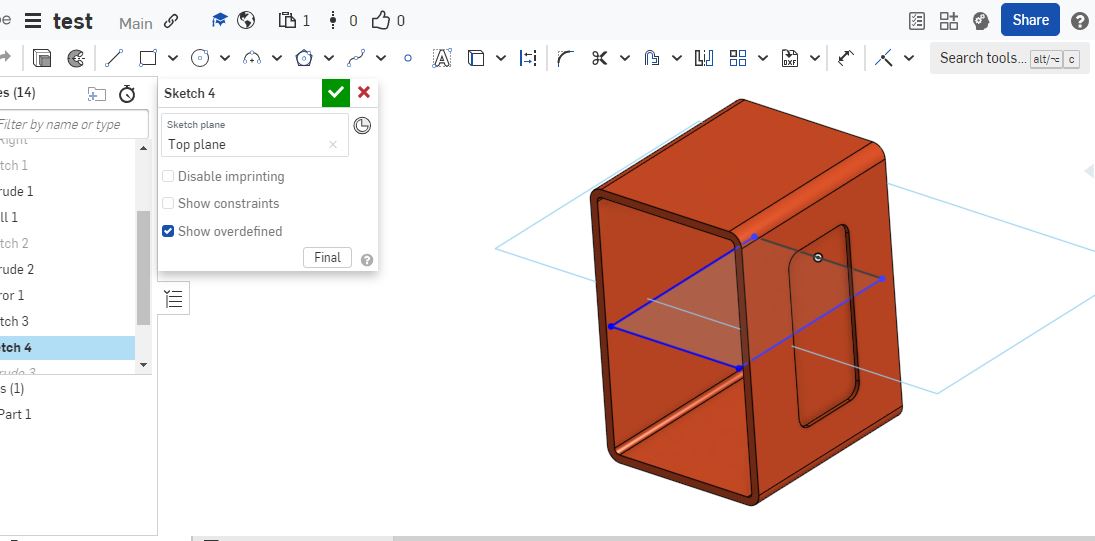
- I made another sketch to for the middle slab
- I made another sketch to for the middle slab
- Finally the result is as shown below


SolidWorks:
I tried Solidworks but was giving my system issues, it slowed down everything and I had to delete the softwareAI tools
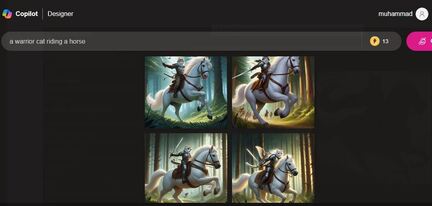
This was my favorite part of my week’s assignment because there are lots of AI online tools that help in generating graphics (very beautiful images) with just the prompt being the input from the user. I used five AI tools and I decided to give them the same prompt to see their reaction and output. Below are the following tools I used and their output. the prompt used was “A warrior cat riding a horse” and that’s because of my excessive love for cats. My favorite cat is called Tigerski and I named my fusion 360 group page after him though he is dead.
Microsoft Image Creator
You can visit the site to try other designs. but output is as follows
Hugging Face
You can visit the site to try other designs. but output is as follows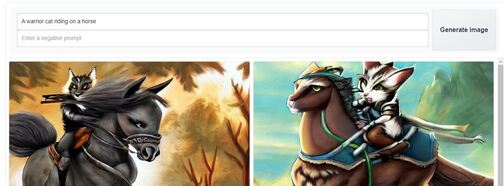
Dream Studio
You can visit the site to try other designs. but output is as follows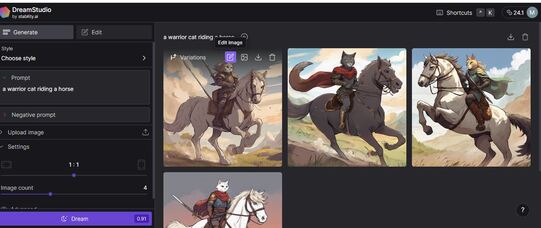
Mage
You can visit the site to try other designs. but output is as follows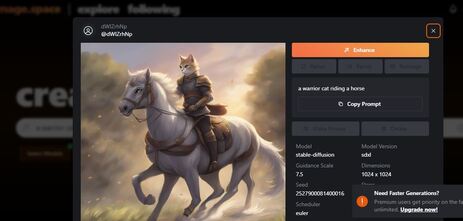
Stable Diffusion Ref.JP
You can visit the site to try other designs. but output is as follows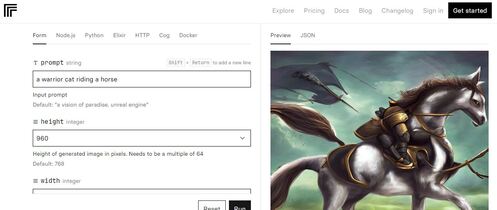
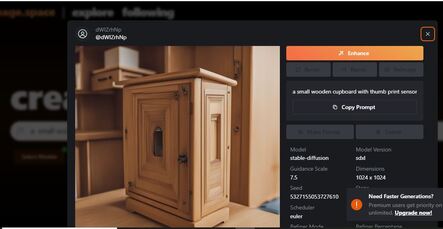
After Trying all AI tools i personally prefer mage for their fastness and easyto use environment and therefore i decided to prompt it to generate a graphic design or picture of my proposed final project and it did well. Here is the output
Video and Image resize
It is well noted that we are adviced to keep our repository as light as possible so as to free up more space for this wonderful program, Hence our images and video which are usually large in sizes should be compress to lover memory size. for this i am using ffmpeg for video resize and conversion while i use image resizer for photo compression.
FFMPEG
I was only able to setup ffmpeg on my PC with the help of my local instructor Yuichi tamiya san . He provided me with the proceedure to install it and Get ready. The steps are as follows:
- Installation of ffmpeg and guide is provided on this site
- Use the command ffmpeg -i input_video -vcodec libx264 -crf 25 -preset medium -vf scale=-2:1080 -acodec libmp3lame -q:a 4 -ar 48000 -ac 2 output_video.mp4 where input_video is video to be resized and Output_video is the resulting video after resizing. and i use desktop as my directory hence both Input_video and Output_video are on my desktop directory.
- Other ffmpeg hacks can be found here
With The knowledge gathered i quickly did animation for my Bolt and Nut which was explained earlier. The input size was 5.4 mb while the resulting video size was 2.24mb and can be reduced further. You can also download Here
Image Resizer
I used Image resizer to resize all my images generated during this assignment, its online, free and has bulk resize future which makes it Very easy to use.
All source files can be found Here at the side bar.