This week's focus lies on embedded programming, encompassing various facets essential for understanding and working with embedded systems. Delving into architecture, we explore concepts such as von Neumann, Harvard, and the distinctions between RISC and CISC architectures. We delve into the realm of microprocessors and microcontrollers, discussing multi-core systems, GPUs, and embedded FPGAs like TinyFPGA and IceStorm. Additionally, we examine memory types such as SRAM, DRAM, EEPROM, and FLASH, along with peripherals like ports, timers, and communication interfaces.
Understanding word size variations (8, 16, 32, 64 bits) and processor families like AVR, ARM, Xtensa, RISC-V, and others is crucial. We explore development tools, vendors, and packages like DIP, SOT, and TQFP. Programming languages including assembly, C, C++, Rust, and Go are discussed, along with in-system development methods like bootloaders and debugging techniques using JTAG, SWD, and UPDI protocols. Additionally, we delve into operating systems, clocking mechanisms, serial communication, and development environments, ensuring a comprehensive understanding of embedded programming principles. Furthermore, AI integration into embedded systems and debugging methodologies are explored, fostering proficiency in this intricate domain.

This week's assignment is about understanding 3D scanning and printing
For details on this assignment head to our Group assignment page
In week 4 I discussed how to connect the board with the Arduino IDE.
Here I wrote a code to blink the on-board LED for a number of times the on-board button is pressed
#include <time.h>
#include <sys/time.h>

#define LED 26
#define BUTTON 27

void setup() {
    //set up Button and Led pins mode to input and output respectively
    pinMode(LED, OUTPUT);
    pinMode(BUTTON, INPUT);
    Serial.begin(9600);
    struct timeval tv;
    tv.tv_sec = 1709647571; // Mar 5, 2024  3:06:11 PM
    tv.tv_usec = 0;
    settimeofday(&tv, nullptr);
}
int counter = 0;
// the loop function runs over and over again forever
void loop() {

    time_t now, later;
    char buff[80];

    if (counter <= 0){
    //wait for the button to be pressed and released
    while(digitalRead(BUTTON) == 0);
    while(digitalRead(BUTTON) == 1);
    //set the starting time
    time(&now);
    counter++;
    }else{
    while(digitalRead(BUTTON) == 0);
    while(digitalRead(BUTTON) == 1);
    counter++;
    }
    time(&later);
    if((later - now) > 5 ){ // check for if 5sec has passed
    while(counter >= 1){ // blink the LED for the number of the counter
        digitalWrite(LED, HIGH);
        delay(1000);
        digitalWrite(LED, LOW);
        delay(1000);
        counter--;
    }
    }

    strftime(buff, sizeof(buff), "%c", localtime(&now));
    Serial.println(buff);
    Serial.println(counter);
    strftime(buff, sizeof(buff), "%c", localtime(&later));
    Serial.println(buff);
}
To use the xiao RP2040 with python I uploaded the firmware for circuitPython to the board as follows (I followed the tutorial on Seeed Studio website):
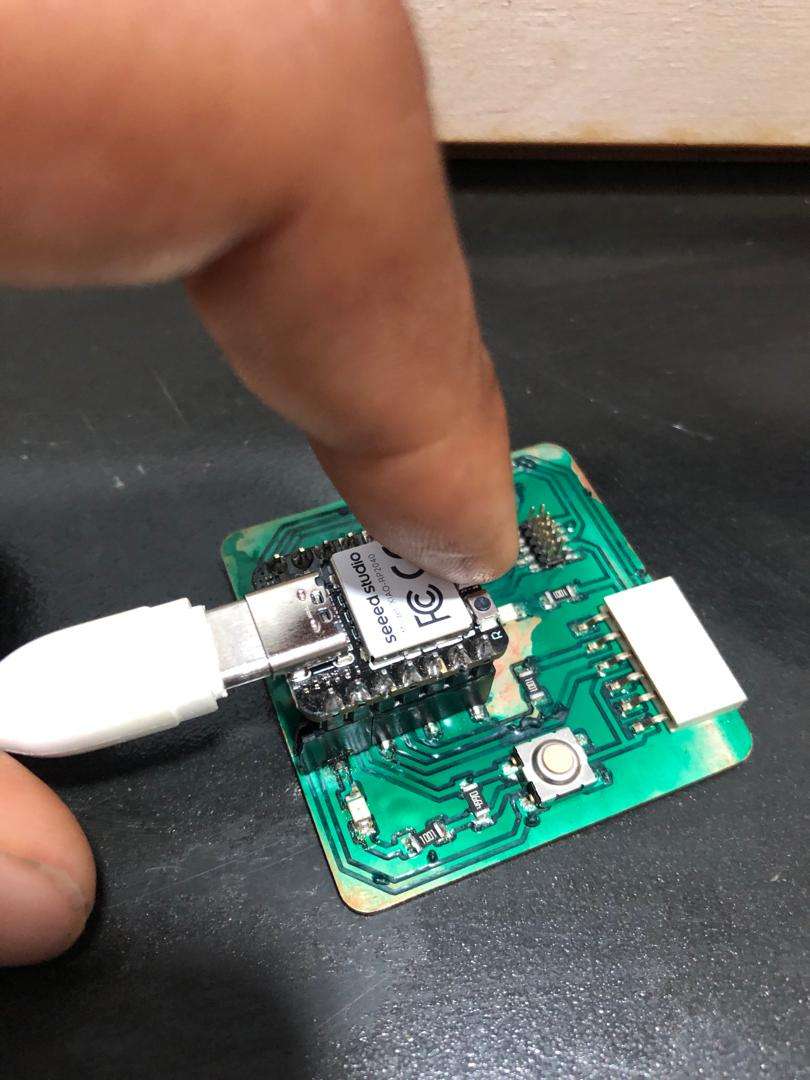
I downloaded the image file from here then reset the board to enter bootloader mode by holding the Boot button and plugging the board to my PC.
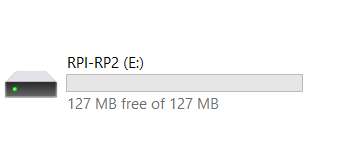
I copied the .uf2 file to the RP2040 disk root.
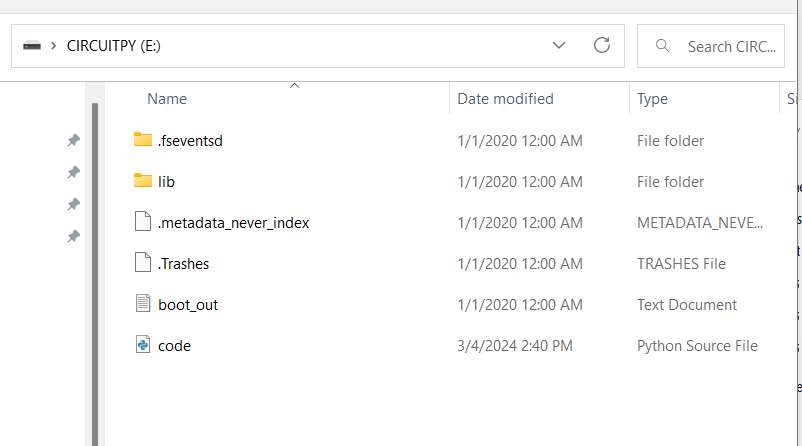
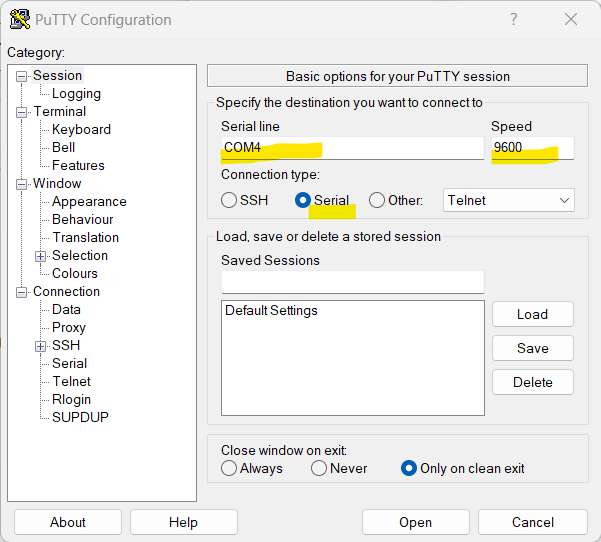
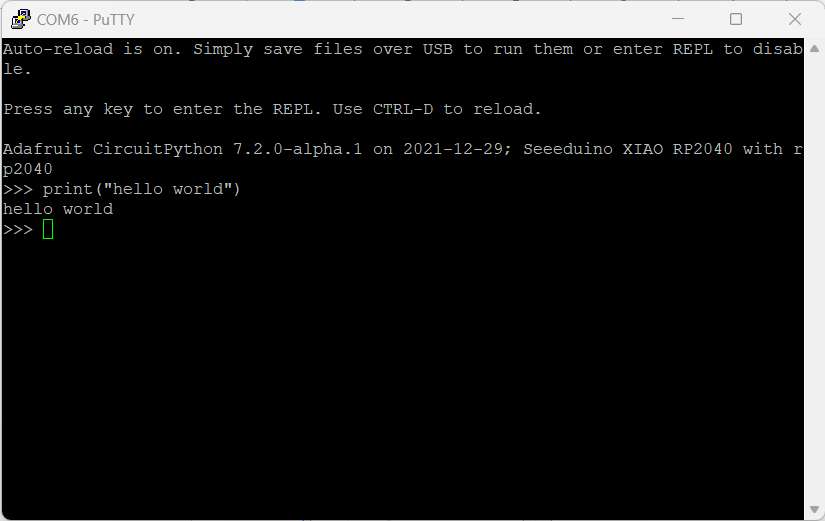
To test if it is working, I used Putty client to connect serially to the COM port
After connecting, I tested the python REPL.
To program the board using CircuitPython I used Mu Editor. I wrote a similar program from the previous section using python.
import time
import board
import digitalio

led = digitalio.DigitalInOut(board.D0)
led.direction = digitalio.Direction.OUTPUT

button = digitalio.DigitalInOut(board.D1)
button.direction = digitalio.Direction.INPUT
time.localtime(1709647571)
counter = 0
while True:
    #print(time.time())
    if (counter <=0 ):
        print ("started")
        while button.value == False :
            continue
        while button.value == True :
            continue
        print ("here")
        now = time.time();
        counter = counter + 1
    else:
        while button.value == False :
            continue
        while button.value == True :
            continue
        counter = counter + 1
    later = time.time();
    if((later - now ) > 5 ):
        while counter >= 1 :
            led.value = True
            time.sleep(1)
            led.value = False
            time.sleep(1)
            counter = counter - 1
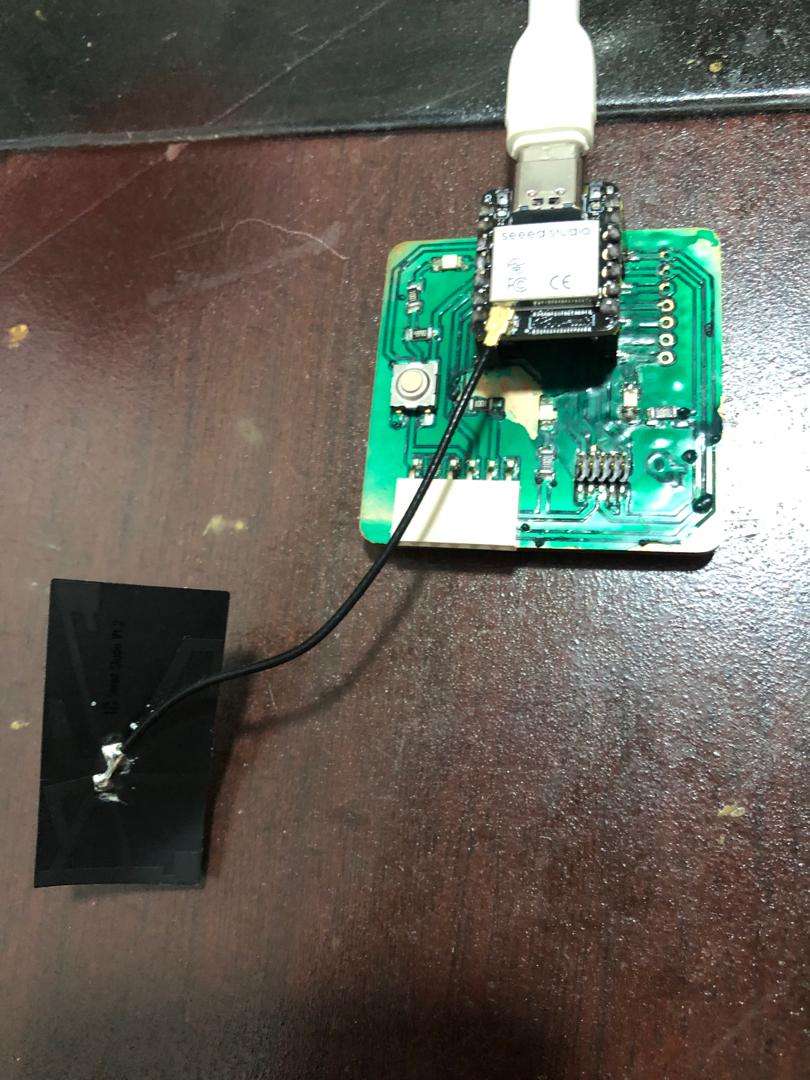
I have substituted the RP2040 on Quenttores with ESP32S3 to test web workflow and wirless communications
programming this board using circuitPython on the Web browser:
First I added my wifi setting to the setting.toml
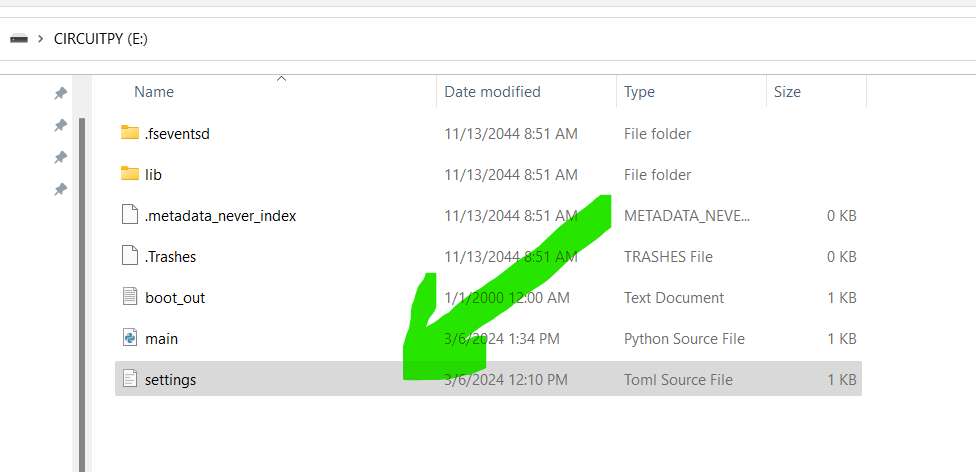
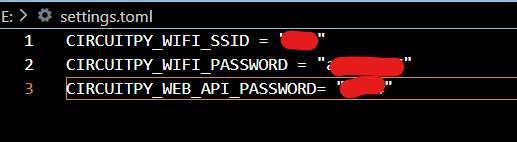
After saving the file, the board connected to my local network.
I then open a web browser and visited http://circuitpython.local
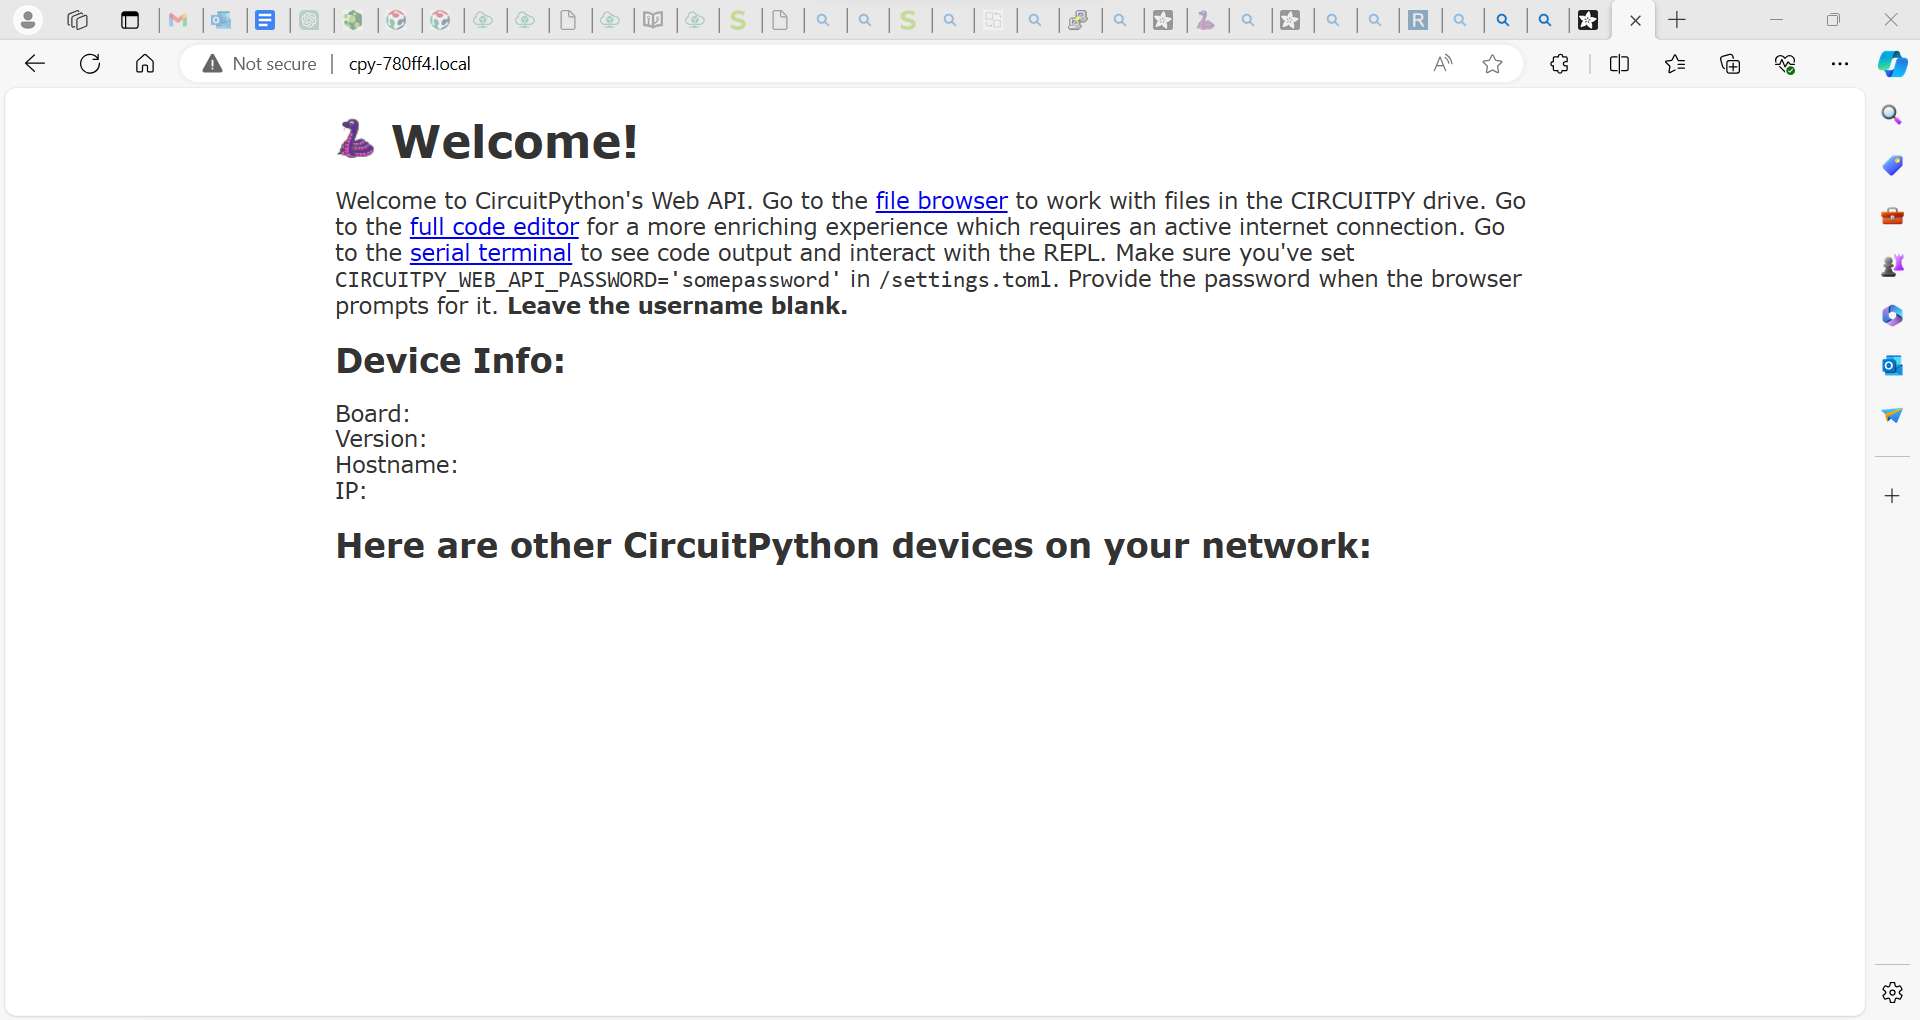
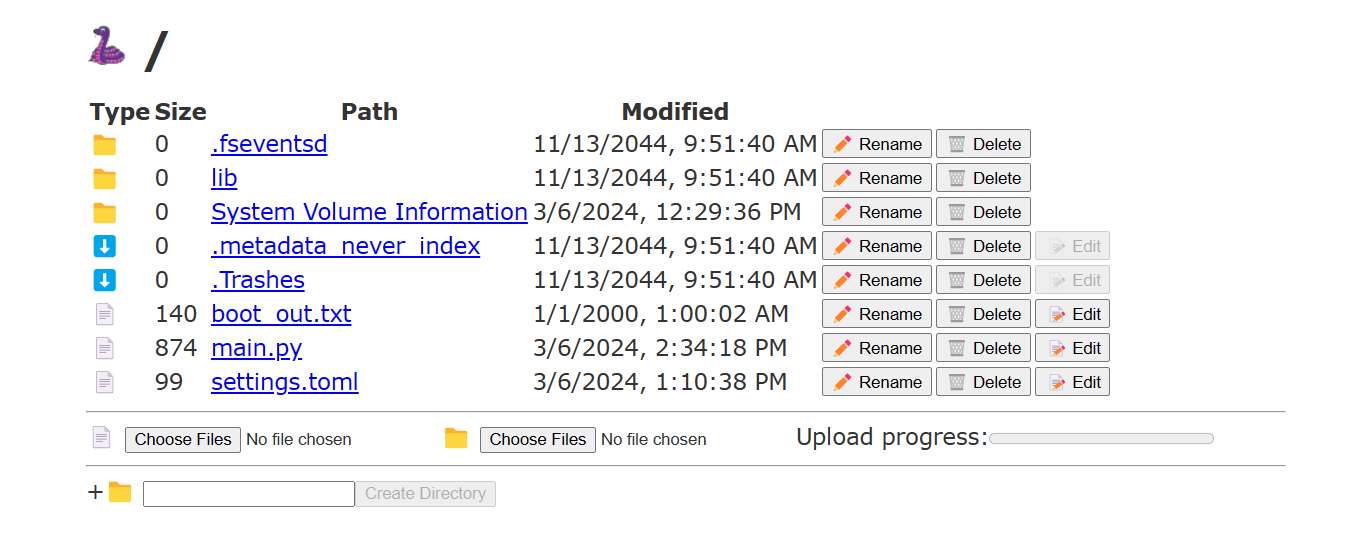
On this page I can access the board’s files
And also a web code editor

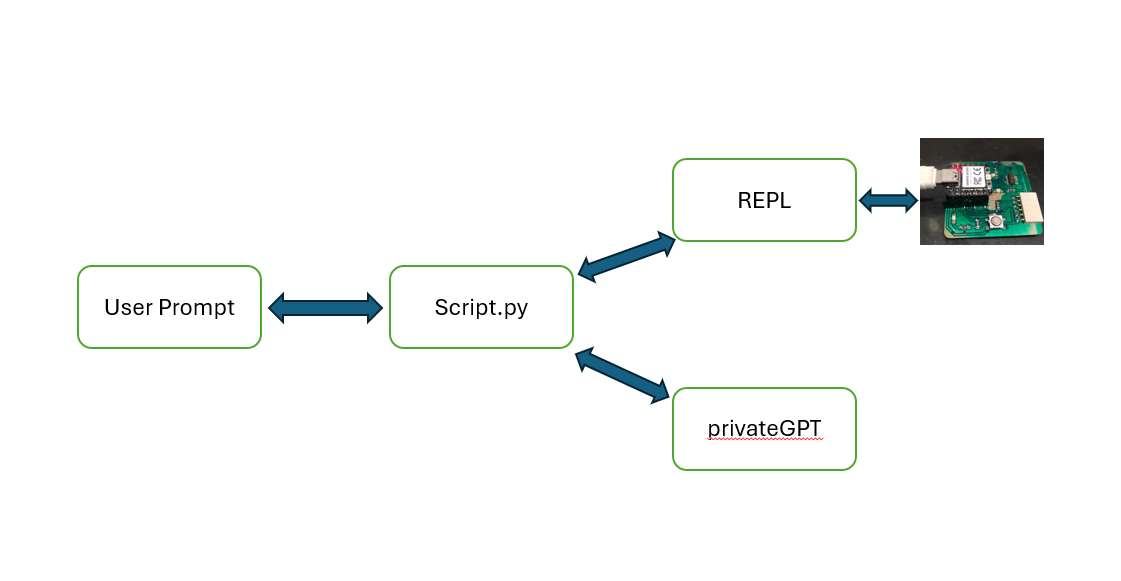
AI can be used to generate code. Although the code generated may not be accurate and there may be a little tweaking needed before it can work.
I have already deployed privateGPT on my computer locally and I want to write a script that will join the python REPL that comes with CircuitPython with the API of the GPT.