This week's focus was on 3D scanning and printing, providing a comprehensive grasp of digitizing and fabricating three-dimensional objects. Through various methodologies like structured light and laser scanning, photogrammetry, and depth sensing, we acquired insights into data acquisition intricacies, enabling precise digital replicas for applications such as reverse engineering and prototyping. Transitioning to 3D printing, we explored additive manufacturing technologies like FDM, SLA, SLS, and DLP, each offering unique capabilities for fabricating objects layer by layer. Hands-on experience with printers and slicing software enhanced proficiency in preparing models and achieving high-quality prints.
This week's assignment is about understanding 3D scanning and printing
For details on this assignment head to our Group assignment page
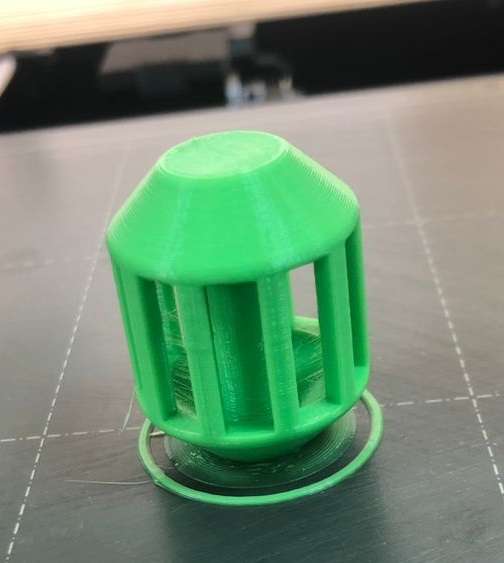
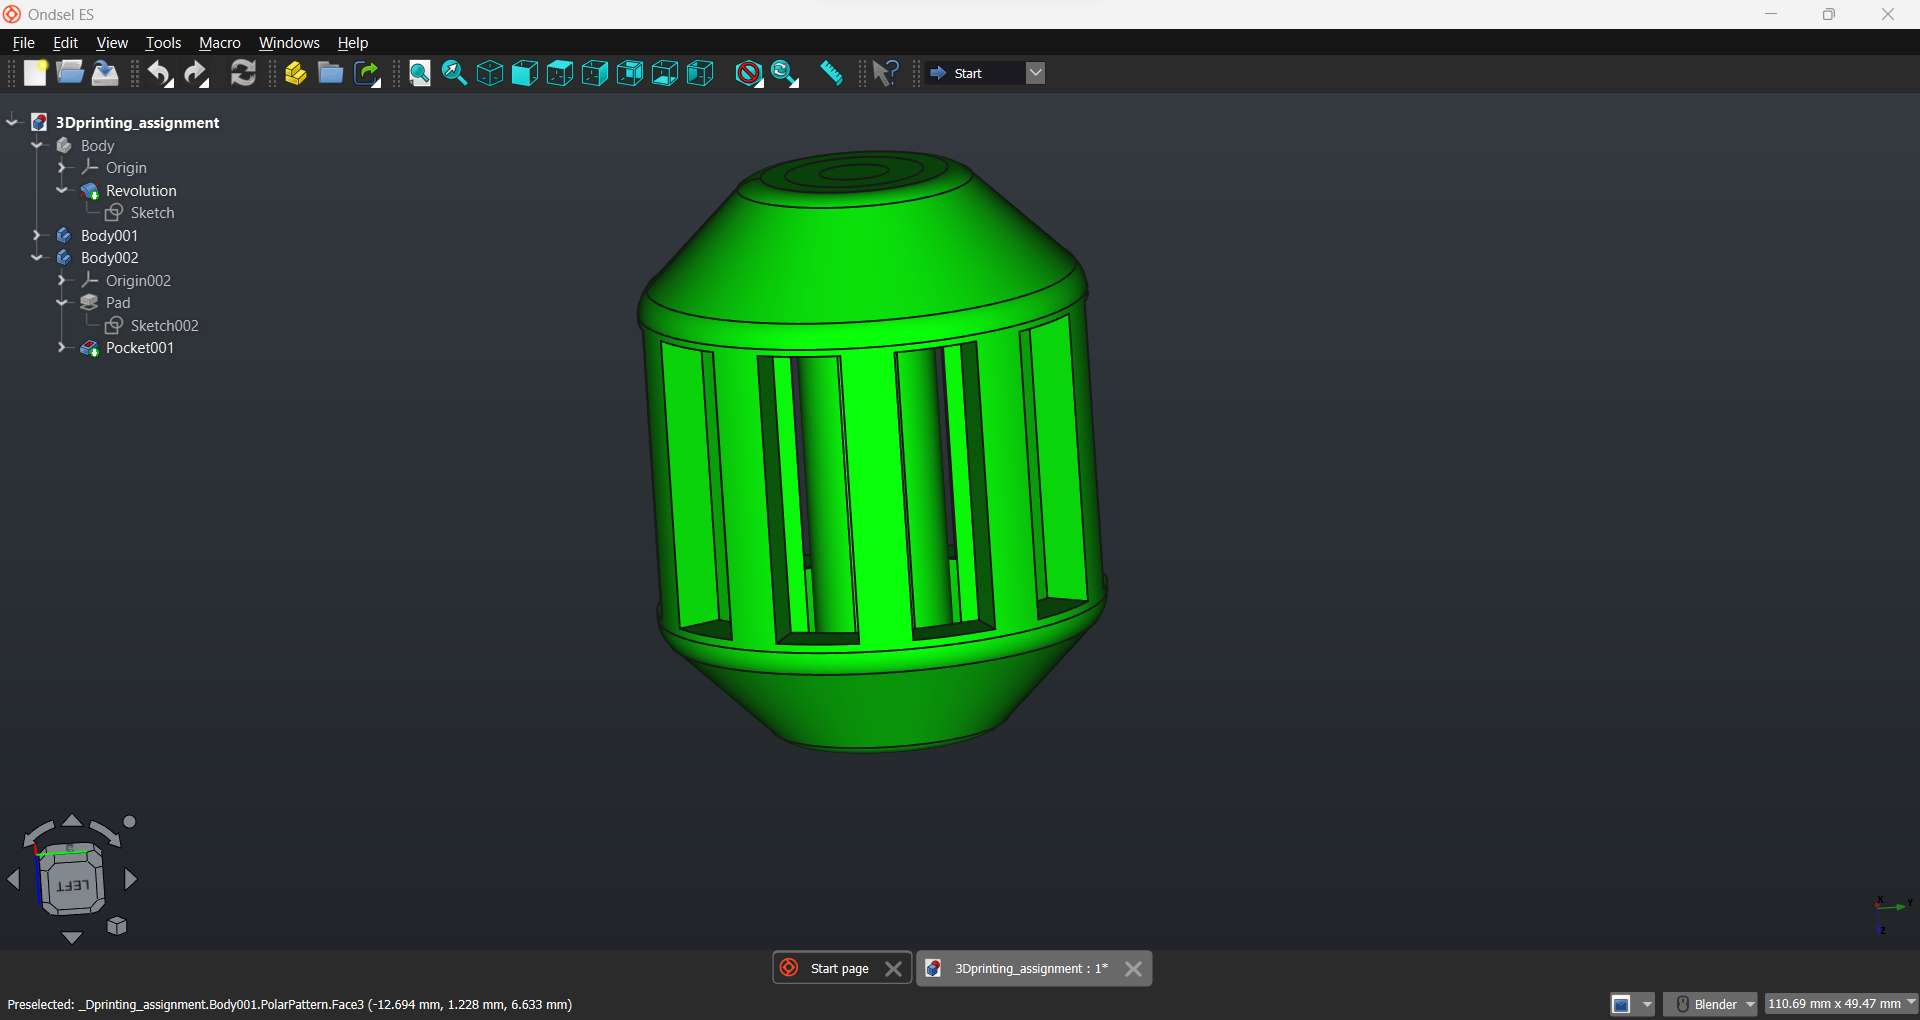
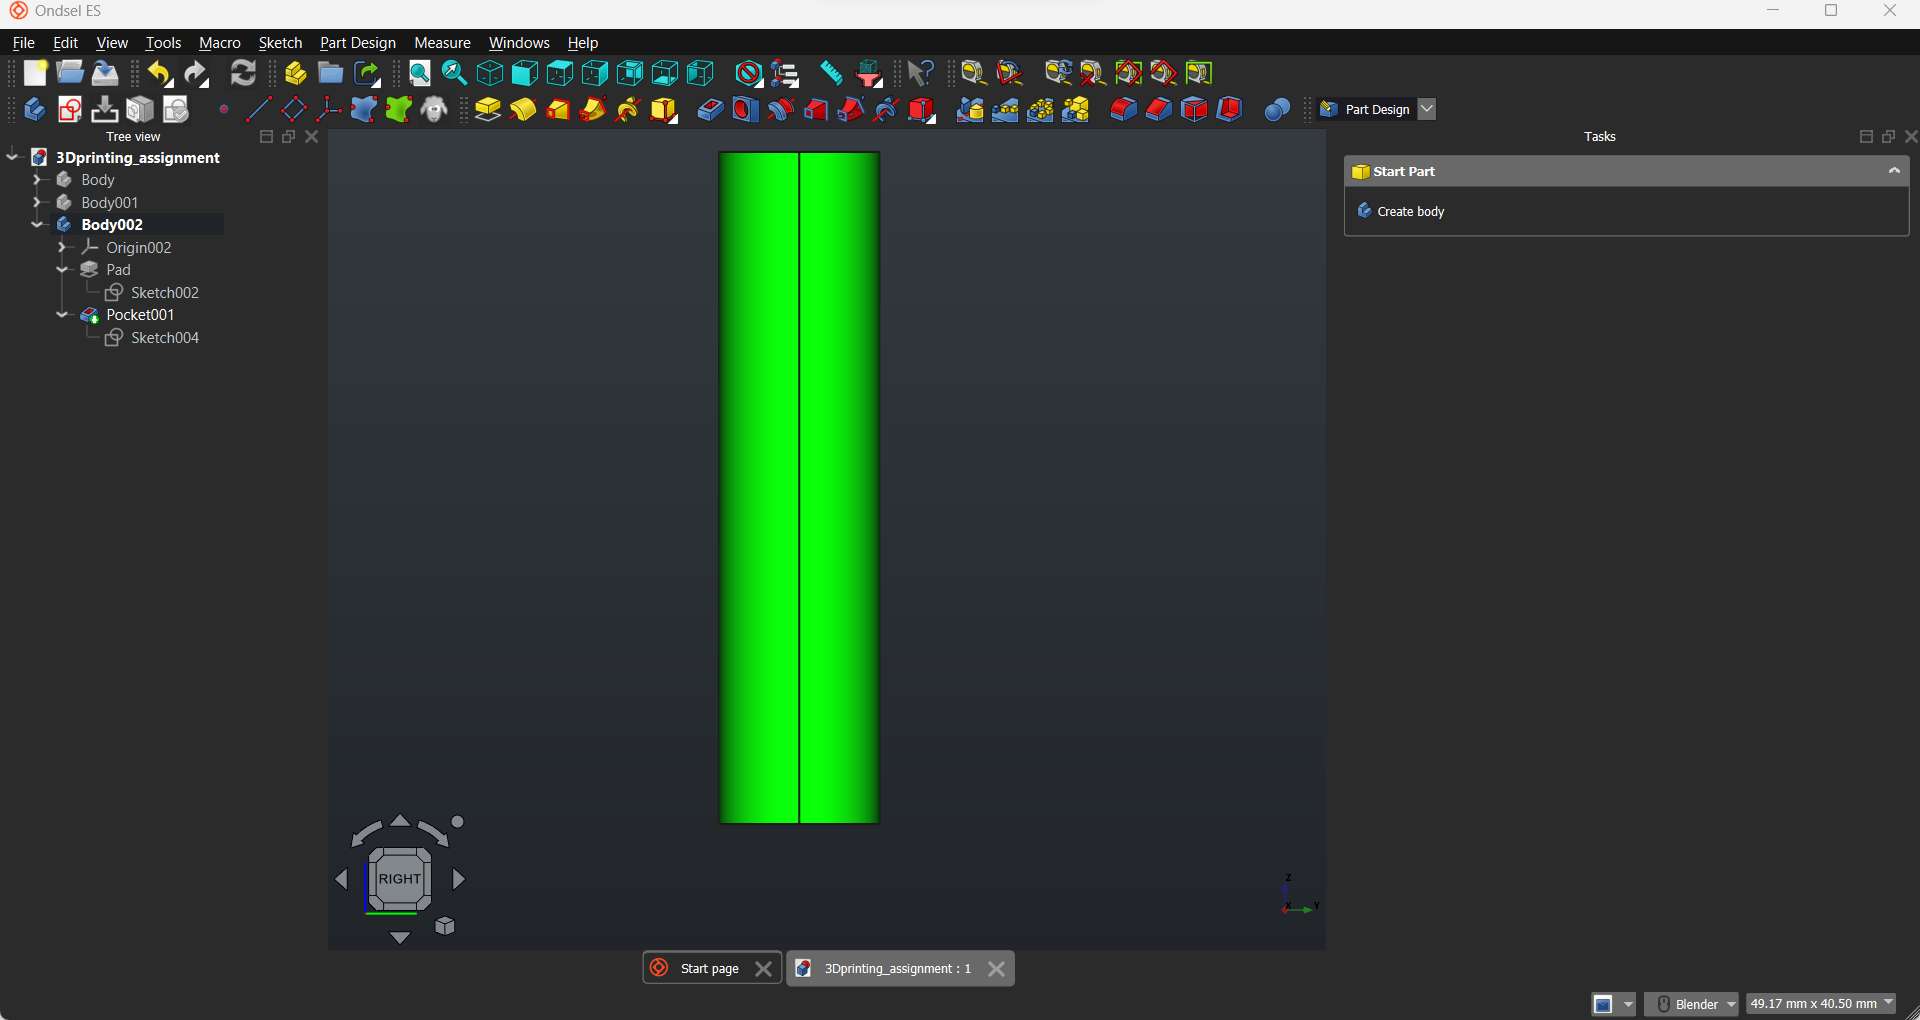
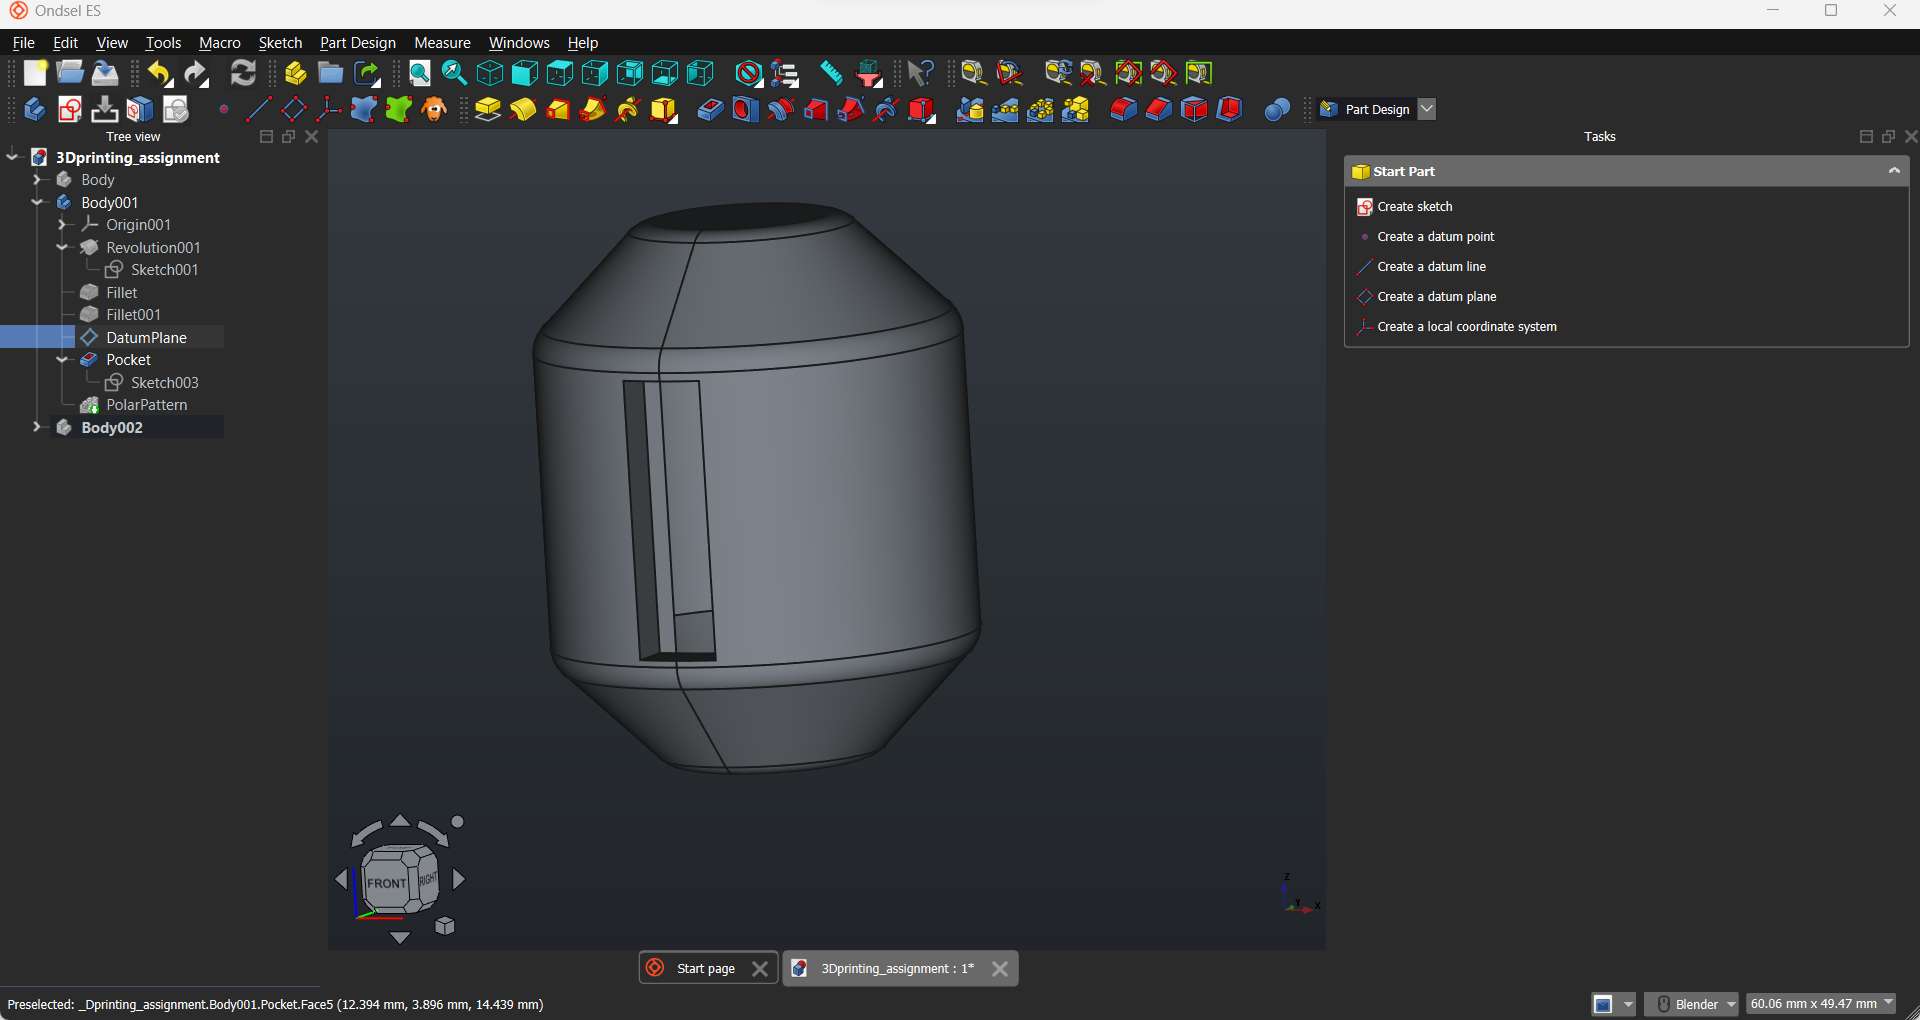
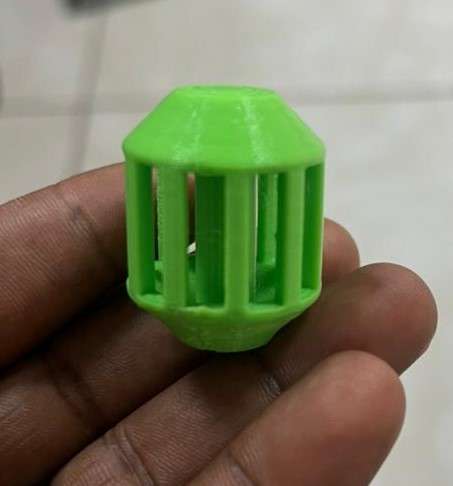
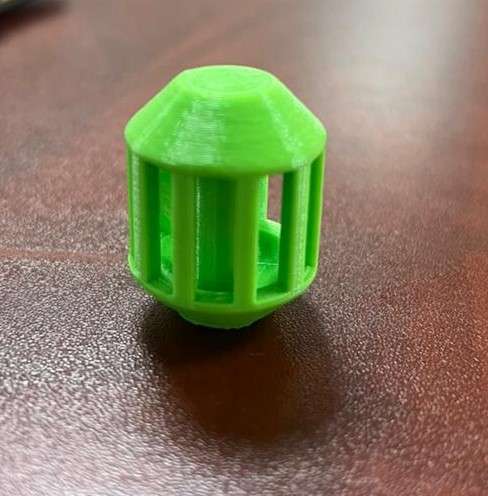
I used ondsel ES/FreeCAD to design this cute palm scratcher:
I started by creating the pole in the middle.
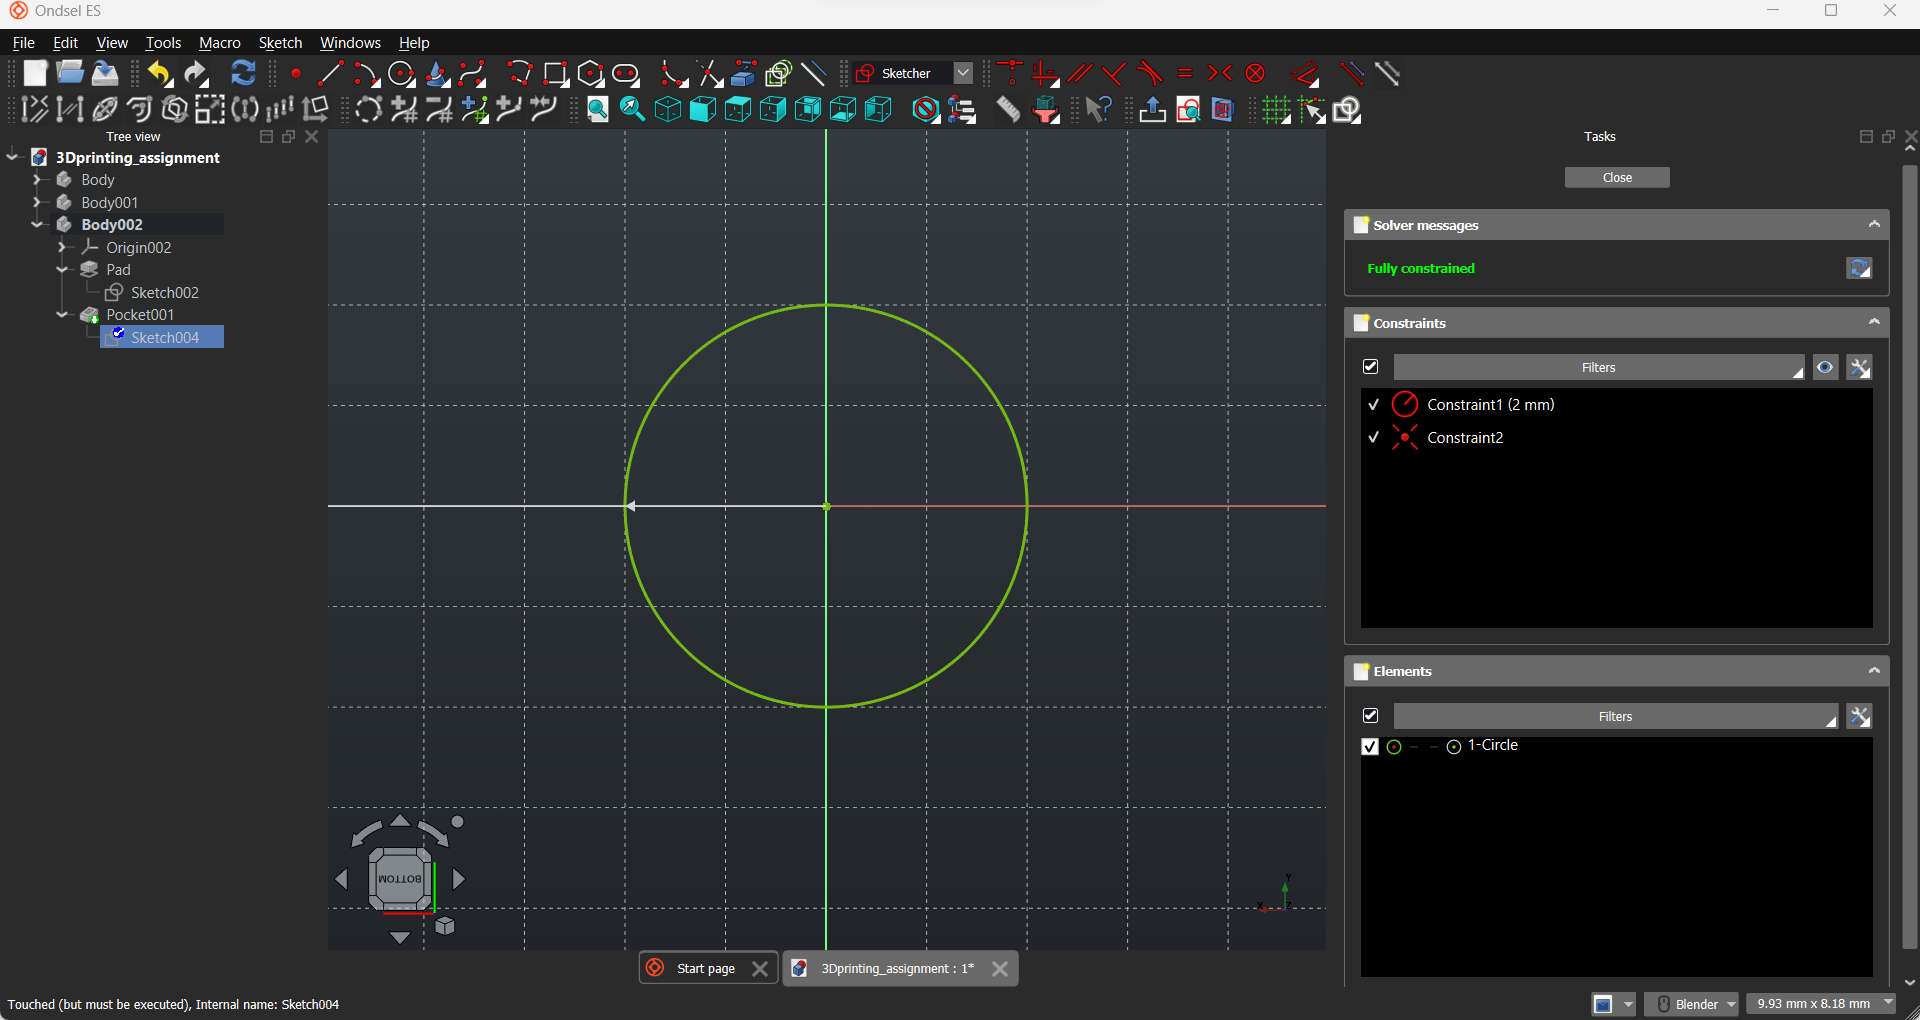
Then I padded it to 33mm
To design the outer part, I created a c-shaped sketch as follows:
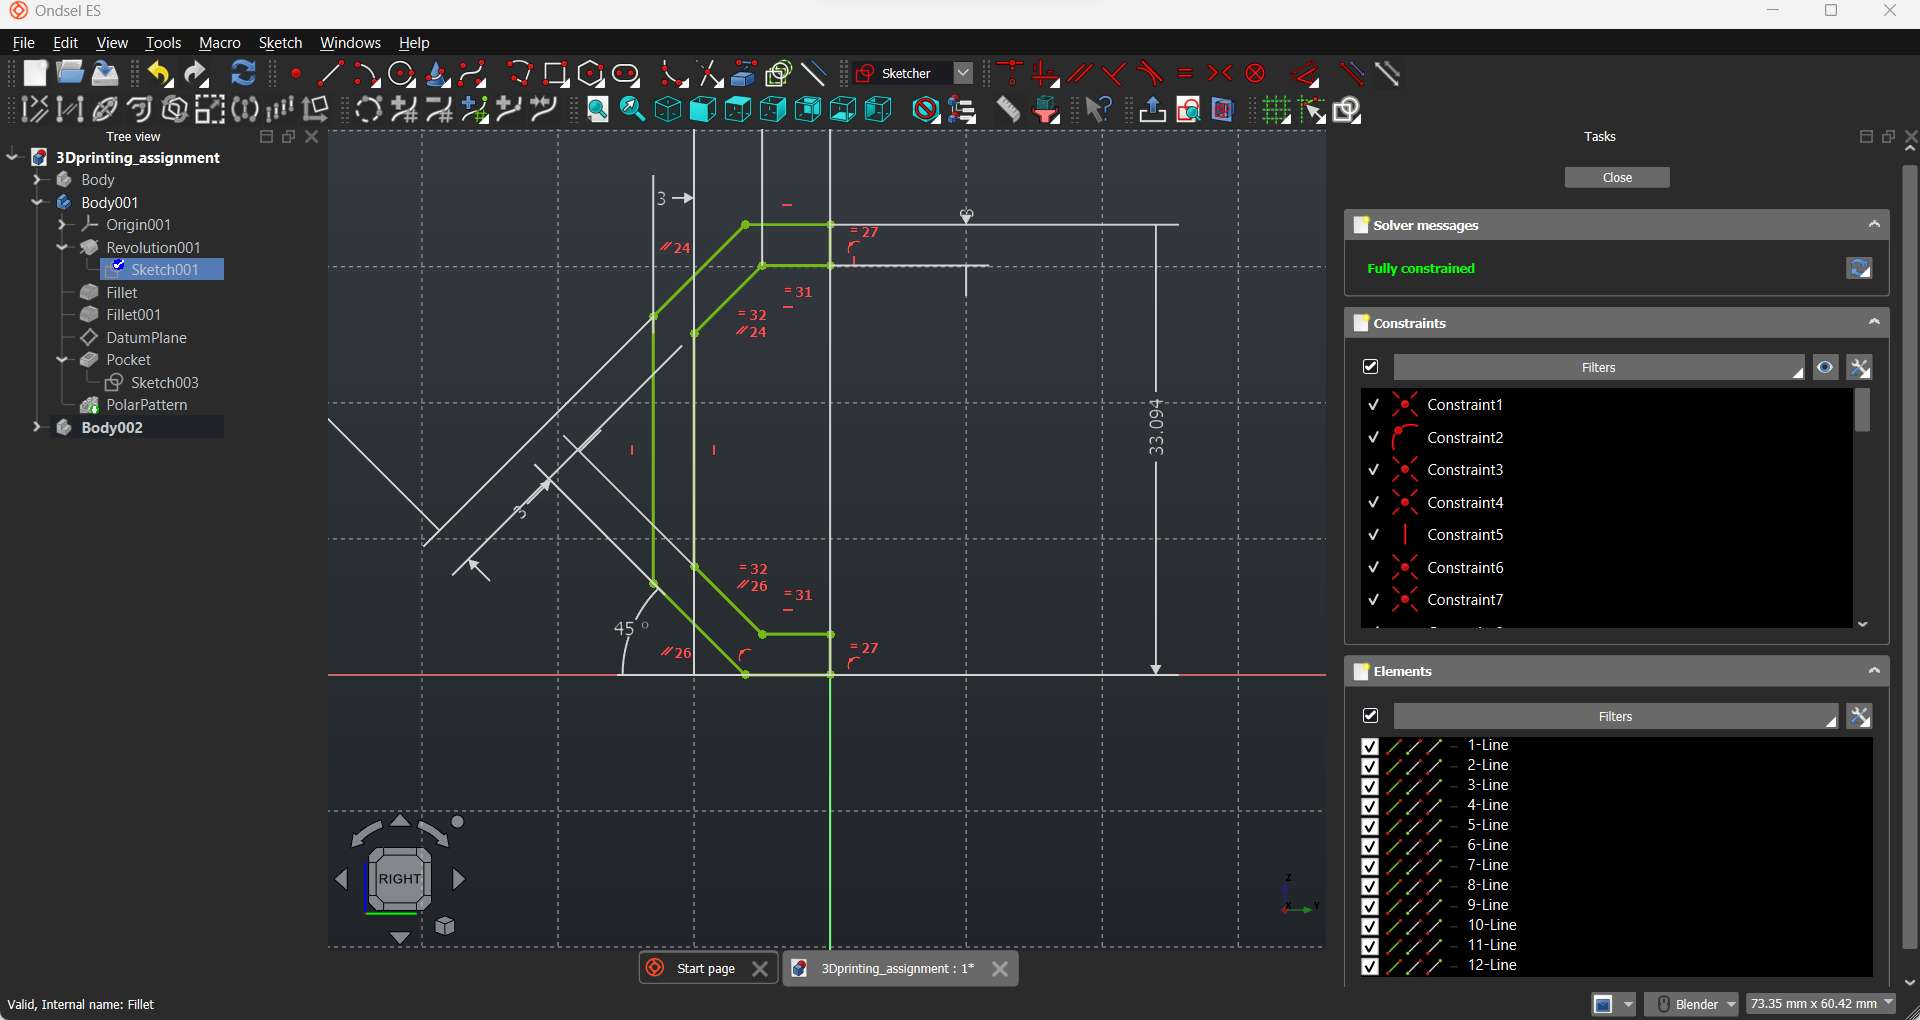
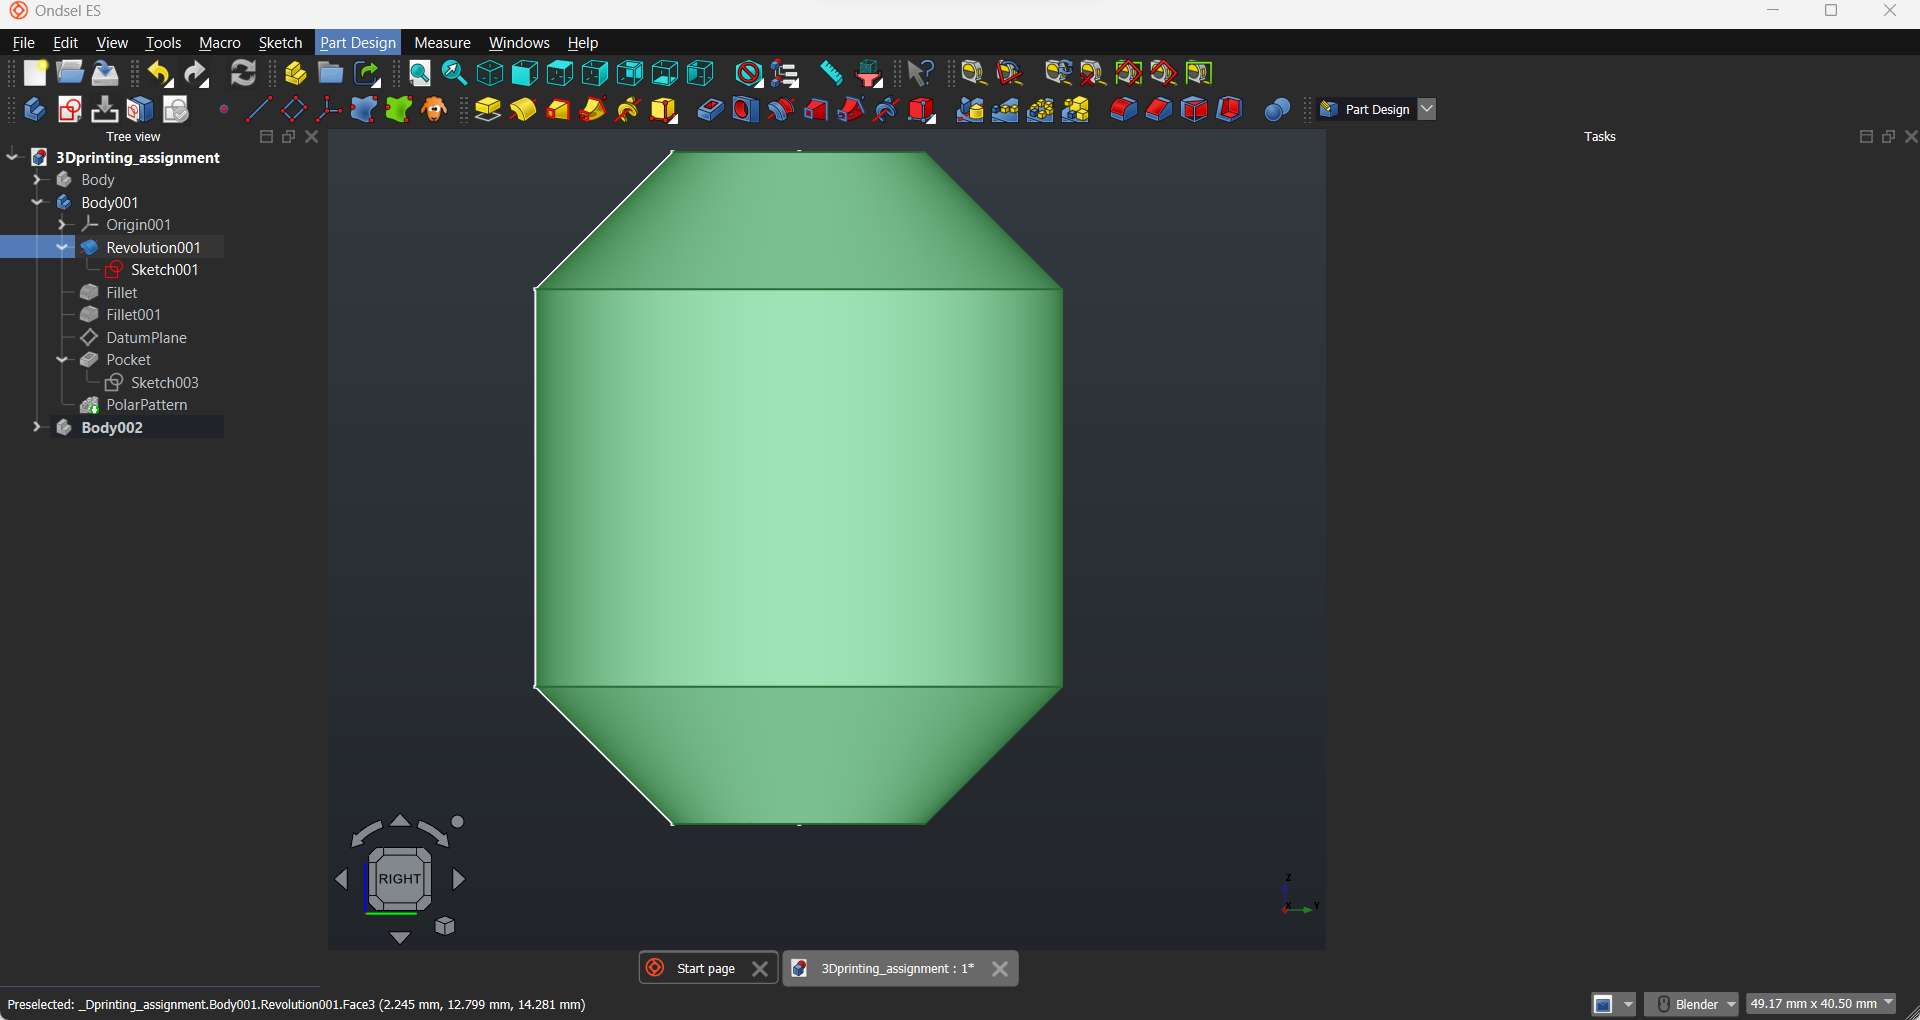
I then revolved the sketch around the z-axis.
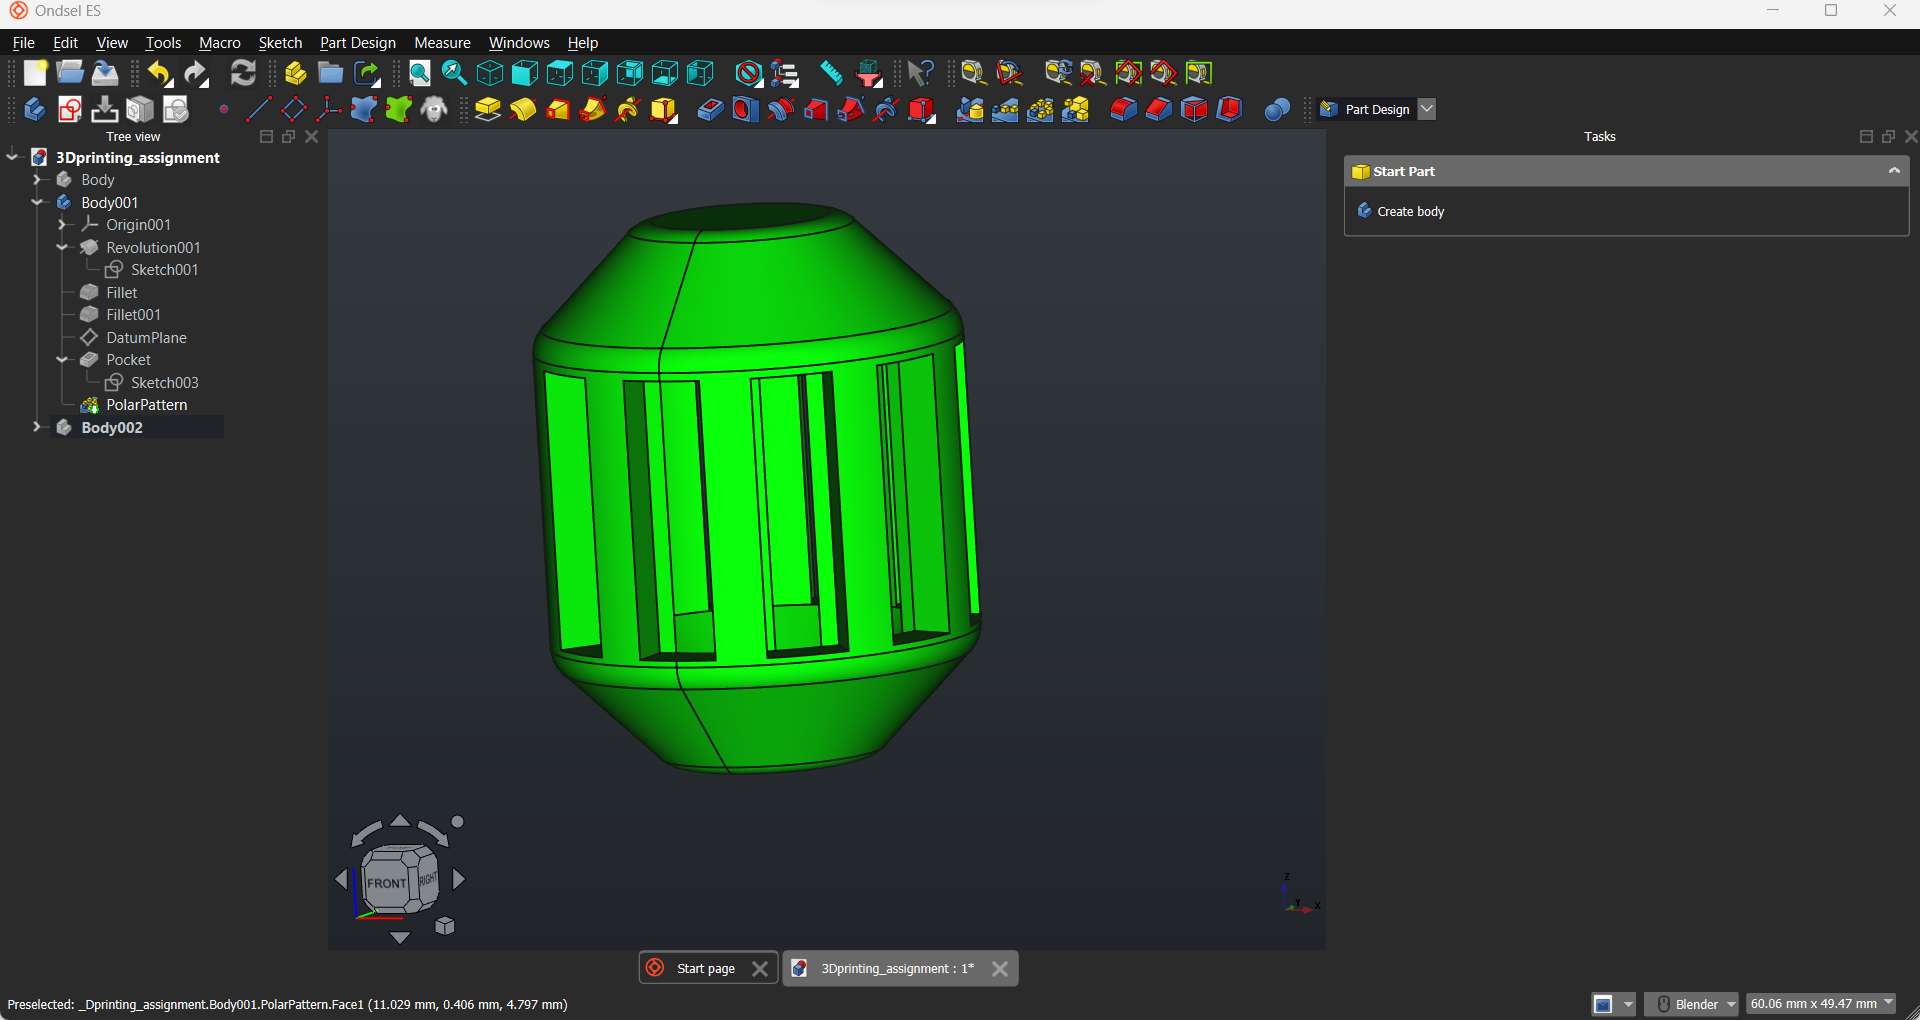
Now I used a rectangle to bore into the outer part. This create windows that expose the middle part.
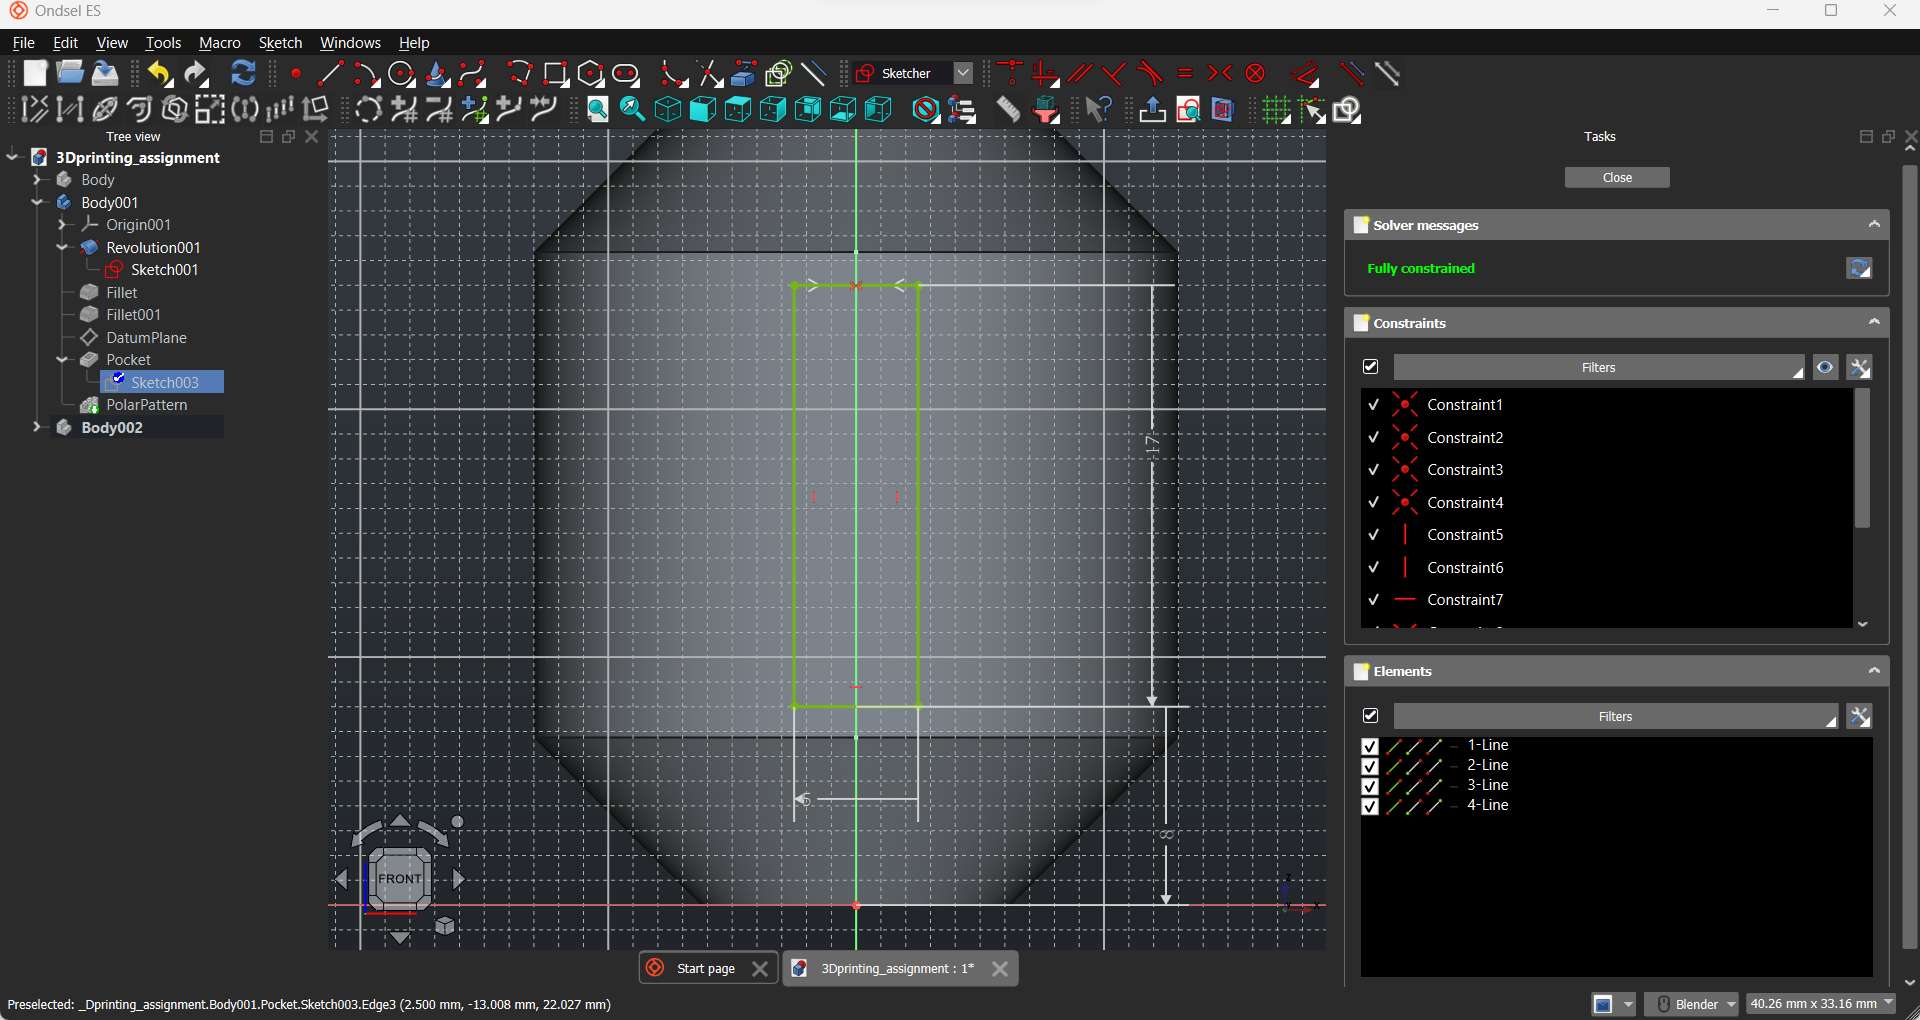
Finally repeated the groove in polar pattern around the outer shape
First I have exported the design as .stl file, then imported it with Prusa slicer:
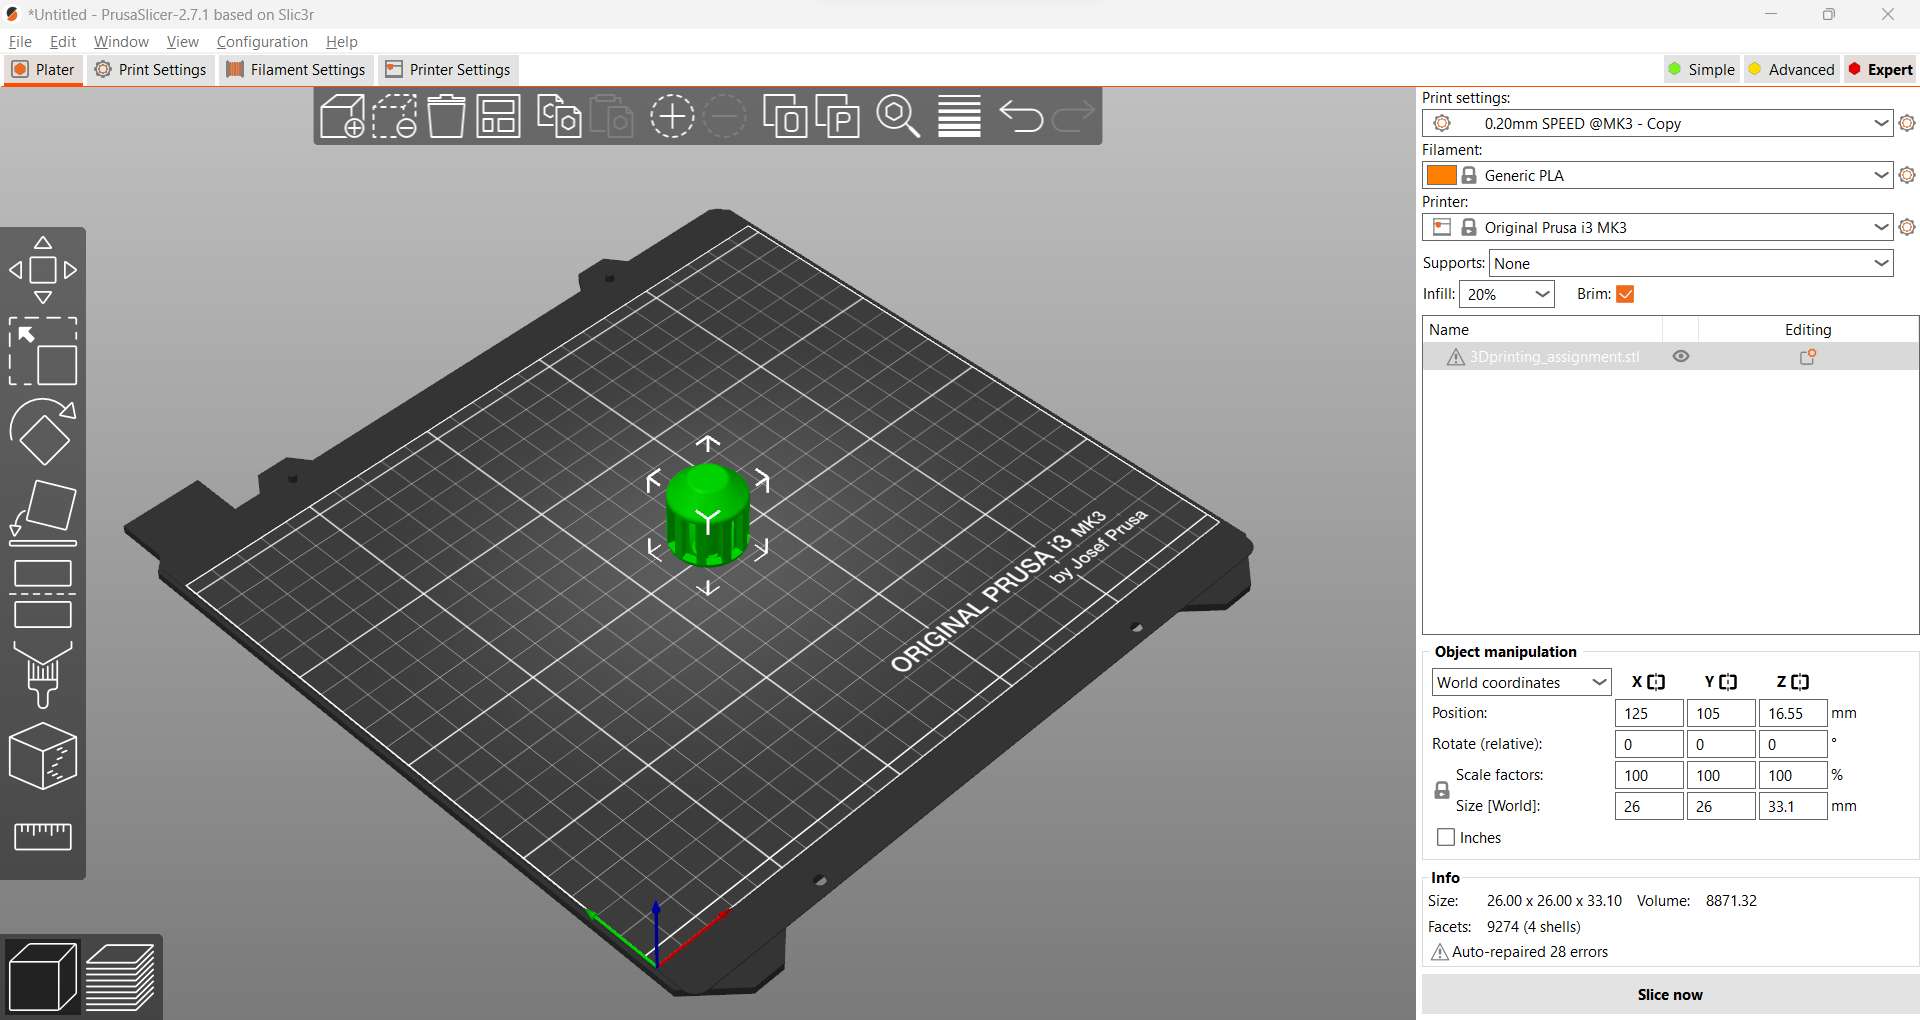
I chose PLA as the material, Original Prusa i3 MK3 printer in the printer setting and applied 20% infill with no support. To get a good print stability, I added brim. The clicked on slice now button:
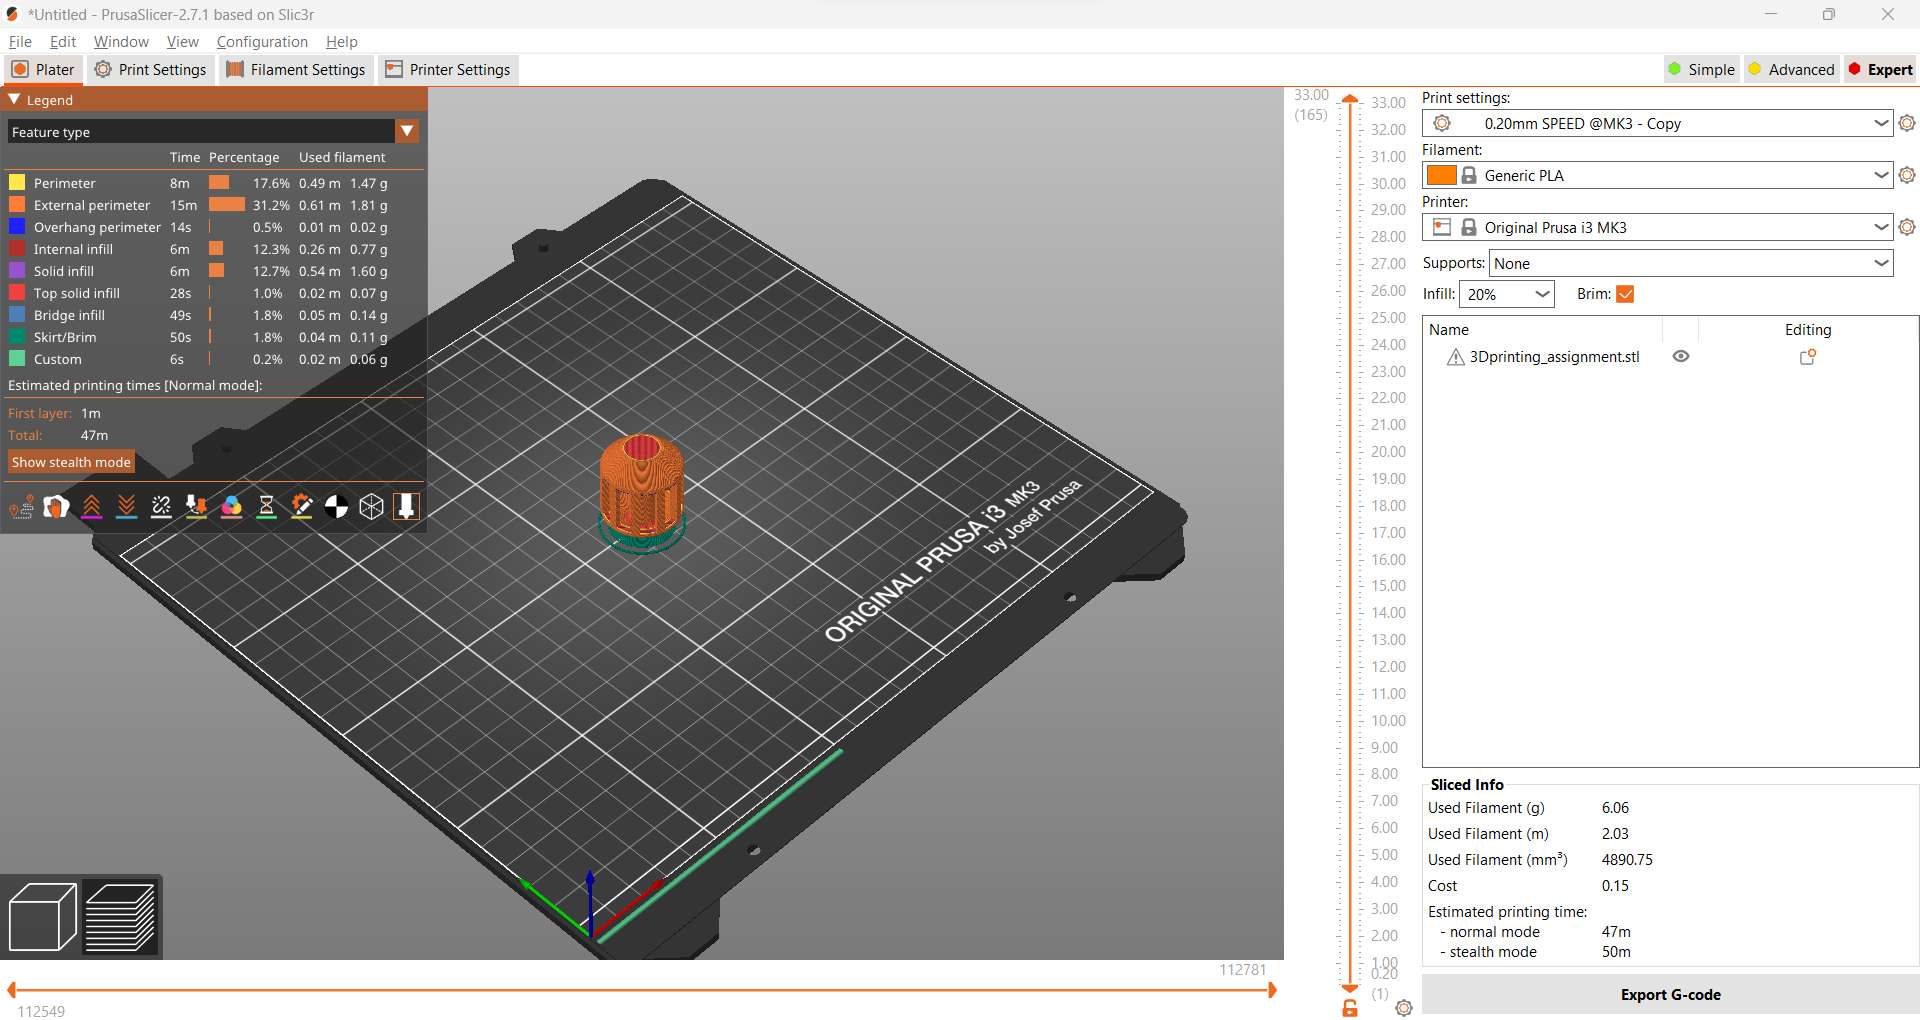
I plugged in the SD card and exported the G-code.
To start printing, I inserted the SD into the printer and selected the file printing.
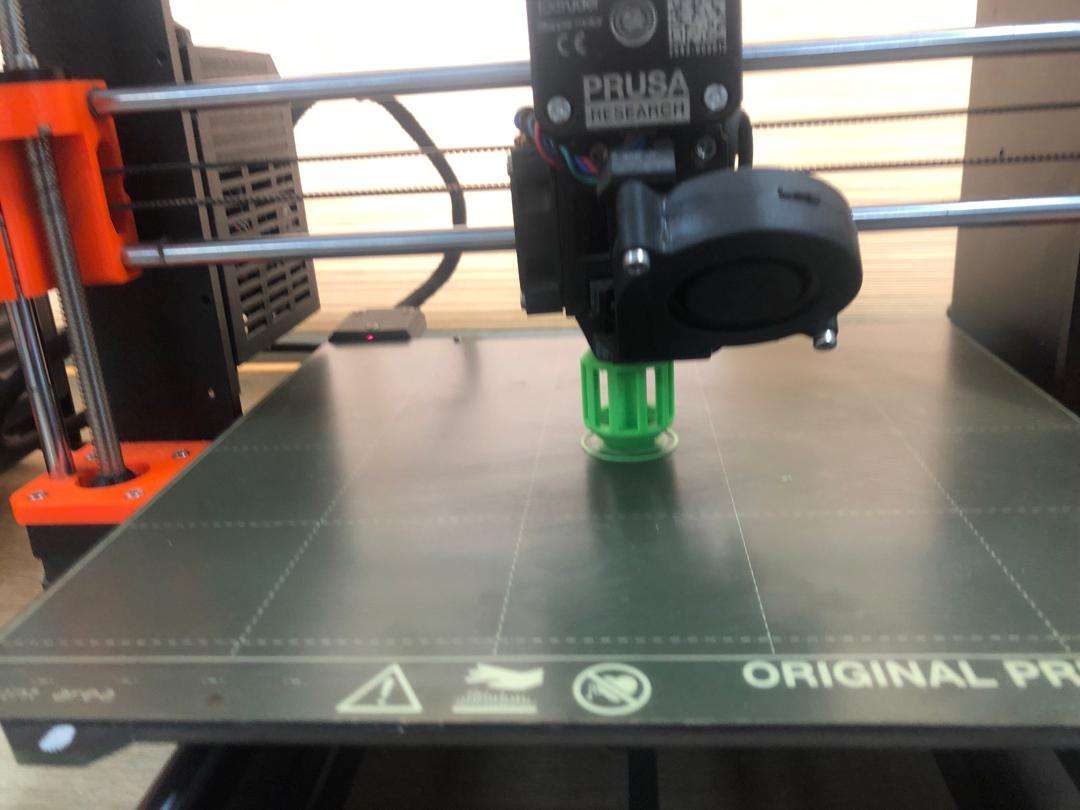

Printing Video:

For the 3D scanning assignment, I utilized the Afinia EinScan-SE V2 3D Scanner in conjunction with the Turntable EINSCAN-SE V2. This scanner, available at B&H Photo Video , offers advanced capabilities for capturing highly detailed 3D scans with ease and precision. With its intuitive interface and robust hardware, the EinScan-SE V2 enables efficient scanning of various objects, delivering accurate and high-quality results. The included turntable further enhances the scanning process by automating rotation and ensuring comprehensive coverage of the object from all angles. Overall, the combination of the Afinia EinScan-SE V2 3D Scanner and Turntable provides a reliable solution for professional 3D scanning applications, empowering users to create detailed digital replicas for a wide range of purposes.
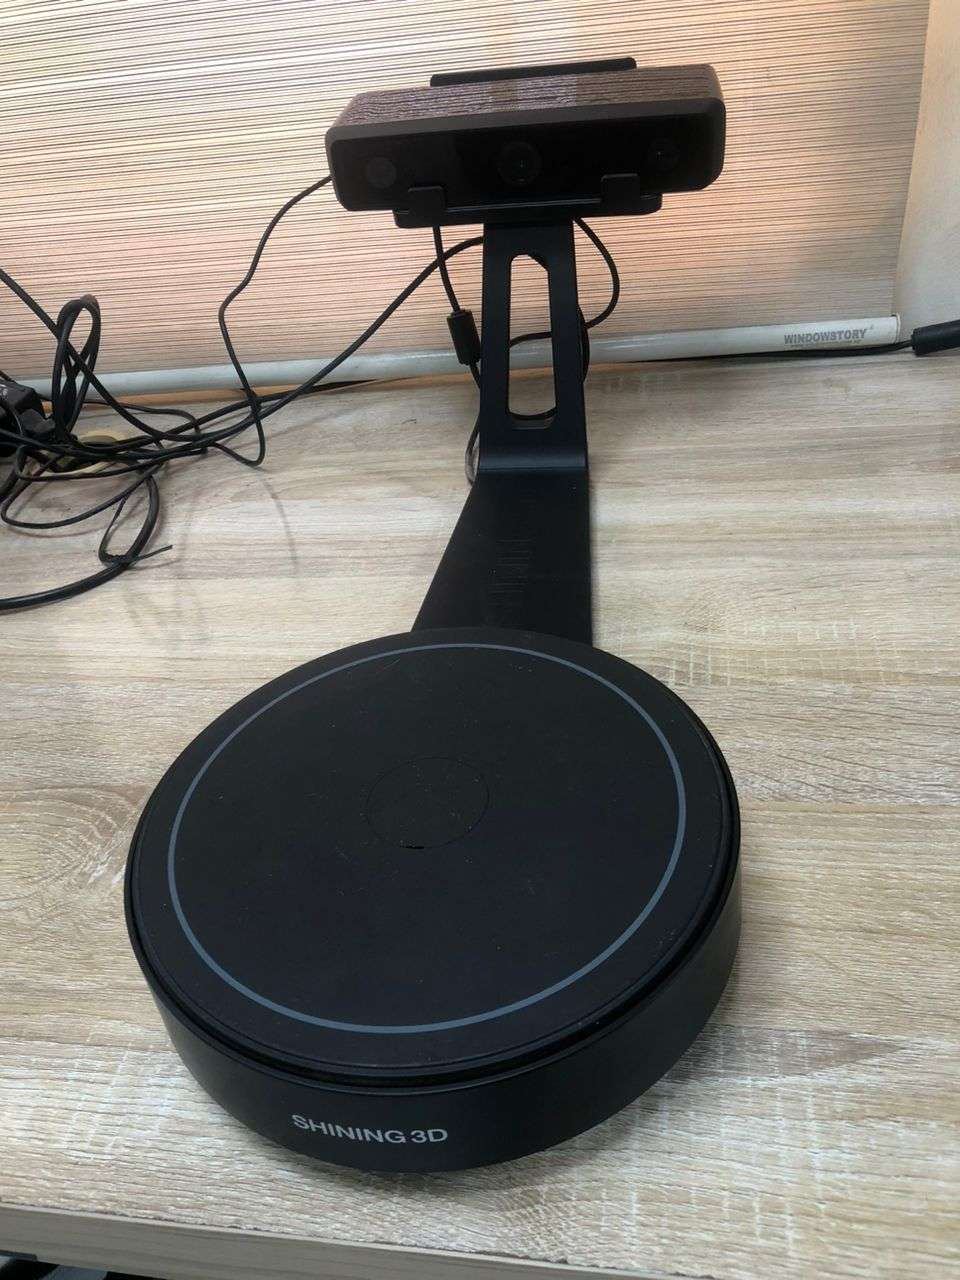
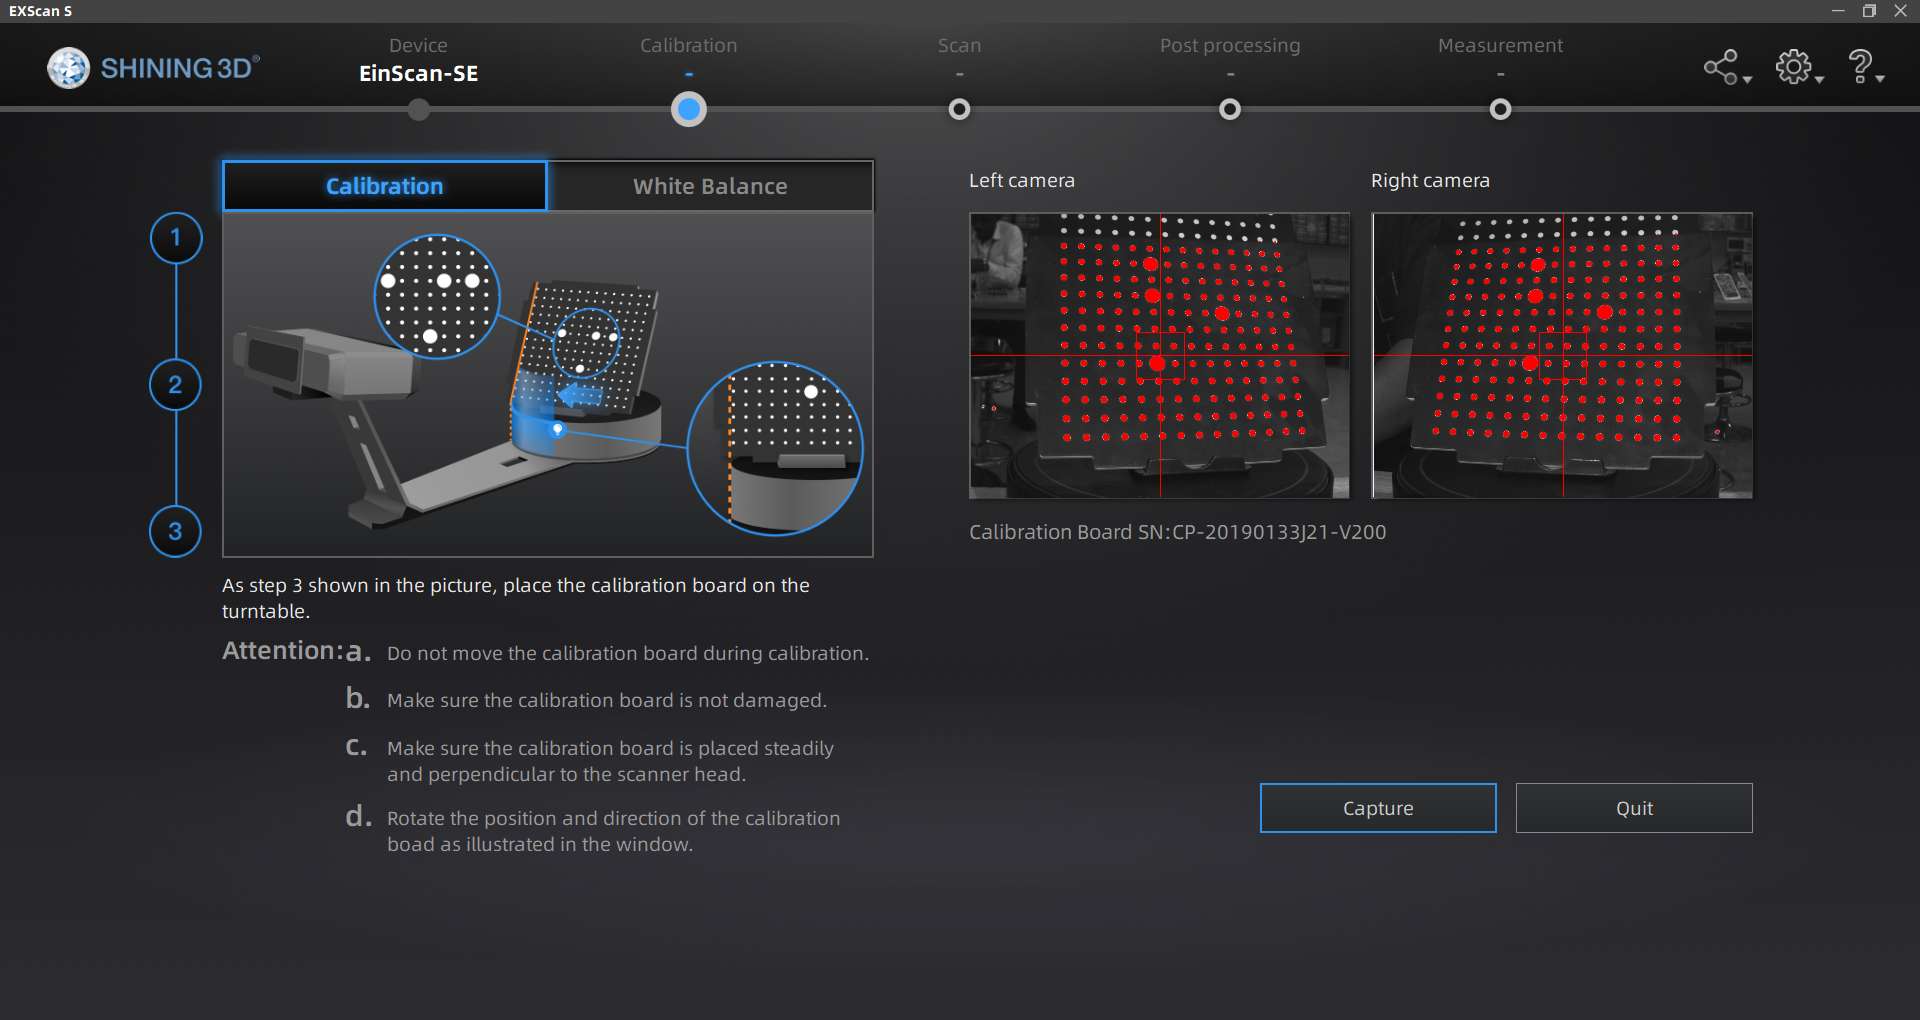
I am using this scanner for the first time. I first installed the scanner software and ran the device calibration using the dotted plate provided.
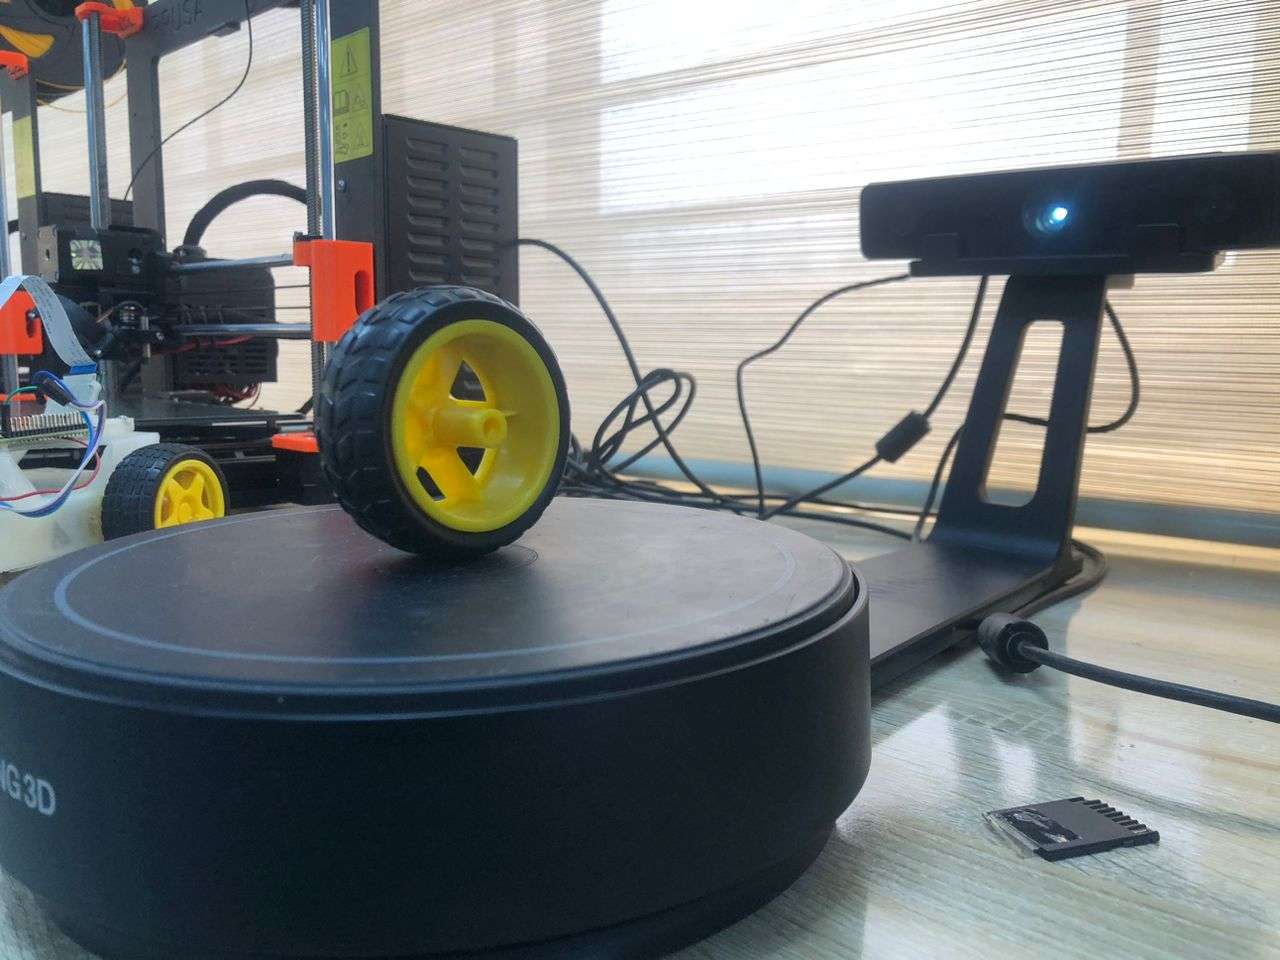
Then placed the object to be scanned at the center of the scanner plate.
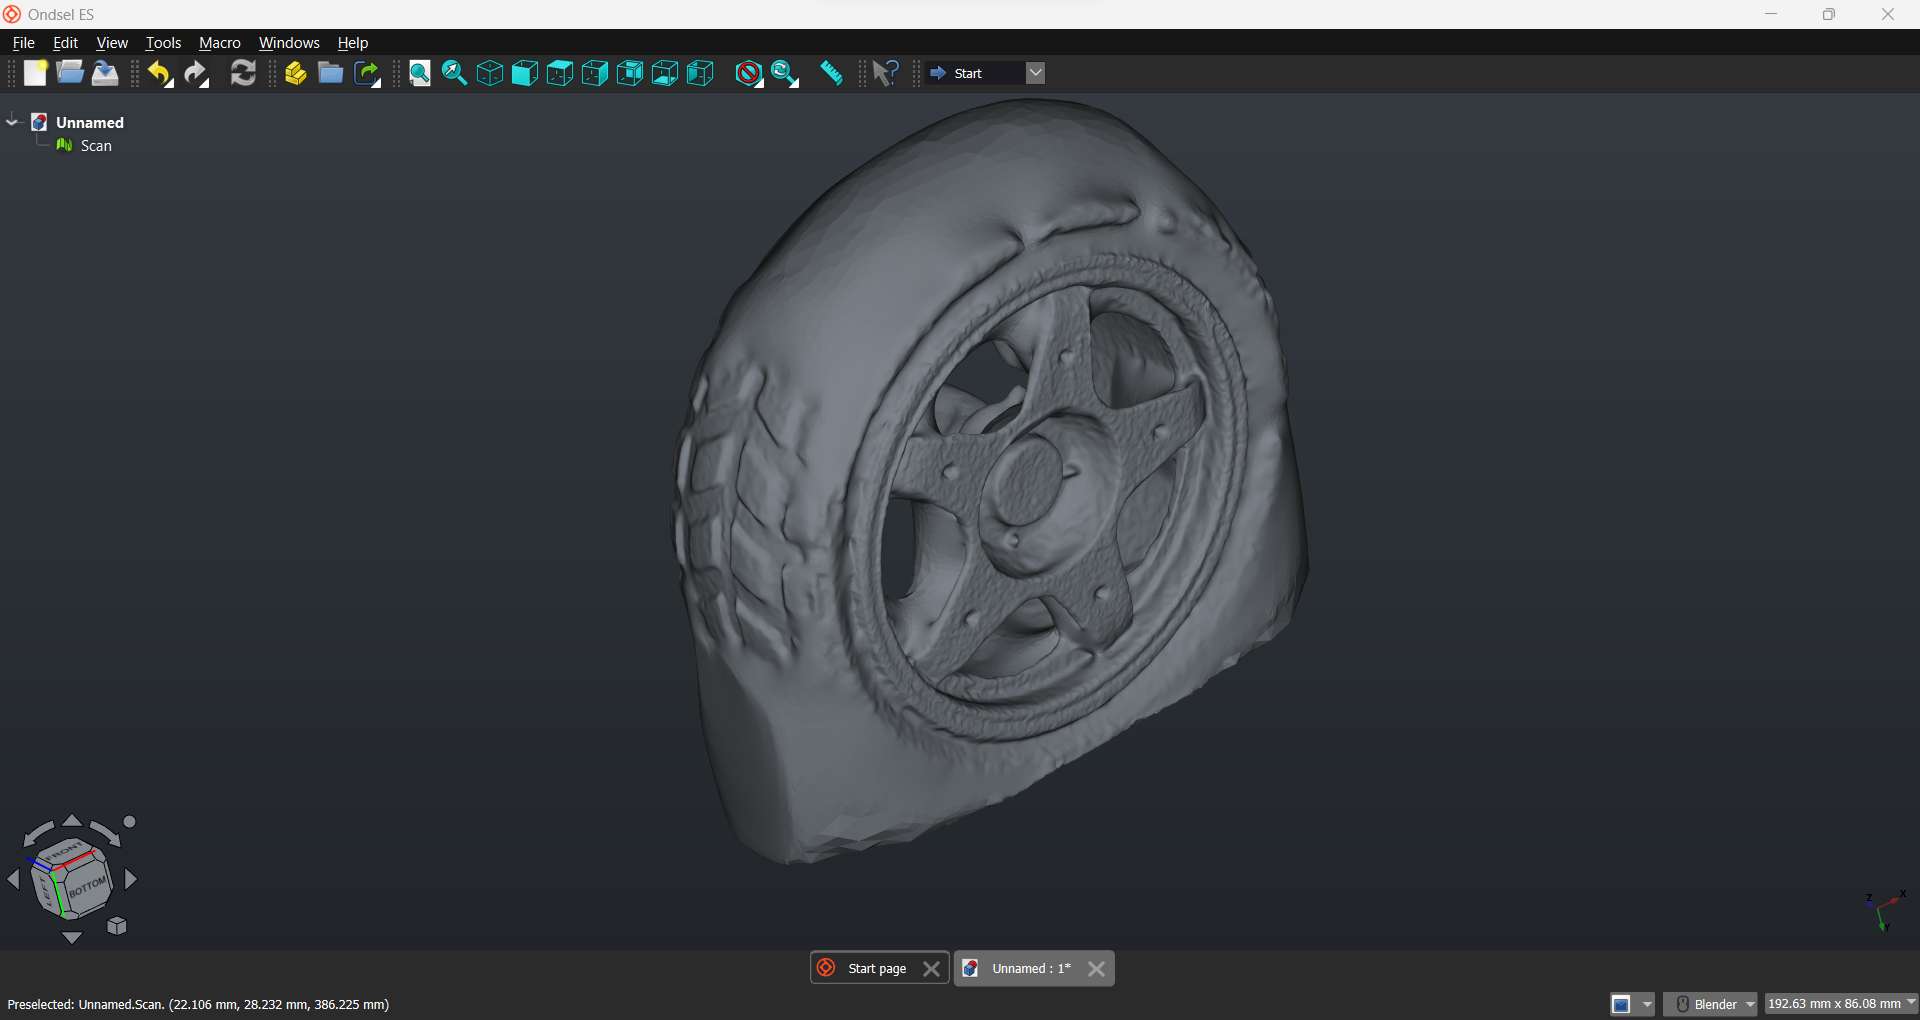
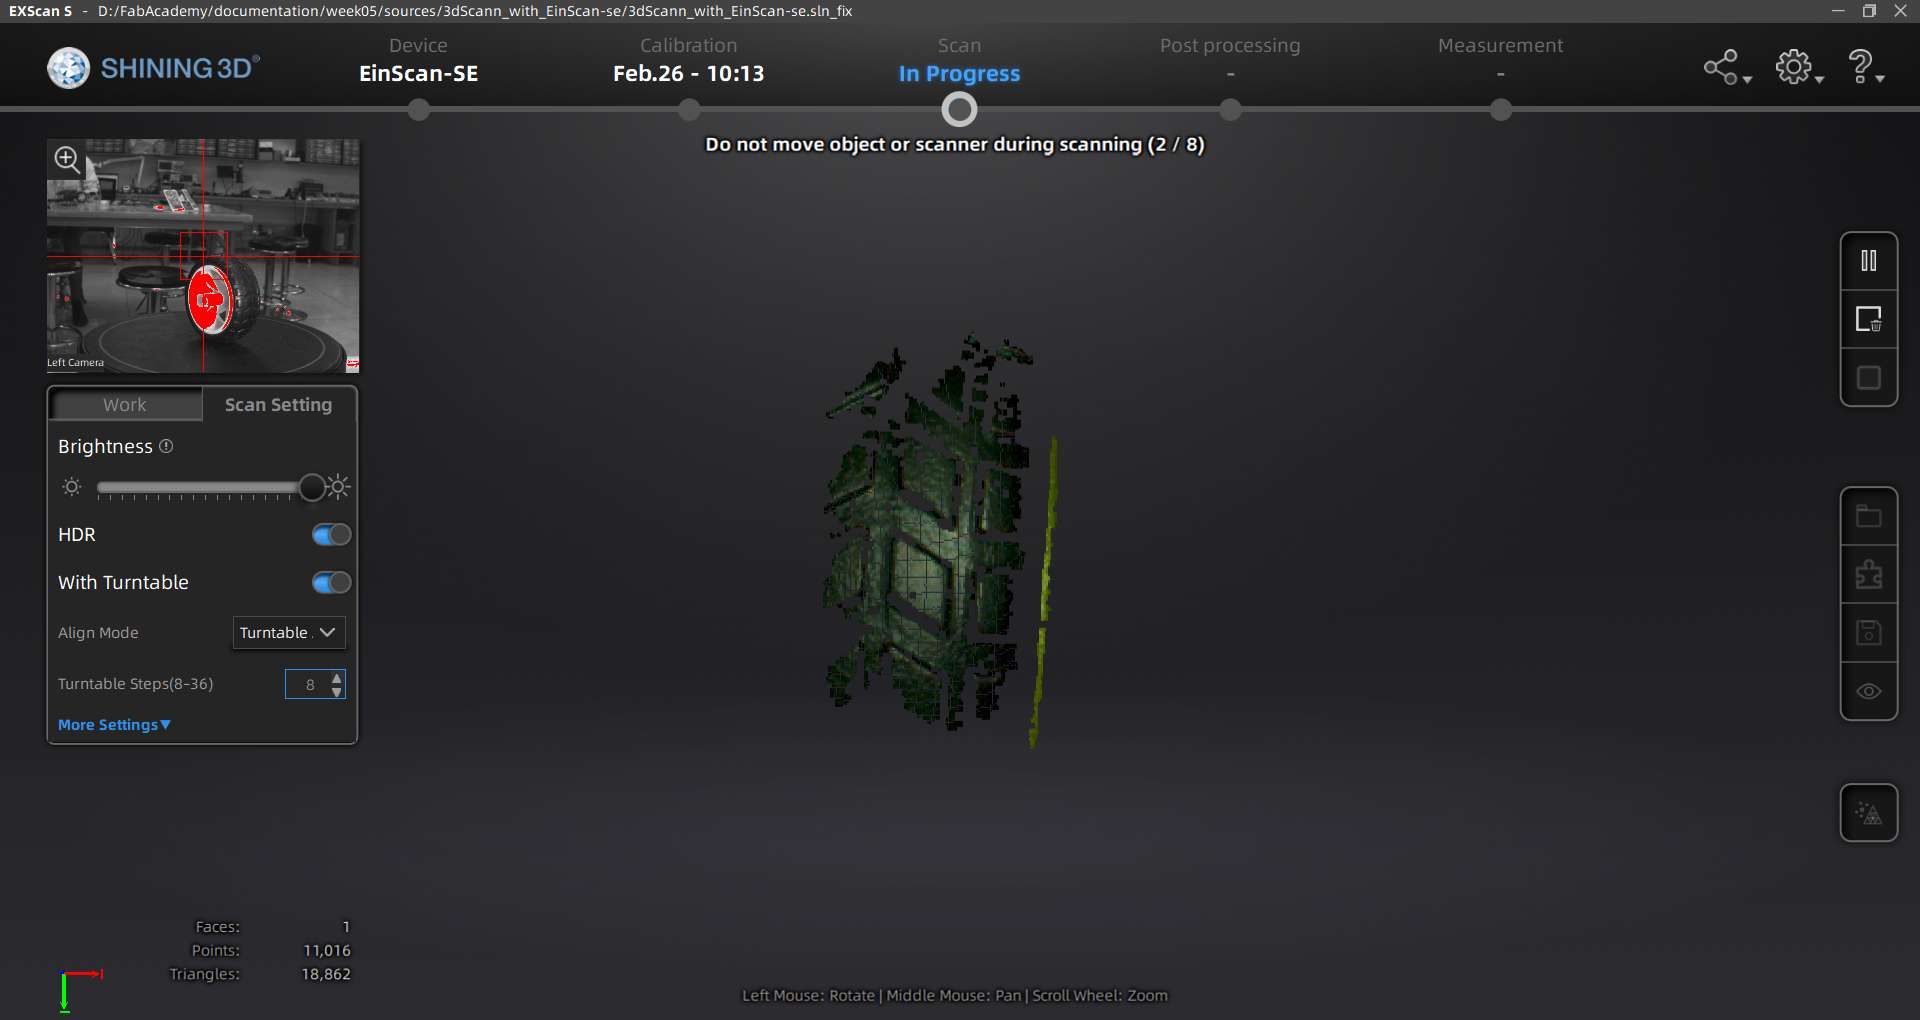
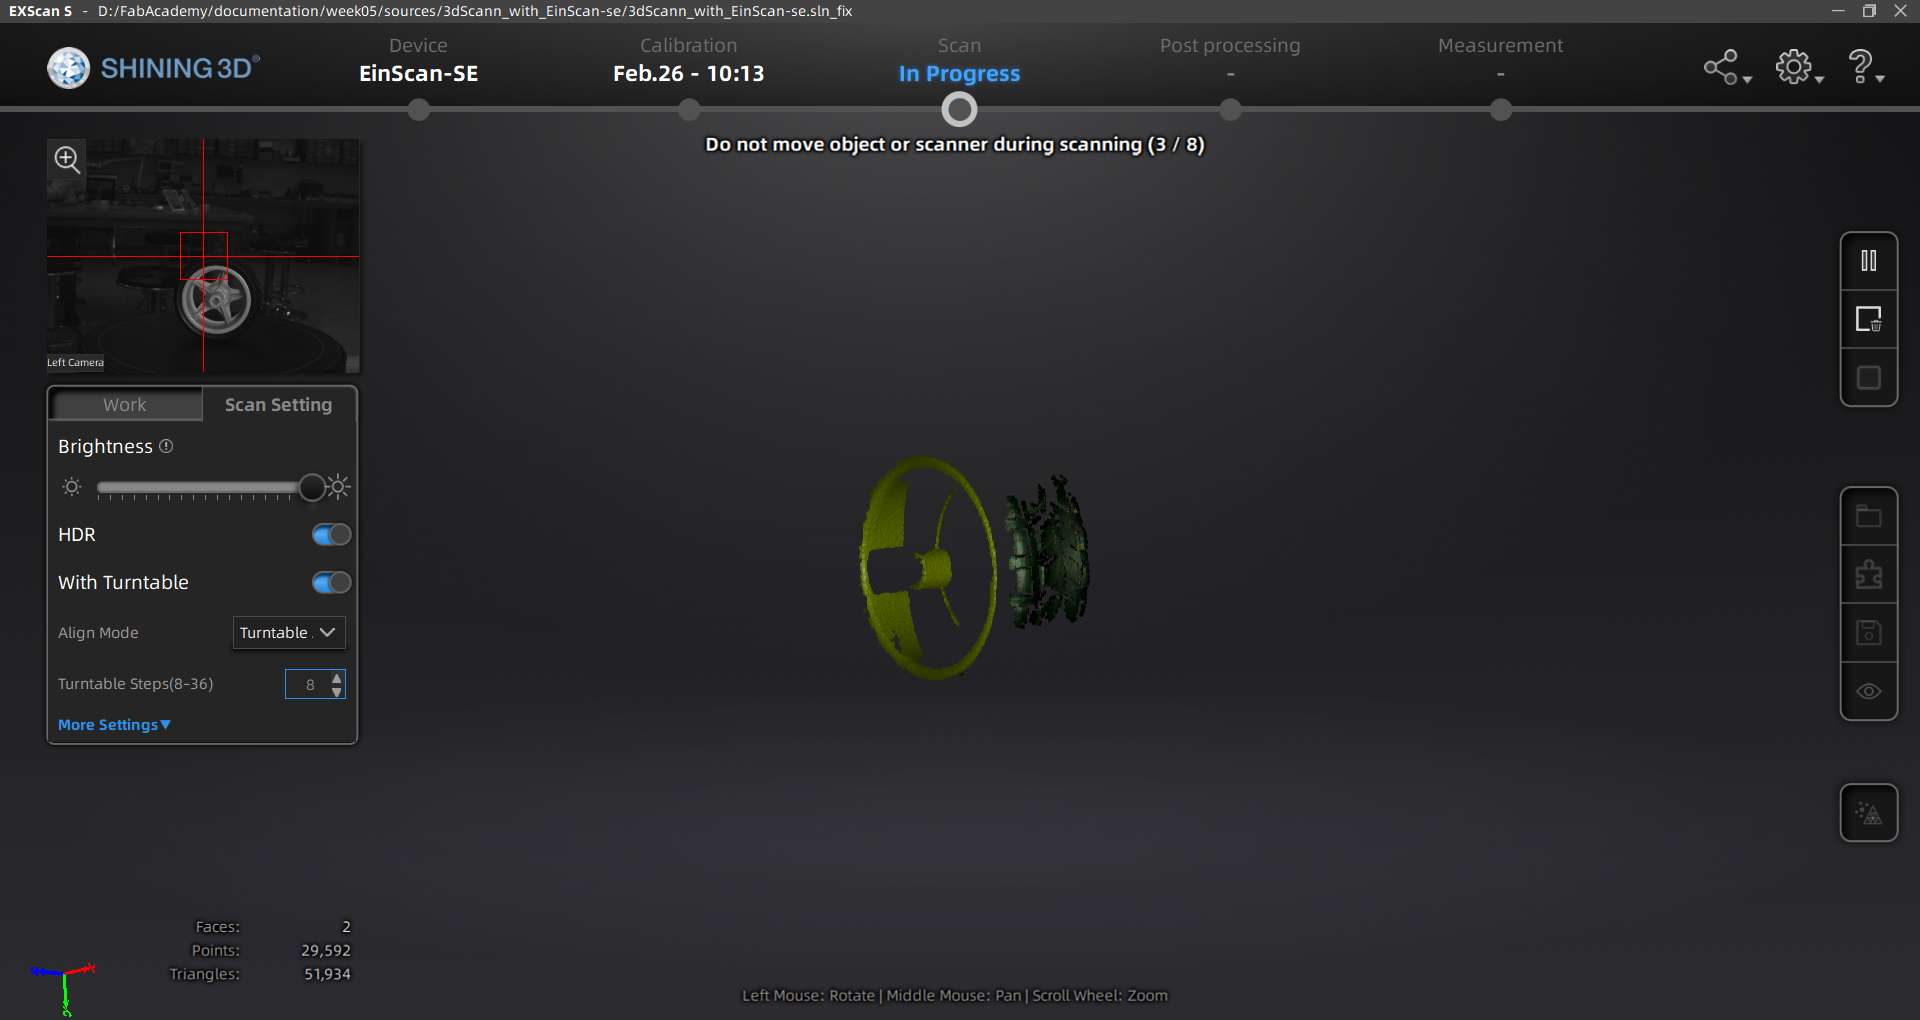
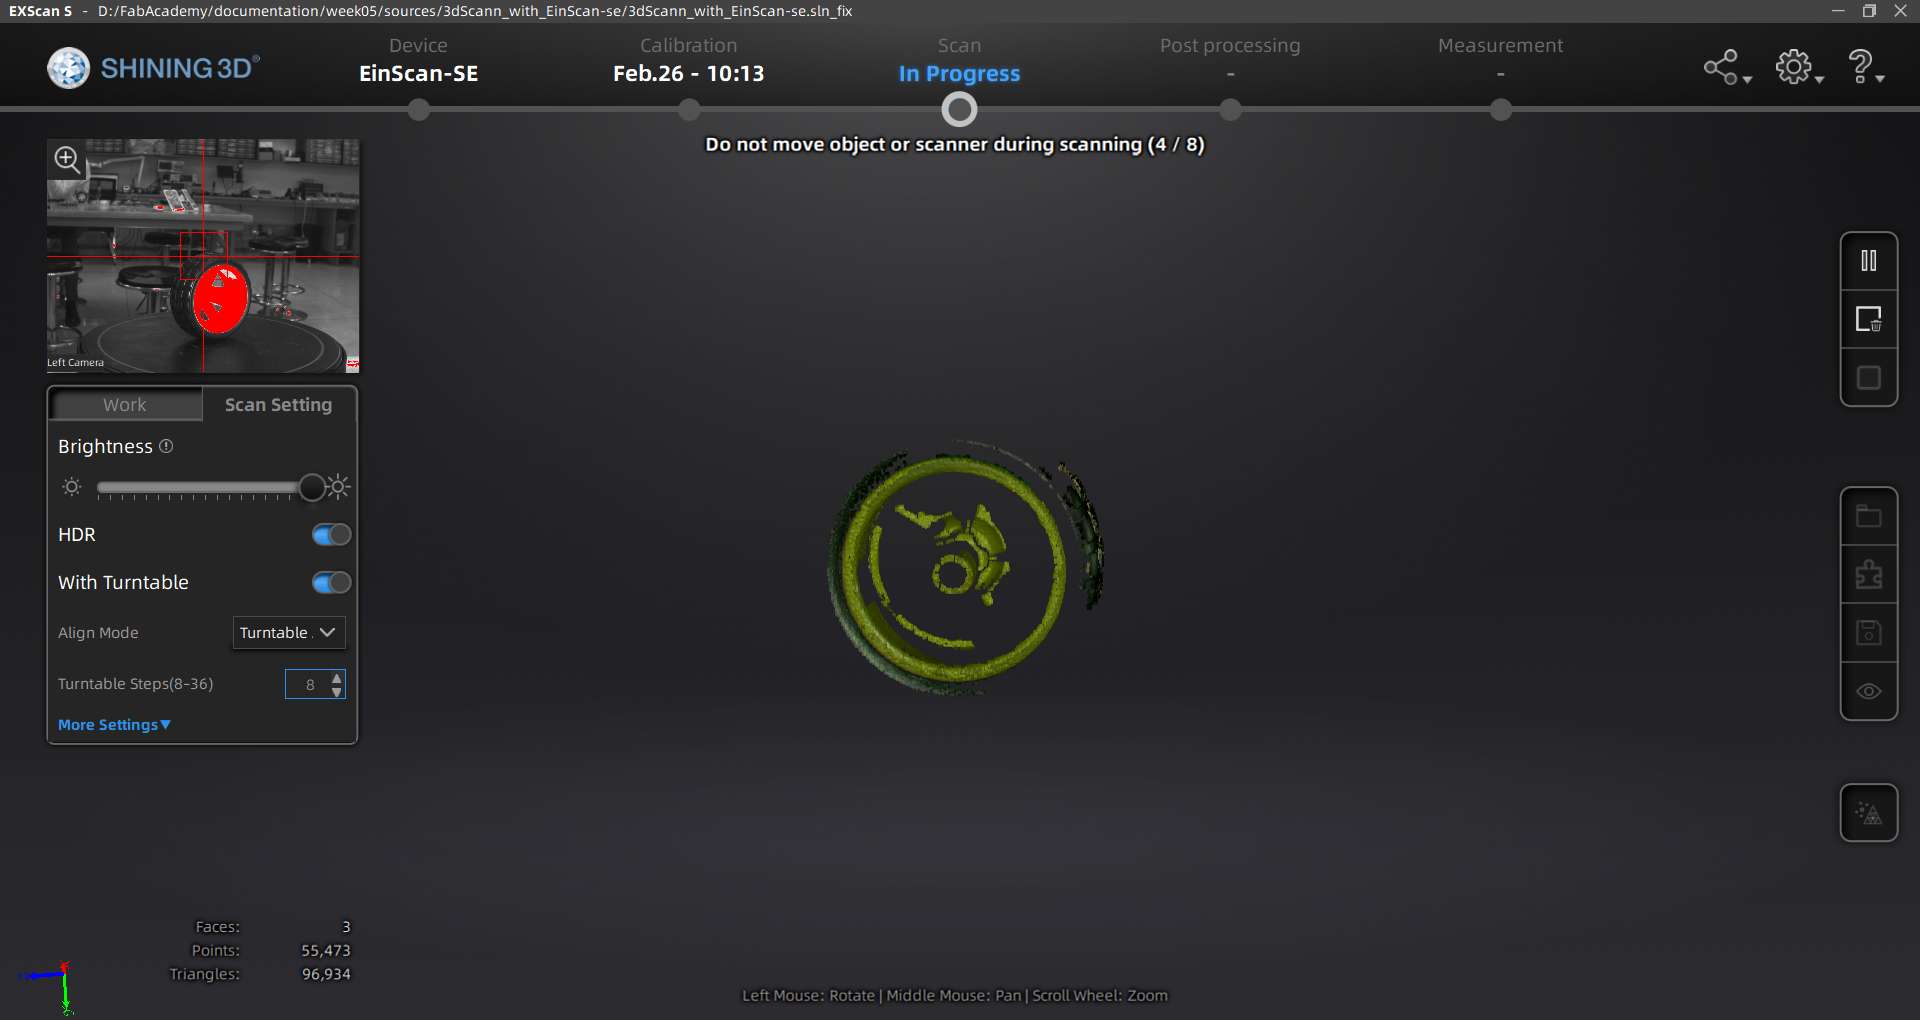
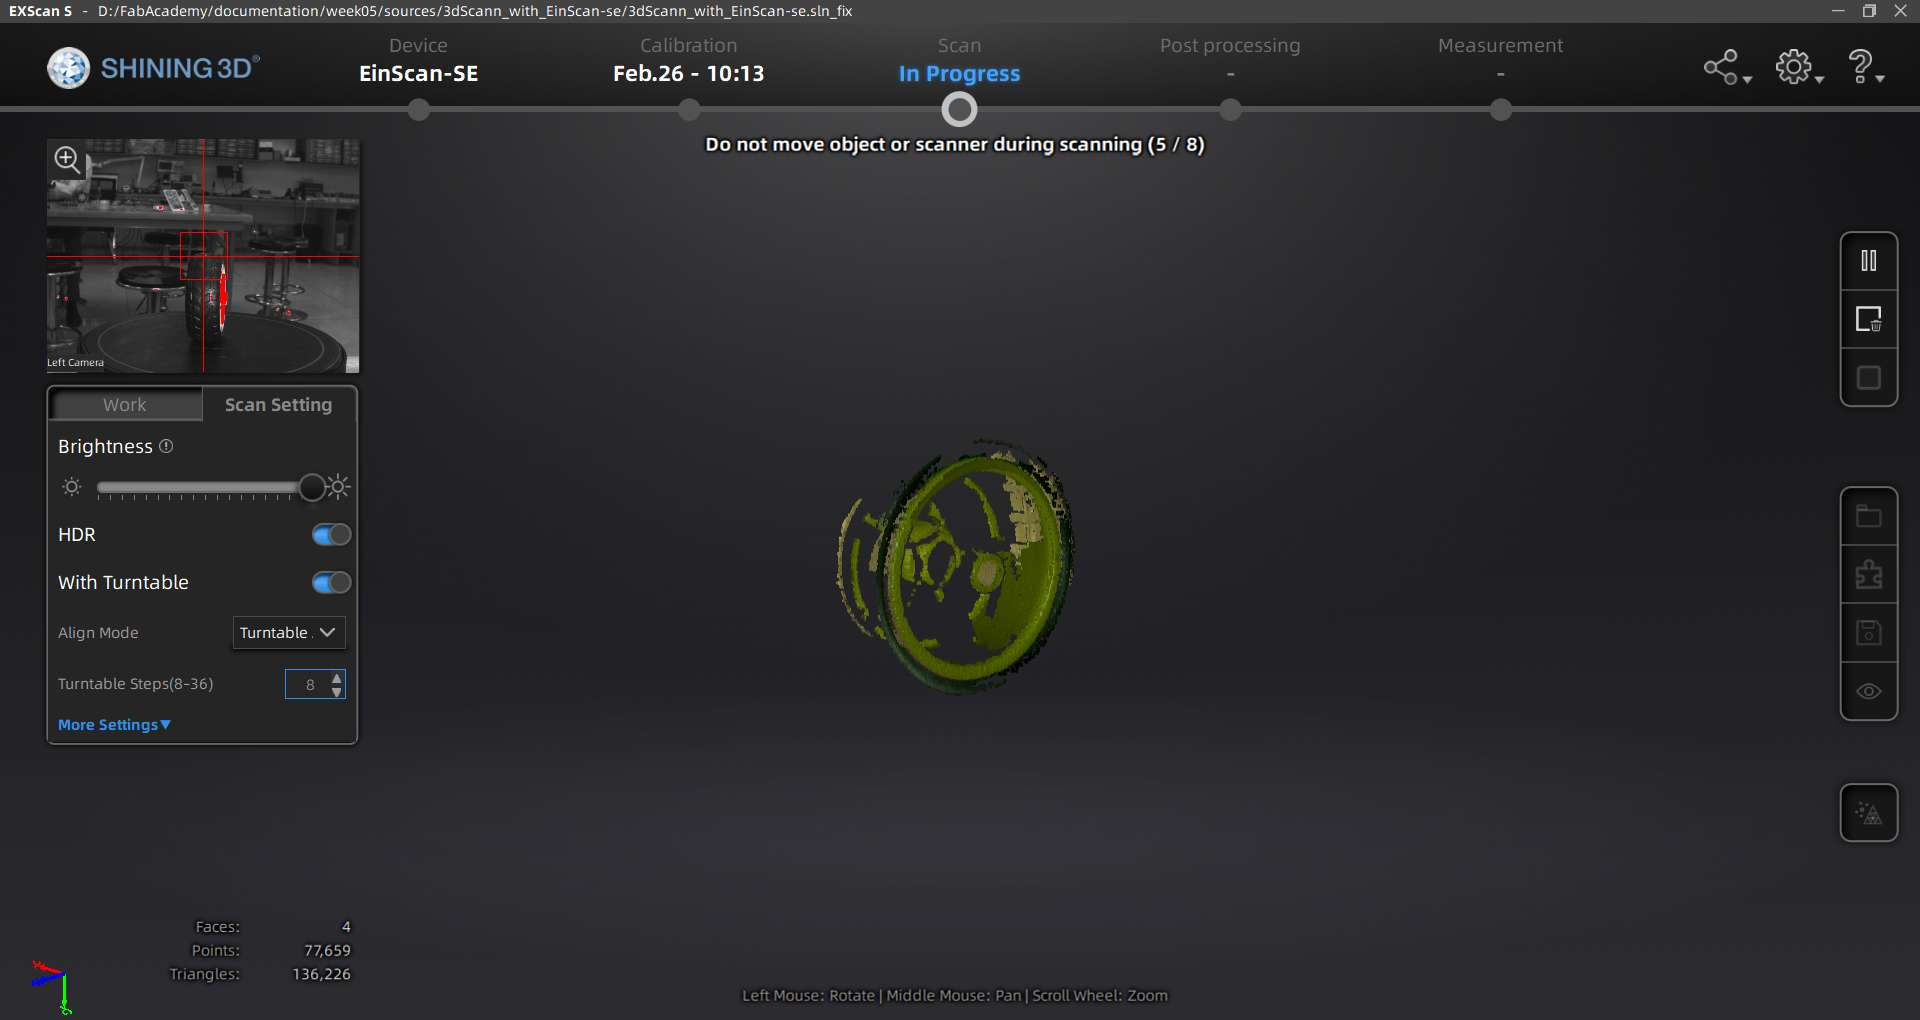
After positioning the wheel at the center of the scanner plate, I run a scan job 3 times in order to get more accuracy.
This is the result of the scanned wheel in ondSel/FreeCAD.