This week's focus on electronics production provided me with a comprehensive understanding of the various stages involved in manufacturing electronic circuits, from fabrication to assembly and testing. We delved into the intricate processes of milling circuit boards, applying solder mask, and both reflow and manual soldering techniques, each playing a crucial role in the production of high-quality electronic assemblies. Additionally, we gained practical experience in testing the Quenttores development board, ensuring functionality.
This week's assignment is about understanding laser cutter and vinyl cutter machines in our lab.
For details on this assignment head to our Group assignment page
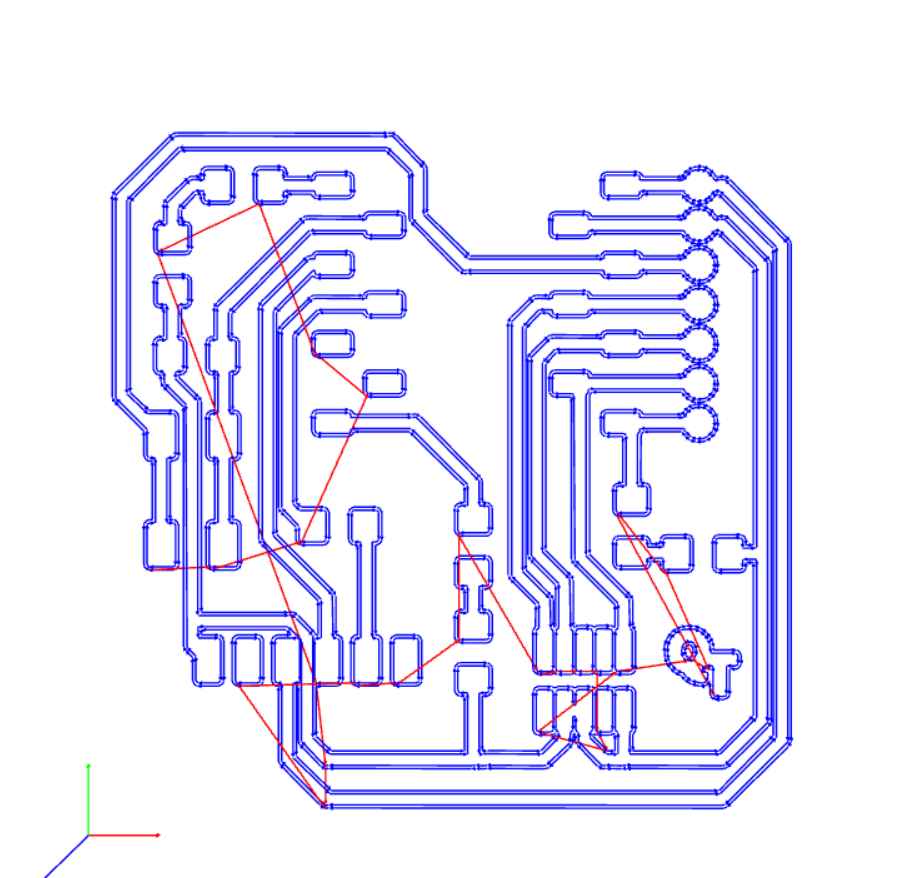
The development board I am going to produce for this assignment is called Quenttores which is a combination of a programmer and a test board that uses Seeed Studio XIAO RP2040 controller
First, I used modsproject.org to convert the png to an RML file. I have changed the offset number from 4 to 2 to affect the number of passes and reduced the cut depth to 0.1mm from the default “SRM-20 mill 2D PCB” program settings:
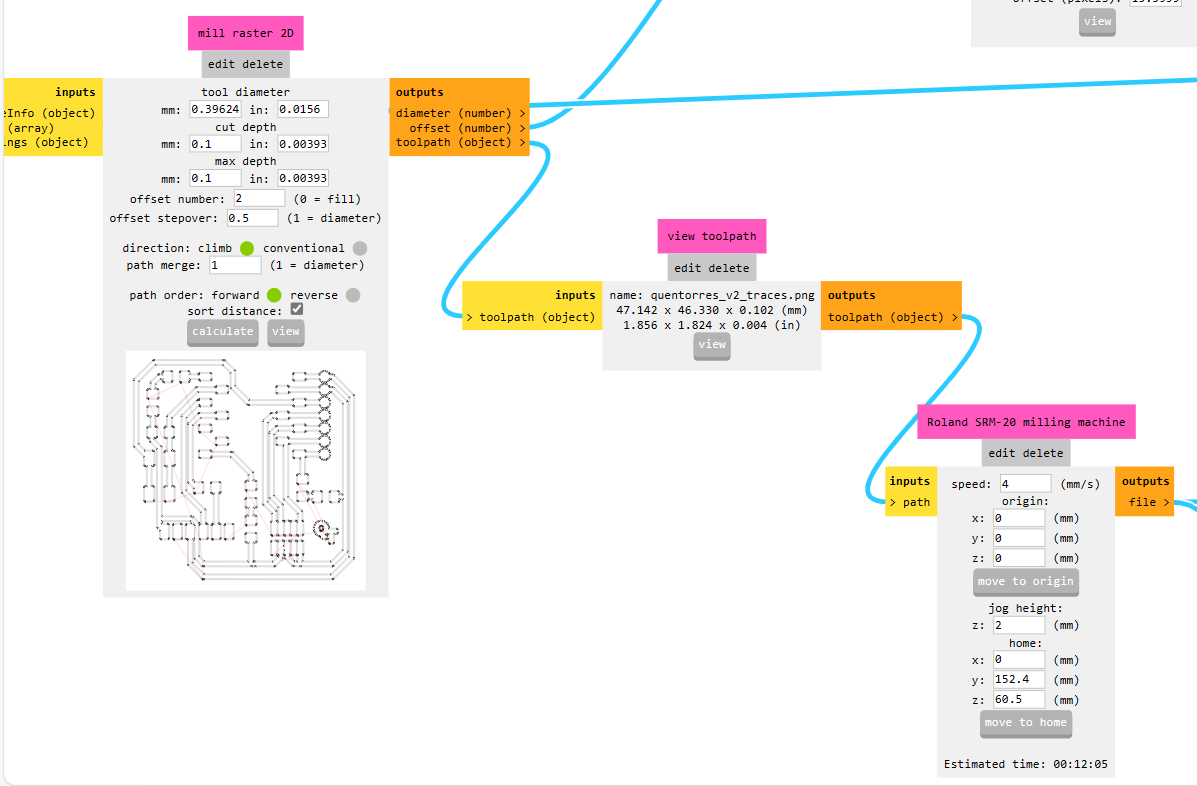
Result:
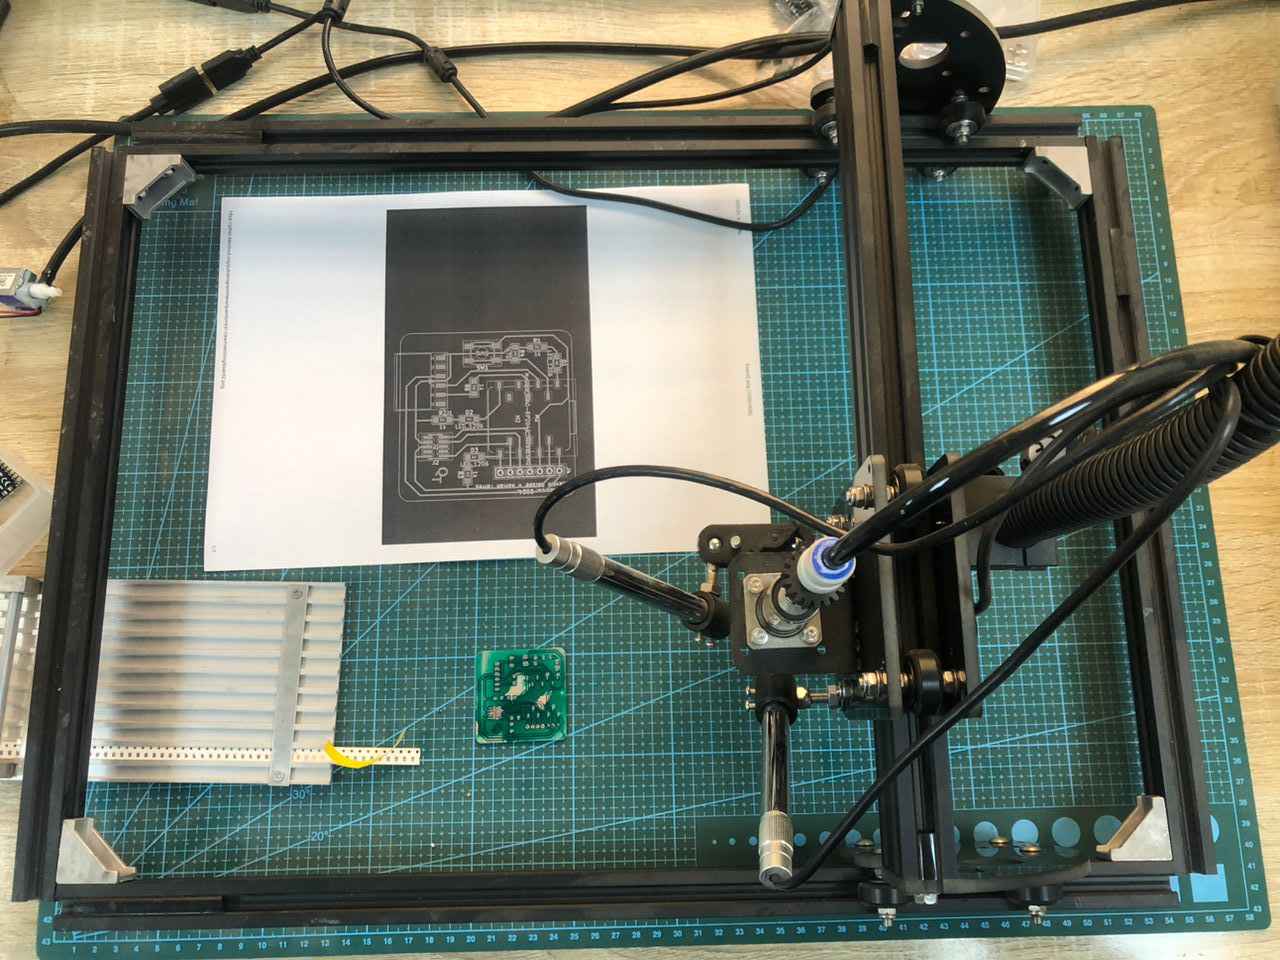
Then I fixed the board on the machine bed with double side tape.
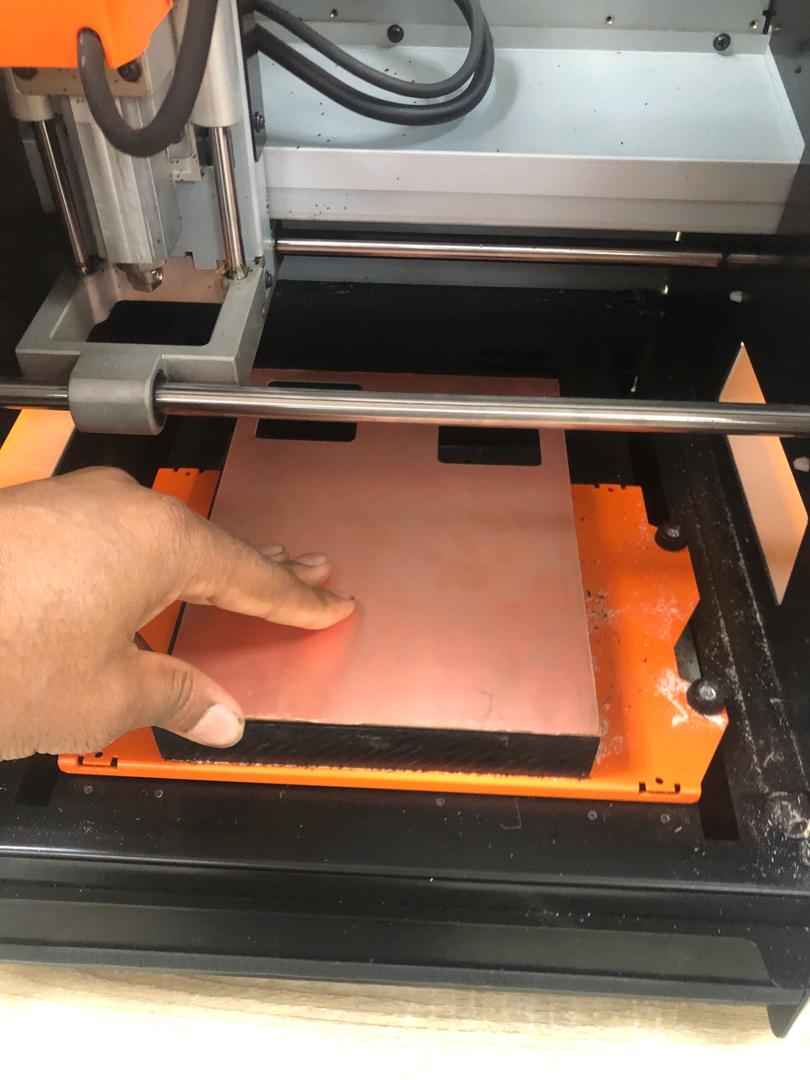
I also set the XY and Z coordinate using the VPanel Player.
I used 1/64 bit for milling and 1/32 bit for drilling as well as cutting board edge.
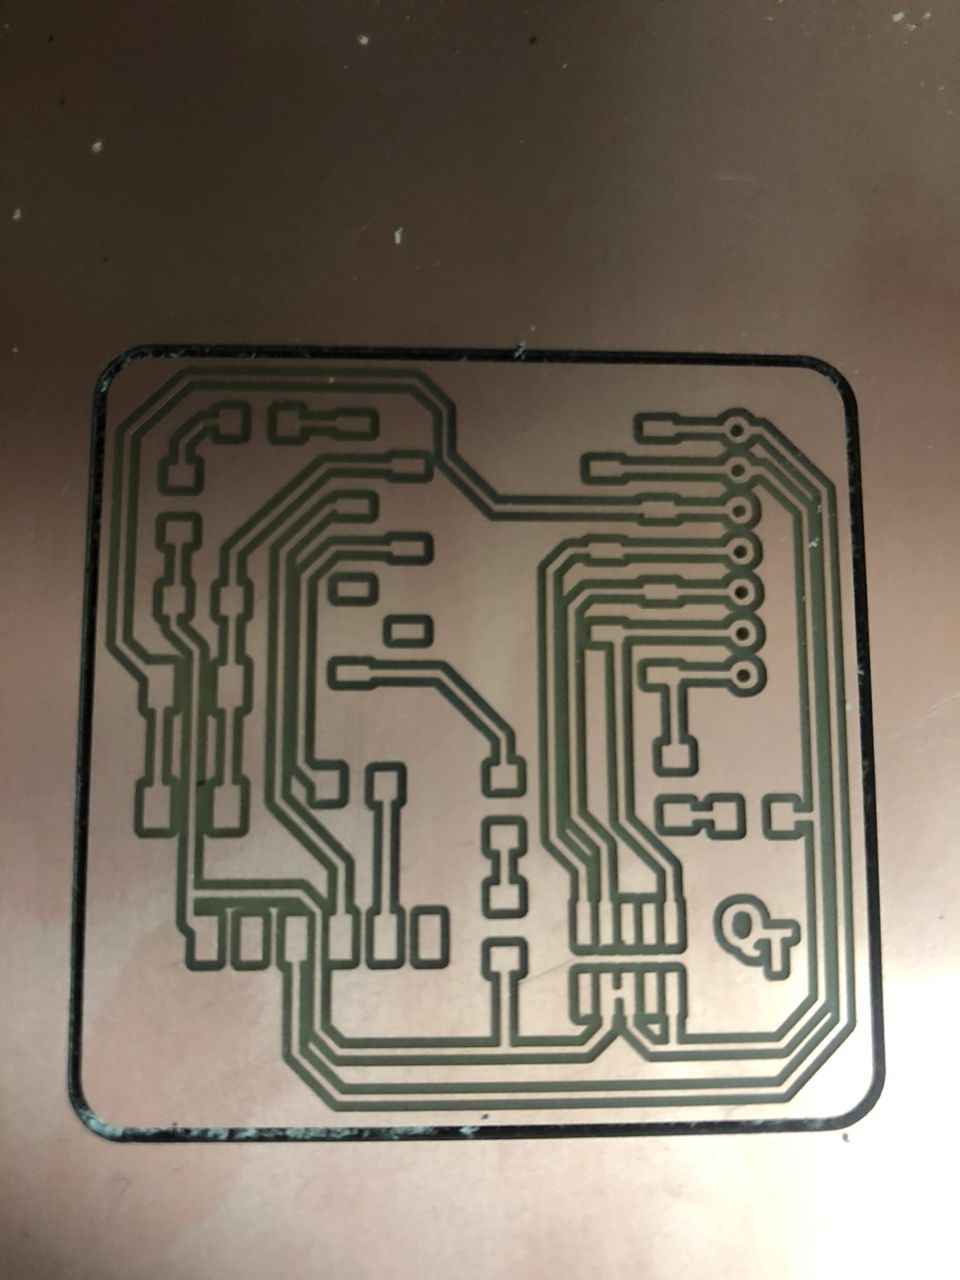
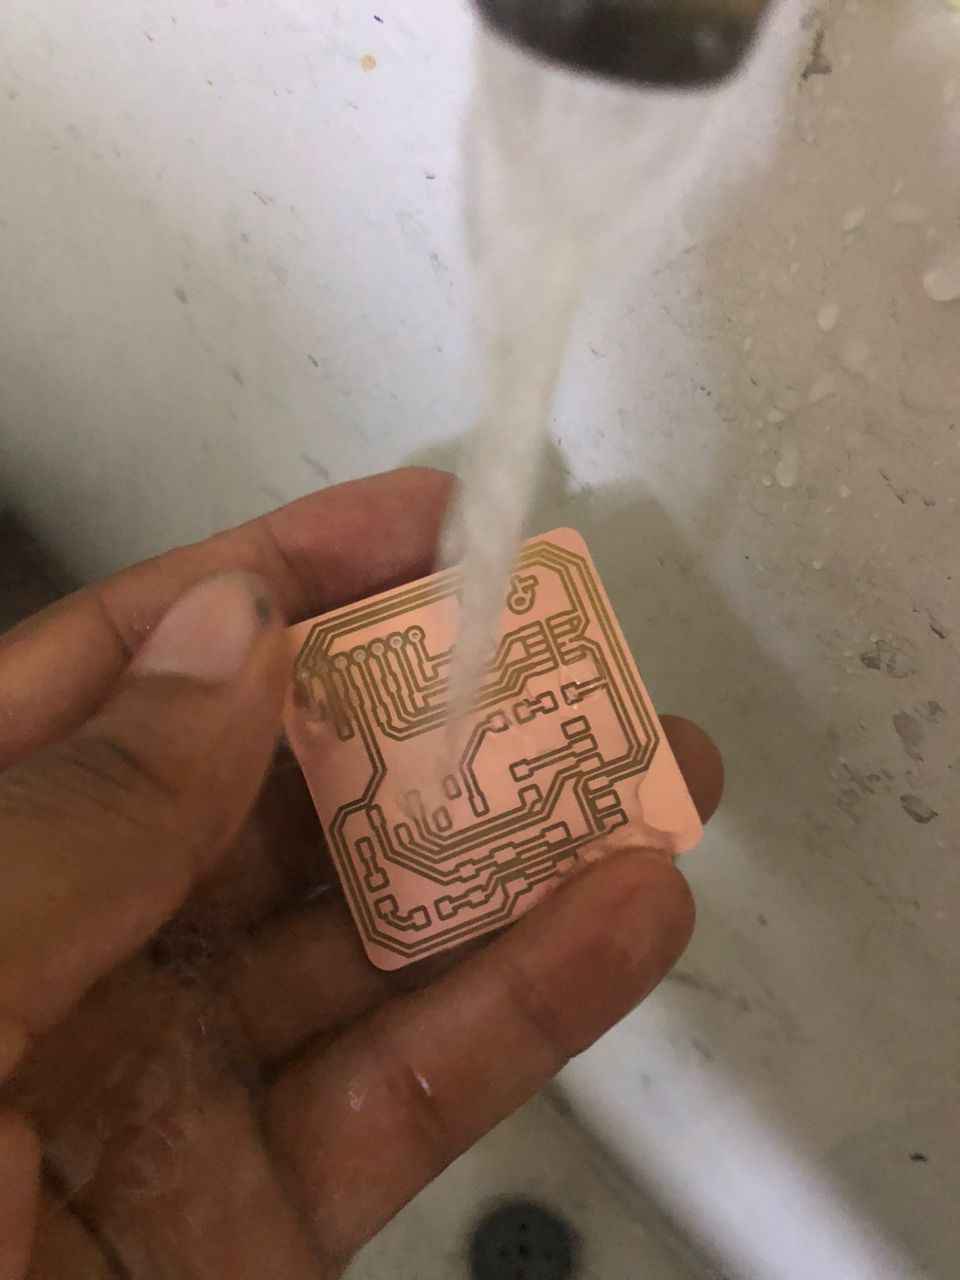
Cleaning the board
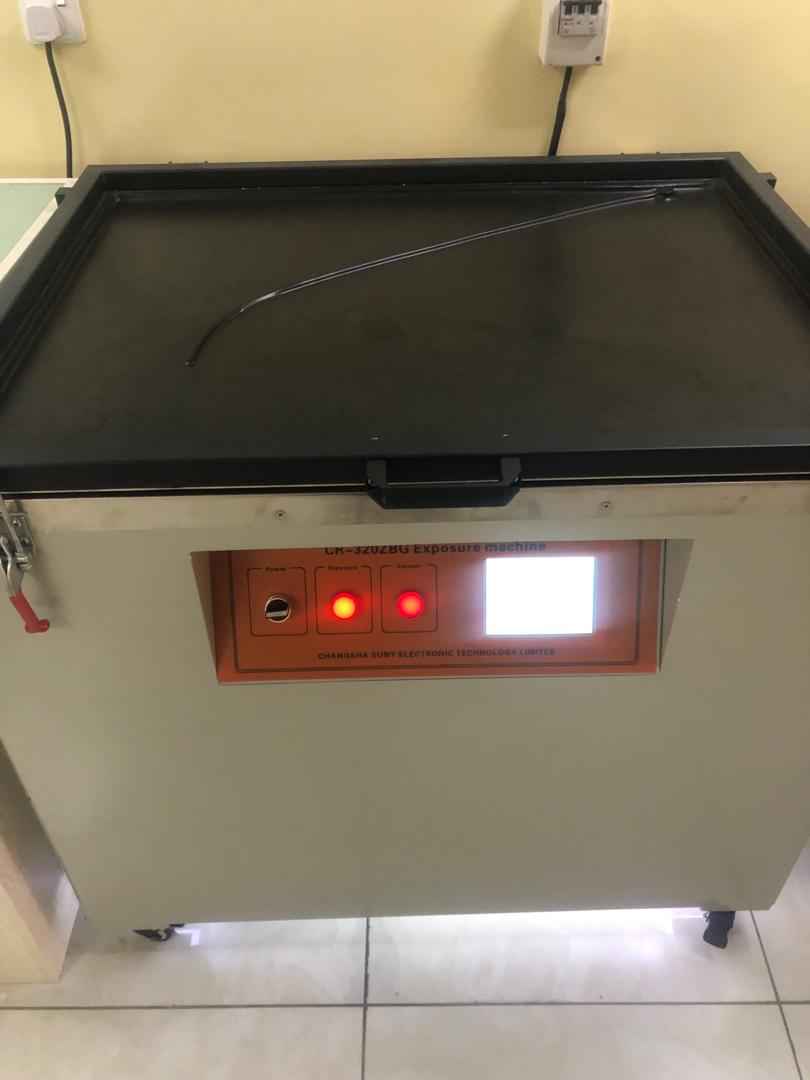
We have a solder mask and a UV light exposure unit in our lab. So I tried applying a solder mask to the board.
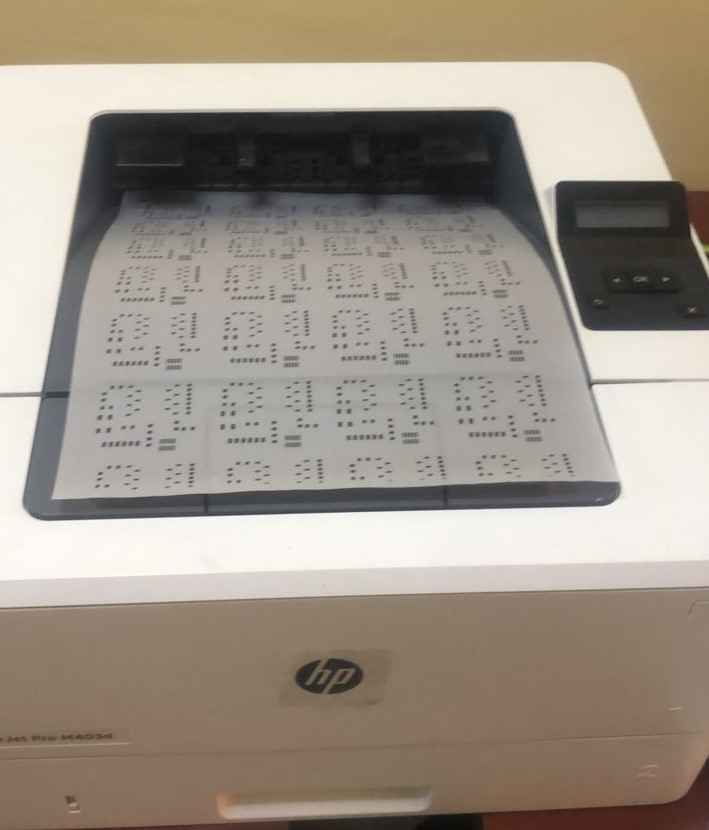
I used the ReaConverter tool to convert the solder mask gerber file to png and printed it on laser film. I didn’t get the transparent laser film so i used this film
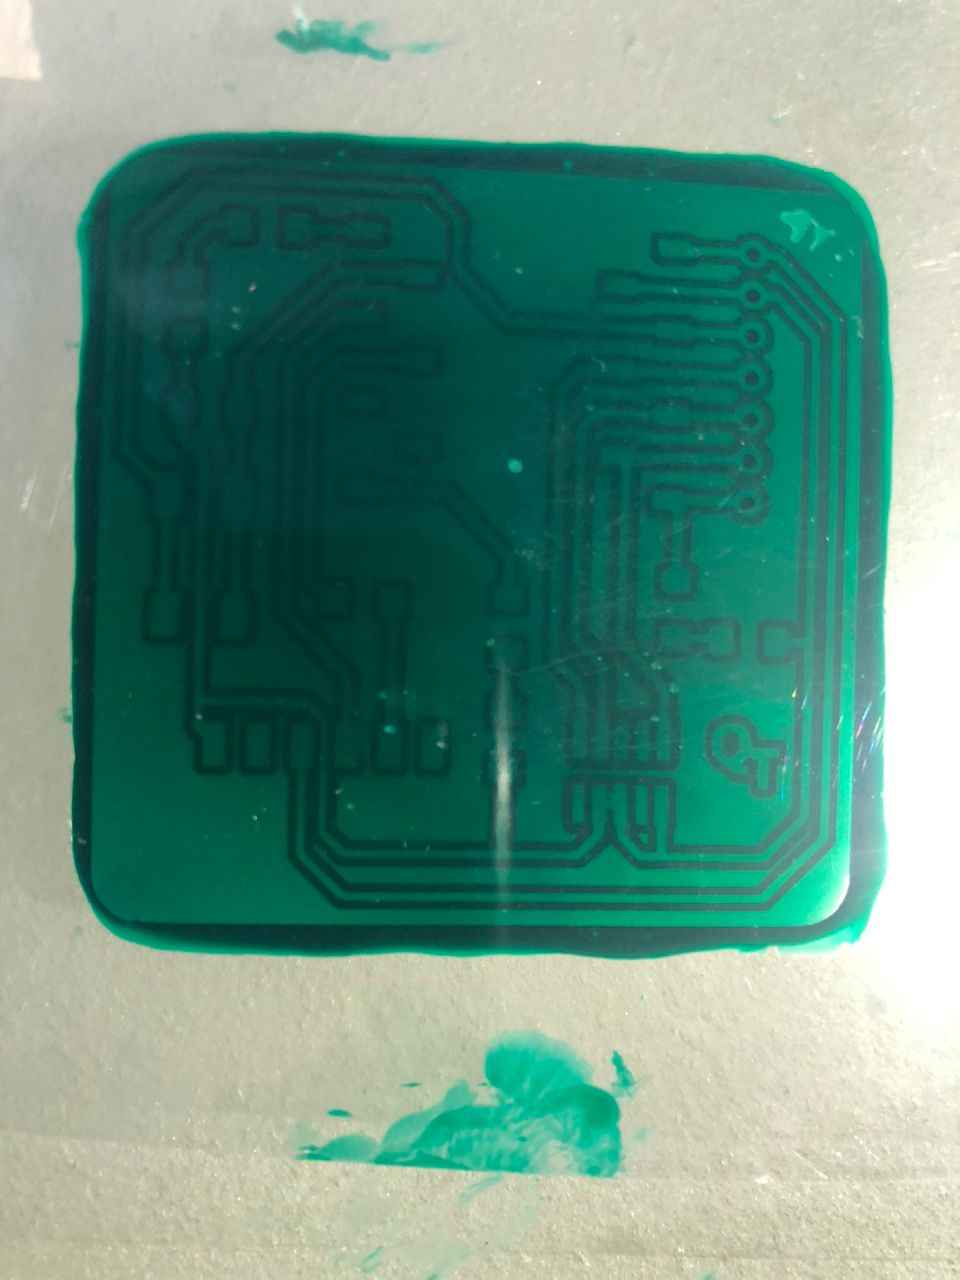
I then gently apply the solder mask and the printed film on top.
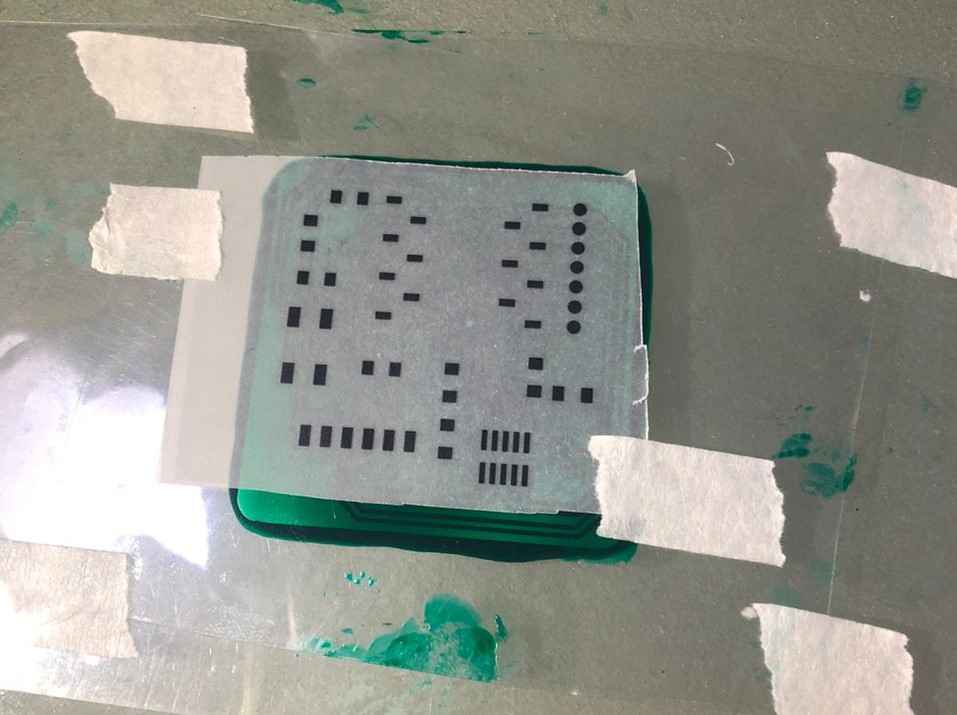
Exposed in UV for 20sec
Finally the resulting board was clean with tissue paper
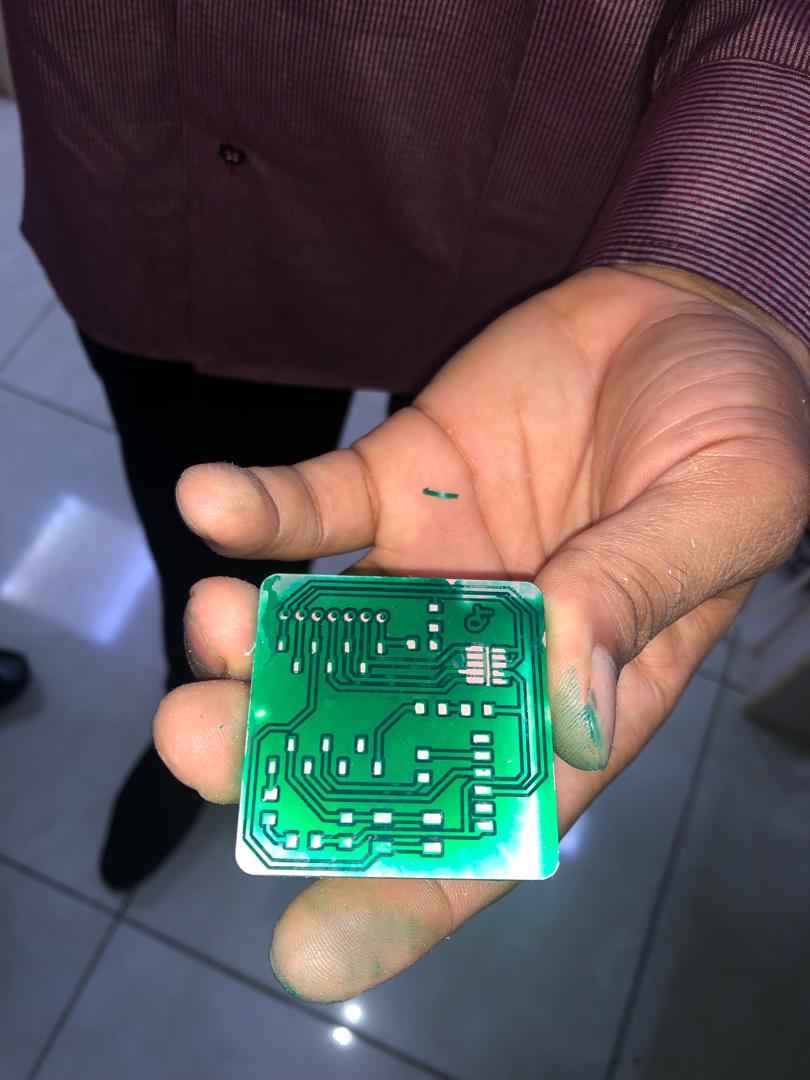
I cured the board again with UV to harden the resin.
I used the solder paste gerber file provided in Quenttores repository to mill the solder pads. Initially I tried milling laser film but it ended up not cutting very well:
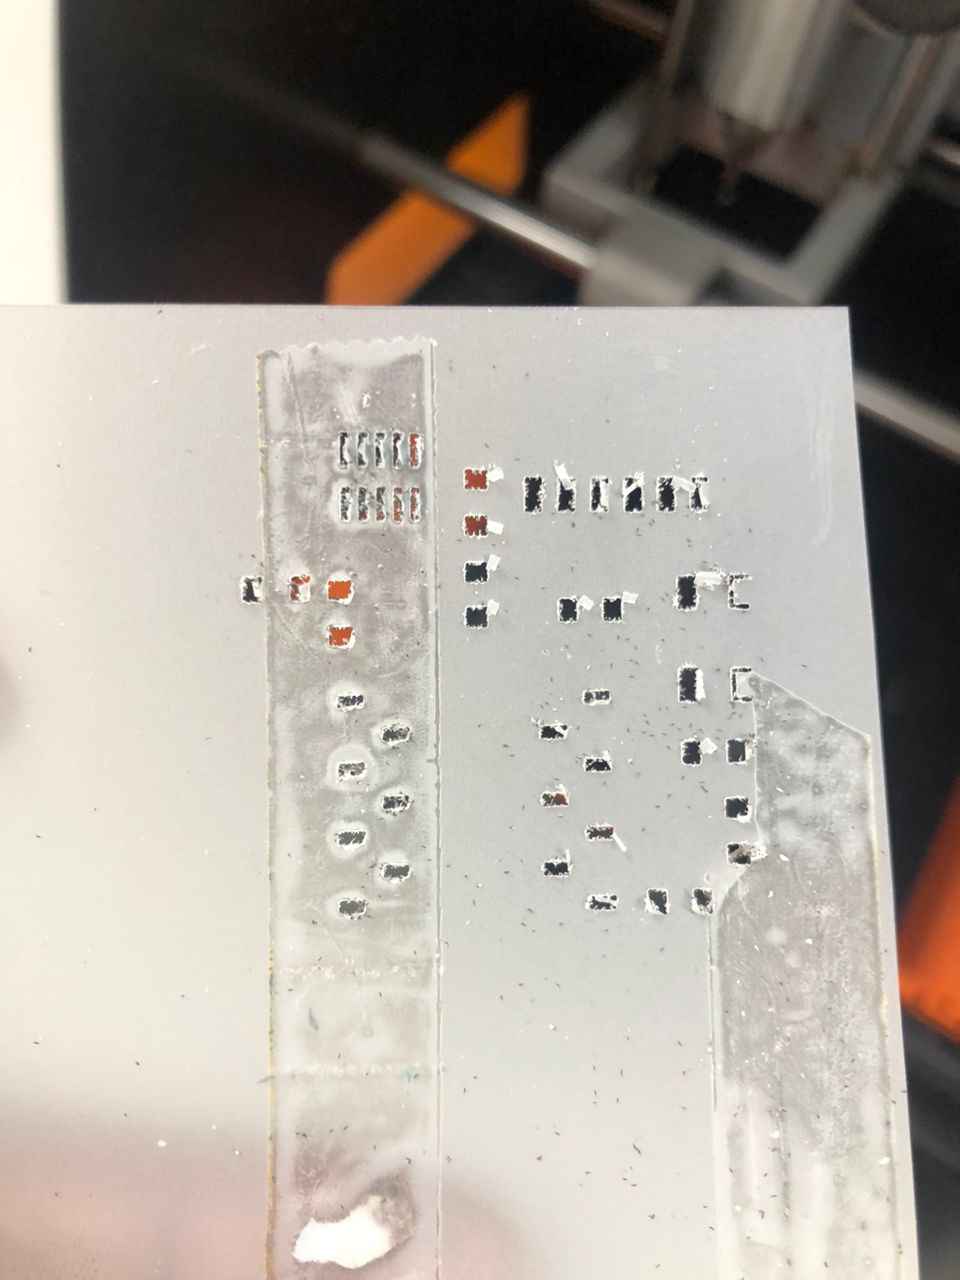
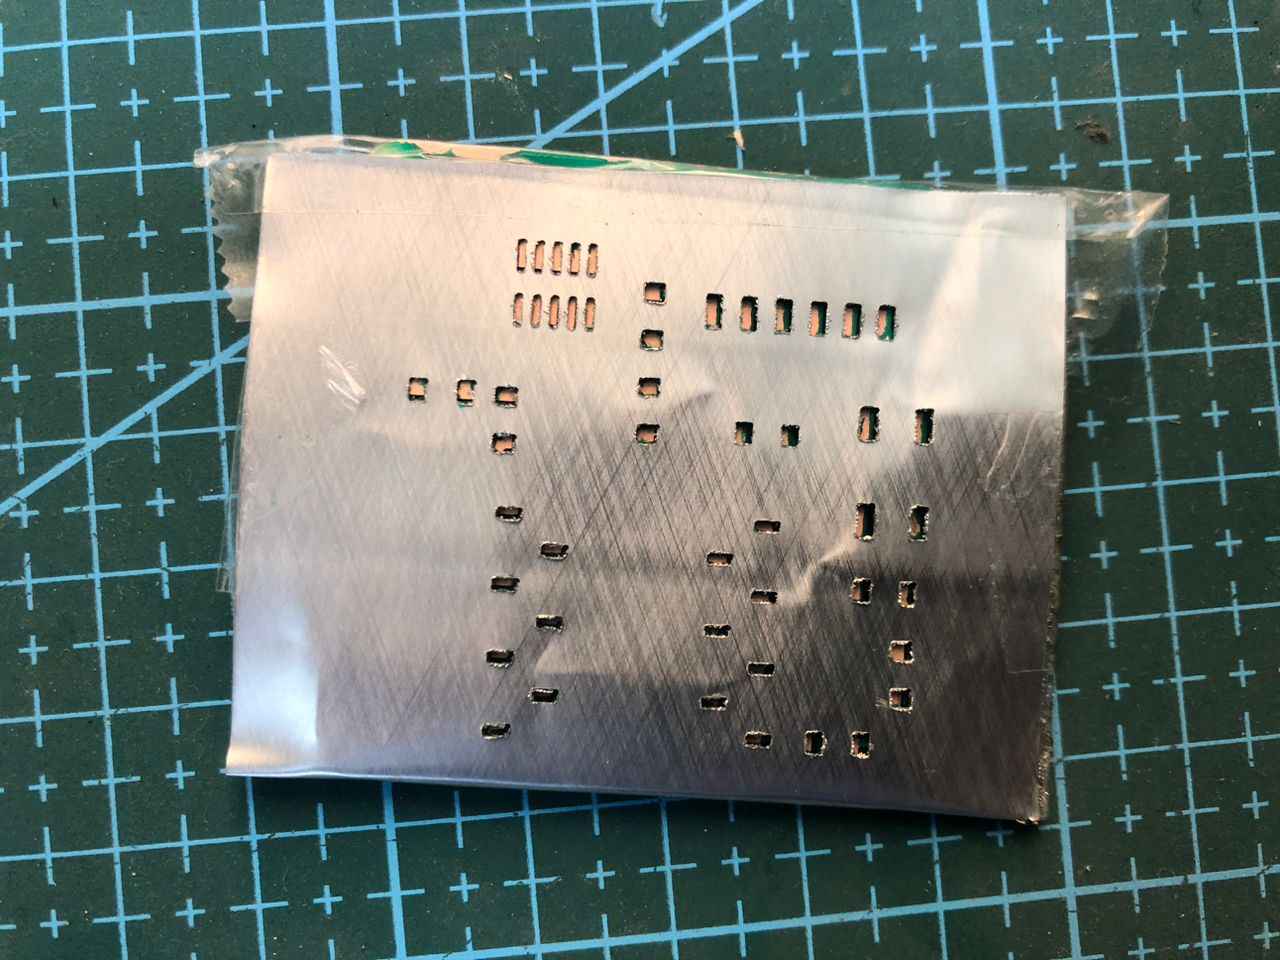
Then I tried with aluminum can:
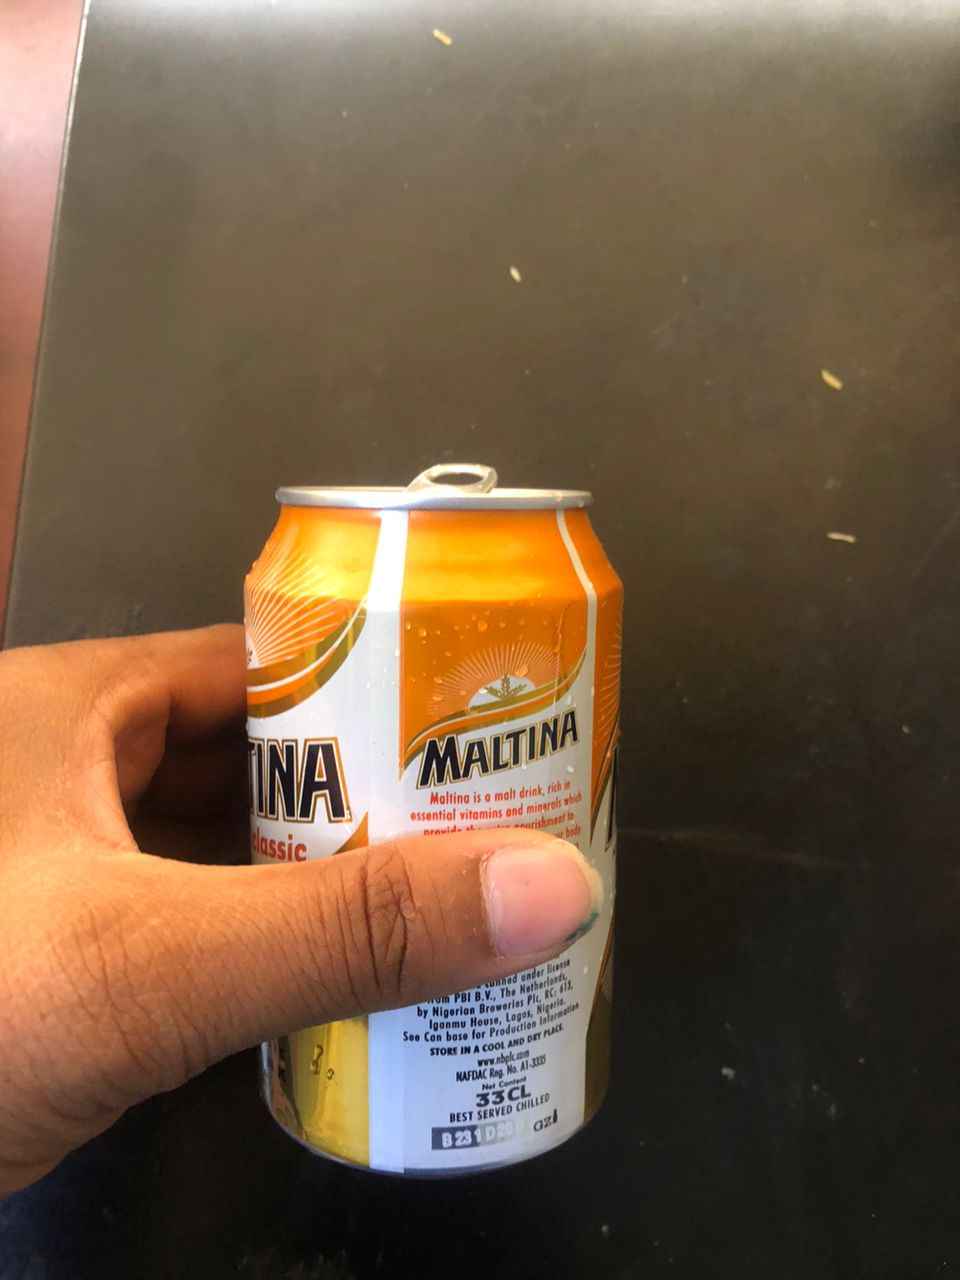
I got a good result with the aluminum can
I overlaid it on the board and apply solder paste
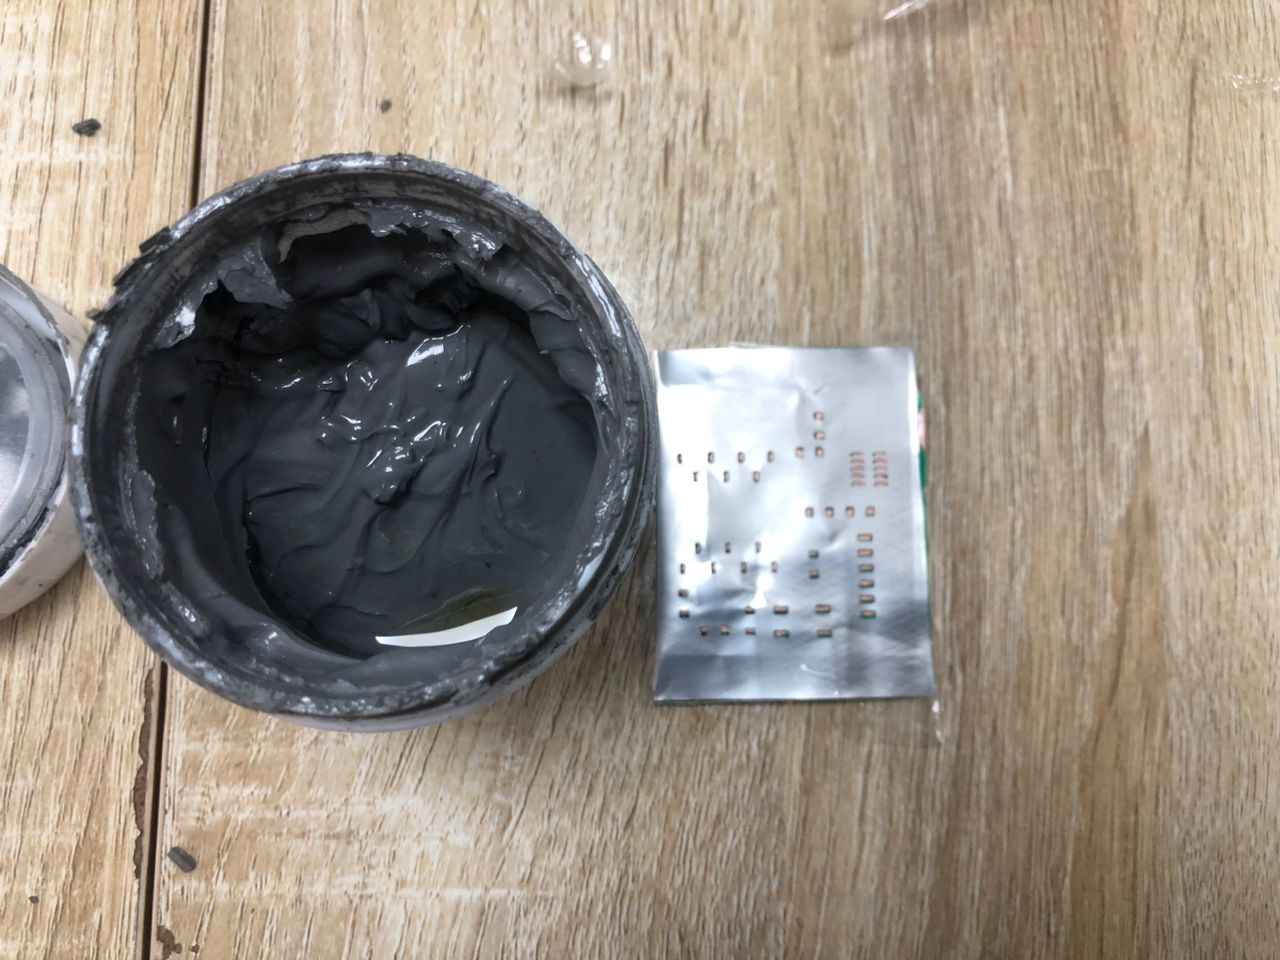

Result:
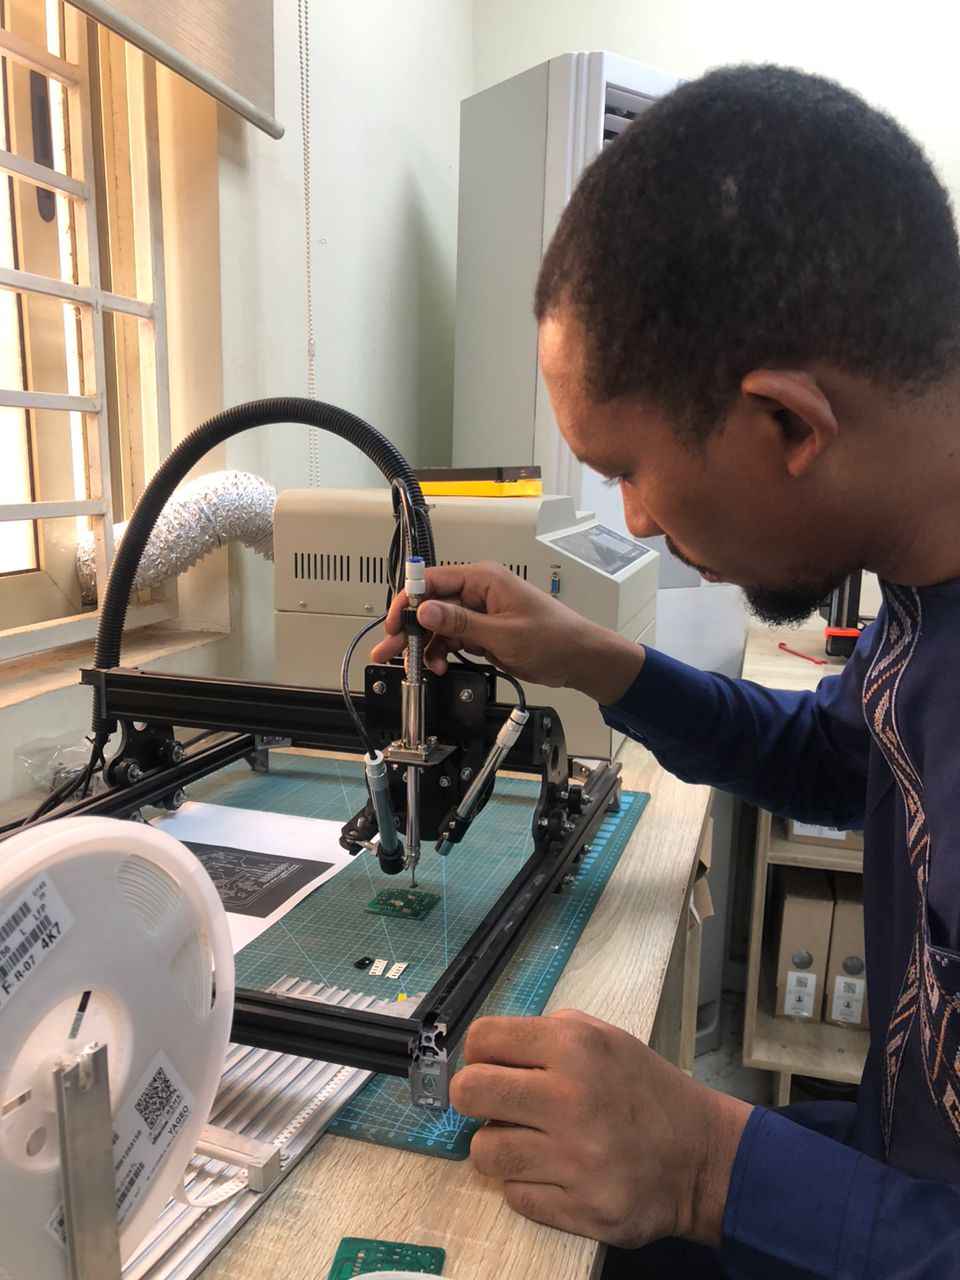
I used a manual pick and place machine in the lab to place all my SMDs on the board before soldering
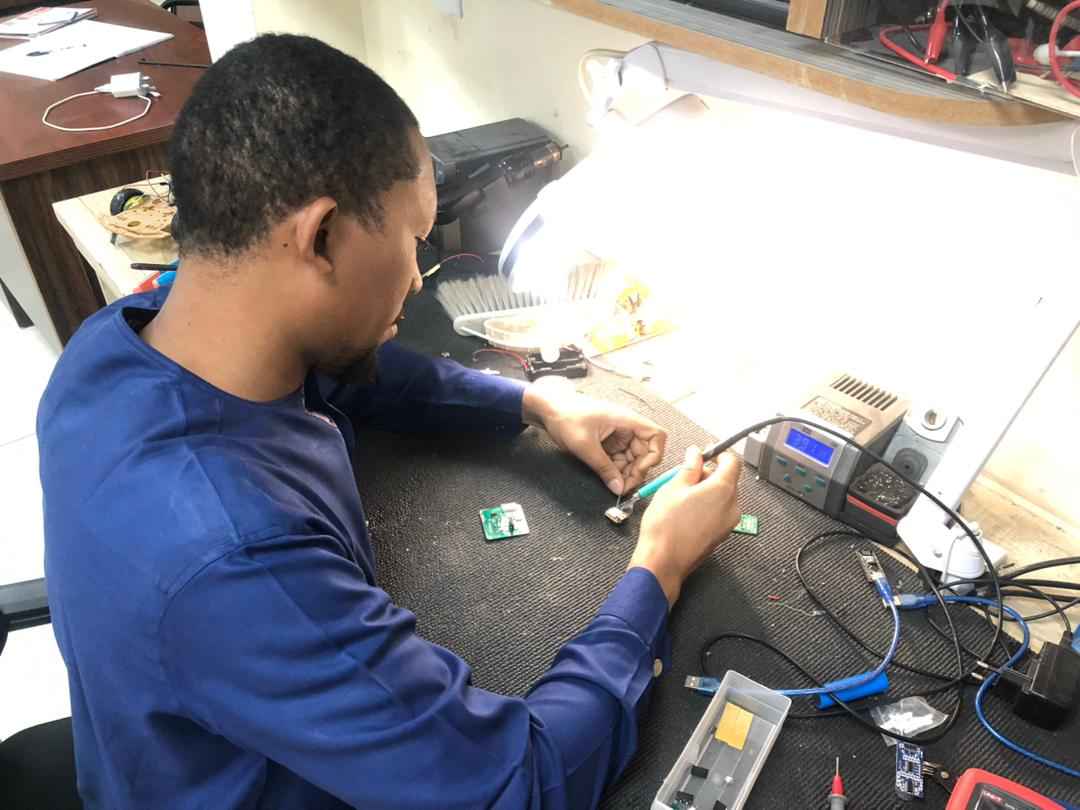
To solder the board, I used reflow oven available in the lab for the SMDs and solder the through hole manually

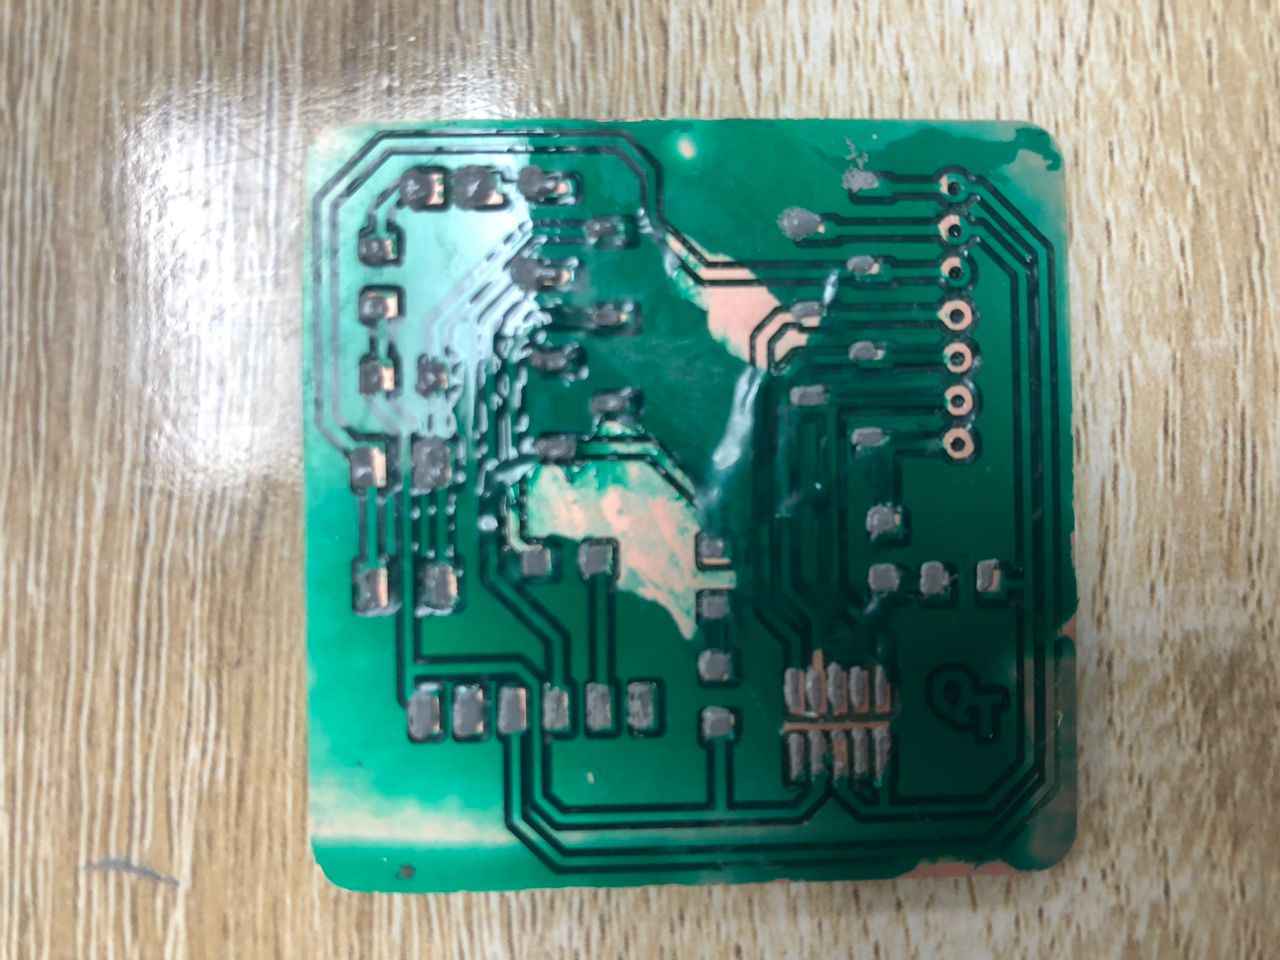
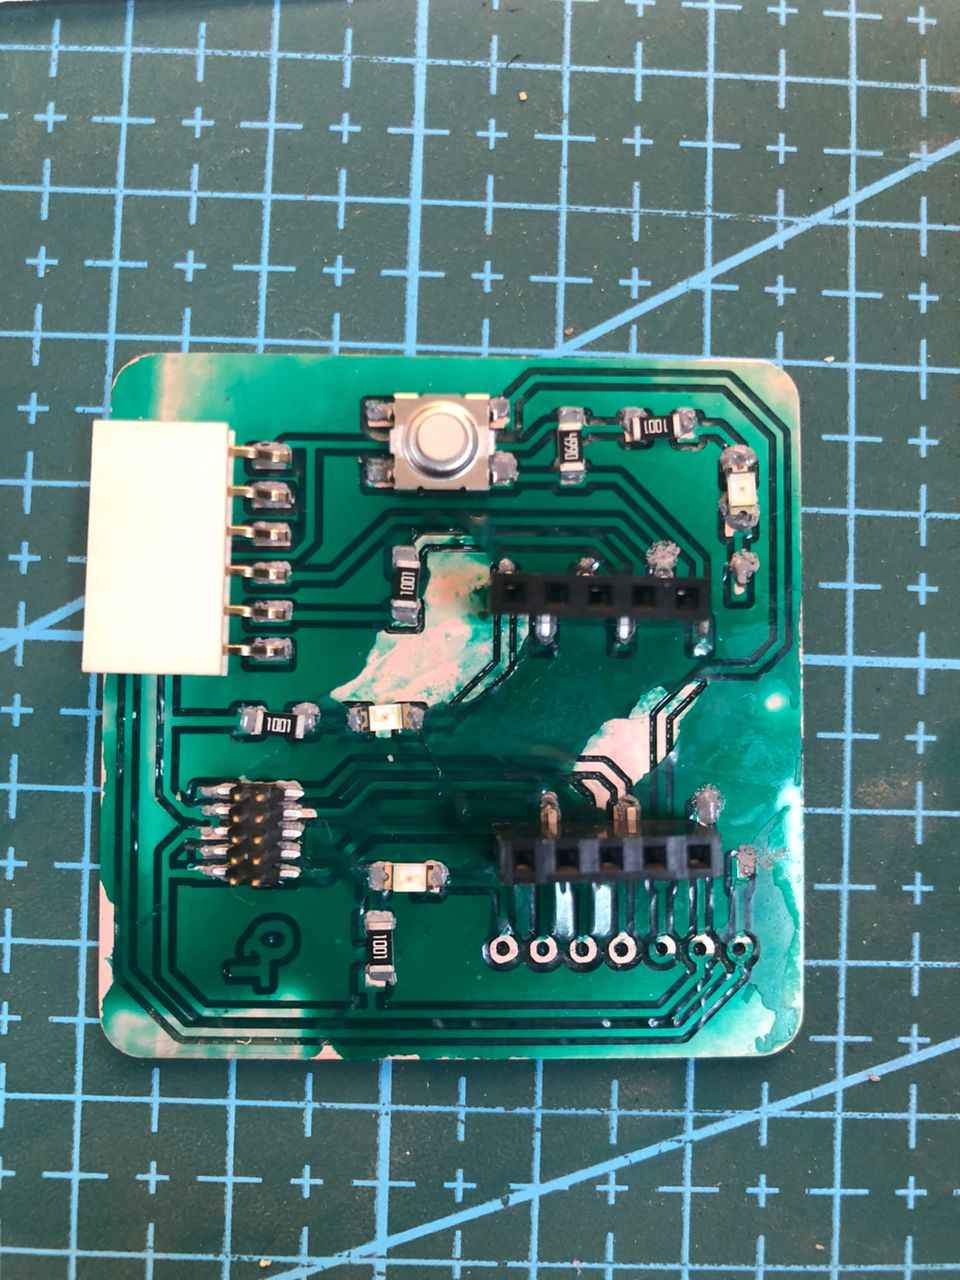
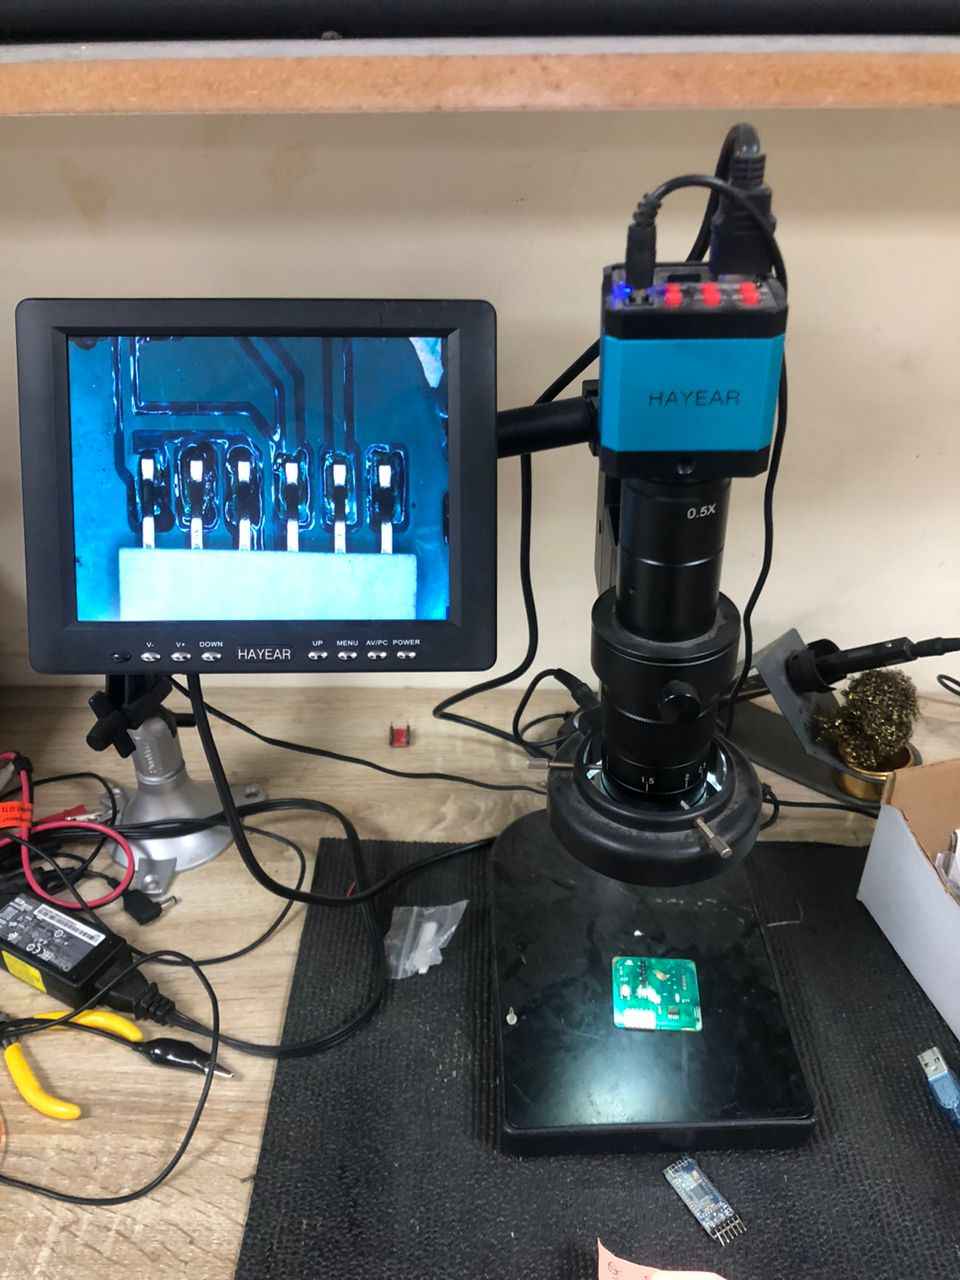
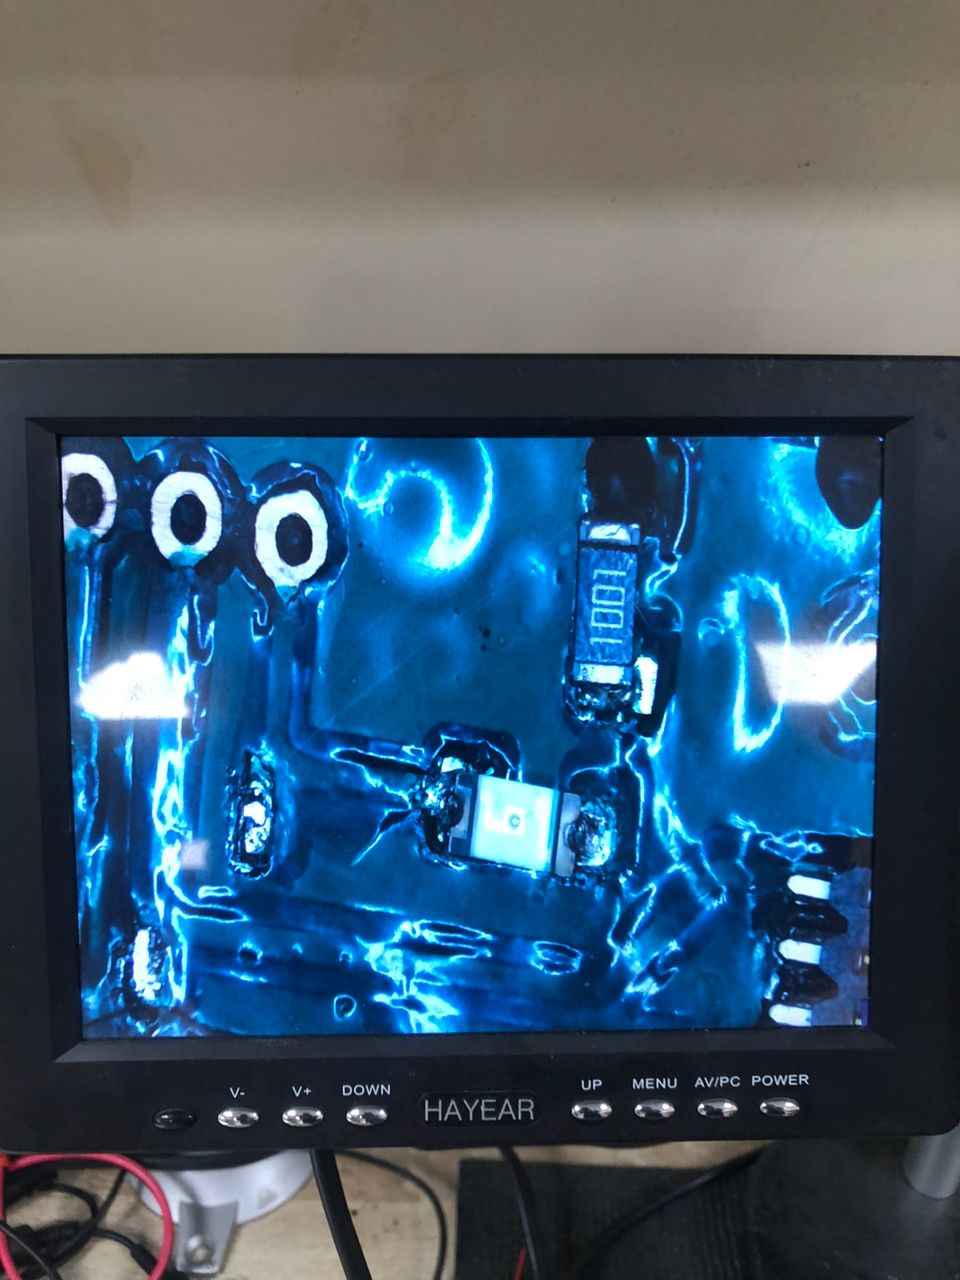
I have checked the quality of soldering which I am happy with
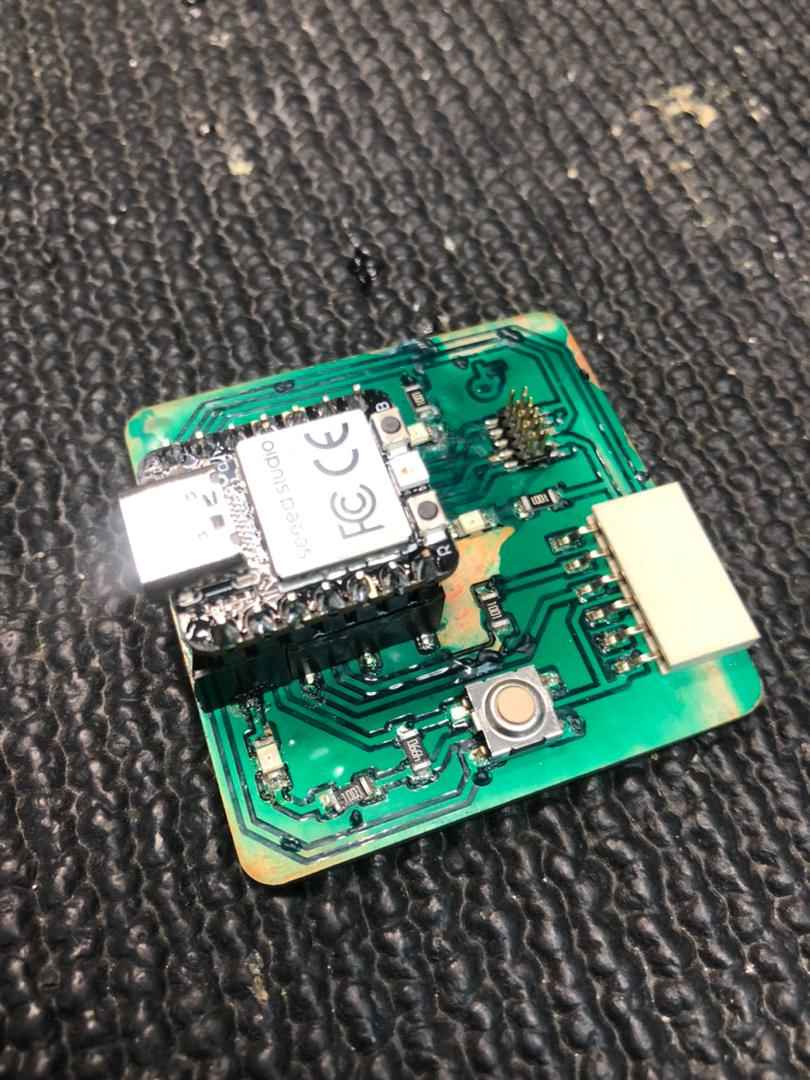
Complete assembly
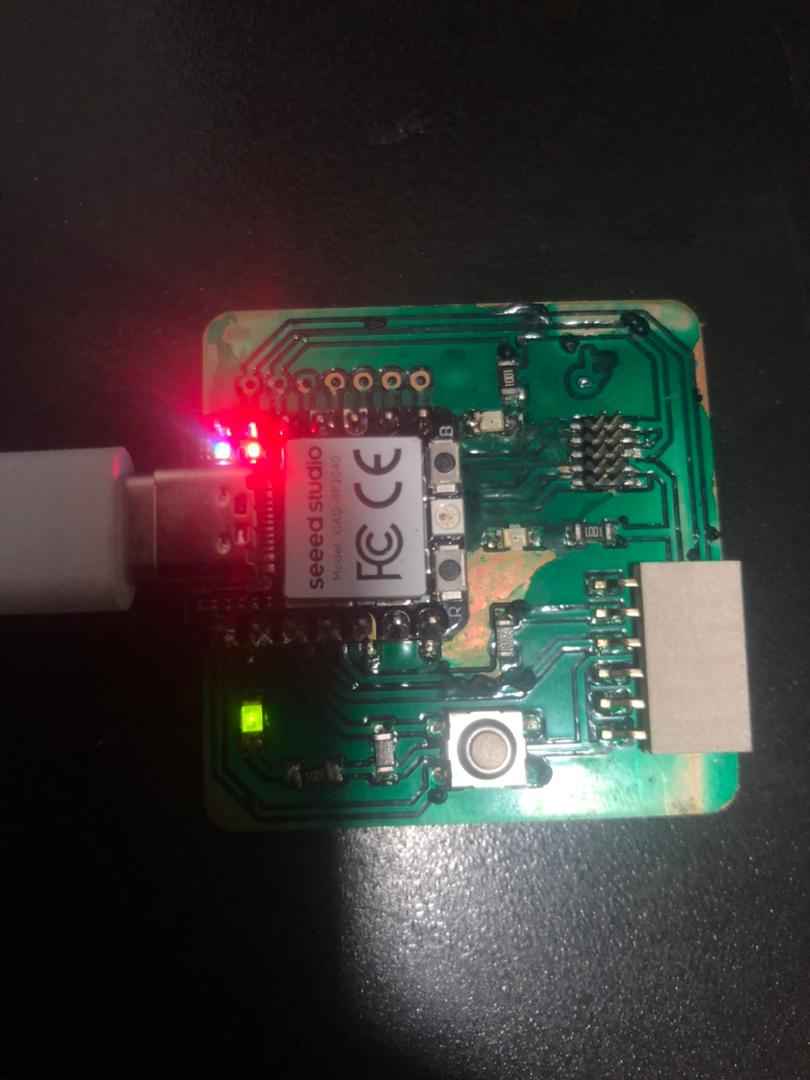
Before powering the board, I did a short circuit between the VCC/GND and other components. Then I powered the board.
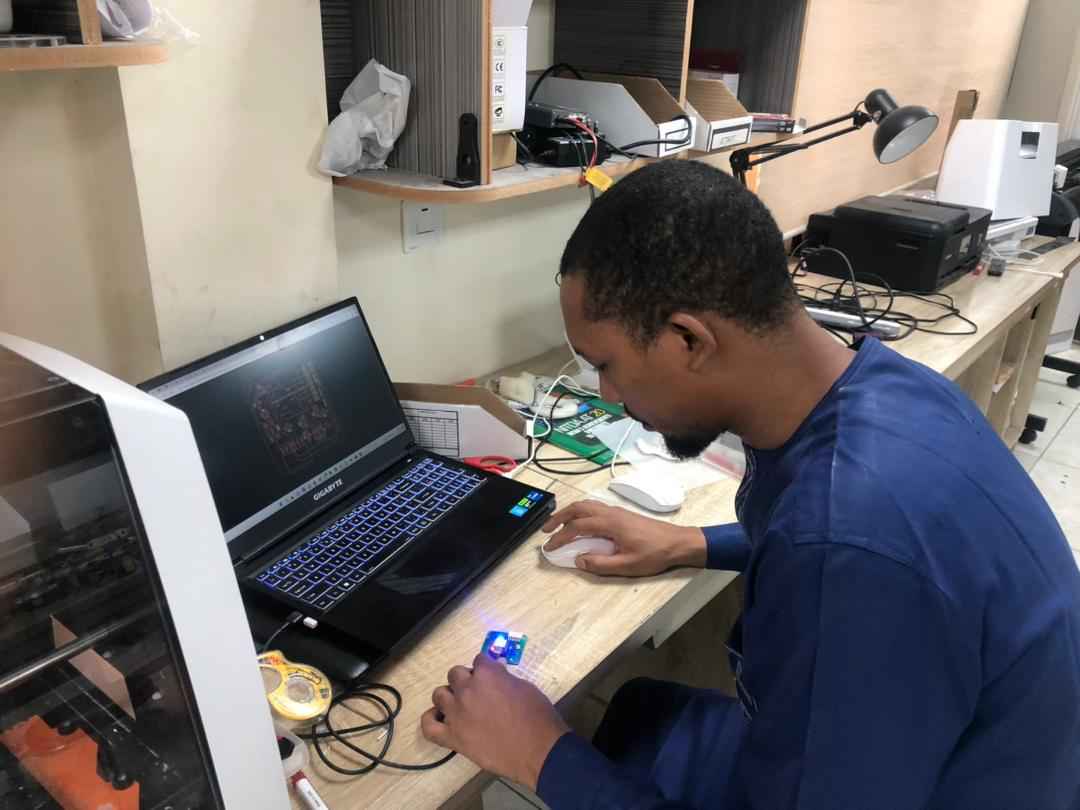
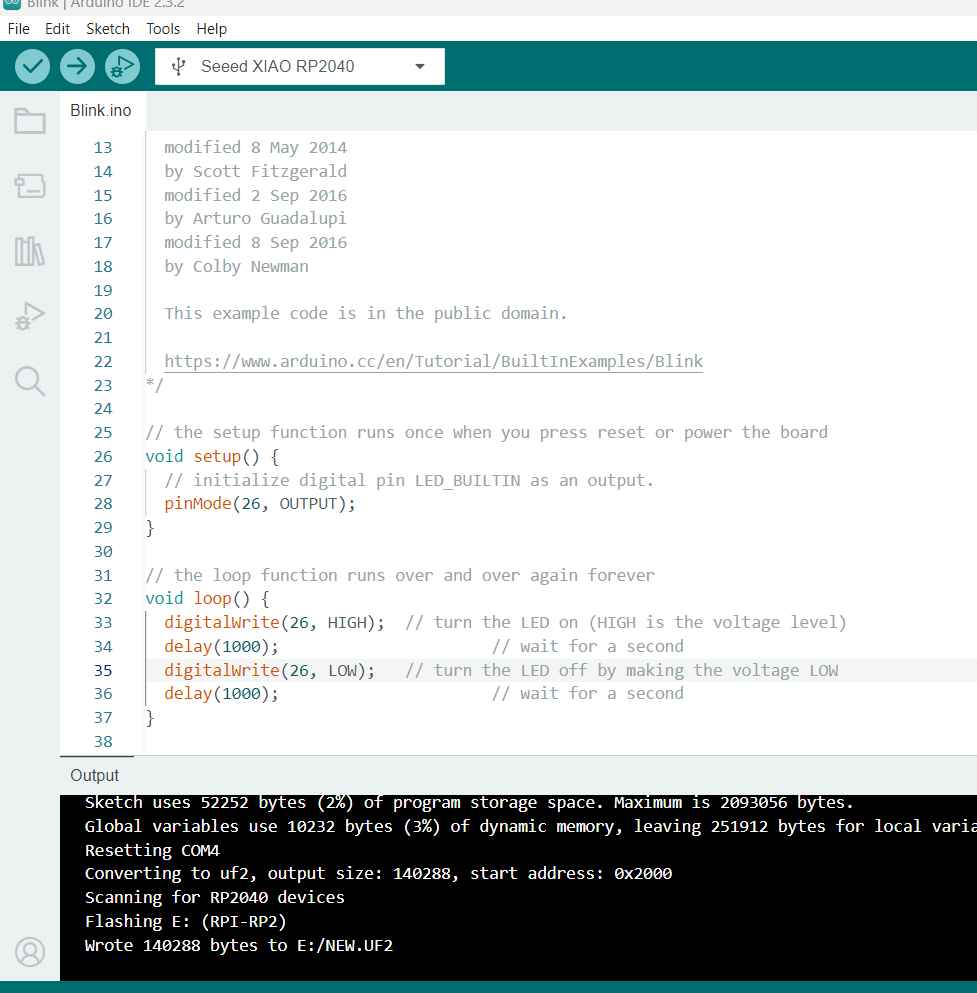
I use an Arduino IDE to test the board. First, I added the board URL in the setting then downloaded the board library. After selecting the board, I tested it with a blink example on GPIO 26.