Molding processes encompass a diverse range of techniques, each suited to different materials and production requirements. Injection molding, for instance, involves injecting molten material into a mold cavity, typically with features such as sprues, runners, gates, and vents. Other methods include insert molding, vacuum molding, blow molding, rotational molding, and slip casting, each offering unique advantages and applications. Various materials are used in molding, from flexible silicone and urethane rubber to rigid foam, wood, metal, and ceramics, with additives like fibers and fillers altering properties such as density and conductivity.
Processing materials in molding involves careful consideration of workspace, cleanliness, mixing ratios, and curing times. Attention to detail during filling and demolding stages helps minimize defects such as bubbles and deformation. Safety is paramount, with precautions including proper ventilation, protective equipment, and adherence to safety data sheets (SDS). Software tools like ShopBot VCarve Pro and Fusion 360 Moldflow aid in design and simulation, while machining techniques ensure precise surface finishes and part accuracy. Overall, molding is a versatile manufacturing process with wide-ranging applications and considerations across various industries.

This week's assignment is about understanding how to design a mold and cast with it
For details on this assignment head to our Group assignment page
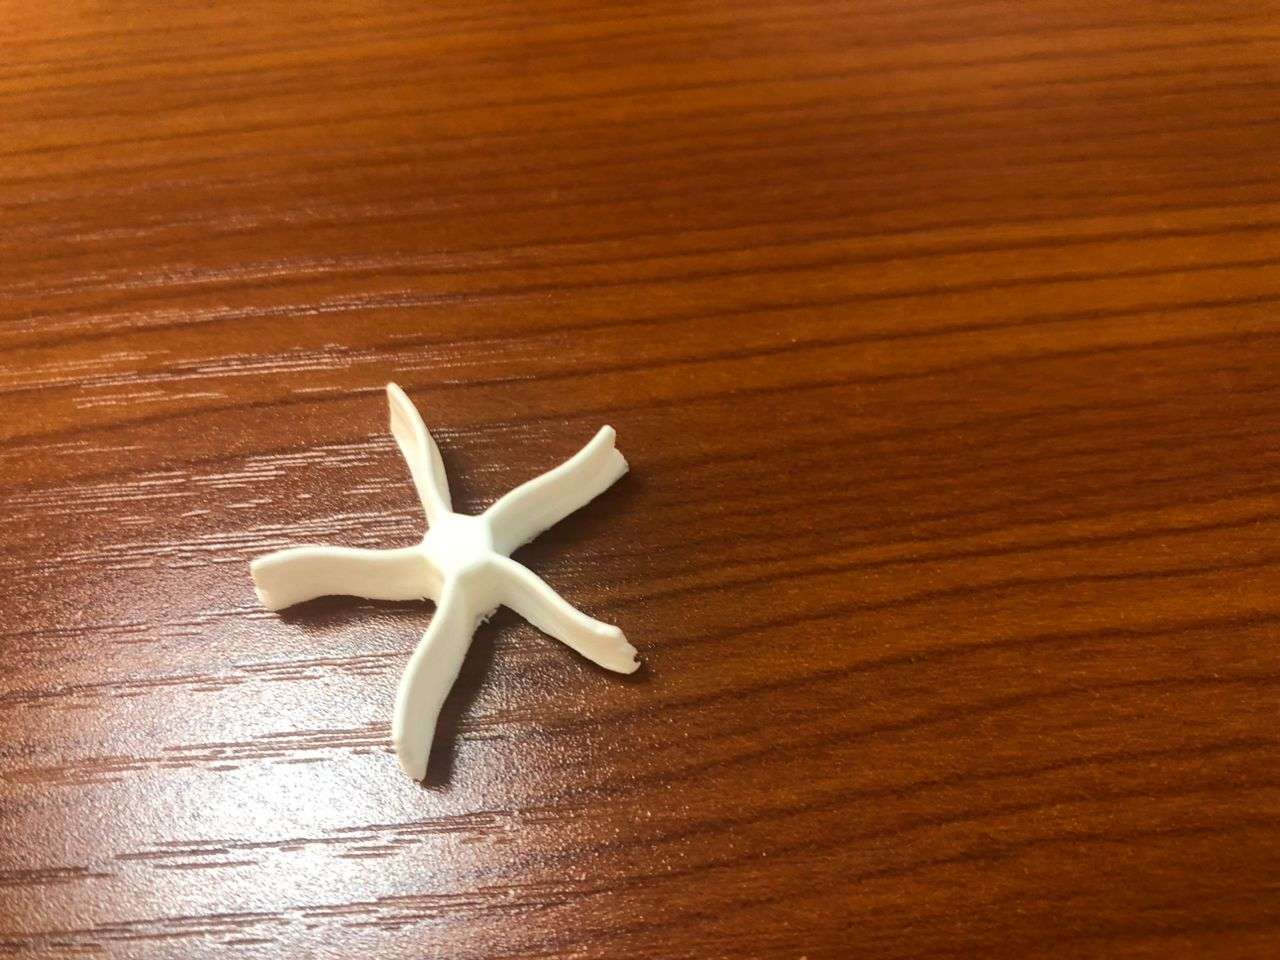
This week I designed a propeller that I will be using in my final project. The propeller will serve as a feed dispatcher for my fish.
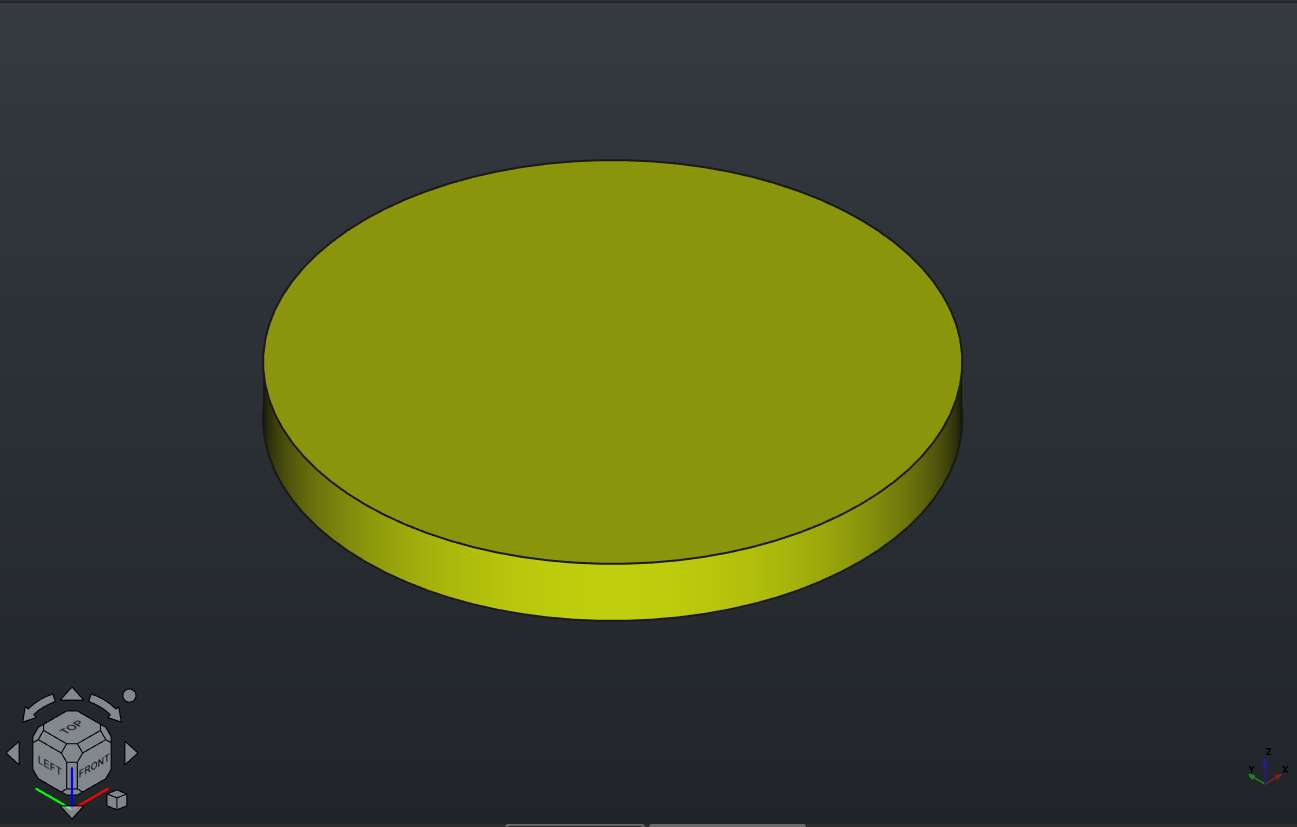
Base sketch

Base padded
Blade sketch
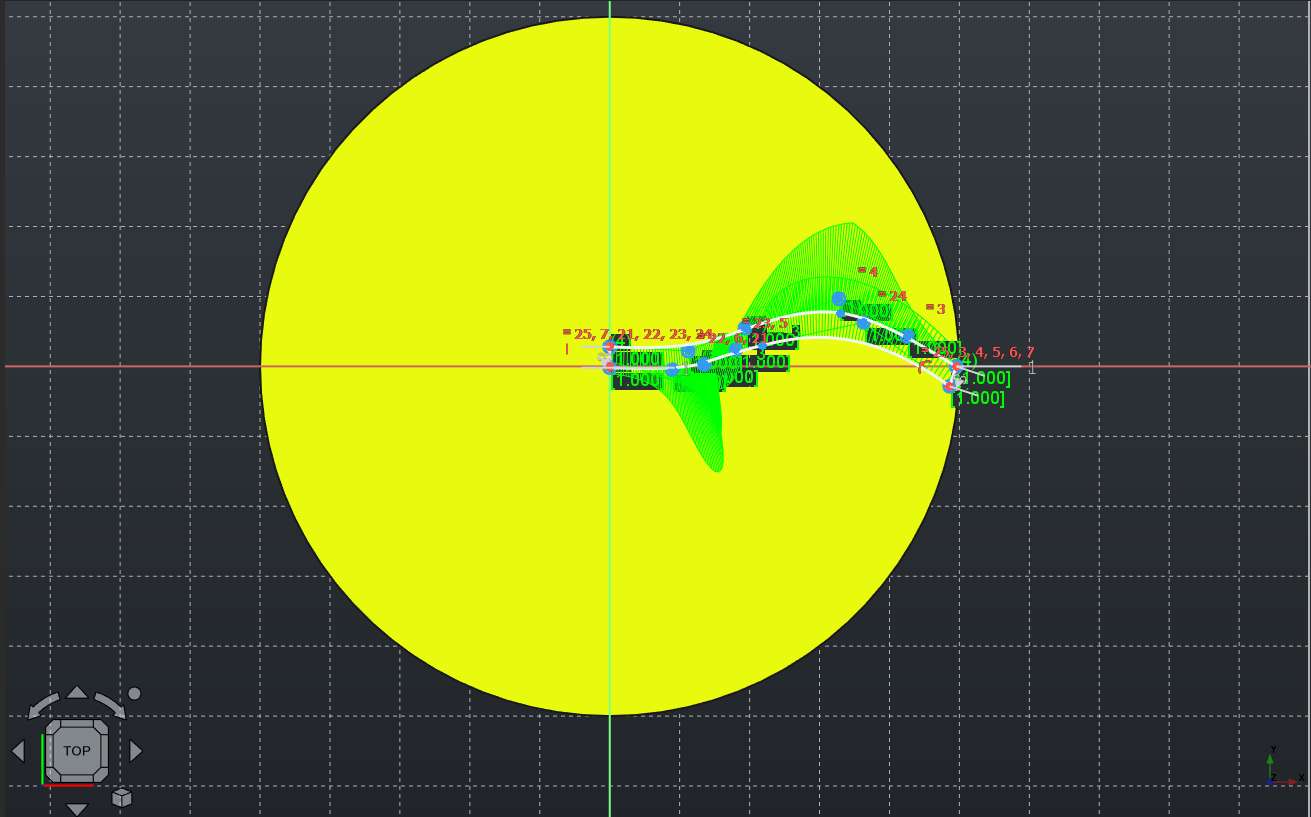
Blade
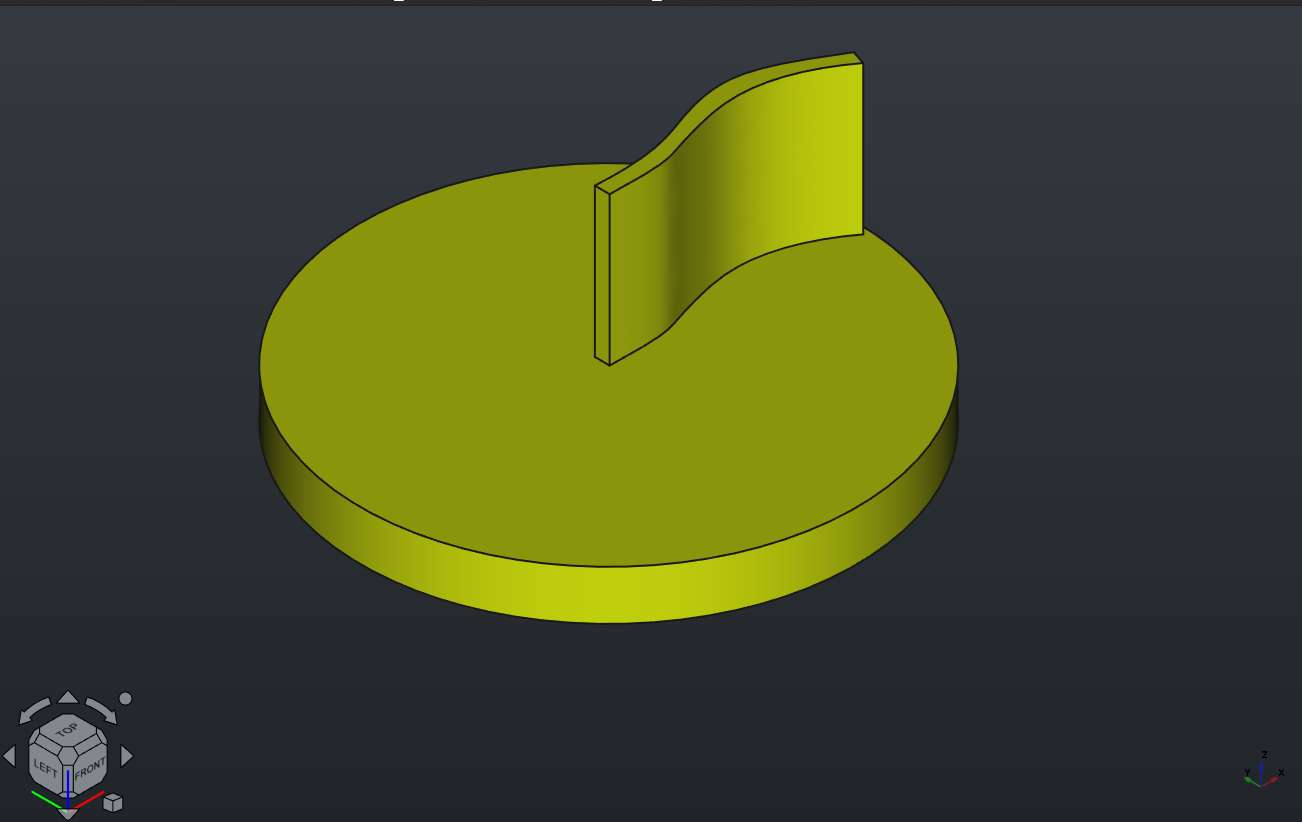

Applying polar pattern on the blade to create four more blades

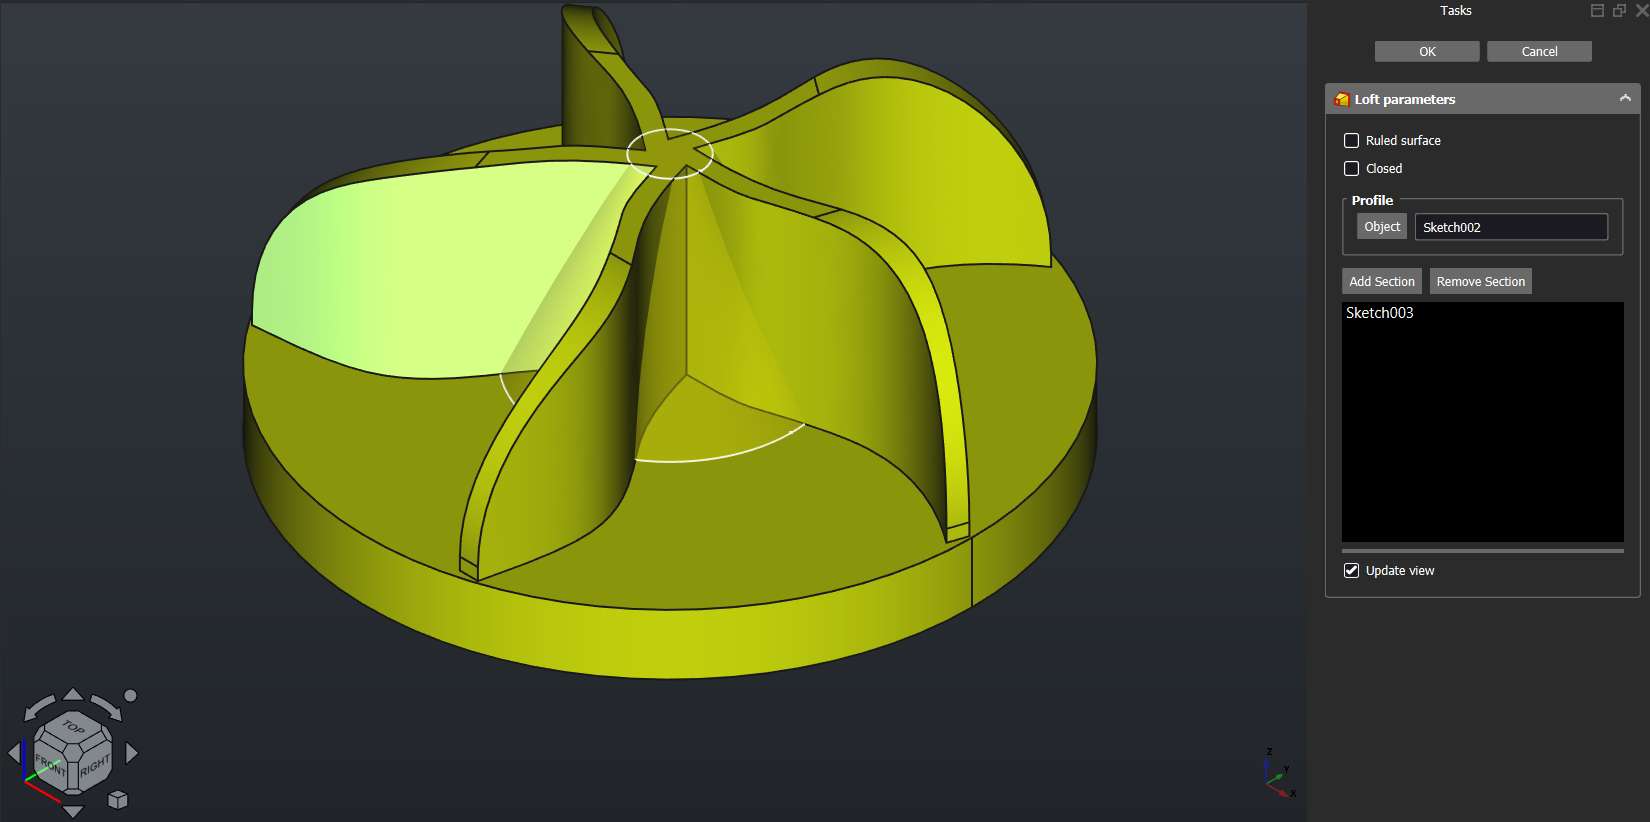
I used the additive loaf to create a cone at the middle of the blade
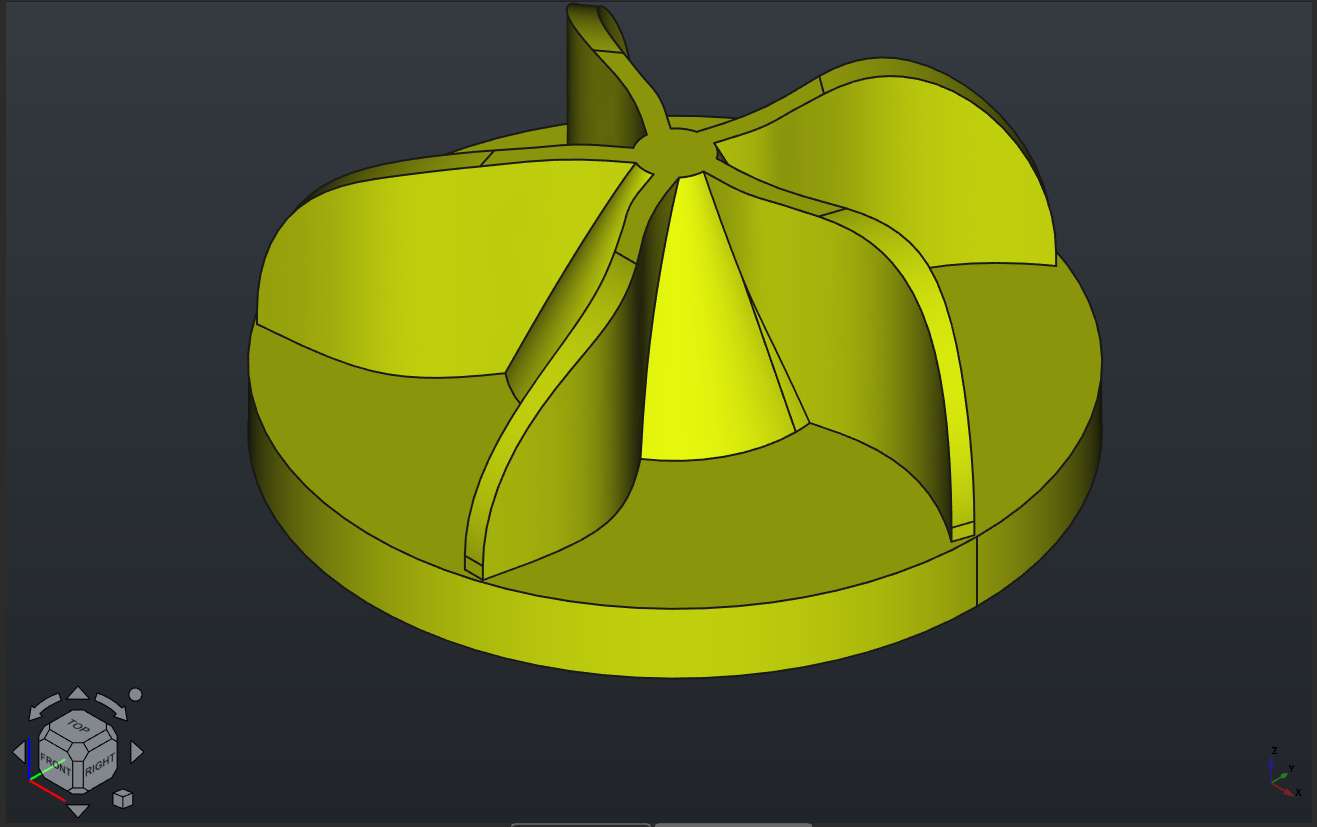
Finally to i add a filet at the bottom of the base
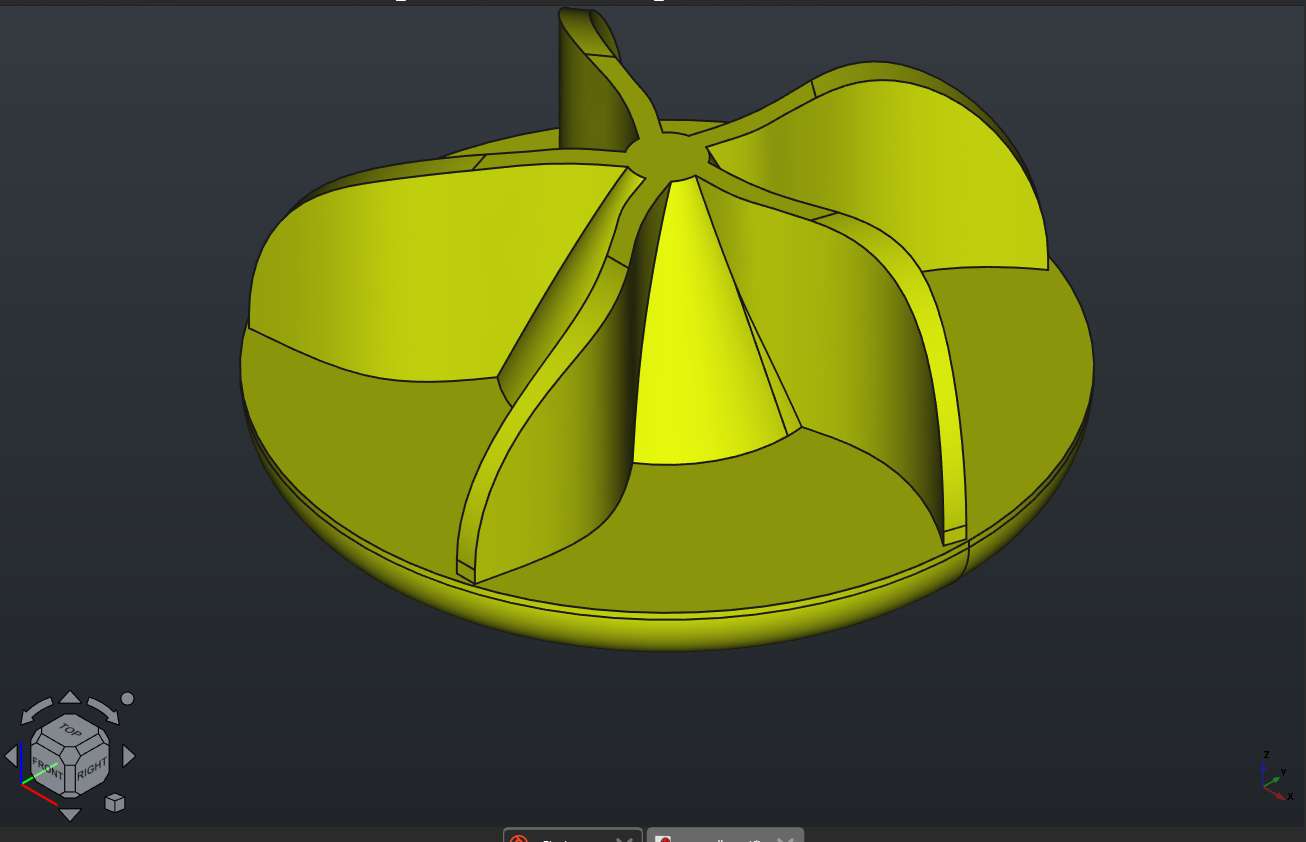
Since I intend to produce a mold out of this design, I added a cylinder at the top of the propeller to serve as a pouring hole for casting.

Top part
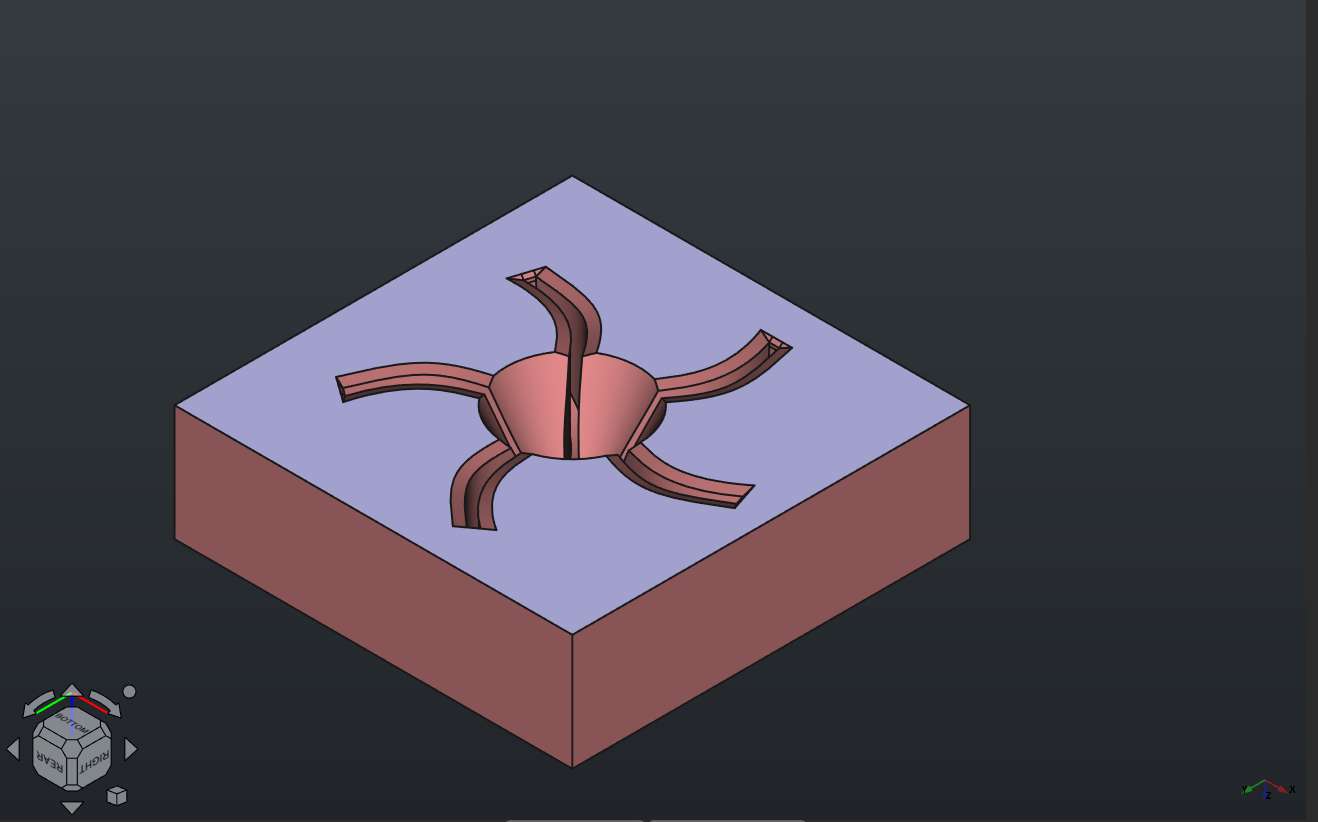
I created a slab of 120x120x35mm from the surface of the propeller base, clone the design above and then applied a boolean operation so that the object cuts into the slab to form one half of the mold
I repeated the same thing for the bottom part with a slab of 120x120x15mm

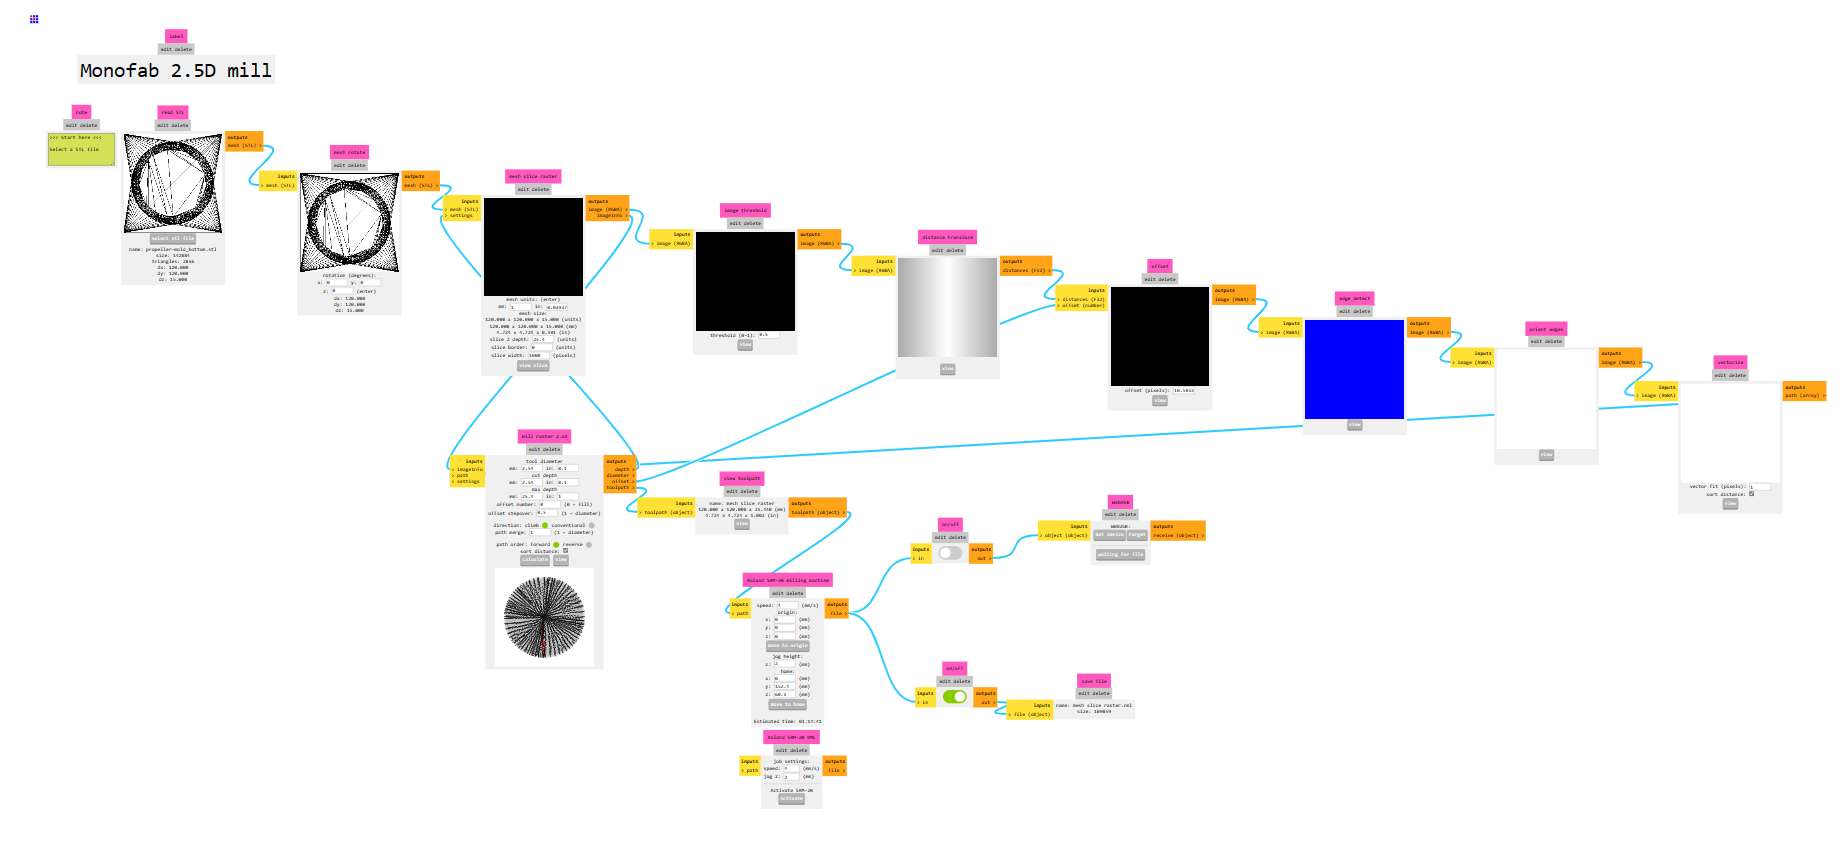
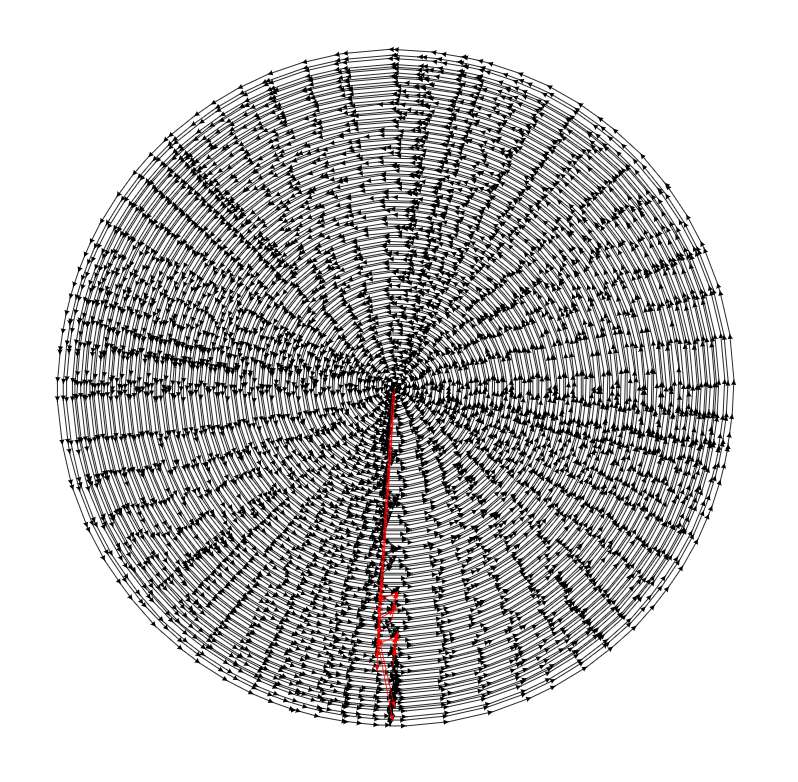
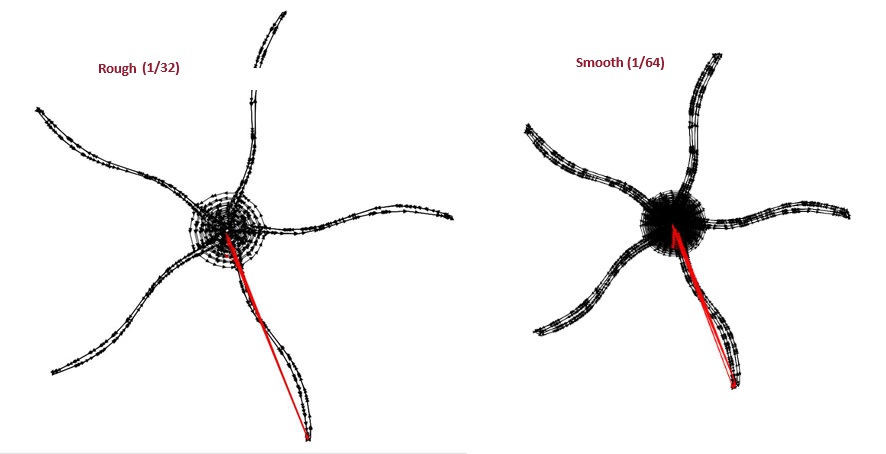
Tool path generation
I used modsproject.org to generate a 2.5D toolpath for both the top and bottom parts of the mold.
Top Part


Bottom Part
Milling
I used ⅛ end mill for rough cut and 1/16 for smooth cut. Using the SRM-20 CNC machine, I milled both the top and bottom part of the mold. The material used is machinable wax
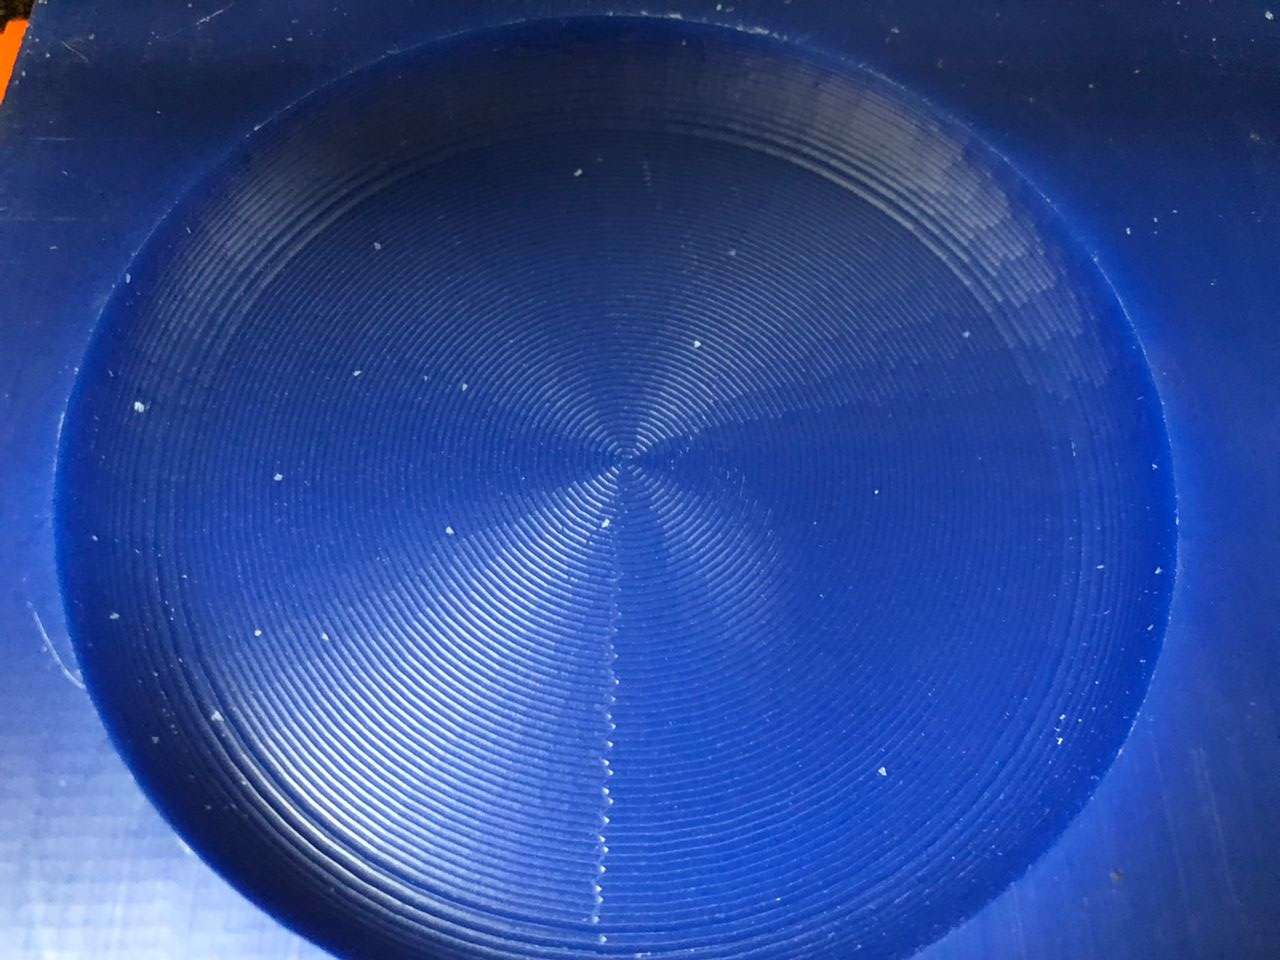
Bottom
I started with the bottom part since it is not too complex to mill.

Result
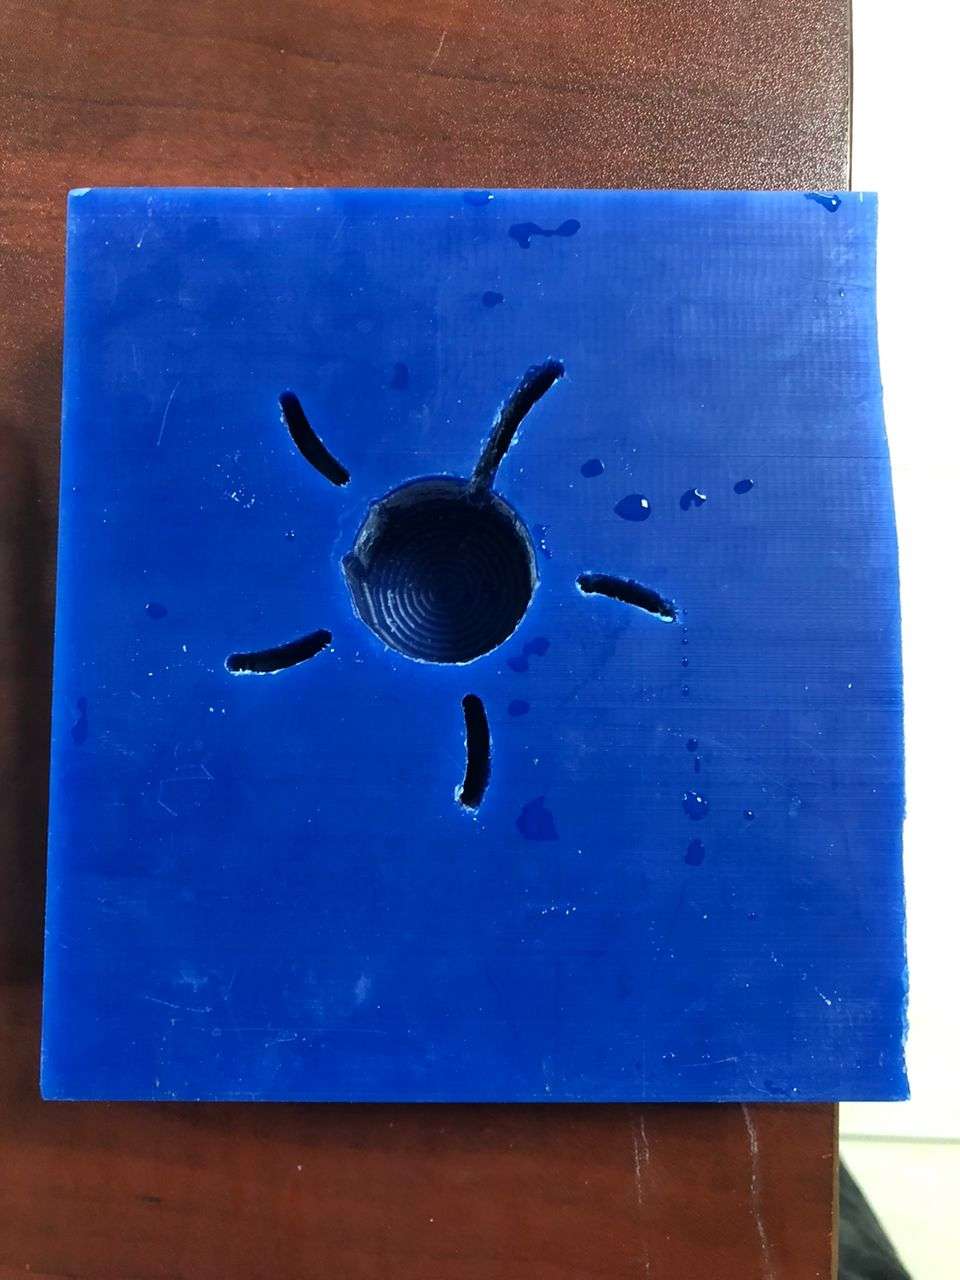
Top

I had issues milling this part. The machine cut some paths and skiped some paths. this is because of the diameter of the bit i used is larger than the thickness of the propeller blades. I ended with this output.

Result
UPDATE: I have resized the propeller and produced this part again using endmill of 1/32 for rough cut and 1/64 for smooth cut.
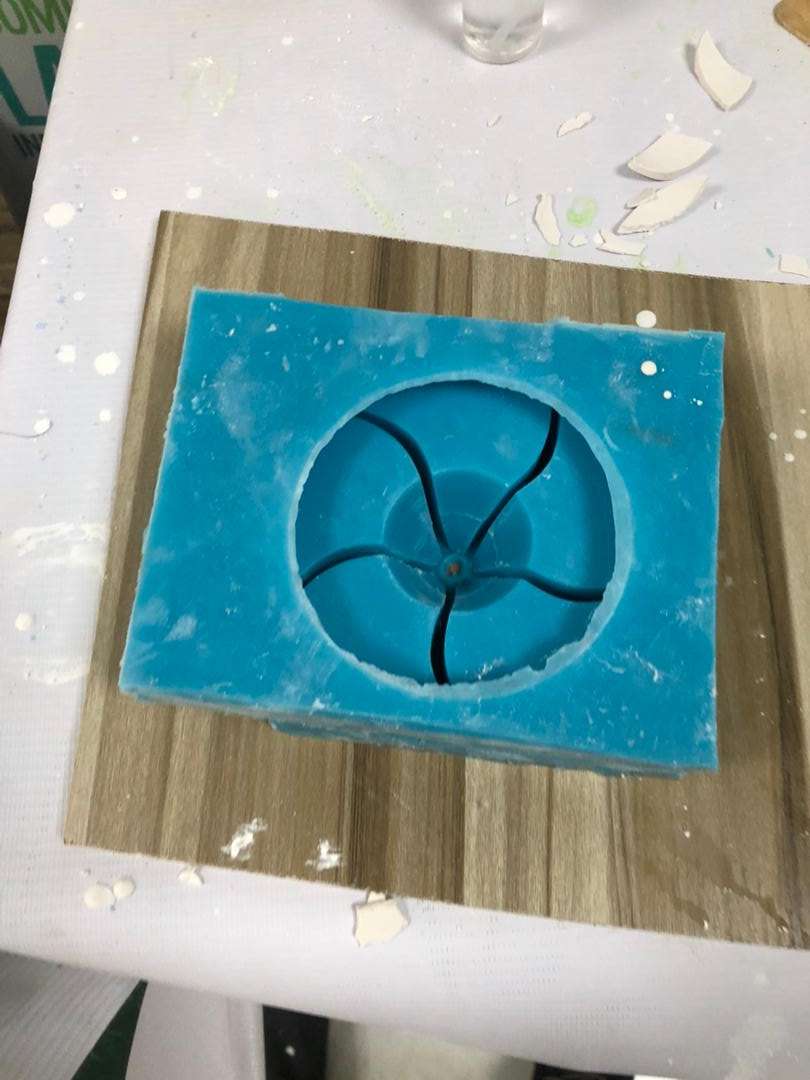
I tried to make the mold using plaster as well. First I printed the model.

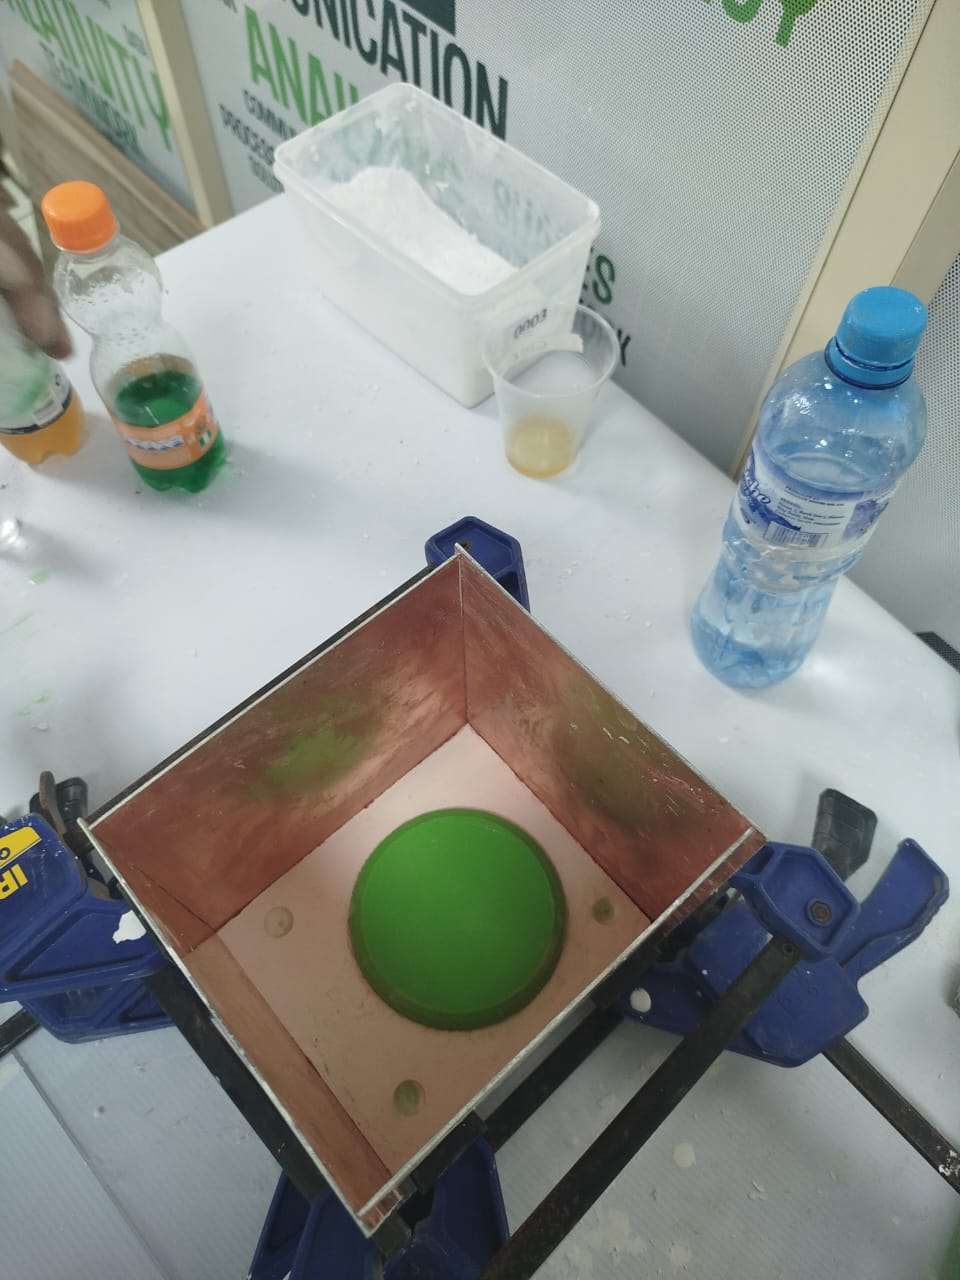
Then I used the bottom part of the mold I made from the wax to hold and secure the model so that I can cast the top part of the mold using the plaster.


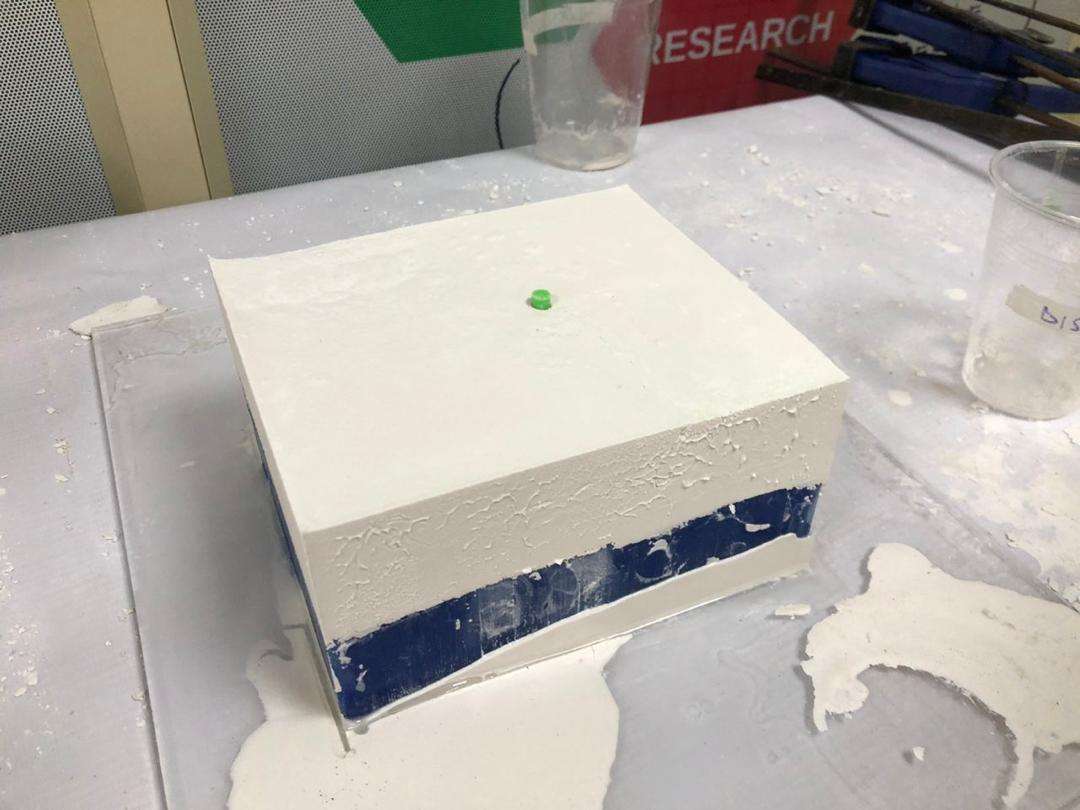

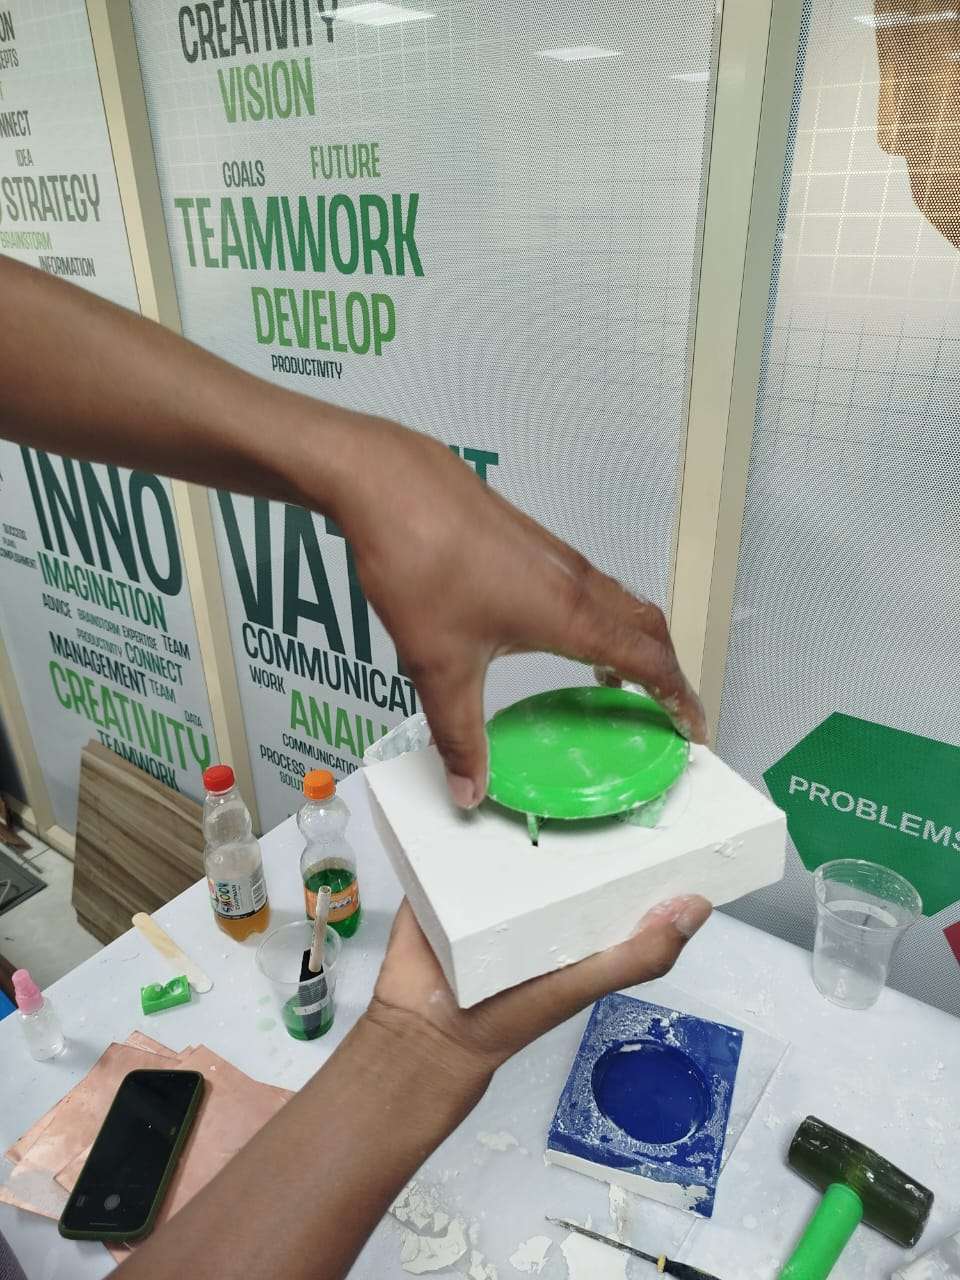
The roughness on the surface is due to the excess of liquid dishwasher i used to act as mold release agent. I tried with oil and also without mold release.I get better results with the dishwasher.
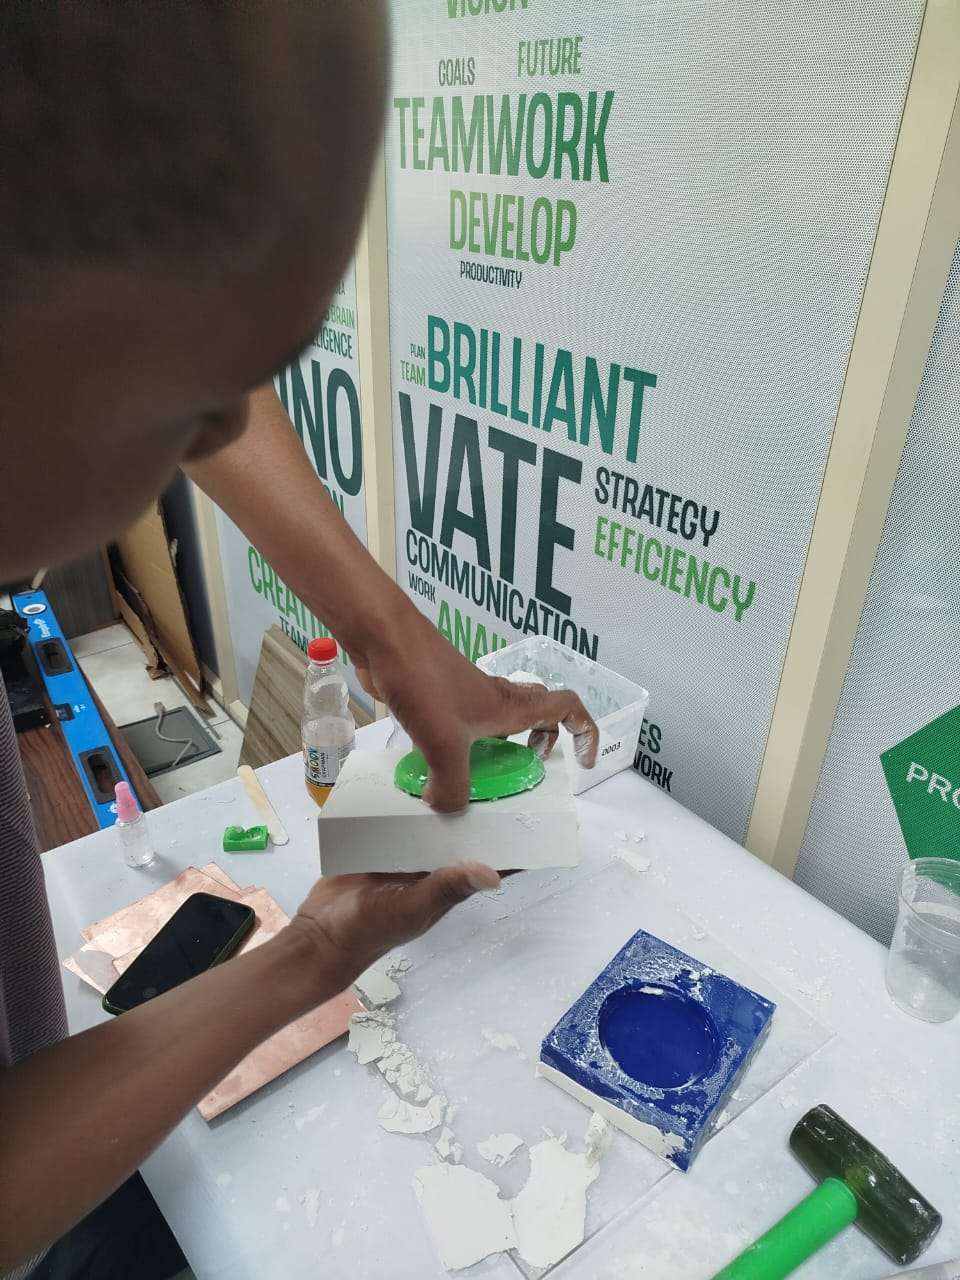
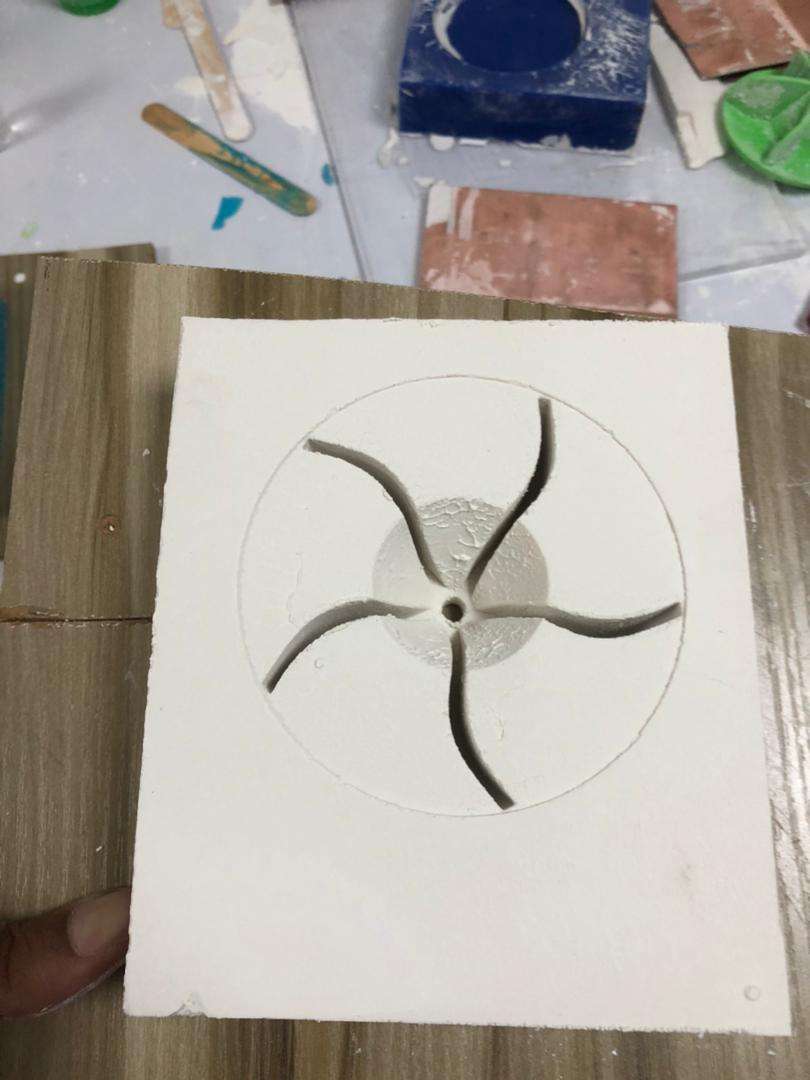
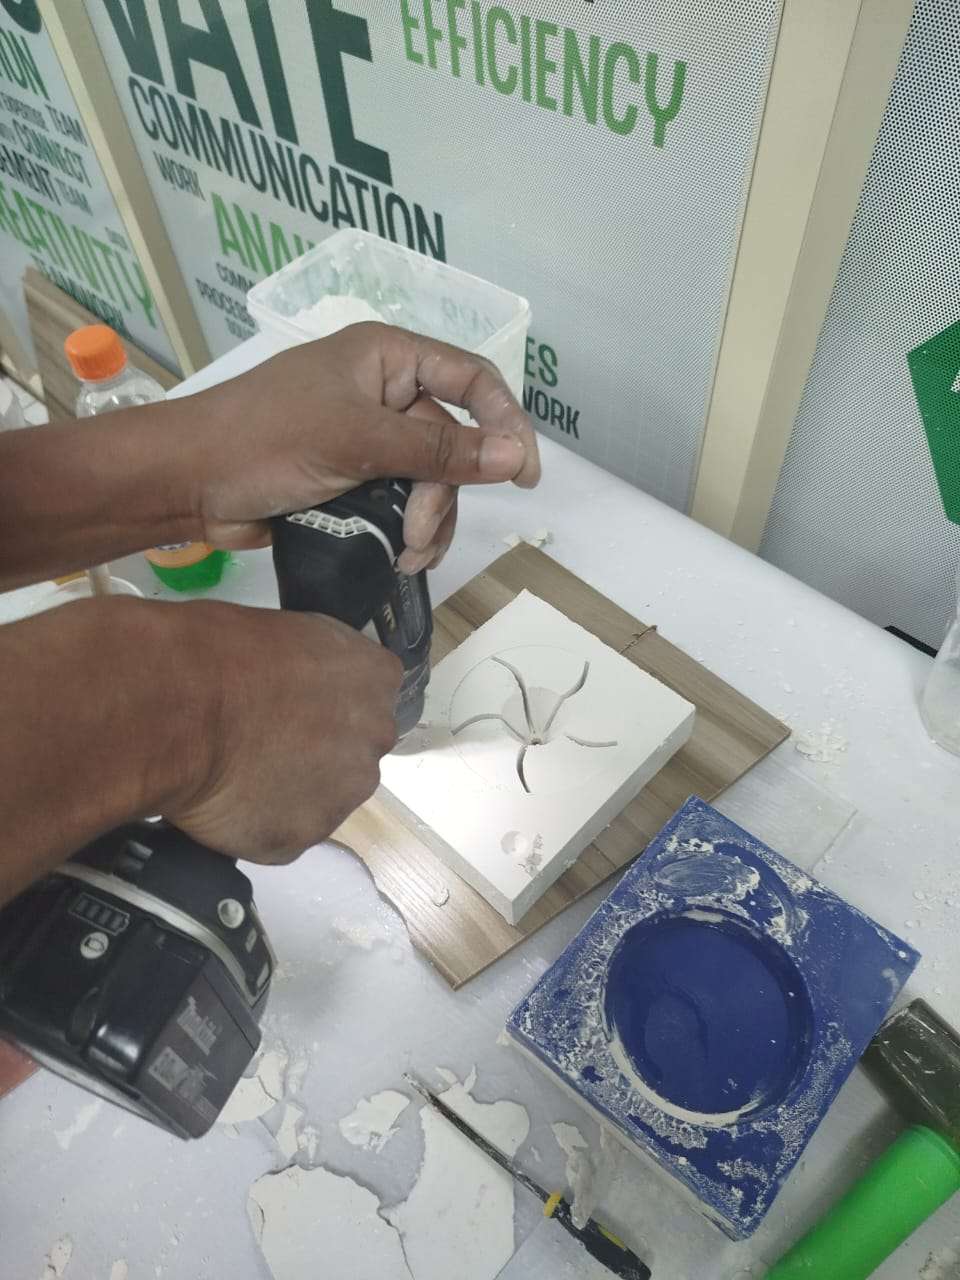
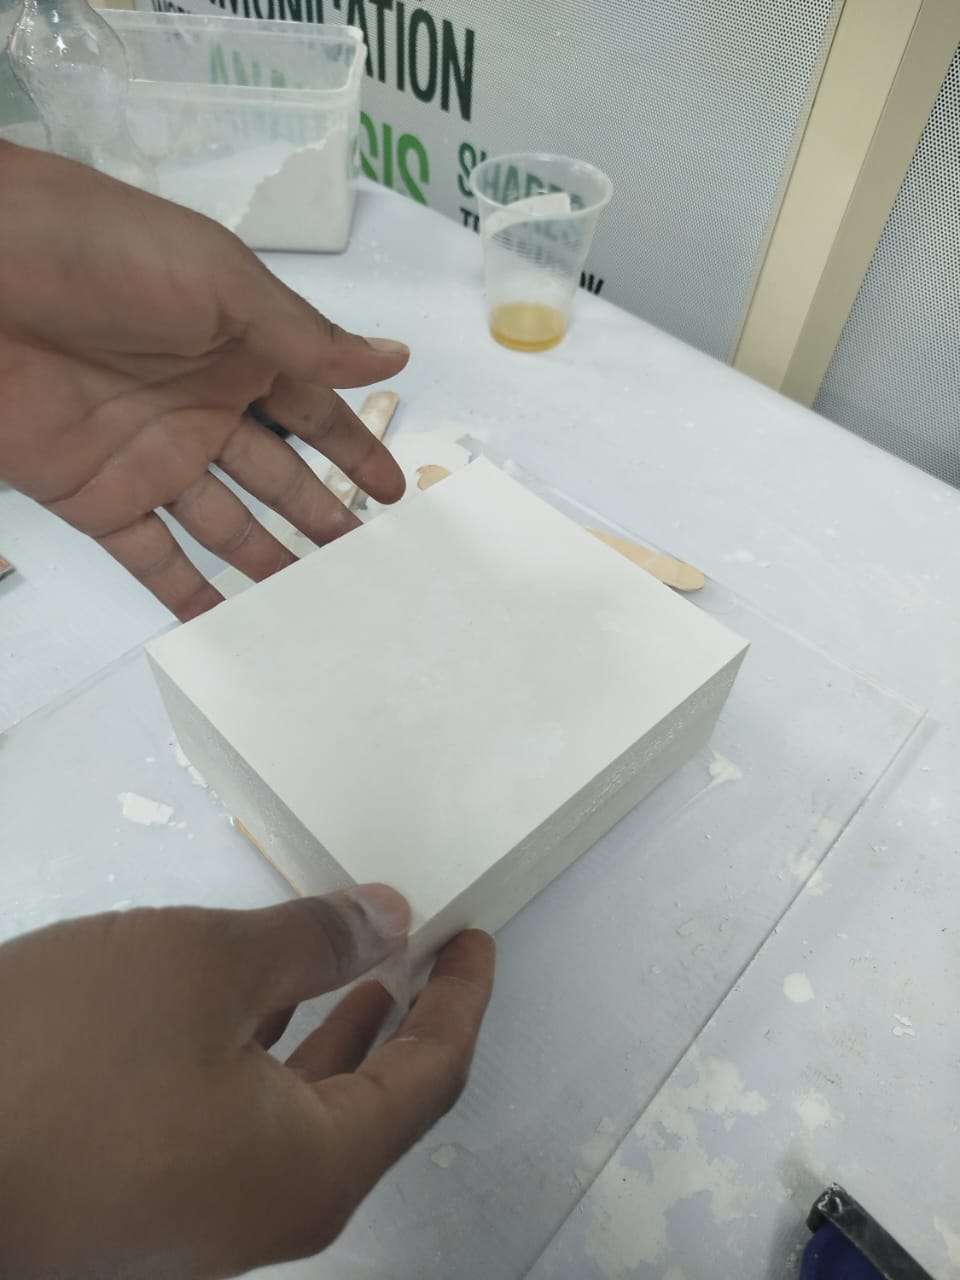
After drying for about 1 hour I drilled some registration marks on the mold to enable it fit correctly with the second part of the mold.

Bottom Part
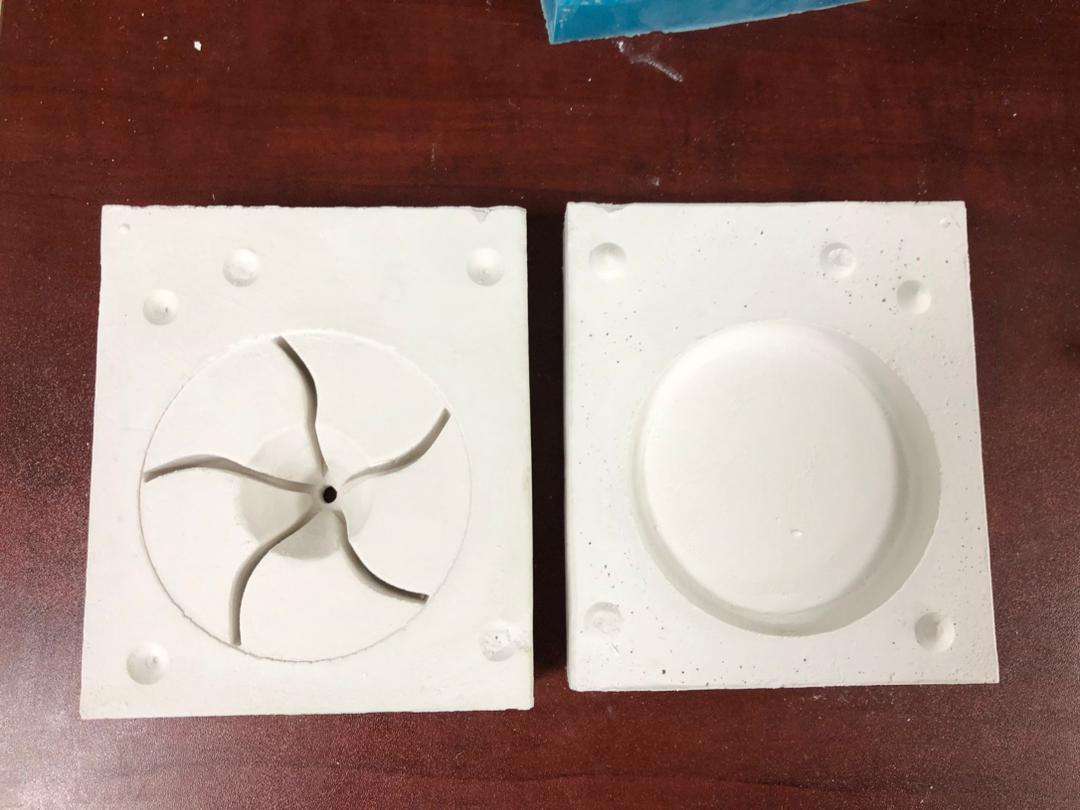
I inserted the model back inside the casted top mold and pour plaster to cast the bottom part

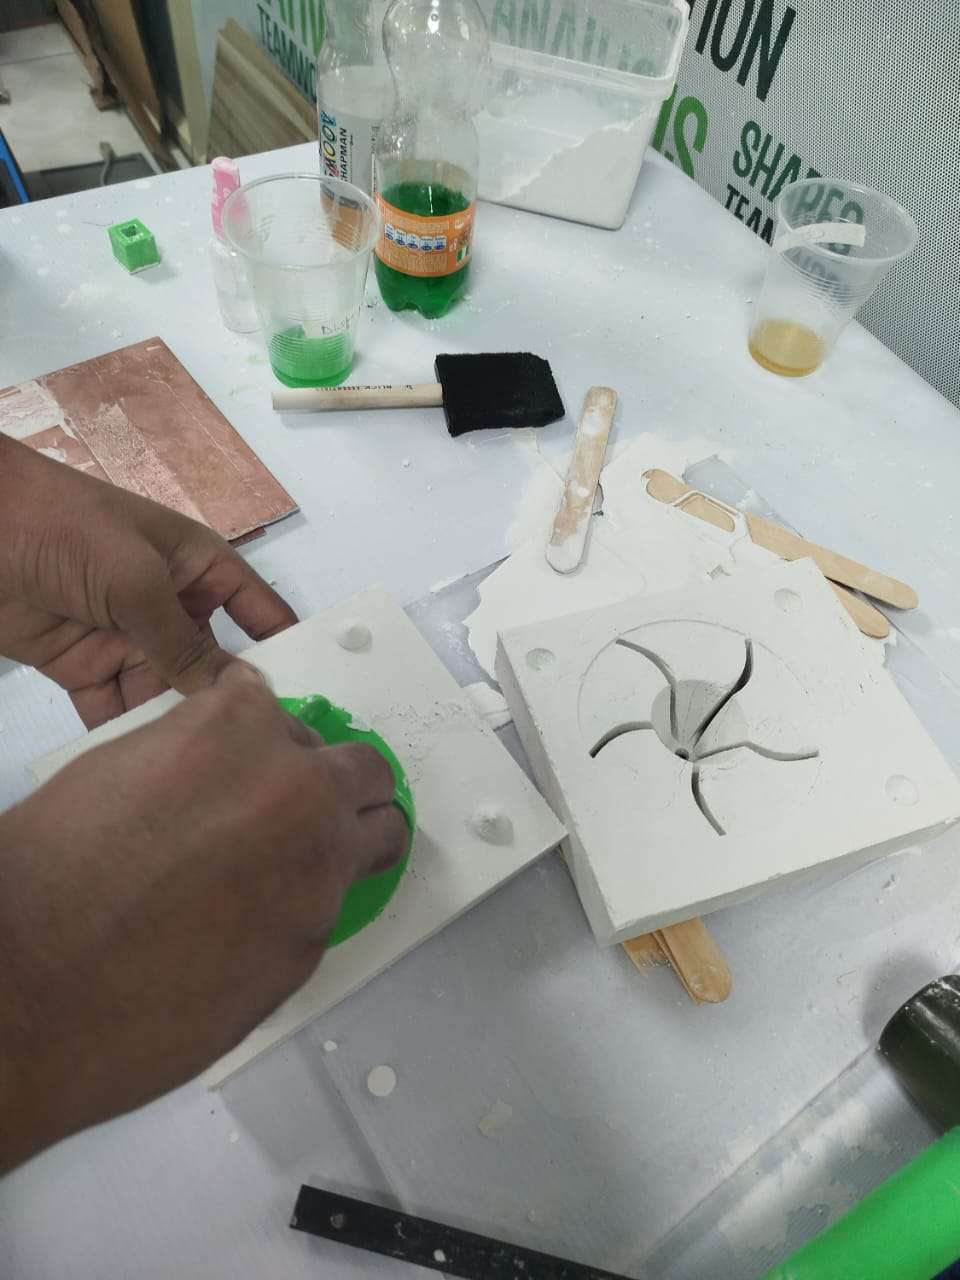
Result
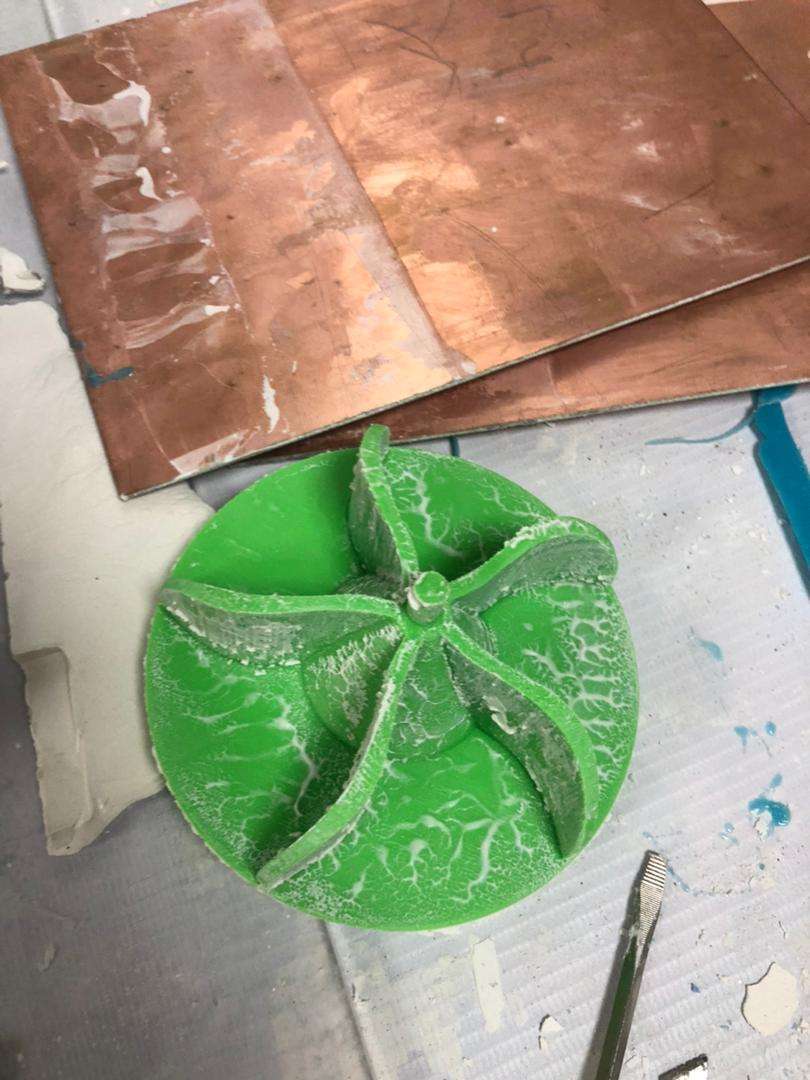
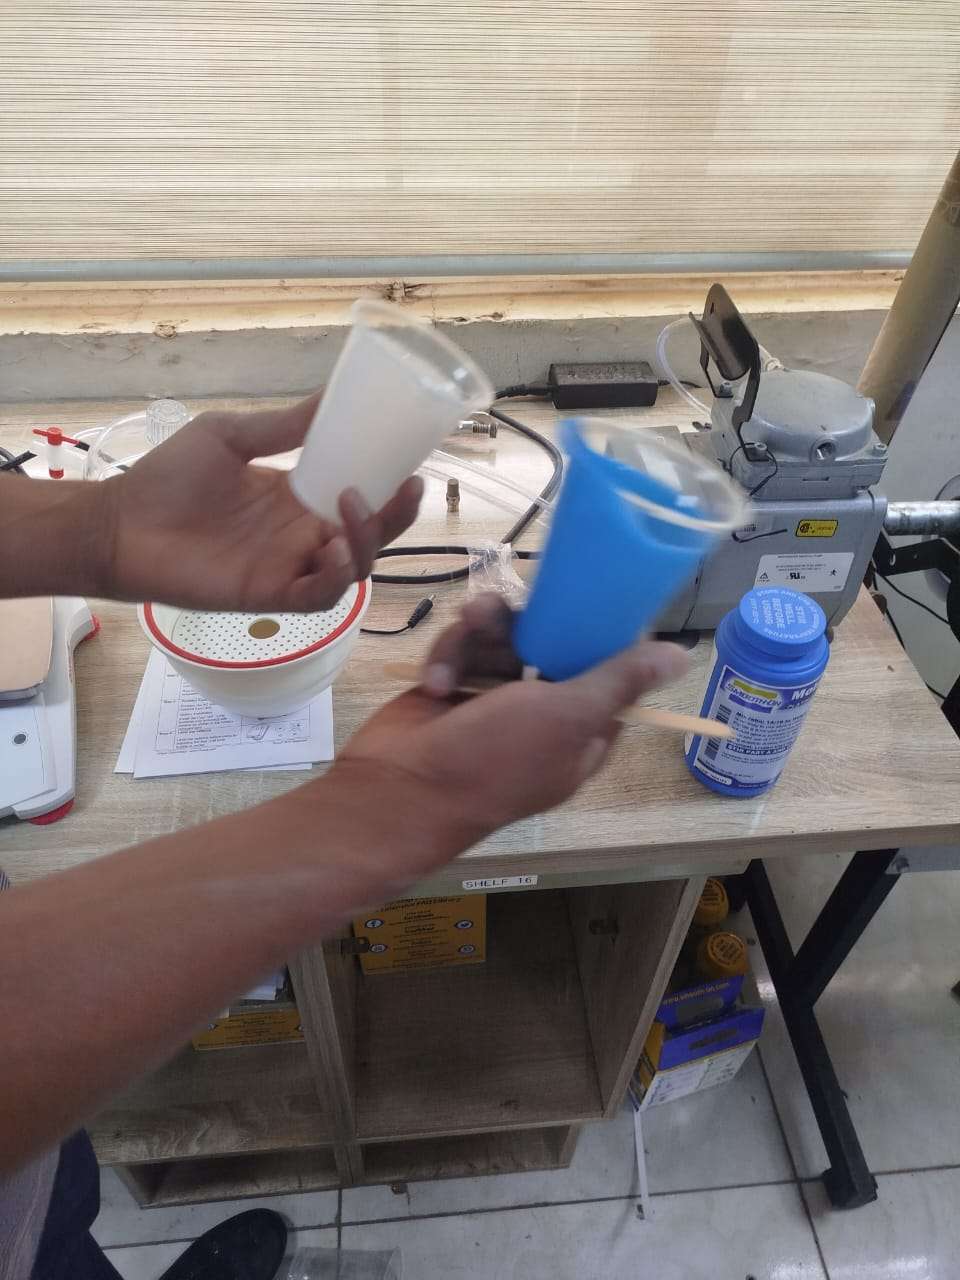
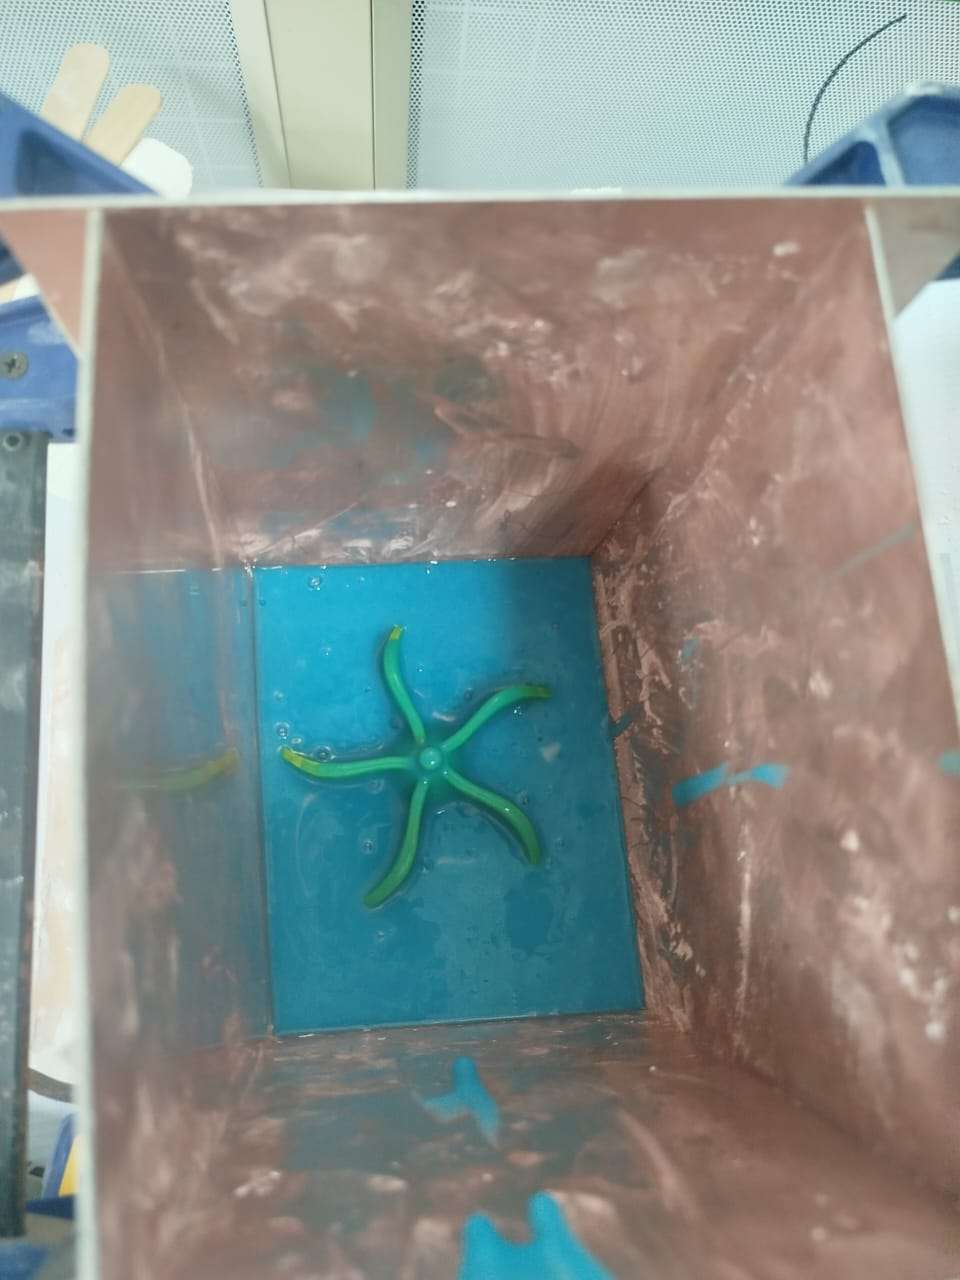
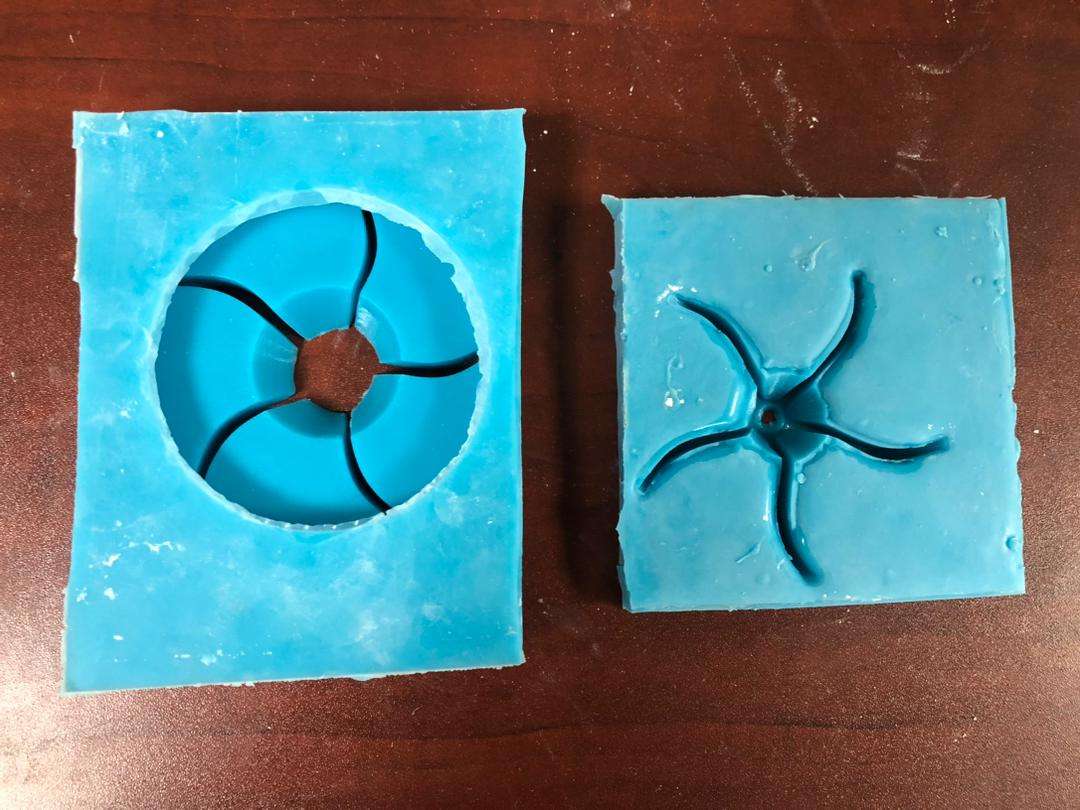
I also tried molding with a silicone rubber solution
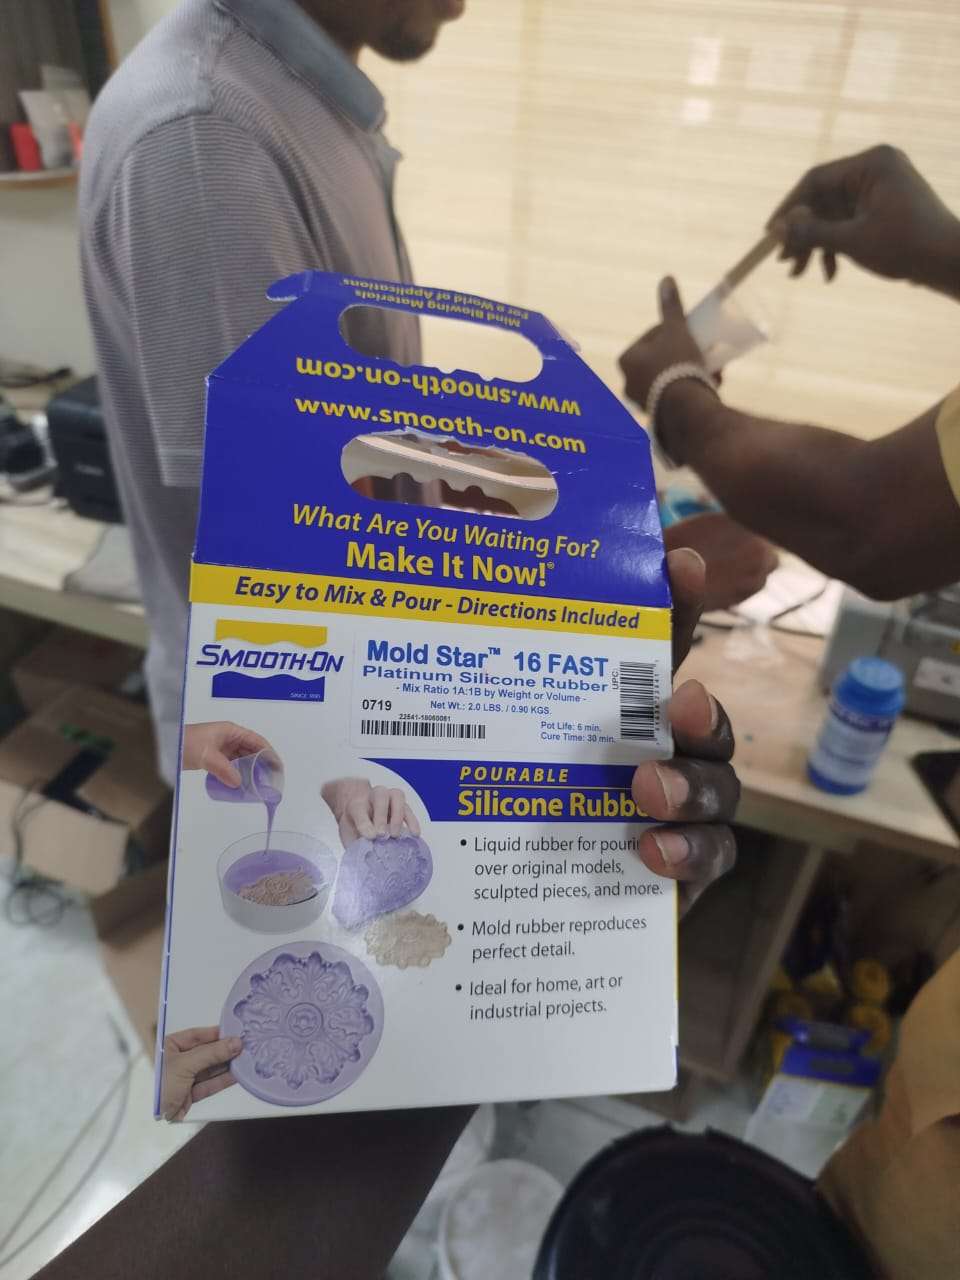

Mixing the A and B solution

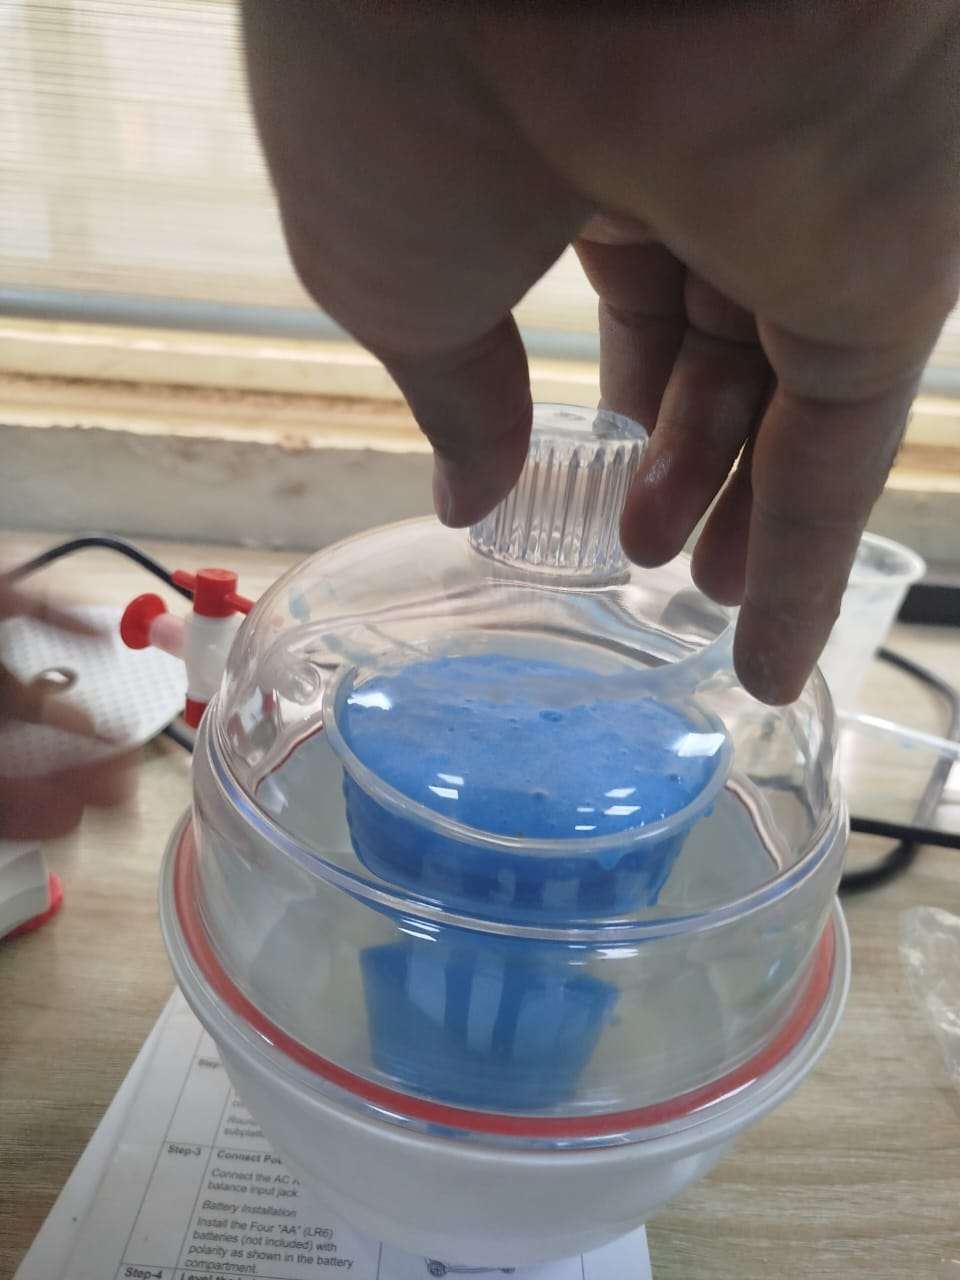
Removing bubbles
The mixture was not enough to cover the whole model so I ended up with 2 parts.

I trimmed the top and formed the upper part on top of this one.

Result
I used the silicone rubber mold to cast the propeller with both liquid plastic and plaster
Liquid Plastic

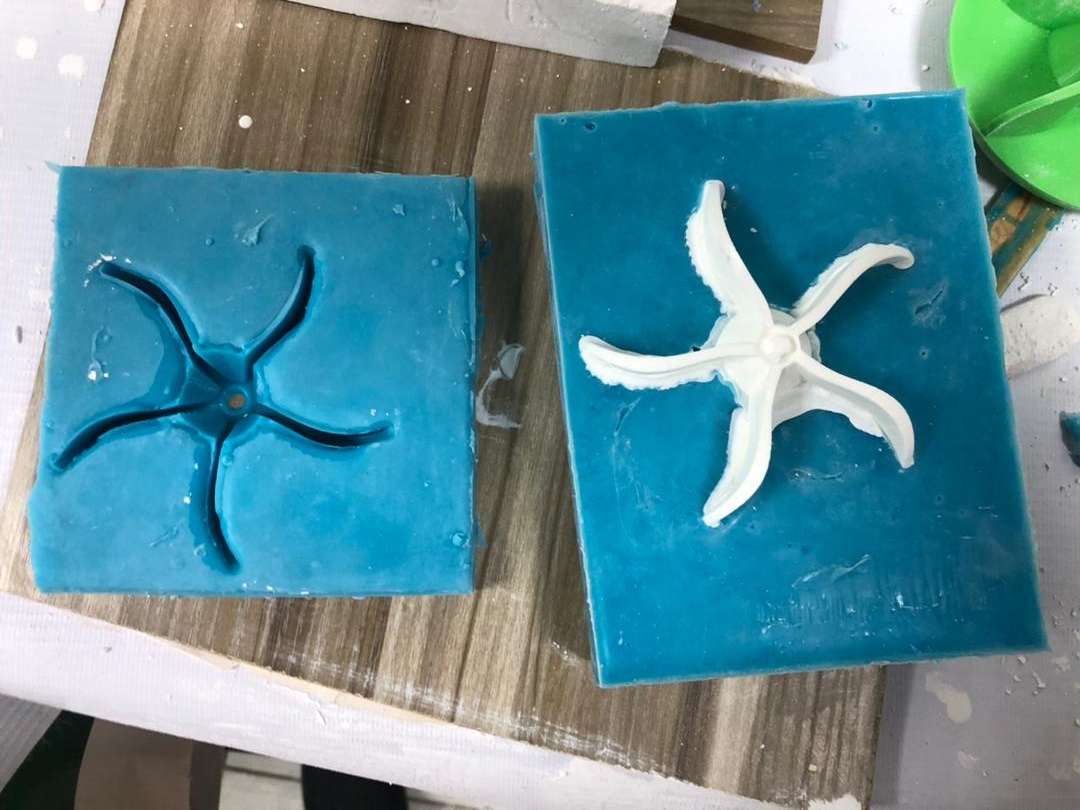
Plaster


Result
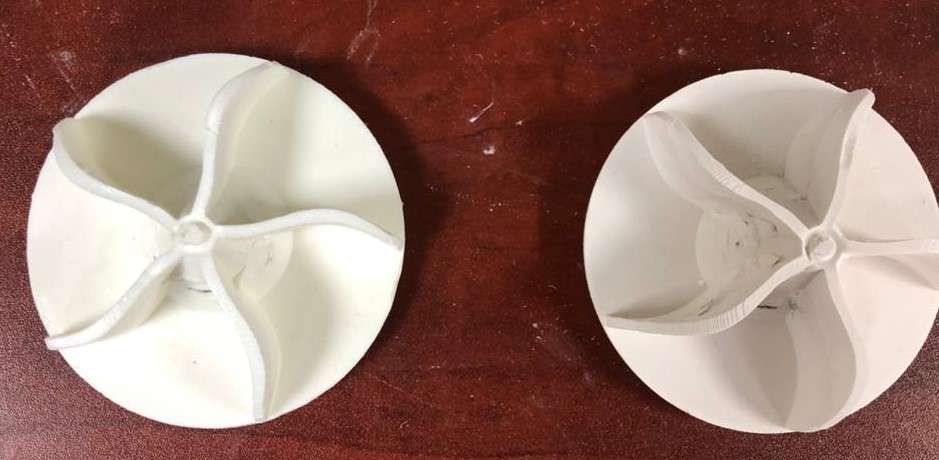
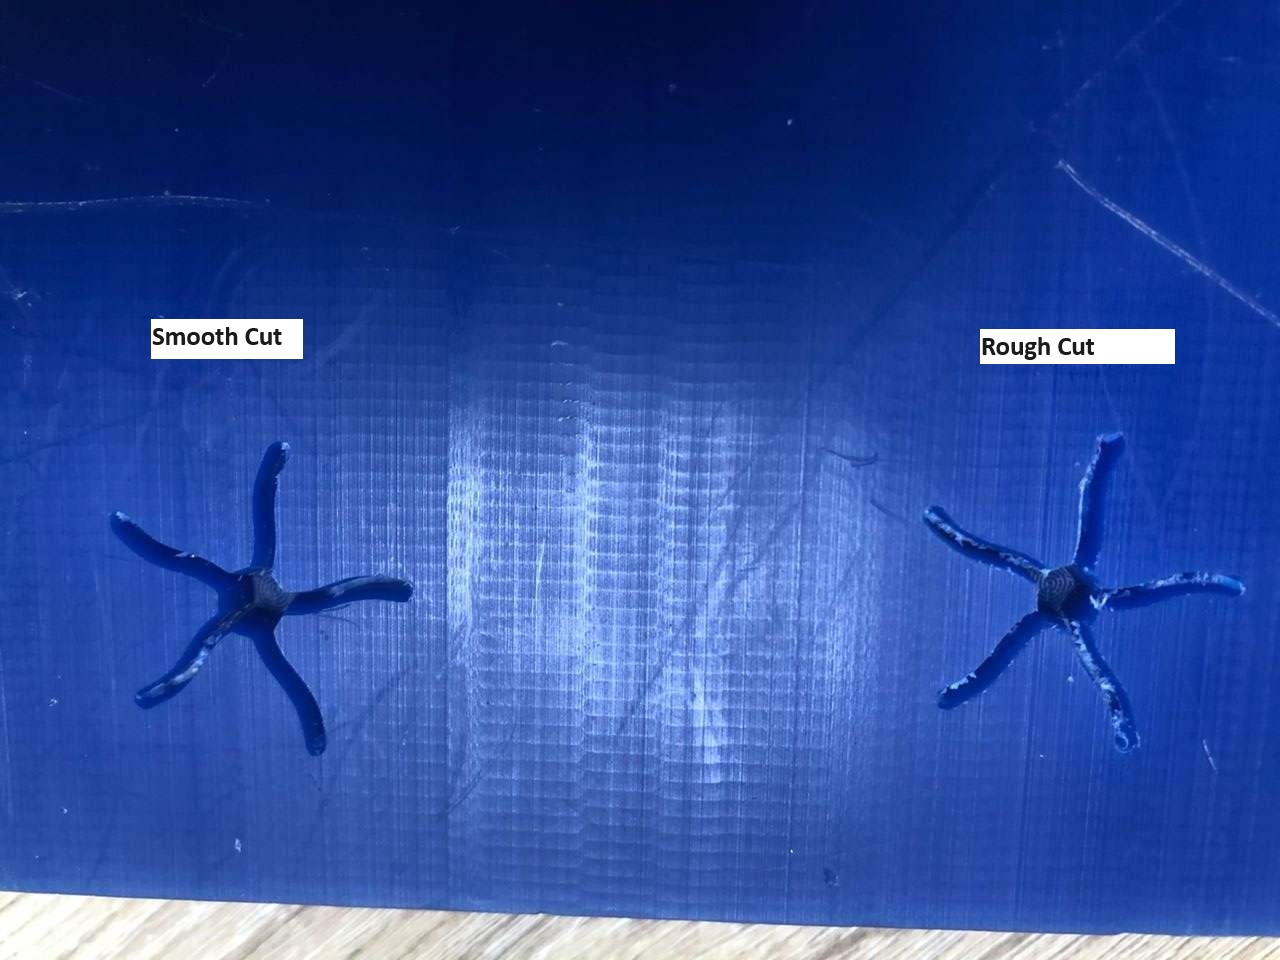
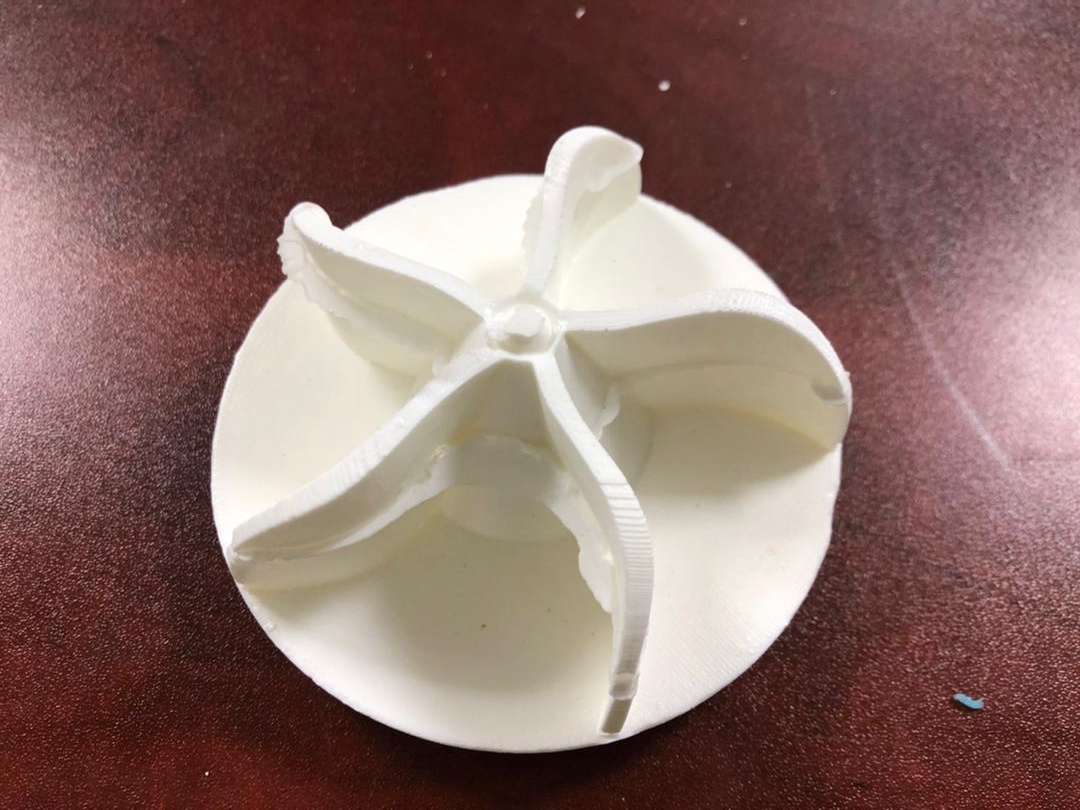
UPDATE: I used the machined mold to cast the top part of the propeller
Rough Cast

Smooth Cast