1. Project Management
This week I worked on defining my final project idea and started to getting used to the documentation process. Although it was a tedious process, it felt really rewarding to fully set it up.
Note: everything documented below was done on a MacBook Pro.
Assignment
- read, sign the student/instructor/lab agreements, and commit to your repos
- work through a git tutorial
- build a personal site in the class archive describing you and your final project
Creating This Website
Accessing my Repository
- I opened up the welcome email containing my log-in information (my email and a unique password)
- I went to https://gitlab.fabcloud.org/ and clicked “Sign in with FabLabs”
- I input my log-in information, accessing my repository
You can access here my repo here.
Getting Started with Pip
I began this week by following 2023 Fab Academy graduate Virginia Foster’s documentation, alongside my local evaluator, Dr. Taylor’s guide on how to set up this website. First, I downloaded Python from this website. I opened up my terminal and typed
python3 --version
Python 3.12.1
pip3 --version
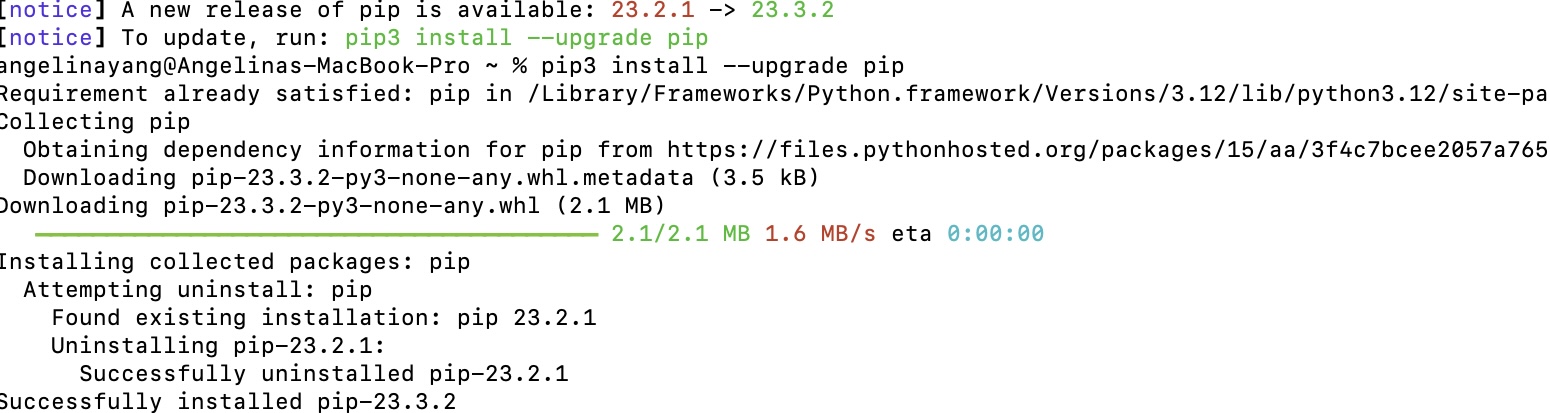
To determine whether pip was installed or not. Seeing that it wasn’t, I used the following command to install pip3 (as opposed to pip because I was using python 3)
pip3 install --upgrade pip
Obtaining an SSH Key
After installing pip, I needed to secure a connection between my laptop and Gitlab using an SSH key. To access an SSH key, I followed previous graduate Adrian Torres’ documentation.
First, I typed the following commands into my terminal:
git config --global user.name "your_name"
git config --global user.email "your_email"
To generate my SSH, I typed in the following with my email and hit enter until I saw my “key’s randomart image”:
ssh-keygen -t rsa -C “your_email”
I originally struggled to obtain my ssh key because my command was inconsistent in its quotations (smart vs. straight), which my peer and fellow FabAcademy student Kabir Nawaz pointed out. After noticing the difference and inputting the command again, I was able to swifty obtain the string.
Then, to see and copy my public key - referring to the huge string that starts with ssh-rsa, I typed:
cat ~/.ssh/id_rsa.pub
Next, I opened up Gitlab, clicked preferences under my profile drop-down menu, and pasted my ssh key into the tab marked “SSH Keys.” This connected my local server to the main “remote” server online.
NOTE: Whenever you have to install, download, commit, etc. something, you must confirm it with a passphrase - however, note that the characters will not show up in the terminal!
Cloning From my Repository
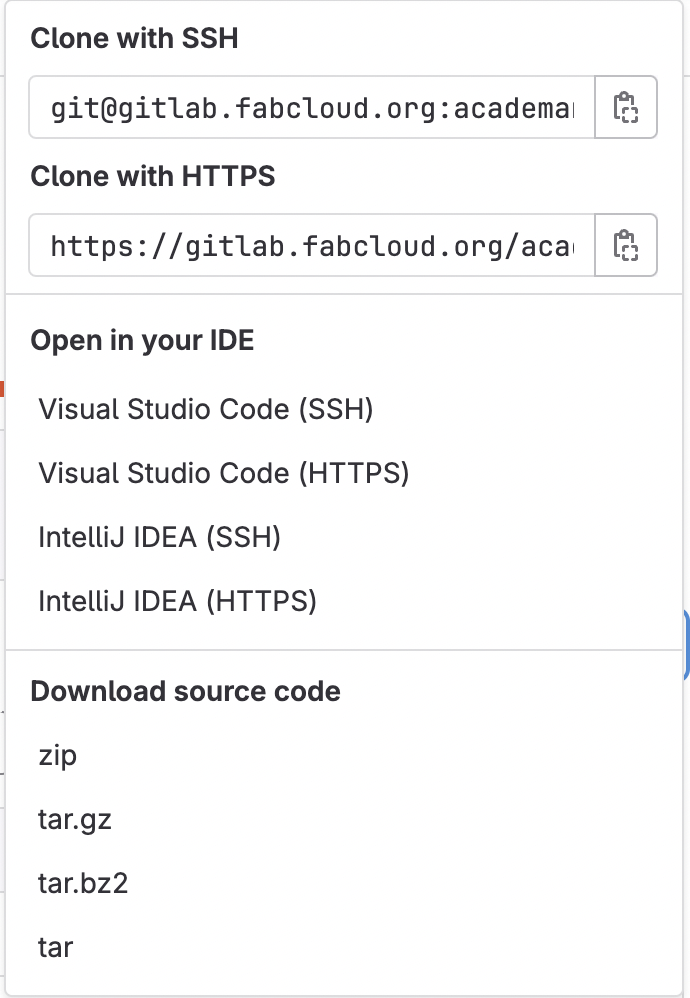
Under the homepage of GitLab, I clicked on the dropdown menu labeled “code” and I copied the link under “clone with SSH”.
Following Adrian Torres’ documentation, I initially tried to insert my cloned repo into a folder I created. However, I kept getting a zsh: permission denied error on my terminal, and I couldn’t access it. To solve this issue, I opened up a terminal tab directly from the folder itself by right clicking the folder and clicking “New Terminal at Folder”. I then typed the command
git clone git@gitlab.fabcloud.org:academany/fabacademy/2024/labs/charlotte/students/angelina-yang.git
And it successfully cloned (for reference, you should run the git clone command followed by the copied ssh link). Here’s what the result in the terminal looked like:
 Here is the folder containing the clone from the remote repository.
Installing MkDocs
MkDocs is a python package that enables you to build static pages with Markdown. To install MkDocs, I followed this tutorial, and I typed the following command into the terminal of my macbook:
pip install mkdocs
Then, after downloading Visual Studio code, I opened the application terminal in the bottom half of the screen and typed
pip install mkdocs-material
which was taken from this website. This automatically installs compatible versions of all dependencies, such as MkDocs, Markdown, Pygments, etc. I followed by typing
mkdocs serve
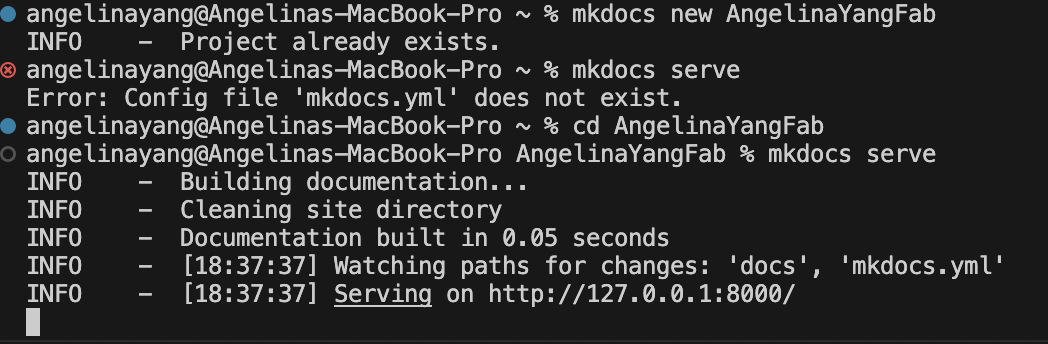
When I hit enter, the terminal gave me the error message that mkdocs.yml did not exist (Error: Config file 'mkdocs.yml' does not exist.), despite me installing it earlier. I found that previous graduates had struggled with a similar issue, so I visited Griffin Orsinger’s documentation to find a solution. His documentation suggested to create an mkdocs project first before serving it.
So I typed the following:
mkdocs new <Project-Name>
with a new folder named “AngelinaYangFab” and then proceeded to serve:
mkdocs serve
and it worked!
 Here’s what my terminal looked like after I performed the
 mkdocs new command
NOTE: While navigating through this process, I switched between my main terminal and the terminal located on python.
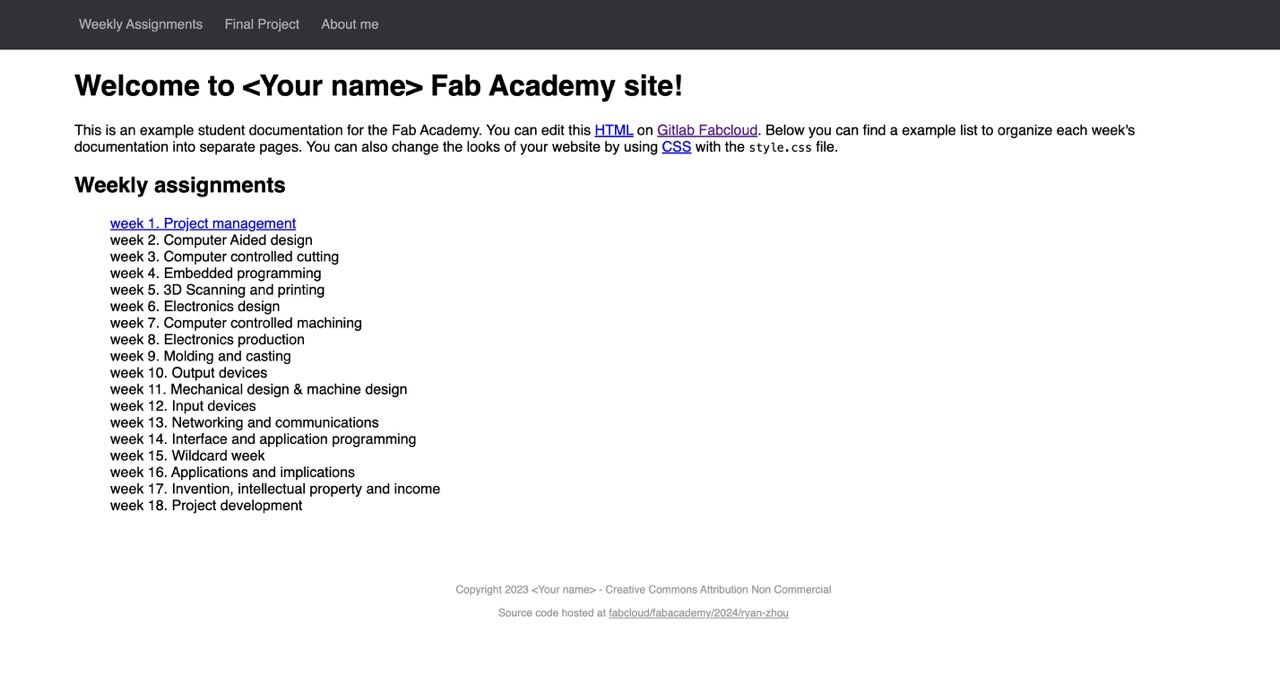
As explained in Dr. Taylor’s presentation, this terminal command allows for a test ip address that can be opened in an internet browsers locally on your computer for testing purposes. In this case, it displayed the basic html file on the new local server.
Copying a Provided Template
Now that mkdocs serve was working, I worked towards downloading the Fab Academy Student Template and replacing the basic one that came with my repository. I first downloaded the template as a .zip file and extracted the contents, moving the different folders (assignments, files, final project, etc.) into my repository folder. The only edit I made was in the mkdocs.yml file, in which I changed url next to the site_url line.
Site_url: https://fabacademy.org/2024/labs/charlotte/students/angelina-yang/
Thinking that that was all, I ran the ‘mkdocs serve’ command, expecting to see my template on the local server. To my dismay, the basic mkdocs webpage showed up, and there were no changes. It was here that I realized I forgot to paste the code from the gitlab-ci.yml file from the template into my own (all the other files were duplicated into my folder except for that). When I performed mkdocs serve, the changes showed up. Nice.
My next goal was to commit and push all of these changes to my main website. I referenced this cheatsheet for git to find what commands to use in the terminal. I first ran the commands git config user.email “<insert email>”, followed by git config user.name “<insert name>”. Then, to move from local to remote, I typed the following commands:
git add .

git commit -m "<custom message for commit>"

git push
I went to my remote repository to see if my commit/push was successful (indicated by a green check). Although it said the push went through, my overall website looked the exact same as before.
Confused with the discrepancy between my local server and the remote server, I spent hours experimenting with my files, moving my mkdoc.yml file around and committing to see whether anything had changed. However, no matter what I did, I could not find the problem.
 This image displays my late-night struggles during the first day.
As a result, I began looking at others’ repositories to see how their files were organized–I noticed that they only had a “docs” folder—whereas the original folder created by the mkdocs new command and the “public” folder weren’t there. I ended up moving the AngelinaYangFab folder out of my repository folder, and continued to make blind adjustments to the hierarchy. When I realized that all of my files were completely scrambled, I consulted my teacher and previous Fab Academy graduate, Dr. Taylor, whose work I’ve been referencing. He suggested that I move 1. everything that was currently under my repository folder out 2. use the git pull command to download the local repository to the most recent version online (pre-edited), and 3. move everything that was originally under “docs” to “public”.
When I did this, unfortunately, I ran into a directory issue. This caused every single commit from that point on to fail, producing this failed pipeline message:
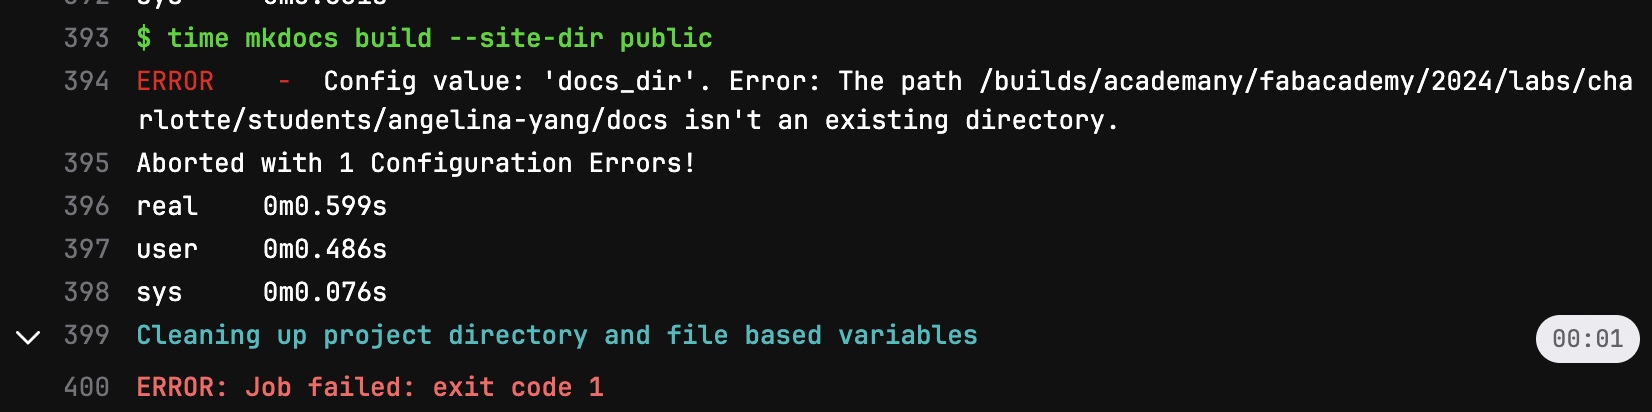 I encountered a directory issue, in which mkdocs.yml was trying to access a folder that didn’t ‘exist’ in my local repo.
To solve this issue, I went back into my repository folder, moved the empty “docs” folder out, and changed the name of the “public” folder to “docs”. Surprisingly, this worked, and when I committed/pushed, it successfully updated the website to what you see now!
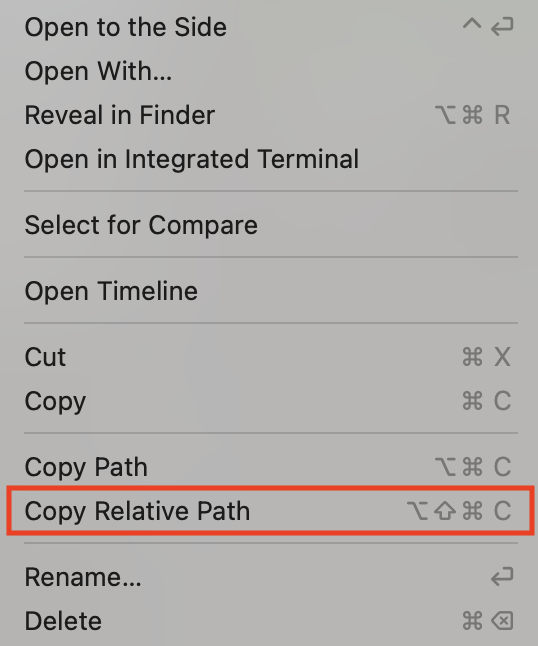
The last thing to do was to figure out how to insert images into my website. In VS, I first created a folder called “images,” followed by a sub-folder for week 1. I moved images from my computer into that folder, ensuring that each one had a distinct name that was easy to access. To make the images visible, I right-clicked the image in VS, clicked “copy relative path” in the pop-up bar, and pasted it into the markdown doc with the rest of my documentation.
I typed the correct syntax for images, which I found on this page I also made few edits to the path itself, replacing “docs” with “..”
Here’s a general outline of how to add images:

Here’s what it looked like with a specific image of mine:

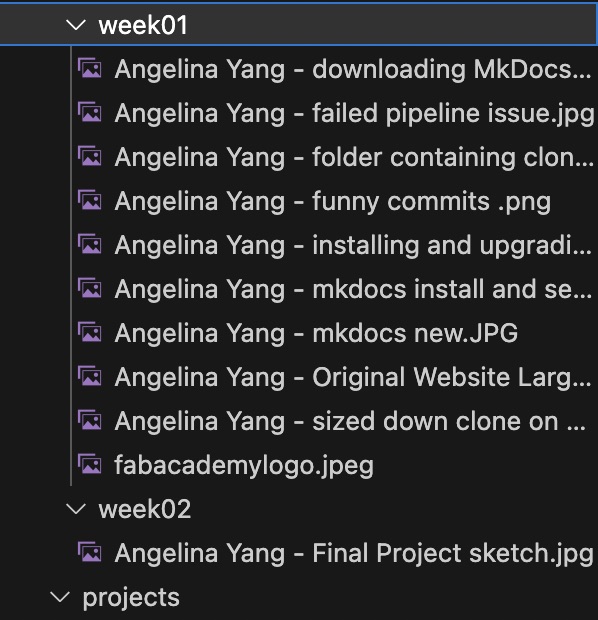
Here’s how I organized my folders in VS, for reference.
References
- Big thanks to Adrian Torres, Griffin Orsinger, Dr. Taylor, and Virginia Foster for making this process a lot easier! Additionally, thank you to Chloé Laurent for the instructions on the customization process. This website’s design was completely based off of her’s!
Week 1 Reflection
This was a fun way to start off Fab Academy! I learned a lot about the applications and features of git, and I’m excited to continue my documentation.
Update from 5/14: I’ve gotten a lot more used to Markdown and documentation now :)
Git Commands
- git clone: to completely copy content from the remote repository into a computer’s local folder, creating a local repository
- git status: to see what has changed + current status between local and main
- git pull: to download the local repository to the last version of the online repository
- git add .: to add the changes
- git commit –m “descriptionofthechange”: to confirm the changes
- git push: to make the changes effective and finally update the repository online