1. Principles and practices
This week I tried to understand the basics of my terminal, git and a static site generator. I started with my documentation and worked on defining my final project.
Assignments first week (copied from Nadieh’s page and added the potential final project)
- Make a website and describe how you did it
- Introduce yourself
- Document the steps for uploading files to archive
- Push the website to the class archive
- Sign and upload the Student Agreement
- Plan and sketch a potential final project
Introduction
This was the first official week of Fabacadamy. I was a total newbie working with the Terminal, Git and a Static Site Generator. Neil said it would be a fairly boring week but I liked it! I’ve learned a lot.
I work on a Macbook Pro (2019) with maxOS monterey (Version 12.6.2)
Basics
commands
I’ll move this header with content probably somewhere else. But all the commands are new for me so it would be wise to write these down. I cheated a bit and stole some of the content from other students pages. In my documentation you’ll find the terminal commands in chronological order. Indicated with TT (terminal tip)
cd          : Change directory/files/map
ls -al      : List all the files and hidden files in the directory
ls -ld      : display the default permission for a home directory
pwd         : see which directory you're in
mkdir       : Create a new directory within the current directory
rm          : remove files or directories
ssh         : establish a SSh connection to <host> with user <username>
pbcopy      : We use for automatic copy
man         : You get a manual page -> explains what the command means
cd ..       : go back to your previous folder

Tekst editor = Here we can adit text, I'll use VSC
Static site generator = A static site generator is a tool that generates a full static HTML website based on raw data and a set of templates. I'll use mkdocs
Repository = A repository contains all of your project's files and each file's revision history. You can discuss and manage your project's work within the repository. We do this in GIT.
Terminal = A computer terminal is an electronic or electromechanical hardware device that can be used for entering data into, and transcribing data from, a computer or a computing system.
Markdown = Markdown is a lightweight markup language for creating formatted text using a plain-text editor.
HTML = Markup language
Markdown = Markup language
Final project
Installing terminal
We started with opening the terminal -> Command space -> type in: terminal
Open terminal, type a random command (for example: folder), hit enter and the following pop up will open. Install the developer tools.

Set up ssh connection
Open terminal. Type in: ssh -h
ssh = secure shell. We use this to go from one server to another, encrypted -> protected. ‘’The Secure S hell Protocol is a cryptographic network protocol for operating network services securely over an unsecured network.’’
For encryption you need a public key and a private key
Type in your terminal:
ssh-keygen -t ed25519 -C “my-email@email.com” -f ~/.ssh/id_ed25519_gitlab
Change your ‘my-email’ into your personal one.
You generate a secret file and a public file
don’t write your secret code here
-rw-r–r– 1 samsongenet staff 103 Jan 26 10:54 id_ed25519_gitlab.pub
I generated this with the first ssh-keygen that I found on Nadieh’s page.
Install and connect Visual Studio Code
TT (If you type in ‘man’ you get a manual page -> explains what the command means) <- Terminal Tip (Terminal Tip from now on = TT)
Open visual studio code. Open a folder -> type in .ssh. Didn’t find it. Type in ‘cmd shift h’ to go to samsongenet and users. Type in .ssh again. Now we find it.

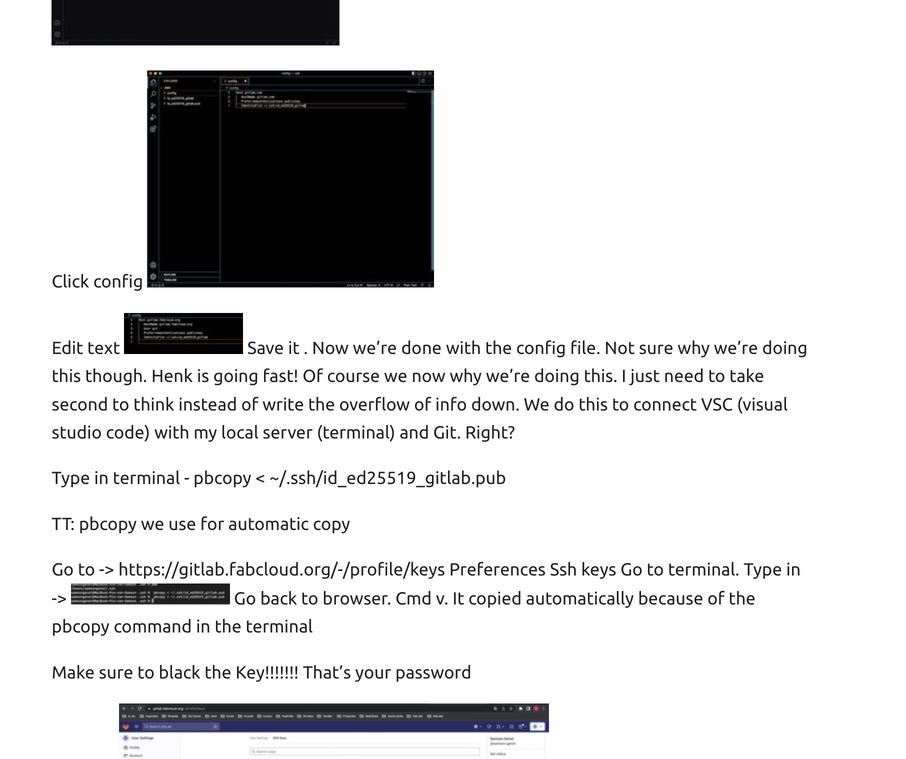
Click config
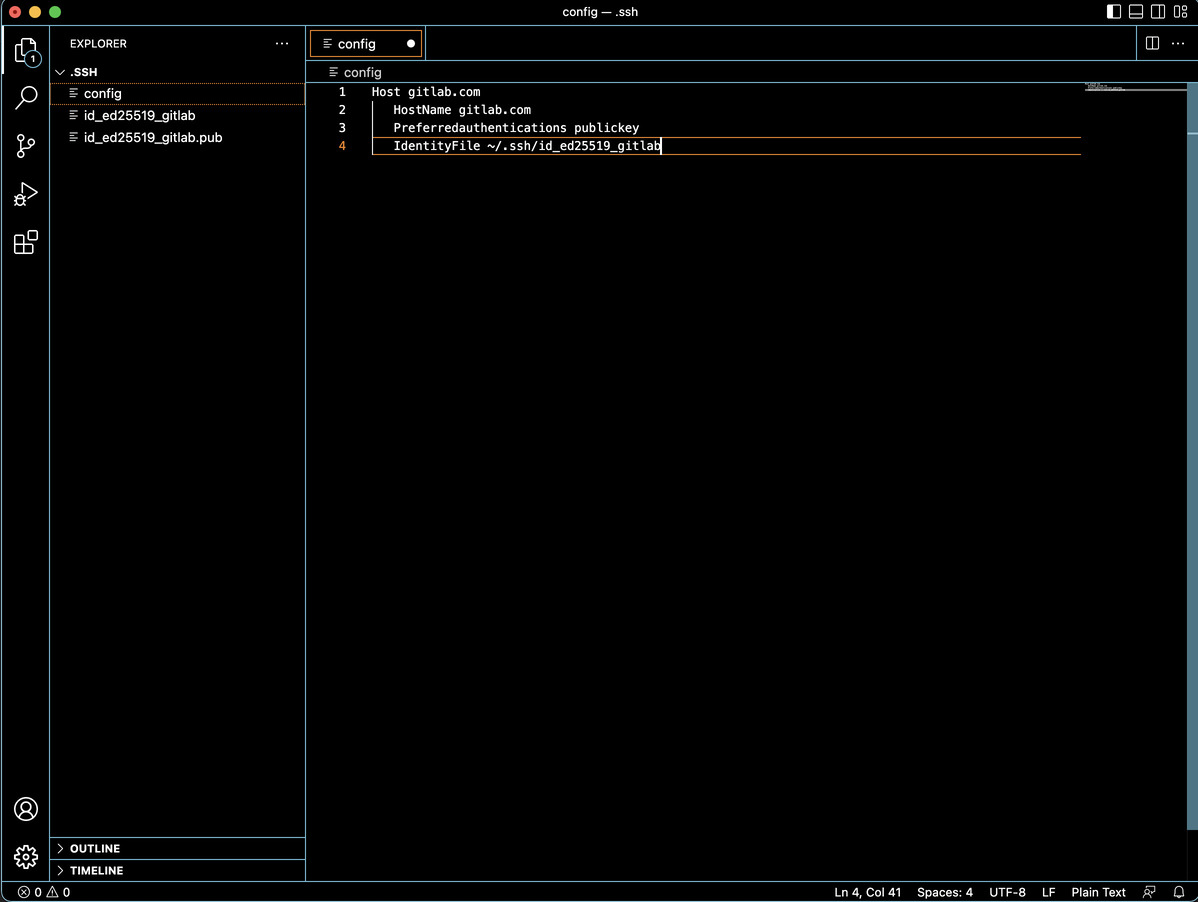
Edit text
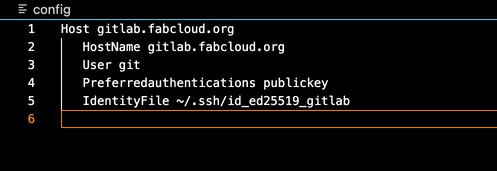
Save it. Now we’re done with the config file. Not sure why we’re doing this though. Henk is going fast! Of course I now why we’re doing this. I just need to take second to think instead of write the overflow of info down. We do this to connect VSC (visual studio code) with my local server (terminal) and Git. Right?
Type in terminal - pbcopy < ~/.ssh/id_ed25519_gitlab.pub
TT: pbcopy we use for automatic copy
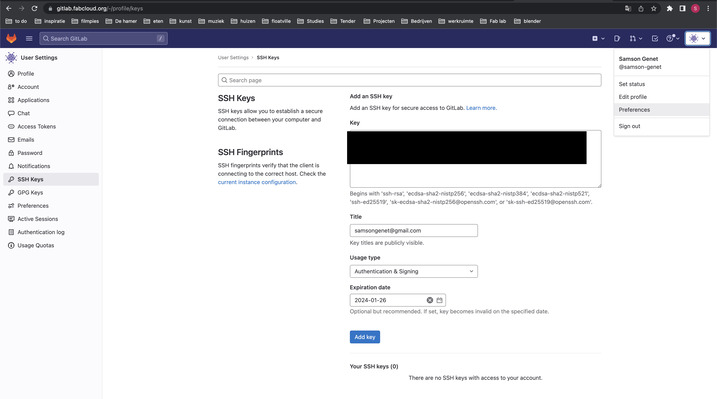
Go to -> https://gitlab.fabcloud.org/-/profile/keys Preferences Ssh keys Go to terminal. Type in ->

Go back to browser. Cmd v. It copied automatically because of the pbcopy command in the terminal
Make sure to black the Key!!!!!!! That’s your password
Add key
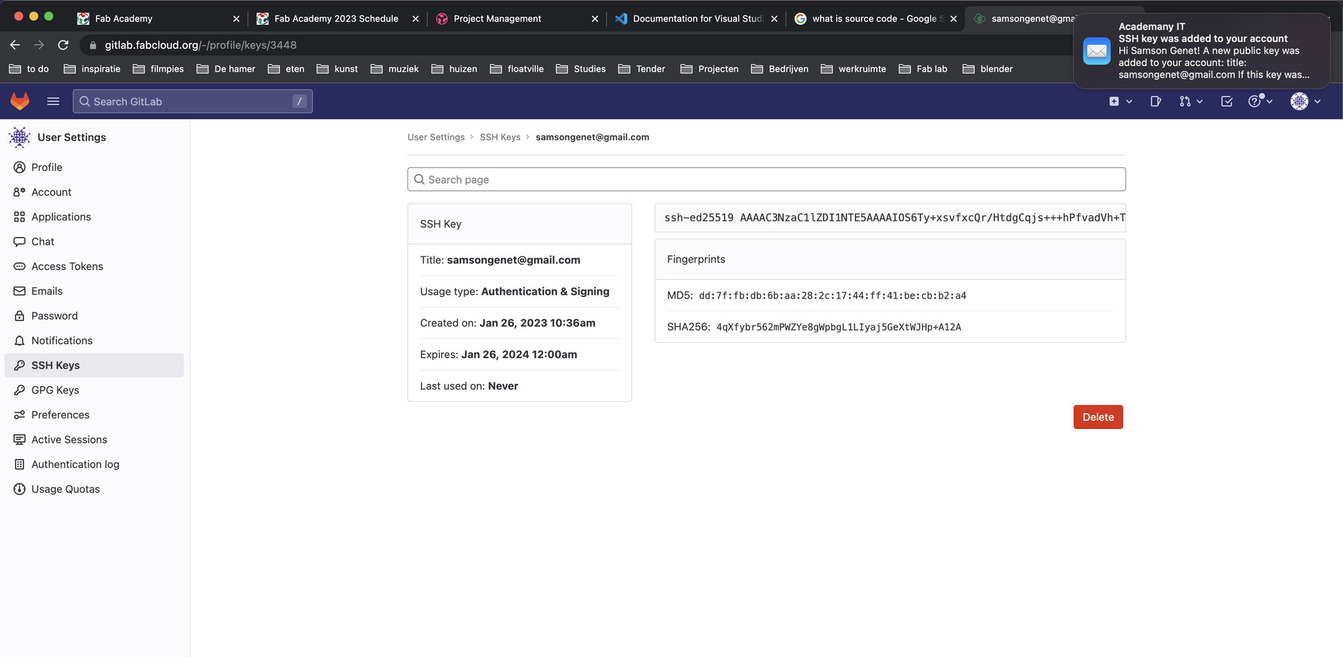
Go back to terminal type in -> ssh -T git@gitlab.fabcloud.org

First it failed. I had to say yes. now it works.

Go to -> https://gitlab.fabcloud.org/academany/fabacademy/2023/labs/waag/students/samson-genet .
Copy repository on hard disk
I want to make a copy of my repository on my hard disk

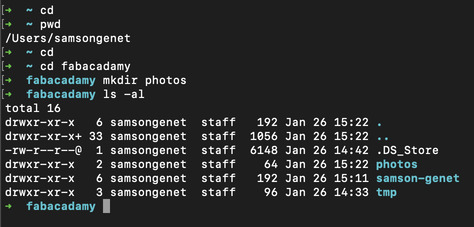
TT: Cd = change directory to your home TT: Pwd = to see where you are

TT: Mkdir = make directory
TT: Type in something use ‘tab’ for automatic generate folder name (if it’s the only option). Make a folder

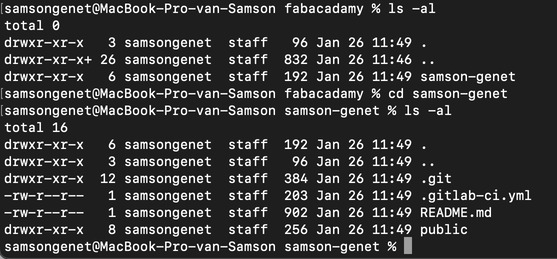
I cloned my repository in this folder.

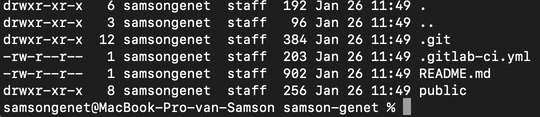
TT: Ls -al = list all files in folder (directory, folder, map = all the same)
Below we checked if it’s copied/cloned
Studio visual code. Open new folder
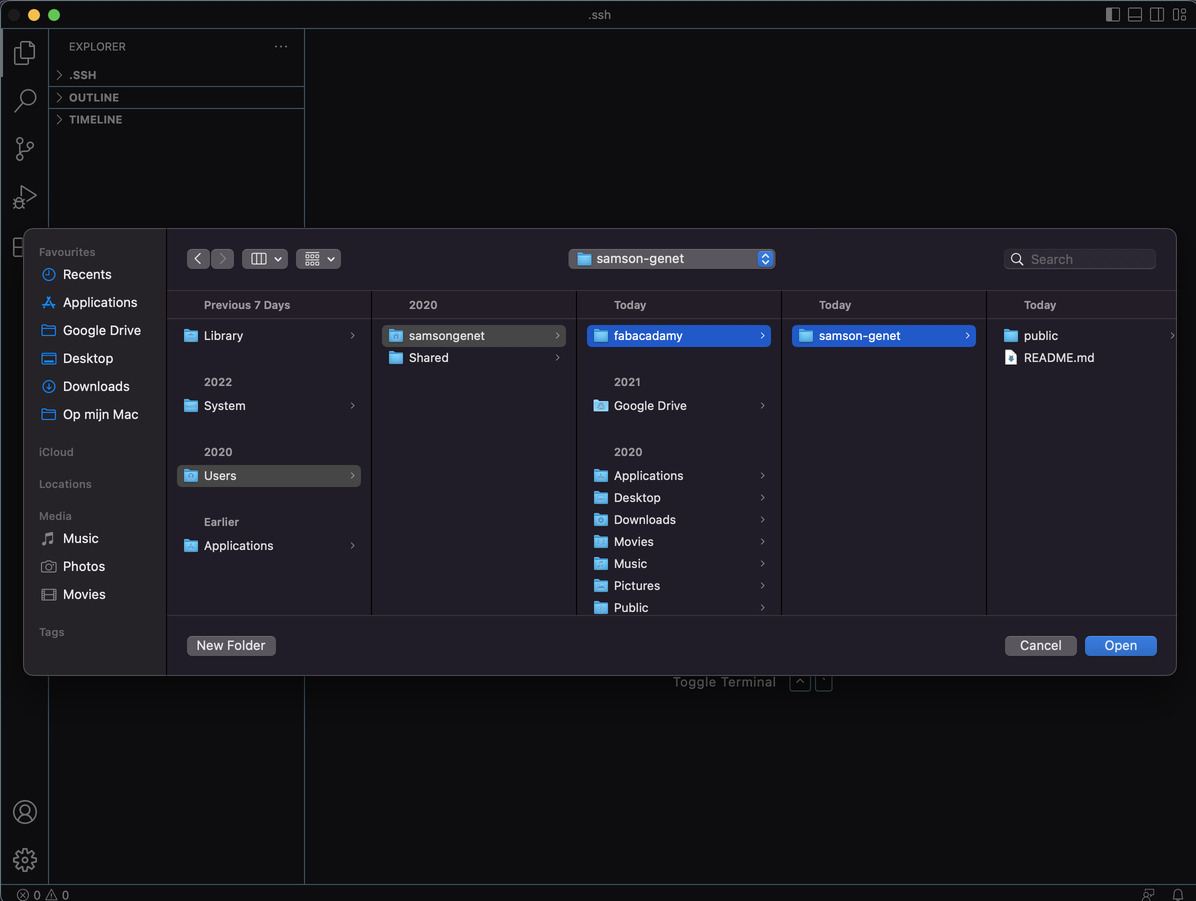
Gui onderstaand. Same as what we see in terminal but graphical.

So we copied the repository out of the git folder (https://gitlab.fabcloud.org/academany/fabacademy/2023/labs/waag/students/samson-genet) on my hard disc
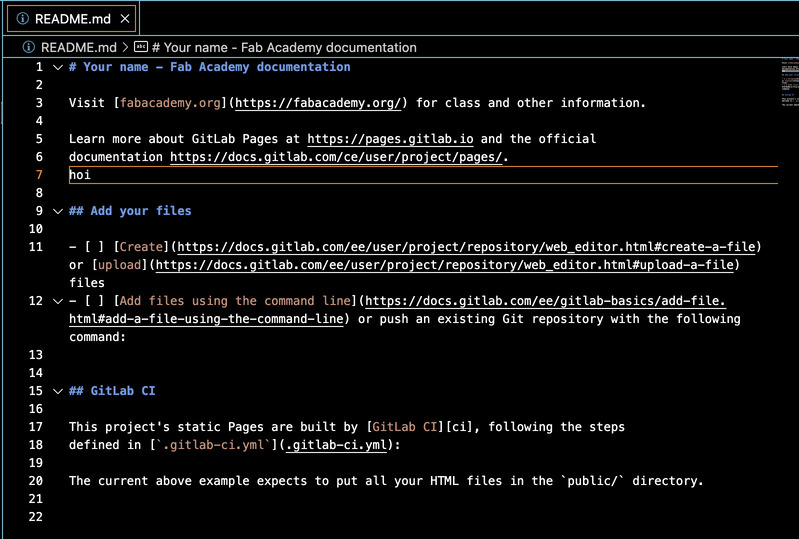
Edited text (hoi) in readme file. we saved it
Then we went to terminal and committed the changed made in VSC. So the changed file would appear in the git browser.
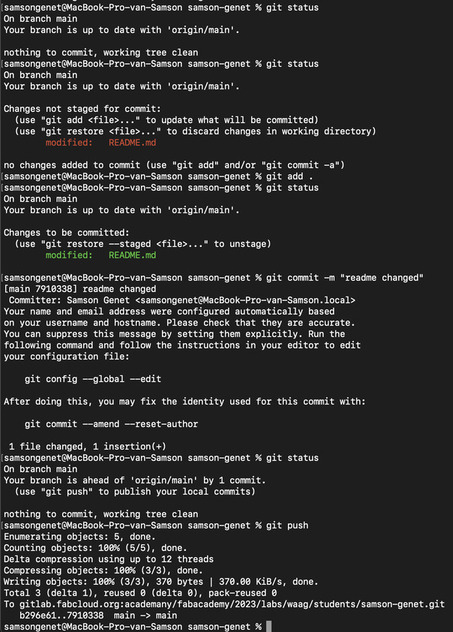
(TT) Try to work locally! before you start pull from repository so you work with the most update version.
Install Homebrew
What’s Homebrew? Homebrew installs the stuff you need that Apple (or your Linux system) can’t.
Go to the homebrew website and copy the link and paste in terminal
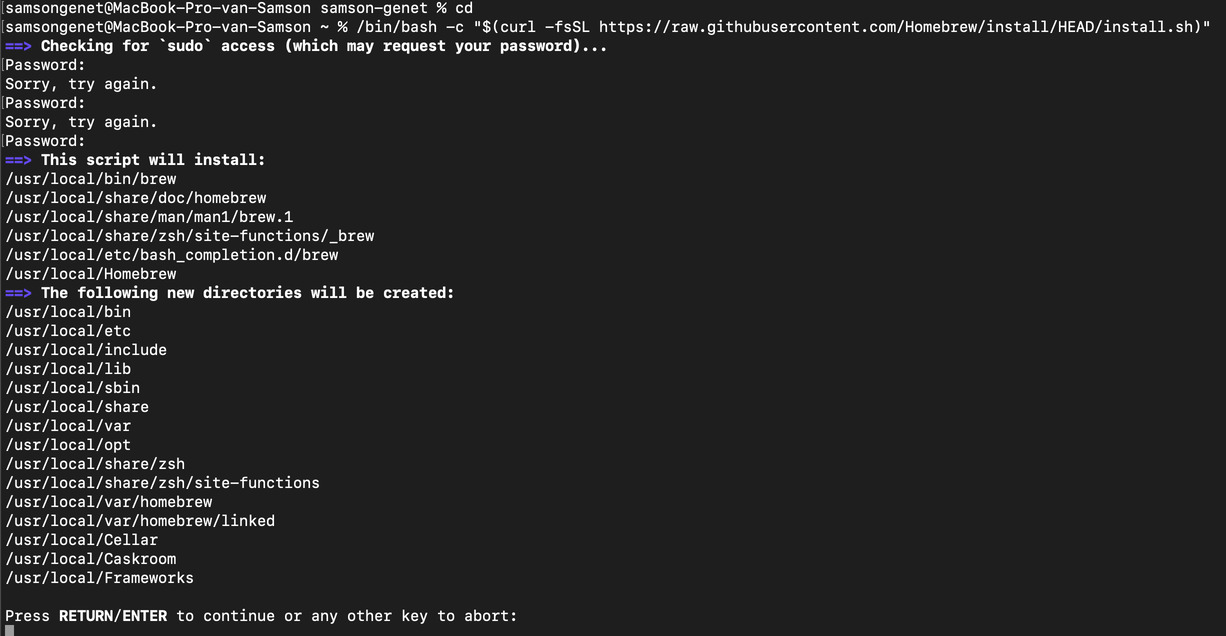
We’re downloading in the terminal. ‘normally’ we would see a zandloper and percentages. That would be the GUI. We won’t see that now. This is platte tekst
Istall wget

What’s wget? you can download files from the internet via terminal
Options from wget (got it out terminal) ->

Install imagemagick

Type in terminal: brew install imagemagick
What’s imagemagick? ImageMagick, invoked from the command line as magick, is a free and open-source cross-platform software suite for displaying, creating, converting, modifying, and editing raster images.
Install FFmpeg
Type in terminal -> brew install FFmpeg
What’s ffmpeg? FFmpeg is a free and open-source software project consisting of a suite of libraries and programs for handling video, audio, and other multimedia files and streams. At its core is the command-line ffmpeg tool itself, designed for processing of video and audio files.
This is how you go to a specific directory in your terminal: cd ……. -> cd desktop

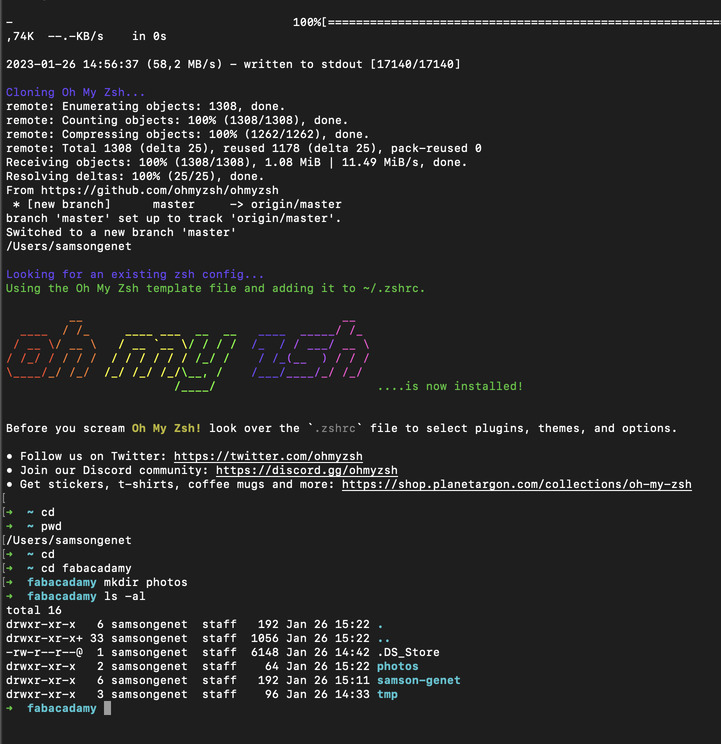
Install mkdocs


TT: How to create a map in terminal -> mkdir
Henk just pimped my terminal. I have no idea how but I have colors now.
Adding student template
Henk added a student template in my mkdocs. A lot of abracadabra. I had a view terminals open and one of them looked different and it didn’t do what I wanted (a very basic thing i think) so I shutted it down. After shutting down my site wasn’t working anymore. so I found out while checking the history of what Henk was doing in my terminal how I could reconnect the browser again.
Michelle asked me if I knew how to read a code. It was a simple question but a good one because this was the first time I realized i should read it instead of just look at it.
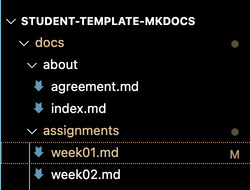
Make a new folder in Studio visual code
I want to make a new file or folder in my ‘about page’ to introduce myself. It’s already there, but I want to see how I can do this by myself.
Since I want to understand my terminal better I’ll try to do that with my terminal. How do I go to a certain folder in my terminal.

I found my about folder in my student template in VSC in a slow and unhandy way. How do I know in which folder I should look? Use the commands -> pwd and cd to see where to go and where your are.
Henk told me it’s not necessary to do this via the terminal. Just to it in your static site genarator and don’t forget type in md (markdown), otherwise it won’w work.
MK docs (static site generator) publishing website on local server
First I thought that my vsc was my static site generator. I thought that because I dind’t think. VCS is my editor and mk docs my static site generator. lol
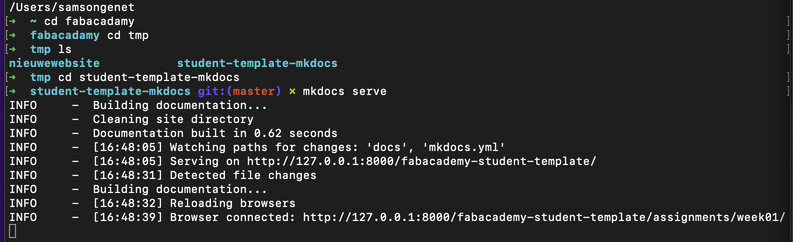
I closed my browser so I couldn’t find my website (which I didn’t pushed yet cause my pictures aren’t compromised yet) any more. How can I find my website on my local browser again? Go to my student template and ask mkdocs to serve.
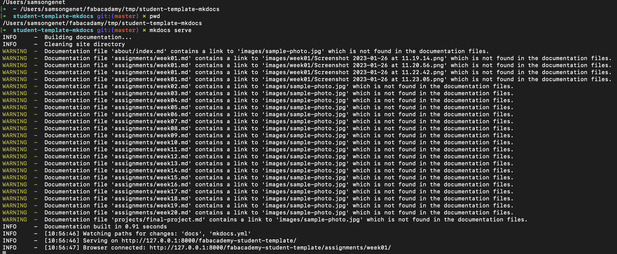
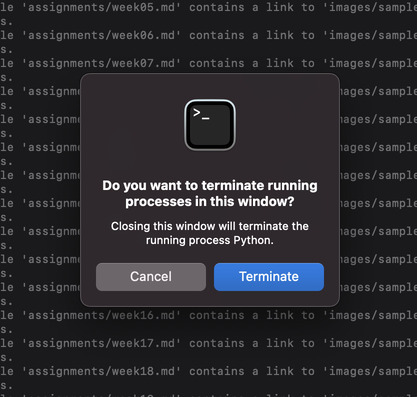
now copy the following link out of the terminal: http://127.0.0.1:8000/fabacademy-student-template/assignments/week01/ Keep this terminal open! Otherwise it won’t work anymore. When you try to close it will give you the following pop-up. That’s handy.
Resizing, converting and rotating images in VSC using Magick
    * for all files. if you want a specific file you replace it for the specific file name.

    magick mogrify -format jpg *.HEIC
    magick mogrify -format jpg *.png

    magick identify ''*.jpeg''

    magick mogrify -resize 50% *.png

    input.jpg -rotate <angle in degrees> out.jpg
   list formats:
      convert -list format
      JPG: compressed
      PNG: uncompressed
   convert PNG to JPG:
      convert input.png output.jpg
   convert all PNGs to JPGs:
      mogrify -format jpg *.png
   convert SVG to PNG at 1000 DPI:
      convert -density 1000 -units PixelsPerInch input.svg output.png
   compress JPG to quality 50% width 1000:
      convert input.jpg -quality 50% -resize 1000 output.jpg
   compress all JPGs to quality 50% width 1000:
      mogrify -quality 50% -resize 1000 *.jpg
Most important! Fix your max that your screenshot will me made in JPG format instead of PNG. How?
write in terminal: defaults write com.apple.screencapture type JPG
(There’s also a quick way using photoshop, maybe I’ll use that later)
I want do resize all my images in SVC
First I found out what the details of my file are. Go to the right folder. A good format for my images are 1000px. Max for image is 200000k

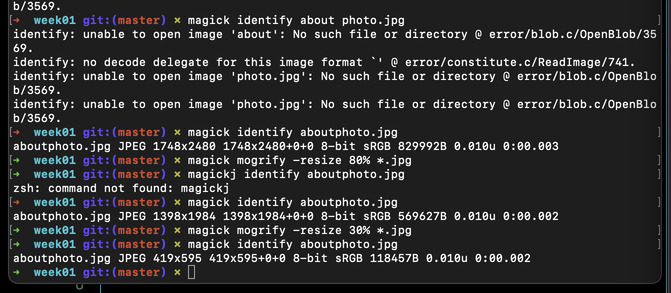
We’re gonna resize everyhting. Go to the right folder and type in: magick mogrify -resize 50% *.png

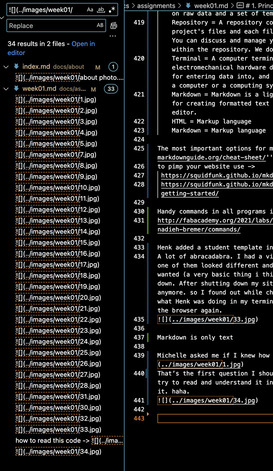
Now we transform all png to jpg. Go to the right folder and type in: magick mogrify -format jpg *.png I used find and replace to find all the links so I could edit them. There should be an easier way, I have to ask Michelle.
Two noteworthy thing happend here. I first named the photo that I wanted to format ‘’about photo.jpg’’. My terminal wouldn’t find it. Probably because of the space. So I changed it into aboutphoto.jpg. And of course this Sherlock was right. Now it worked. Also what’s handy to know is that when you resize your images it’ll change to the percentage that you note. It won’t substract with the noted percentage. See image below.
This Sherlock was getting cocky and proved unfortunately he’s actually a dummy. While I tried to resize my about photo cause I wanted it smaller then the rest of my pictures I resized all of my pictures and made them extremely small. I there a command z in the terminal?
I’ll try to resize them but I think the quality of the pictures are too poor now. Luckily I have a backup.
I think this is a bit too subtile.

If you want to convert one png to a jpg instead of all of them, replace * for the file name. Mogrify you use for replacing the file. But since we convert a png to a jpg you add a new file name.
Rotate
You can use the convert command:
convert input.jpg -rotate
convert input.jpg -rotate 90 out.jpg To save the file with the same name:
convert file.jpg -rotate 90 file.jpg To rotate all files:
for photo in *.jpg ; do convert $photo -rotate 90 $photo ; done
Importing, converting, resizing Video’s
Quicktime saves my screenrecordings as MOV. I should convert my MOV to mp4. And I think it shouldn’t be more then 200.000 bites.
    Convert:    ffmpeg -i 26.mov 26.mp4
    Scaling:    ffmpeg -i 25.mp4 -vf scale=480:-1 25.mp4
HTML5 MP4 ffmpeg encoding

variable bit rate 1080p MP3:

   ffmpeg -i input_video -vcodec libx264 -crf 25 -preset medium -vf scale=-2:1080 -acodec libmp3lame -q:a 4 -ar 48000 -ac 2 output_video.mp4

fixed bit rate 1080p MP2:

   ffmpeg -i input_video -vcodec libx264 -b:v 1000k -vf scale=-2:1080 -acodec mp2 -b:a 256k -ar 48000 -ac 2 output_video.mp4

no audio:

   ffmpeg -i input_video -vcodec libx264 -b:v 1000k -vf scale=-2:1080 -an output_video.mp4

crop size (width:height:xoffset:yoffset):

   ffmpeg -i input_video -vf crop=1500:800:200:100 -vcodec libx264 -b:v 1000k -an output_video.mp4

trim time (-ss start time, -t duration):

   ffmpeg -i input_video -vcodec libx264 -b:v 1000k -an -ss 00:00:10 -t 00:00:10 output_video.mp4

mix audio and video:

   ffmpeg -i input_video -vcodec libx264 -b:v 1000k -vf crop=1120:876:0:100 -i input_audio -acodec mp2 -b:a 256k -ar 48000 -ac 2 -ss 00:00:20 -t 00:00:20 output_video.mp4

crop, pan, composite:

   ffmpeg -i input_video_1 -i input_video_2 -filter_complex '[1:v]crop=175:95:930:860[cropout];[cropout]scale=350:190[scaleout];[0:v][scaleout]overlay=10:10[outv]' -map '[outv]' -vcodec libx264 -b:v 1000k -map 0:a -acodec mp2 -b:a 256k -ac 2 -t 00:00:05 output_video.mp4

numbered images to video:

   ffmpeg -r 30 -i %04d.jpg -vcodec libx264 -b:v 1000k -vf scale=-2:1080 -an output_video.mp4
Setting up scrollable text blocks in css
I used this link
title: Scrollable code blocks
output: html_document
Paste following lines in extra.css map.
pre {
  max-height: 300px;
  overflow-y: auto;
}

pre[class] {
  max-height: 100px;
}
We have defined some CSS rules to limit the height of code blocks. Now we can test if these rules work on code blocks and text output:
# pretend that we have a lot of code in this chunk
if (1 + 1 == 2) {
  # of course that is true
  print(mtcars)
  # we just printed a lengthy data set
}
Next we add rules for a new class scroll-100 to limit
the height to 100px, and add the class to the output of
a code chunk via the chunk option class.output:
.scroll-100 {
  max-height: 100px;
  overflow-y: auto;
  background-color: inherit;
}
print(mtcars)
Changing my Favicon
By default, MkDocs uses the MkDocs favicon icon. To use a different icon, create an img subdirectory in the docs directory and copy your custom favicon.ico file to that directory. MkDocs will automatically detect and use that file as your favicon icon.
I made a new favicon placed it in the new img directory and it didn’t automatically change. When I linked the name in my mkdocs.yml it also didn’t work. This takes to long and doesn’t have my priority.
Final project
Things I should do next week
Make a plan how to organise my documentation. This weeks documentaion is an absolute chaos. I should work in themes/categories. Otherwise I won’t be able to find stuff. Spiral thinking?
Find out how my SVC template works and how I can edit it.
Planning my week.
Make a list of the the succes en failures (overall)
Find out how to screenshot in jpg instead of png so I won’t have to convert them
Think of a smart way how to document. Documenting takes a lot of time.
I don’t have to make pictures of everything. Because this costs a lot of time. For example, ‘TT’ terminal tips can be plain text and added directly in my terminal tip collection.
Find cheat sheets for the programs I’ve installed (magick, git, etc) and organise them so I can find them easely.