Molding and Casting
Group Assignment
To begin working with these materials, I needed to review the datasheet for each material to understand their usage and any precautions to be taken.
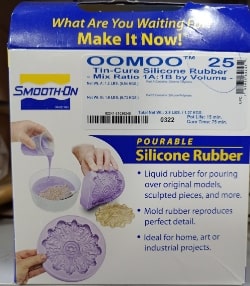
For the OOMOO™ 25 silicone rubber, in order to achieve optimal results, the following steps should be followed:
-
Safety Precautions: It is important to ensure personal safety by wearing gloves and goggles to protect the skin and eyes from the liquid rubber. Additionally, the working area should be well-ventilated to maintain a safe environment.
-
Mold Preparation: Before using the silicone rubber, it is necessary to thoroughly clean the mold, removing any unwanted particles.
-
Application of Release Agent: While not always mandatory, applying a release agent makes demolding easier when pouring the silicone rubber onto or over most surfaces. It also helps prolong the life of the mold.
-
Homogeneous Mixture: Prior to usage, it is essential to shake the bottles containing the materials well to ensure a uniform consistency.
-
Mixing the Materials: Follow the manufacturer’s instructions regarding the mixing ratios. It is crucial to mix the components thoroughly, scraping the sides and bottom of the mixing container multiple times. The mixture should have a consistent color without any streaks. If color streaks are observed, continue mixing until they disappear.
-
Shelf Life: Store the material at a warm temperature (23°C) and securely close the lids after each use to extend the shelf life of the unused product.
-
Pot Life: Also referred to as working time, it typically lasts around 15 minutes. This means that once the two components of the silicone rubber are mixed together, there is approximately 15 minutes available to pour or brush the material into the mold before it starts to set.
-
Pouring: When pouring the mixed OOMOO™ 25 silicone rubber, do so slowly over the model, ensuring complete coverage of the entire surface. Care should be taken to prevent the formation of air bubbles. The liquid rubber should level off at least 1/2” (1.3 cm) above the highest point of the model surface.
-
Clean-Up: Any spills or drips should be cleaned up promptly using a paper towel or cloth. Dispose of any unused or excess silicone following local regulations.
-
Curing: Allow the silicone rubber to cure at room temperature. Typically, it takes approximately 75 minutes to fully cure, although the exact curing time may vary depending on the temperature and humidity of the environment.
-
Demolding: Once the silicone has completely cured, it can be safely removed from the mold or application. It is important to exercise caution and be gentle during the demolding process to avoid damaging the mold or the cured silicone.
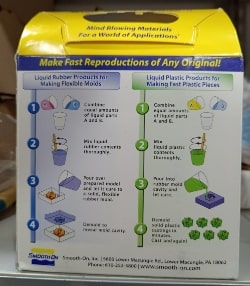
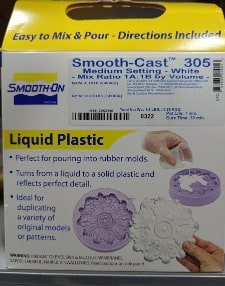
For the Smooth-Cast™ 305 liquid plastic, the following steps should be followed:
-
Safety Precautions: It is important to prioritize personal safety by wearing gloves and goggles to protect the skin and eyes from the liquid plastic. Additionally, ensure that the working area has proper ventilation.
-
Mold Preparation: Thoroughly clean the mold, removing any unwanted particles. Sometimes, a sealing agent such as clear acrylic lacquer or a small layer of “vaseline” can be applied to the mold surface as a “barrier coat.”
-
Application of Release Agent: While not always necessary, applying a release agent makes demolding easier when pouring the liquid plastic onto or over most surfaces. It also helps prolong the life of the mold.
-
Homogeneous Mixture: Prior to usage, shake the bottles containing the materials well to ensure a uniform consistency.
-
Mixing the Materials: Follow the manufacturer’s instructions regarding the mixing ratios. Mix the components thoroughly, scraping the sides and bottom of the mixing container multiple times. The mixture should have a consistent color without any streaks. If color streaks are observed, continue mixing until they disappear.
-
Shelf Life: Store the material at a warm temperature (23°C) and securely close the lids after each use. This helps prolong the shelf life of the unused product.
-
Pot Life: Also known as working time, it typically lasts about 7 minutes. This means that once the two components of the liquid plastic are mixed together, there is approximately 7 minutes available to pour or brush the material into the mold before it starts to cure.
-
Pouring: When pouring the mixed Smooth-Cast™ 305 liquid plastic, do so slowly over the model, ensuring complete coverage of the entire surface. Take care to avoid trapping any air bubbles. The liquid plastic should cover all areas of the mold.
-
Clean-Up: Promptly clean up any spills or drips using a paper towel or cloth. Dispose of any unused or excess liquid according to local regulations.
-
Curing: Allow the liquid plastic to cure at room temperature. It typically takes around 30 minutes to fully cure, although the exact curing time may vary depending on the temperature and humidity of the environment.
-
Demolding: Once the liquid plastic has completely cured, it can be safely removed from the mold. Exercise caution and be gentle during the demolding process to avoid damaging the mold or the cured plastic

First, we start by milling a simple mold, creating just half of a sphere to test the silicone.
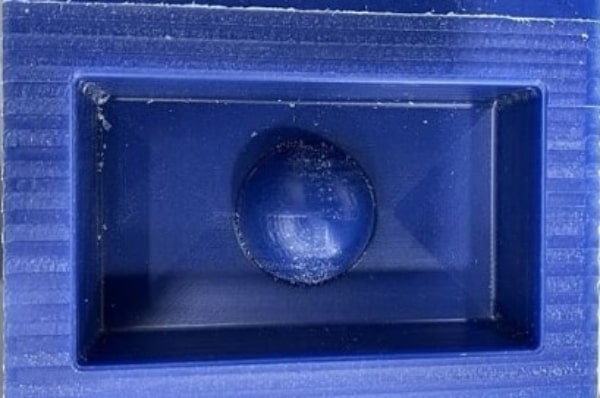
We clean the mold thoroughly before applying the silicone.
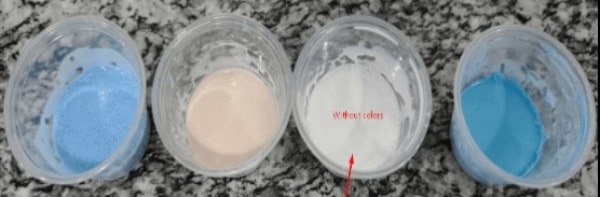
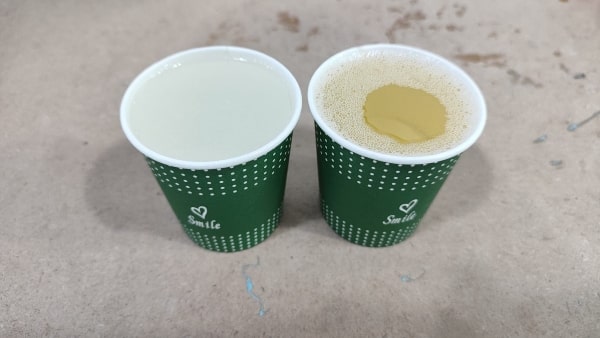
We also prepared a liquid plastic mixture and added various colors to it. The white mixture, however, remained colorless.
You can find the datasheet for the “So strong” colures.

To ensure safe usage and achieve favorable outcomes, it is highly advisable to consistently refer to the material’s datasheet and adhere to the manufacturer’s recommendations.
Individual Assignment
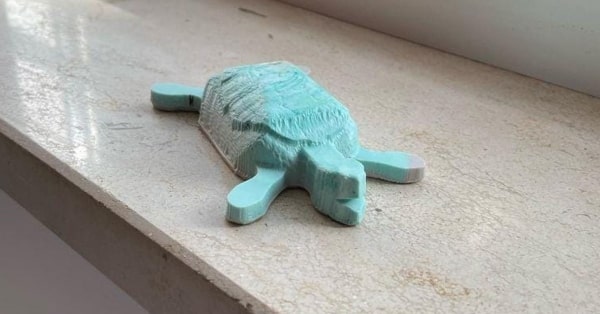
While I was brainstorming ideas for my project, I remembered that my friend’s birthday is coming up this week. So, I decided to create something as a gift for him. He loves turtles, and that’s where the inspiration for the mold design came from.
Design
I’ll highlight the most crucial techniques I used during the design process. The remaining steps are relatively straightforward, or I may have already mentioned them earlier.
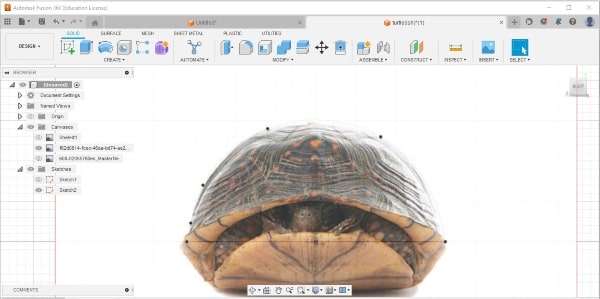
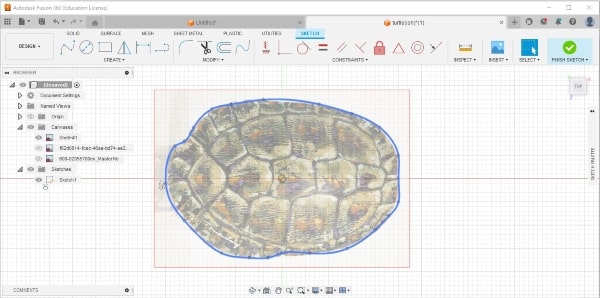
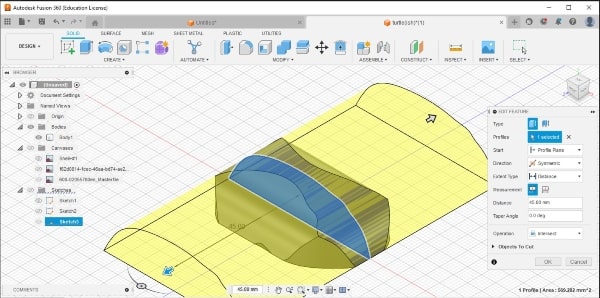
During the design process, I begin by importing images into Fusion 360 from various angles and then sketching over them.

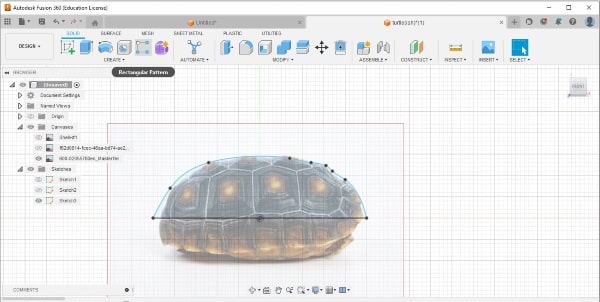
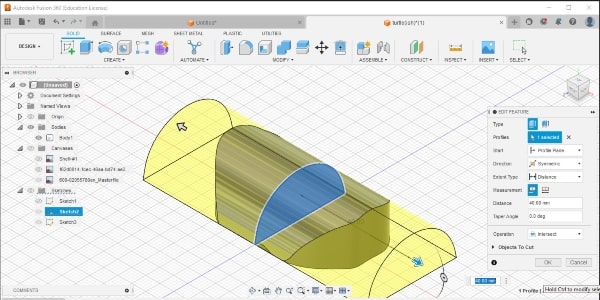
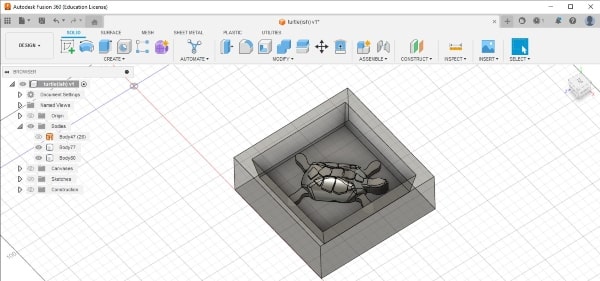
Next, I will proceed by extruding the initial sketch, followed by extruding the other sketch using the “intersection” option in the operation. This will result in obtaining the final shape desired.

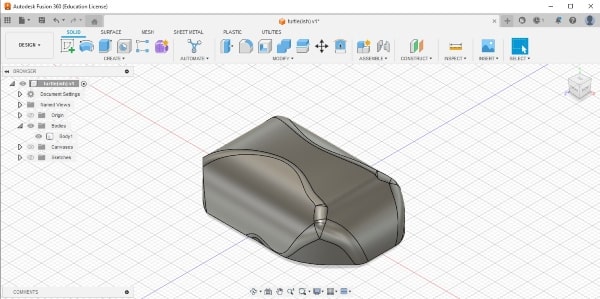
I apply a fillet to the body to add rounded edges.
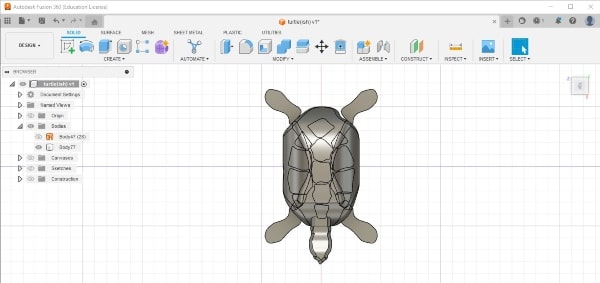
I use the canvas tool once again to insert a photo and draw a sketch for the legs, hands, and additional body details.
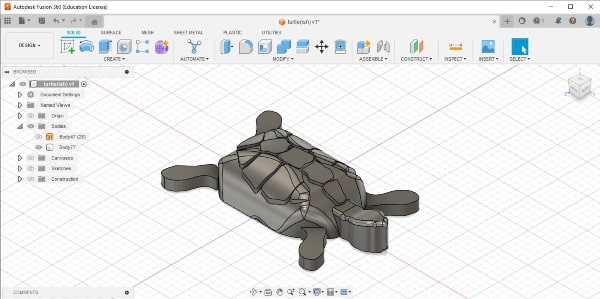
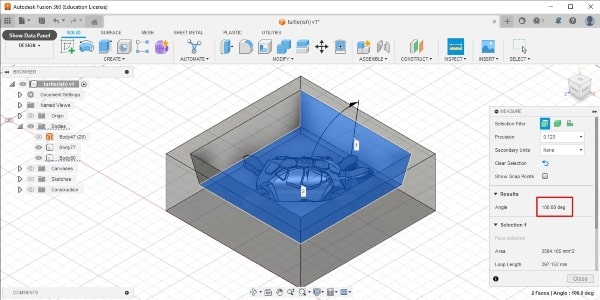
For the box, I deliberately drew it at an angle to facilitate easier removal of the silicone. Additionally, there is a height gap of approximately 1.2cm between the last point of the turtle shape and the edge of the box.
You can find the design available here
CNC Process
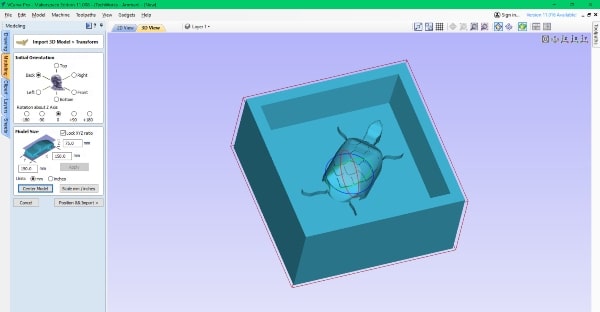
First, import the model.
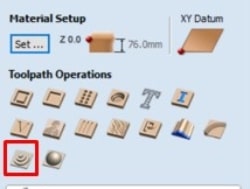
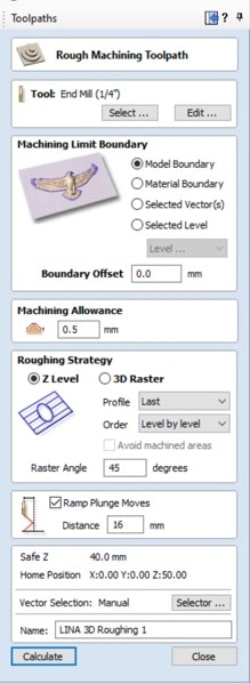
Next, I will proceed to select the 3D roughing toolpath.
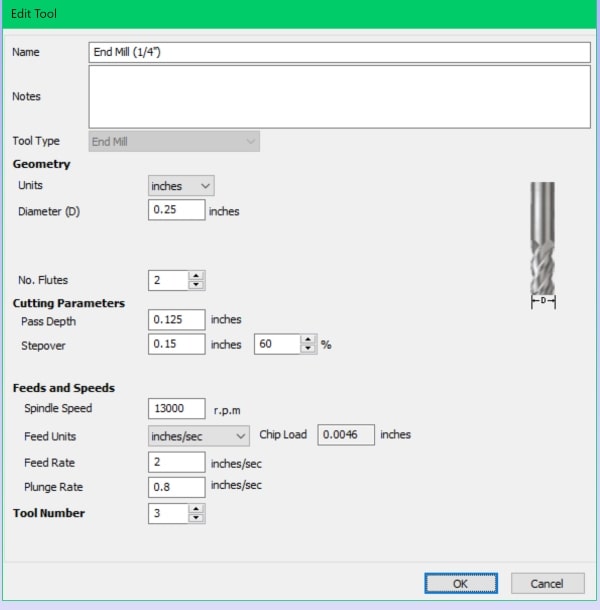
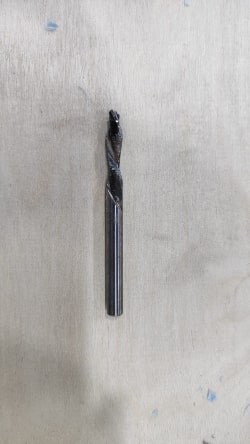
The first tool I will be using is a 1/4 inch flat endmill with double flutes for roughing toolpath. The roughing toolpath is a machining strategy used to remove bulk material quickly and efficiently. It involves using a larger tool, leaving behind a roughed-out shape.
The machining limit boundary for this operation can be defined in four ways:
1- Model boundary: It refers to the combined boundaries of all the components in the job. It represents the area occupied by the composite model components. Note that this boundary does not include the boundaries of individually selected models.
2- Material boundary: This boundary encompasses the entire material block.
3- Selected vectors: The machining boundary is defined by the selected vectors.
4- Selected levels: It represents the combined boundaries of all the components on a specified level. Similar to the Model Boundary, but limited to the named level.
When it comes to the roughing strategy, I have two options:
Z-level: This approach involves moving the toolpath in steps, starting from the top layer and gradually working down to the final layer.
3D Raster: With this method, the toolpath follows the contours of the workpiece, allowing for a closer approximation of the final shape.
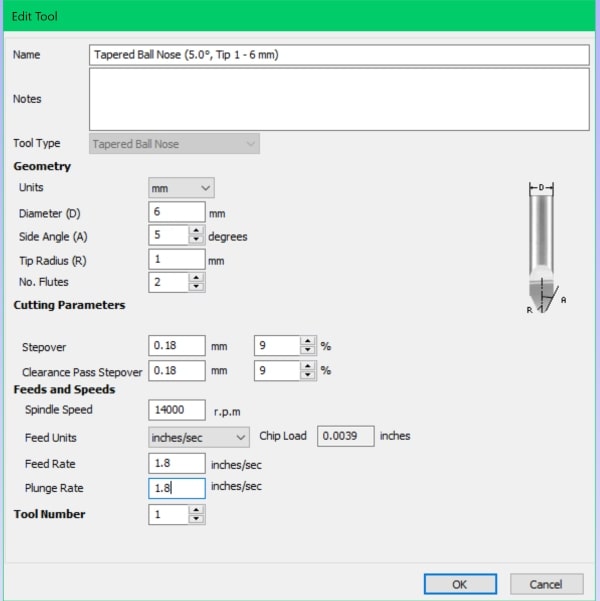
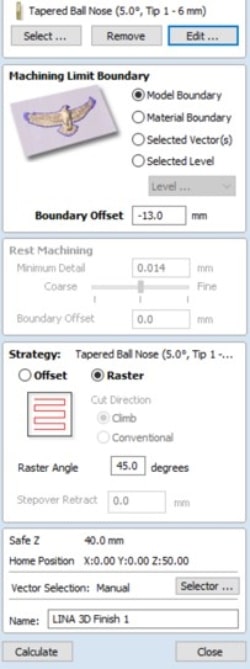
Then I will proceed to select the 3D finishing toolpath.

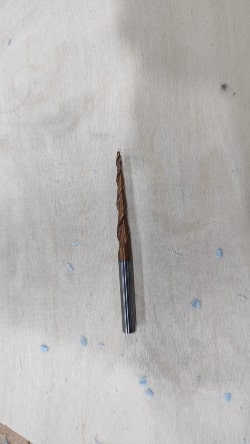
The second tool I will be using is a 1/4 inch tapered ball nose for the finishing toolpath is the final machining operation performed after the roughing process. It involves using a smaller tool to achieve the desired surface finish and precision. The finishing toolpath ensures that the final dimensions and surface quality of the workpiece meet the required specifications. It typically involves smaller stepovers and precise cutting movements to achieve a smooth and accurate final result.
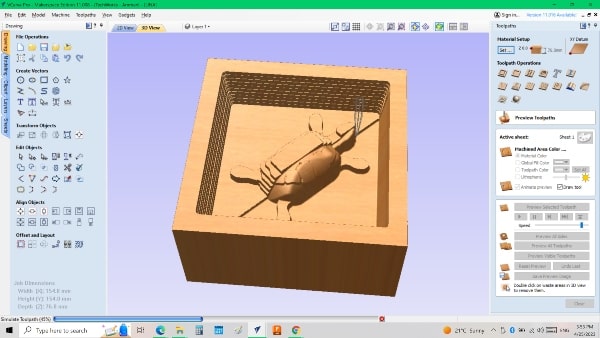
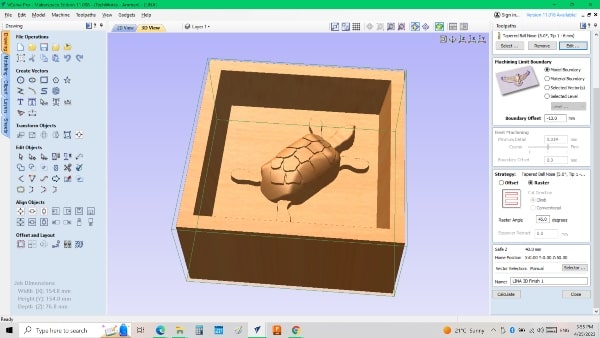
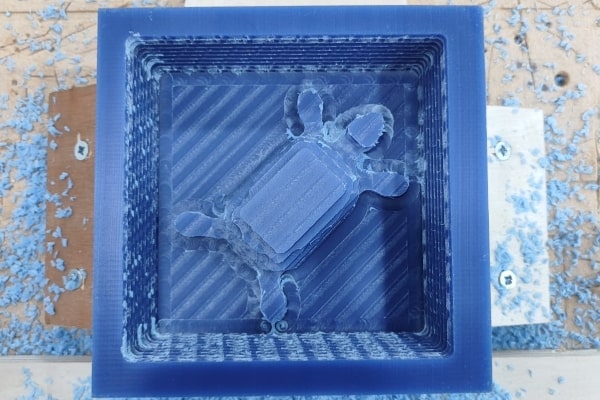
See the photo below for the difference between the roughing toolpath and the finishing one.
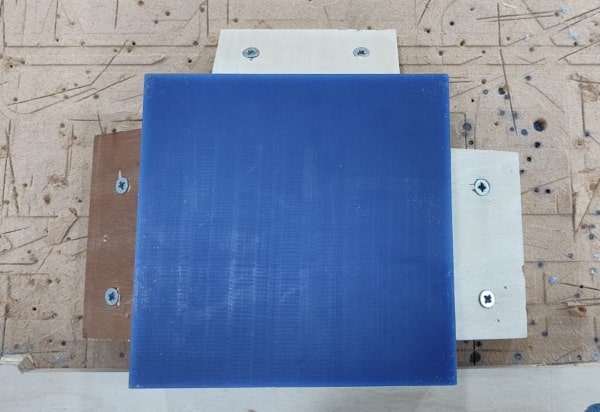
Now, it is important to place the box securely on the CNC bed, ensuring that it remains stable and doesn’t move during the machining process.
The result after the roughing toolpath:
The result after the finishing toolpath:
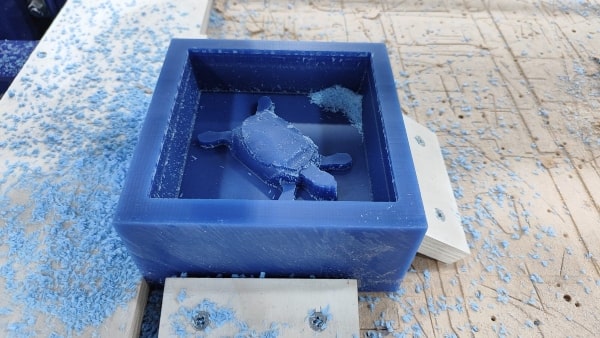
Afterward, I prepare the mold for the casting process by thoroughly cleaning it, ensuring that all particles are removed. To further enhance its surface smoothness, I utilize a heat gun.
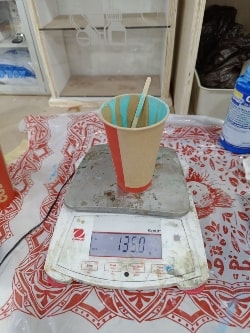
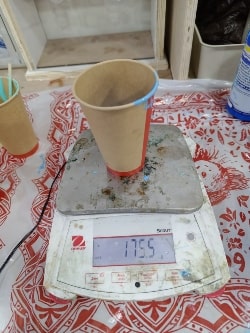
Instead of measuring the silicone mixture by volume, I opt to use a scale for precision. For every gram of component A, I will require 1.3 grams of component B. Therefore, for a total of 135 grams of component A, the calculation would be 135 * 1.3 = 175.5 grams of component B.
I will thoroughly mix the components together, ensuring a complete and homogeneous blend. During the mixing process, I will take extra care to minimize the inclusion of any bubbles.
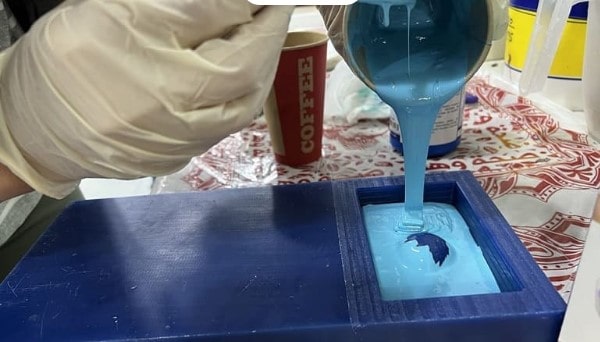
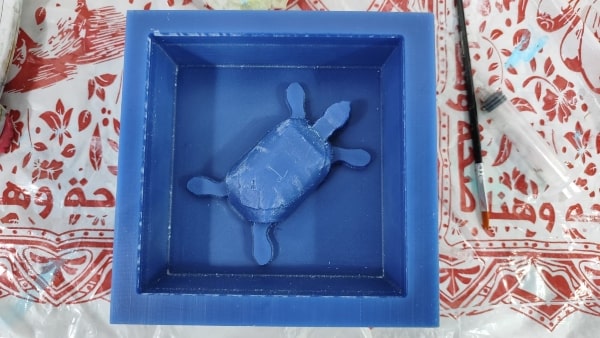
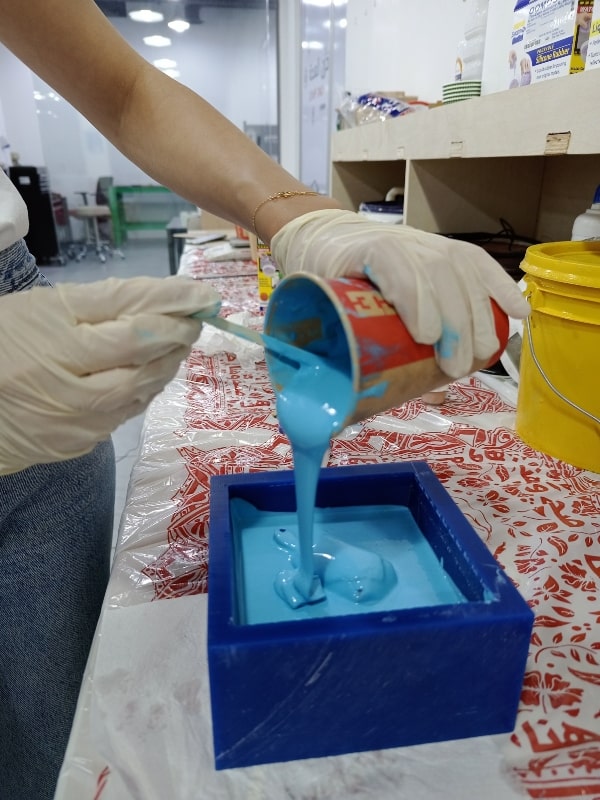
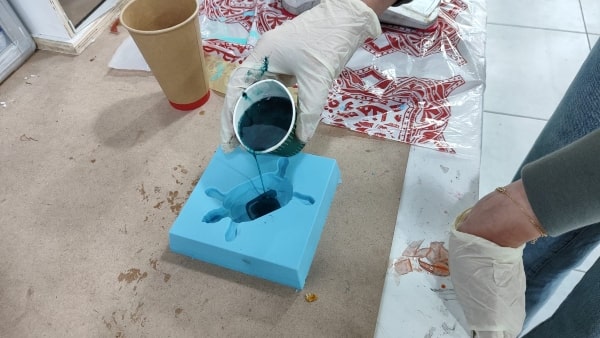
Next, I will carefully pour the silicone mixture into the mold, ensuring that it completely fills the mold cavity, particularly around the edges and small details. I will take precautions to minimize the formation of bubbles during this process.
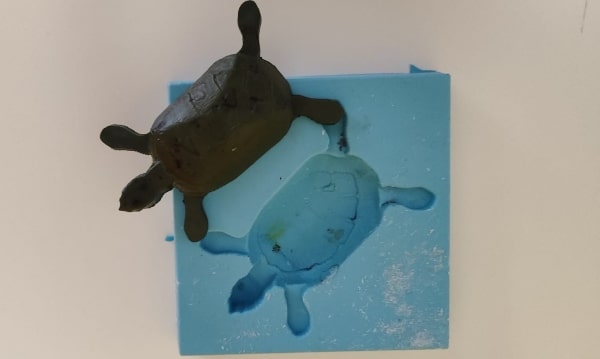
The silicone requires approximately 75 minutes to fully cure. Since I completed the molding process at the end of the day, I left it undisturbed overnight and removed it the following day, ensuring that it had completely cured and hardened.
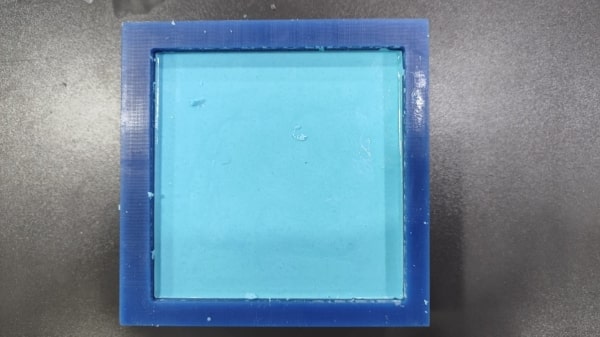
The silicone rubber is now ready for use.
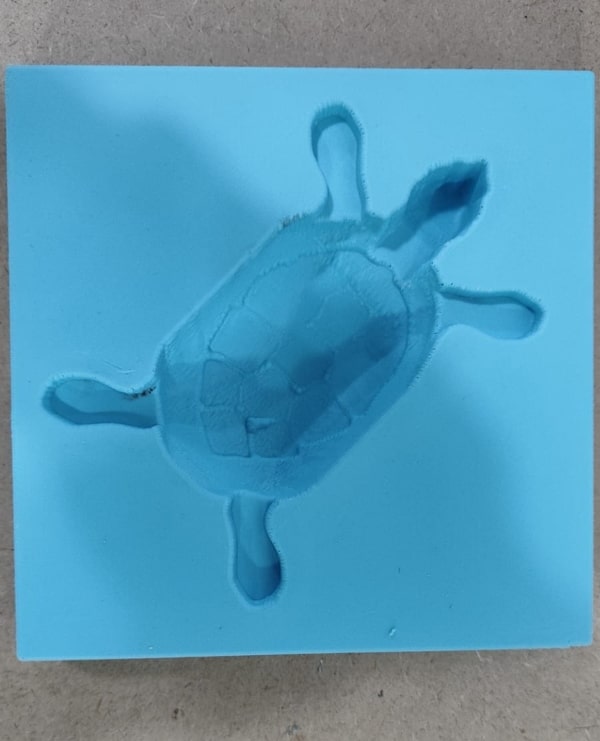
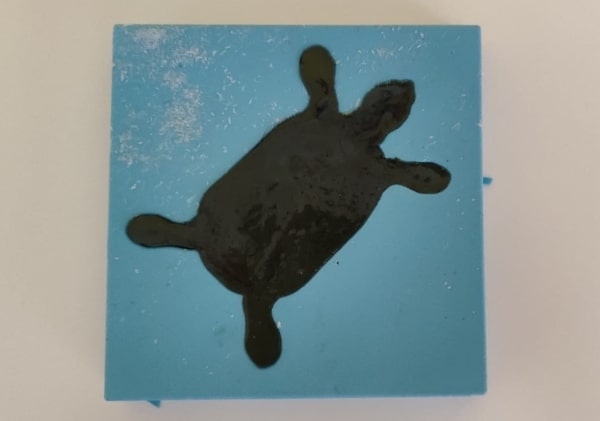
For the casting process, I will mix the liquid plastic components in a 1:1 ratio by volume. Additionally, I will incorporate various colors into the mixture to achieve the desired aesthetic effect.
I will allow the liquid plastic to cure for approximately 30 minutes before proceeding further.
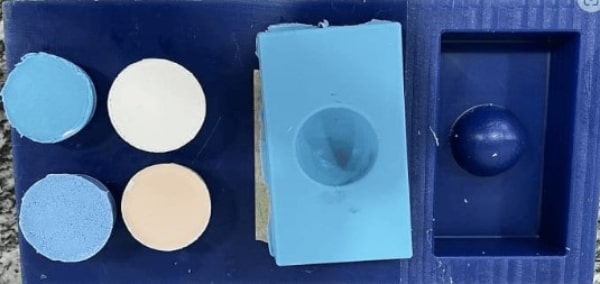
I conducted several tests to determine the desired color for the final outcome.
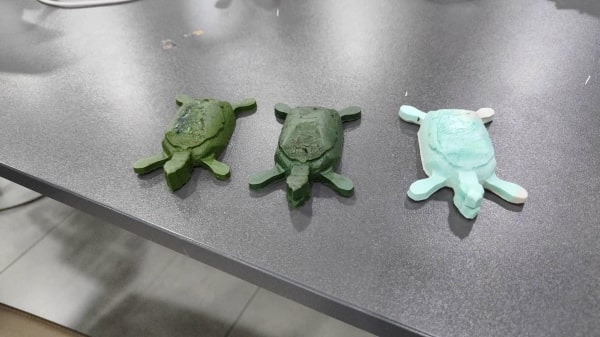
And now, presenting the hero shot!