Project Management
Final Project
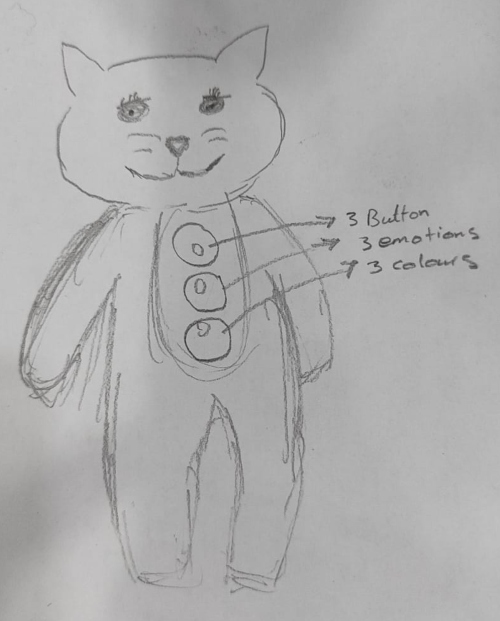
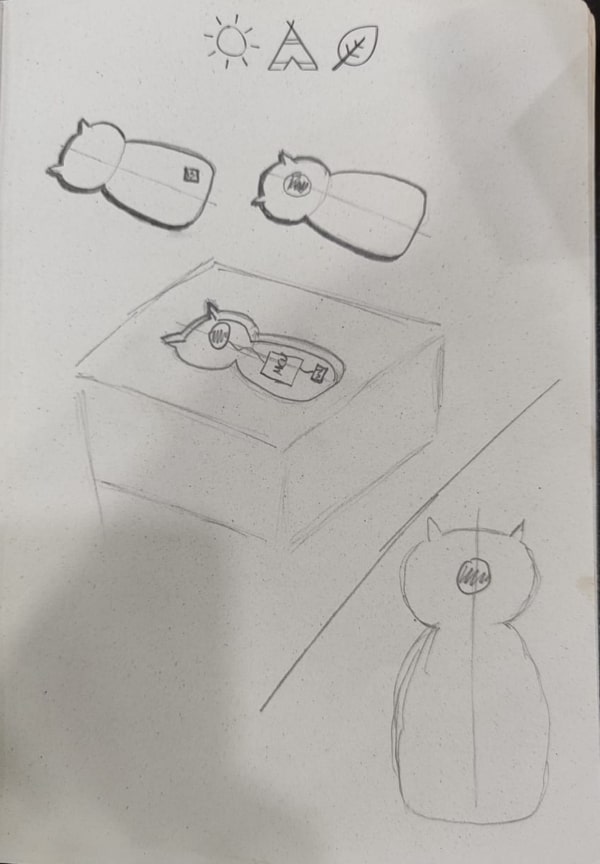
For the final project, I have chosen to discuss mental health for children. I plan to create a toy for children aged 6 months to 3 years that will teach them Arabic vocabulary to express their emotions. Since there are few toys that focus on our language, I will use a cat character for the toy and name it ‘Bizri,’ after my late cat. The toy will help children identify their feelings and learn to express themselves.
Project Management
The difference between Git and Git Lab
Firstly, what are Git and Git Lab, and the difference between them?
Git is a version control system, basically, a tool that allows you to have a web page and keep it on track of all changes and projects you are making.
Git lab is a web-based platform that has a browser interface that provides a frontend for Git.
So we can say Git lab where you post your repository when you are happy with changes you made on it and Git where you change on it.
Git set up
I utilized a specific tutorial as a guide to navigate and work with GitLab.
https://www.youtube.com/watch?v=nbFwejIsHlY&ab_channel=TheGrokShop
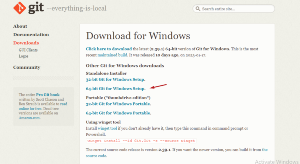
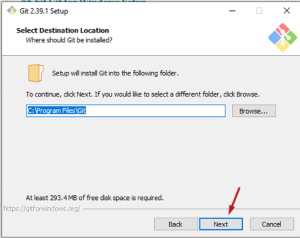
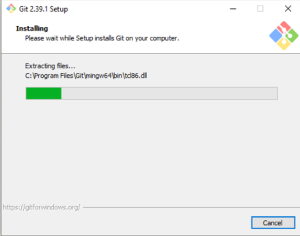
How to download Git gradually:
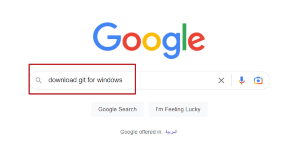
- Search for Git on Google
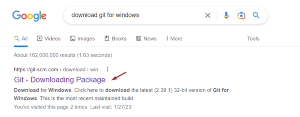
Now choose the suitable version for your Laptop or PC, 64- bit Git for Windows Setup in my case.
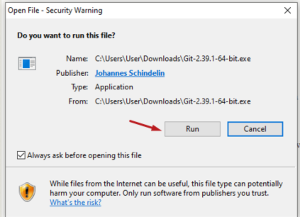
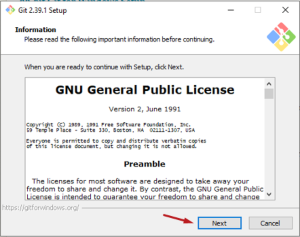
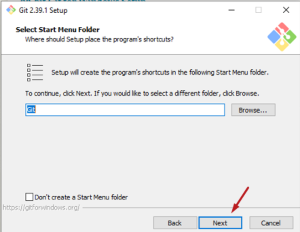
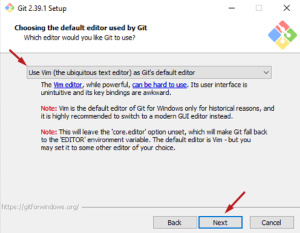
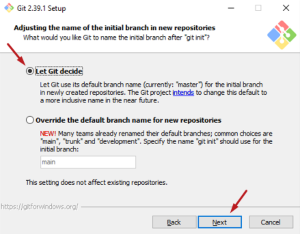
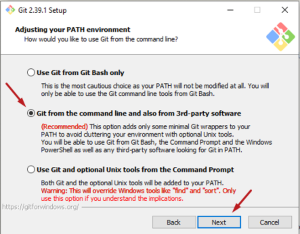
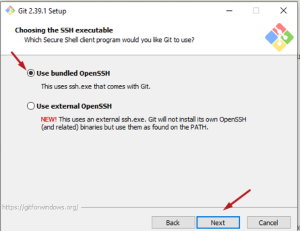
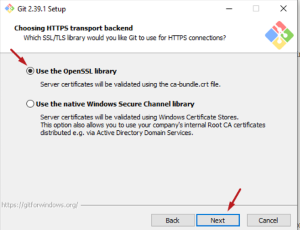
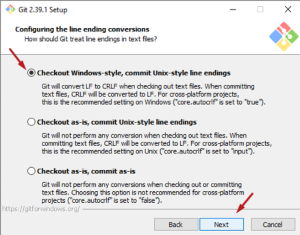
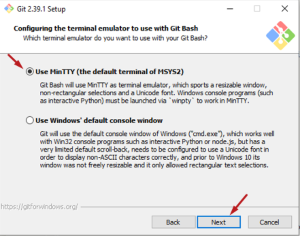
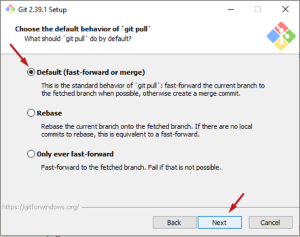
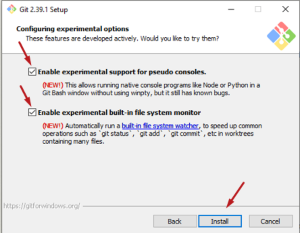
I’ll provide the steps with a red arrow indicating where to click. Choices will be written above each photo for better readability due to low photo resolution.
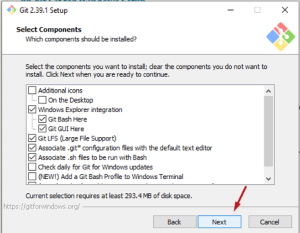
I’ll be using Vim, but feel free to use any other text editor.
Let Git decide.
Git from the command line and also from 3rd-party software.
Use bundled OpenSSH.
Use the OpenSSH library.
Checkout Windows-style, commit Unix-style line endings.
Use MinTTY (the default terminal of MSYS2).
Default (fast-forward or merge).
Git Credential Manager.

Enable experimental support for pseudo consoles.
Enable experimental built-in file system monitor.
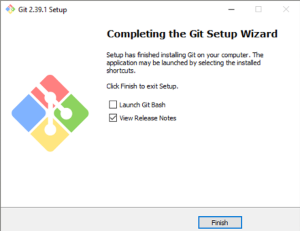
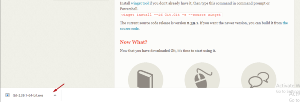
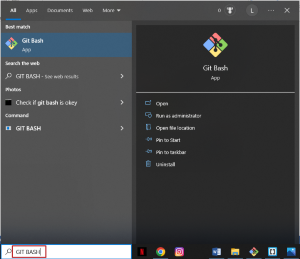
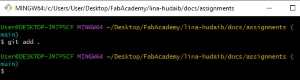
Now, open Git Bash to start.
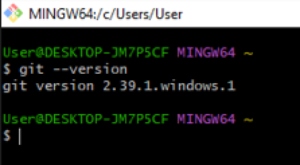
To check your Git version, run the command “git –version”.
Let’s practice some command lines to familiarize ourselves with it and here a tutorial with that https://www.youtube.com/watch?v=Jt4Z1vwtXT0&ab_channel=AutomationStepbyStep.
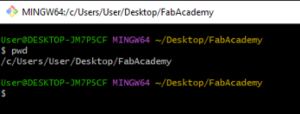
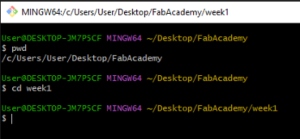
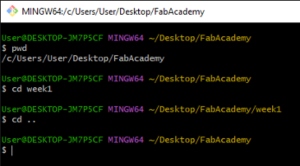
“pwd” : shows the current folder you are in.
“cd” : changes the current you folder you are in.
“cd..” : moving back to the previous folder you were in.
When installing Git, it is important to provide a username and email address as this information will be included in every version you commit.
To review and verify the settings associated with your Git repository, use the command “git config –list” which will display all the configuration settings. If it is your first time setting up the repository, you may not see any settings listed.
You can then set the necessary configurations using the command “git config [setting-name] [value]”“. For example, you can set your username and email using the commands “git config user.name [username]”” and “git config user.email [email]”“.
By applying the “–global” option, these settings will be applied to all your actions on the system. However, if a specific project requires a different name or email address, navigate to the project folder and run the command without the “–global” option.
Use the commands “git config –global user.name “Your Name”” and “git config –global user.email “you@example.org”“.
To check your configuration, you can also use “git config -l”.

Now generating the ssh key the command you will use is “% ssh-keygen -t ed25519 -C “GitLab Key Pair”“
Then you have to copy the box below
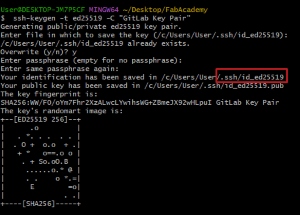
After copying this you have to run this command
”“% cat ~”/.ssh/id_ed25519”.pub”

Copy the line I covered and go to Git Lab
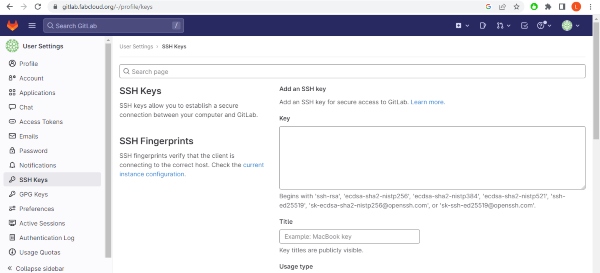
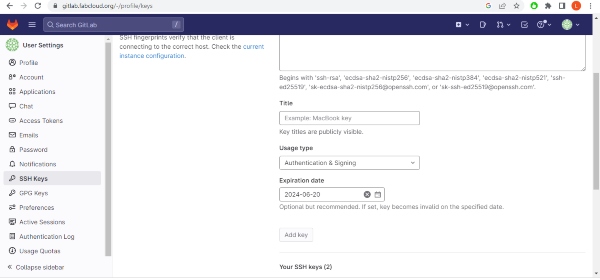
Now we are done with “SSH key”.
Clone your repository
Copy clone with SSH

Use this command to Git clone “% git clone git@gitlab.fabcloud.org:your/project/path.git”

We finish with Git Bash for now.
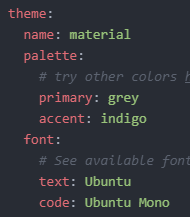
Due to my busy schedule with my full-time job, I have decided to use Markdown instead of HTML, so I have downloaded a template and edited it.
I downloaded a website created by a previous student, THANKS SUHA! and made edits to it. I customized the colors and improved its basic organization. Considering it was my first attempt, I believe it serves as a good starting point for me.
Now, let’s familiarize ourselves with Markdown.
Markdown is a lightweight markup language commonly used for formatting and structuring text. It is designed to be easy to read and write, with a simple syntax that translates into HTML. Here are some key points about Markdown:
-
Headers: Use hashtags (#) to create headers of different levels, with one hashtag for the largest header and six hashtags for the smallest.
-
Emphasis: Surround text with asterisks () or underscores (_) to make it italicized. Use double asterisks (*) or double underscores (__) for bold text.
-
Lists: Create unordered lists by starting lines with dashes (-), asterisks (*), or plus signs (+). Ordered lists can be created by using numbers followed by periods (1., 2., etc.).
-
Links: Enclose the text you want to link in square brackets ([ ]) and follow it immediately with the URL in parentheses (()).
-
Images: Similar to links, but with an exclamation mark (!) before the square brackets. The URL or file path of the image goes in parentheses.
These are just some of the basic elements of Markdown. It provides a simple and intuitive way to format text for various purposes, such as creating documentation, writing blog posts, or formatting README files in software projects.
You can use any text editor to write in Markdown. Atom is a popular choice as it has good support for Markdown and also allows you to preview your changes in real-time. This can be useful to see how your document will look before publishing it.
To edit the color and font of mkdocs, right-click on it and select open with Atom.
Access the ‘Assignments’ folder and choose the week you want to make changes to.
To view live updates on Atom, press Ctrl + Alt + M.
When you’re satisfied with the modifications you made and ready to push it to the website, we’ll return to the Git Bash terminal.
You must run three commands in a specific order when it is time to publish online.
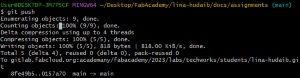
The first step is to run the “git add .” command, adds changes in the working directory to the index, ready to be committed. “.” means to add all changes in the current directory.
Then, we run “git commit -m” to create a new commit in the local repository with a commit message specified after “-m”, which summarizes what changes have been made.

Finally, we run “git push” to publish these changes on the website.
For now, I believe I have finished with my project management and if there are any further updates, I will add them here.