15. Wild-Card
This week is rather special as it is the Wild-Card Week. We are suppose to design and produce something with a digital fabrication process that was not covered in all the assignment that we have done so far. So while I am thinking of what I can do for this week assignment, I came across some of my Fab Lab colleauges that were working on an assignment too which is to create their own Bio-Material.
Bio-Material with Agar Agar
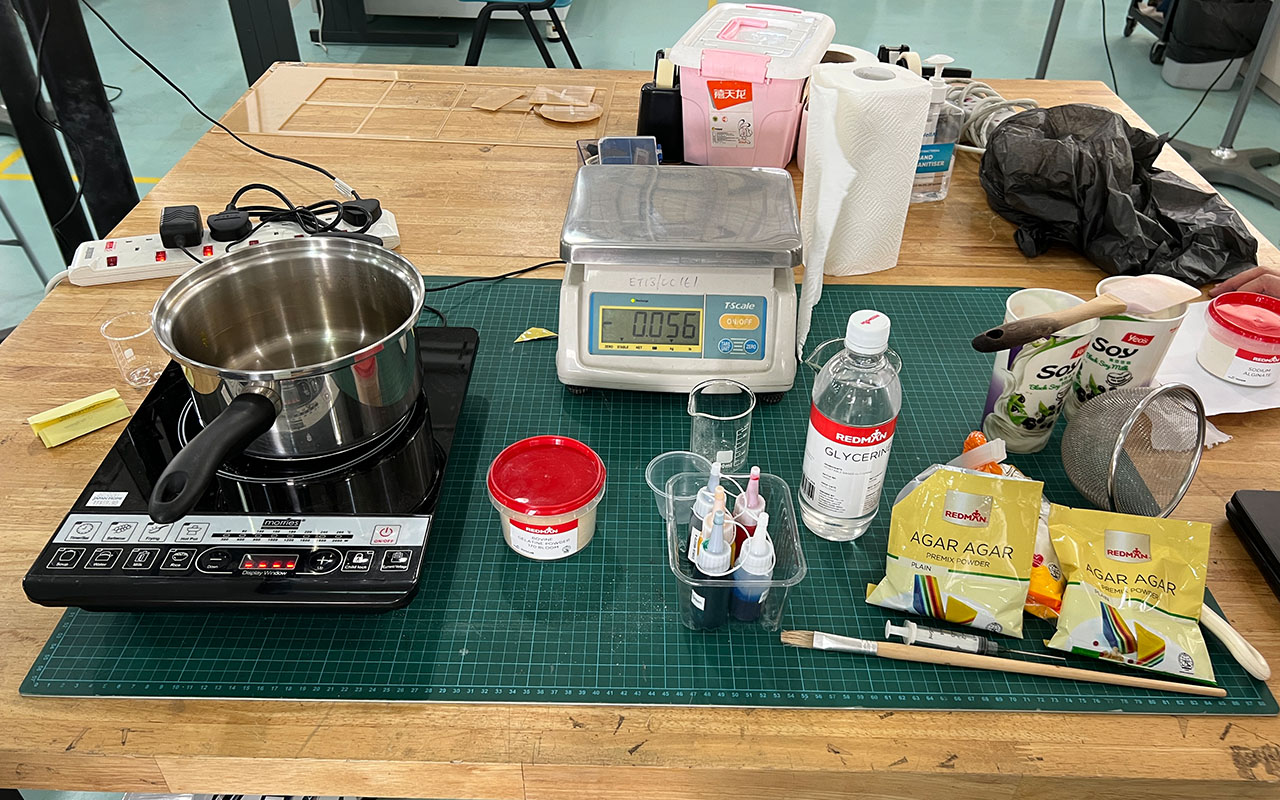
I then decided to join in the fun together with my colleagues in making Bio-Material and it was a rather surprising recipe, using Agar Agar. For those who may not know what Agar Agar is, it is bascially a plant-based gelatin derived from seaweed and it is used in making jelly desserts cuisines. The white and semitranslucent vegetable gelatin is commonly sold in flake, powder, bar, and strand form, and can be used in recipes as a stabilizing and thickening agent. So to start off, we will need to ensure that we have all the materials and tools ready as shown below:
- Agar Agar Powder
- Water
- Glycerol
- Food Colouring
- Gelatin
- Weighing Scale
- Measuring Cups
- Spatula
- Induction Cooker
- Syringe
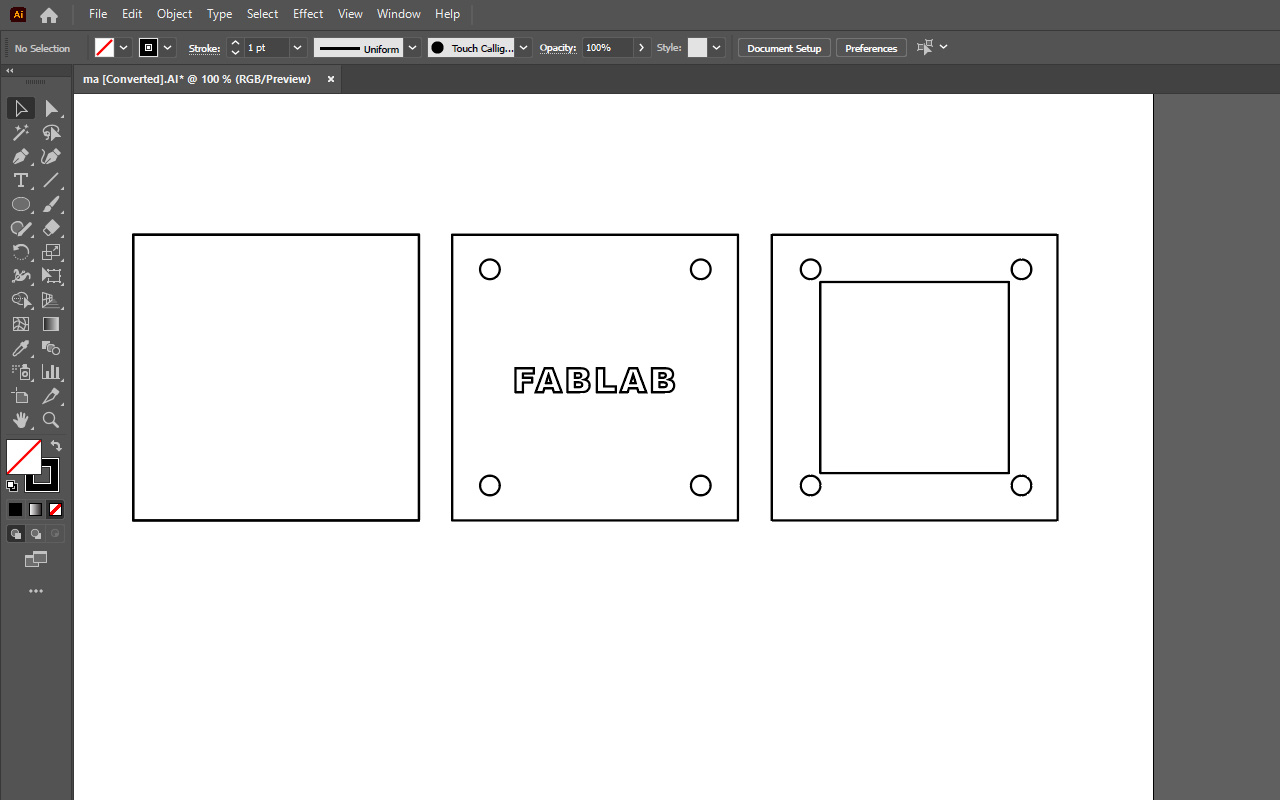
Once you have all the materials and tools ready in place, we are good to start with our Bio-Material creation. We firstly, need to get a mold so that we can cast our Bio-Material. So we can actually do a fast mold with Laser-Cutting Machine. I went to create a fast 2D drawing of a mold design in Adobe Illustrator and have it laser-cut in 3 square pieces of 3mm white acrylic.
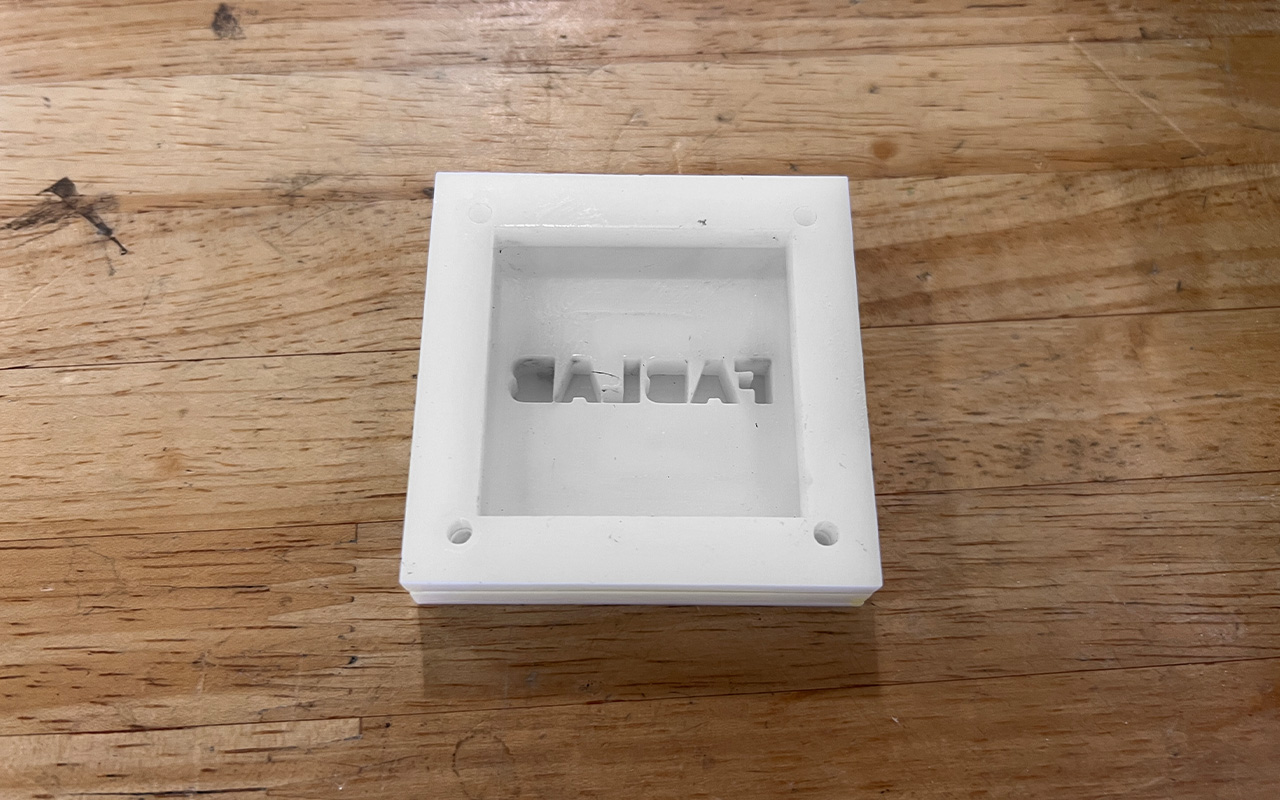
After laser-cutting, I will need to glue them together so that we use it as a mold. Below is an image of how my acrylic mold looks like:
After we are done with the mold design and fabrication, we can start with preparing the mixture of our Bio-Material. We actually follow a Youtube video on the mixing ratio as well as the steps on creating a Gelatin Based Bio-Material. As you can see from the screen-shot below, it mention quite clearly on the quantity of each materials and their purpose for the mixture.
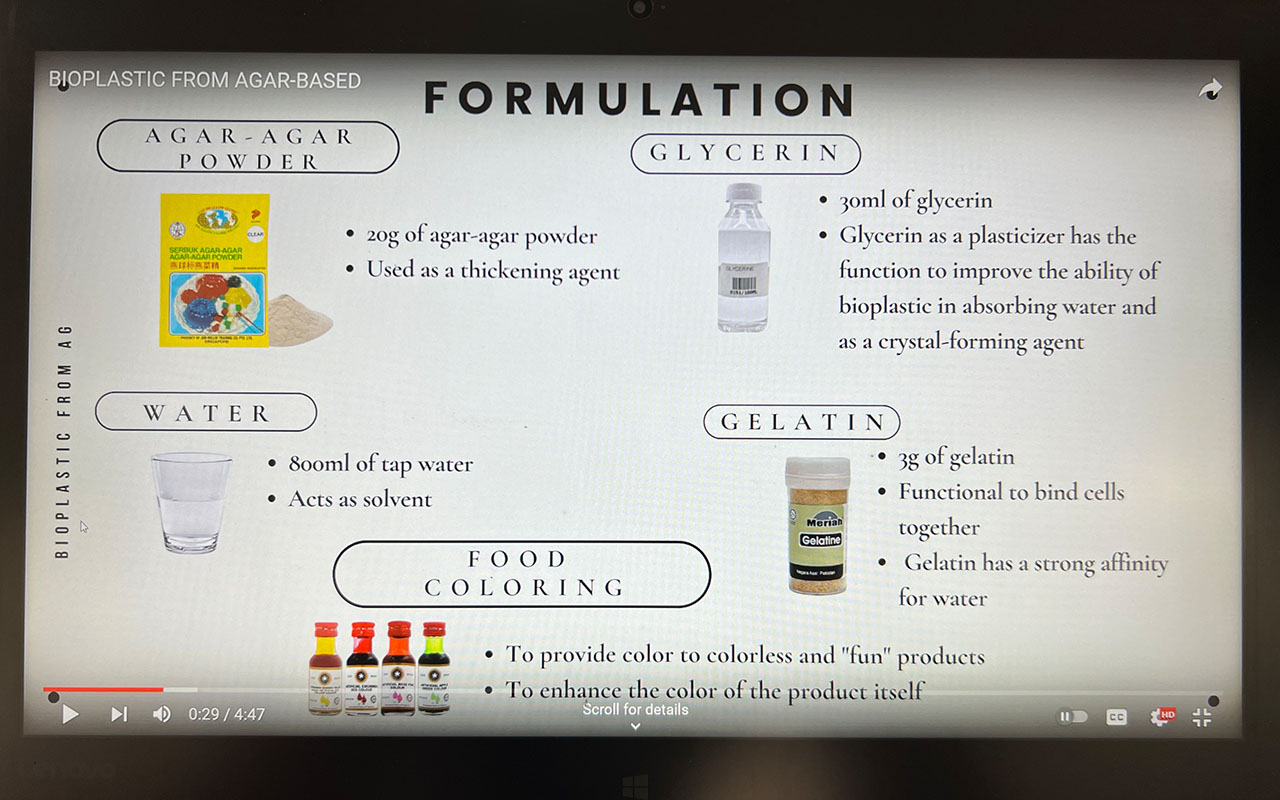
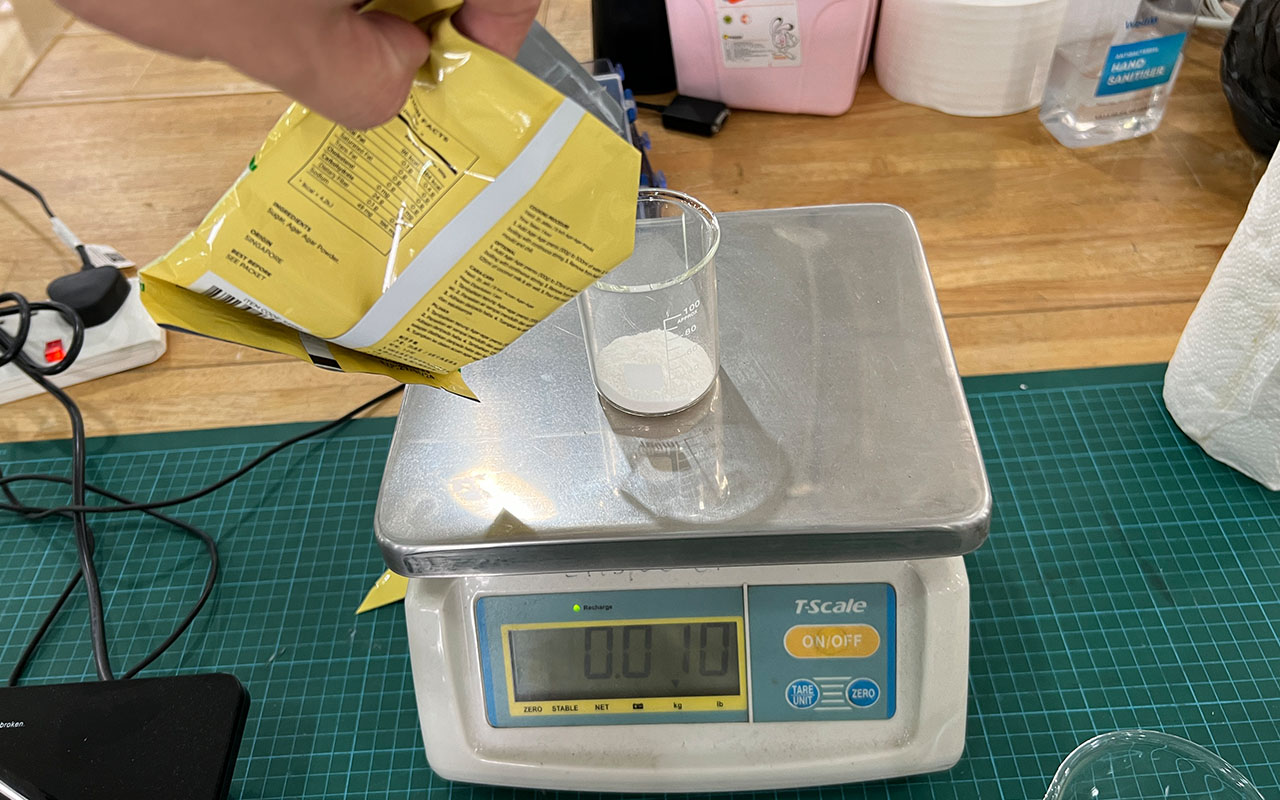
We first start with pouring 20g of Agar Agar Powder into the measuring cup.
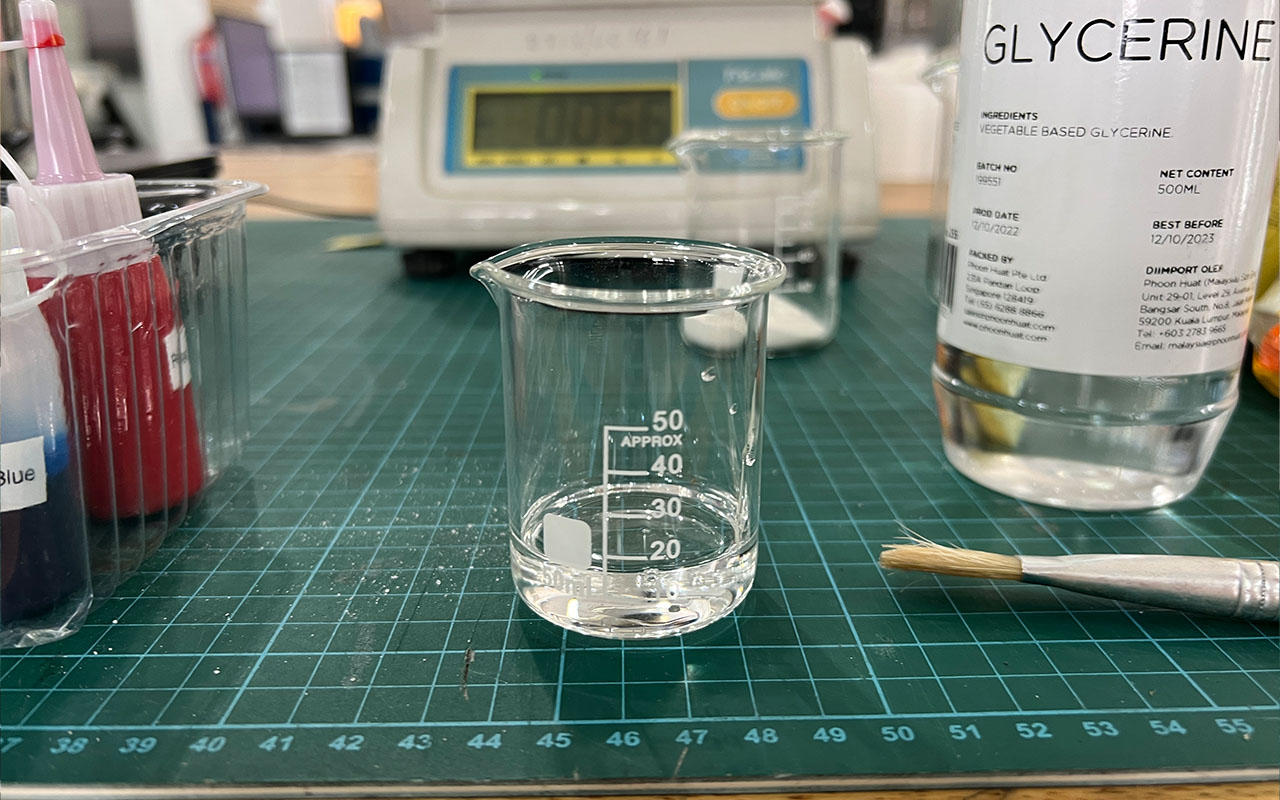
Then we pour 30ml of Glycerin into a measuring cup as well.
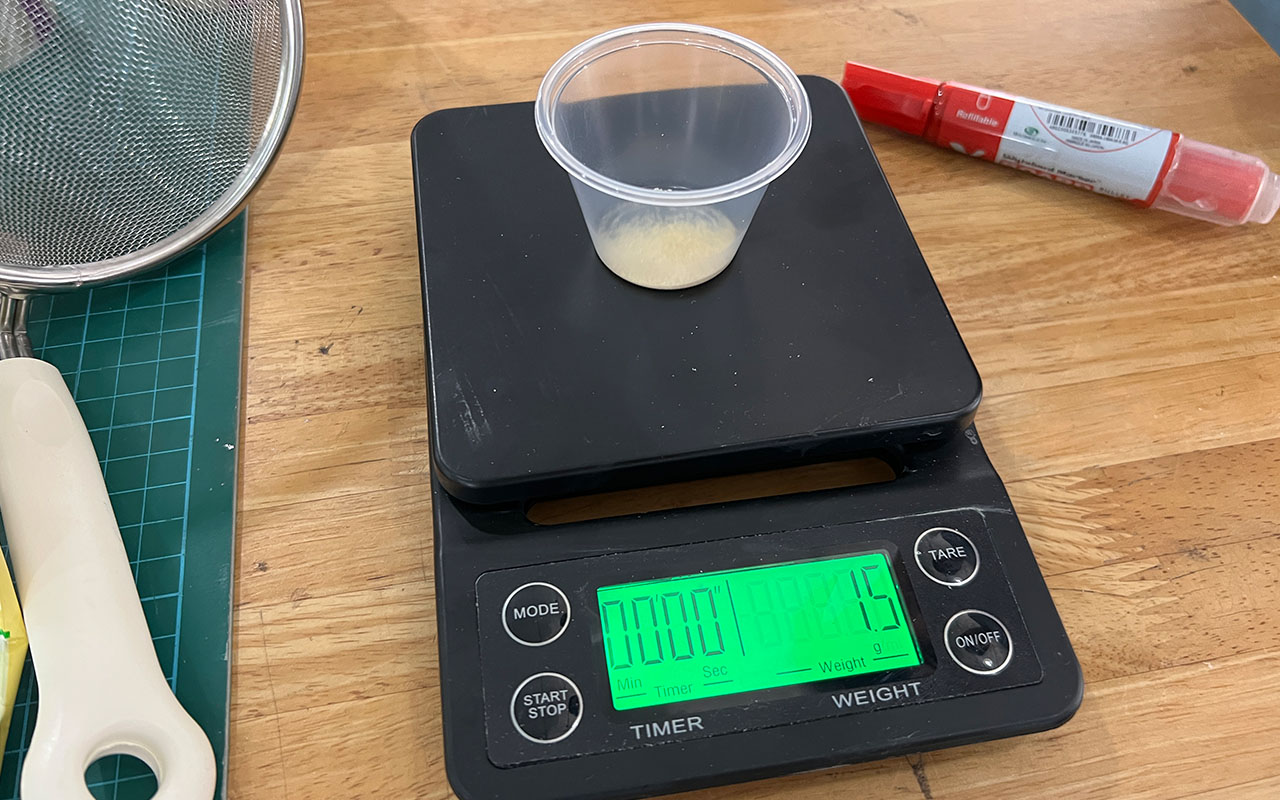
Next, we will measure 3g of Gelatin Powder.
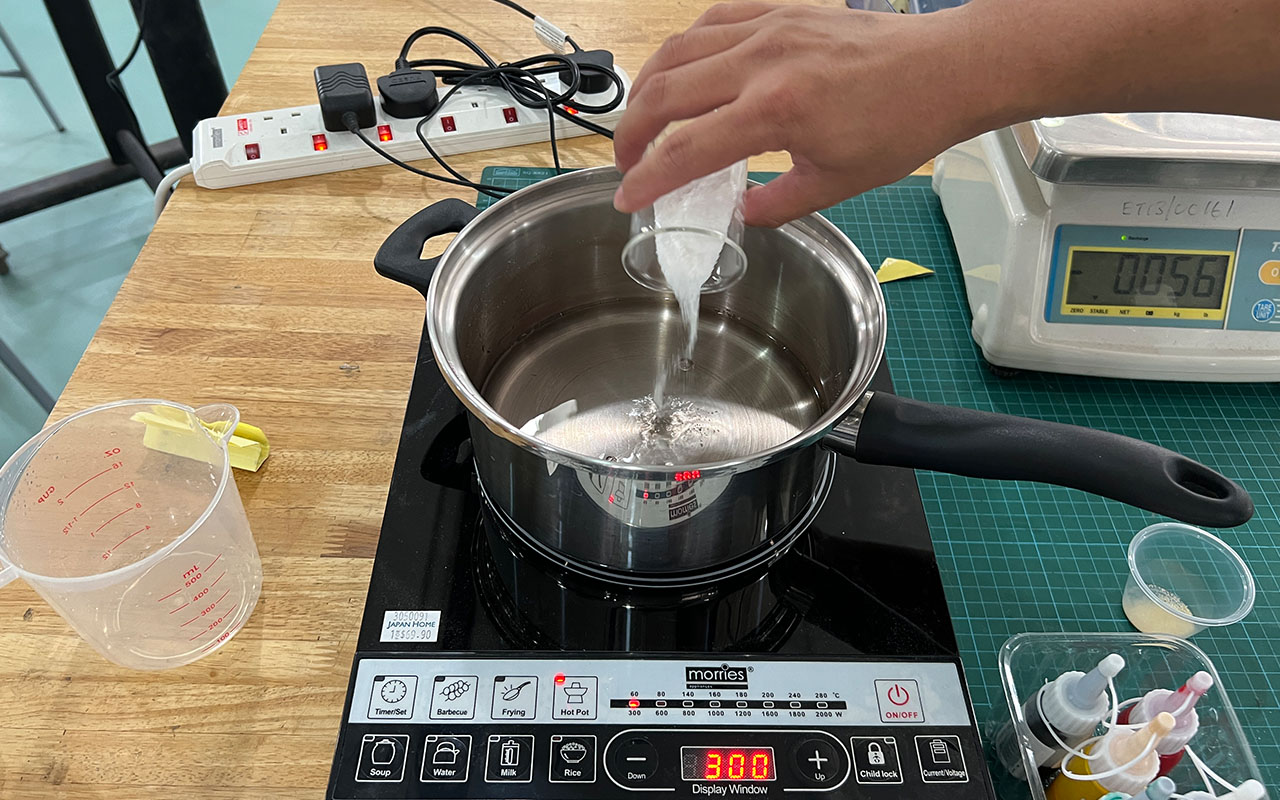
Once we are done with all the mixture, we can start to boil 800ml of water into a pot using an Induction Cooker.
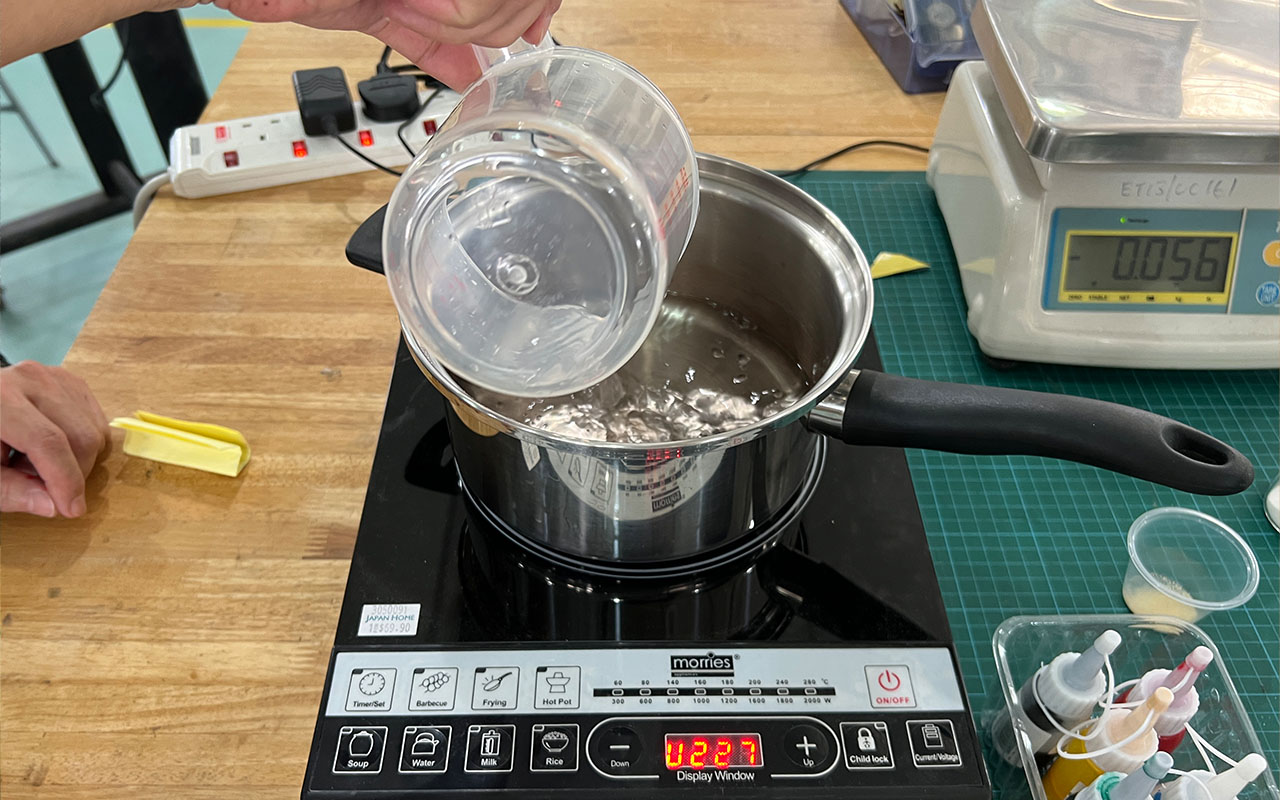
Then we can start to pour in the Agar Agar Powder.
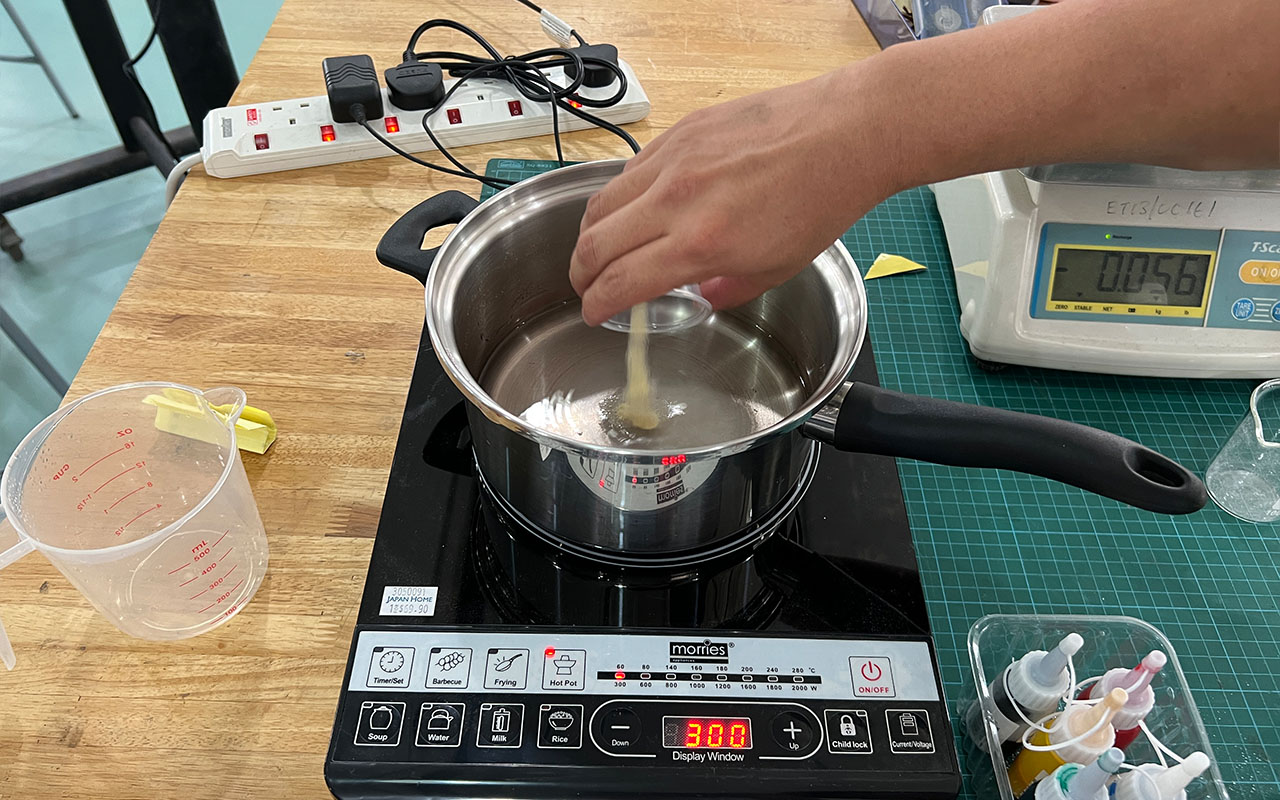
And next, follow by Gelatin Powder.
Lastly, the Glycerin solution.
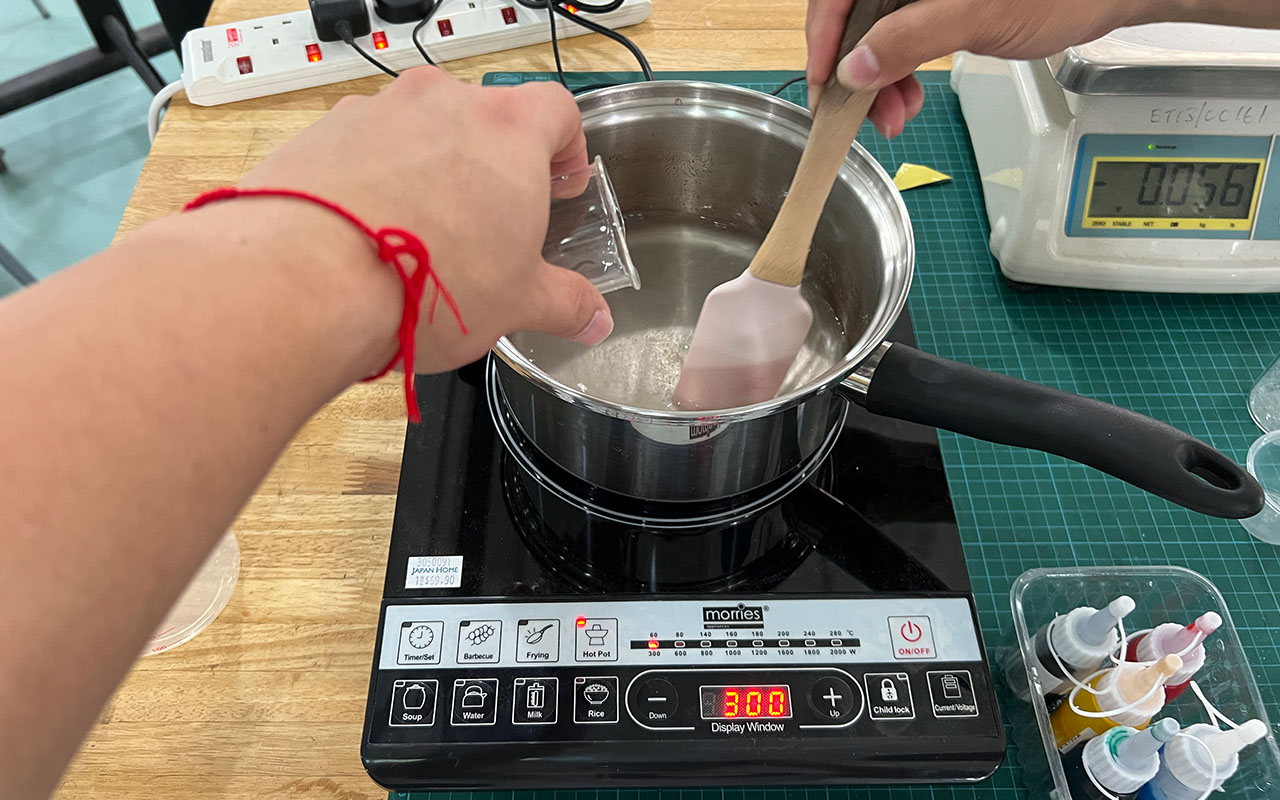
After pouring, we shall stir them well with a spatula.
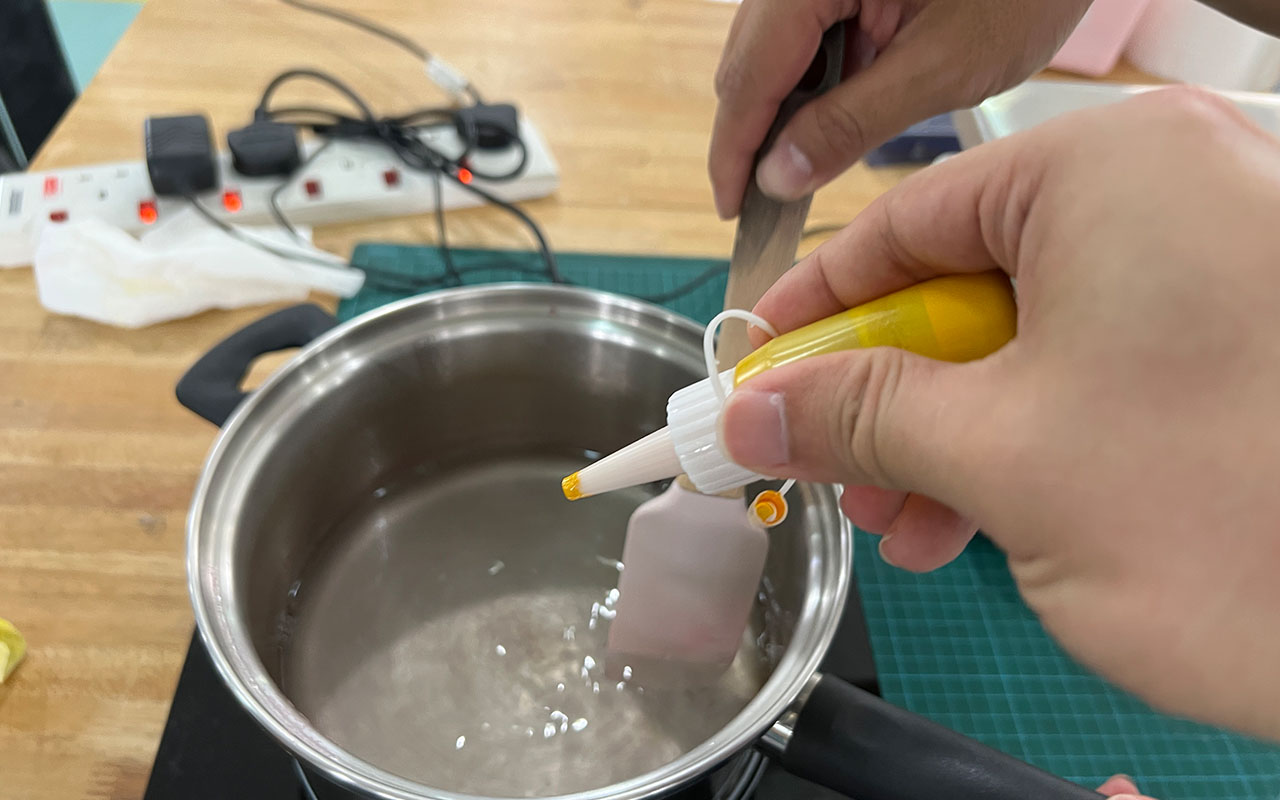
Also, we can add in Food Colouring, so in my case, I have use Yellow food colouring for the Bio-Material creation.
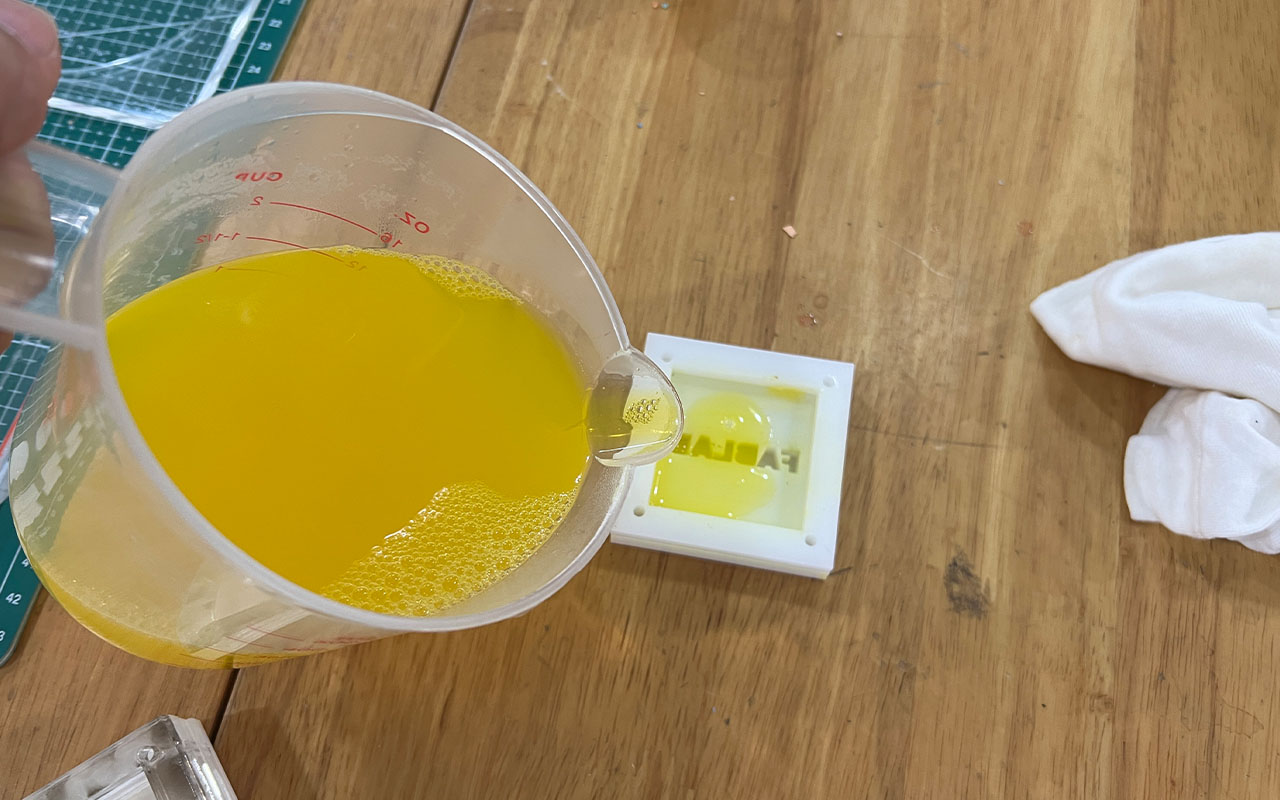
After cooking for around 15mins, we can start to pour the mixture into the mold as seen in the image below:
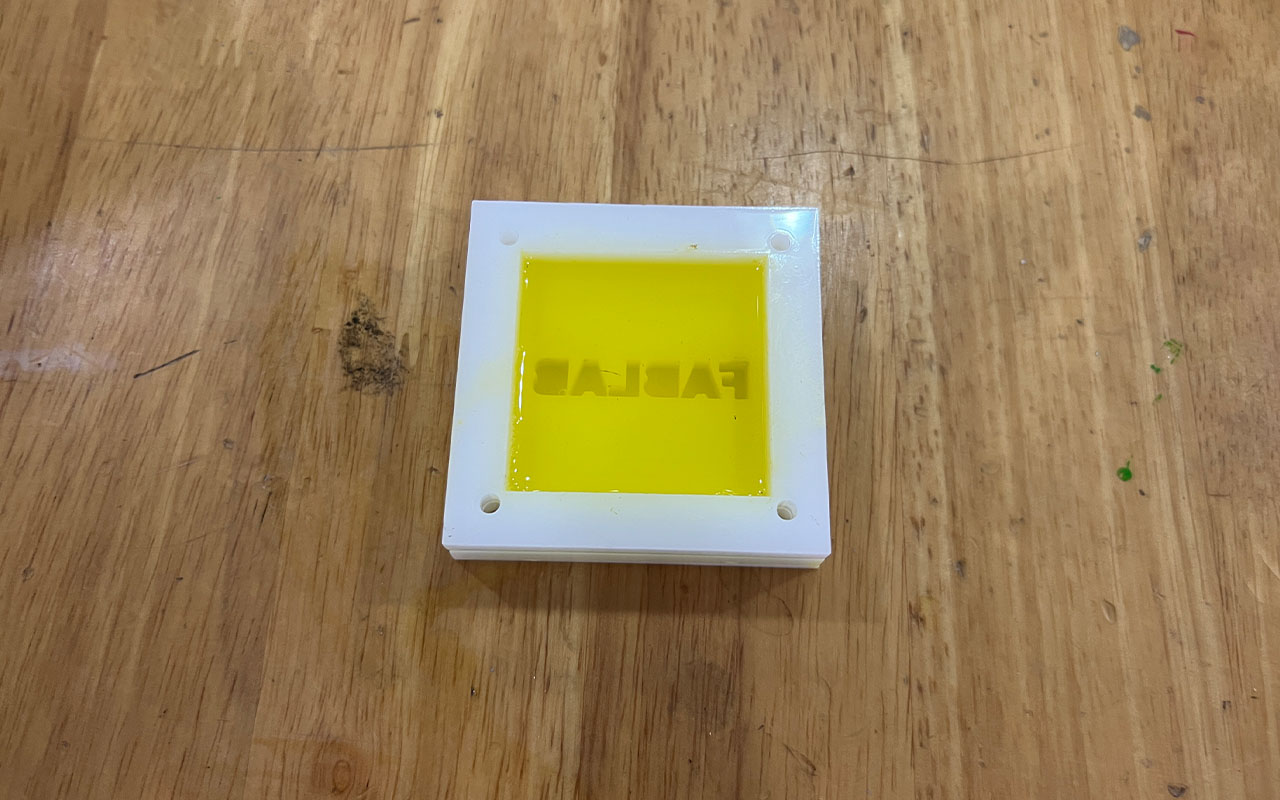
Once we fill up the mold, we shall leave it to dry and cure. According to the Youtube video, we will need to allow it to fully dry and cure for 3-7 days!. It was a long process so we will come back again when the mold is dry and the Bio-Material is cured.
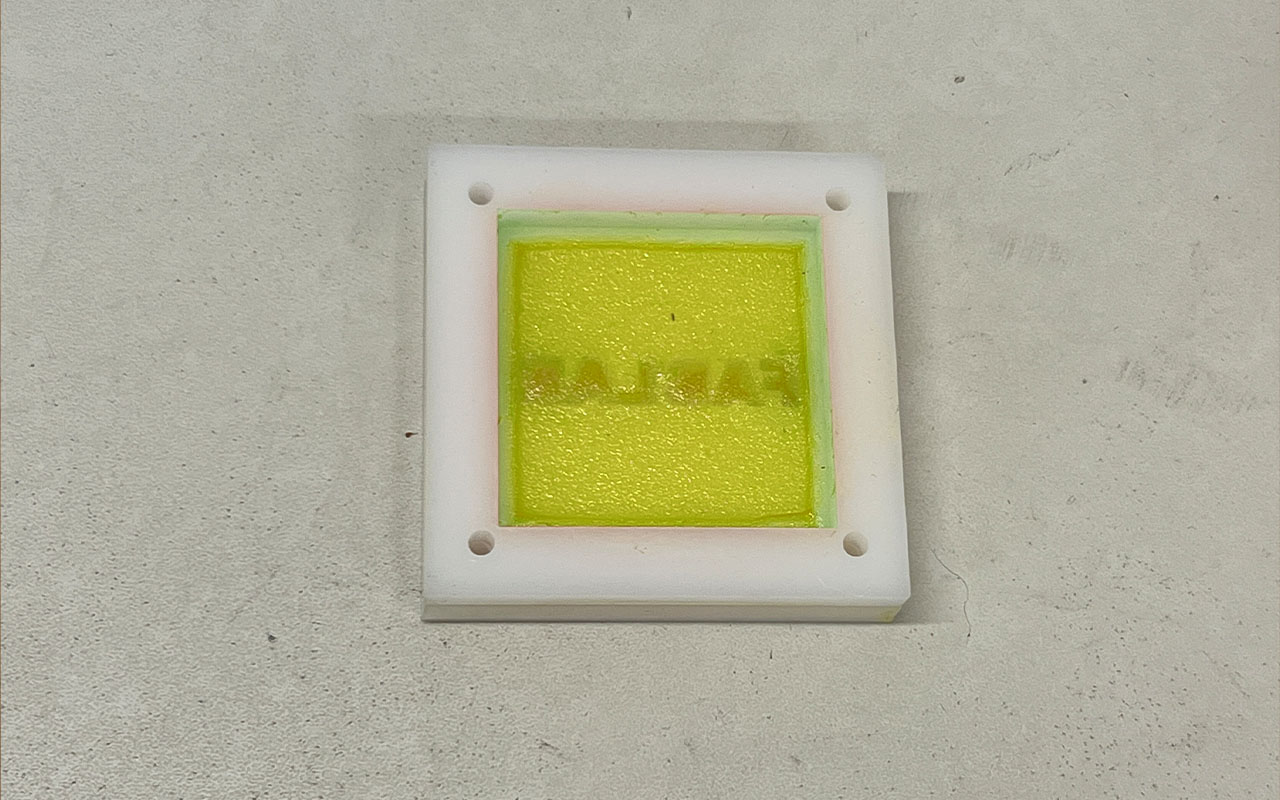
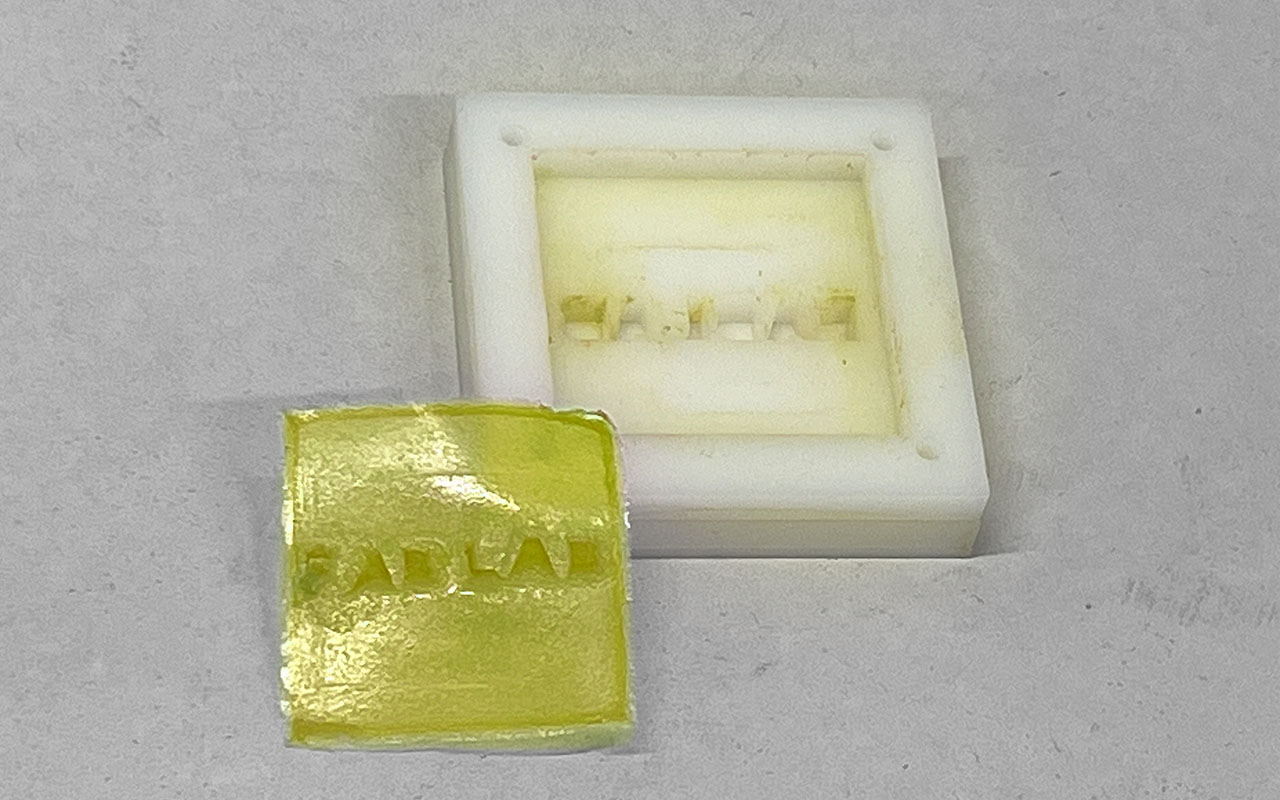
After waiting for 3.5 days, I went to check on my mold and we can see that it was already dry and shrinks to a smaller size. We are not too sure if shrinking is to be expected but nonetheless, I decided to peel it off and see how my first attempt of Bio-Material creation is going to be.
As you can see from the image, it was quite hard to peel as it was not fully cure for a good 7 days. But it is still kind of rigid enough for me to peel it off the mold without tearing. So that was a blessing!
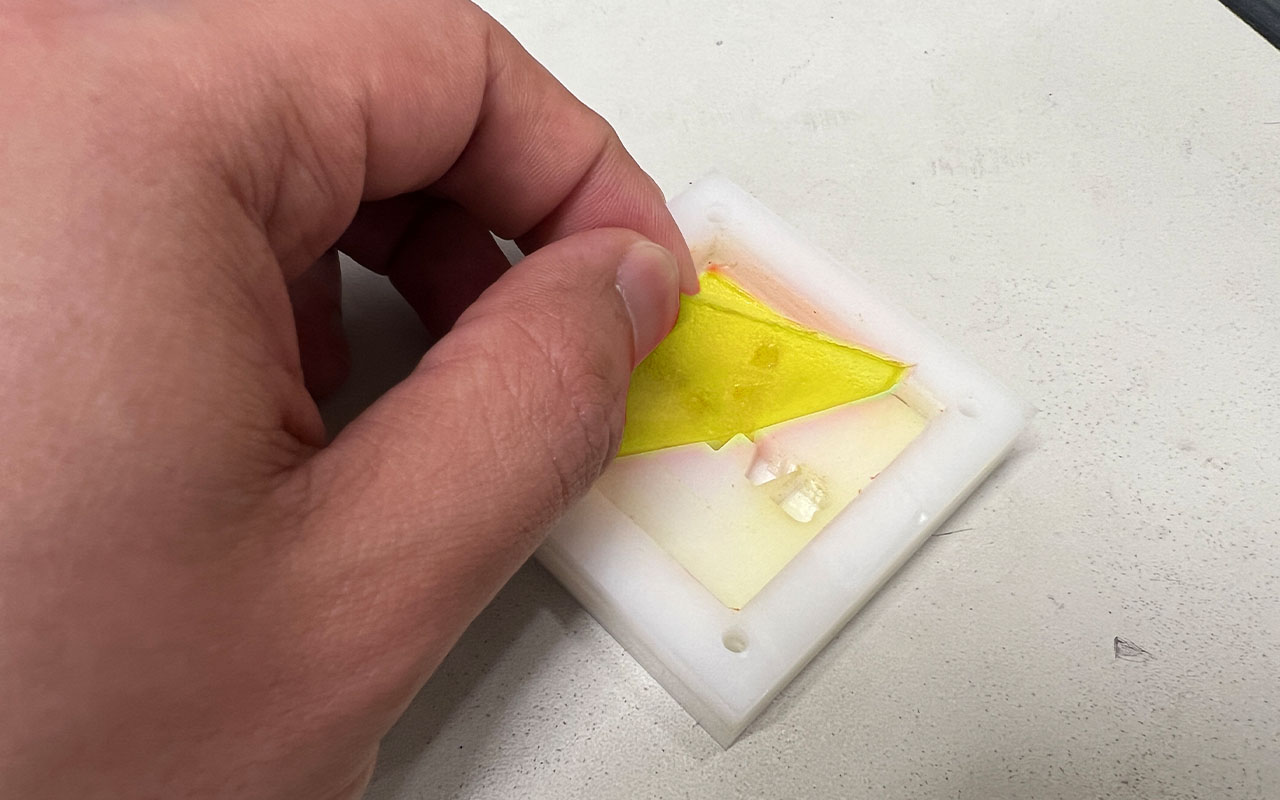
After peeling the Bio-Material, It actually feels like a plastic elastomer material that has some flexibility properties in it. As this is only a test on how to create a Bio-Material, I did not continue in investigating and trying out on bigger cast and mold but nonetheless, it was a success trial and now I know that I am able to create my own Bio-Material for future project work instead of relying on commercial plastics material.
Reflection
This week assignment was kind of coincidence in action as I happen walk past our lab and saw my colleagues playing with Bio-Material casting and that prompted me to join in the fun and end up being a good project documentation for my wildcard week.