1. Project Management
This week I worked on defining my final project idea and started to work on my documentation. For my Final Project, I have an idea to create a personal and modular bluetooth headphone that have interchangeable parts. These parts comes in different colors, design aesthetic and material so as to accomodate any personality style or preferences that one may like. In other words, I am designing and making a bespoke headphone that is very personal to individuals through customization.
But before that, lets get some basic documentation process done. I will kick start the documentation with the following task:
- Create an Bio introduction webpage using HTML and CSS
- Create my personal website
- Signing of the student agreement
- Follow a tutorial setting of the GitLab Keygen for the repository
- Try to do a Git Clone/Pull, Commit & Push
Principle & Practices - Version Control with DreamWeaver & Gitlab
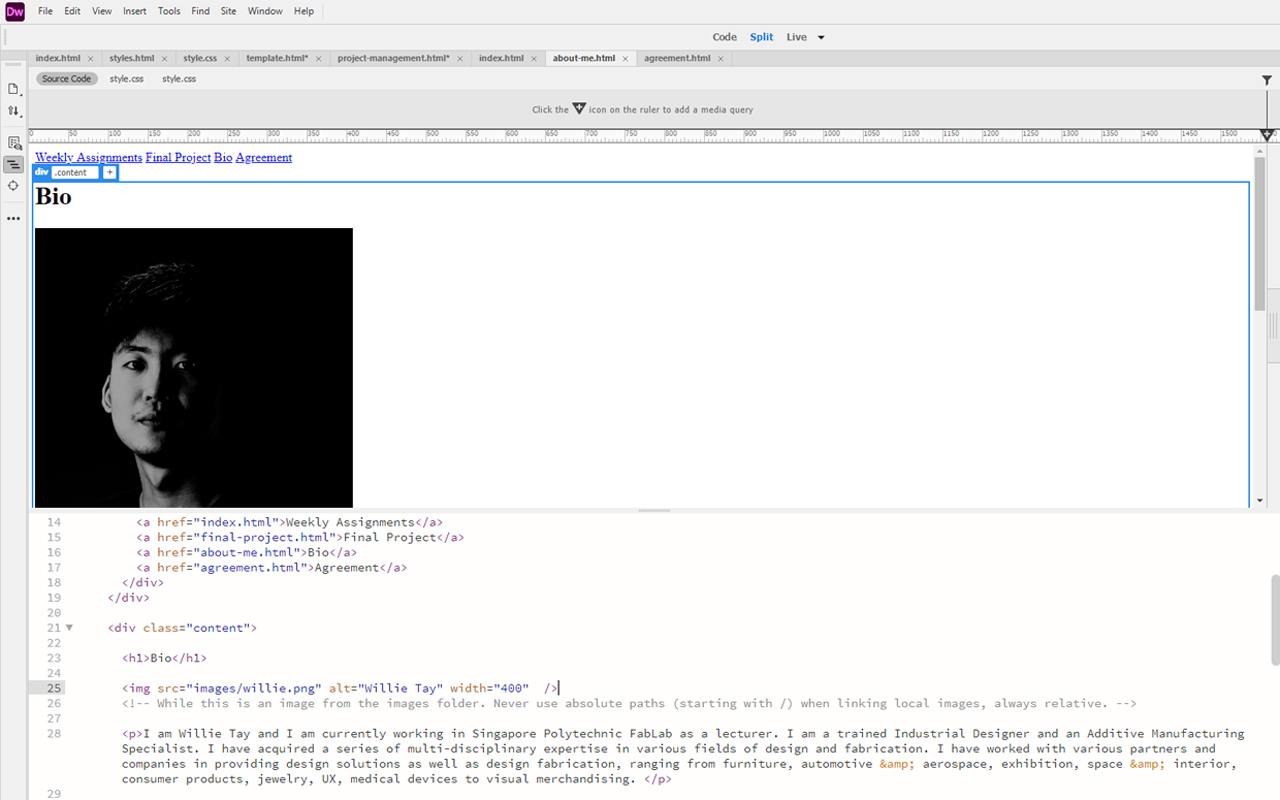
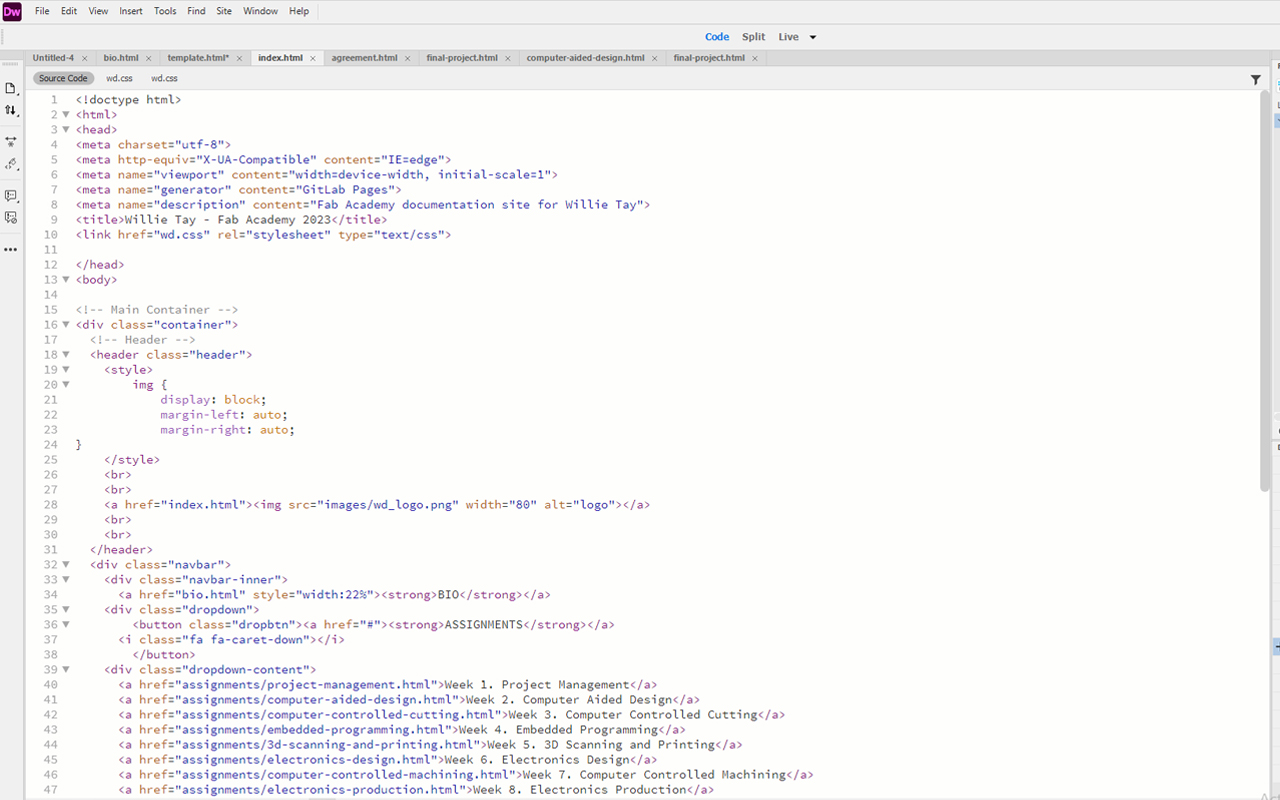
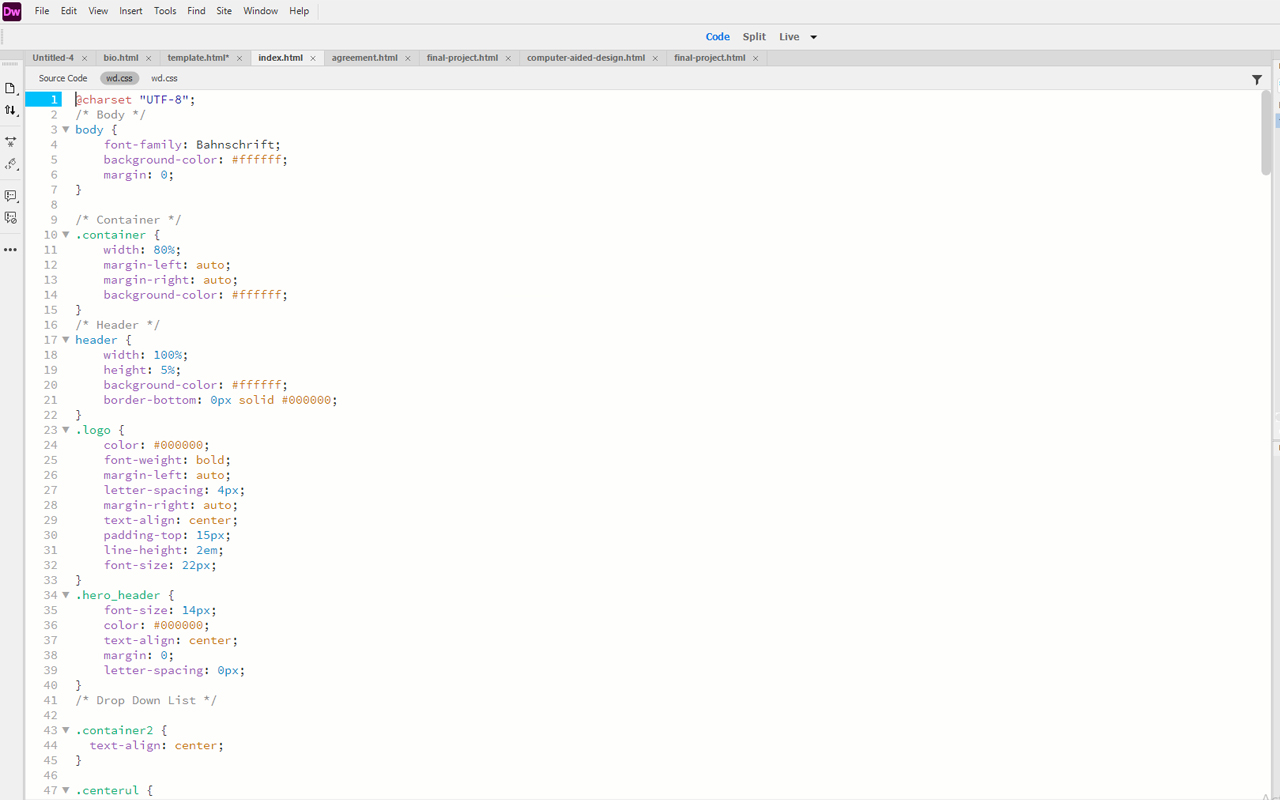
I began with the creation of my website as well as my Bio (about me) webpage using Dreamweaver as I find it more convenient in terms of writing the codes which I can view the outcome immediately though the split UI of dreamweaver.
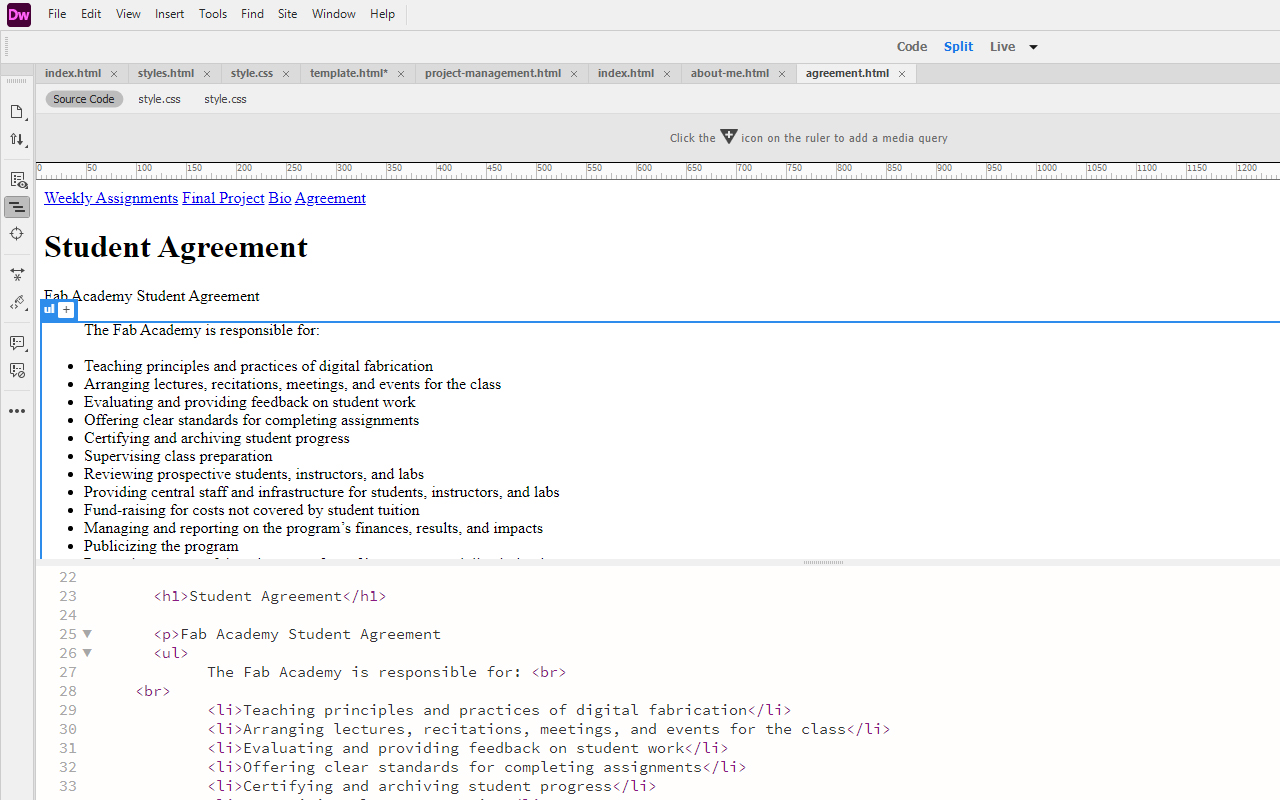
Next, I continue to work on my various webpages such as the Student Agreement, Final Project & Assignments pages.
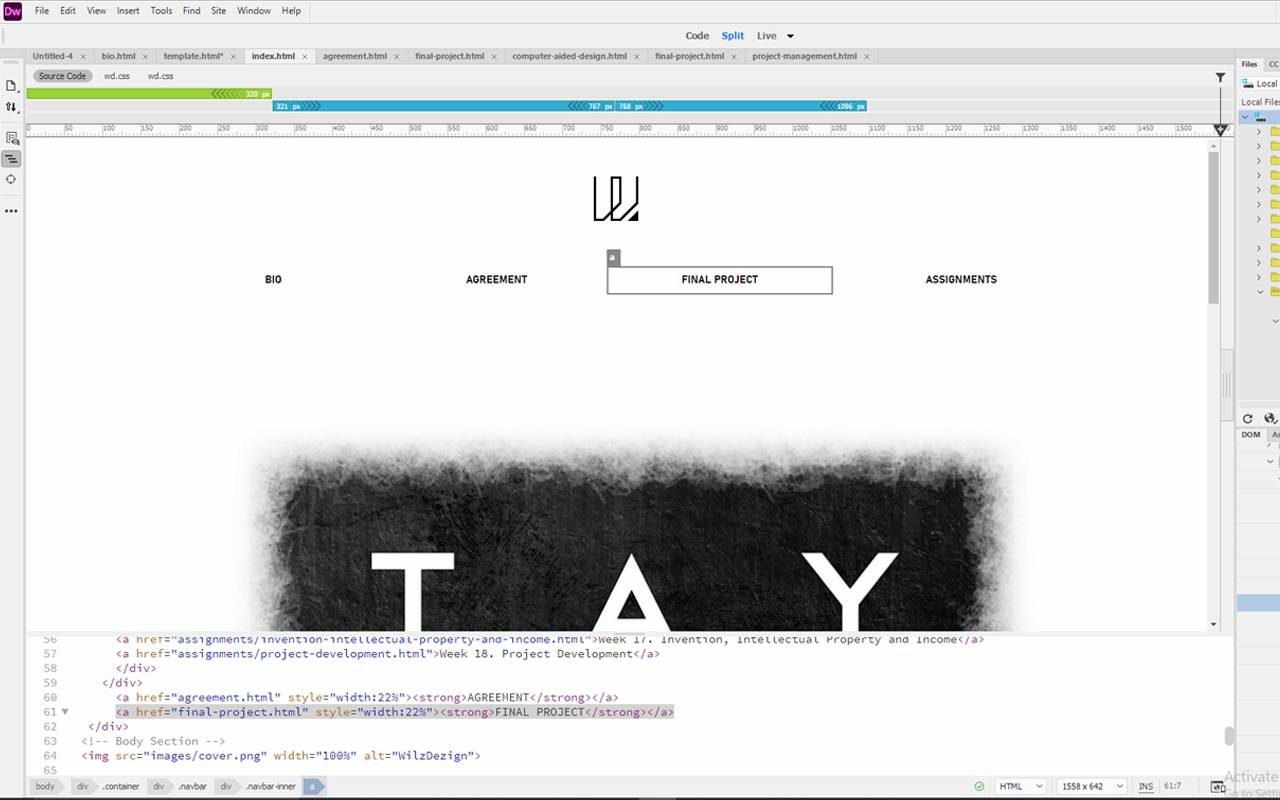
After building my website based on the template provided by the Fab Academy instructor, I then decided to start anew in building my own personal website using html and css coding from scratch as I want to try something different and also to create a website that suits my style. To be frank, it was tough trying to understand all the functions of HTML and CSS because they are not really the same in terms of coding but eventually, I still manage to build my first own website after many trial & error.
Below are the codes (HTML & CSS) that I have created personally and also with the help of online references such as W3School.
This is how my Minimalist personal website looks like!
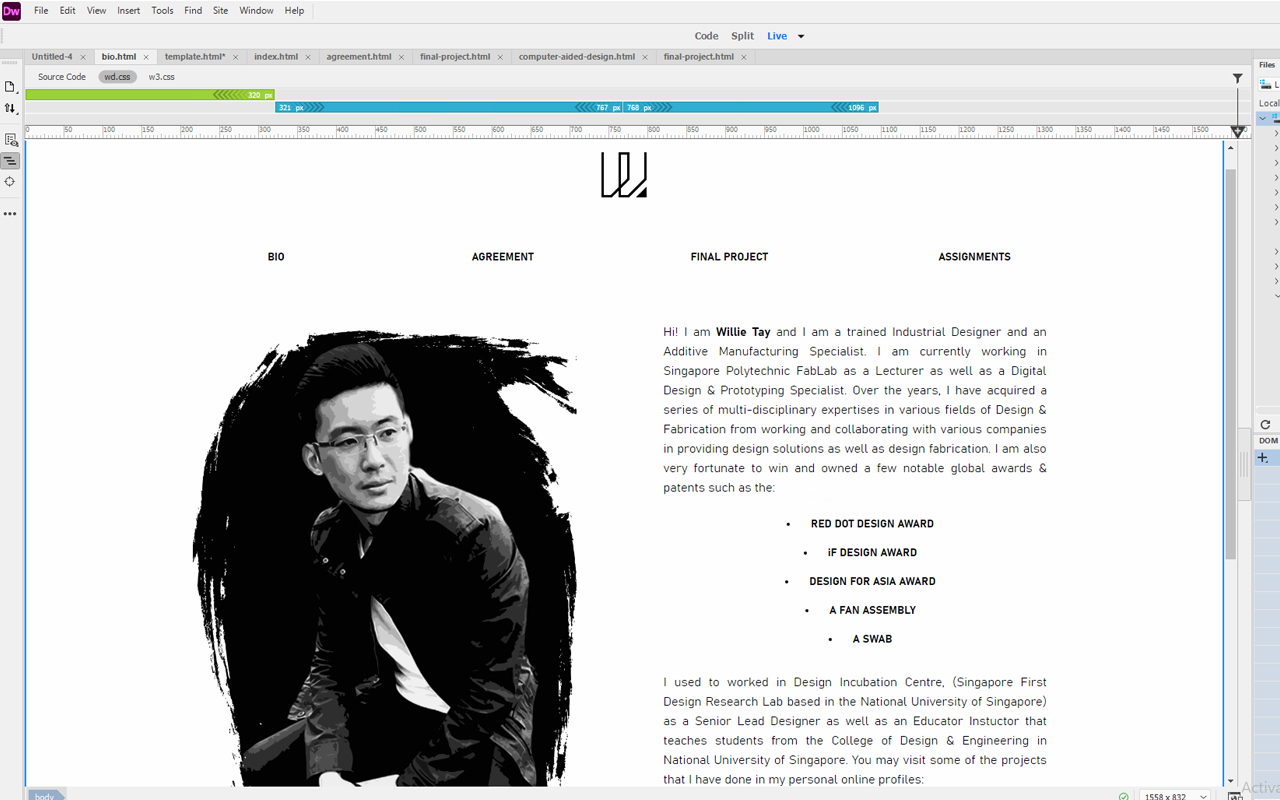
The website is not perfect but it is still something what I want and I can always improve and make it better later. The next task to do will be even more tough and in the same time the most important documentation process of all - understanding and using Gitlab. To be honest, it was not easy to use Gitlab and it took me quite a while to get a brief understanding of how it works. To begin using Gitlab from my personal laptop, I need to create a SSH key so that I can pull and update the repository from my workstation. Firstly, I logged into my Gitlab account and proceed to SSH Keys to generate my first SSH keys for my workstation.

Next, I refer to the Gitlab tutorial and managed to generate the SSH keys in the MS-DOS terminal mode and then later on though gitbash.
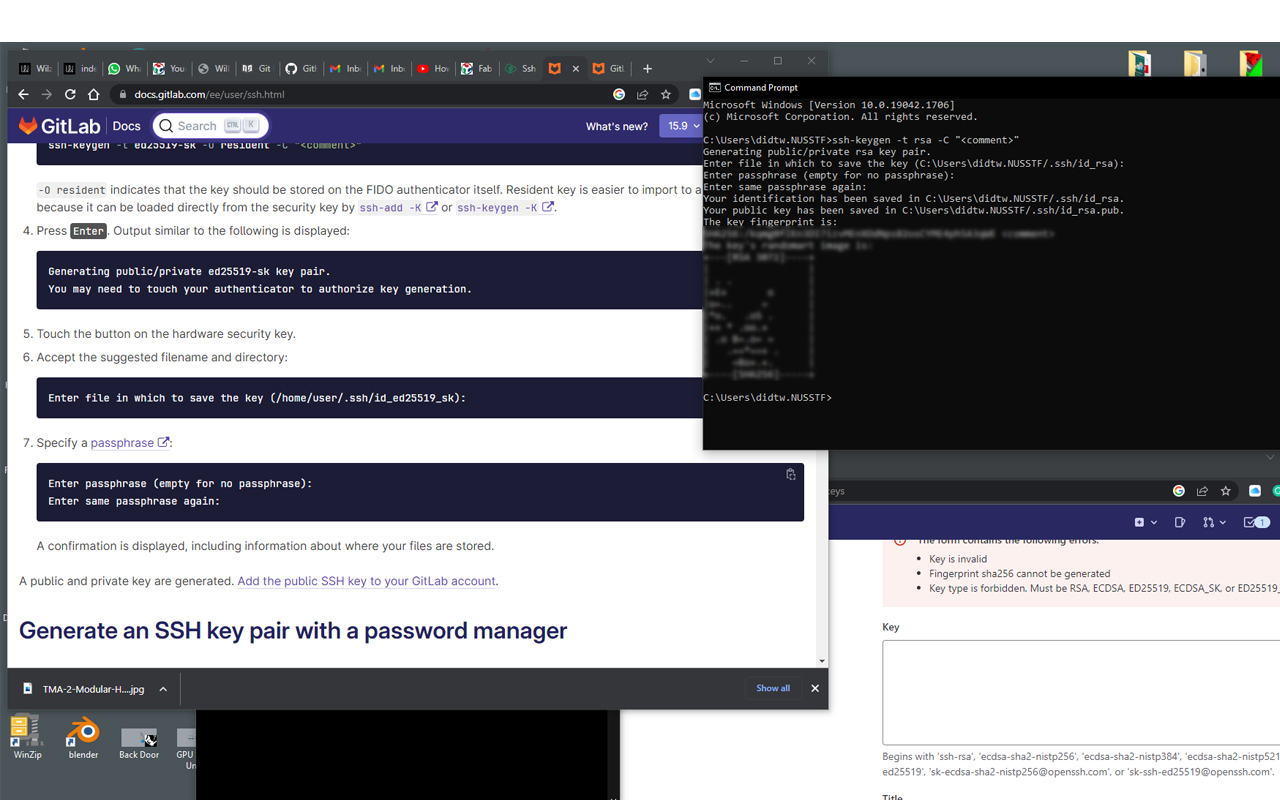
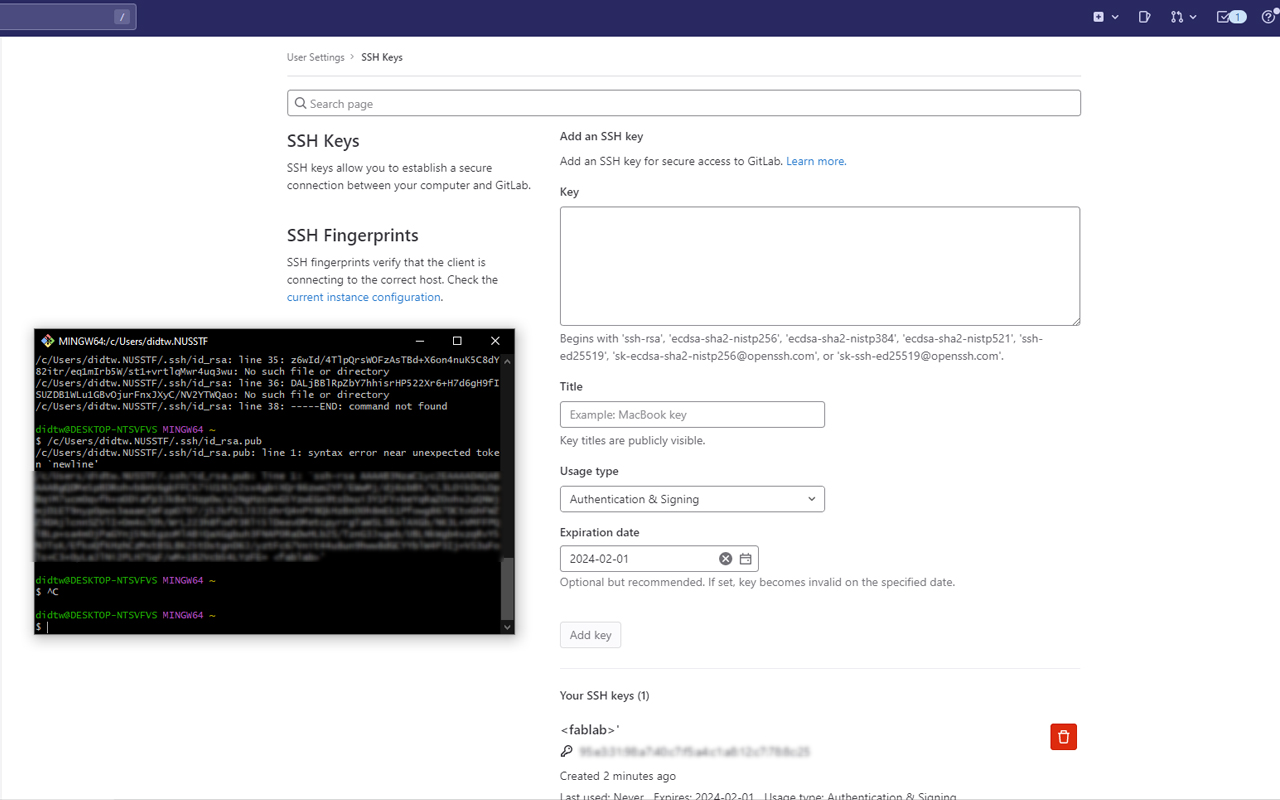
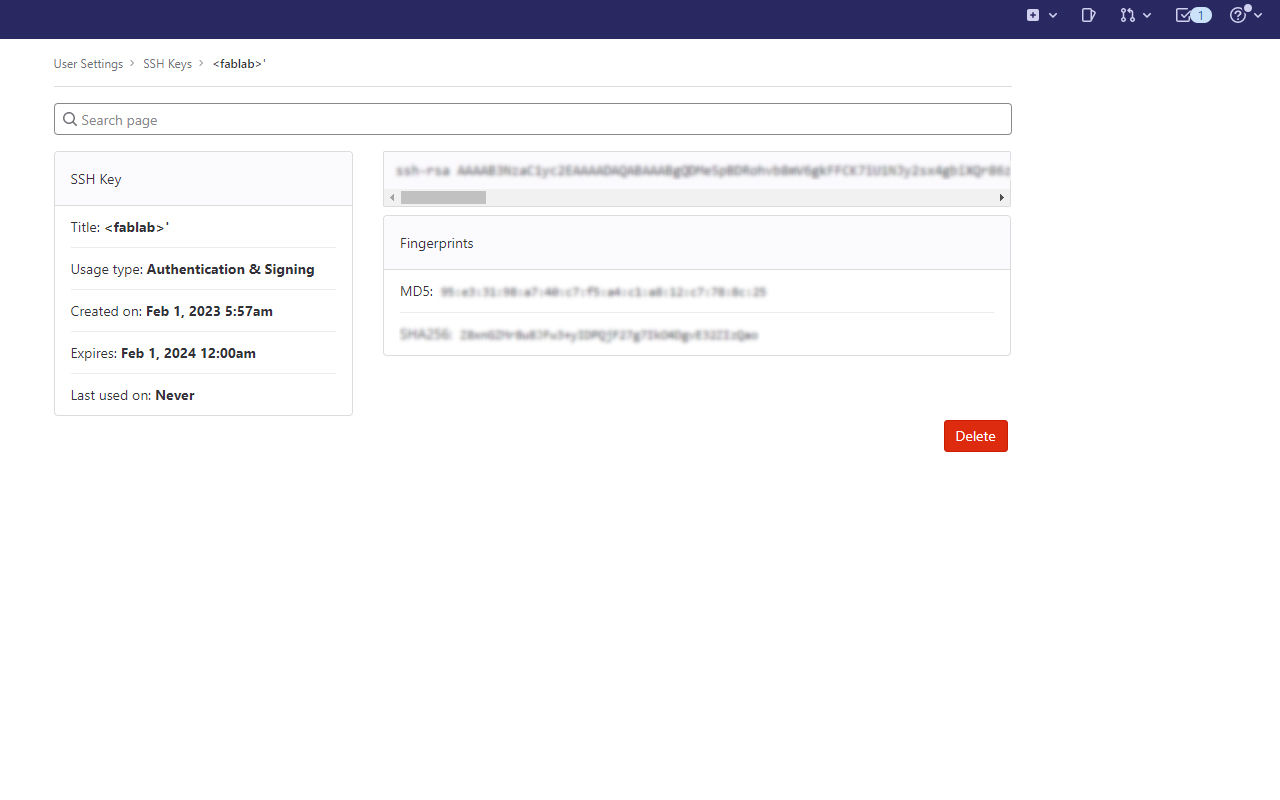
Lastly, I copied the SSH keys in gitbash and pasted it in the Key Box. I was then prompted to a new site showing me the details of my newly created SSH key.
And thats it! So far so good. Last but not least, not to forget to clone my repository.
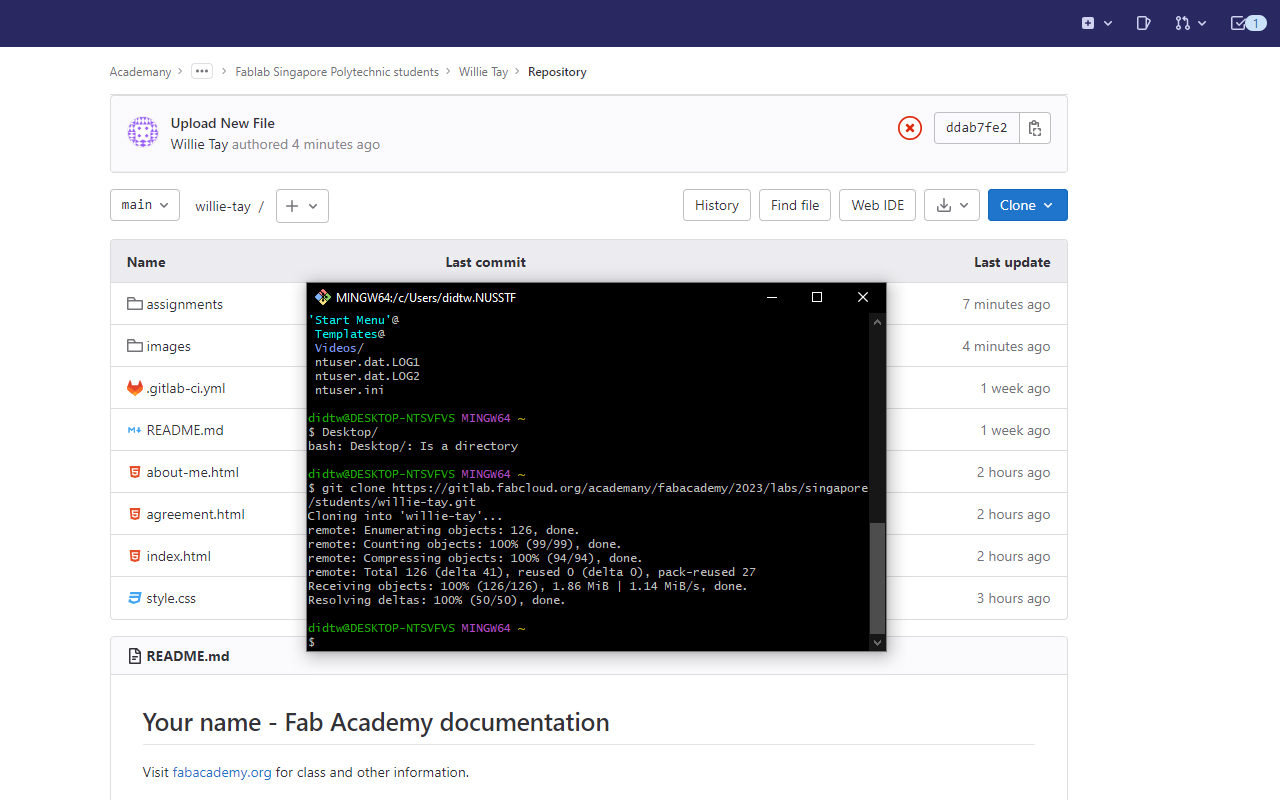
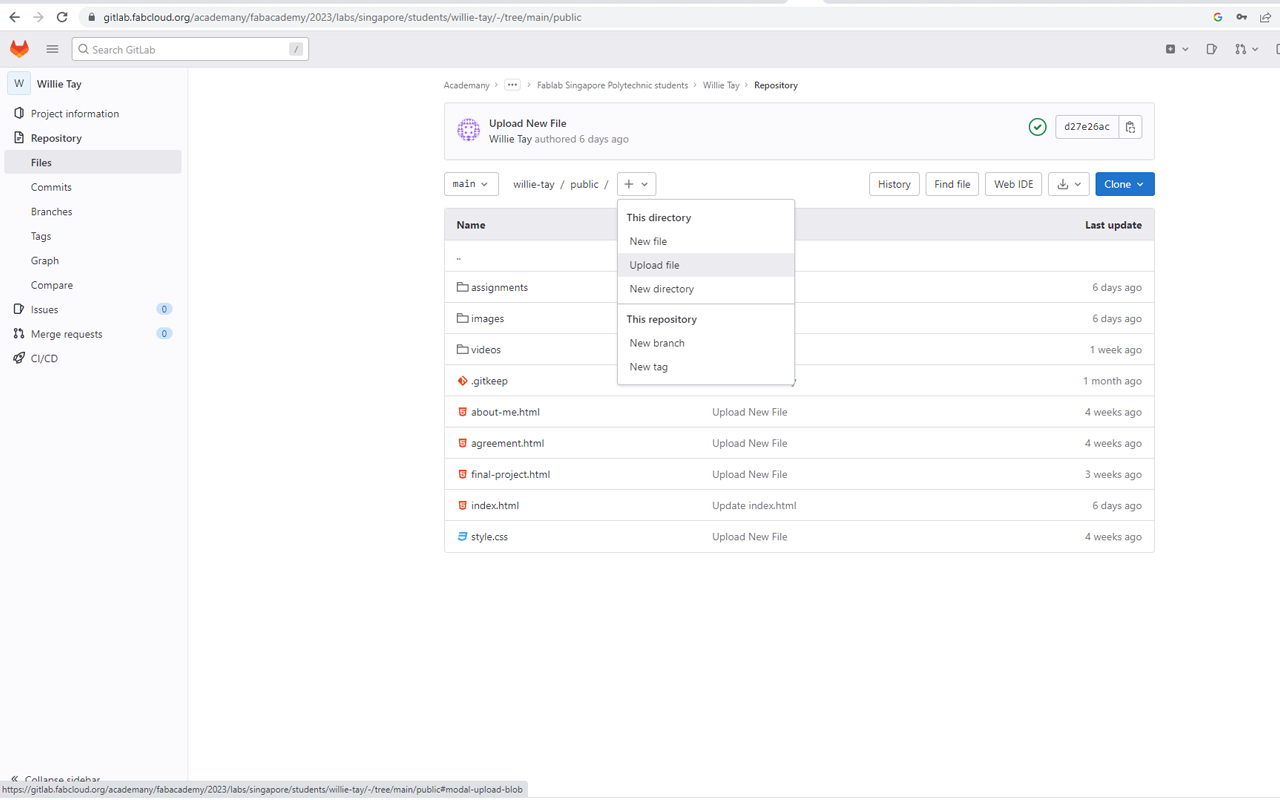
After cloning, I can start to update my repository though my personal laptop. So I began to try and do a git push by adding files to my repository. There are actually 2 ways in adding and updating your files in gitlab. The first way is to log in to your gitlab account and upload your files by selecting the "+" tab and then follow by Upload File.
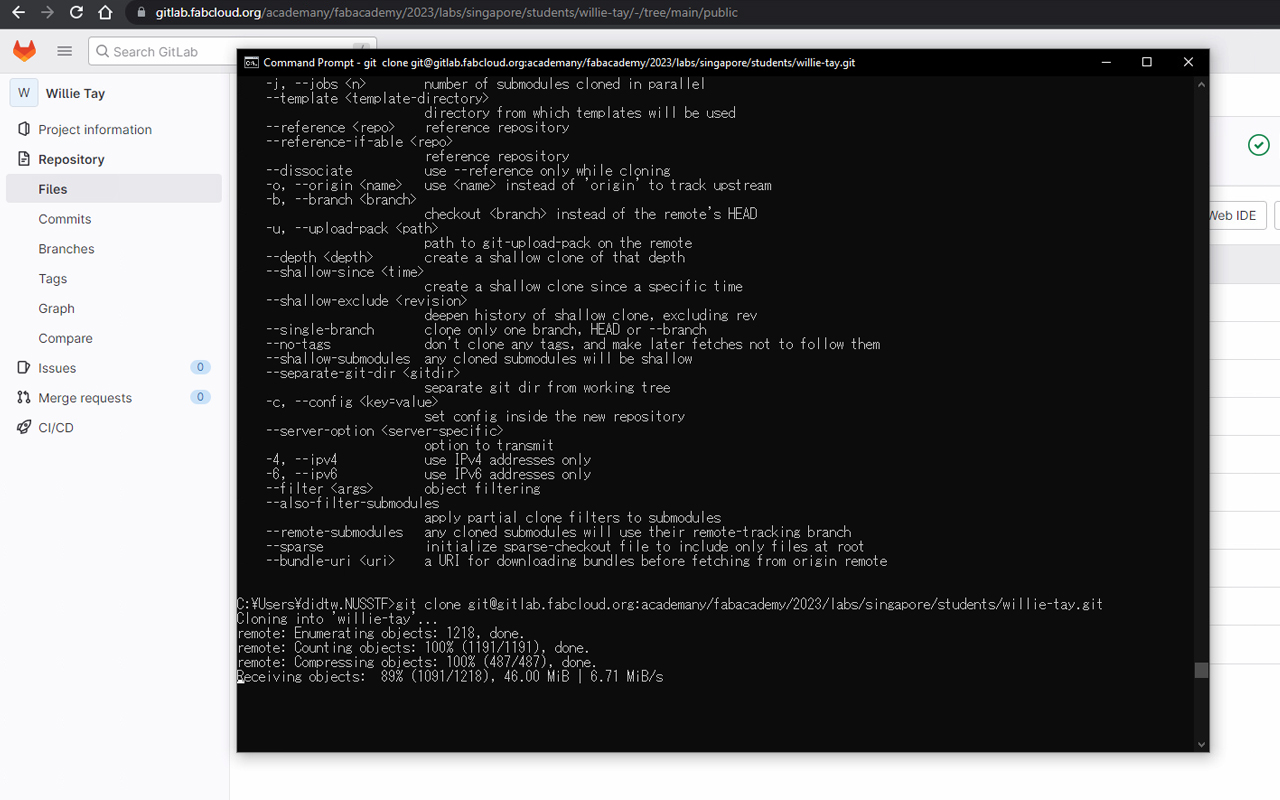
The other way is to use Git Pull, Commit & Push function through either Gitbash or MS-DOS to add and update your files. So firstly, I will need to launch MS-DOS and then do a Git Clone of my online repository as a practice.
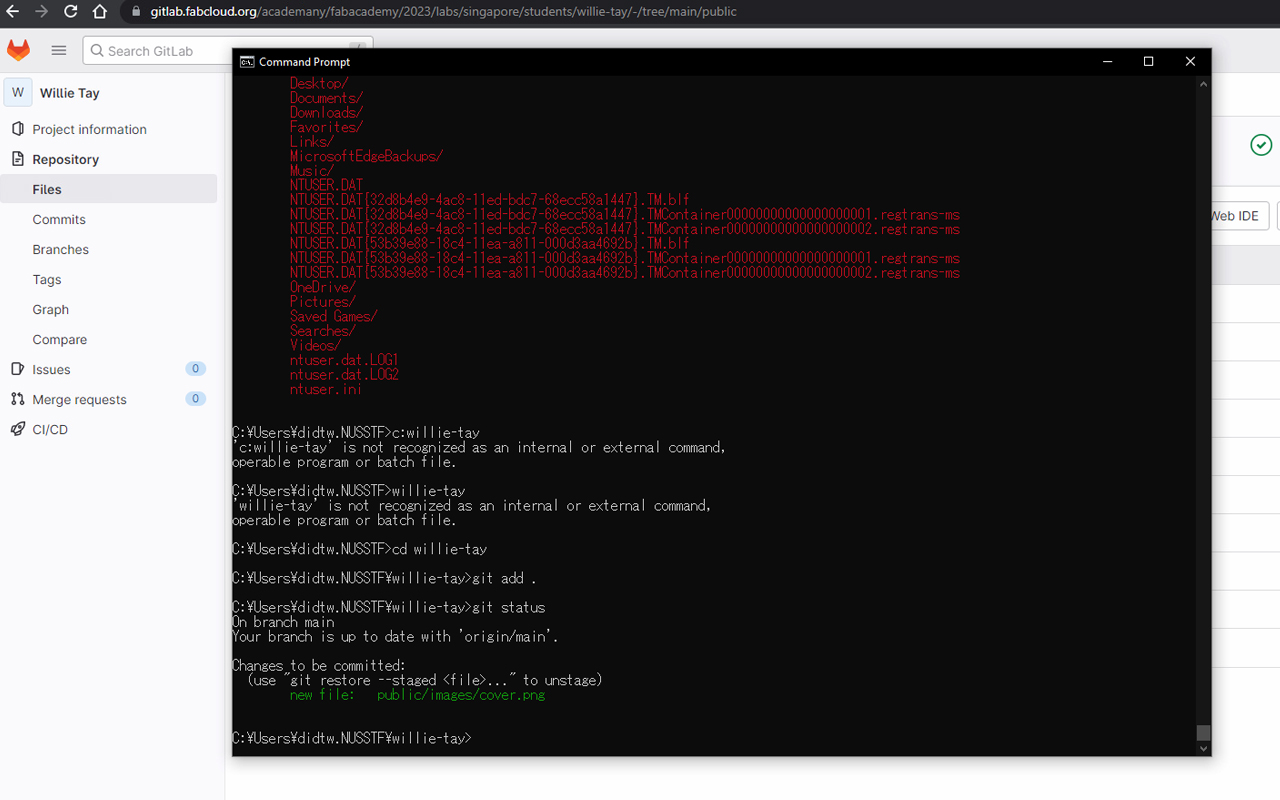
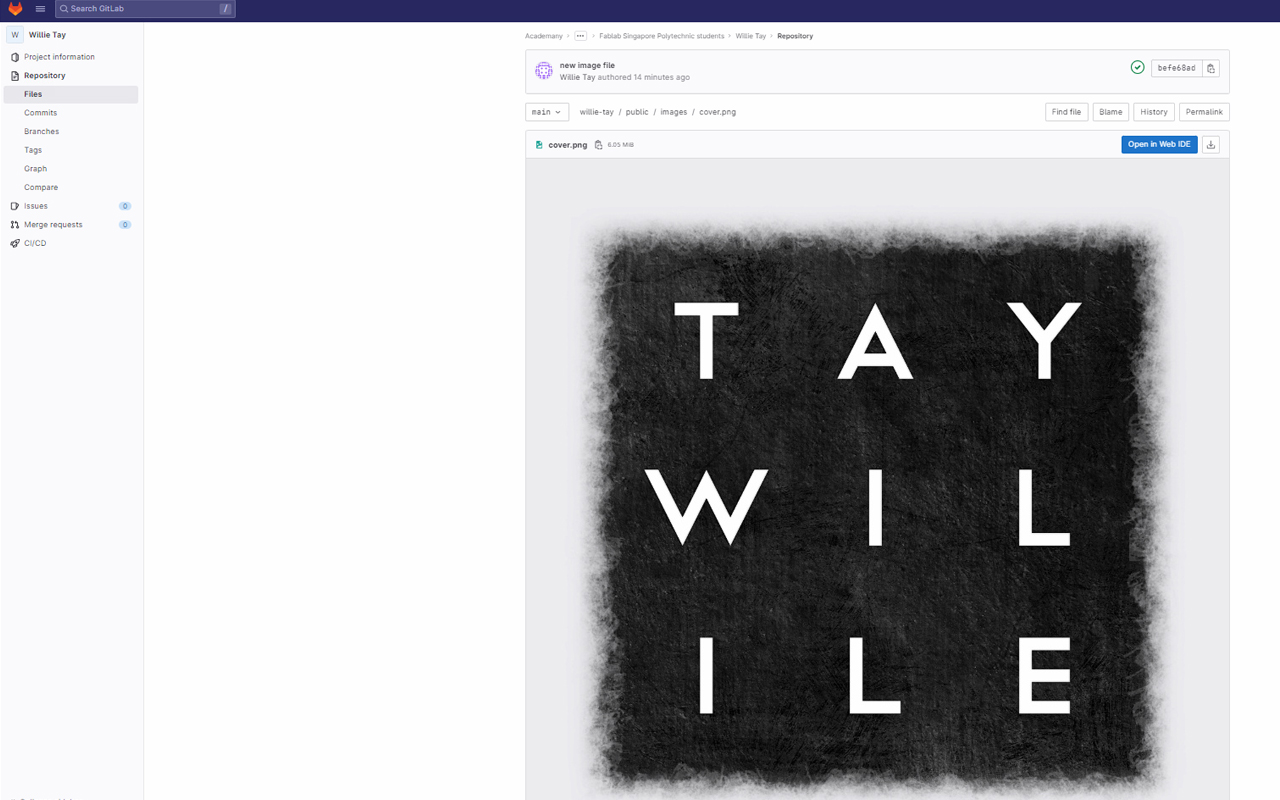
Next, I will try to do a git push of an image file (cover.png) by using the command - git add . and then follow by the command - git status so as to check if the files are added correctly before I commit the changes. After entering git status, you should see the updated new files in green and if all is good, you may commit the changes by entering the command - git commit -m "new image file", whereby the message "new image file" serve as a note to inform you about the changes afterwhich you may enter the last step command - git push. You will then see the new file is added to your online repository.
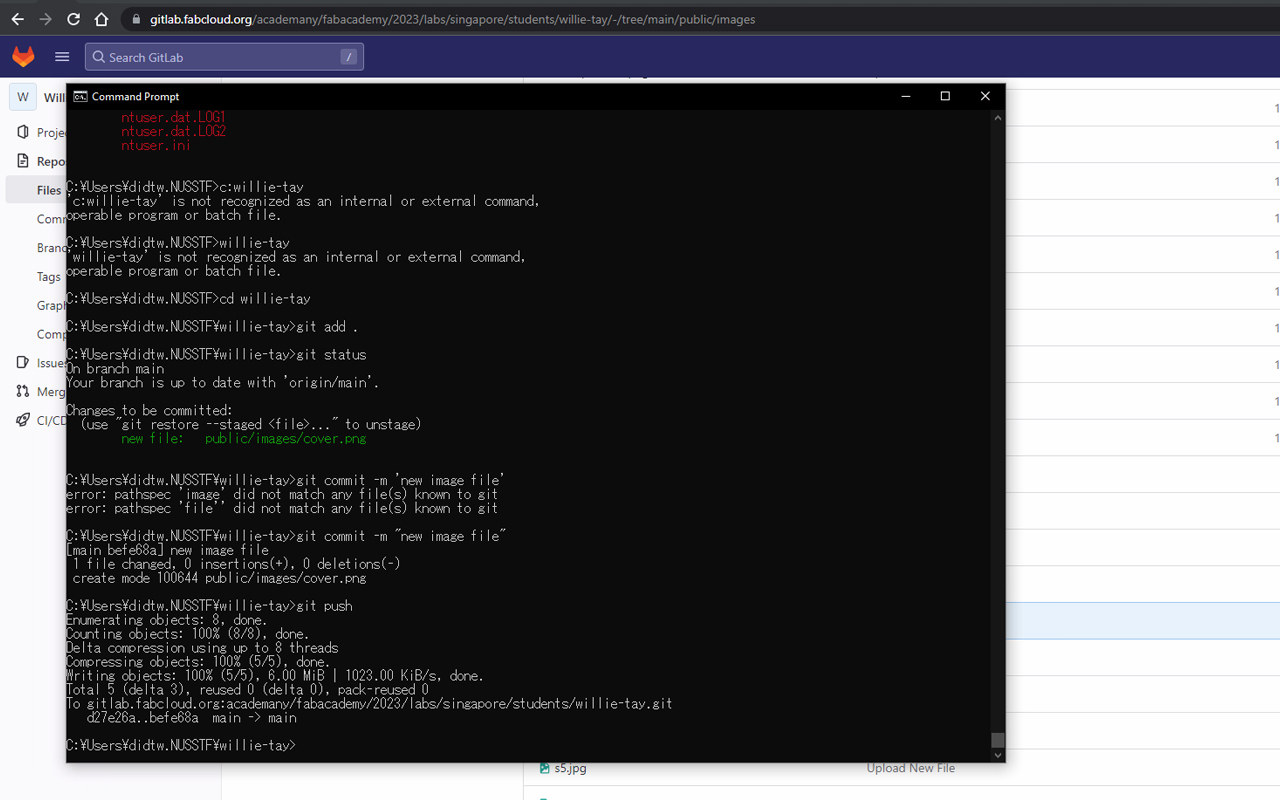
To check if our git push is successfully updated in our online repository, we can access gitlab and do a check. You should be able to see the newly uploaded image file within a few minutes.
Reflection
It was a rather long week as I really spent a number of days to sort our my gitlab repository. I did face some issue while doing git push and it failed due to overloading of file sizes and it caused my repository to crash which I had to redo all my files all over again. So the rule of thumb is to remember and save a backup copy of your files! As for html and css, it was a smooth learning journey as I have some prior knowledge in building website since my university years.