Computer controlled machining
Task: Computer-Controlled Machining
Group assignment:
- Complete your lab’s safety training
- Test runout, alignment, fixturing, speeds, feeds, materials and toolpaths for your machine
- Document your work to the group work page and reflect on your individual page what you learned
Individual project:
- Make (design+mill+assemble) something big
Time Management, Time Management, Time Management!!
The most important lesson I learned this week is that no matter how many great ideas you have in your head, it’s crucial to focus on one idea as soon as possible and start working on creating the design.
Discovery!
While working at the Fab Lab, I often saw the CNC milling machine at Fab Lab Armenia - Dilijan: the ShopBot PRS Alpha 96”x48”x6”. It never occurred to me how dangerous it could be. After the lecture, I started thinking about getting to know this machine better and the possibilities of working together.
Our instructor Babken Chugaszyan showed us how this machine functions, told about the types of CNC machines and tools - collets and mills, spoke about safety techniques, showed how the VCarve Pro software works.
As a group assignment, we got the machine ready for work, learned how to change the mills correctly, how to attach the plywood to the work table and how to set the zero point.
You can find more details and observations about the group assignment here.
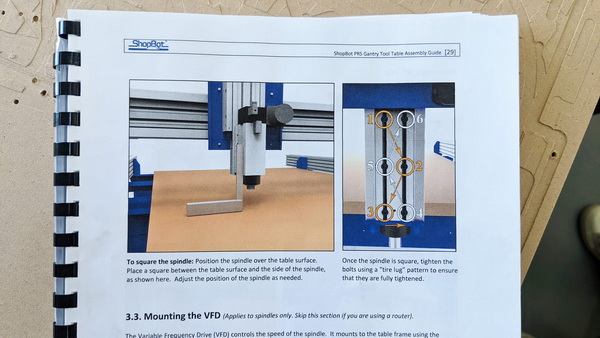
After cutting a few parts, we noticed a slight slope of the cut surface and realized that the spindle was attached obliquely. We had to resort to the help of the guide to attach the spindle in the correct forward direction.
Real joy comes when you achieve your goals. After this, the machine was completely ready to go!
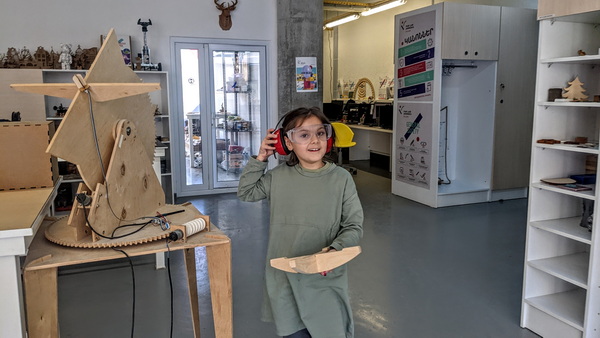
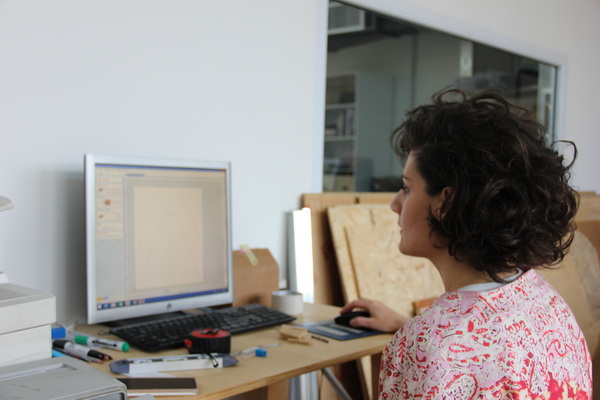
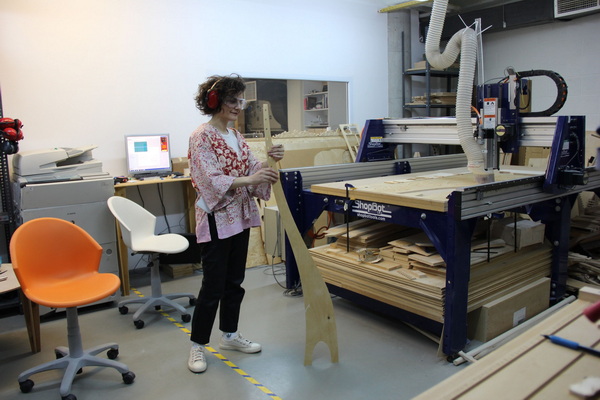
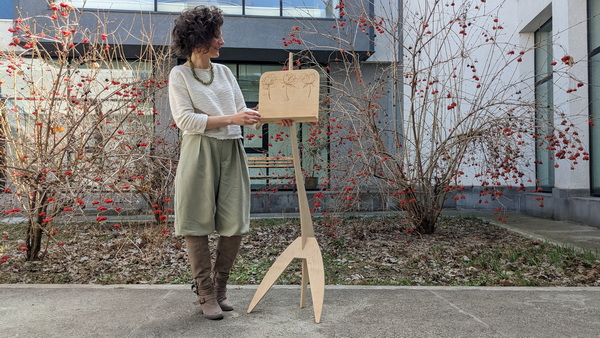
But what impressed me the most was how my daughter observed the entire process and mimicked everything I did, eagerly exploring the intricate and beautiful journey of creating a music stand for herself, which you will get to see shortly..
What to choose?
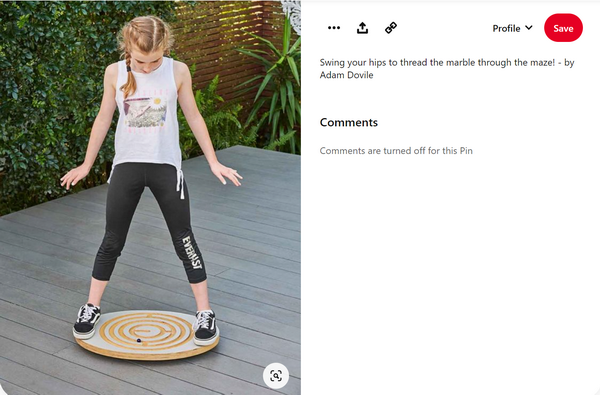
For a personal project, I had several ideas: what is better - a large sculpture made of transparent acrylic, a balance board, or a music stand for my daughter who plays the violin?
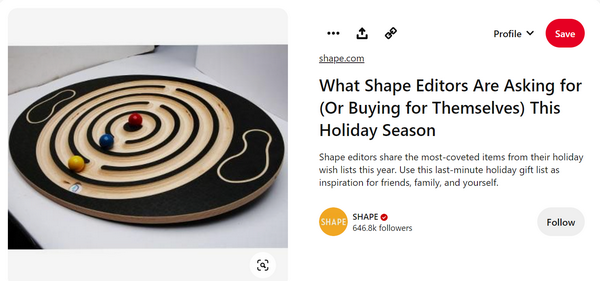
I started to think about the balance board: after some research in Pinterest, I found this model:
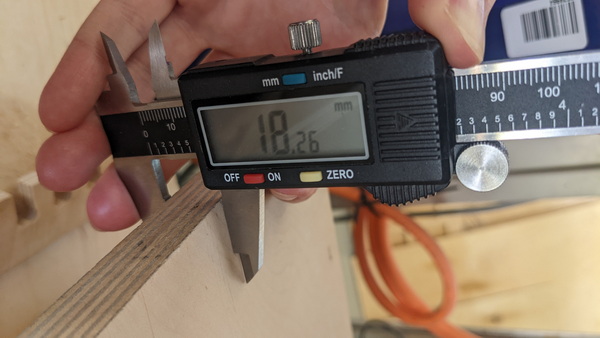
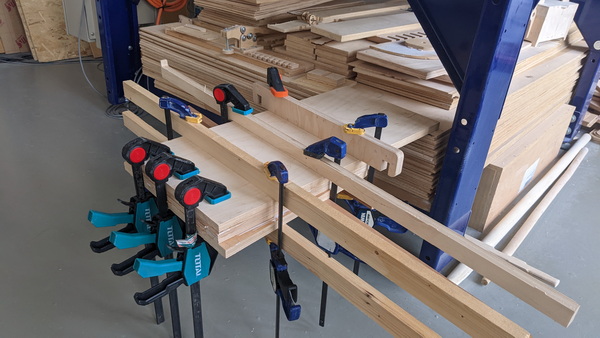
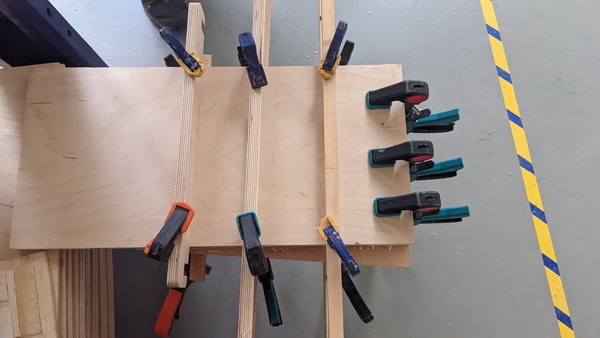
As a material, I chose plywood with a thickness of at least 18mm. Since the structure consists of two parts - a hemisphere and a board - in order to achieve hemispheres with a minimum thickness of 50mm, I will need to attach three layers of plywood. I glued them together and secured them in place.
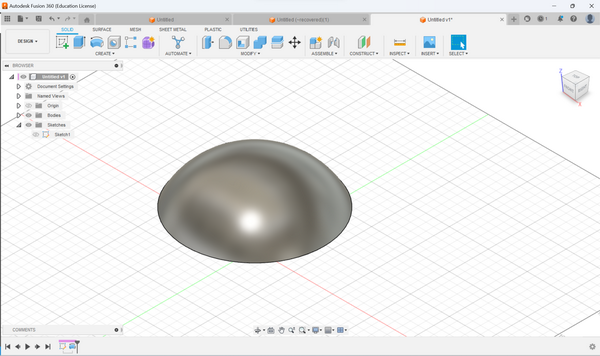
This time I started to create my model in Fusion.
I sketched a sphere and delineated the upper portion, specifically a segment with a vertical extent of 57.75mm (18,5*3=57.75).

I used the tool Revolve to make my hemisphere.
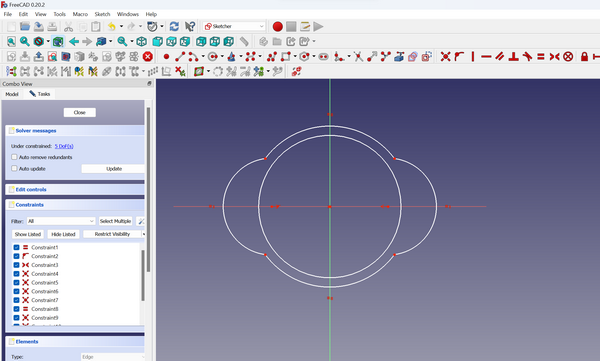
The flat part of my balance board I sketched in FreeCAD.
After numerous discussions with my instructor, I have come to the realization that the documentation and fabrication process for the balance board itself may require more time than I can allocate within a week, especially considering this is my first encounter with CNC. Additionally, successfully executing 3D milling would necessitate familiarity with roughing and finishing techniques. Consequently, I have made the decision to pivot to plan B. In just a few hours, I was able to design a model for a music holder.
Music wins: modeling of the music stand!
I started to work in FreeCad and began to create the individual parts that I needed.
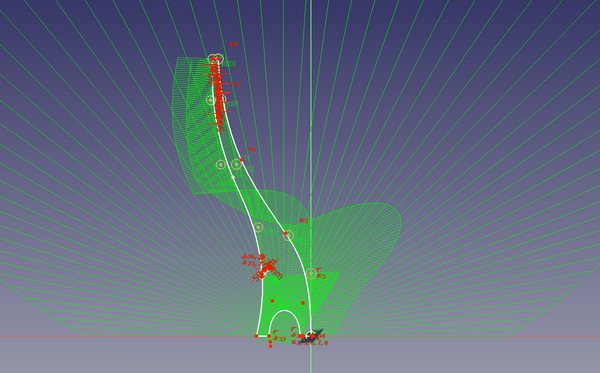
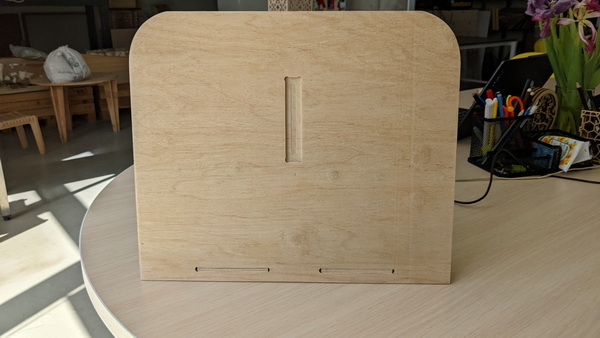
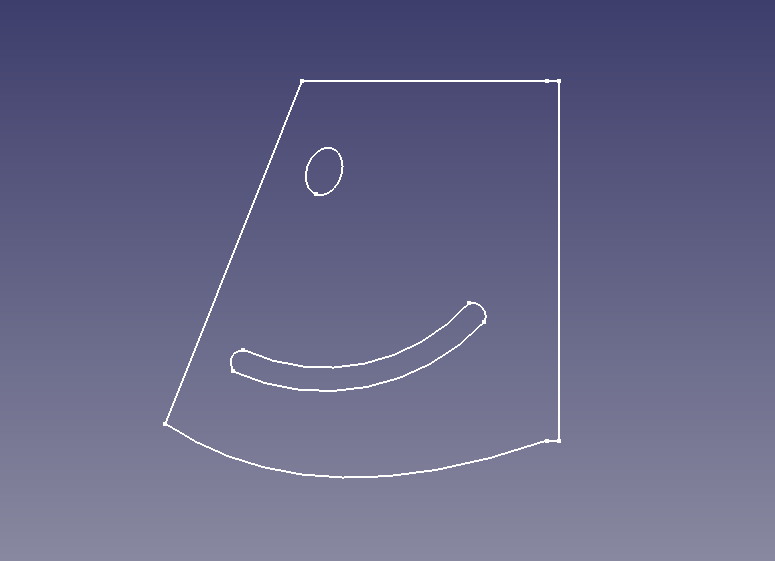
Here’s a “sunny” sketch I got for the music stand body.
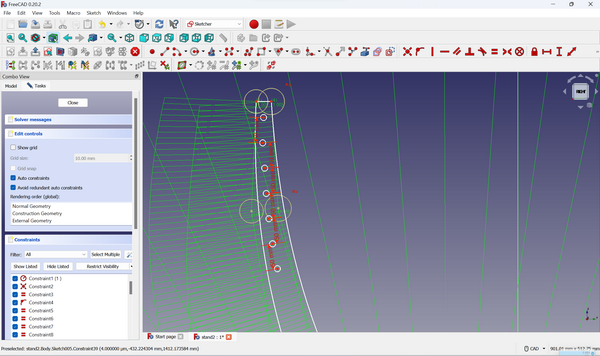
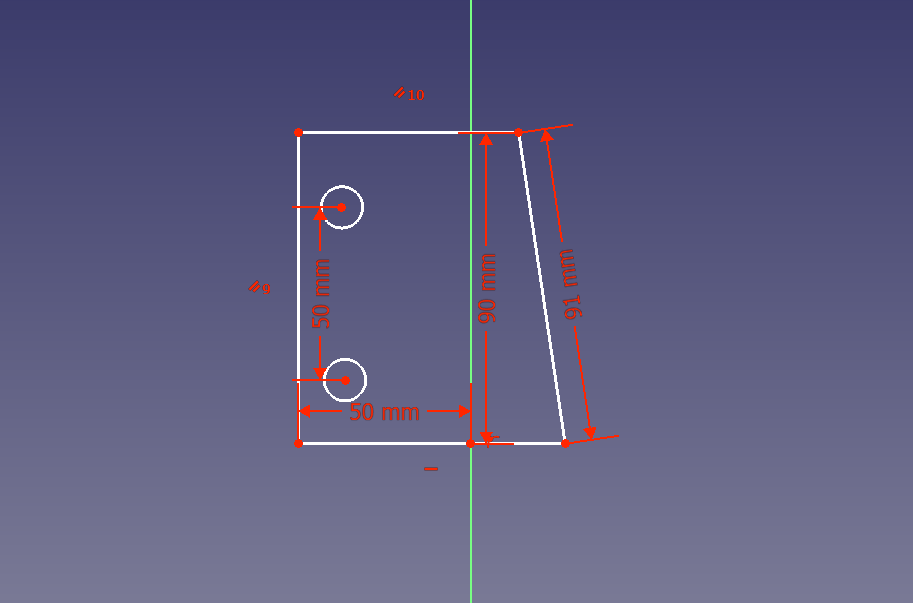
And here I added holes to adjust the height of the desk.
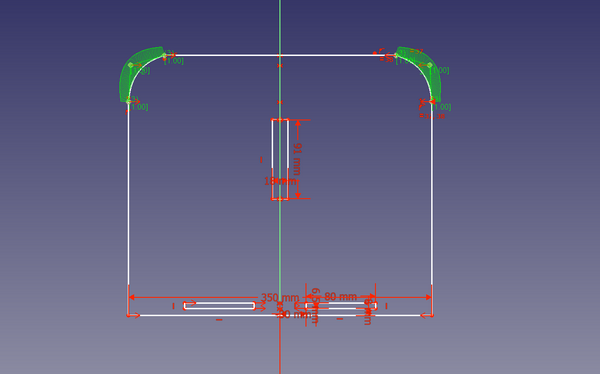
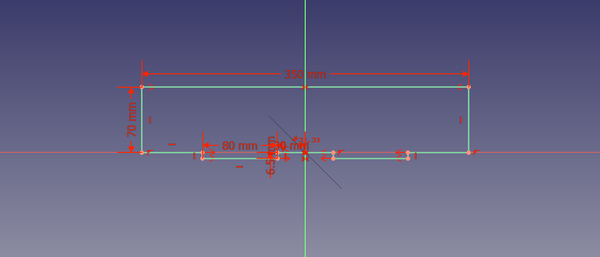
The other sketches:

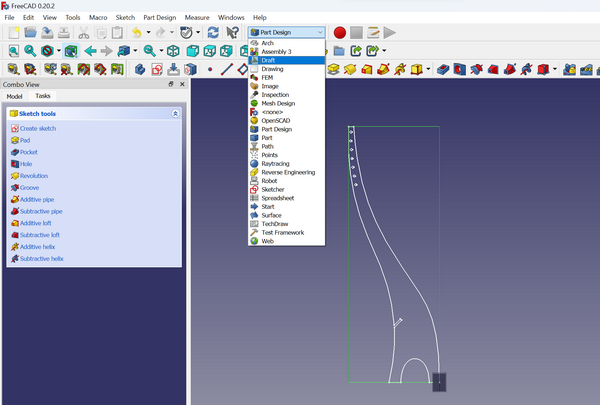
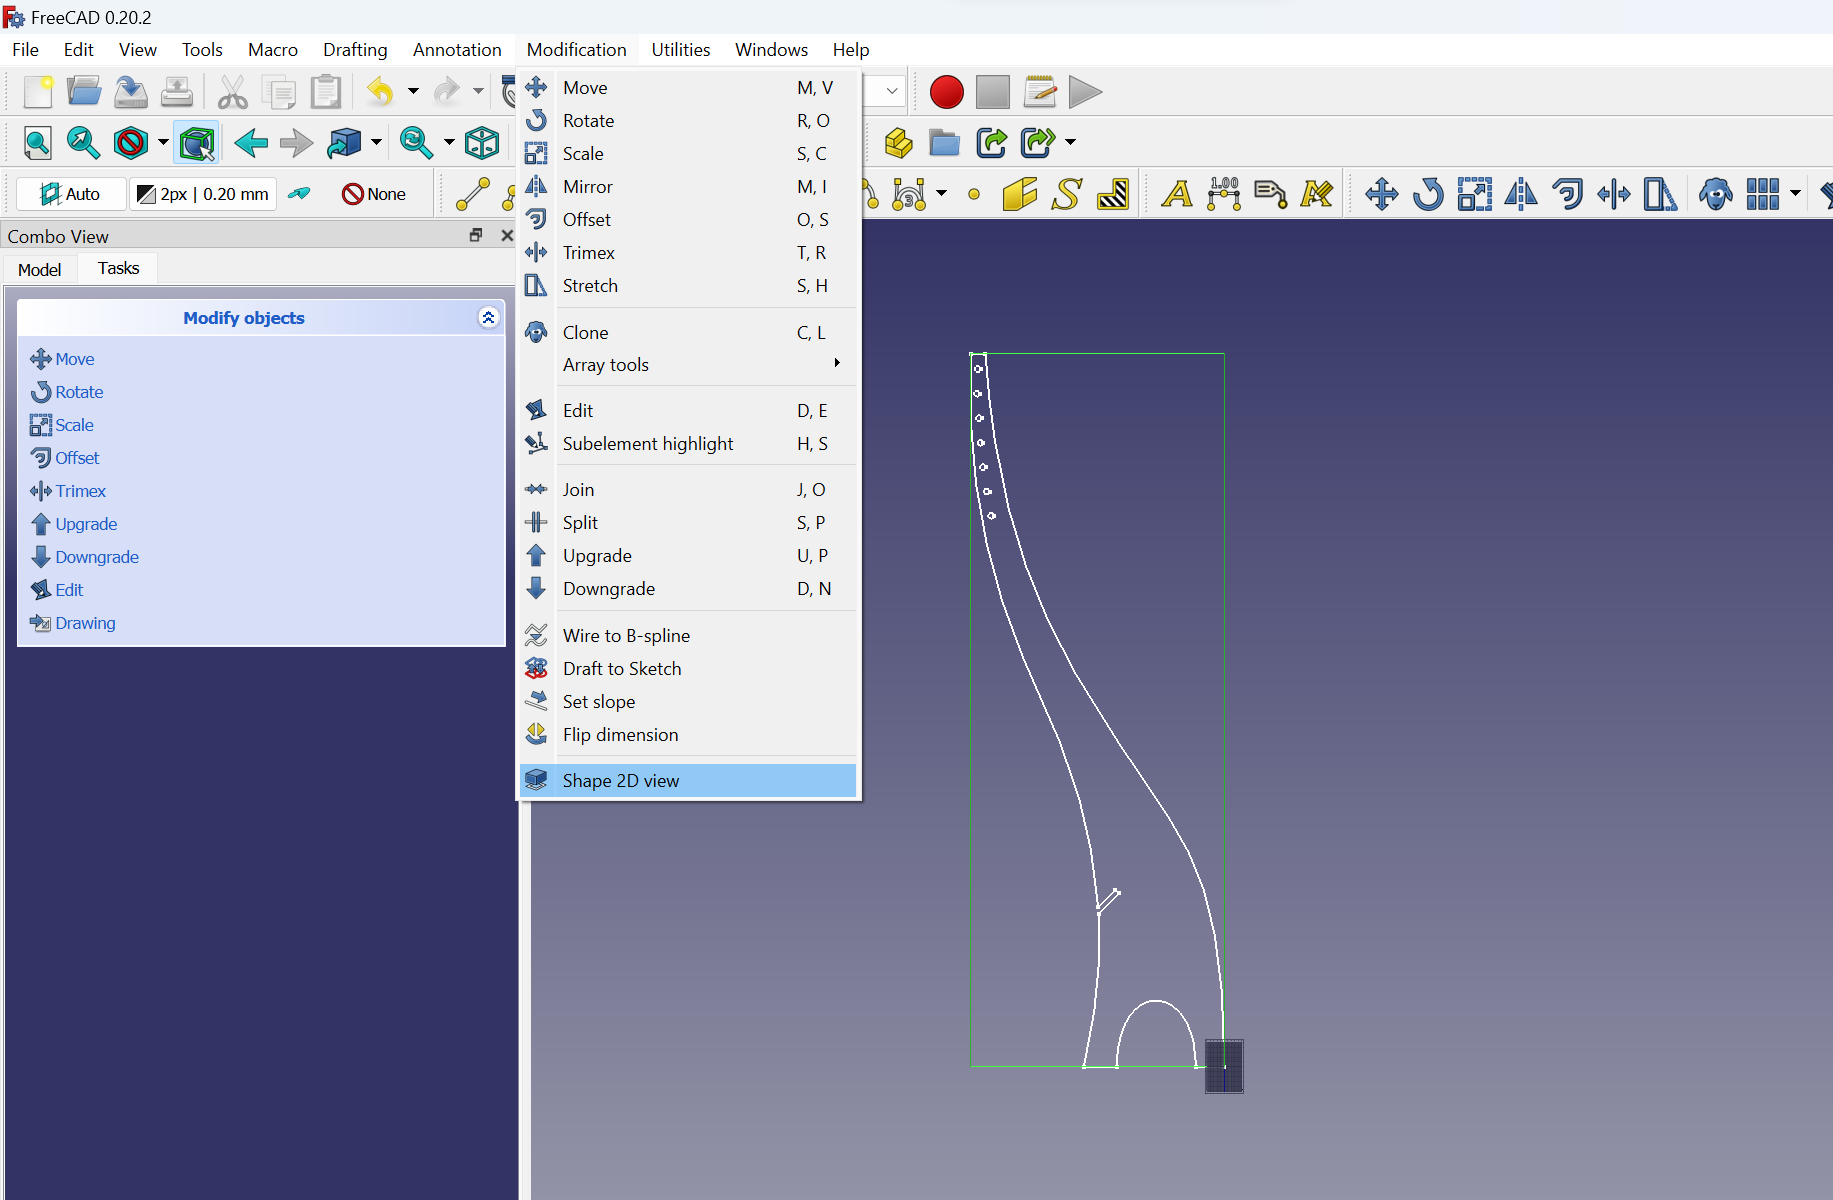
Тo save the sketch in .dxf format: first I needed to get 2D shapes from 3D models. For this in Draft workbeanch I went Modification -> Shape 2D view. To get the desired result, it is very important to turn the object with a straight front side.
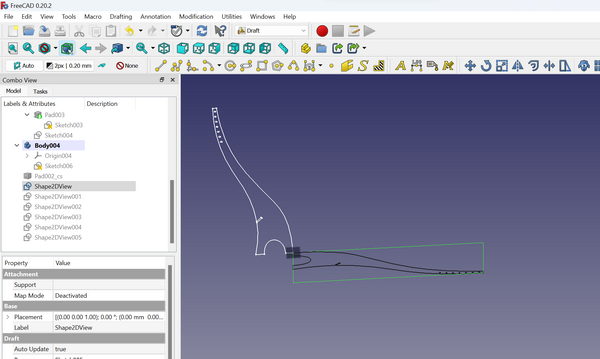
And so with each separate part of my model. After we need to export each shape as .dxf.
Machining
The machining process begins with two main steps: preparing the plywood for CNC cutting and adjusting the drawing in the software for the G-code.
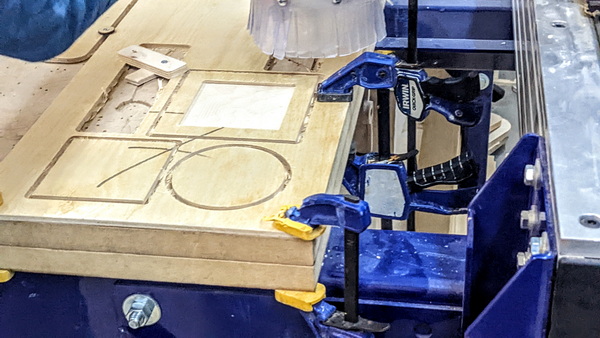
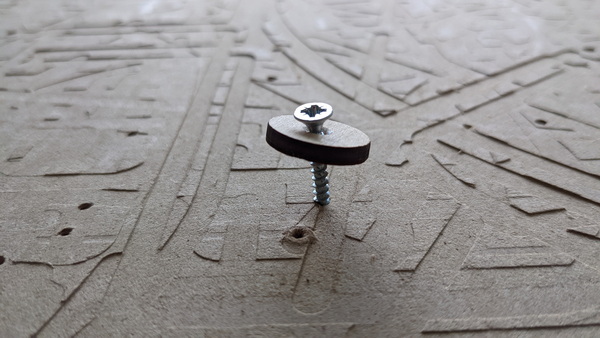
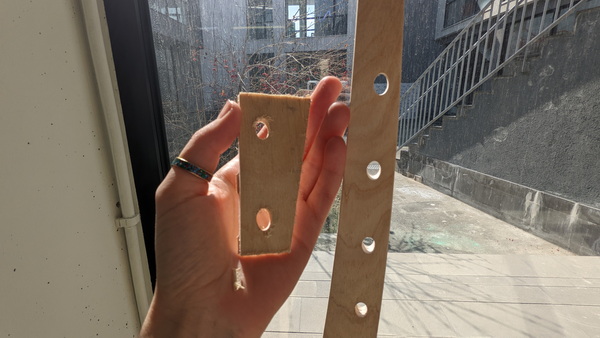
I began by attaching the plywood to the CNC table. On one side, I secured it using clamps, while on the other side, I utilized an intriguing “tool” devised by Rudolf Igityan. This tool cleverly avoids the need to create new holes on the table:
You can explore the part of the process in this video:
VCarve Pro
VCarve Pro is a professional software program designed for CNC (Computer Numerical Control) routing and engraving machines. We use this software for the preparation of designs for machining.
During my project I used 2 types of plywood: 6mm and 10mm.
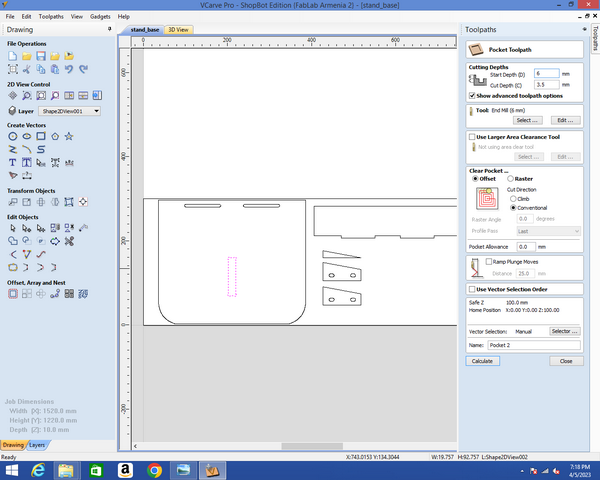
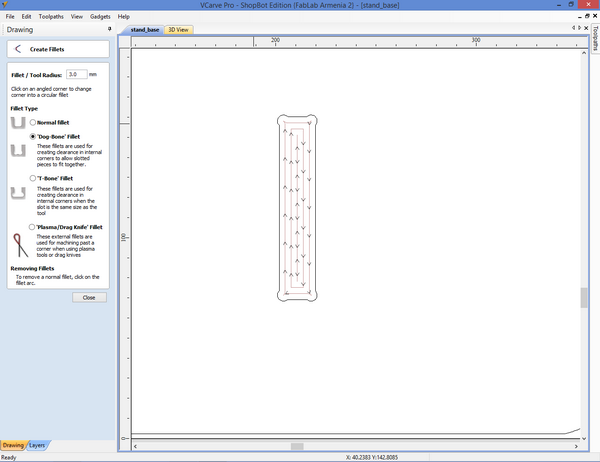
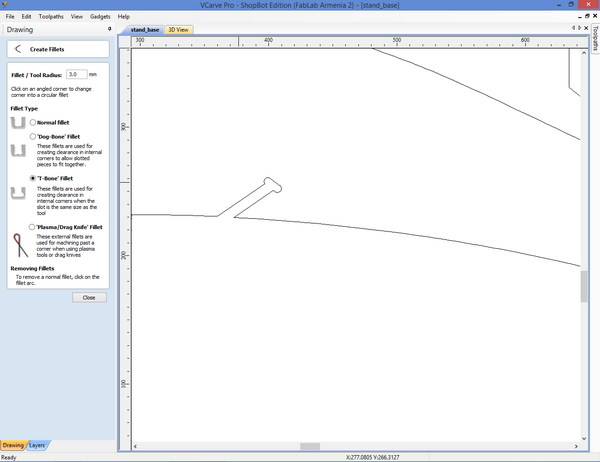
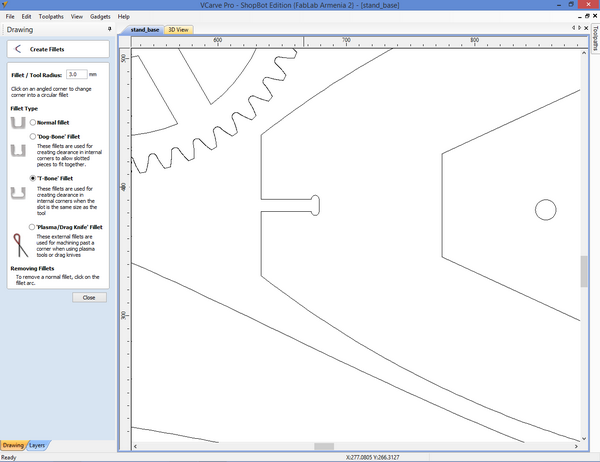
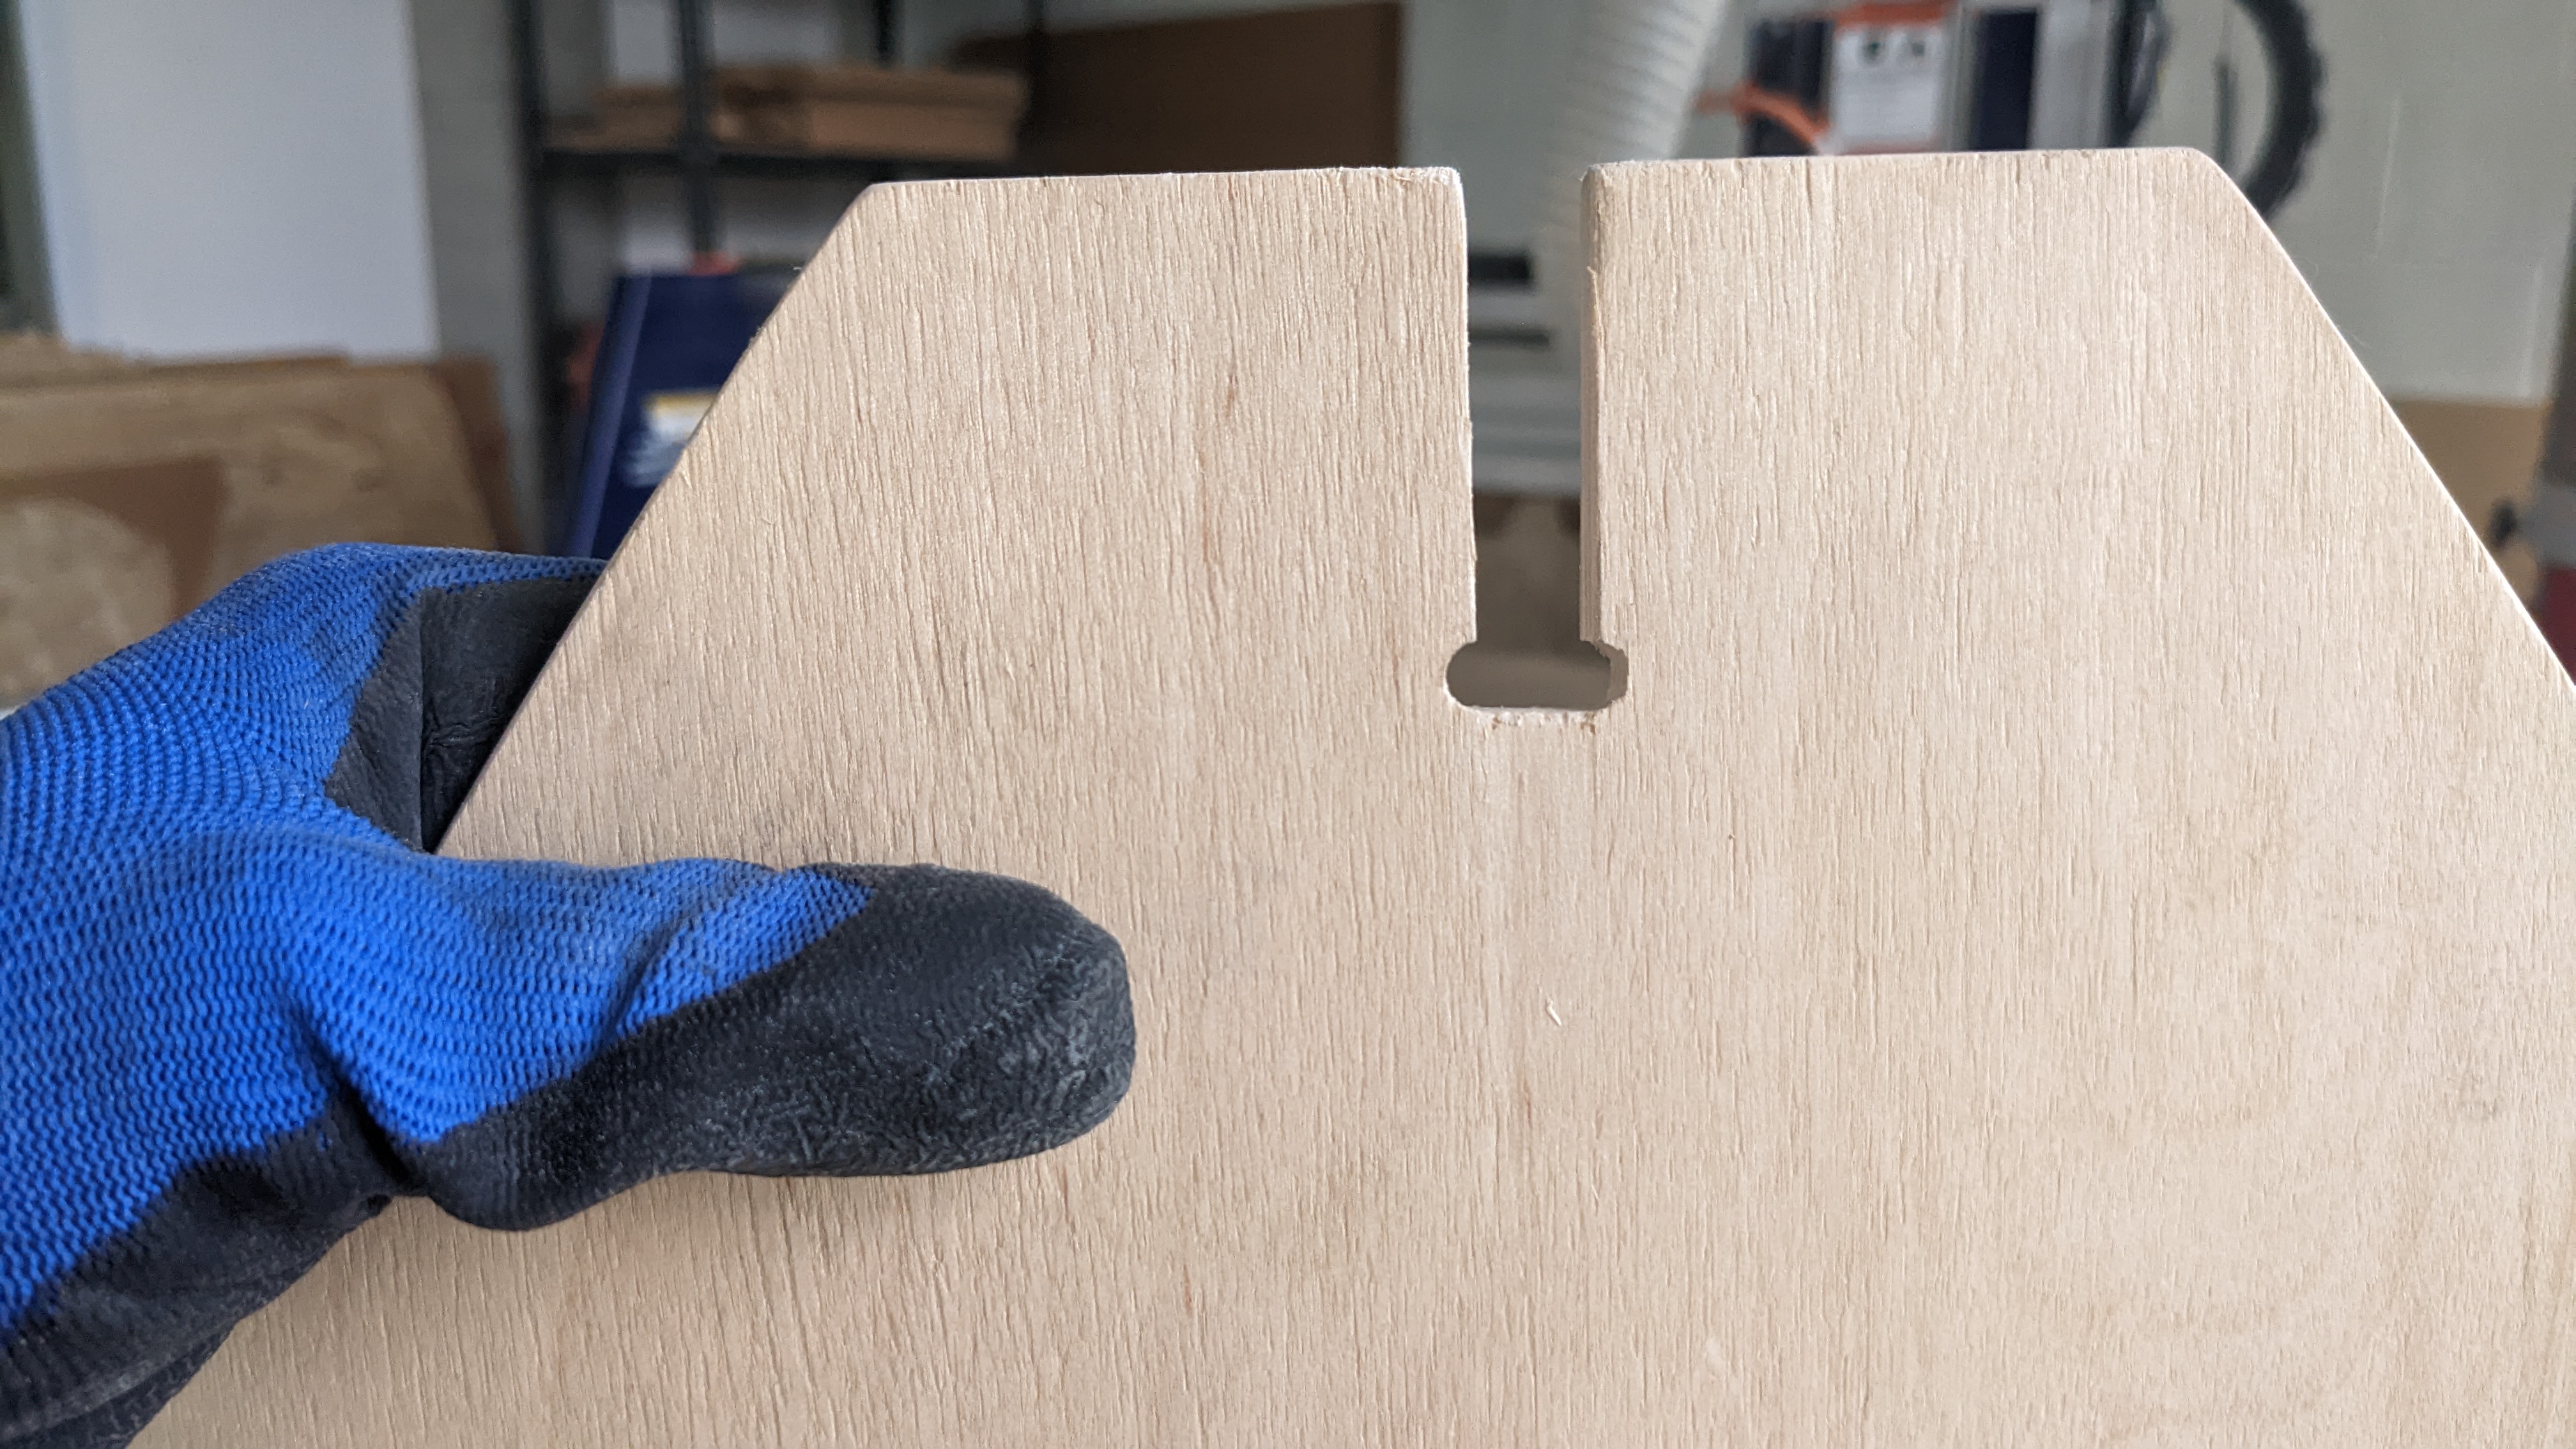
Now we need to decide the order of work that the CNC will follow when processing plywood. First to make pocket and dogbones. Dogbones are particularly useful in designs that involve mating parts or assemblies. The added fillets or cutouts make it easier for pieces to fit together during assembly, reducing the chances of interference or misalignment.
These parts I designed to be cut from 6mm plywood.
For cutting we have 2 options: Inside cut and Outside cut. For inside cut:
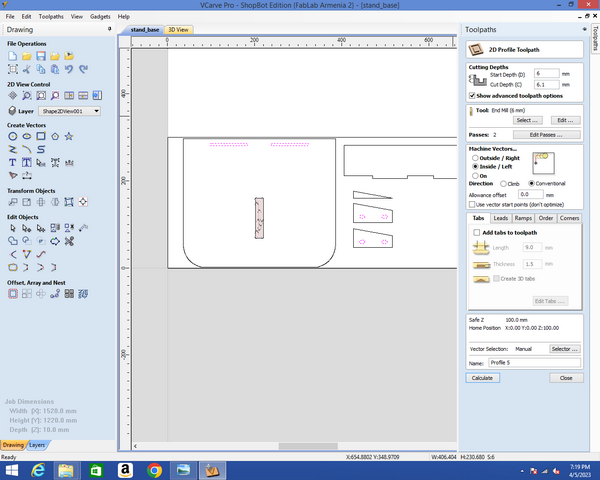
For outside cut:
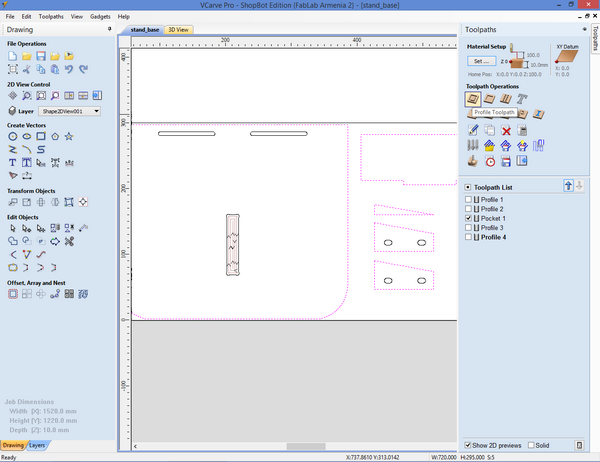
For the bottoms of my holder, I used 10mm plywood. I repeated all the settings for the other parts and added dogbones.
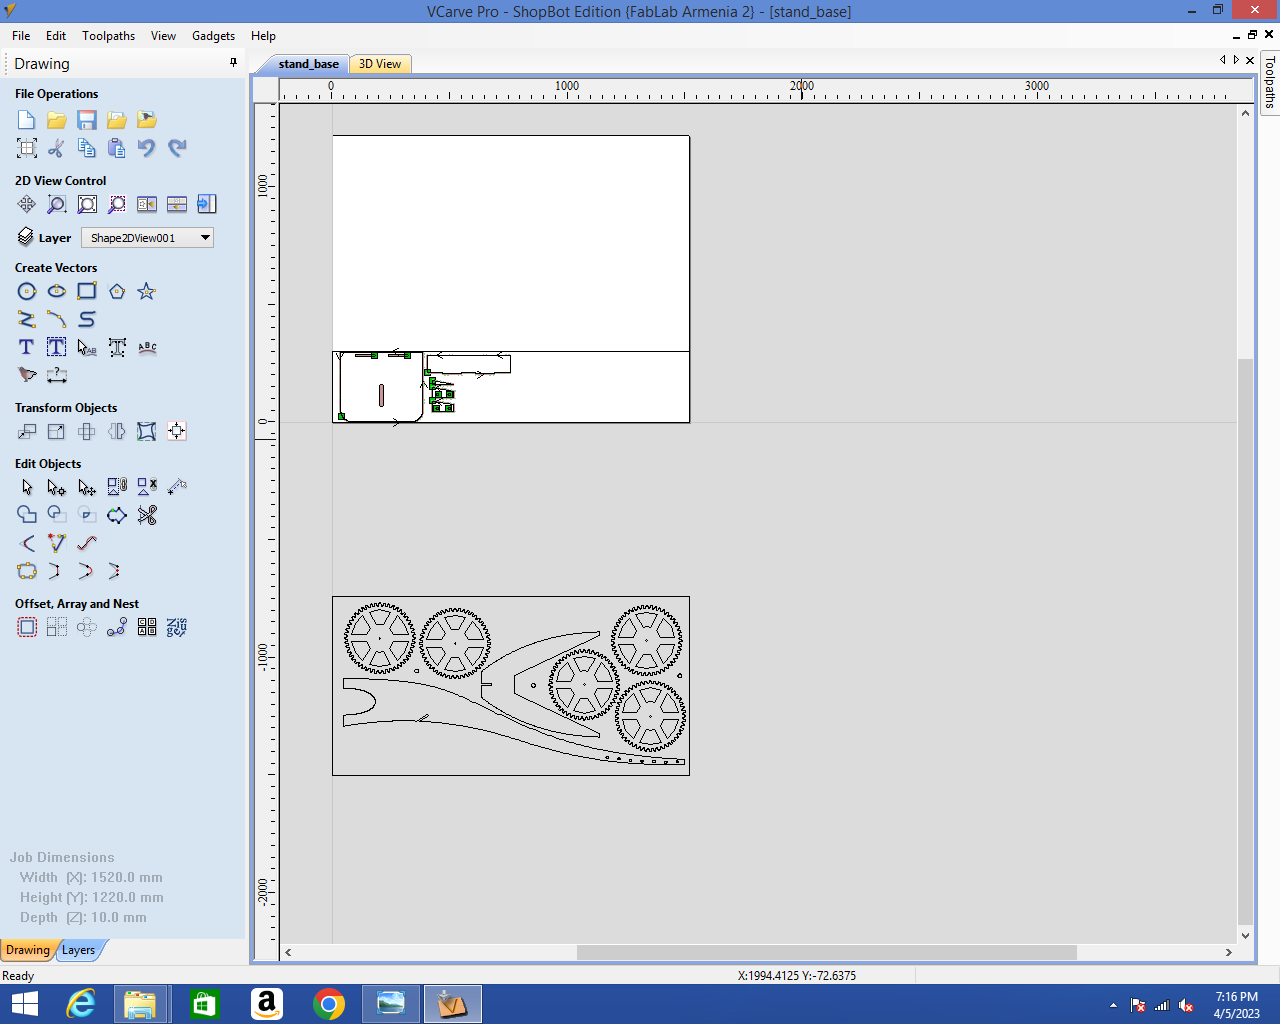
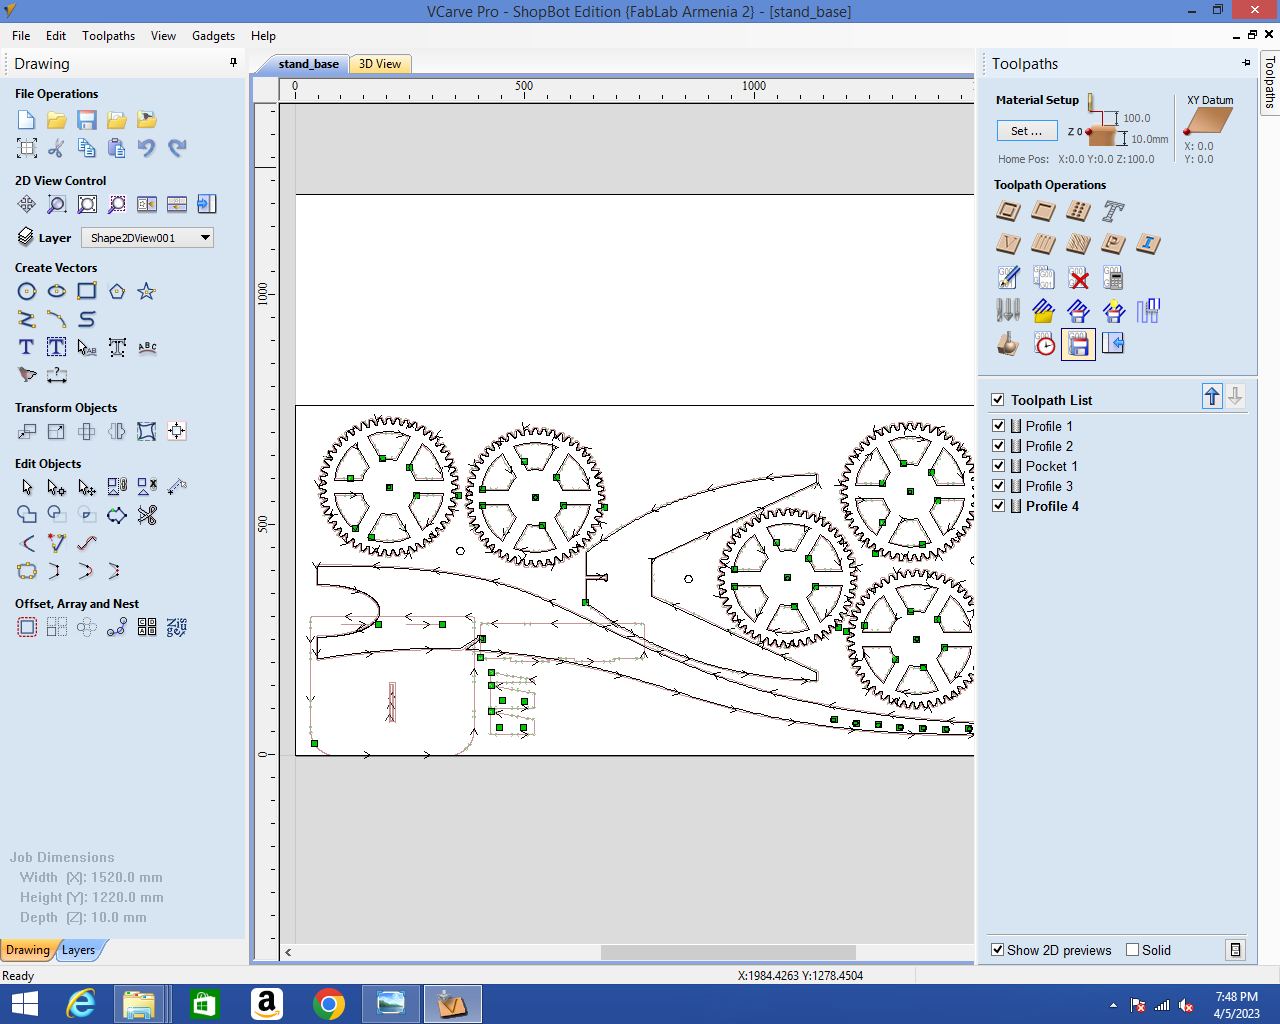
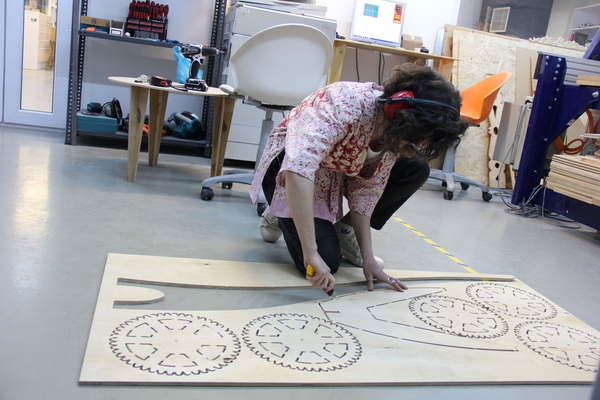
In order to save material and time, Rudolf Igityan and I decided to combine our projects and cut them from a single plywood sheet. Therefore, you can see the gears on the desk.
Adding tabs in VCarve or any other CNC milling software is a crucial step in the preparation of designs for machining. Tabs are small bridges or supports that are strategically placed to hold the workpiece in place during the milling process. They play a vital role in ensuring stability, minimizing material movement, and preventing potential damage.
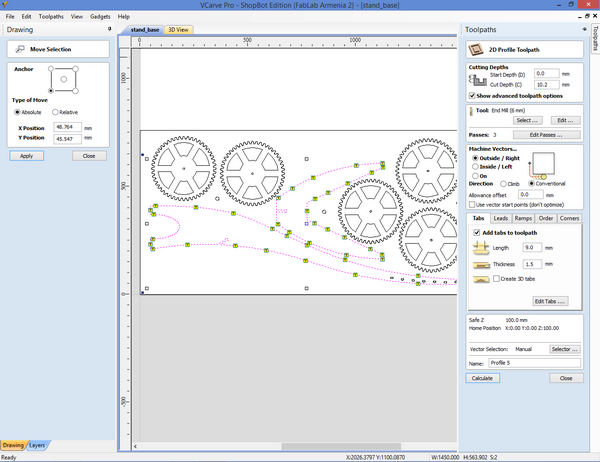
In both cases (for 6mm and 10mm playwoods) I used a 6mm mill for cutting.

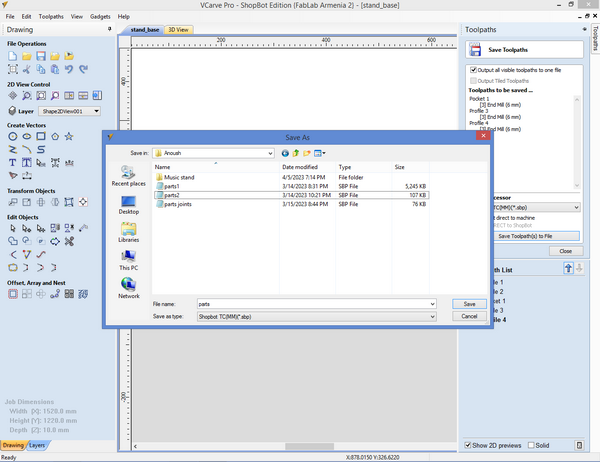
After all adjustments we can have the G-code and start the milling. I saved my G-code files.
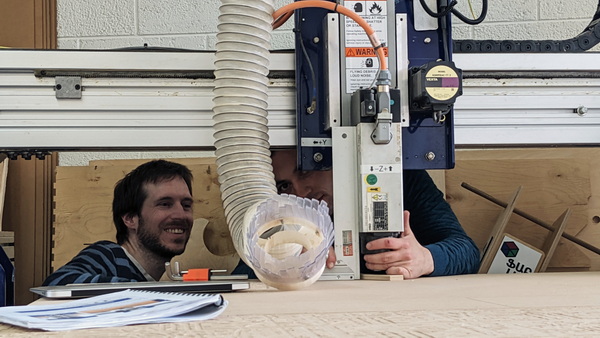
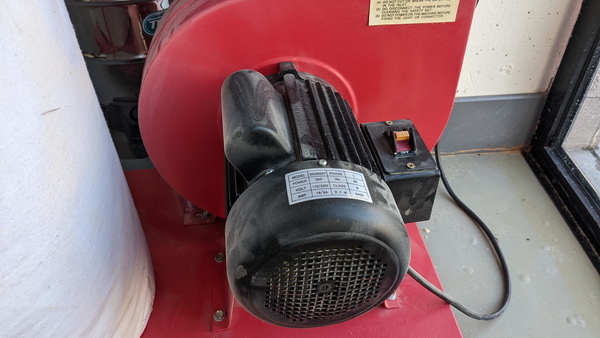
Before we start running the machine, we must turn on the dust collector! This is very important for several reasons. First and foremost, it helps to maintain the overall cleanliness of the workspace. CNC milling produces a substantial amount of dust and debris, which, if left uncontrolled, can accumulate on surfaces, equipment, and even affect the performance of the machine itself. By having a dust collector in place, the majority of the dust and particles are immediately collected, keeping the environment tidy and minimizing the need for frequent cleaning.
Another essential aspect is the health and safety of the operators. The fine dust particles generated during milling can pose respiratory hazards when inhaled. Prolonged exposure to such particles may lead to respiratory issues and other health concerns. A dust collector effectively captures these particles at the source, significantly reducing the risk to operators and promoting a healthier working environment.
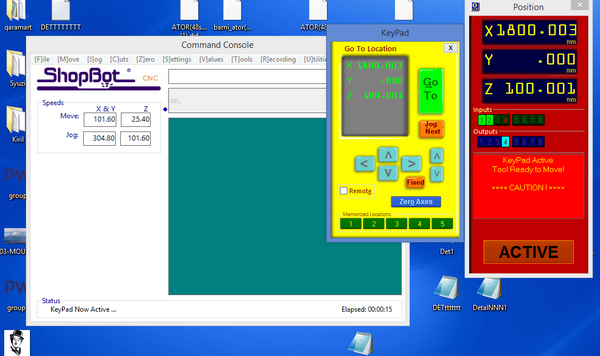
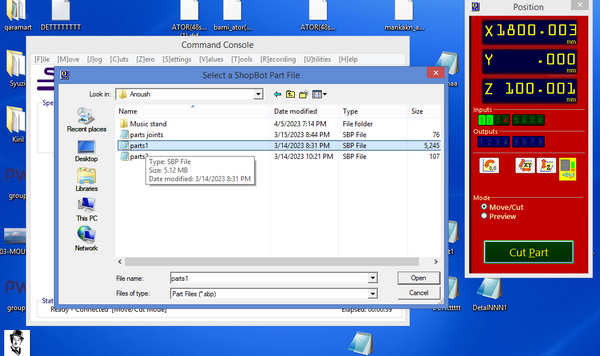
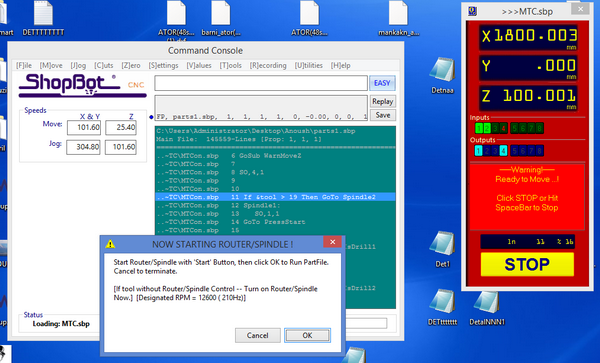
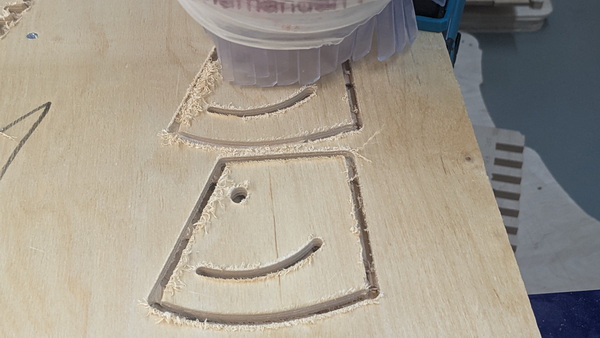
From the ShopBot software, I chose the G-code file and witnessed the magical transformation of a piece of wood into the exact object I desired.
The process and result

I couldn’t believe my eyes as I held in my hand exactly what I had drawn in FreeCAD.
Look at how enjoyable it is to polish your creation after the CNC process at 11 am!
I was also surprised with how accurately the dogbonе was cut and how beautiful it looked.
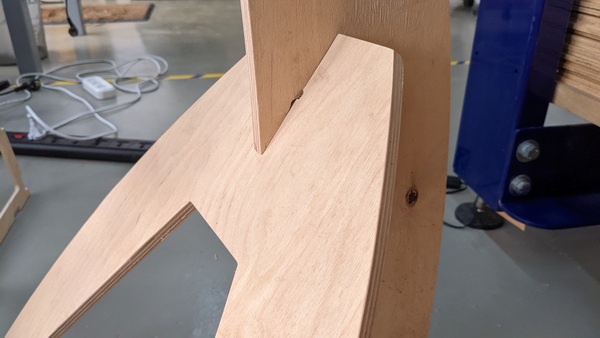
I put the pieces together and realized that the back attachment parts of the holder are smaller than I thought. So I had to edit the drawing in FreeCAD.

The cutting process:
The final stage was to decorate the stand with laser cut flowers:
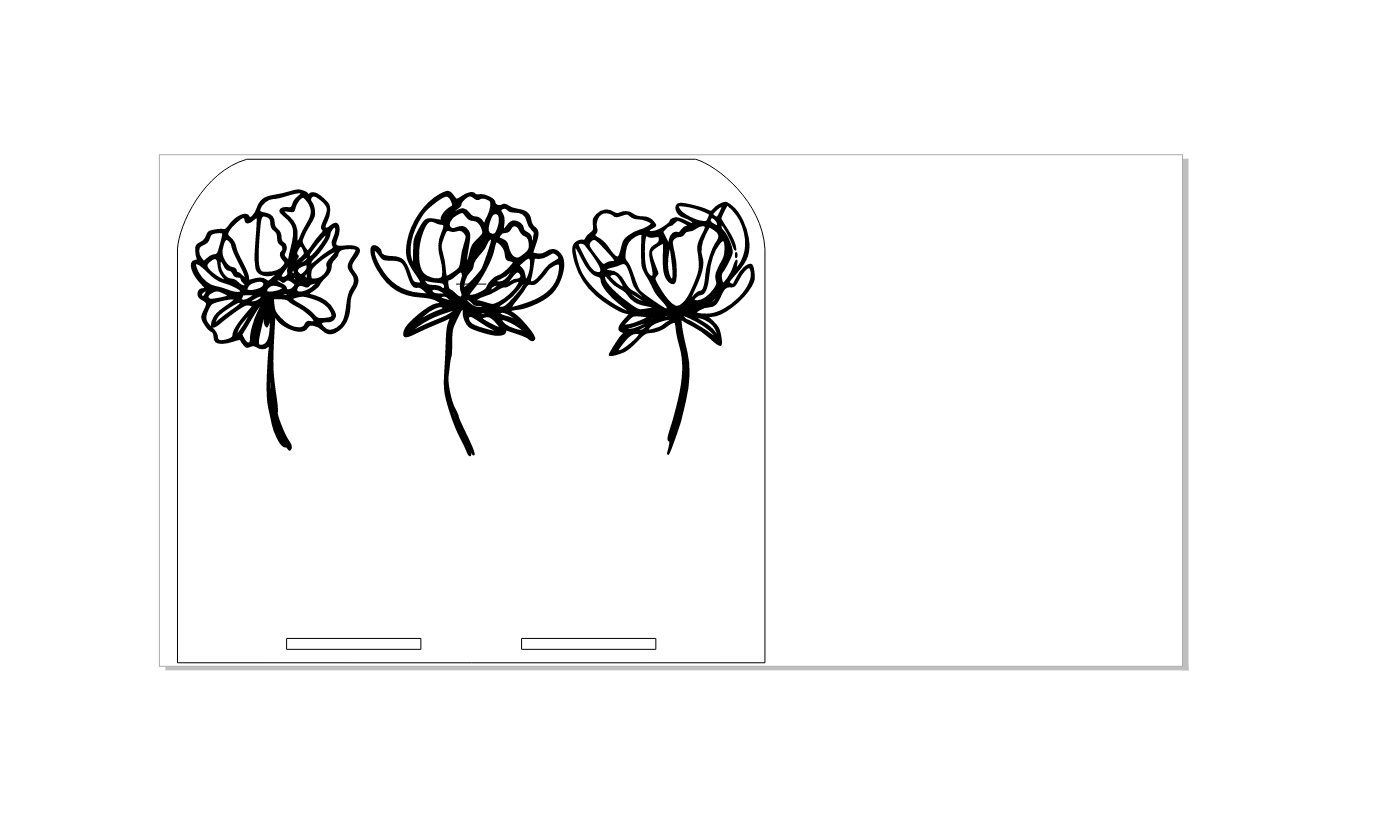
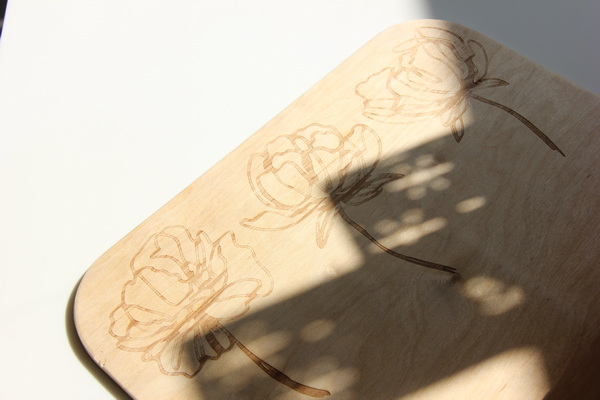

Here is all the beauty together!
Conclusion:
In conclusion, the journey of creating a music stand has been a remarkable experience for me. Throughout the process, I have learned valuable lessons, such as the importance of focusing on one idea and starting the design process promptly. What truly left an impression on me was the involvement of my daughter. Witnessing her curiosity and engagement in the intricate process of craftsmanship was truly inspiring.
This project showcases not only the physical creation of a music stand but also the bond created through shared experiences and exploration. It serves as a testament to the power of hands-on learning and the joy of creating something meaningful
Original Files
Balance Board (bottom part) Hemisphere Fusion
Balance Board (top part) FreeCAD