Principles and practices
Sometimes I feel like I’m an inexhaustible generator of ideas, but very often these ideas do not go beyond the scope of enthusiastic conversations with friends. Therefore, this challenge is fundamental for me: to create an idea and endow it with material flesh!
Final project N1
For the first idea I was inspired by the works of Anouk Wipprecht who is Dutch based Hi-Tech Fashion Designer and Innovator (and not only because our first names are similar :) ). I was always interested in crossing different directions with technology: art + technology, fashion + technology, music + technology…
So I thought about creating “smart snake bracelet” that “understands” the size of the hand and can wrap around your hand perfectly suited to you and everyone.
In her videos, Anouk gives interesting details that can help me in the implementation of my project.
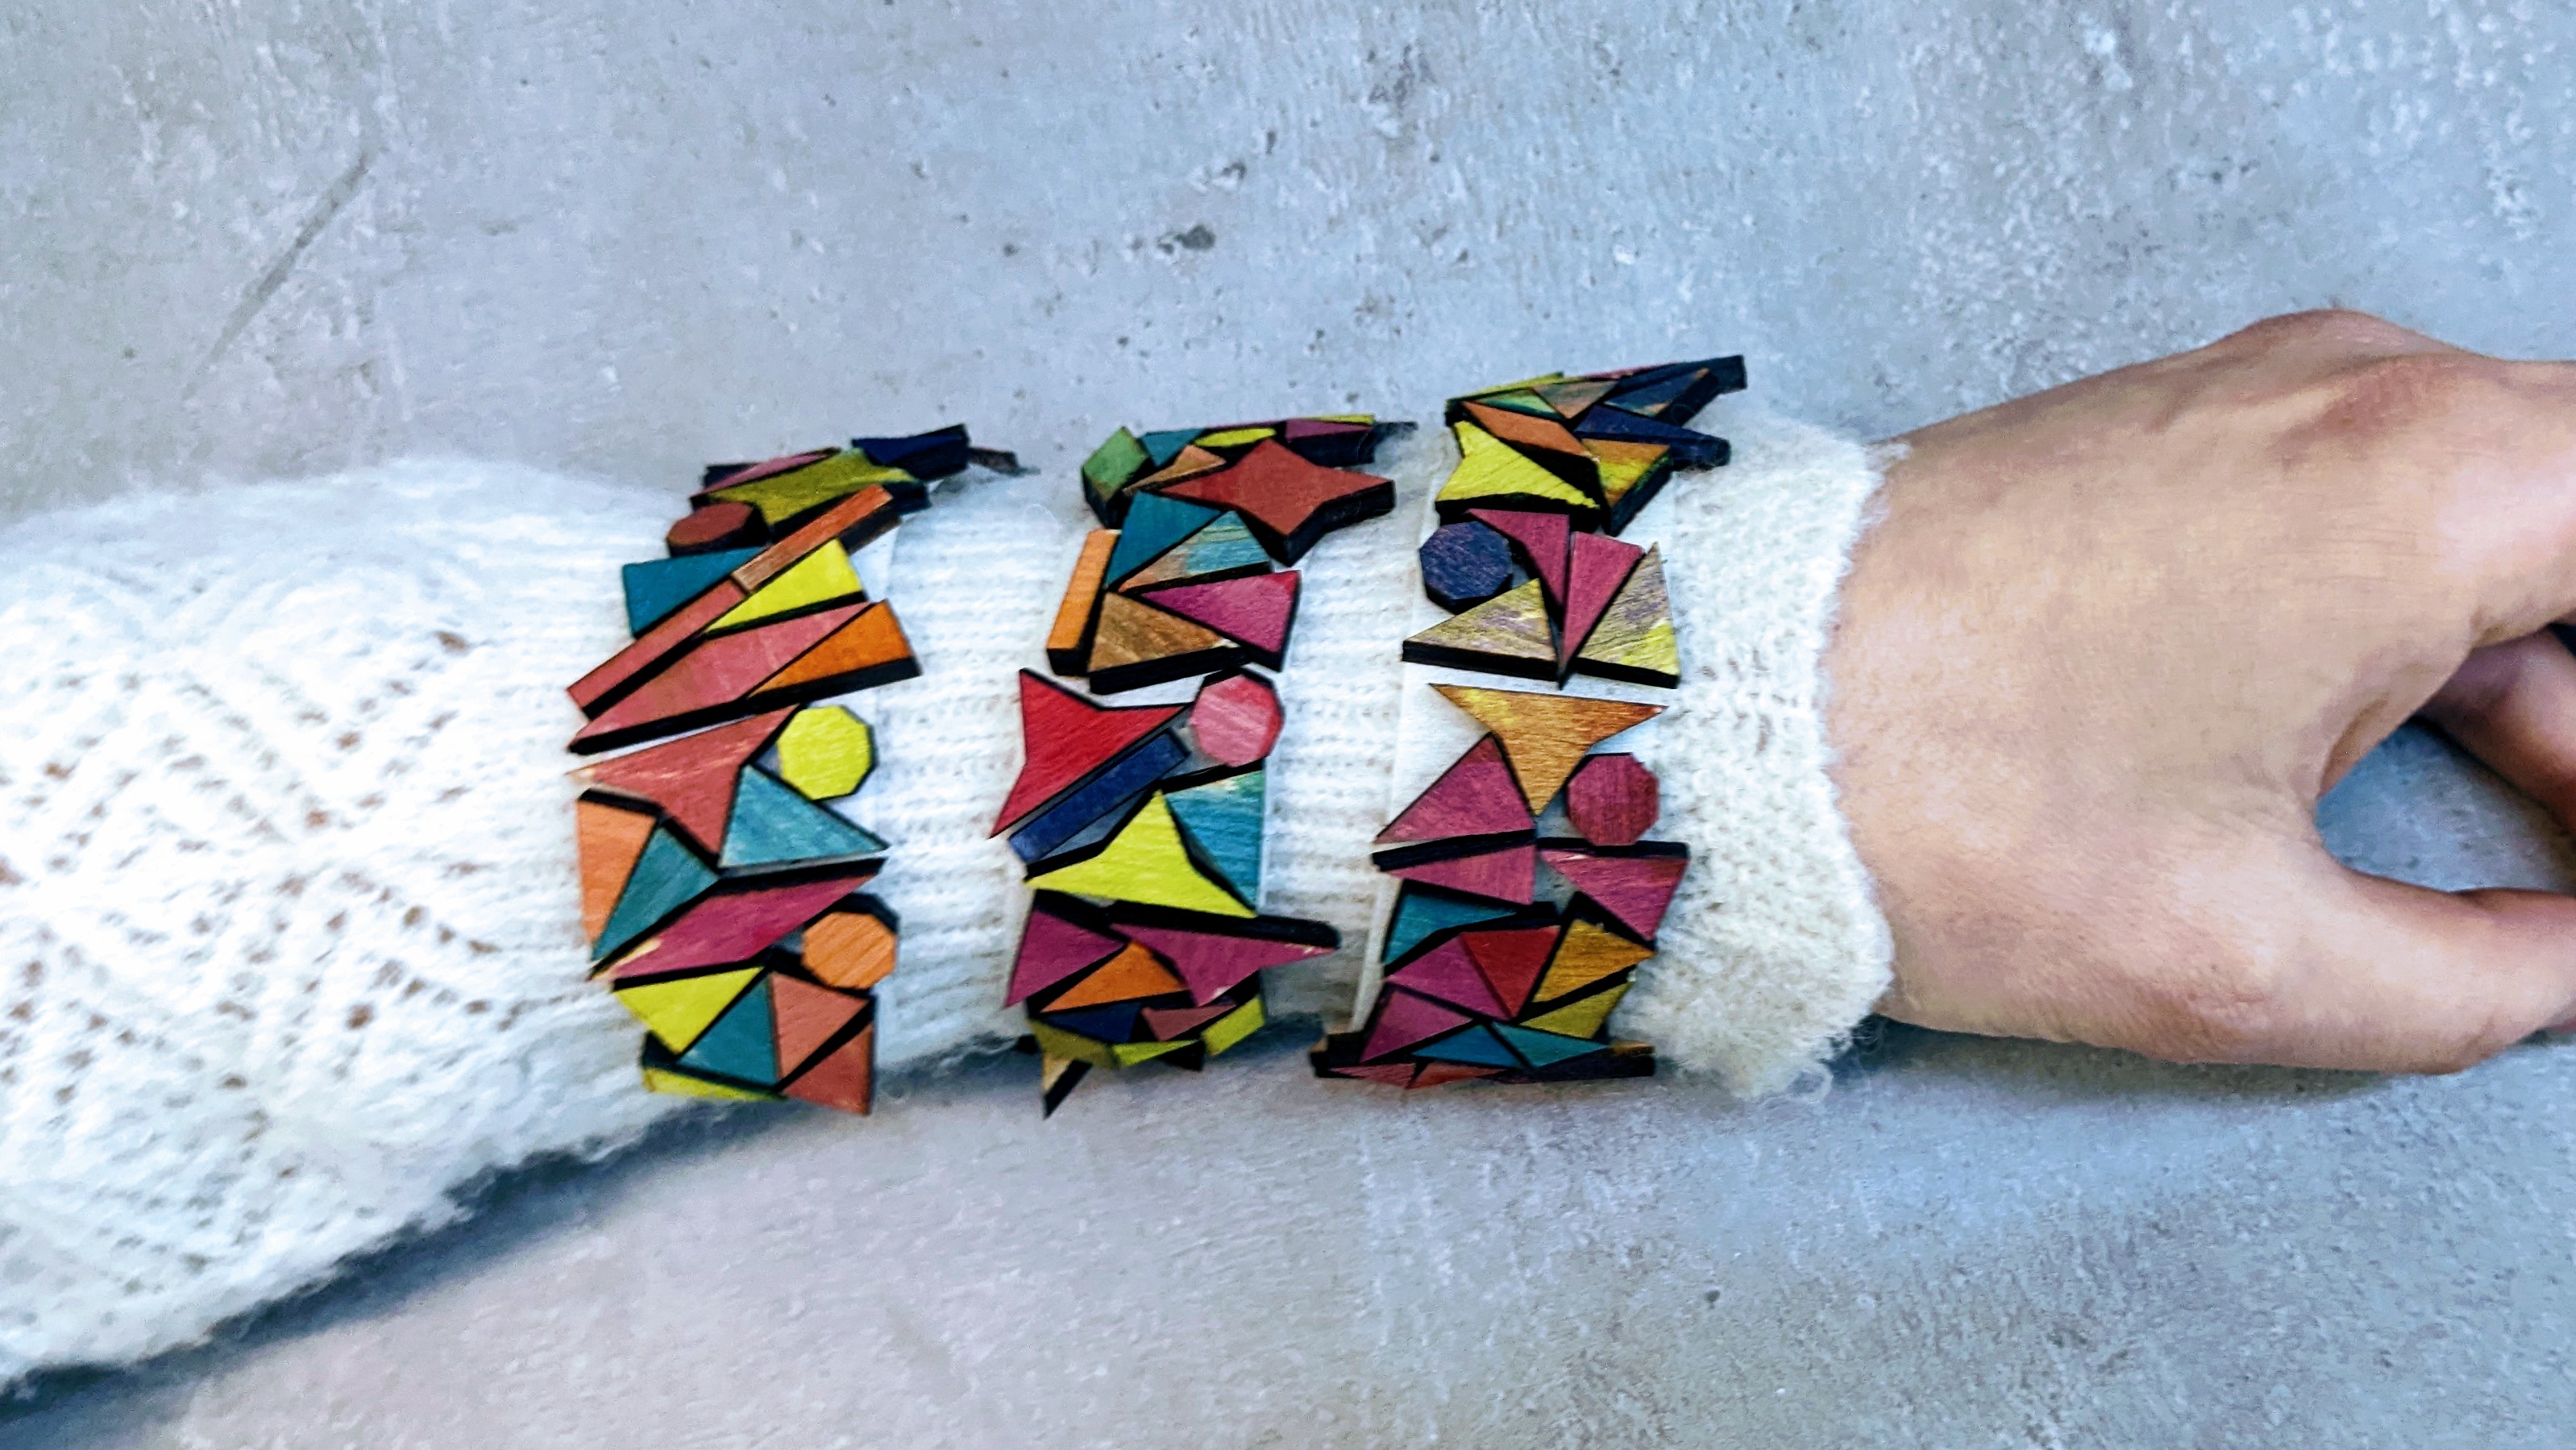
This is a kind of prototype of my final project, created from paper tape and wood residues after laser cutting. In real project, I am planning to 3D print a bracelet either from different parts that will be attached together or 3D printed on textiles.
Final project N2
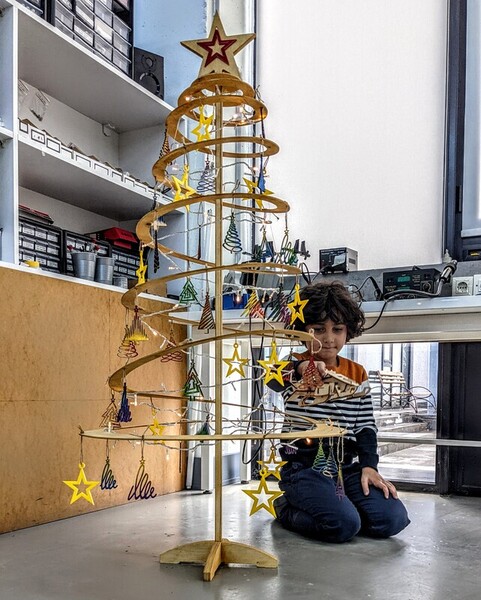
Gore (1st grade student in Dilijan Central School - 6 years old) noticed a spiral-shaped wooden Christmas tree in the Fab Lab Armenia and starts telling us what a great car race spiral highway it would make for his collection of car toys. Picking up a wood-built snowmobile, he makes his car run along the imaginary road offered by the spirals of the Christmas tree.
Maybe Fab Academy is a great opportunity to turn Gore’s idea into reality? What if it’s not a snowmobile, but a 3D printed train that goes up and down the spiral of a wooden Christmas tree?
After all, miracles happen every day, not only on New Year’s Eve!
Project management
Research
I started my research by studying the documentation of students of past years. In particular, Chloé Laurent’s and last year’s Fab Academy alumni from Fab Lab Dilijan Ashod Bzdigian, documentations were very useful for me.
Useful links
I started to download - Gitbash which is a distributed version control system that tracks changes in any set of computer files. - Visual Studio which is an integrated development environment used to develop computer programs including websites, web apps, web services and mobile apps. I used Markdown to work with the code, and ResizePixel to change the size of the pictures.
Version control and Git
Version control is the process of managing and tracking changes to files, code, or any other type of data. It allows developers to keep track of every change made to a file or set of files, and to collaborate with others while maintaining a record of who made what changes and when.
Version control is especially important in software development, where multiple developers may be working on the same codebase simultaneously. It allows developers to work collaboratively on a project, while minimizing the risk of conflicts and errors.
Some of the key benefits of version control include:
-
Collaboration: Version control allows multiple developers to work on the same project simultaneously, while keeping track of changes and resolving conflicts.
-
Backup and restore: Version control provides a backup of all previous versions of a file or project, allowing developers to restore previous versions if necessary.
-
Traceability: Version control provides a record of all changes made to a file or project, allowing developers to track who made what changes and when.
-
Testing and quality assurance: Version control allows developers to create separate branches for testing and quality assurance, without affecting the main codebase.
More about the version control types and the benefits you can discover in this article.
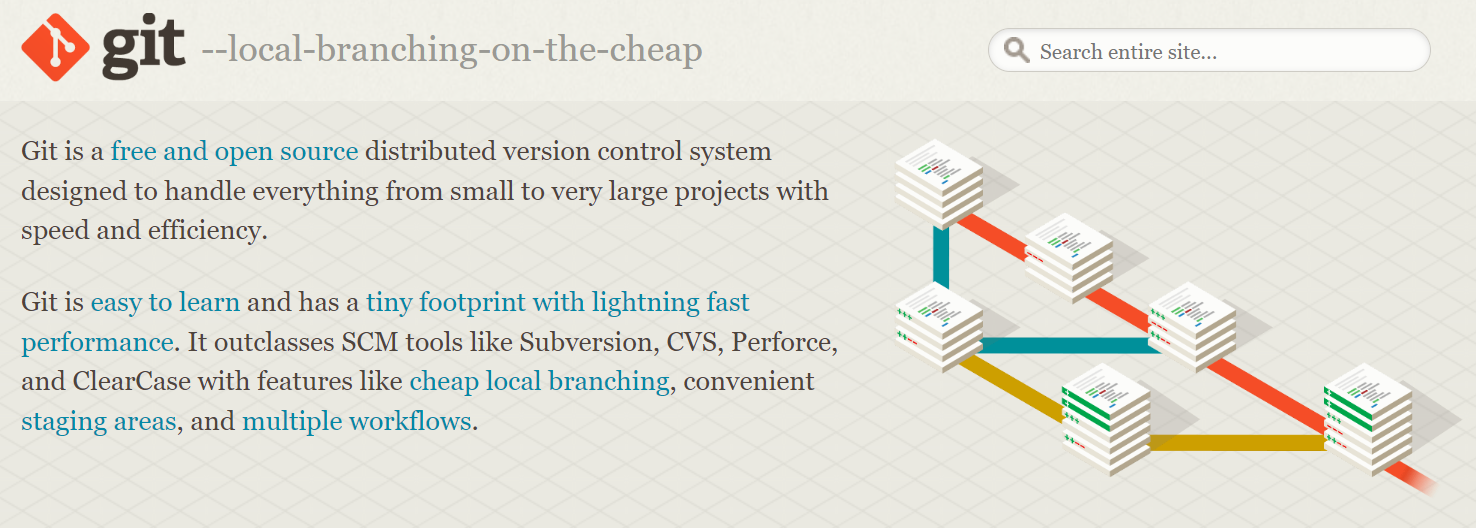
Git is a popular distributed version control system that allows developers to track changes to their codebase and collaborate with others. Git provides a way for developers to manage their codebase, including creating and maintaining branches for different features or releases, committing changes, merging branches, and resolving conflicts.
Using Git for version control allows developers to work on the same codebase simultaneously, without interfering with each other’s work. Each developer can create their own branch to work on a feature, and then merge the changes back into the main branch when they are ready. This ensures that the codebase remains stable and that changes are tracked and documented.
The Git workflow typically involves several stages, including creating a new repository, cloning the repository to a local machine, making changes to the code, and pushing the changes back to the central repository.
One common Git workflow is the “feature branch workflow,” which involves creating a new branch for each new feature or change that needs to be made to the code. This allows multiple developers to work on different features simultaneously without interfering with each other’s work. Once the changes are complete, the feature branch is merged back into the main branch of the repository.
Git workflow also involves using Git commands such as commit, push, pull, merge, and branch to manage the project and collaborate with other developers.
More about Git you can explore here.
Git Bash is a tool that allows users to utilize Git features through a command line interface. It creates a bash environment on Windows, providing access to many standard Unix commands. Git Bash is intended for users familiar with Unix bash terminal and is different from Git CMD, which is similar to a regular Windows command prompt.
Many new users to GitHub may not be aware of Git Bash and how it works. In essence, Git Bash is an application for Windows that provides a bash emulation, enabling users to run Git from the command line. It is not simply a bash program compiled for Windows, but rather a comprehensive package that includes Bash, SSH, SCP, and other Unix utilities specifically compiled for Windows. The package also contains a new command-line interface terminal window called minty. These utilities are bundled with the Bash package to create a usable software package.
To discover more about gitBash, follow this link.
A new beginning ! SSH key and GitLab
Erase - let’s start over. Sometimes it happens that it is easy for a beginner to get lost in a difficult mix of codes. This is what happened to me. On the very first day of the Fab Academy, I started playing with git and commands, but soon realized that taking information from different sources, you can get lost and not really understand the essence of what you are doing. In order to document my first week’s work, I decided to delete the key and the local folder and start from the first steps more consciously exploring the process.
SSH Key and connection with GitLab
I started to follow GitLab Docs>Use GitLab>SSH keys instructions to communicate with GitLab. I needed to clone the repository by creating a SSH key and adding it to my account to work locally.
My first command was
.ssh/
Because I haven’t used SSH before, I need to generate an SSH key pair.
ssh-keygen -t ed25519 -C "<arshakyan.an@gmail.com>"
I chose ED25519 as the key type and my email as the comment.
What is the SSH key? Secure Shell key is a cryptographic key that is used to securely authenticate a user and establish a secure connection between two computers over a network.
When a user connects to a remote server via SSH, the server checks the user’s public key to verify the user’s identity. If the public key matches the private key that is stored on the user’s computer, the server allows the user to establish a secure connection. This authentication method is more secure than using a password, as the private key is never transmitted over the network, and it is not susceptible to brute-force attacks.
SSH keys are commonly used in Git and other version control systems to securely authenticate users and establish secure connections to remote repositories. They can also be used for other network protocols and applications that require secure connections, such as file transfers and remote desktop access.
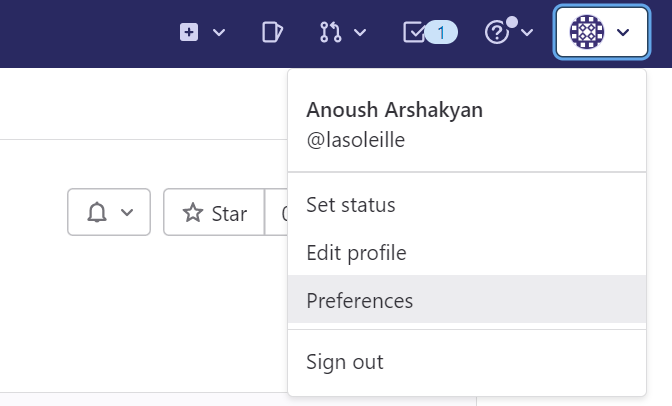
When the key is already generated, I added it to GitLab. To do this, we need to go to our account, select Preferences in your “photo profile” content (the one in the upper right corner):
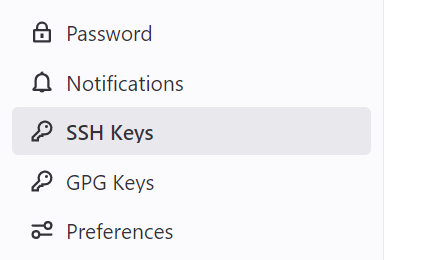
Here I added my SSH public key:
It’s possible to copy your key from GitBash or from .SSH folder:

Now I am connected to GitLab. Let’s clone the content!!
Clone, Add, Commit and Push
For cloning the content from the server I chose the option Clone in Repository>Files section of my gitlab repository.
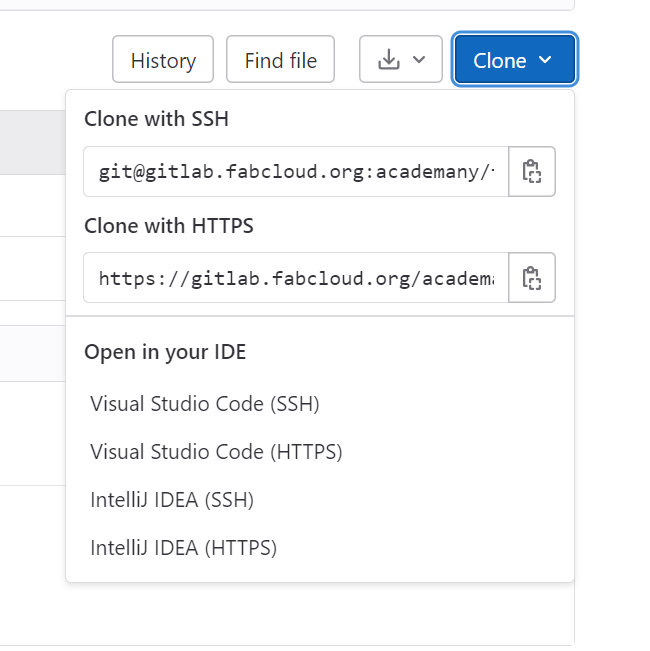
Тhen I copied the link “Clone with SSH” and I opened GitBash (from the folder in which I want to keep my local docs) for the command
git clone git@gitlab.fabcloud.org:academany/fabacademy/2023/labs/dilijan/students/anoush-arshakyan.git
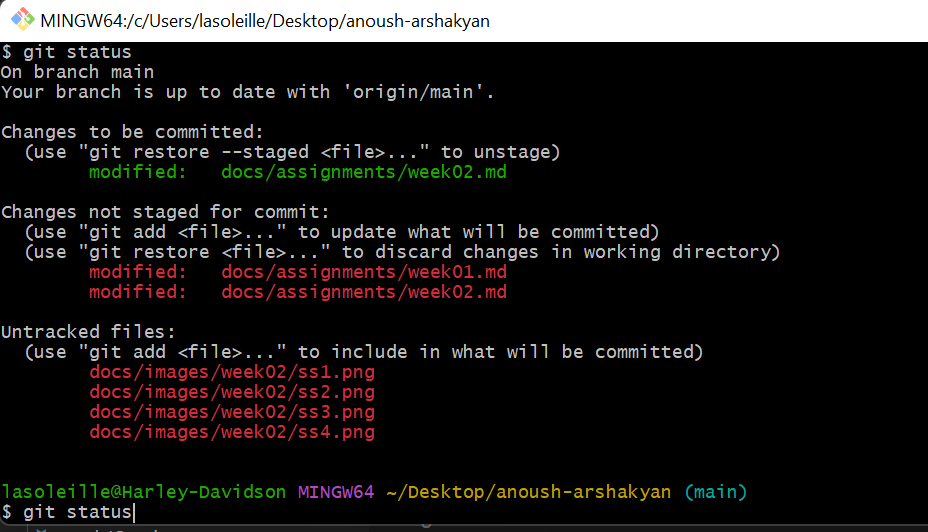
When working on a local project, we need to synchronize the work done with the server from time to time. To do this, we need a few commands that we will use all the time. To see the local changes that we need to synchronize, we need the command
git status
After this command we can see the changes colored in red:
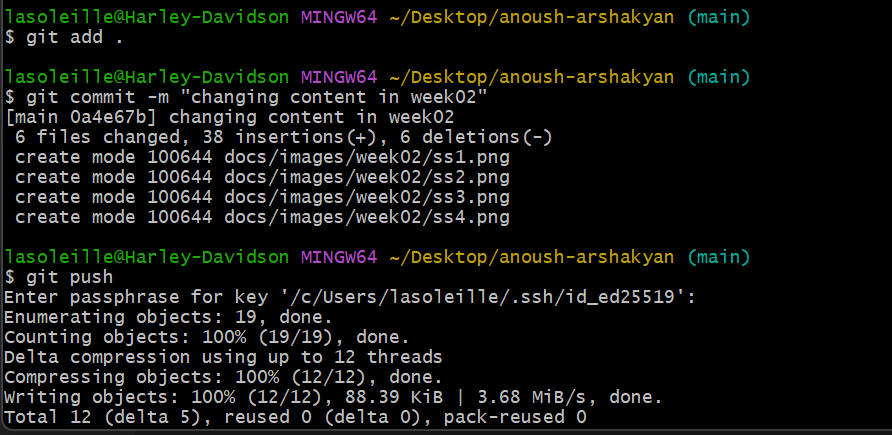
After that, to add the changes we will use the command
git add .
Now we need to comment our changes. It is importаnt to comment and mantion the changes, it will help to find the problem easier, if we have it.
git commit -m "comment about changes"
Now we are ready to “push” the changes to the server:
git push
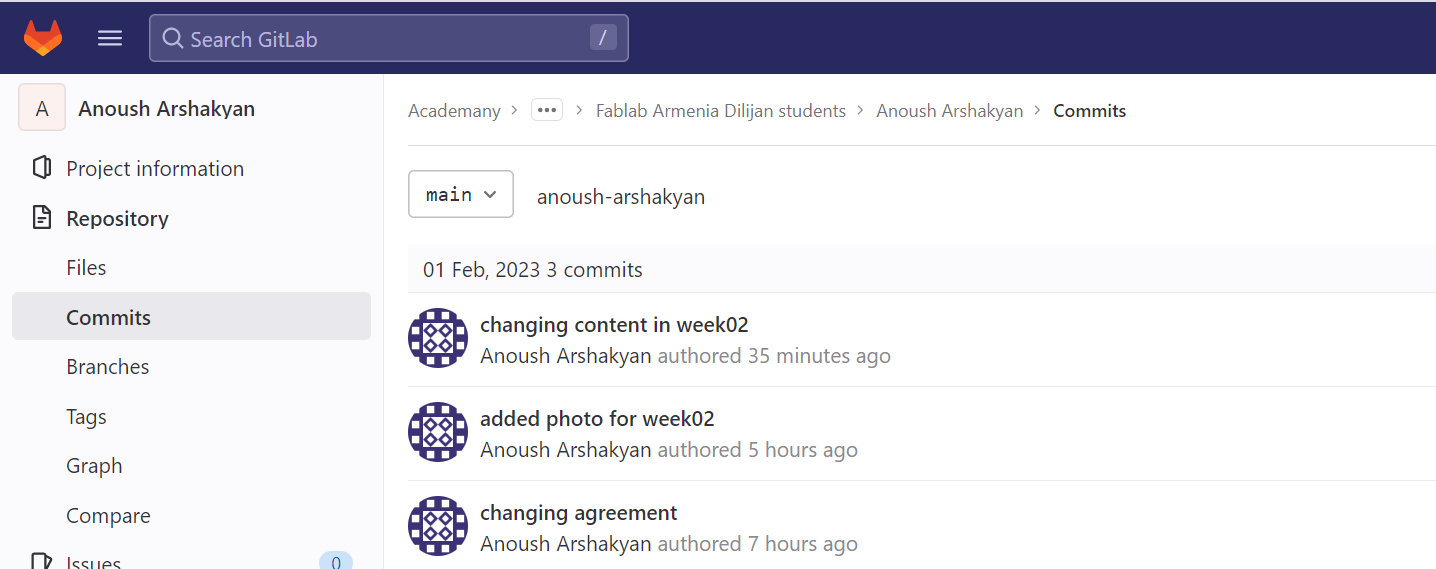
We can explore the comments in our GitLab Repository in Commits
Visual Studio and website development
I downloaded Visual Studio from here
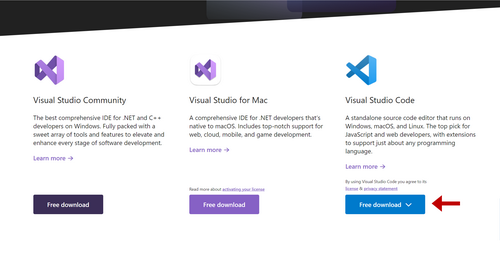 .
.
Dear students, this is a markdown website template from last year in case you want to We tested it on Rudolf’s repo it works fine! I decided to build my website using markdown. I used markdown website template from last year. Now we need to follow the steps to replace HTML files with Markdown:
- Setup your local git repo
- Delete everything except .git folder from your repo
- Unzip the content of this file and place it in your repo folder
- Customize the page as you like
- Push it to the server!
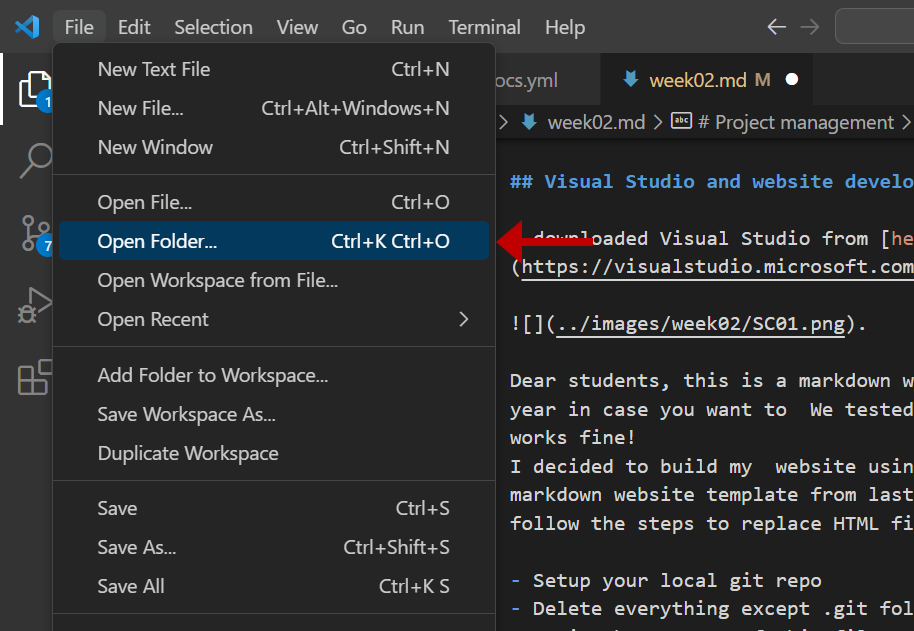
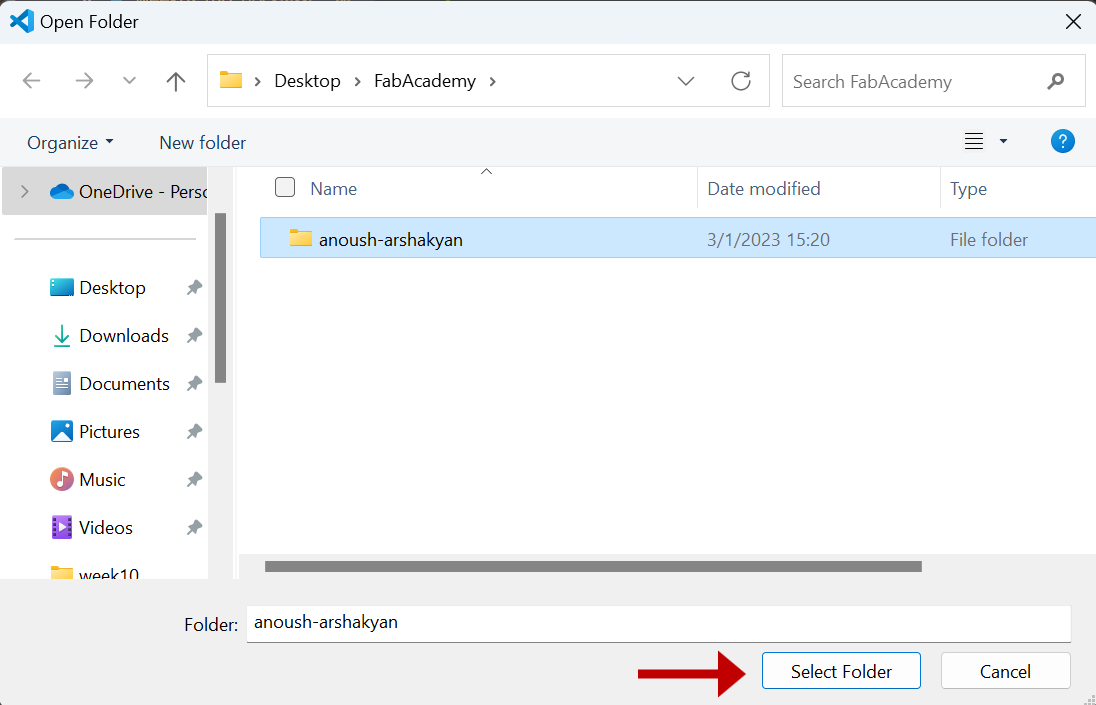
To set up your website, you need to open the folder in Visual Studio where all the documents are stored. In this case, it’s a folder with my name.
After you need to open mkdocs.yml and put your name instead of “Your Name” to customize your website.
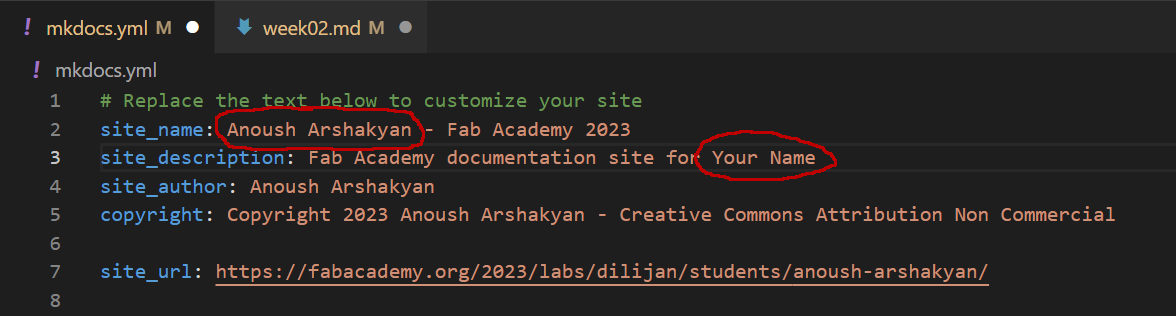
Since this is my first time creating a website, I didn’t make any big changes to the visual part.
I learned a lot about how Markdown works from this video.
Resume
I learned a lot from my work this week. First of all, I realised the goals and challenges of my projects. I also learned how to collaborate effectively with my team members, communicate my ideas clearly, and receive constructive feedback.
I acquired some new technical skills and knowledge that will be useful for my future work. For example, I learned how to use a new software tool that allows me to automate certain tasks and streamline my workflow. I also gained a better understanding of some key concepts in my field, such as machine learning algorithms and data visualization techniques.
Overall, I feel that my work this week was both challenging and rewarding, and I look forward to continuing to learn and grow as I work on this project.