3D Scanning and printing
Task: 3D Scanning and Printing
Group assignment:
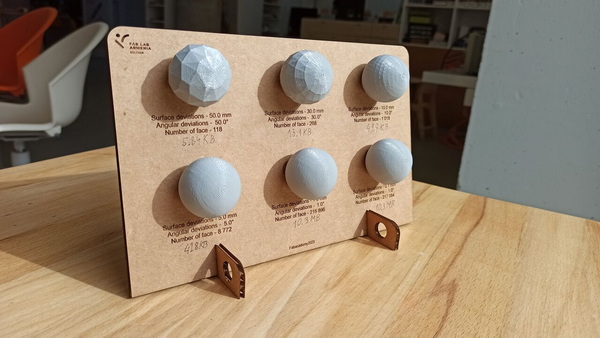
- Test the design rules for your 3D printer(s)
- Document your work on the group work page and reflect on your individual page what you learned about characteristics of your printer(s)
Individual assignment:
- Design and 3D print an object (small, few cm3, limited by printer time) that could not be easily made subtractively
- 3D scan an object (and optionally print it)
Group assignment
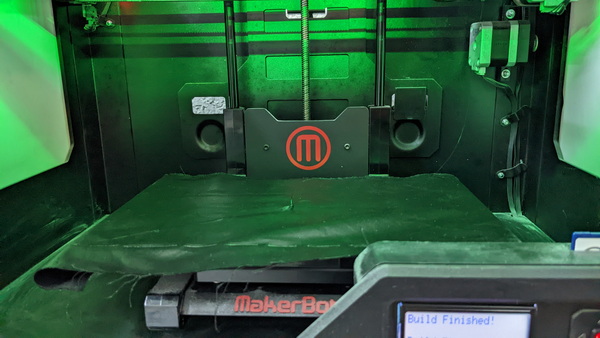
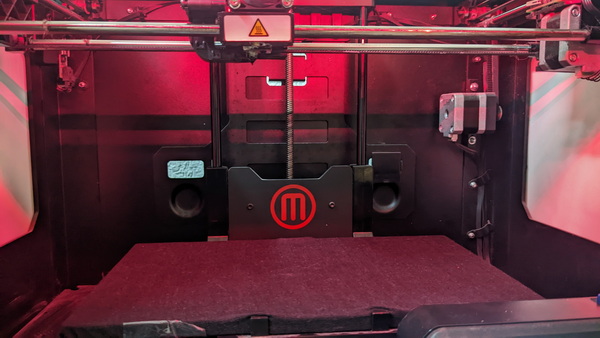
This week, I had the opportunity to work with two impressive 3D printers: the MakerBot Replicator 2 and the Creality Ender-3 v1. The MakerBot features an acrylic platform with a replaceable paper scotch, providing good adhesion for prints. However, removing prints from this platform can be challenging at times. On the other hand, the Ender-3 boasts a metallic platform with a heating function, ensuring superior print adhesion, especially for models with a high height-to-area ratio. In such cases, using a raft is recommended to enhance adhesion, albeit resulting in slightly increased material usage.
The MakerBot works with PLA plastic, while the Ender-3 supports both PLA and ABS. ABS is suitable for outdoor use but requires proper ventilation indoors. Additionally, the MakerBot has a static 0.4 mm extruder nozzle, while the Ender-3 allows for frequent nozzle replacements, enabling more accurate prints at the cost of longer print times.
When it comes to meshing options, smaller triangle sizes yield clearer prints. For example, in a project where we carved a 6mm section from the bottom of an 18mm radius sphere, careful meshing improved the final outcome.
Based on my experience, the Ender-3 offers advantages in terms of print adhesion, material compatibility, and nozzle versatility, but MakerBot’s simplicity and stability make it a reliable choice for PLA prints. Understanding these differences (especially when it comes to mesh setup) helps make informed decisions for achieving desired print quality and size of the file.
You can find more information on our group assignment page.
3D printing
Research
Recently, I have been very attracted by works made on 3D printer on fabric or that have a fabric texture. When I was preparing for my assignment, two videos caught my attention: two talented persons who, in my opinion, have made a difference in the world of fashion and technology: Ganit Goldstein and Danit Peleg.
My first experiment: 3D printing on textile.
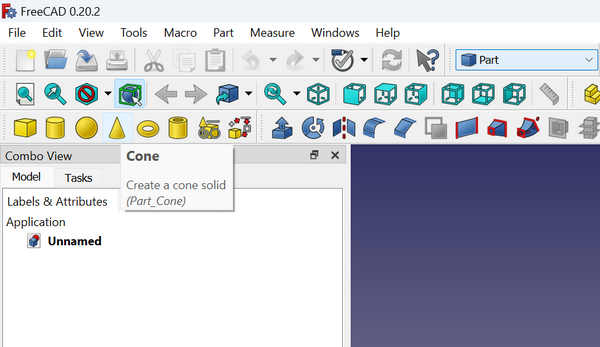
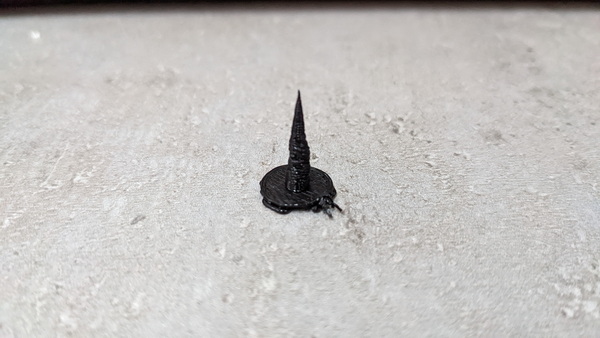
The first idea I have was to print plastic spikes on leather-like textiles, like a rock metal bracelet.
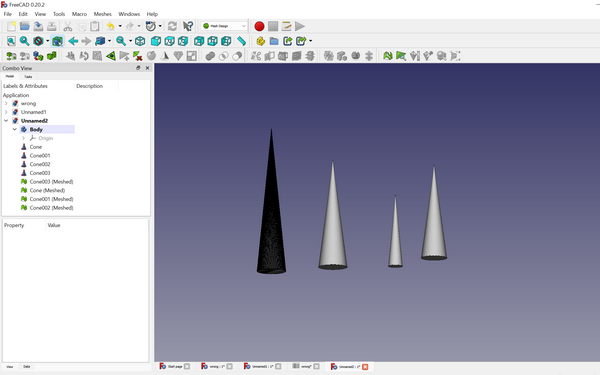
To do this, I created several Cones of different sizes.
I created meshes for each cone. For this in Mesh Design workbeanch I select: Meshes -> Create mesh from shape
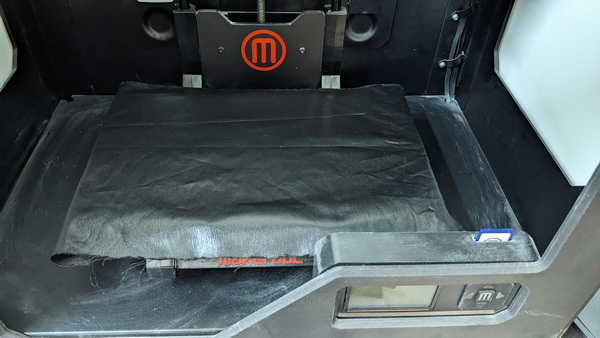
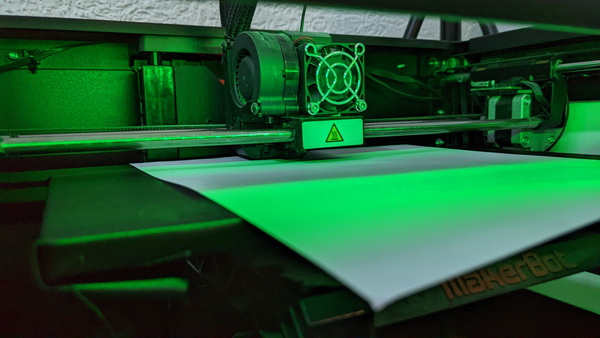
I attached the material to the work surface. Since this was my first attempt to print on textiles, when attaching, the material did not take into account that I needed an immovable surface.
Since the size of the spike was small, 20mm, it is difficult to notice it on the surface.
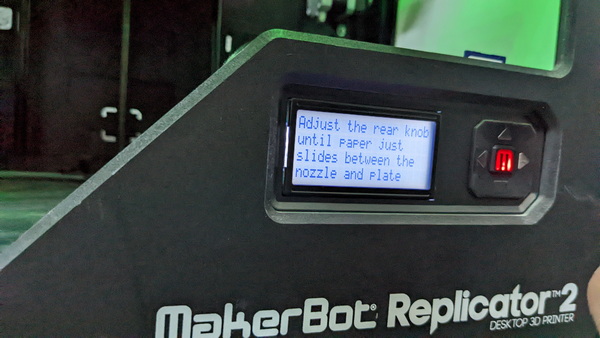
But I left out something more important than the size of the model: the zero level adjustment was done before the material was attached. And I need to calibrate the Z axis manually, taking into account the height of the fabric.
Аfter this, another failure due to the instability of the surface (the fabric was stretched and I could not achieve full immobility in any way).

Here’s what happened when I added Raft. But the resulting spike was uneven and peeled off the fabric very easily, because the fabric was slippery.
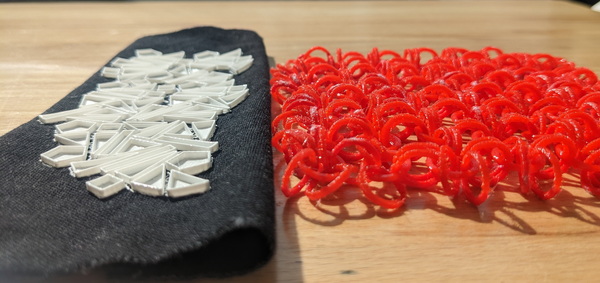
I decided to conduct another experiment using a different model. In this case, my material is a blend of linen and cotton. Which one is better to properly attach the material to the printing surface.
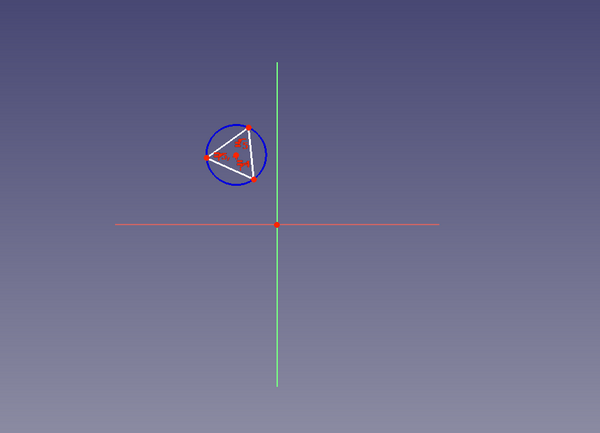
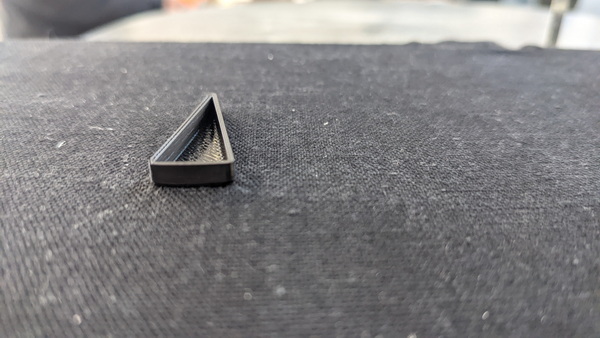
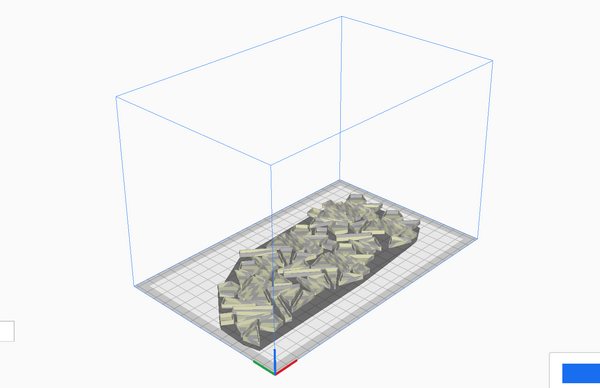
I wanted to have printed shapes on this textile. For the design, I began with a sketch, starting with a small triangle.
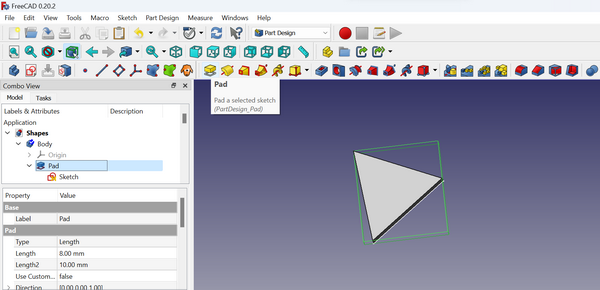
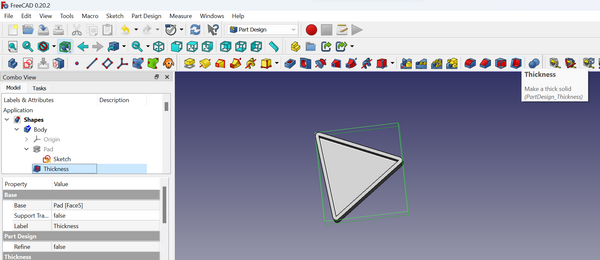
After I used the tool Pad and Thickness:
I added some more shapes using the same action sequence։

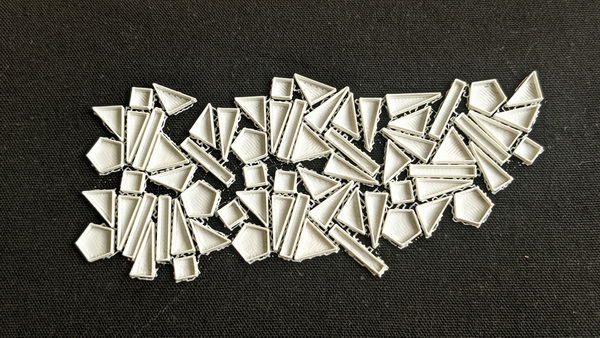
I started the printing from one triangle and it looked good:
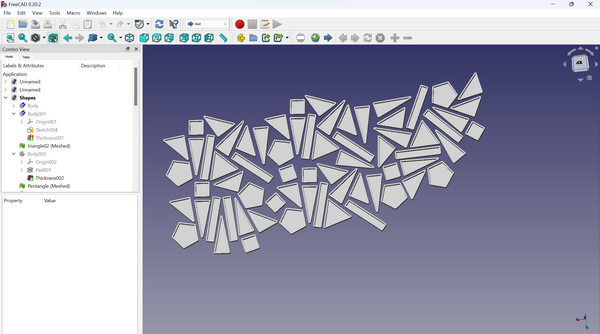
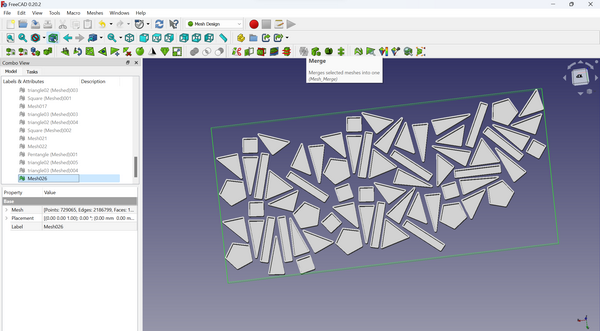
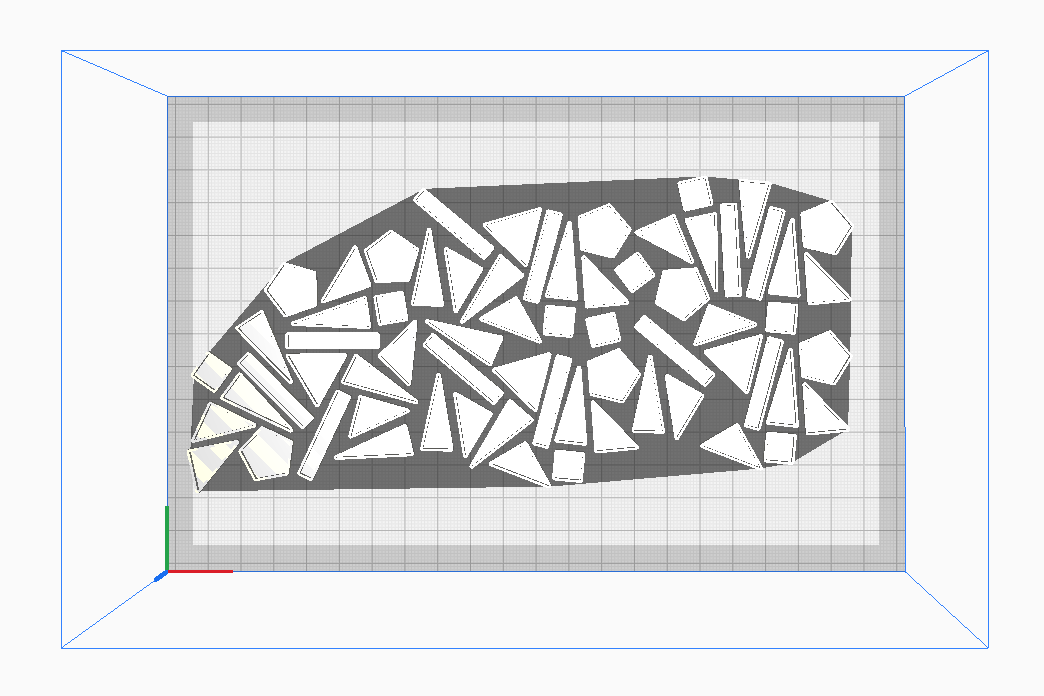
It’s time for big work! In reality I used different meshes of shapes groupes to have this mosaic. And I used the tool Merge to connect all this meshes in one. So the size of my .stl file was more than 160MB.
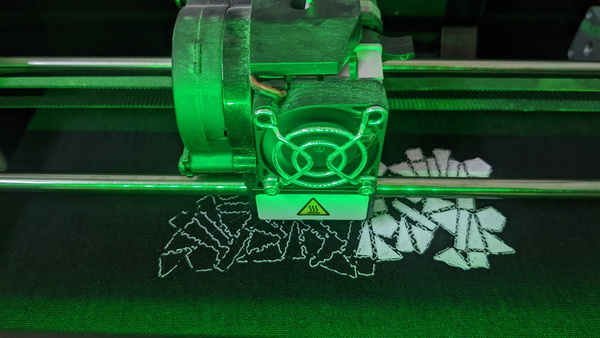
That’s why during the printing I had this strange but beautiful line befor printing the shapes: Makerbot decided to connect all the shapes by one line, but it was nor noticable on the Makerbot slicer.
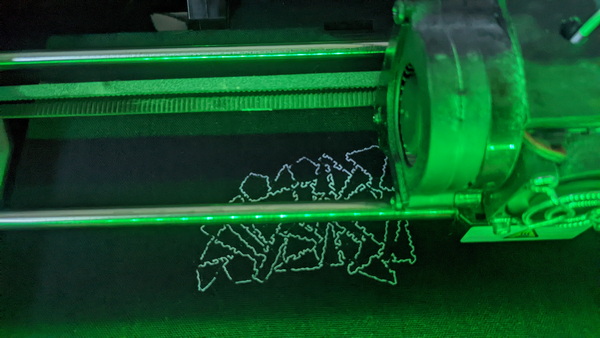
In contrast, when using the slicing software Cura (which I experimented with to confirm), the bottom surface is visible without the need for a raft.
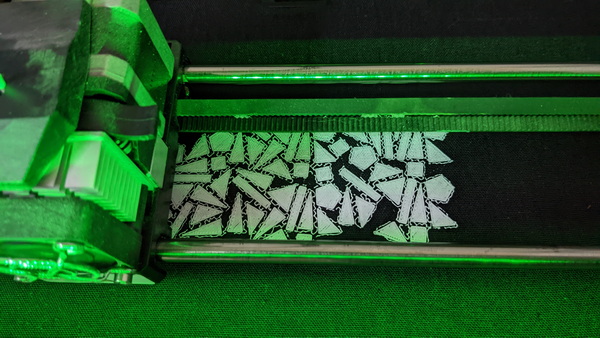
Printing on textile is like magic!!
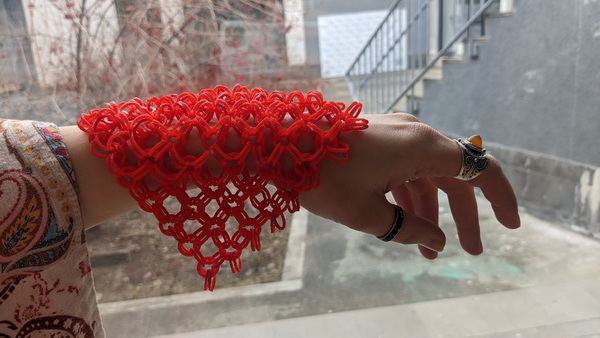
When the plastic moves
Another aspect I wanted to explore was the ability to create flexible structures through 3D printing. This unique capability allows for the creation of interconnected joints that enable flexibility in the final product. Unlike laser cutting or CNC milling, 3D technology offers this possibility. Hence, I embarked on designing a simple model to experiment with this concept.
One detail
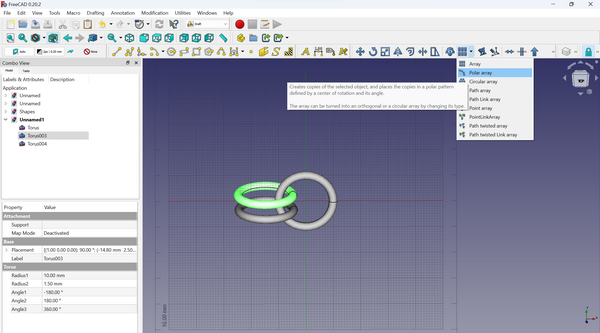
I find great satisfaction in working with FreeCAD as it provides user-friendly tools for crafting intricate models.
In this particular instance, I utilized the Part workbench to create three Toruses. Once completed, I switched to the Draft workbench and selected the Polar array tool. This invaluable feature enabled me to effortlessly generate three additional rings around the Torus. I repeated the same process for the second Torus, resulting in a visually captivating design.

Behold the result of my 3D printing endeavor! It’s worth noting that I achieved this outcome without the necessity of adding any support structures to my model in the slicing software.
Time for big project
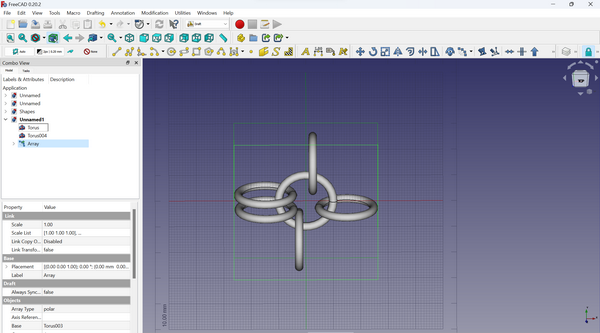
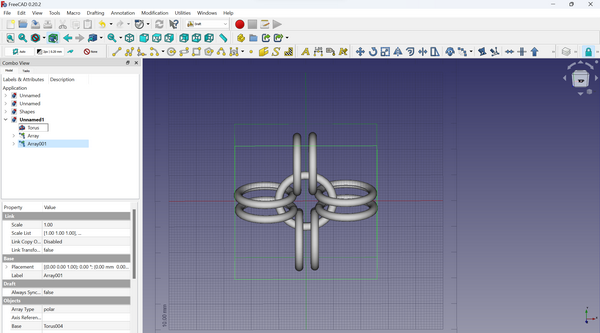
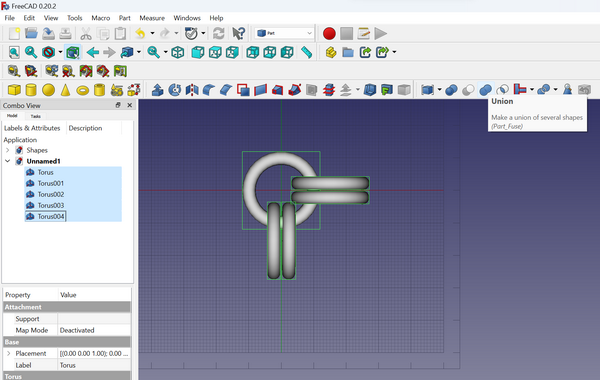
In FreeCAD I started the same steps to create Toruses. And I used the tool Union from Part workbeanch to unite all the parts.
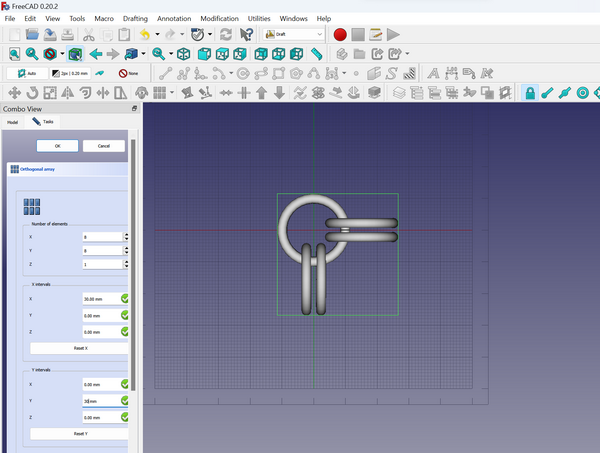
After that I used the tool Array from Draft workbeanch:

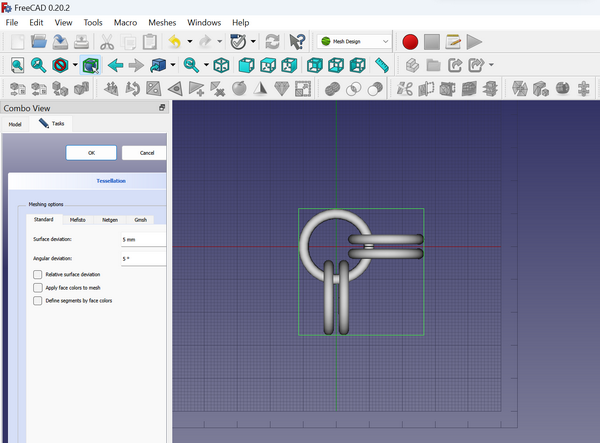
When creating a mesh, very important parameters are Surface Deviation and Angular Deviation that directly affect the size of the file, which we then send to the slicer for printing.
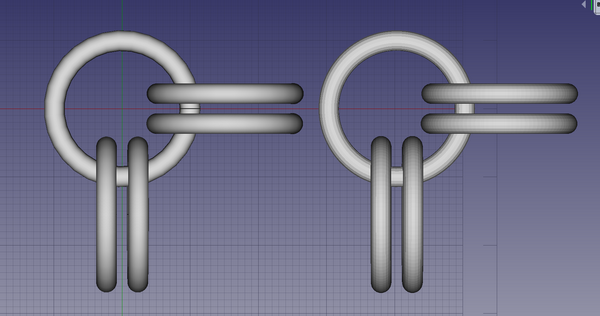
For Surface deviation: 5mm and Angulat deviation: 5 degrees, the result was:
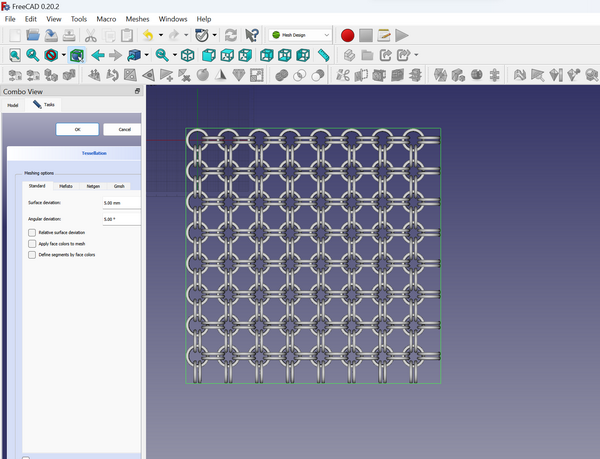
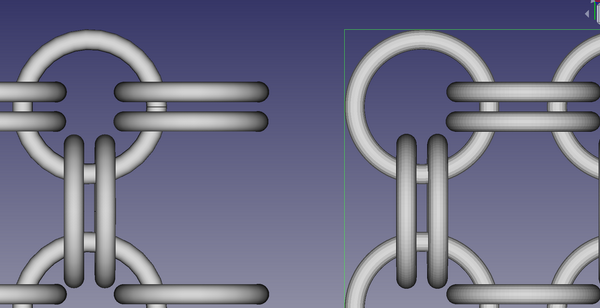

After several trials, I realized that these are the minimum parameters for which a good result will be obtained when printing.
I exported the mesh as .stl file. The size ot the file was 427,5MB.
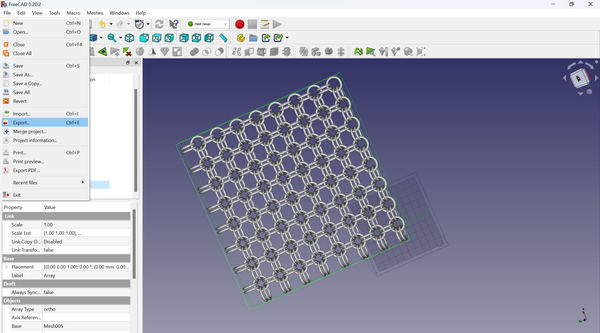
To compare, with parameters Surface deviation: 1 mm and Angulat deviation: 5 degrees, the size of exported mesh was more than 1GB.
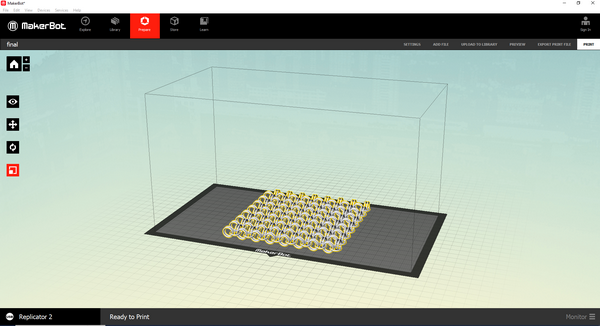
In order to attach the file to my documentation and not exceed the size of 10MB, I decided to create a mesh of one part of my model, which can be multiplied using a slicer, or the Array tool:
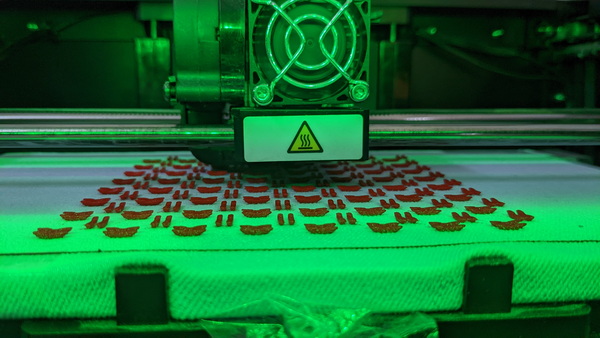
I placed the mesh of my model in MakerBot slicer. Here you can set up the size, direction and other parameters of printing. I printed without support or raft.
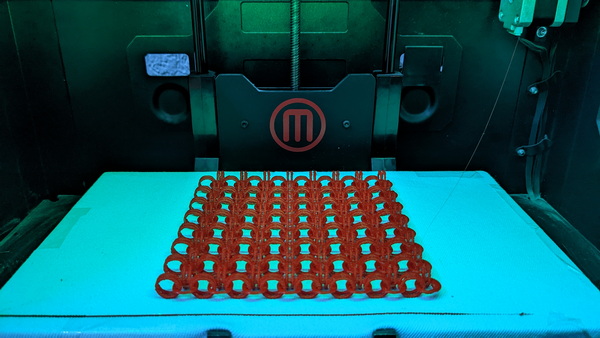
The process of printing was beautiful but it took more than 3 hours.
I decided to print on the textile, because I noticed that is more easy to take the printed part off.
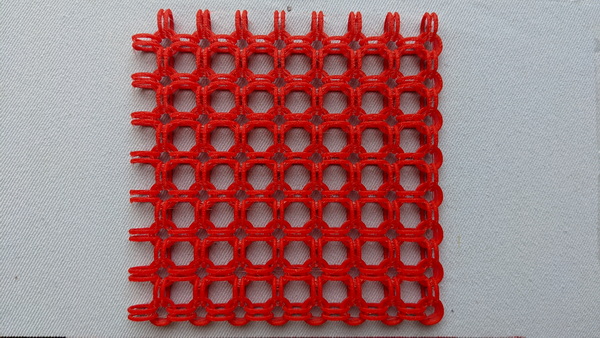
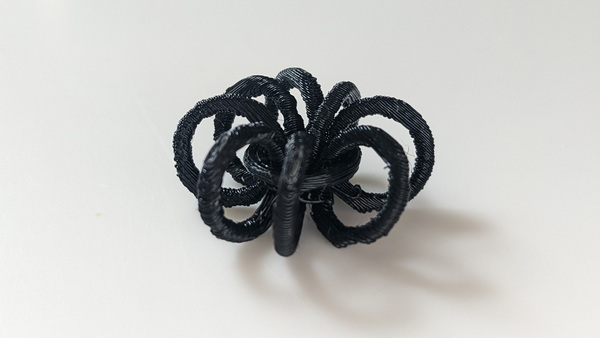
The greate moving beauty on my arm!
3D Scanning
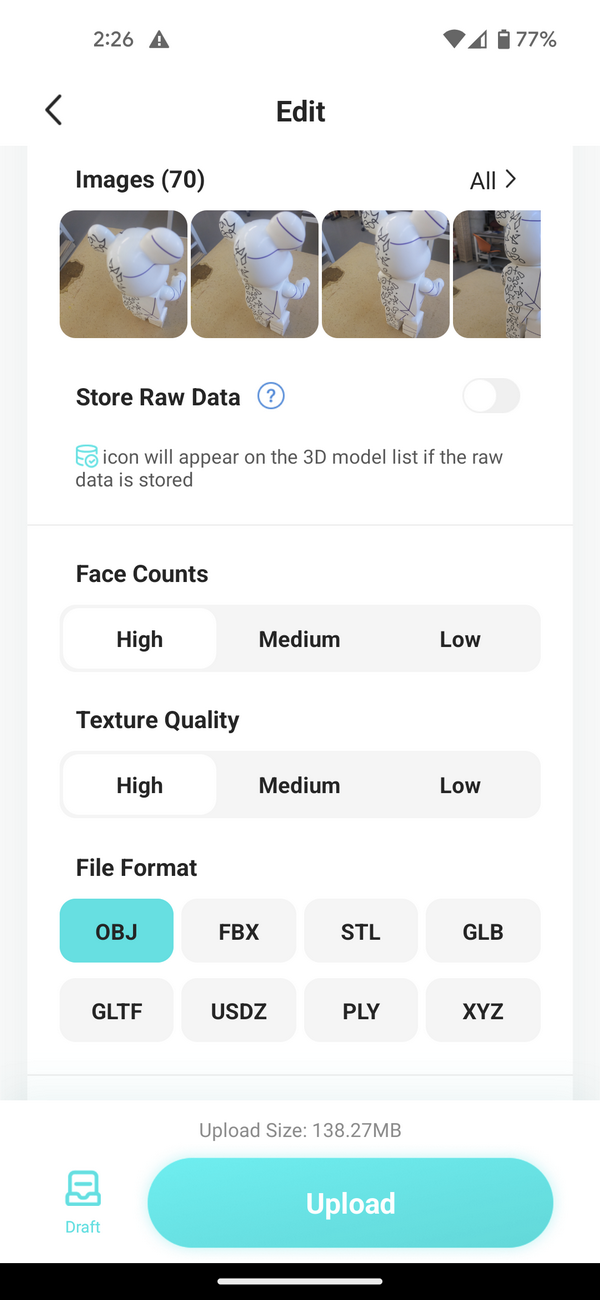
“I was in search of a free app for 3D scanning, and I received various recommendations from different sources/sites about KIRI Engine.

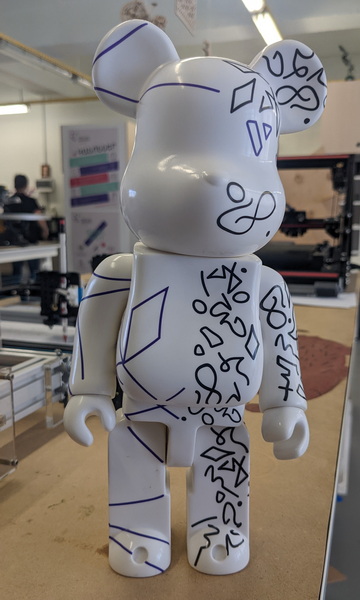
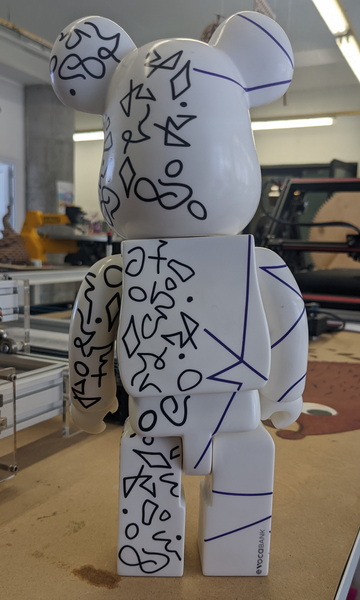
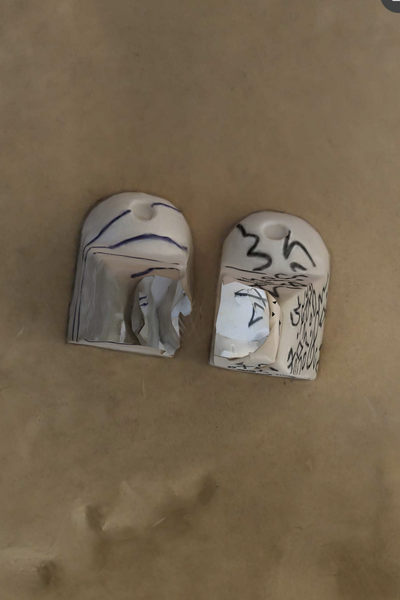
So I installed the app to my Pixel 5 phone and started scanning. For this I needed to take 70 photos of the object from different sides. I choose MEDICOM TOY BE@RBRICK:
Object

Scanning
Scanning setup
To scan an object using photography, you can use a specific setup and lighting techniques to capture detailed and accurate images. Here are some considerations for creating an optimal setup:
-
Lighting: Consistent and diffused lighting is crucial for capturing clear images of the object. You can use a combination of natural light and artificial light sources. Avoid harsh shadows. Ensure that the lighting is evenly distributed around the object.
-
Background: Choose a plain and non-distracting background that contrasts with the object you are scanning. A neutral-colored background, works well in most cases. This helps to isolate the object and make it easier to extract and process the scanned images later.
-
Multiple Angles: To create a comprehensive scan of the object, taek photos from multiple angles. Typically, you would take pictures from the front, sides, top, bottom, and any other relevant viewpoints. This helps to capture the object’s complete surface and facilitates the generation of a 3D model or detailed representation.
-
Post-processing: After capturing the images, you may need to process them using image editing software. This can include tasks such as cropping, adjusting brightness/contrast, and aligning images for 3D reconstruction if necessary.
Process
After capturing 70 photos (the maximum allowed for the free option), the program enables you to start the scanning process. Here you can select the quality of scanning and the file format. The size of the file can depend on these options. Factors such as the resolution of the images, the file format used (OBJ, STL, GBL, etc.), and the complexity of the object being scanned can all impact the file size.
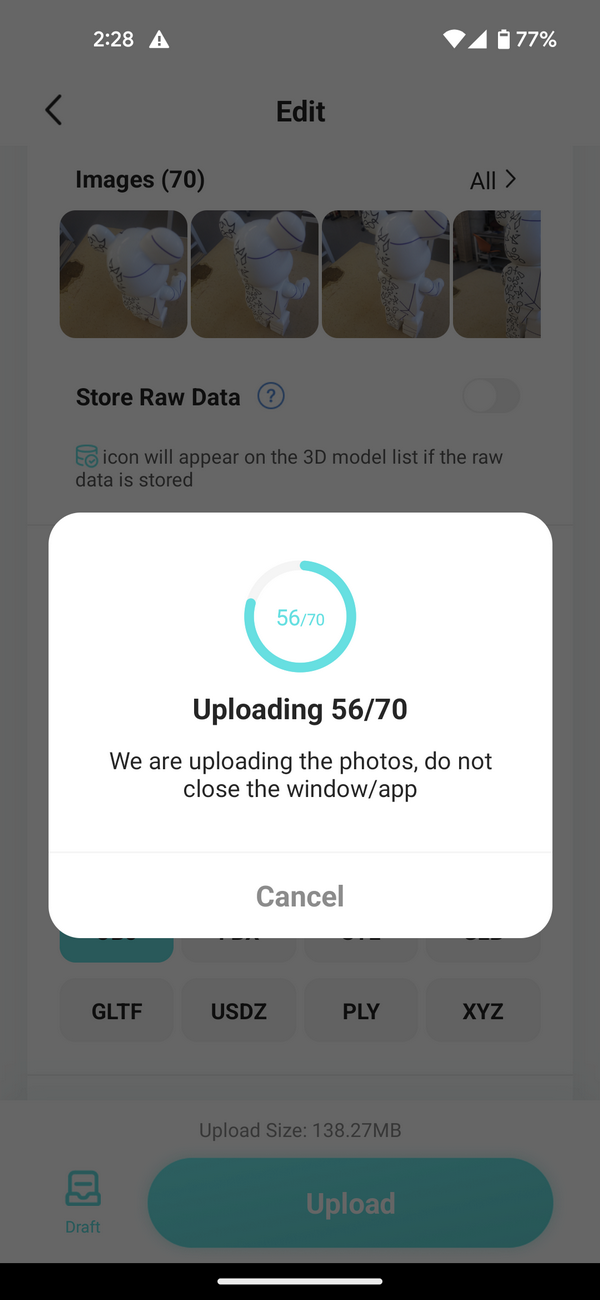
The process of processing the scan can take a significant amount of time, typically around 30-40 minutes in this particular case.


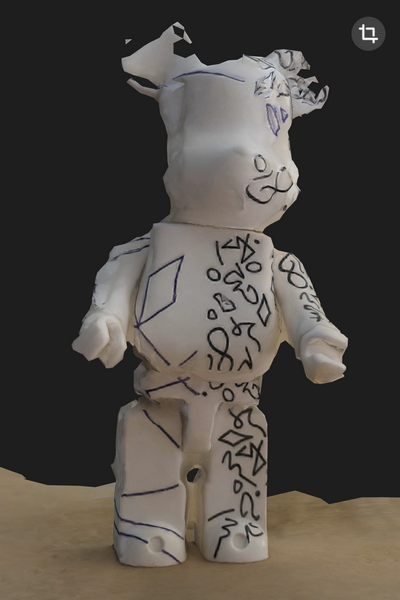
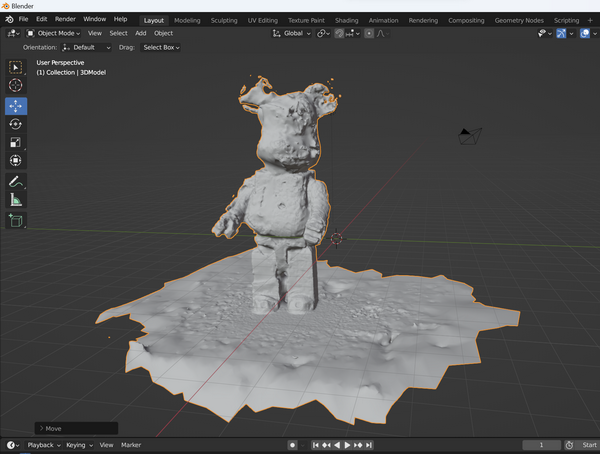
Scan
Blender
After I decided to work on my scanning using the Blender.
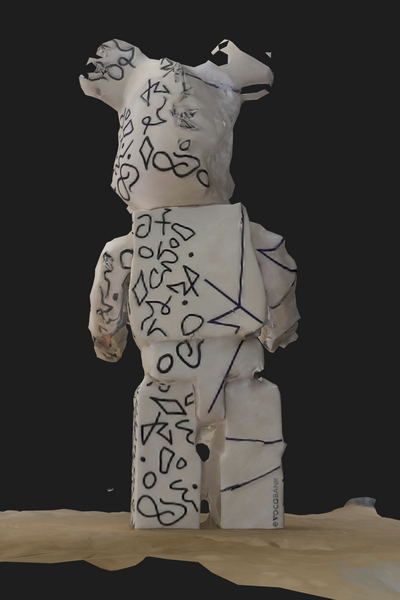
I utilized Sculpting tools to reshape this fascinating toy. Take a look at the before-and-after result!
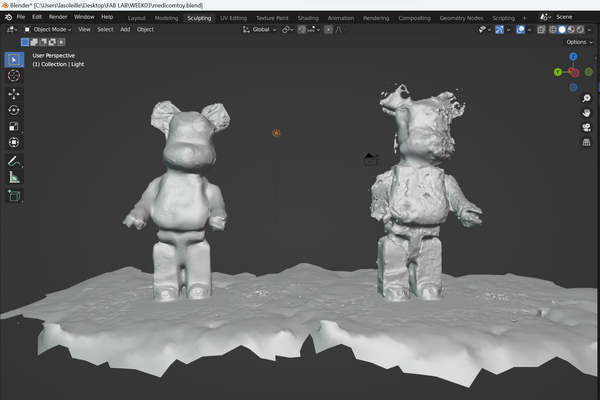
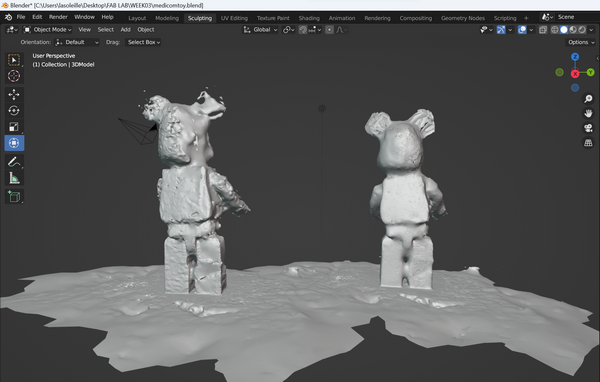
I found interesting to keep the stand of the toy.
Conclusion
In conclusion, my weekly work has been an exciting and fulfilling experience. During this week, I had the opportunity to showcase my abilities by completing a challenging assignment.
I leveraged sculpting tools to reshape an interesting toy, allowing me to exercise my creativity and problem-solving skills.
I am proud of the work I have accomplished in 3D printing and the knowledge I have gained during this week. The Fab Academy program has provided me with invaluable opportunities to learn and grow in the field of digital fabrication and use it to develop my interests in creating new forms of fabrics and textile printing.
As I continue my journey through the Fab Academy program, I am excited to take on new challenges and further explore my passion for fabrication and design. I look forward to sharing my future projects and achievements with the Fab Academy community.
Original Files
3D Printing
Shapes (part) printed on textile FreeCAD with mesh
3D Scanning