Introduction
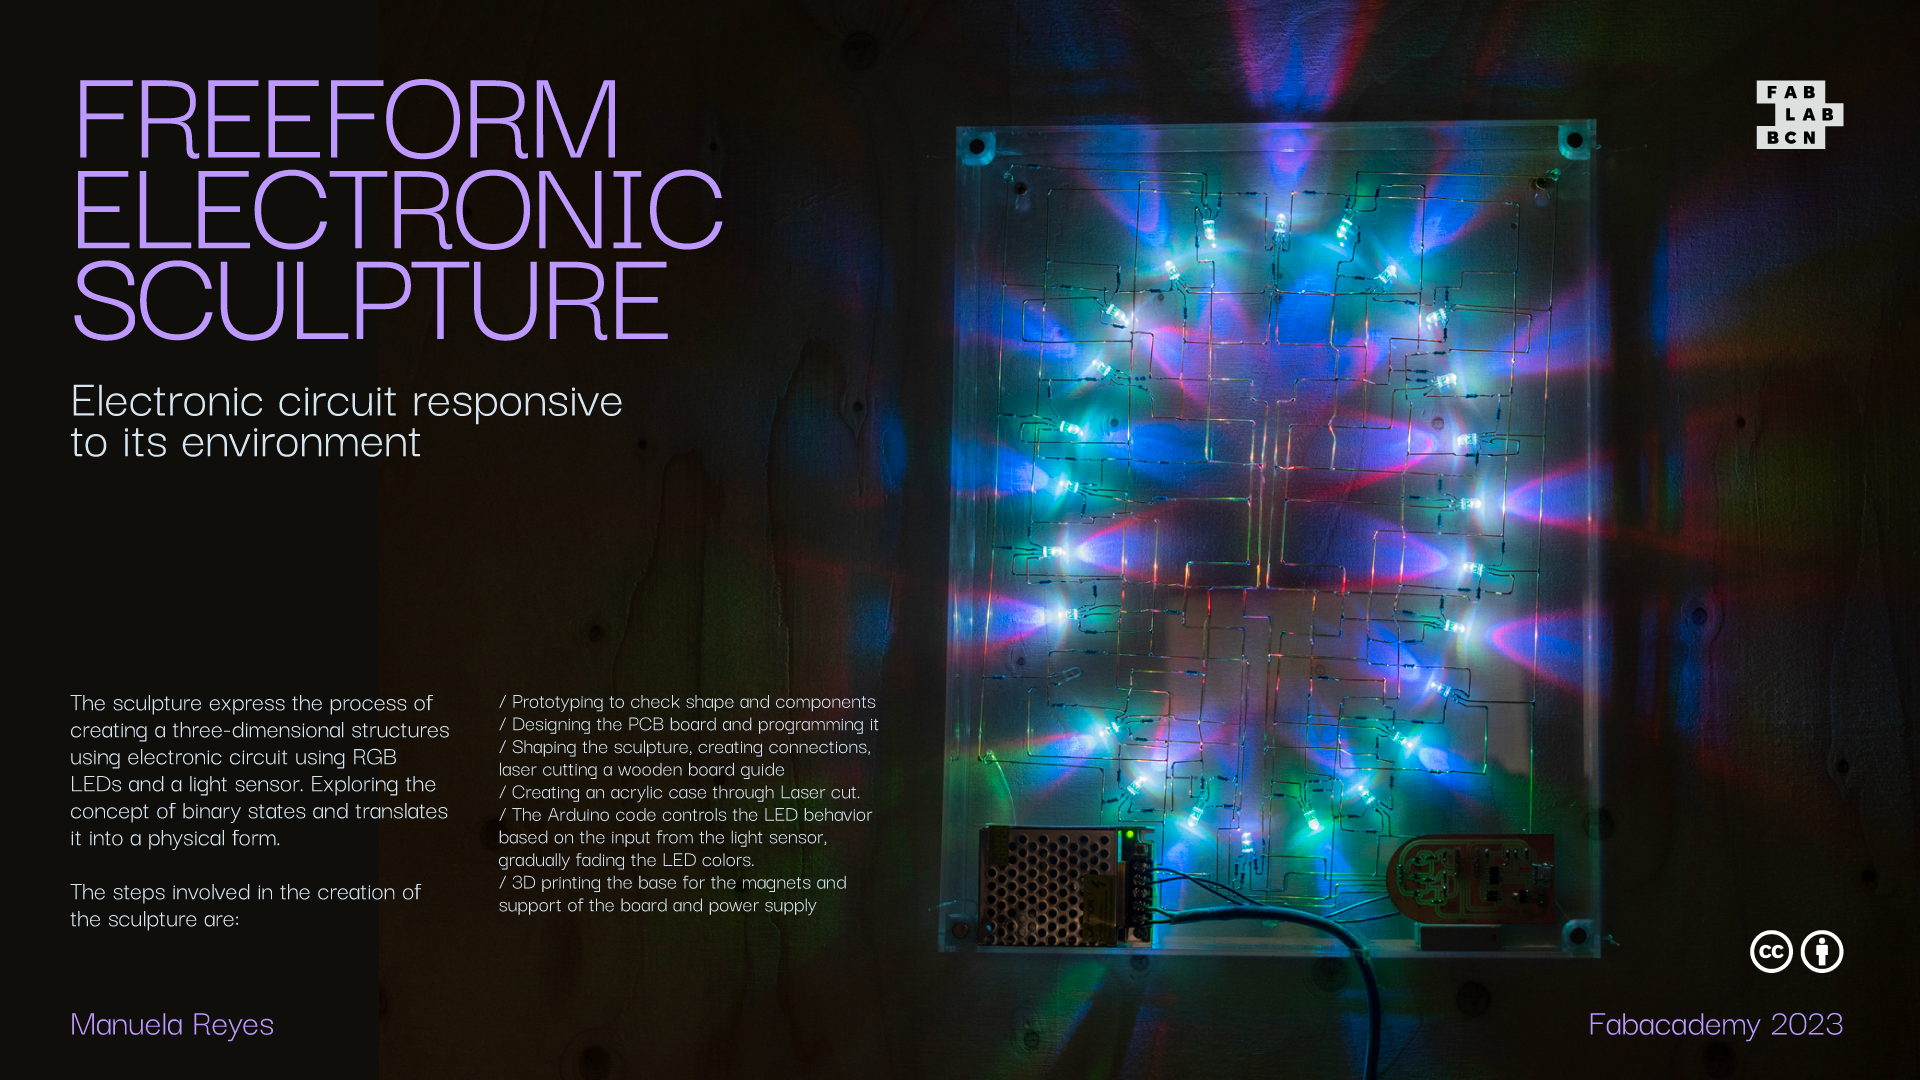
Ever since I started Fab Academy, I could sense always the idea of one or the other, Yes-no, High-low, 0-1, ground-5v and so on. But the way I understood it was that one is a part on the other. My first approach was to question how can I translate this into my final project, and if it could be added the artisanal process as an objective of the scope.
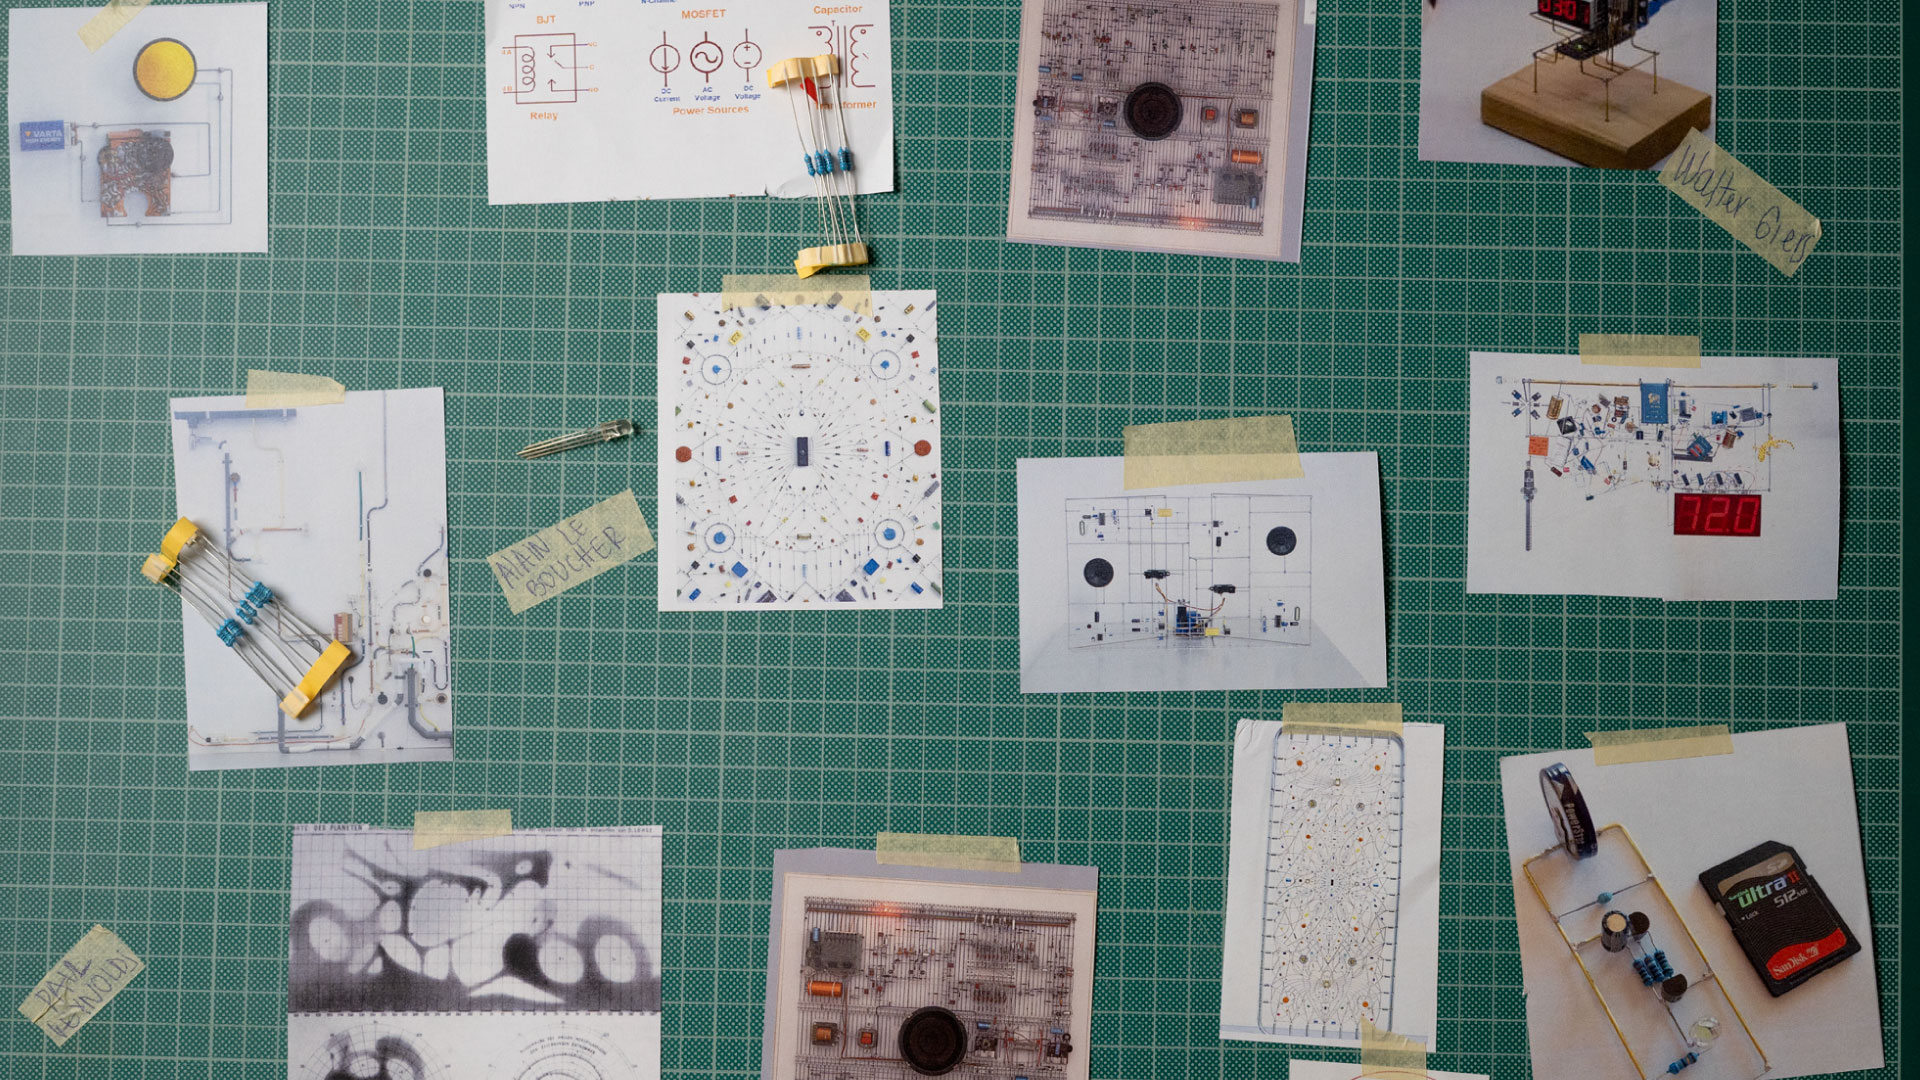
Then, I got inspire first, from the abstract work of Paul Reynolds and the electronic design week, how beautiful the pcboards could be and how all of the components have potential to be display from their symbols to the connections. Lastly, I got my primary source of inspiration, starting with the sculptures of Mohair Bhoite, I started to learn about freeform electronics and at that point everything made sense. ( There where other artists as well, such as Alain Le Boucher, Peter Vogel and Walter Giers.
Process
Here are the steps in order to create the final project.Files
03Bill of materials
Here is the list of material that I used and the general cost that could be in Barcelona, considering that the only thing I bought was the cable, switch and masking tape, the rest of the materials were in the lab or fabricated.
2D and 3D design
Electronics
Others
3. Planning
I had one week and a half to plan the whole sculpture, even if I had an idea of what I wanted to do, I had to organize myself each day thinking what to do, leaving some margin of error in case something went wrong like the electronics. In the project development I enlist the order as I suggested it worked best for me.
01 First was design in kicad the PCB board
02 CNC the board and solder the components
03 Program the board with the boatloader that we did on electronic production week and test with an older prototype if it works.
04 Sketch the general look, size, proportions of the sculpture.
05 Start to pass the sketches to rhino and divide by layer to create the wooden guide of the skeleton
06 Export from rhino to illustrator
07 Laser cut the wooden guide on plywood, then paint RED - GREEN - BLUE - ground
08 Arduino: this process is parallel to the physical construction of the structure, so create the code and test it with some prototypes.
09 Ground: Start bending all the hollow tubes and attatch them to the wooden guide
10 Red: Cutting resistors legs and RGB leds, then repeat the same processfrom above but leaving the space for resistors and leds.
11 Green: Cutting resistors legs and RGB leds, then repeat the same process from above but leaving the space for resistors and leds.
12 Blue: Cutting resistors legs and RGB leds, then repeat the same process from above but leaving the space for resistors and leds.
13 Connect them to the pinout of the boards to check.
14 Correct possible LEDs off and fixing resistors possitions.
15 Connect PCB board to the power supply with possitive and negative cable.
16 Add the cable to the power supply, and add the switch to it.
17 Laser cut the acrylic box and pass the cable through it.
18 3d printed 4 magnet bases for each corner of the box, then add the magnet.