Introduction
3d printing is part of a process called additive manufacturing, where an object is created by adding material layer by layer. This allows to create complex material, without the need of other previous ways of producing suck as holding, sculpting or forging.
The way it works is, first creating a model using a 3d modelling software such as rhino or blender, then send it to print using platforms like ultimate cure, also called slicer softwares to see the process before hand. When the printer receives the data, it pulls the material (filament, normally PLA but can also be metal or organic material) , through a tube, melts it and deposits it to the plate where it instantly cools. Is created by layering, until a fully form structure.
The benefit of this technology are:
Low or almost non waste.
Economic cost of material and operation.
Fast and easy to learn to use.
Freedom of design.
Sustainable for prototype, short-term applications and mass customisation.
Steps to print
01 Prepare your files
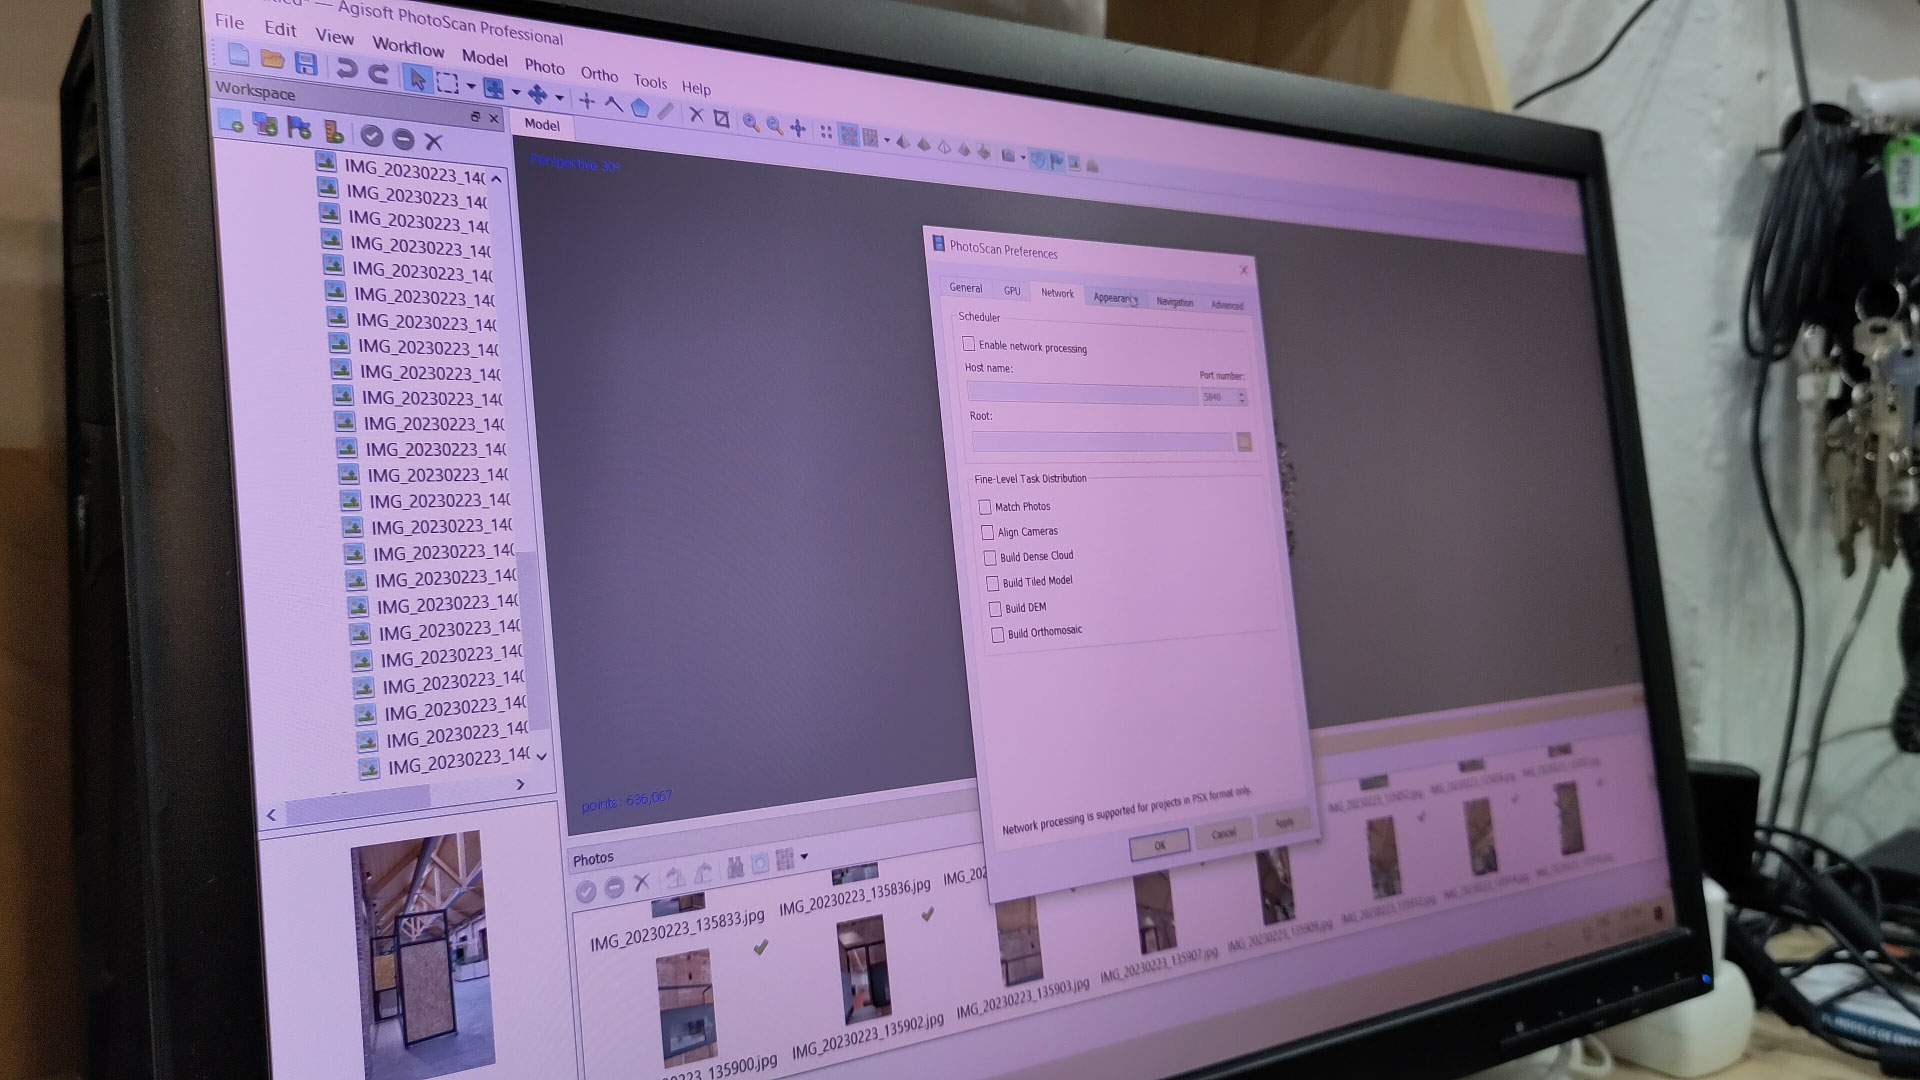
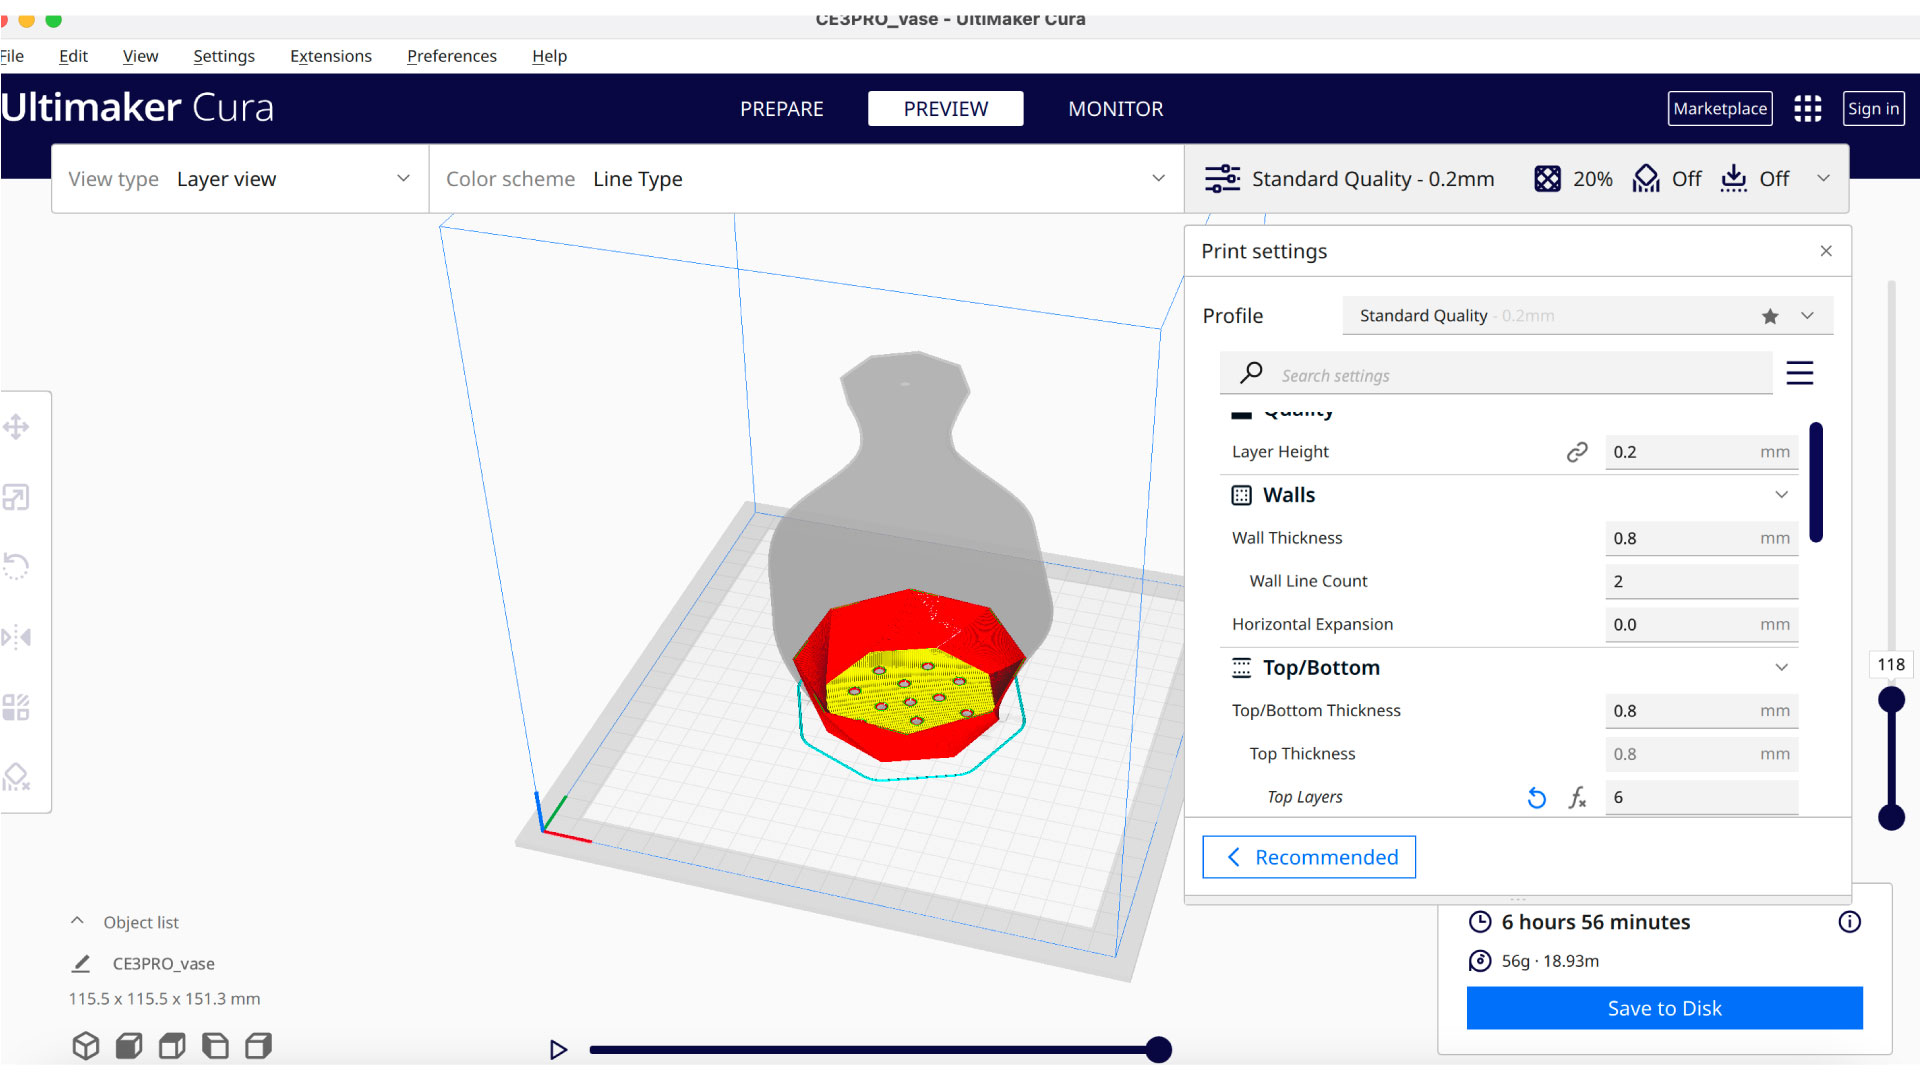
- Slicer software. First step would be to add it to ultimaker Cura. Inside of the program choose the printer (Creality Ender-3 pro)
- Choose the quality that we wanted to be printed ( Standard quality works well, 0.2)
- We can configure in the drop down menu : Quality, top/bottom thickness, infill ( in my case there was no need because didn't need a solid element )or support in case that we need to create bridges in the inside.
- Material: To edit the printing temperature 215.0 f in case of PLA filament.
02 Add the filament
- Preheat pla and press to remove the filament that was on the machine in order to change it.
- Press the filament to the hole until when we press comes down from the other point.
03 Level the bed
- Prepare in the machine menu and go to Autohome. It will set the origin of the point on 0.0.0
- Using a piece of paper works to level the paper, needs to have pressure to be able to move it, moving the four wheels on the corners to check if all of them are in the same height. Also check the paper in the middle for the desire pressure.
04 Print
- Main screen, sending to print, the first thing is to check if the temperature is the same as in the slicer.
- Always stay close to the machine for the first layer to check if it works well.
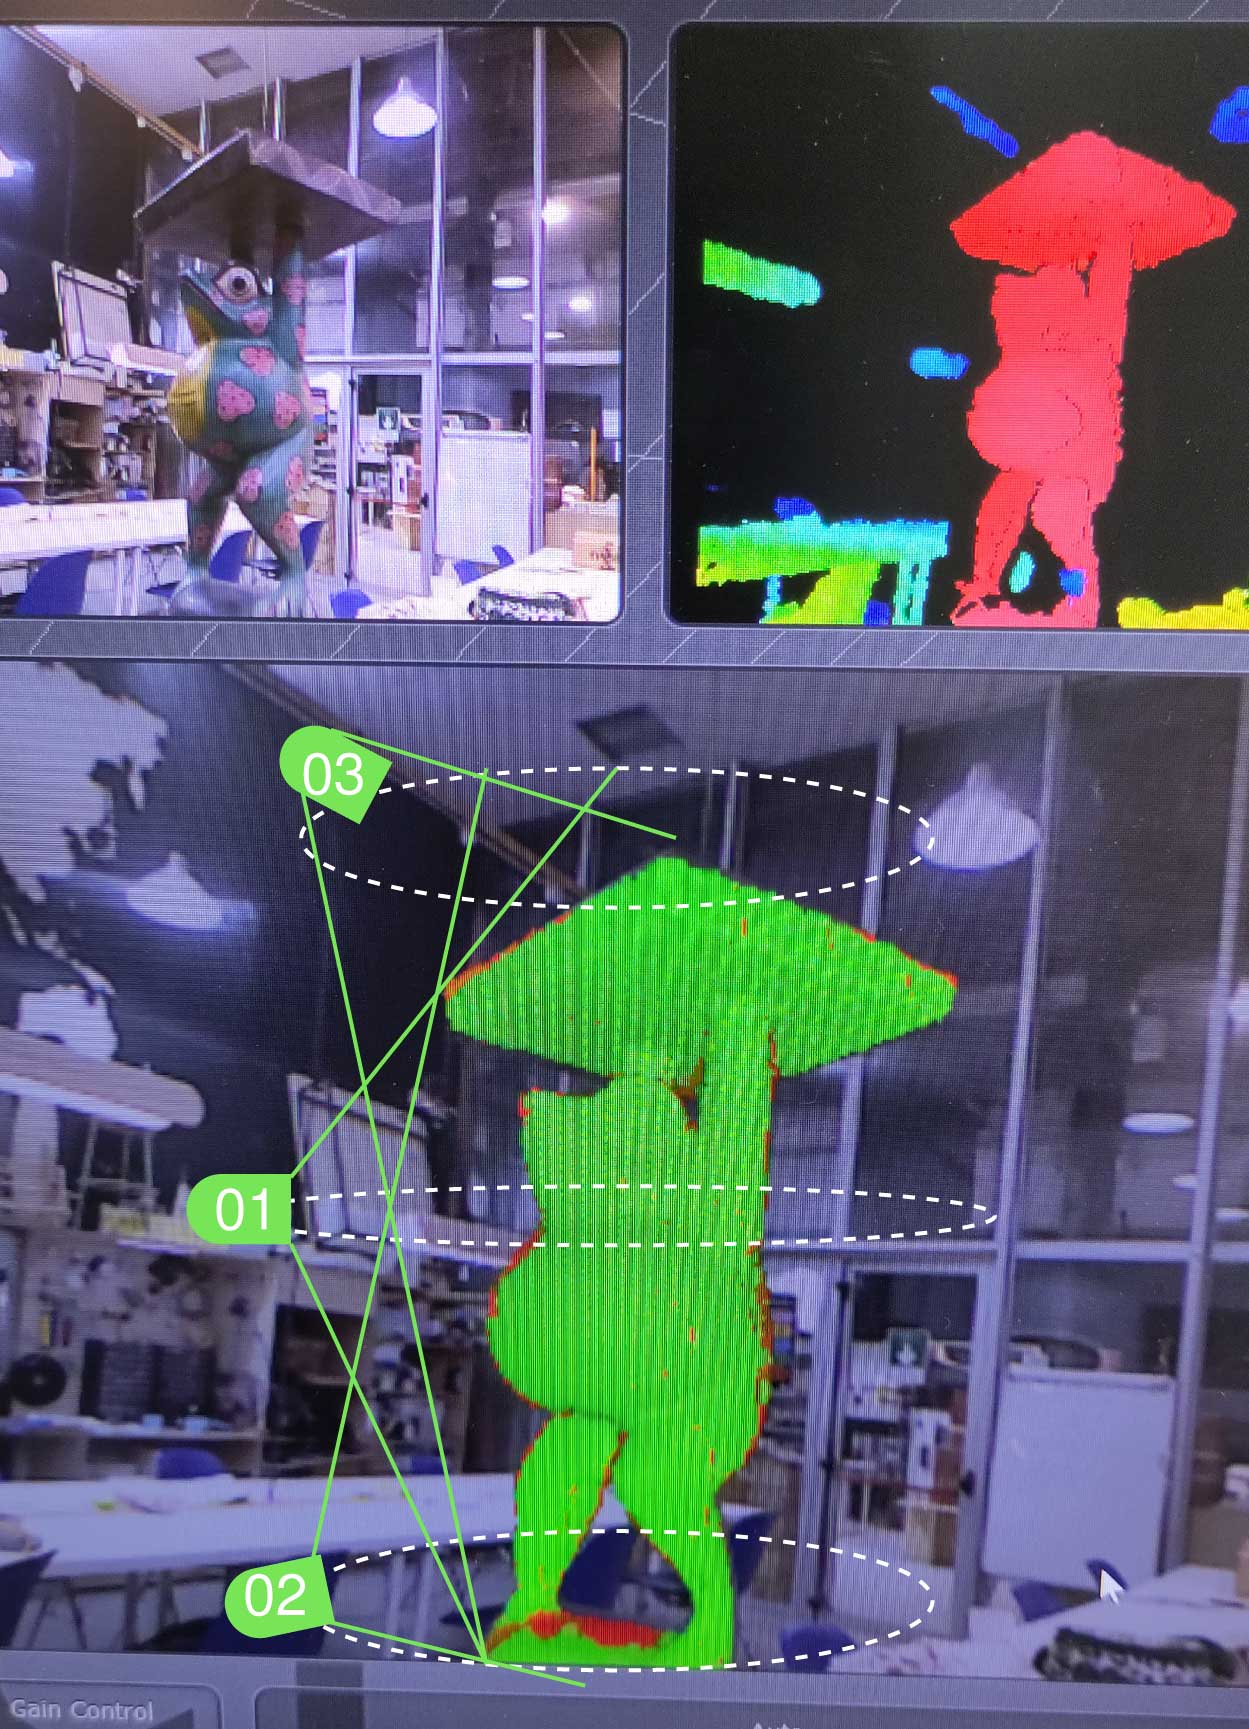
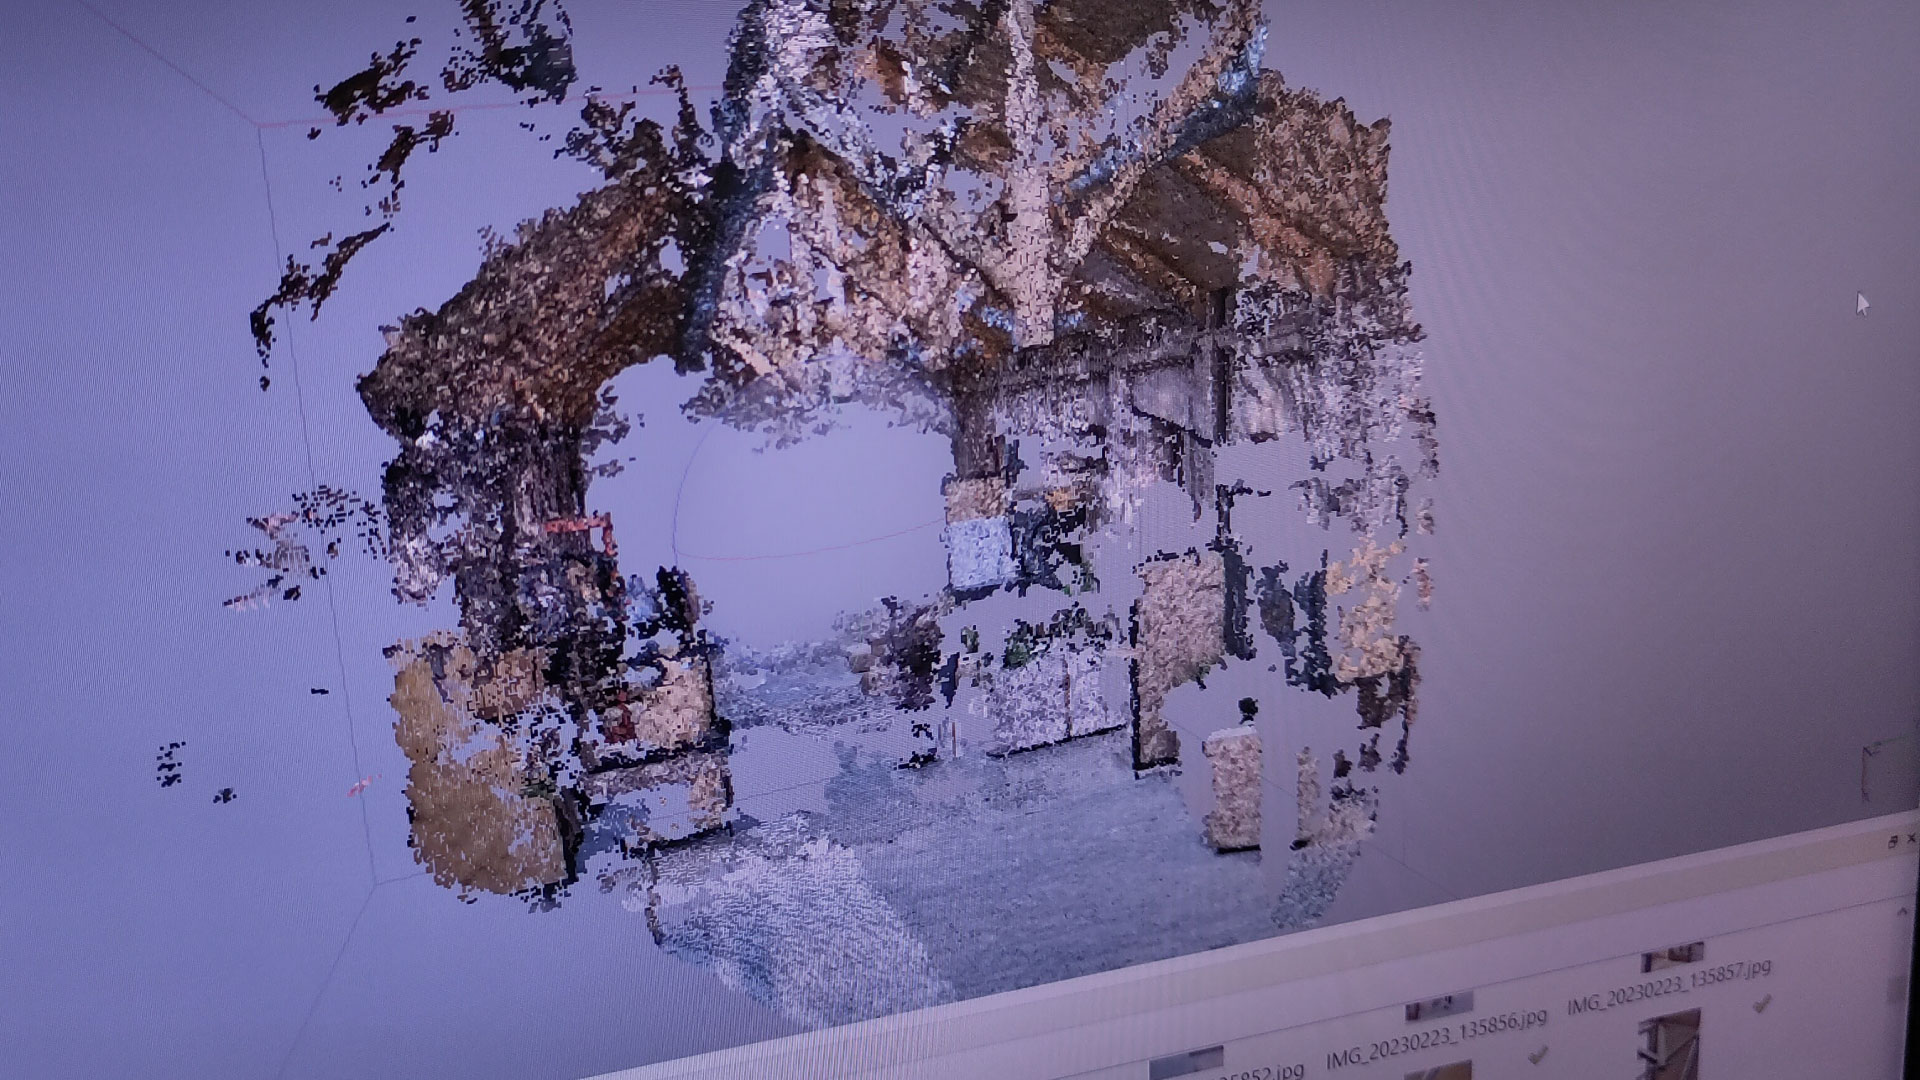
For the group assignment we printed a piece to test bridging, diameter, structure, holes and curves. Here is the link for the
5th week
3d Printing object
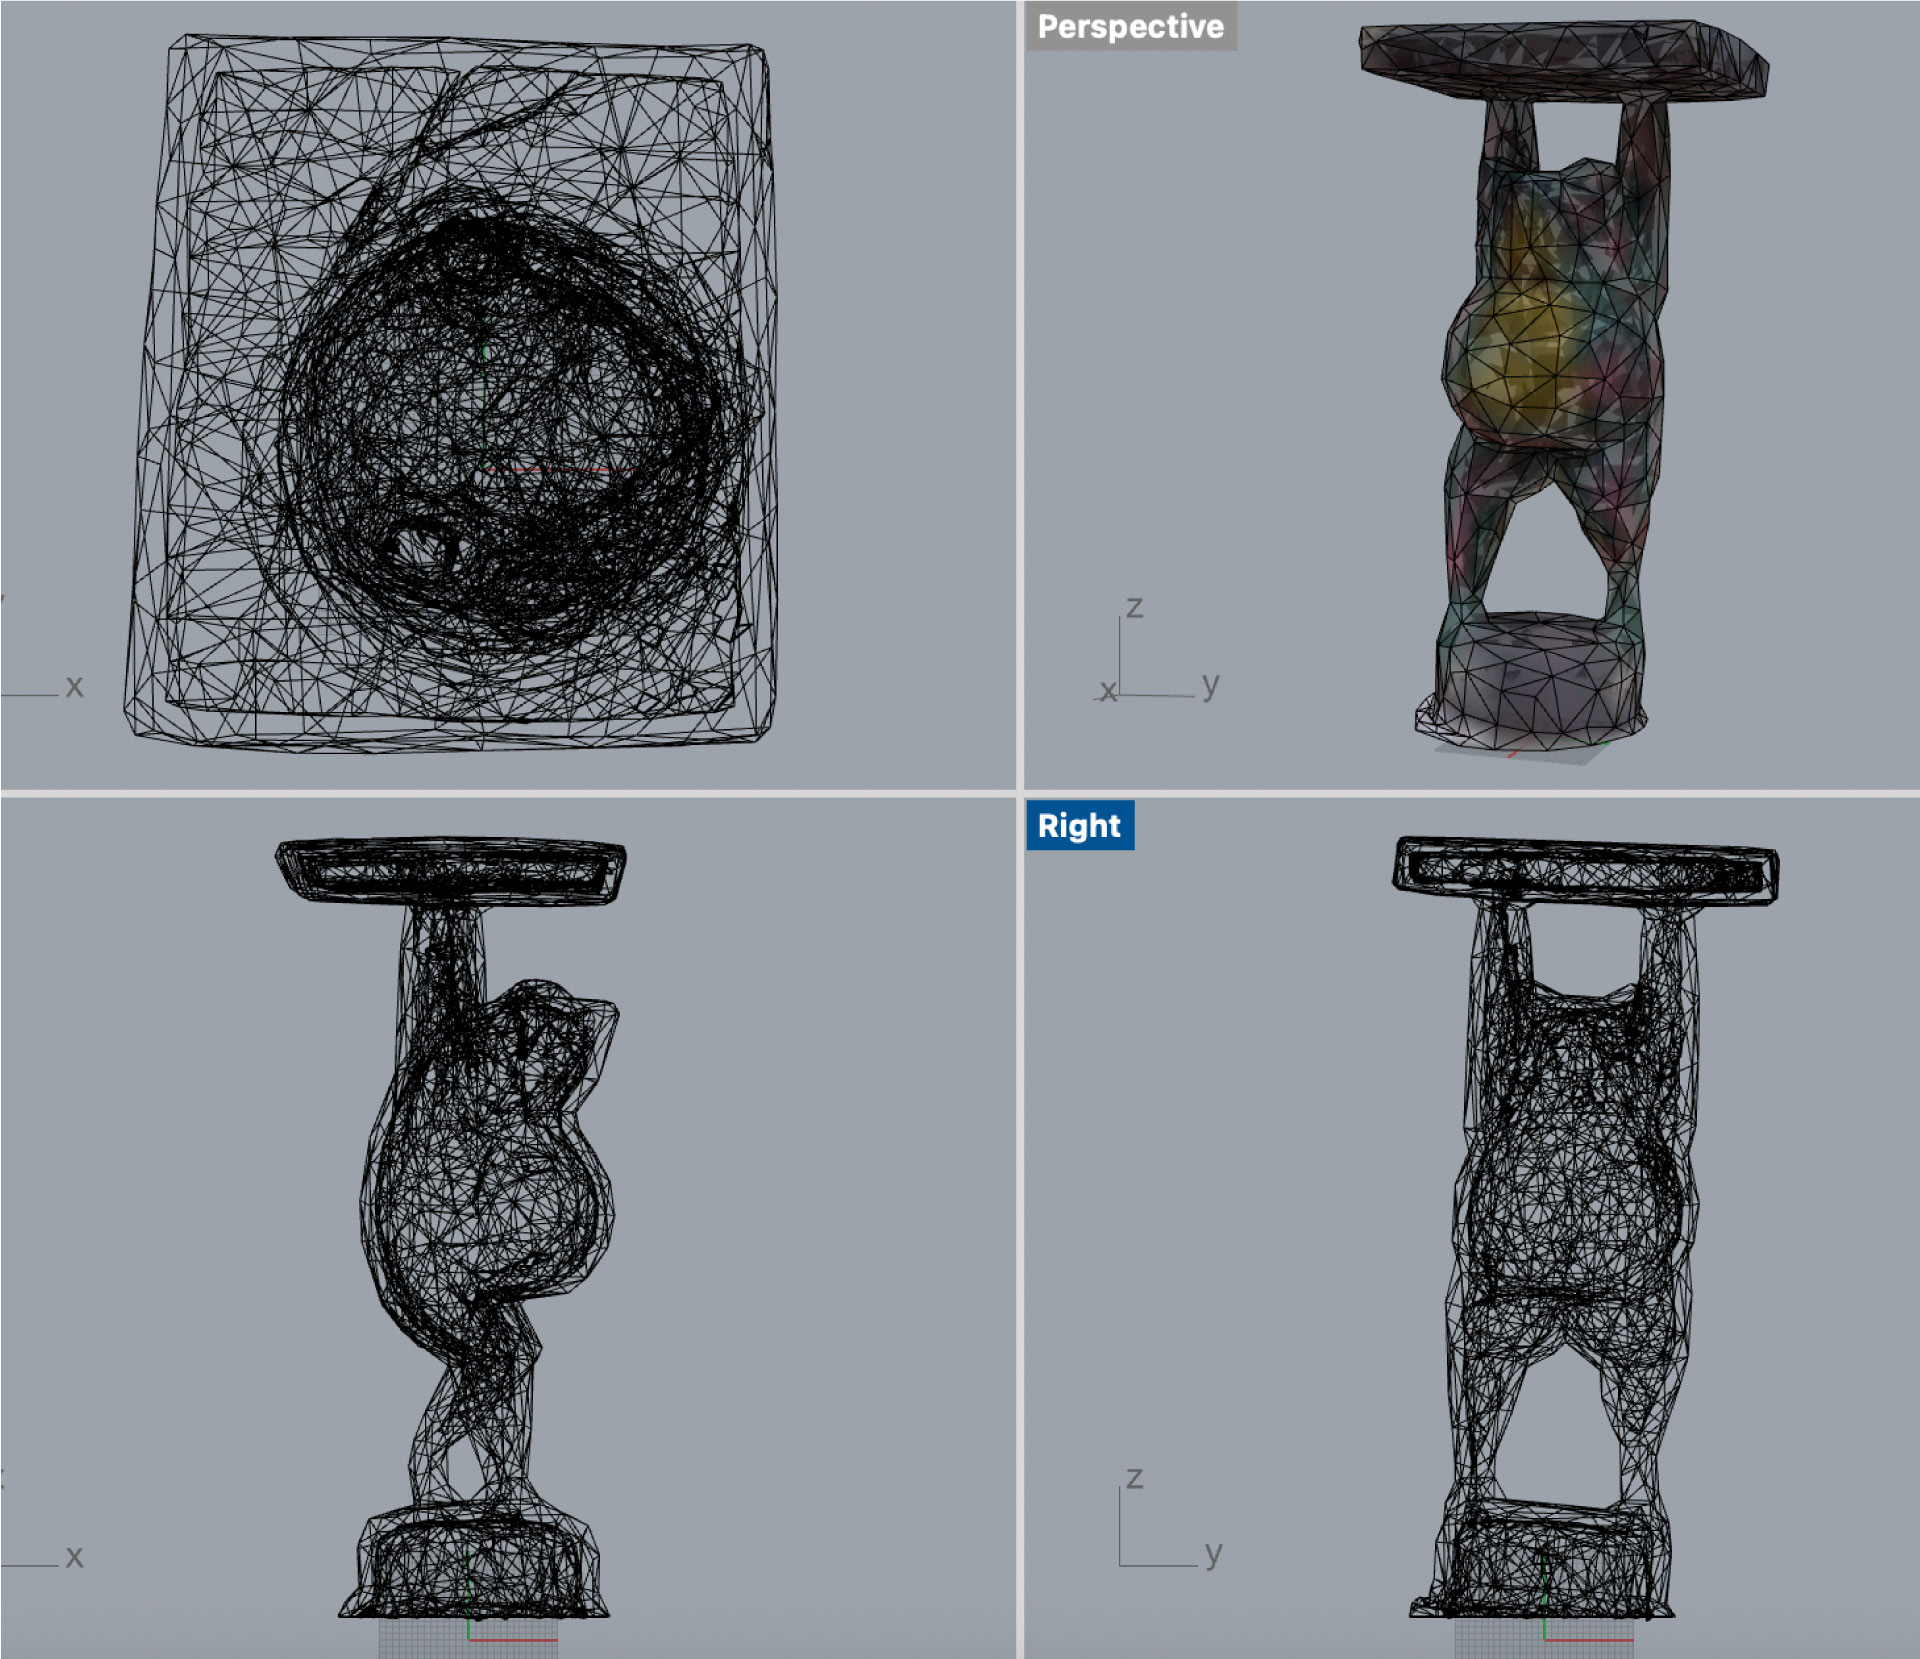
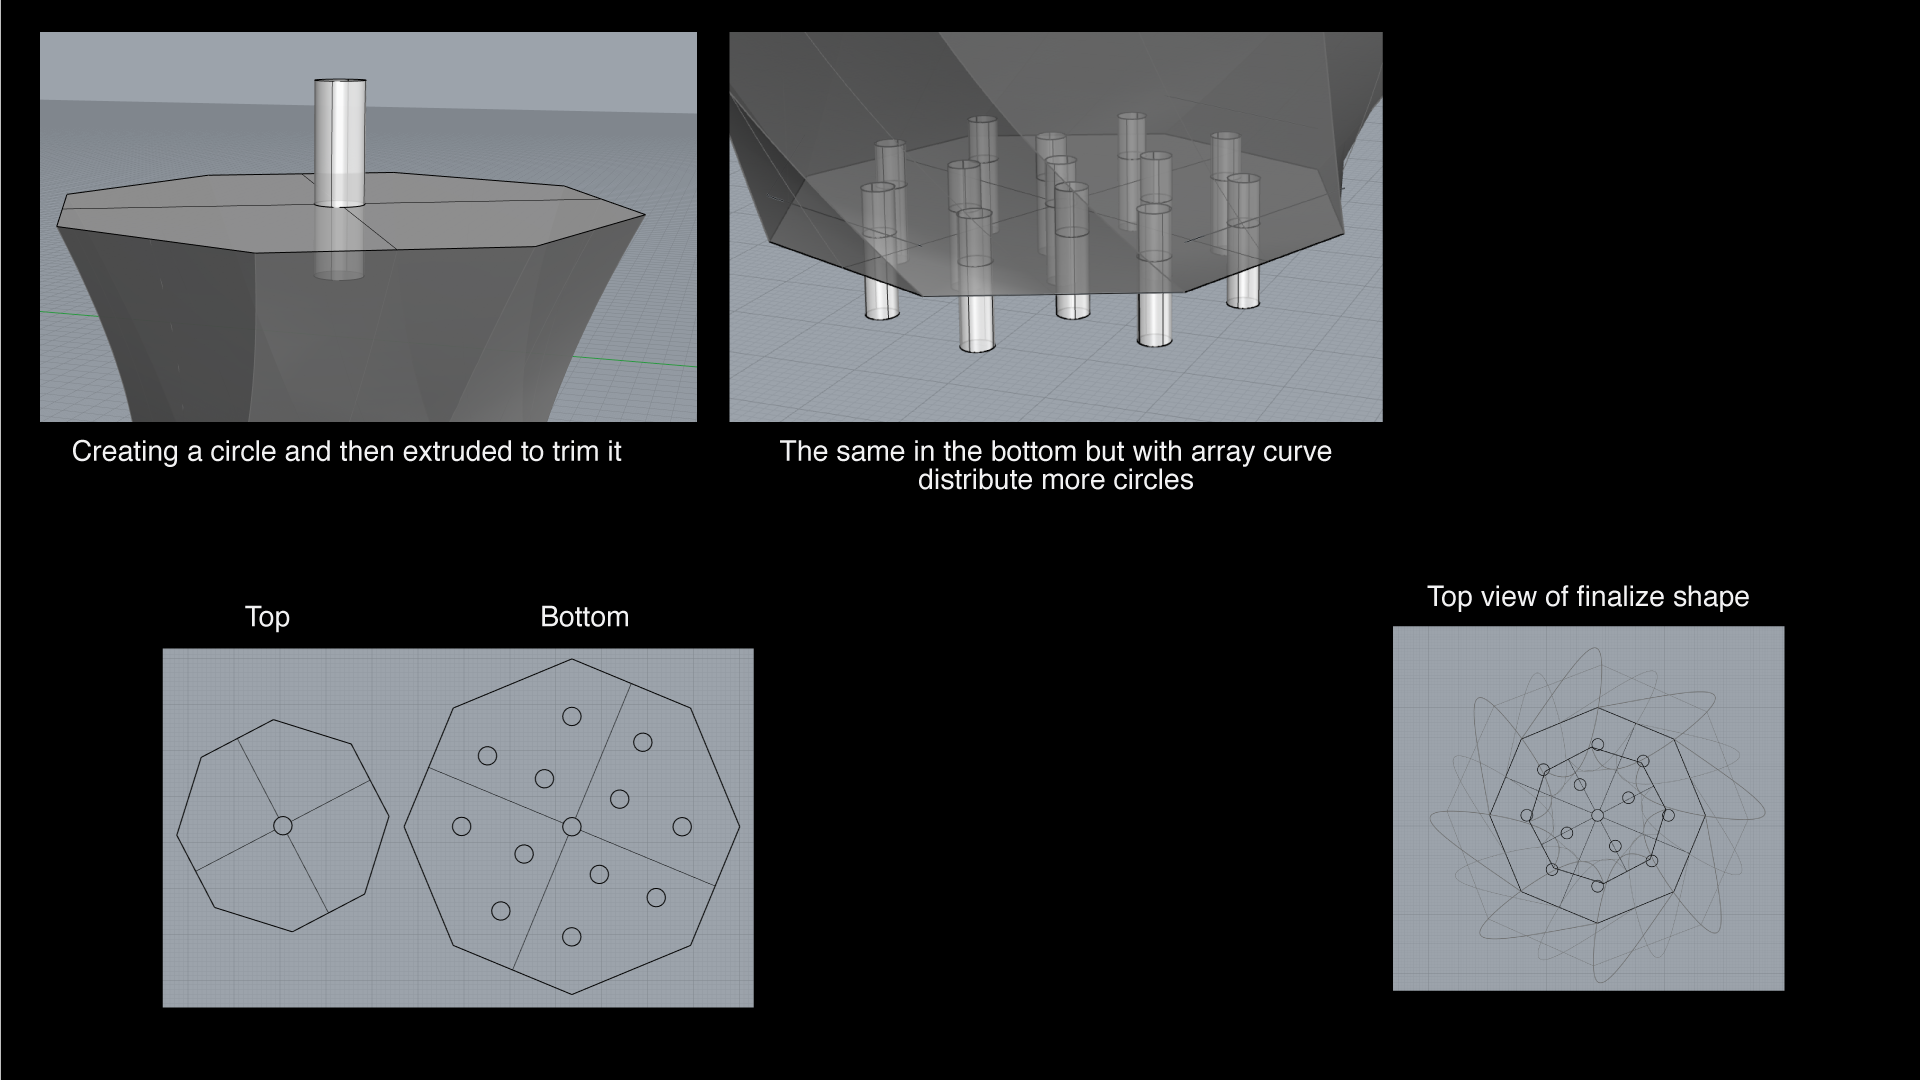
In this case, I decided to print a concentric geometrical can with one hole on top and small ones on the bottom, so once you put the finger on the top hole, it contains the water and once you release the finger, the water falls. The reason why I choose this shape its because the assigment was to create something that couldnt be manufacture with substractive manufacturing, this watering can internally needs to be hollow to foster water inside, but solid in the outside, with substactive it couldnt be possible to remove the material from the inside without dividing the whole shape in more than one piece. So the watering can was produced with 3d pringing, layer by layer, allowing the creation of the complex internal structures.
The reason why I chose this one to create in 3d printing is because it needs to be empty in the inside, so the water can flow from the top to the bottom holes. Even that in the interior I didn't put some pillars, I wanted to do it in a single shape without cutting it in half.
First, I decided to create the shape on rhino using an eight point polygon, creating different sizes of the same polygon and turn them in the X plane, in order to have an spiral finishing on the shape.
Once I checked that the shape had thickness and all of the edges where closed, I exported it for Ultimaker Cura, in here I drop the file to edit the quality, walls thickness and see how long was going to take to print the object, which took 6 hours in total.
File for the vase