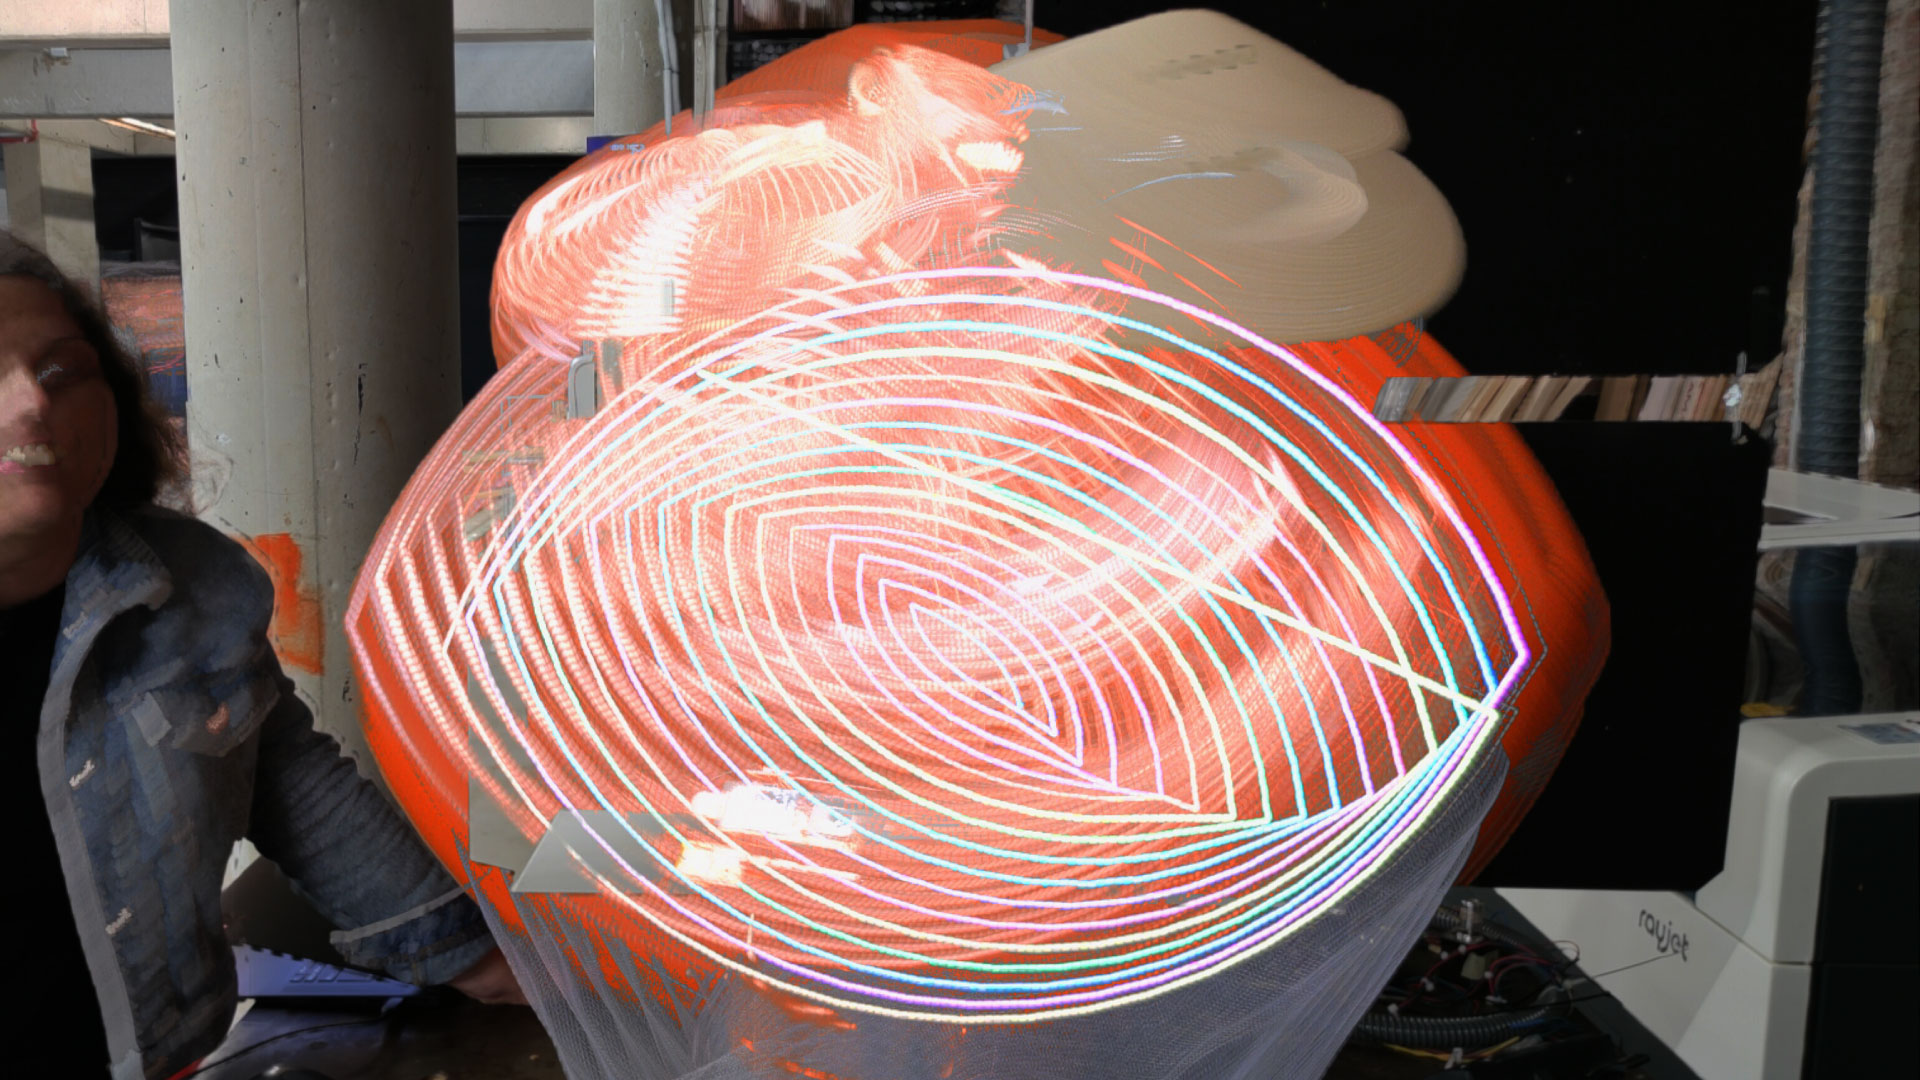
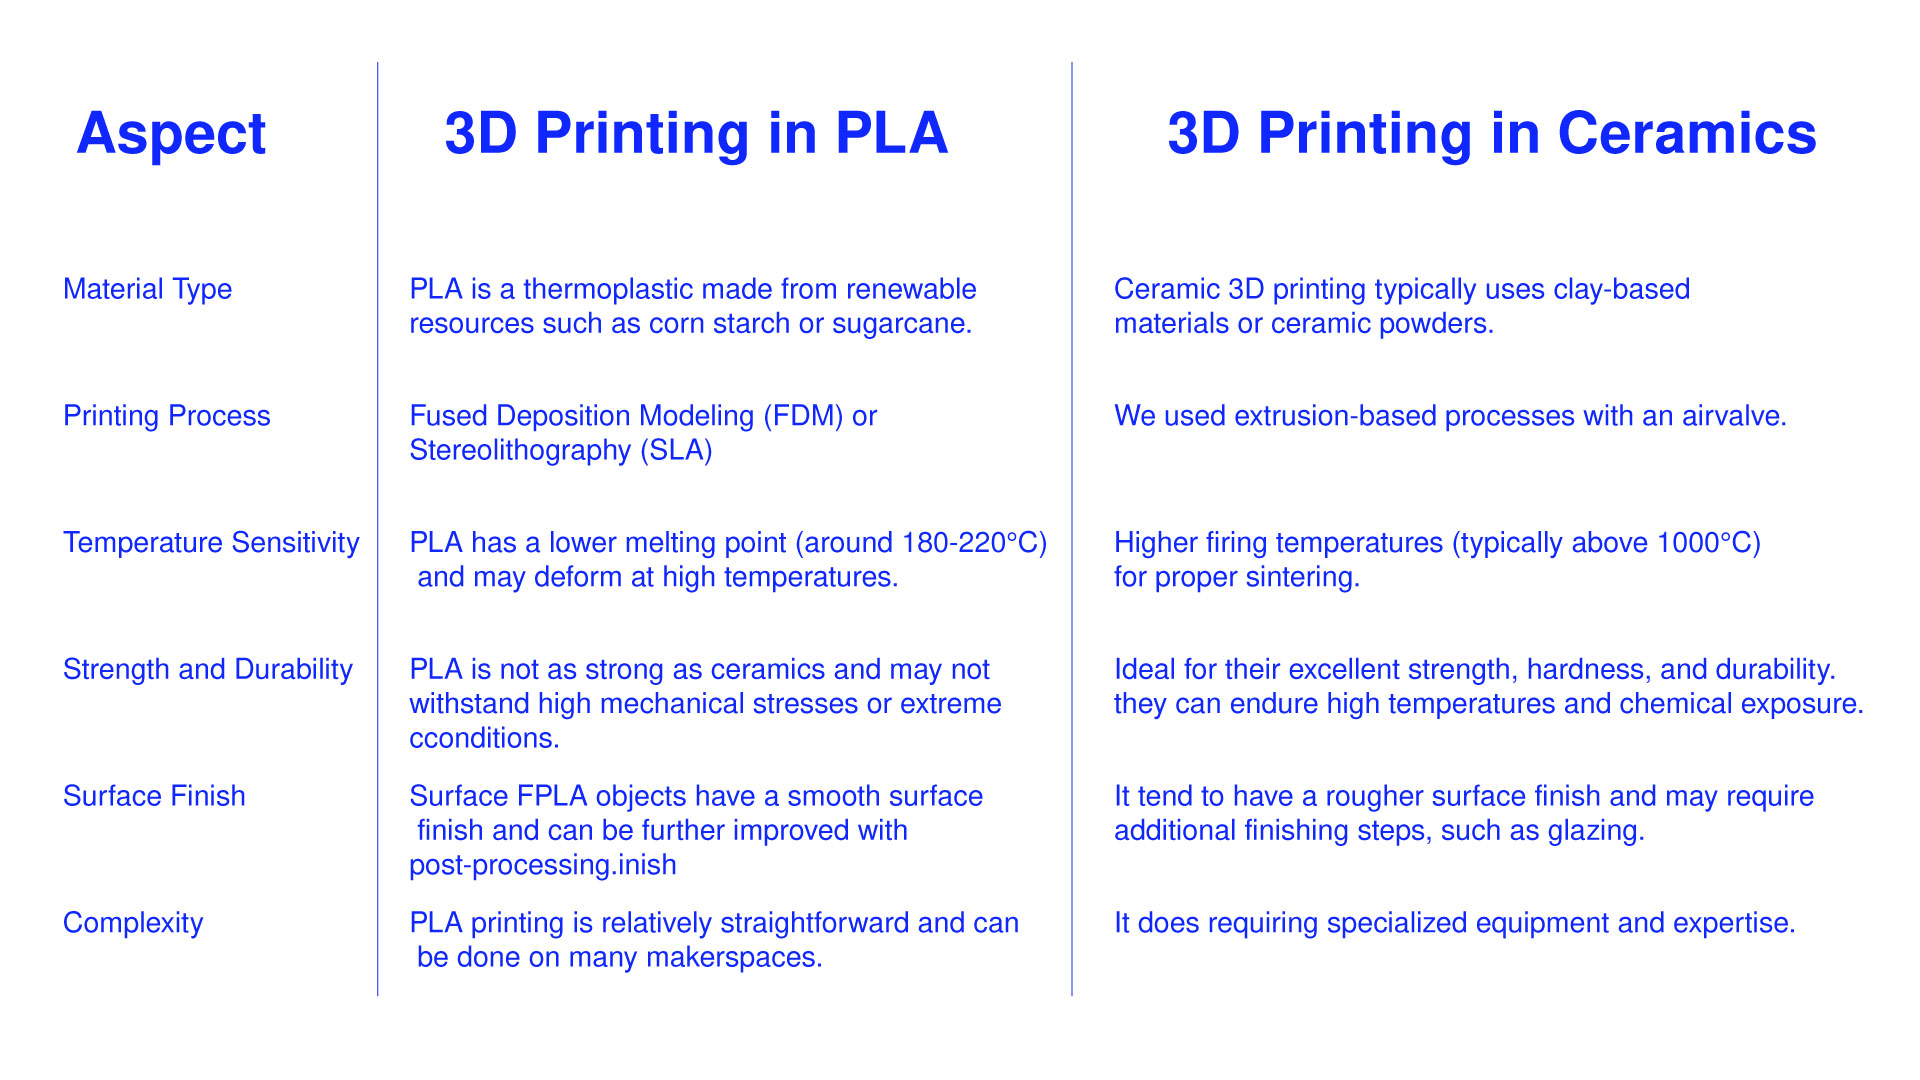
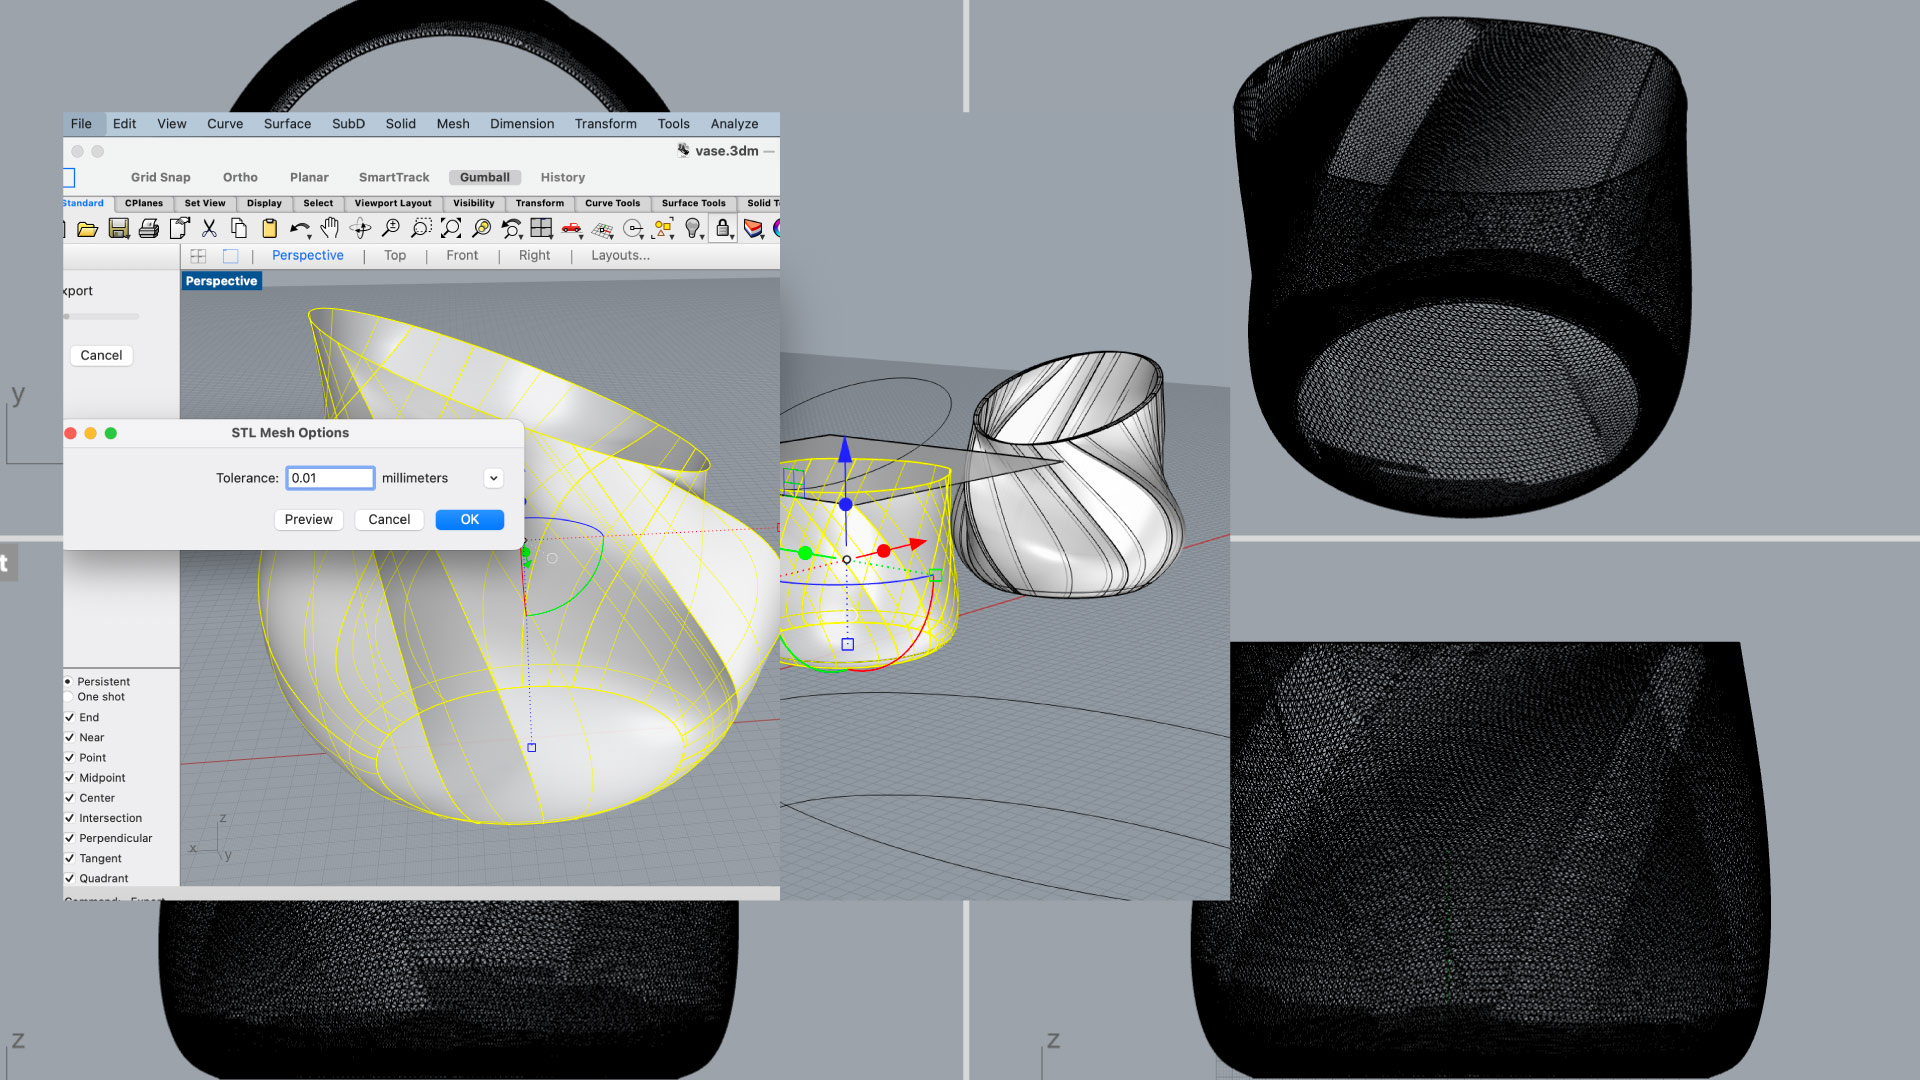
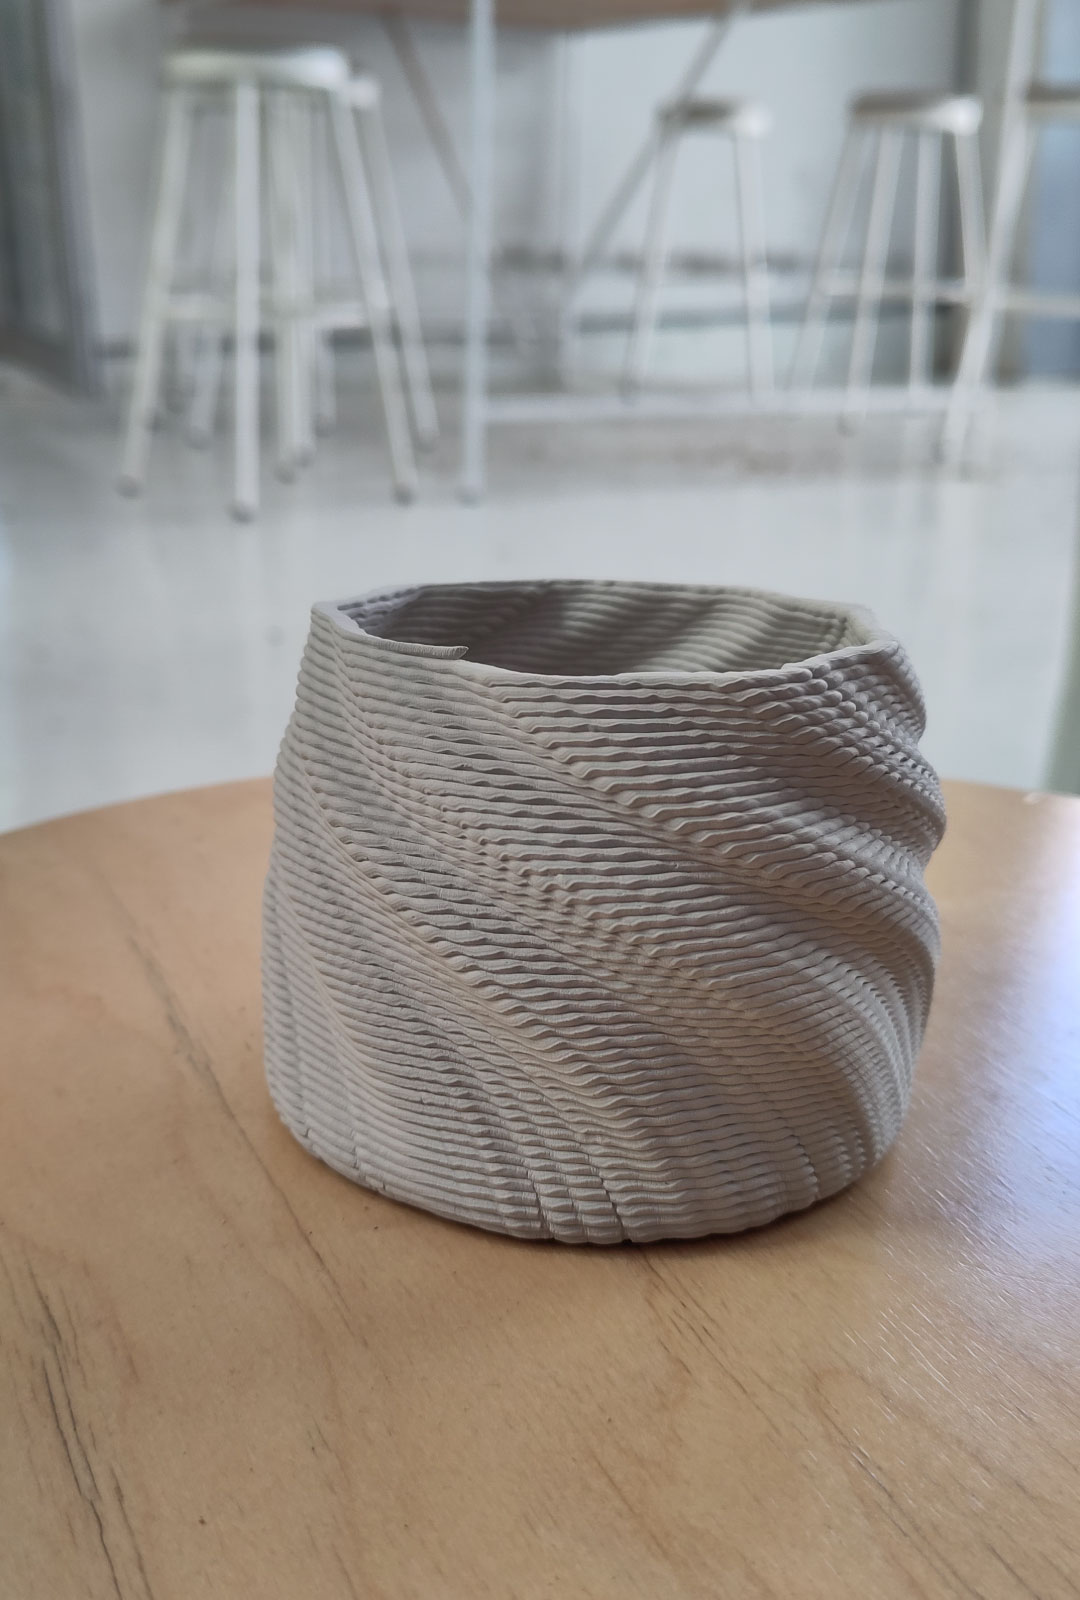
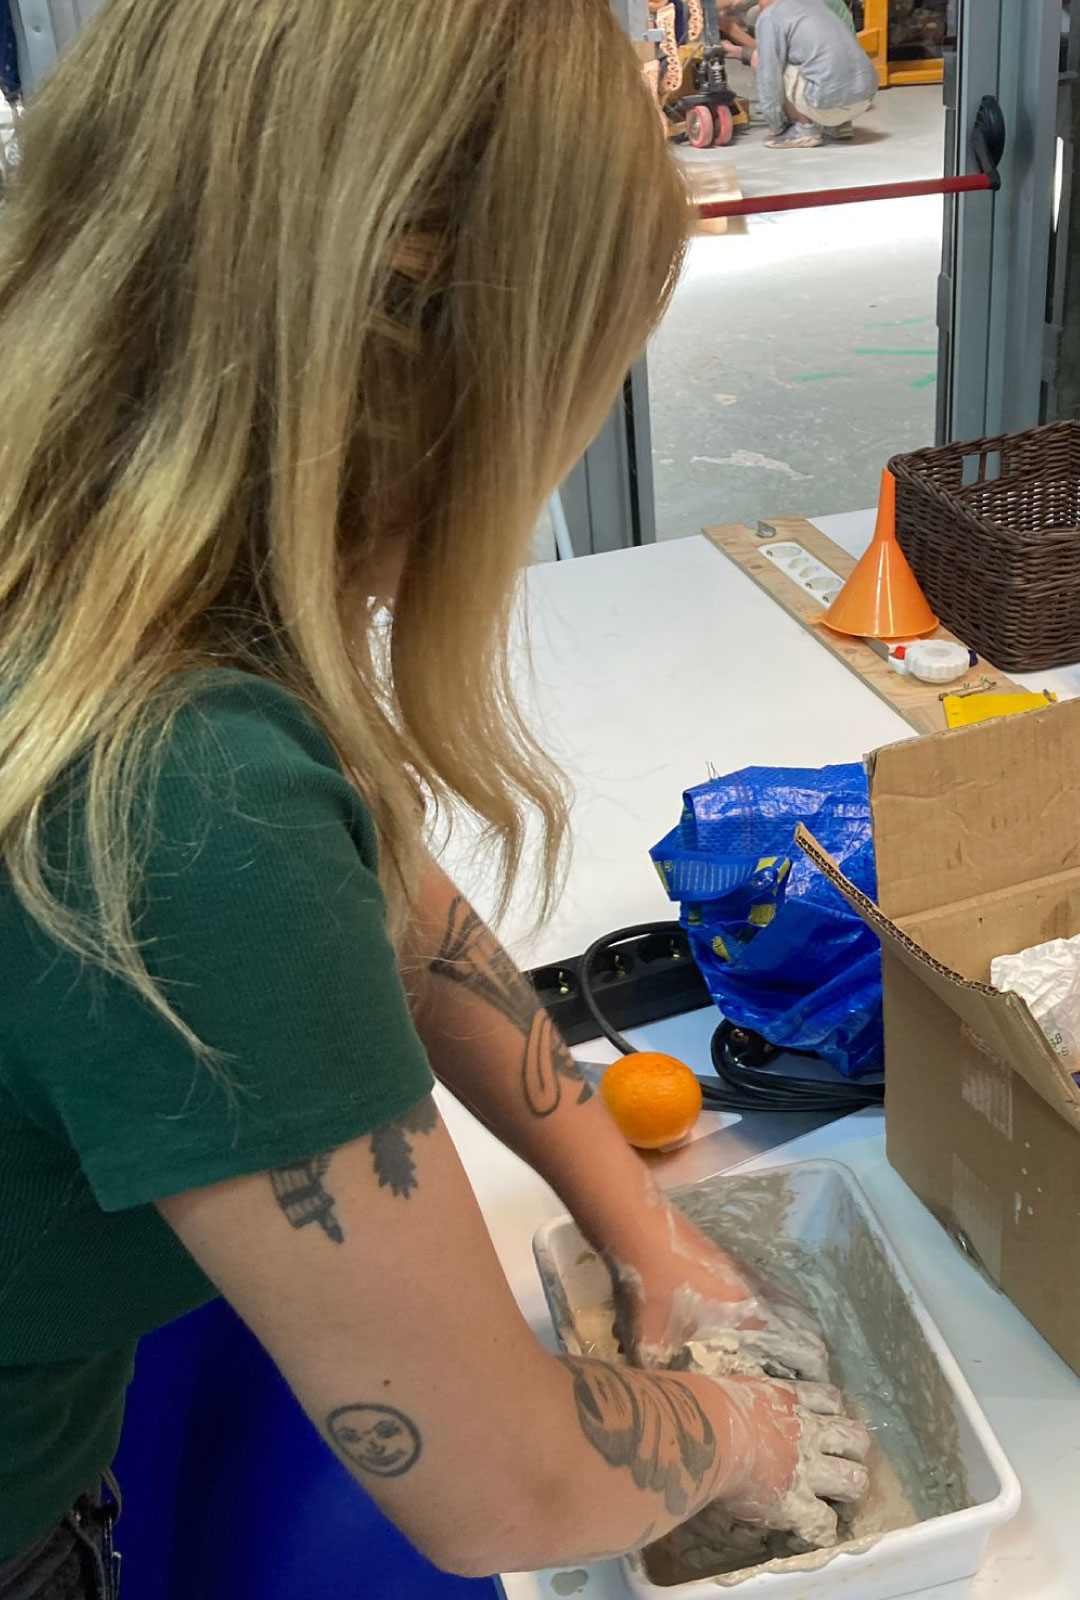
The first part was understanding how everything of paste can be 3d printing, like smash potatos, chocolate and in our case clay. First, the 3d printer was adapted to have a bigger extrudor where we can add the clay. This needed to be combine with water and making a softer paste, then added to the tube trying not to create any air bubble. Then, I added a pottery created in rhino to the ultimaker software and very important having the nozzle pass only one time, becuase of the thickness of the paste is not neccesary to create more thickness. Only took 60 min to create the shape of 10cm heigh x 8 cm of diameter, and once it was finish it needed to be in the oven for 30 min first then, 4 hours the next day. The pot had a small curvature after, that could happen becuase of the baking temperature or when it was drying due to the weight itself.
Up until this week, I had only worked with PLA in the past, so it was quite a challenge to understand the difference and similarities with plastic.

Exercise 02
For this second test, I created on rhino a simple cylinder of 8x8cm using loft command and then export it into Cura, in Cura added the settings which were layer heigh 1.5mm, then 0.8 wall thickness, 20% infill and not supports. Then, slide the file to see how the 3d printed is going to extruded and when everything look right export the file.
Then, adding the file to the printer it had some problems because of the compressor screw and the nozzle, the second one had some dry clay from the day before and the base for the screw was not well fastened so we had to take it apart and check if it was going in the right direction to the right.
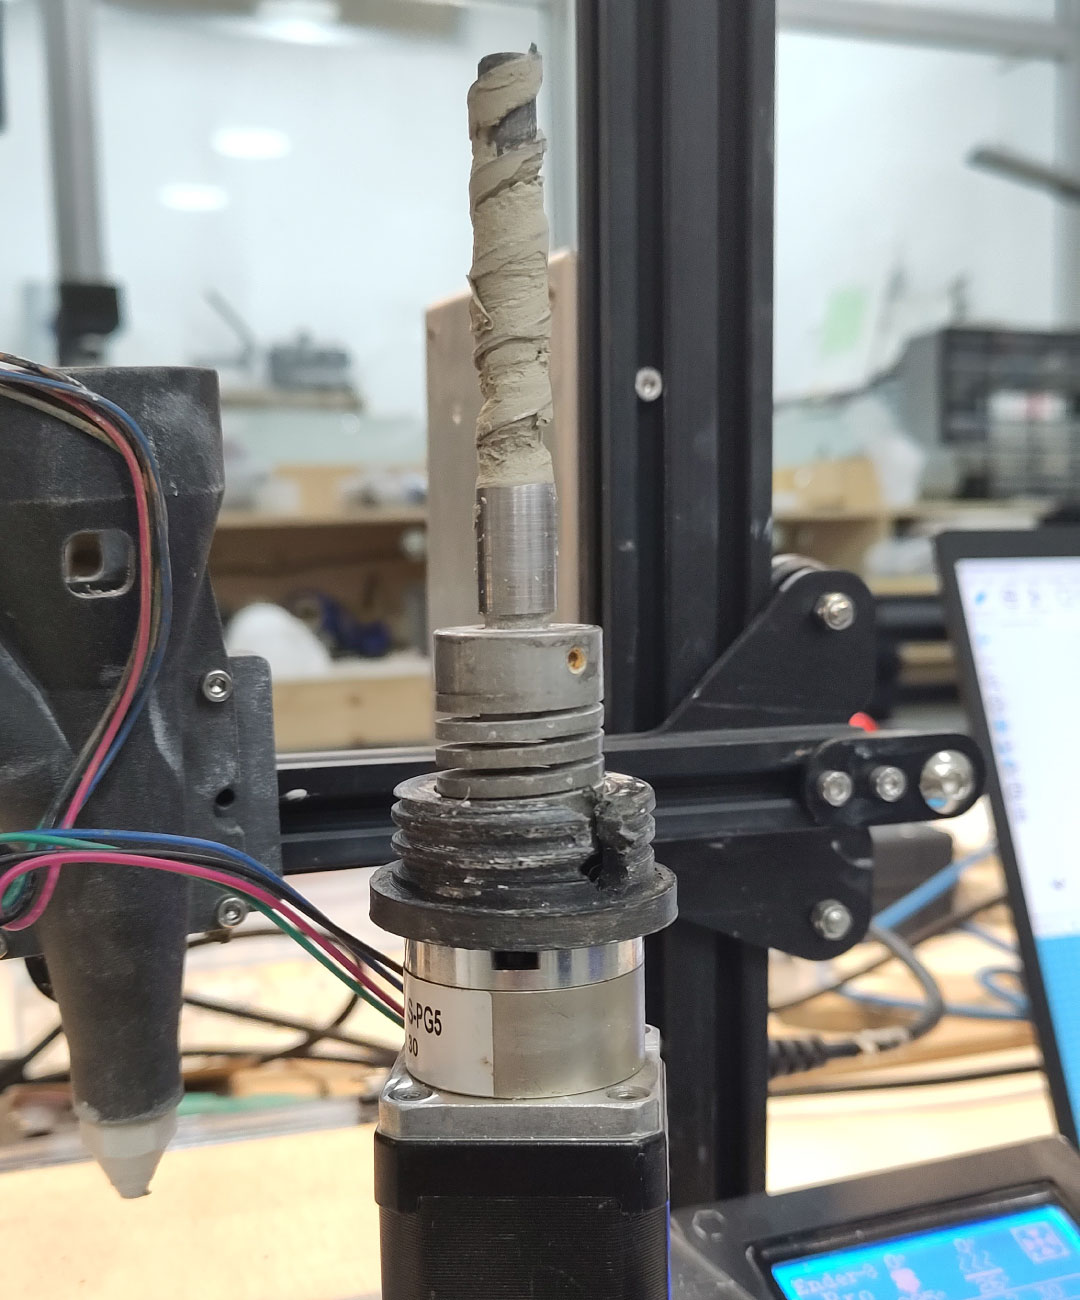
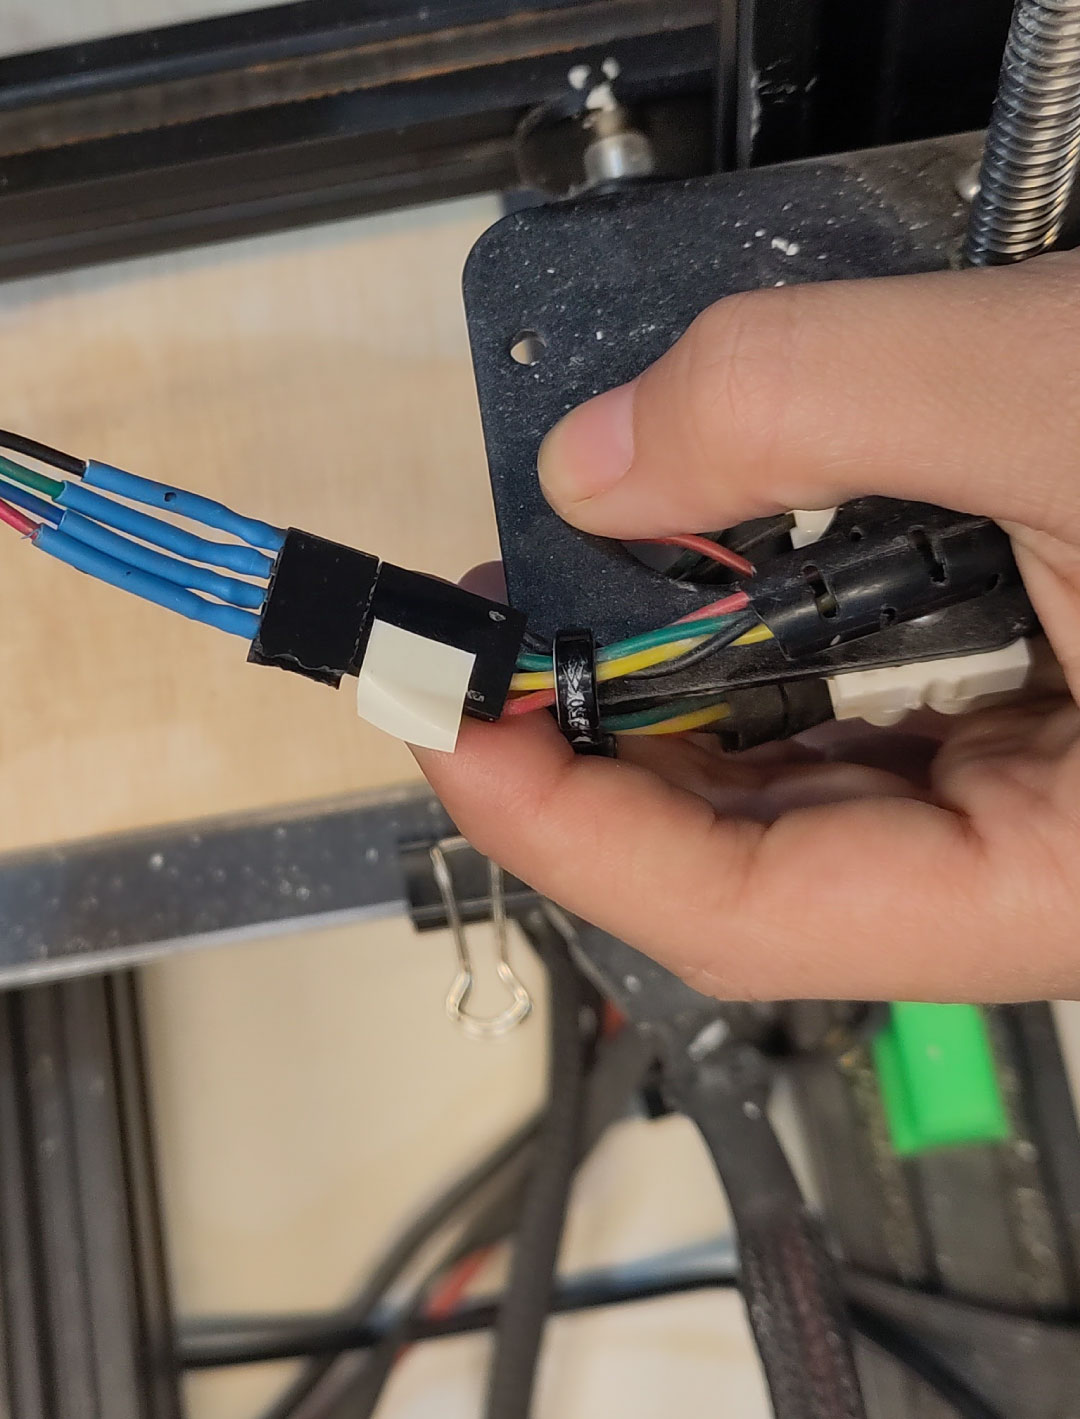
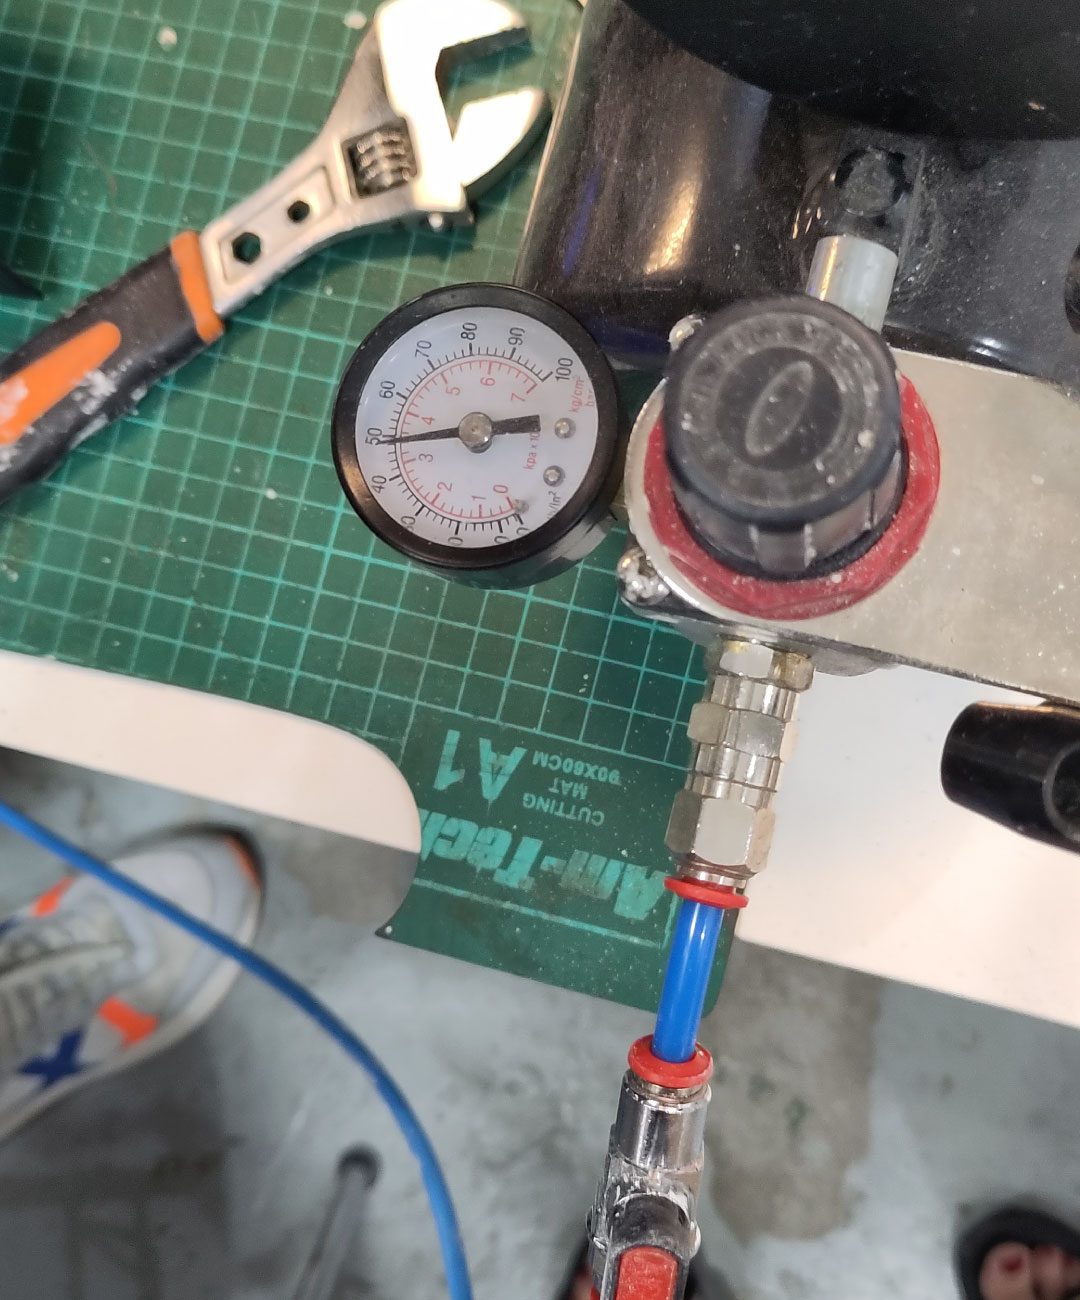
The third step was connecting again and opening slowly the air valve, check for the connections on the cable between the motor and the 3d printer (in our case is red cable-red cable for the motor to go opposite of clockwise).
When launching the file, there were some other adjustments to be made, in the option tune: first the flow for the base layer had to go from 100 to 800, this might change depending on the heigh of the layer, consistency of the paste. And then for the rest of the cylinder lower to 700. Then, also in tune, reduce the speed to 50%.
It took 30 mins to print the shape. Here is the
02Welding
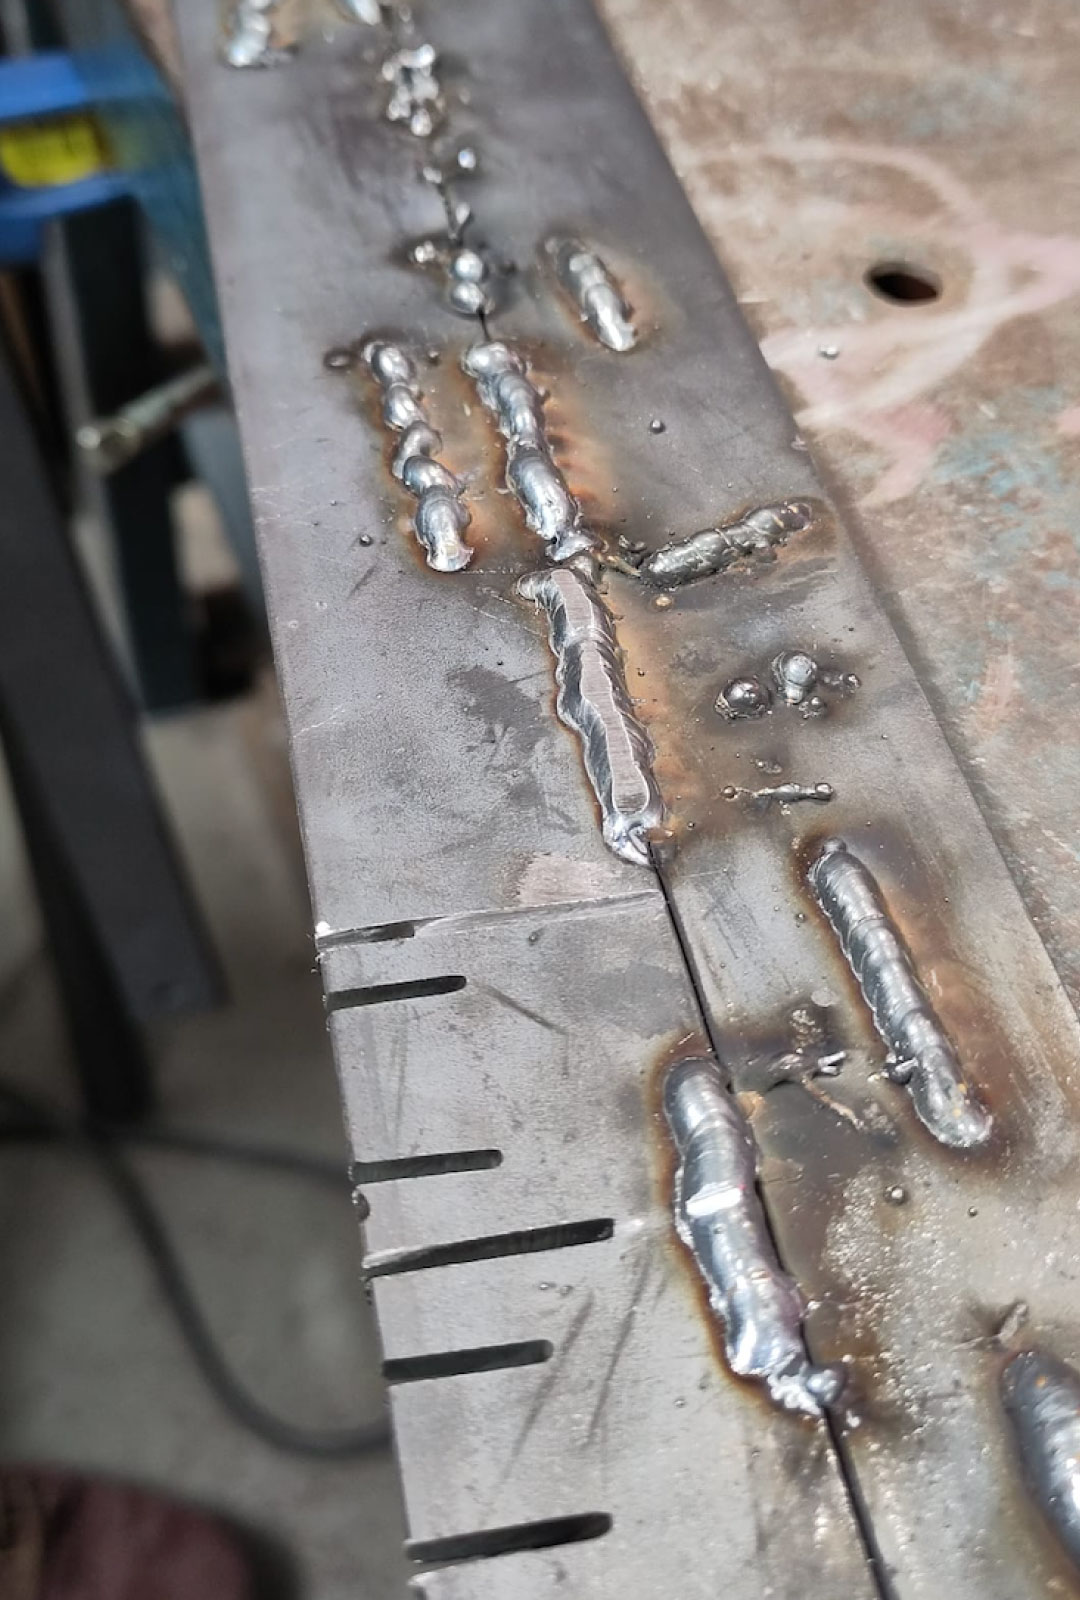
Even if this one it is not consider part of the wildcard week, it was by far my favorite activity, welding is a process of joining two pieces of metal together. It works by using heat to make the metal pieces melt and become liquid. When the melted metal cools down, it becomes solid again and forms a strong bond between the two pieces. It's like using a hot glue gun to stick things together, but with metal instead of glue.
The are a lot of tools and equiptment needed for this:

