Tool to control electronic stuff(inputs and outputs) with code. Inputs, being devices that gather information, for example; sensors and outputs are devices that have some action in the world, for example, motors or displays.
Arduino stay in the middle of this two groups, reading inputs and controlling outputs.
How to make it work?
Week 04
Computer-aided Design
This fourth week was the introduction to the simple CPU, microcontrollers, arduino succesful focus on education and capacity to share, languages to use with it, for example, C+ coding control.
- Week 7th to 20th of february
- Keywords Barduino, programming, coding control
- disciplines Arduino, circuit board
- Group assigment
- Here
01Arduino
02Barduino
For this week collective assigment, we have a description of Barduino
GPIO Pins:
How the microcontroller communicates to the world. This ones can be program to be inputs or outputs for reading sensors valuers or controlling stuff.Input pins works by reading a voltage applied at then pin.
Output pins work by adjusting the voltage at the pin.
Understanding ArduinoIDE
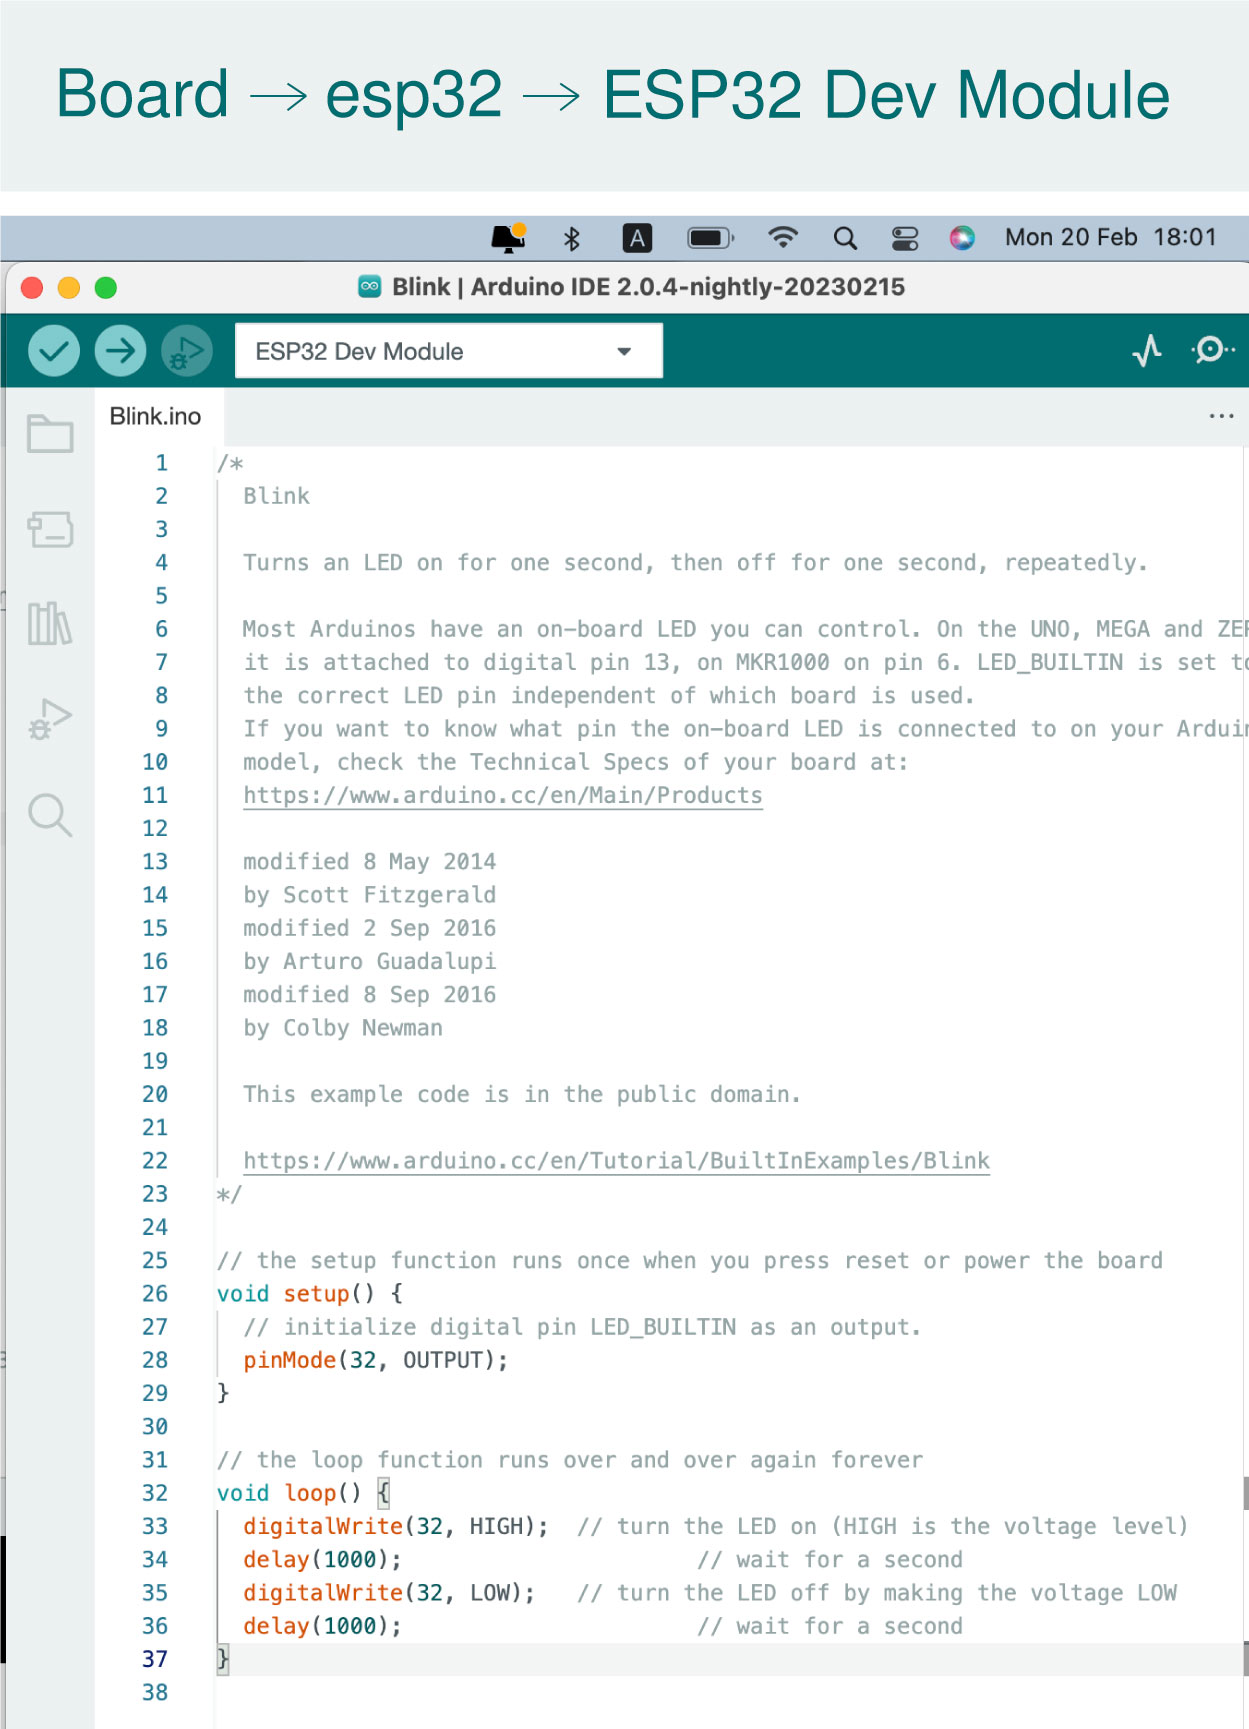
01 IDE First we are going to open the IDE software and connect it with the board, in this case called: Generic D11C14A, then in File go to examples and choosing blink. Then upload it to the board. As soon as you open the sketch, some functions are display, its setup ones there are parenthesis () after a word. Always having two by default.02 Setup (){} execute the code from the top to the Bottom. Setting up code that is just going to run once.
03 Loop (){} Is going to run over and over.
04 Variables Store information in a space. This works with: a type, a name and a assignment operator = with a actual value.
05 Type The kind of information that we are going to store in the variable example, bool, byte, int, long, float, char…
06 Name How we are going to refer to the code, using descriptive name.
07 Assignment operator Its says that any number after the = sign is going to be store in the name that we decided to give to.
08 Declaration In order to use them, first we need to create a Declaration. That would mean typing first: type name; // Declaration
Int name = number.
Once its use on top, now we could just write the name of the variable through out the code. Anytime there is the end of a line of code, we need to finish it with a semicolon ;
SAMD11 Datasheet
From a 981 pages, I focus on the description to know the basic information that I would need from The Atmel SAM D11, a microcontroller very efficient that can execute tasks at a maximum speed of 49 million times per second. Also, able to store 16KB like instructions, and 4KN of temporary data, the SamD have special features that allow them to do different things like connect to other parts of a device and send signals between them or understand when someone touches a button or moves a slider or wheel. They even have a clock and calendar, just like a regular clock.
Then, the page 8 where the pinouts are explain, this was very useful to have download, when designing the kicad, knowing where the analog or digital pins where. As I said before, the samd could do different tasks, for this this are the type of pinotuts:

03Example 02
Fade
		int led = 9;         // the PWM pin the LED is attached to
		int brightness = 0;  // how bright the LED is
		int fadeAmount = 5;  // how many points to fade the LED by

		// the setup routine runs once when you press reset:
		void setup() {
		  // declare pin 9 to be an output:
		  pinMode(led, OUTPUT);
		}

		// the loop routine runs over and over again forever:
		void loop() {
		  // set the brightness of pin 9:
		  analogWrite(led, brightness);

		  // change the brightness for next time through the loop:
		  brightness = brightness + fadeAmount;

		  // reverse the direction of the fading at the ends of the fade:
		  if (brightness <= 0 || brightness >= 255) {
			fadeAmount = -fadeAmount;
		  }
		  // wait for 30 milliseconds to see the dimming effect
		  delay(30);
		}
First in the code there are three ‘int’ lines (round numbers) this is outside of setup and loop, so it means is a generic piece of code.
Setup
pinMode(led, Output); this means that we setup that the pin point on the board is going to be and output and is written on the setup part of the code because it needs to happen just once.
Loop
analogWrite(led, brightness); this means we put some variables inside, it is used of creating a signal of PWM its a type of voltage sign used to send information or modify the amount of energy sent.
Control Structure
Statements; if, for, else, continue, white, return.. This ones allow us to have do different things depending on different circumstances. To control code flow.
If (condition){run code} This means that if condition is true, then the code will run, if condition is false, it will skip the code. || (this sign done with option 1, means an or) so if in the code says If (condition a || condition b){run code} it will run the code if a or b where true.
Delay
means that for some exact number we are asking the code to stop.
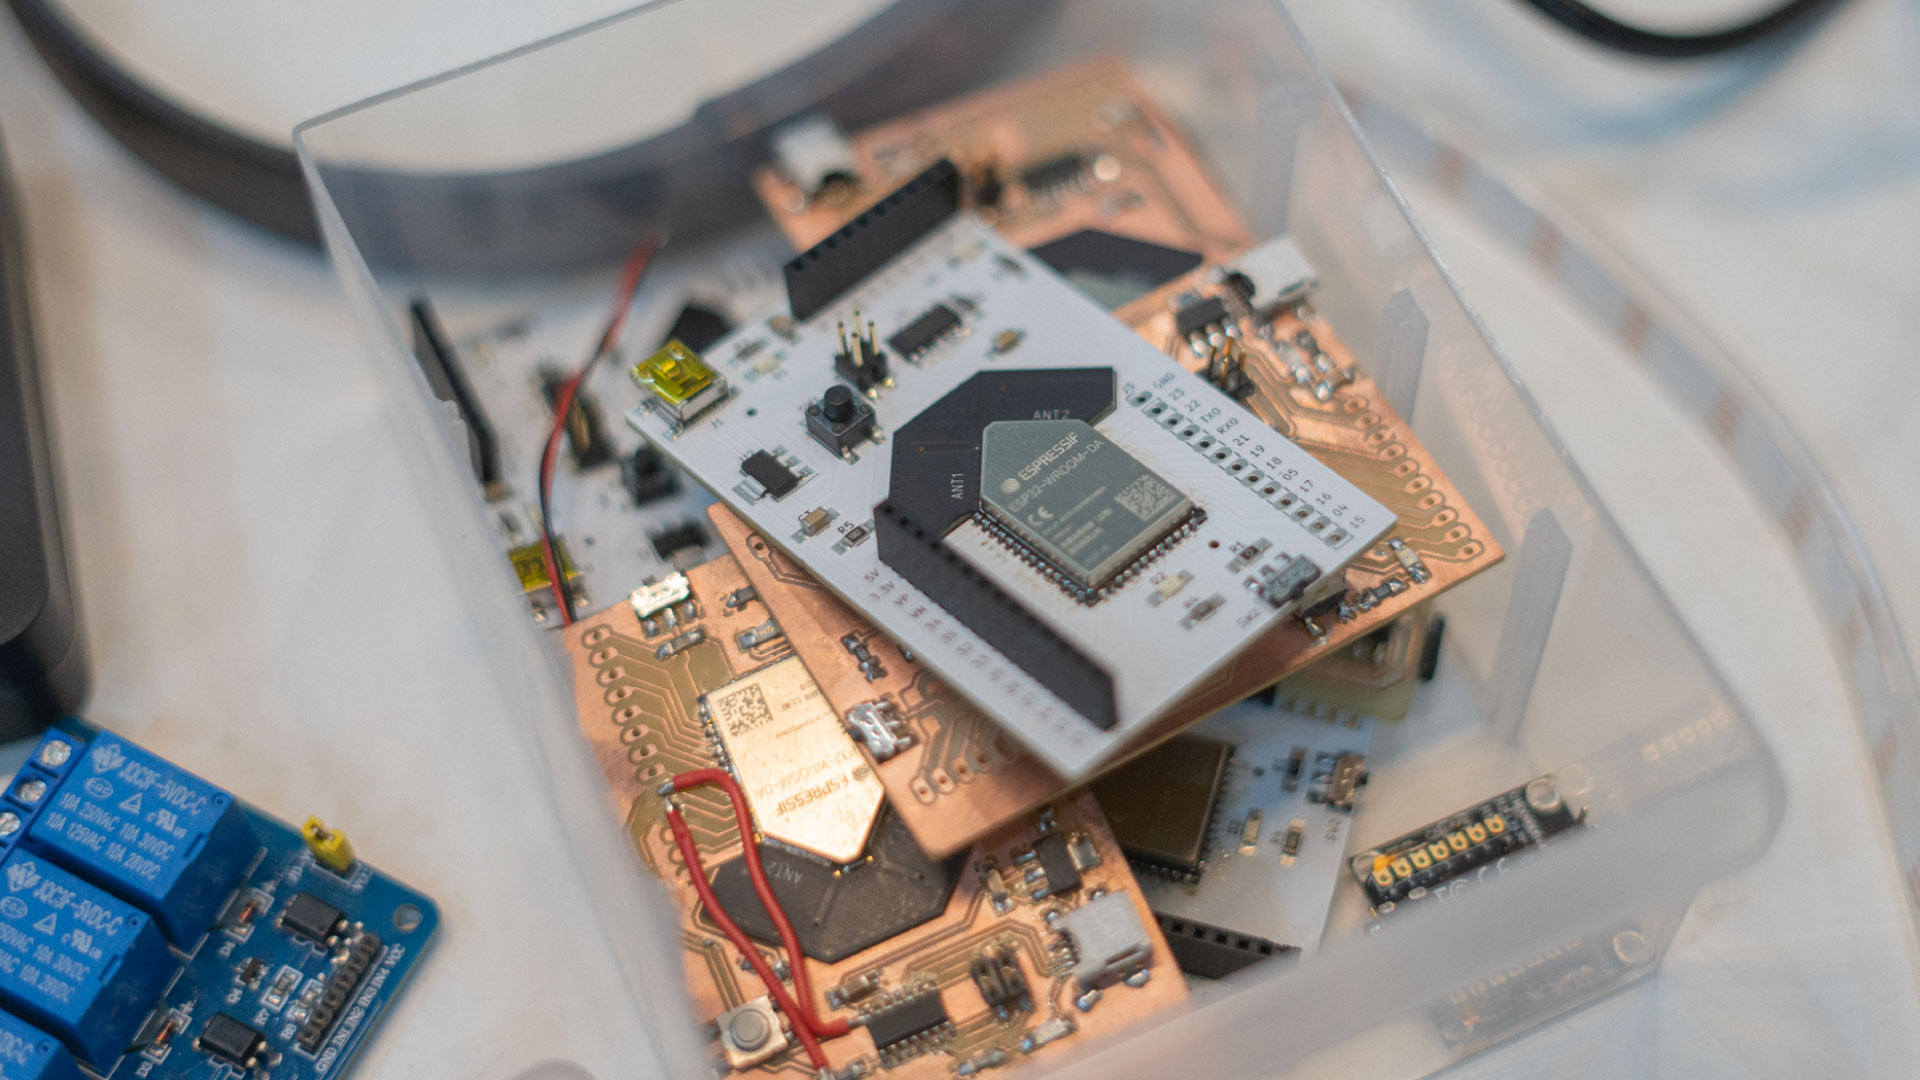
- 01 The difference between SAMD11 and ESP32, the first one is only use as a bridge.
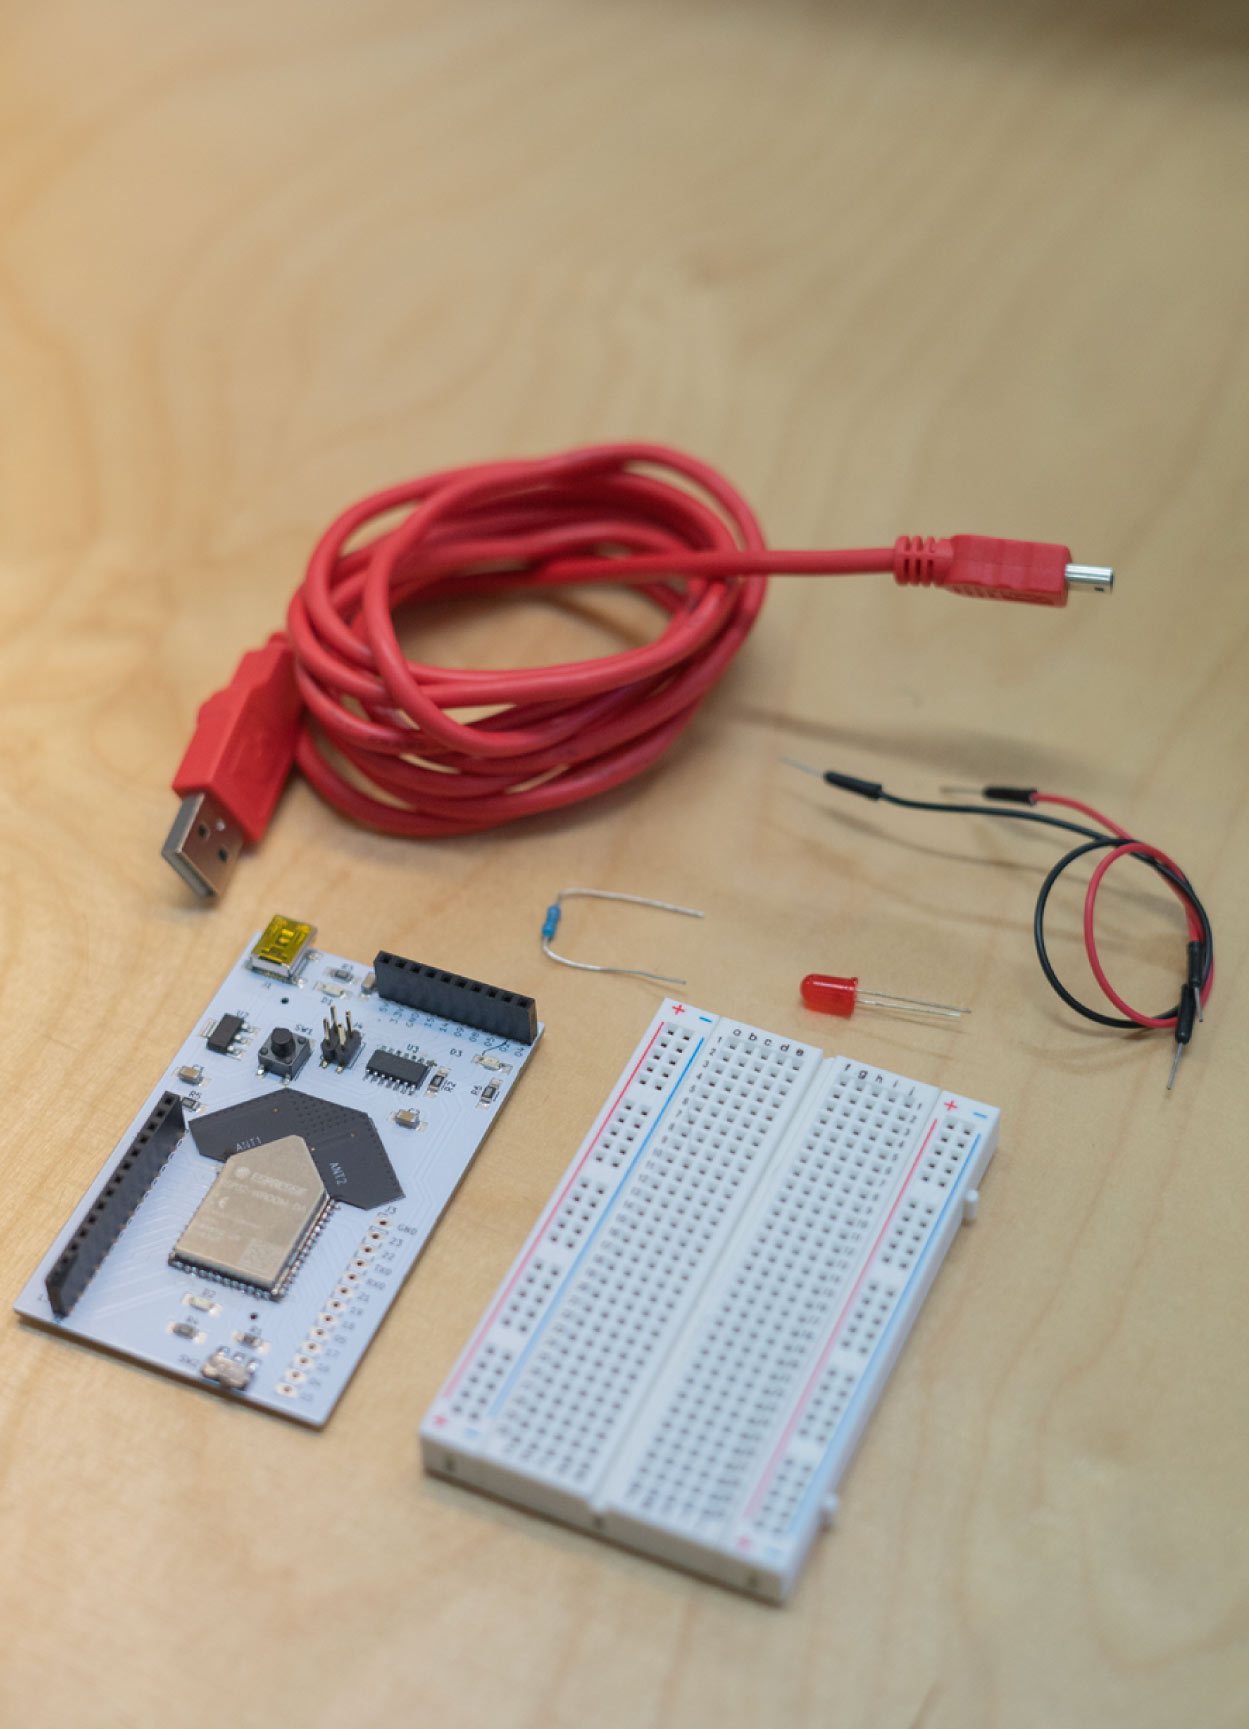
- 02 Trying different examples on Arduino and changing the numbers to see different results.
- 03 Flow charts of task are super useful to translate as code.