Vectors are geometric description of an image, the qualities of using it allows changes, enlarge of image without losing quality and very light compared to pixel. While, pixels are the smallest unit of a bitmap image, each one is made of RGB, it is used for creating complex textures and gradients, processing it could be faster than a vector. Ej, photo, scanner, computer programs.
Programs: Inskape, Illustrator, Corel draw, freemium, drawsvg.
Thingverse: community to discover, make and share 3D printable things
Mesh vs Nurbs:
-Nurb is a mathematical model to generate curves and surfaces.Defined using control points that result in complex curves to form surfaces around them. So it is used to increase the flexibility on the modelling of surfaces.
- Mesh model is a collection of vertices, edges and faces.A non-mathematical object. It is a structural construction of polygons, reference points on X-Y-Z axes defining shapes, heights, width and depth. Interplay of connectivity and geometry
Week 02
Computer-aided Design
This second week was an introduction to computer-aided design, by using computers to assist in the creation, modification, analysis or optimisation of a design. We use them to increase the productivity, quality of the design, improve communication and create a database.
- Week 28th of January - 7th of February
- Keywords 2d, 3d, computer aided moddelling, blender
- disciplines Modelling, illustration, CAD
01Basic concepts of CAM

Because I don't have a concrete shape for the final project, I decided to create a random object to practice 2D drawing, then pass it into modelling, I choose rhino because I had worked in it before and the idea was to add it after to blender to
create the finishing.
02From 2d to Rhino practice
2D design
This week I started creating an 2D image on illustrator, I choose this software becuase of multiply reasons, its a vector-based graphic that can be scale without lossing the quality and edit points with precise control, like changing path, curves and smooth shapes. Another advantage is the many formats to export it, from SVG(vector)to DXF (rhino lines) to png or jpg for web.The only disadvantage is the high cost of the program.
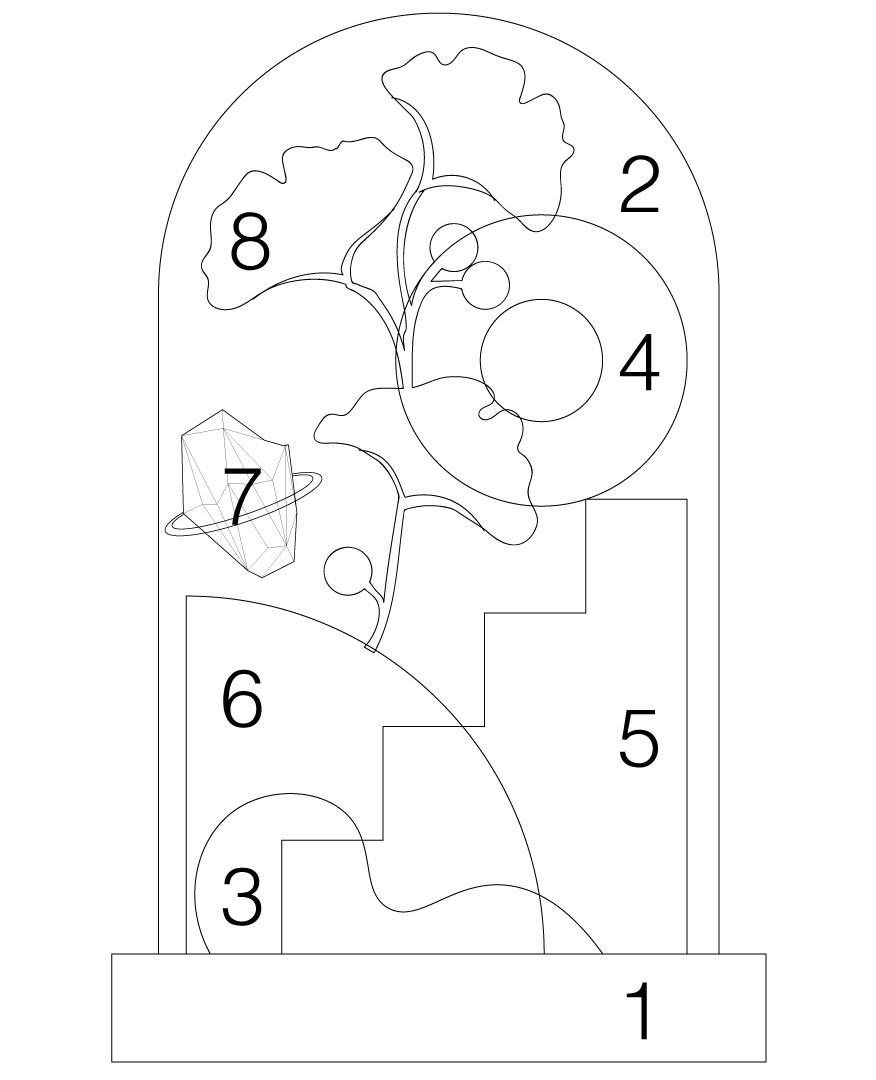
A glass bell composed by six simple shapes and two a bit more organic. I divided each one on a layer, and once I had a sketch of the design, exported as a dxf file in order to model it on rhino.
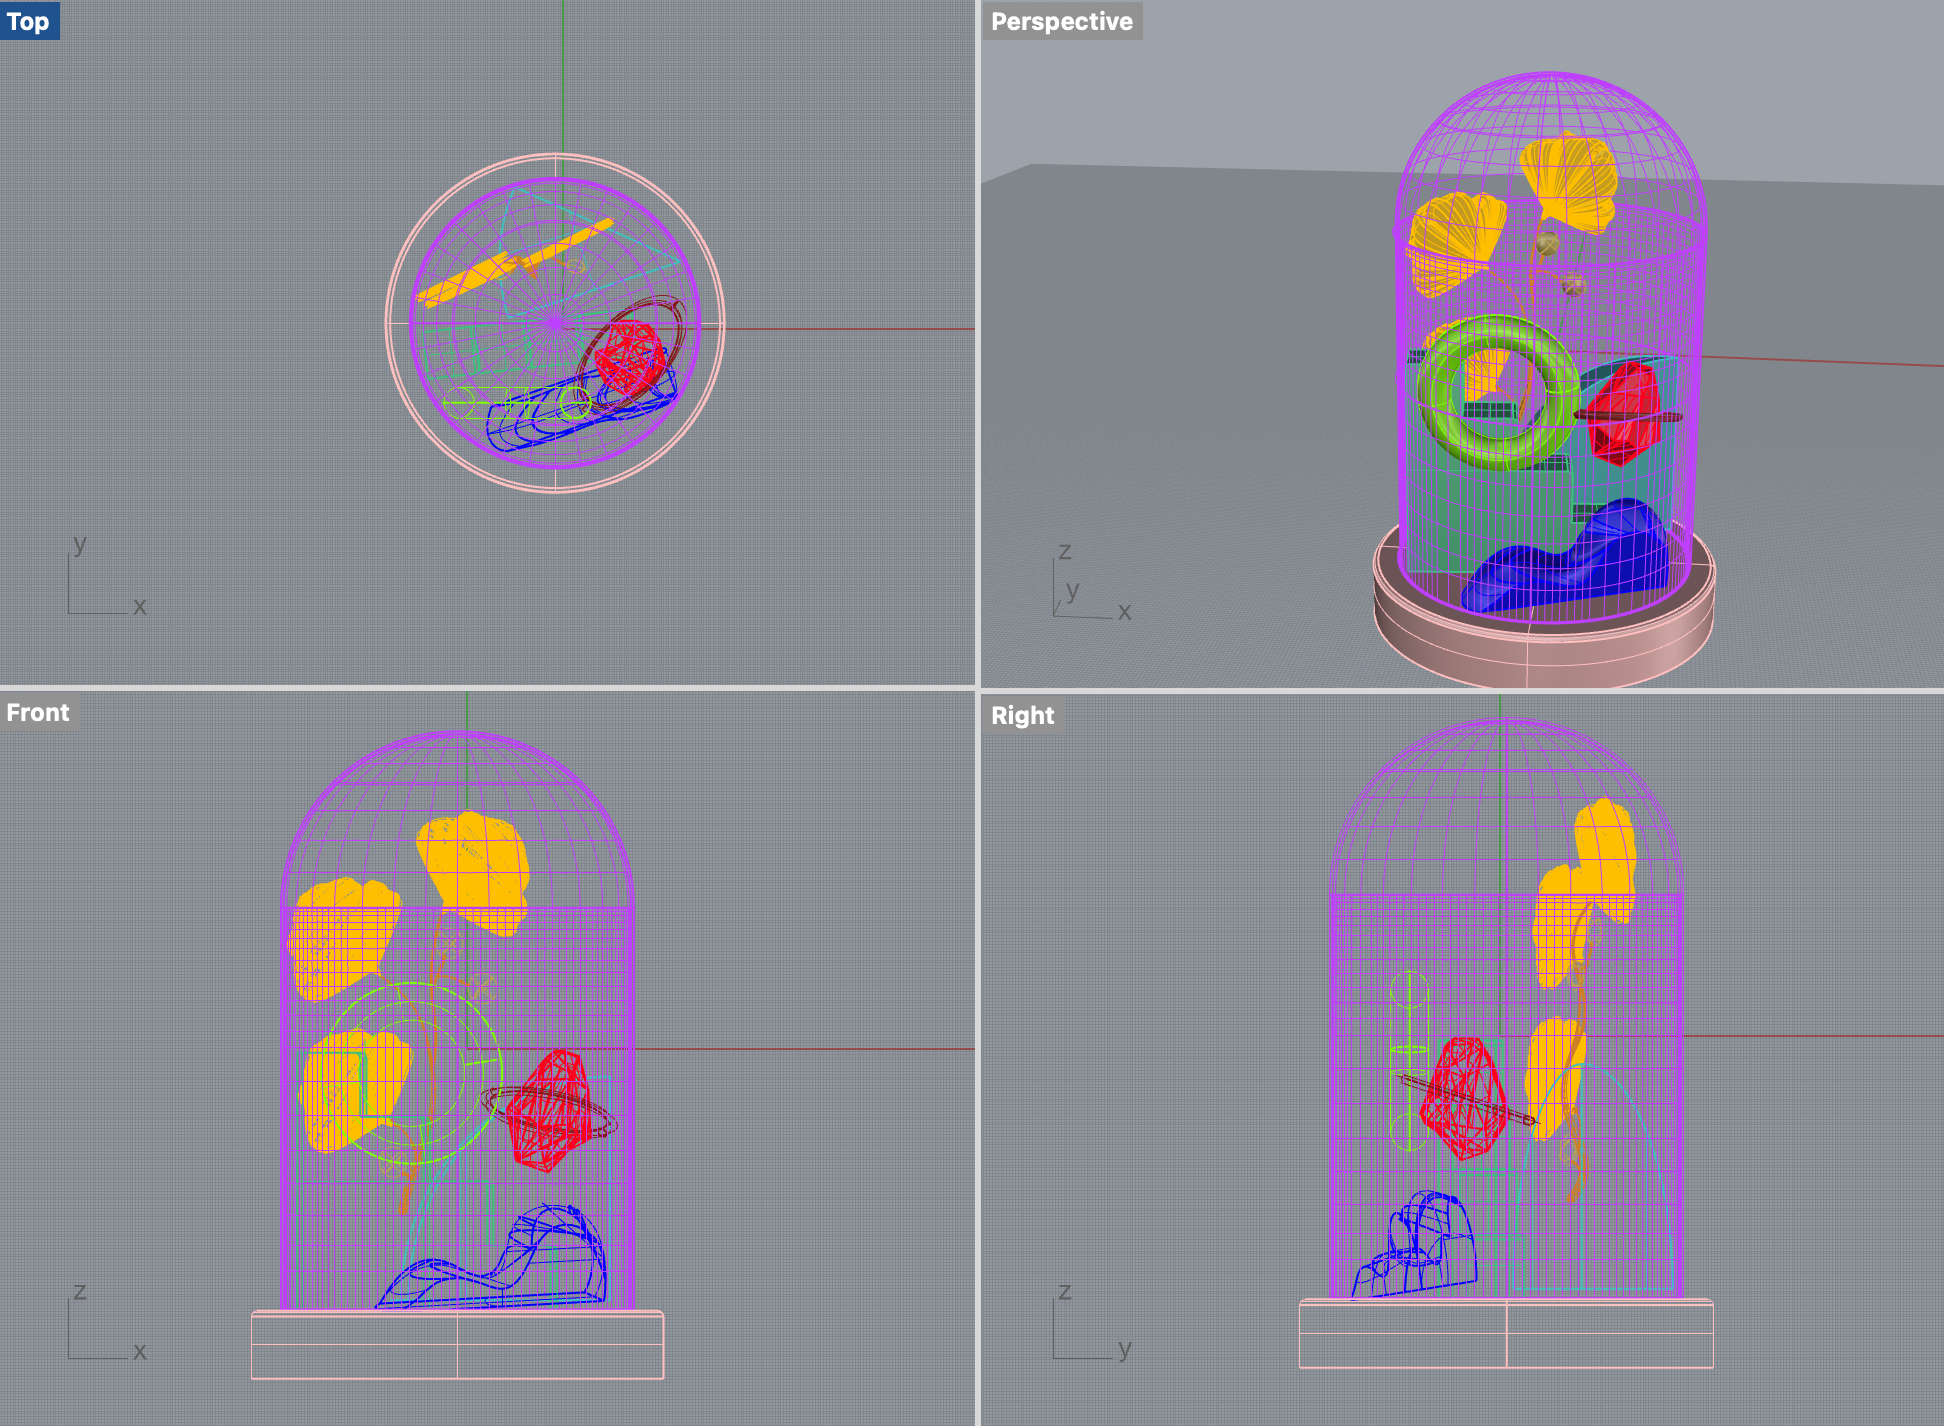
Rhino
01 Based Once in rhino I started with the based of the bell, from a flat circle, extruding it as a cylinder and making the top of the cylinder with a rounded edge.
02 Glassbell Then, for the glass bell, I broke the line in the middle with the trim tool and then revolve it to 360. After, creating a few cm of offset, so one I model it, it would have a thickness.
03 Curved bush For the curve shape, I copied twice on the y plane. Leaving the original in the middle, the oder two, were edited by the points, to make it more organic. Then using the loft command, with the History button on.
04 Torus dded a simple torus shape floating on the composition.
05 Stairs Extruded the stairs shape on the y plane, then using the command cap to close it and finally, fillet corners on some of the angles of the stairs to look more soft.
06 Quadrant From a sphere, added three lines on each plane and extruded them from the outside to the center of it, in order to use trim and cut the rest of the shape. Then, choosing the leftover of the sphere to trim the leftovers of the three polygons.
07 Crystal I created for polygons with different side numbers, the biggest in the middle and in the corners a bit smaller. Then creating surface from 3 or 4 points and connecting it until there was all the faces created. Then to add a detail, a ring was created using loft from three ellipses
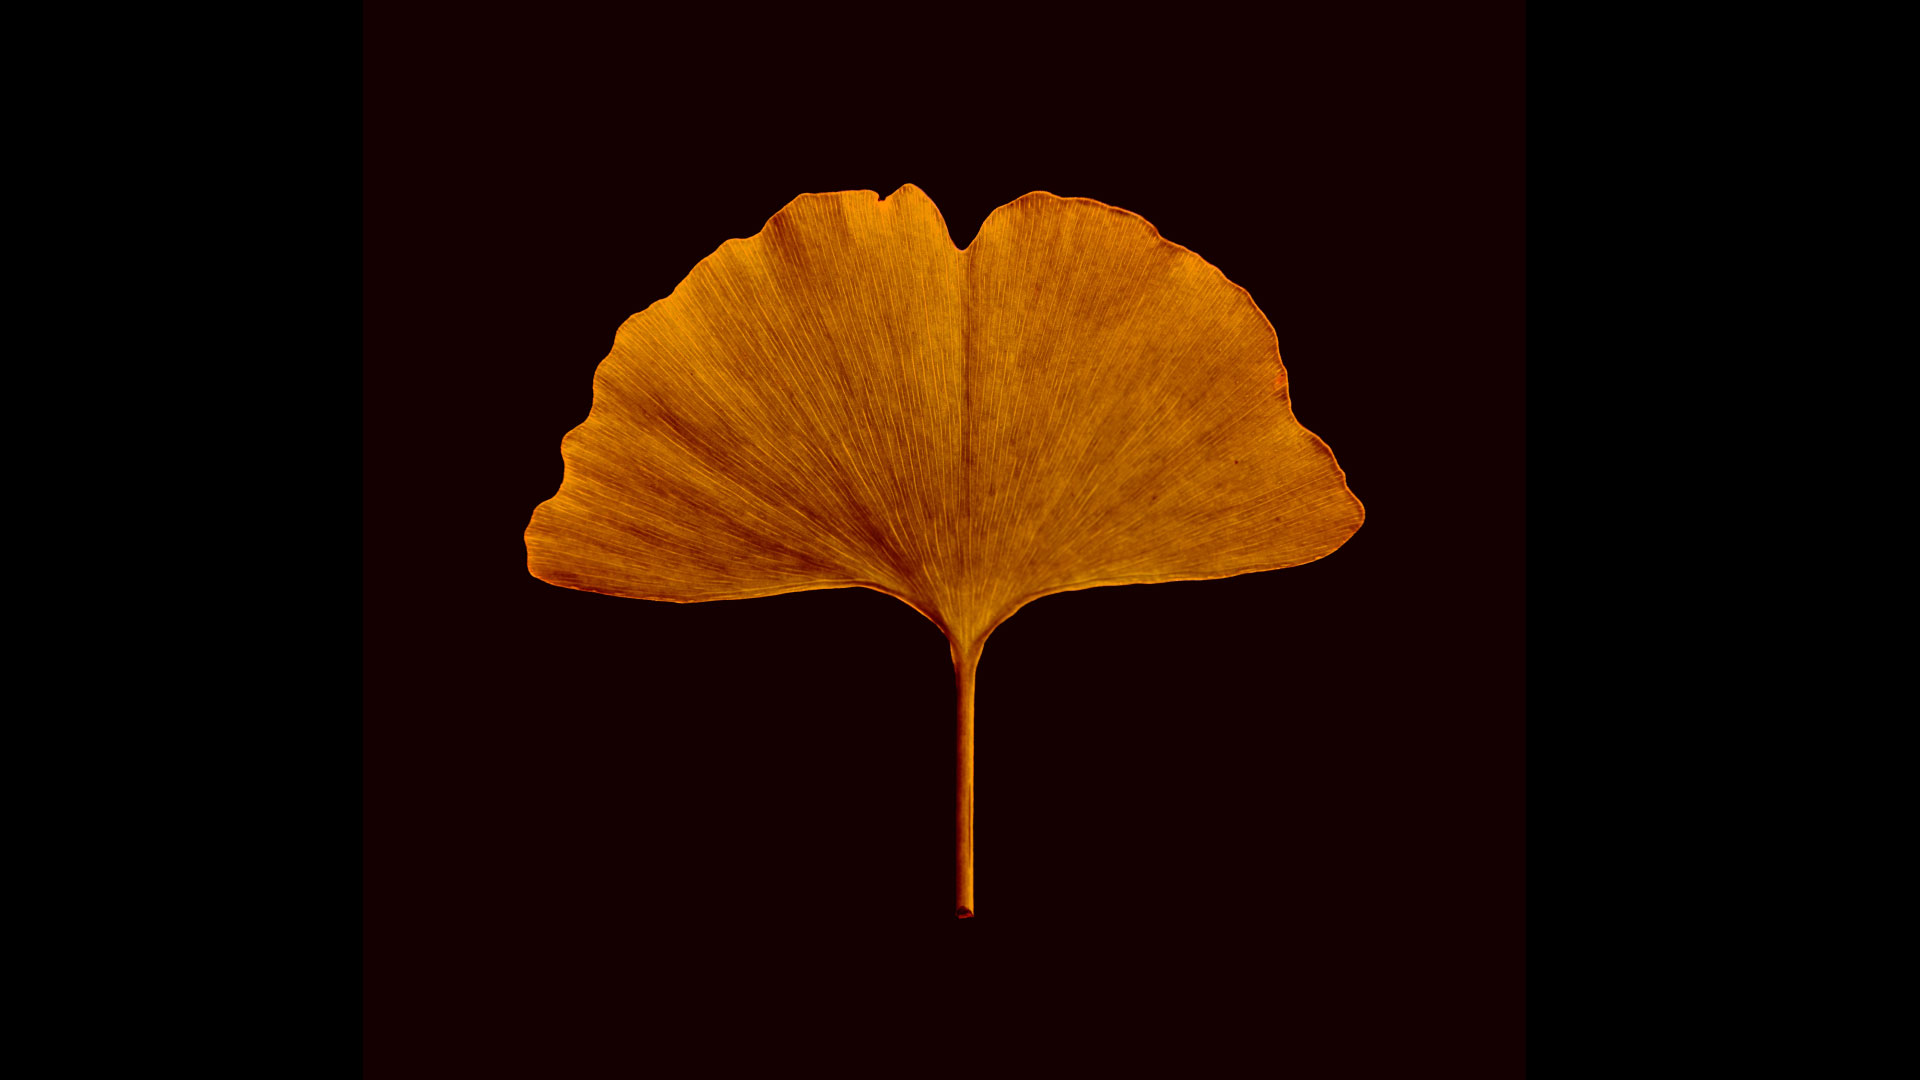
08 Ginko Finally, for the ginko biloba. Started from the stem as simple curves, moving some points on the X and Y plane to have more 3d look. Then, creating for each line a pipe with rounded corners and different radius on the circles. Then for the pistil, a few ellipsoids so it wouldn't look like perfect spheres. Then for each leave, added a few points and moved them on the planes. After lofting them with a natural look.
FILES
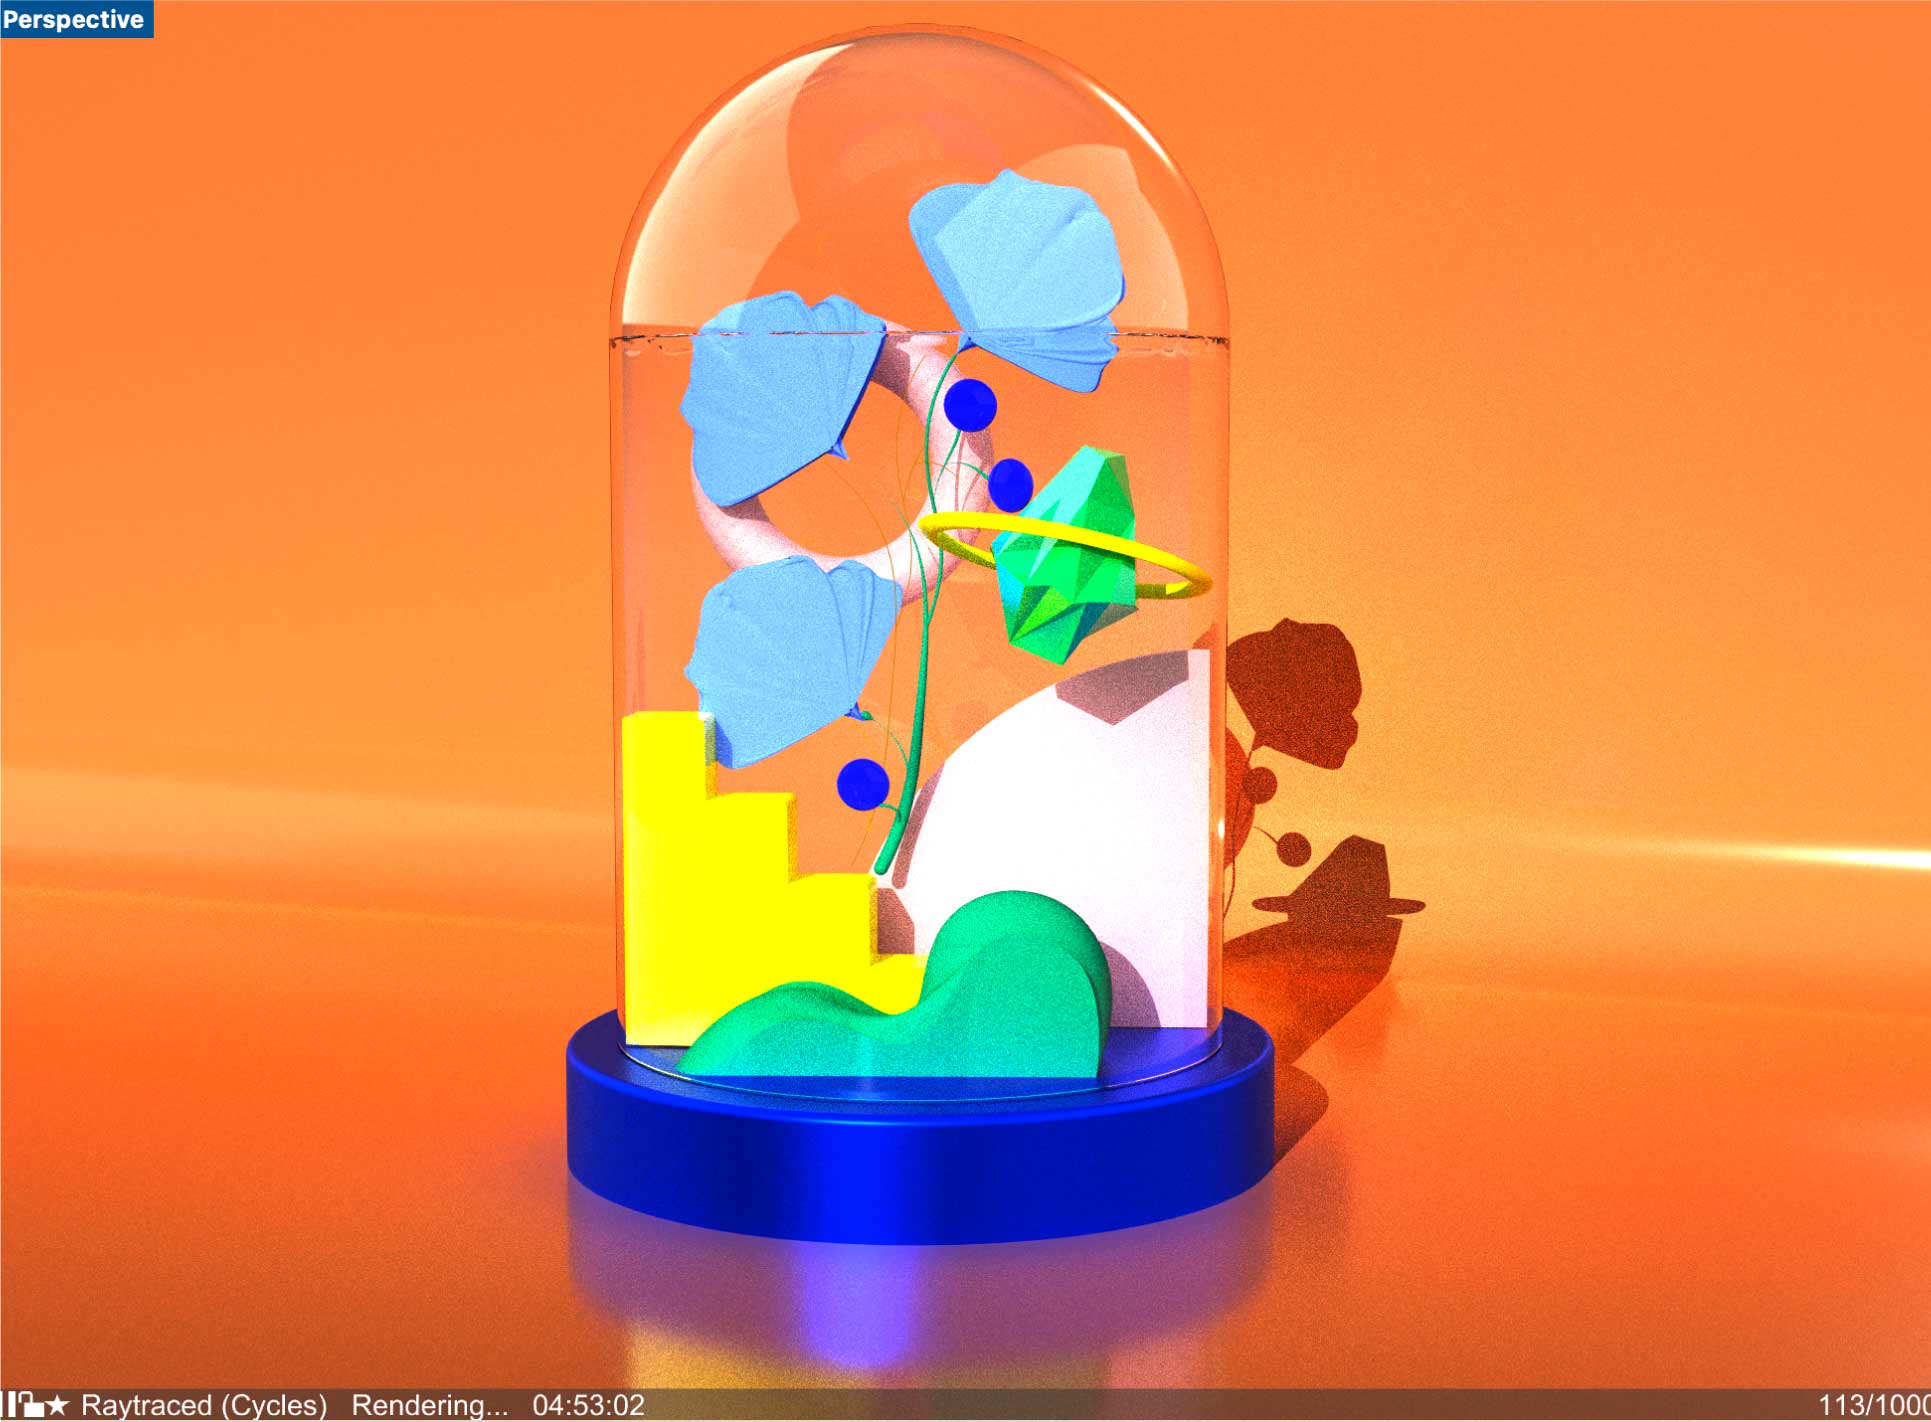
03BLENDER
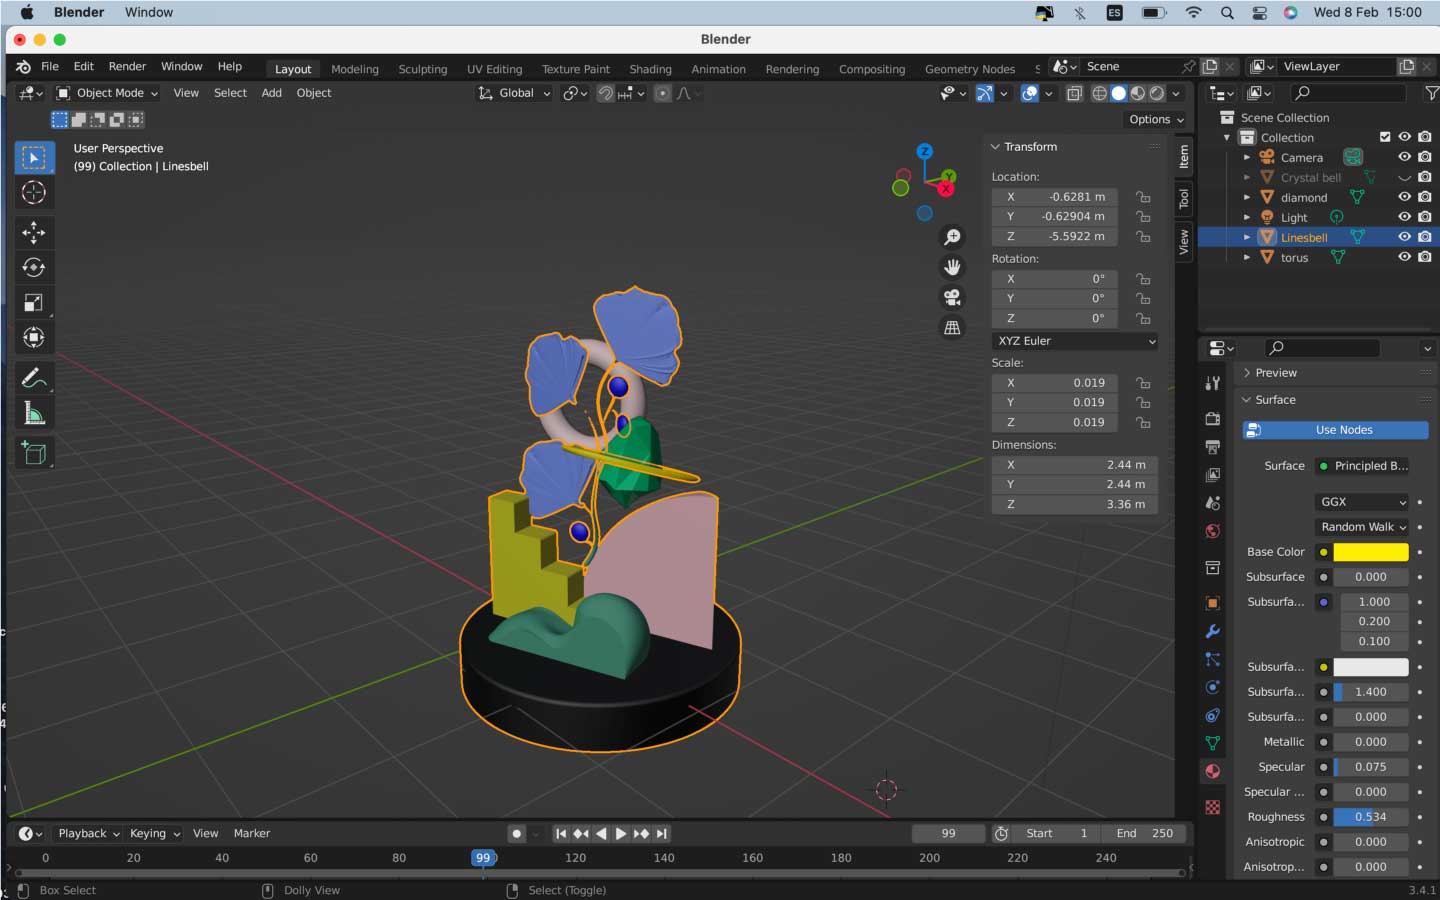
Introduction to blender
Blender is an amazing platform, not only because of the final result of the renders and process but also because of the mentality on which they have develop the idea of an open source, free to people to edit, have a community to exchange knowledge and it is reflected even on the way that works on display. Because of this I wanted to start with intro videos to know how to use it.In order to start from absolute Zero, on youtube there is this blender guru that so far has being well explanatory about blender 101.
F12 to render: snapshot from camera view.
Move tool is the 3 option!!! Along the gimbal like in rhino or easier G for grab and then click to drop. X - Y - Z.
R- rotate
Shift - spacebar: menu comes up with basic movement tools.
Shift - move the pad: to move around the space
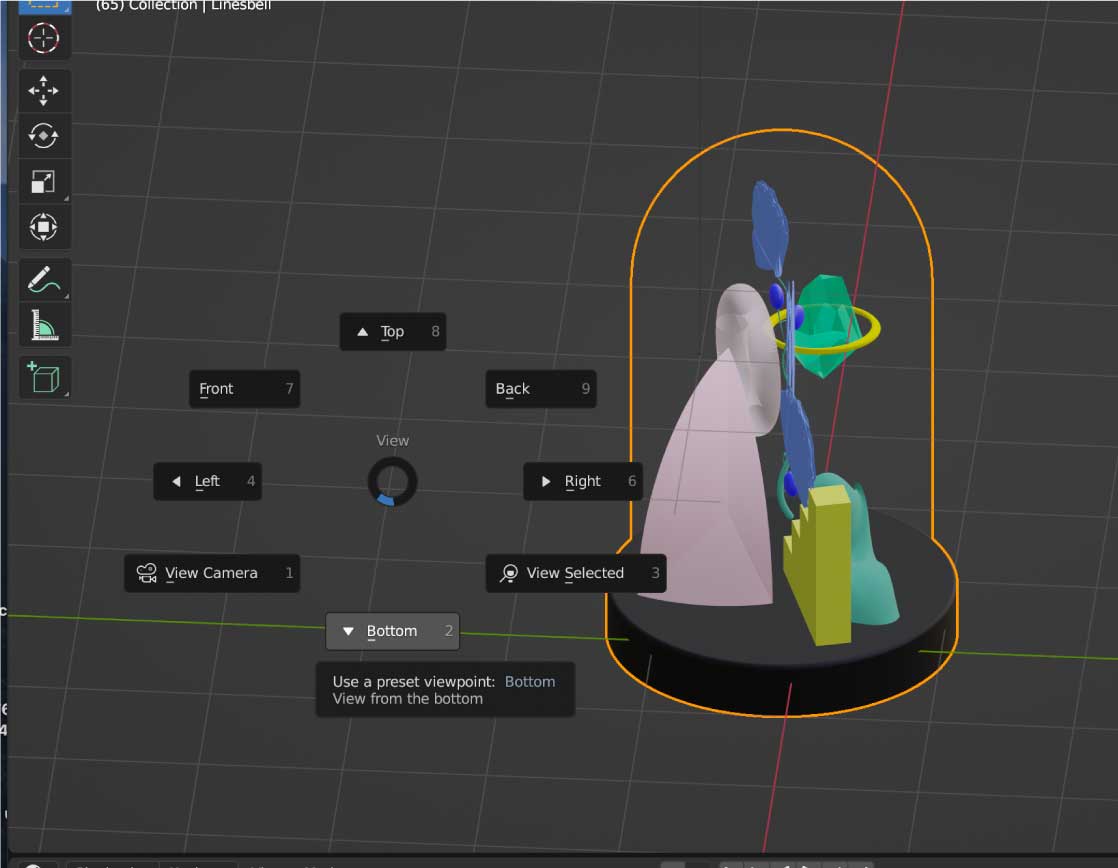
Holding , - shows a menu for global, gimbal, normal, cursor and local.
1/2/3/4/5 are the views, because I don't work with a. Mouse I had to change it in preferences to emulate
Shift D to duplicate object.
0: is to see the camera view
Shift A : Menu to add anything on the viewport, usually we start with mesh
- 01 Instead of thinking hours on what to do, pick something fast and then try to edit on different platforms.
- 02 Learning a new platform in hours is insane, even with a lot of tutorials, the best way to learn is practice.
- 03 Blender is amazing, doesn't make any sense at first but knowing the commands, having a mouse and a board, makes it a different world completly.
- 05 Rendering material in rhino, has a bit of noise the same as in keyshot, so need to learn how to edit this
Things to learn