Week 14

Wildcard week

This week was the most interesting week so far, learning how to do different activities such as Composites, Robotics, Paste 3d printing, Digital embroidery, Metal welding, Soft robotics, Precious plastic, 3d printing on textiles.
This week I used it to get ahead with the three last weeks that I was behind for work, so only join for paste 3d printing, welding and Light painting with the robot.

  • Week 21th - to 28th of april
  • Keywords welding, ceramic,
  • Software arduino


01Paste 3d printing

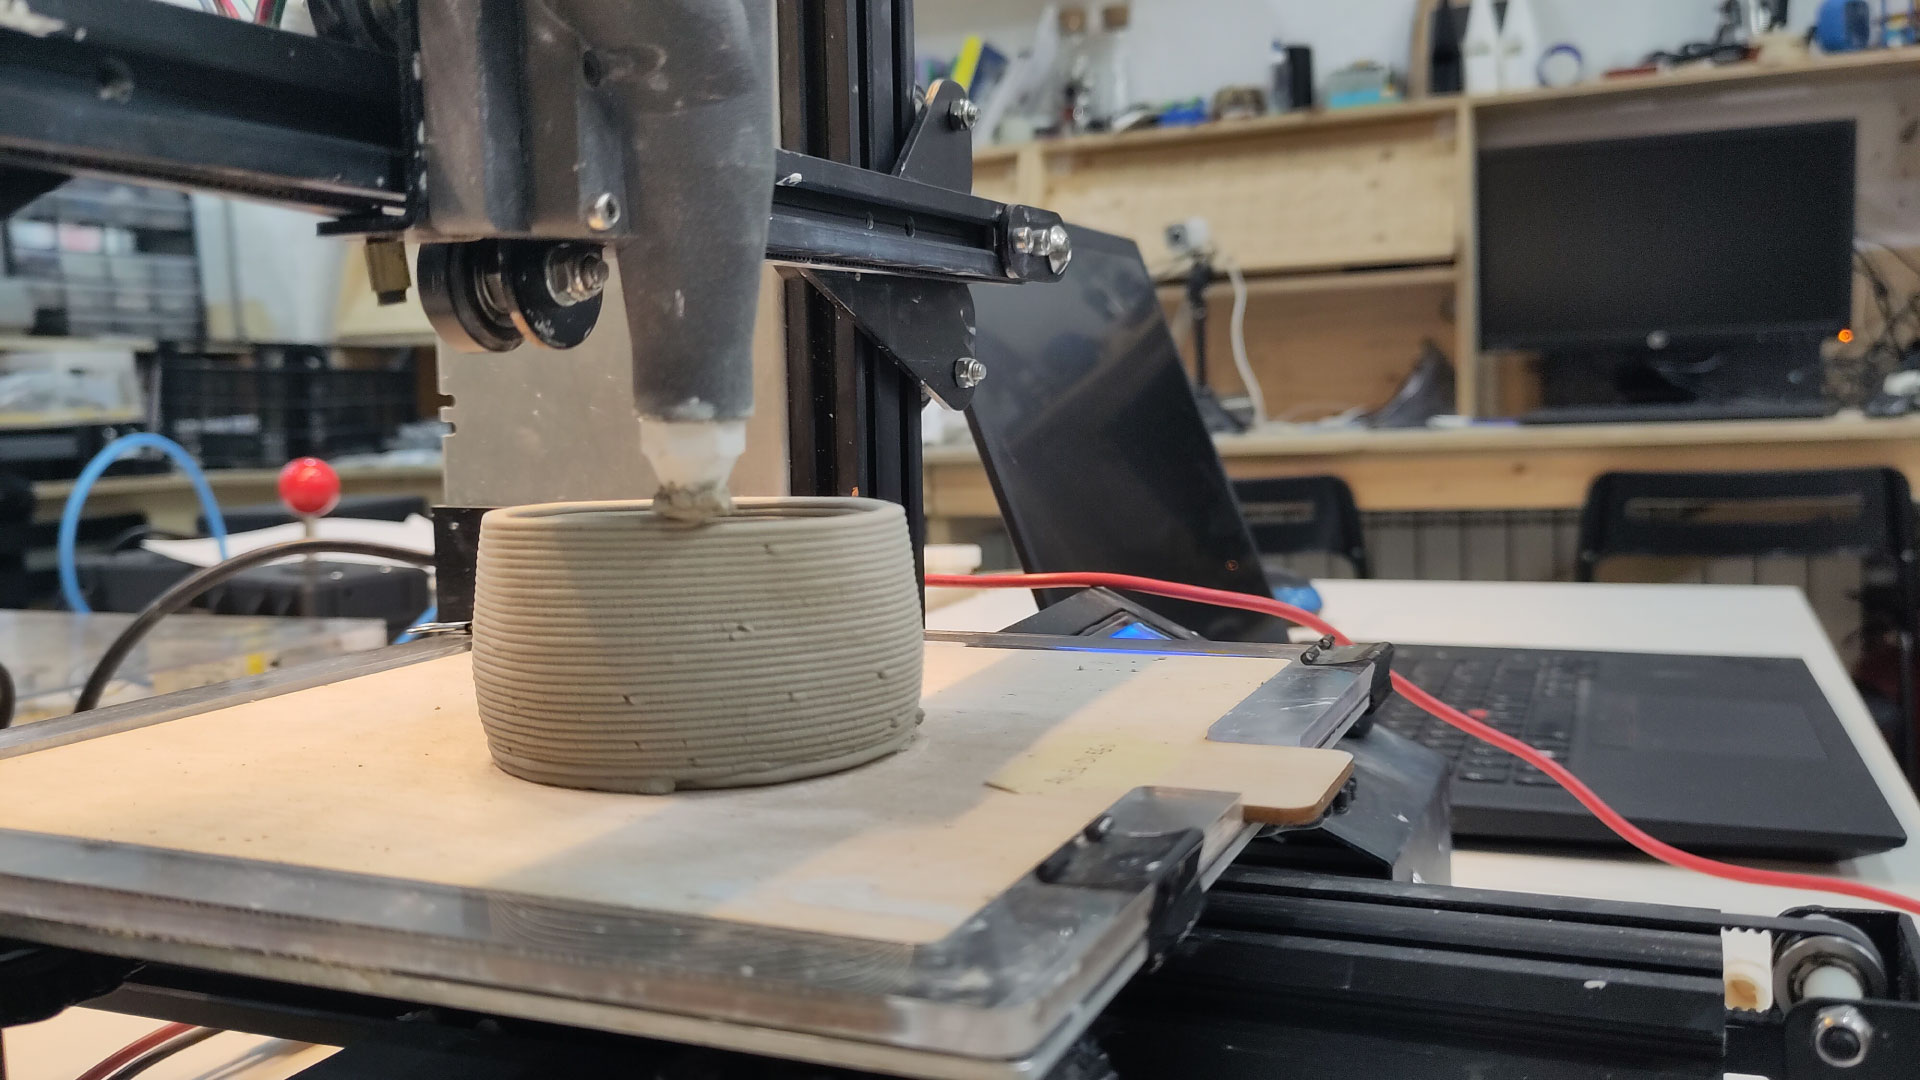
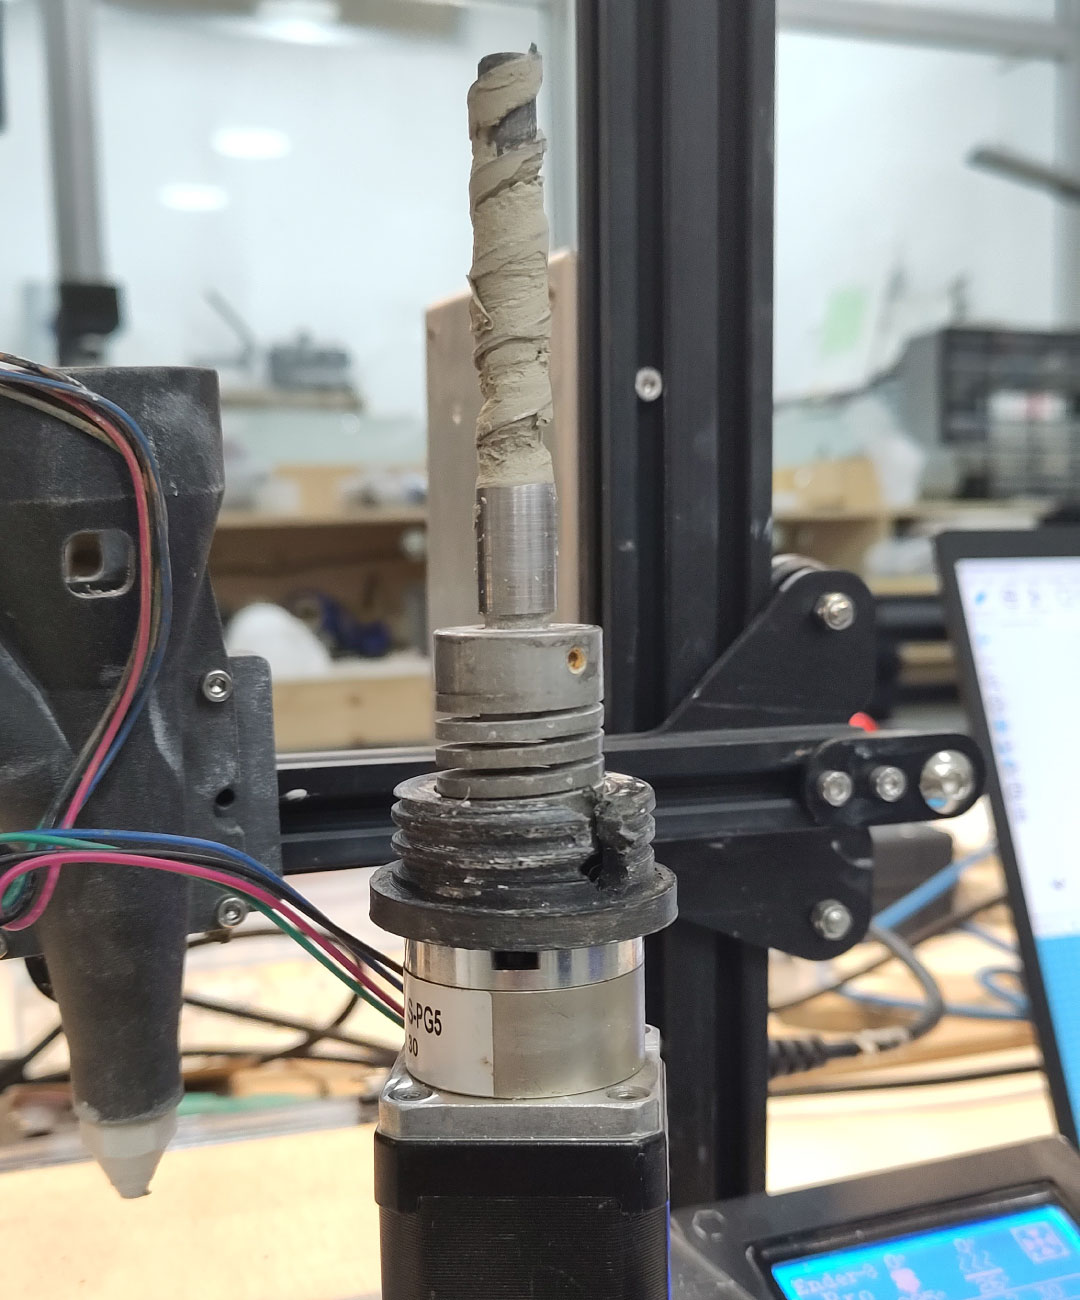
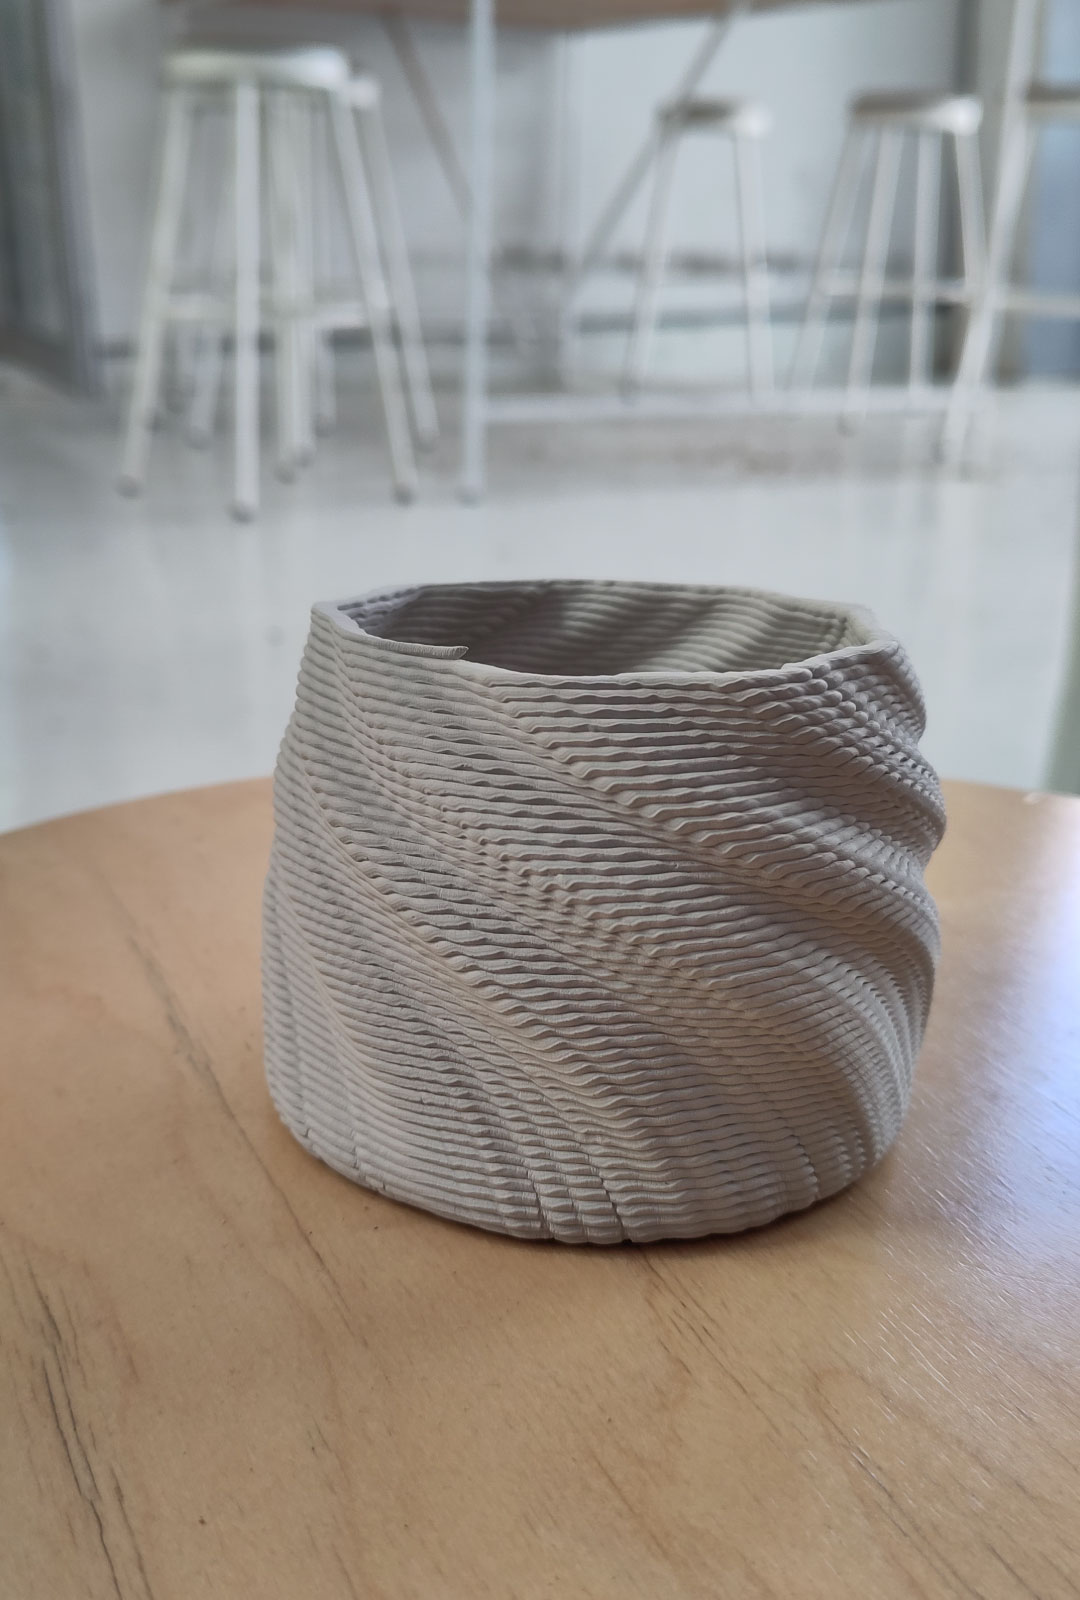
The first part was understanding how everything of paste can be 3d printing, like smash potatos, chocolate and in our case clay. First, the 3d printer was adapted to have a bigger extrudor where we can add the clay. This needed to be combine with water and making a softer paste, then added to the tube trying not to create any air bubble. Then, I added a pottery created in rhino to the ultimaker software and very important having the nozzle pass only one time, becuase of the thickness of the paste is not neccesary to create more thickness. Only took 60 min to create the shape of 10cm heigh x 8 cm of diameter, and once it was finish it needed to be in the oven for 30 min first then, 4 hours the next day. The pot had a small curvature after, that could happen becuase of the baking temperature or when it was drying due to the weight itself.
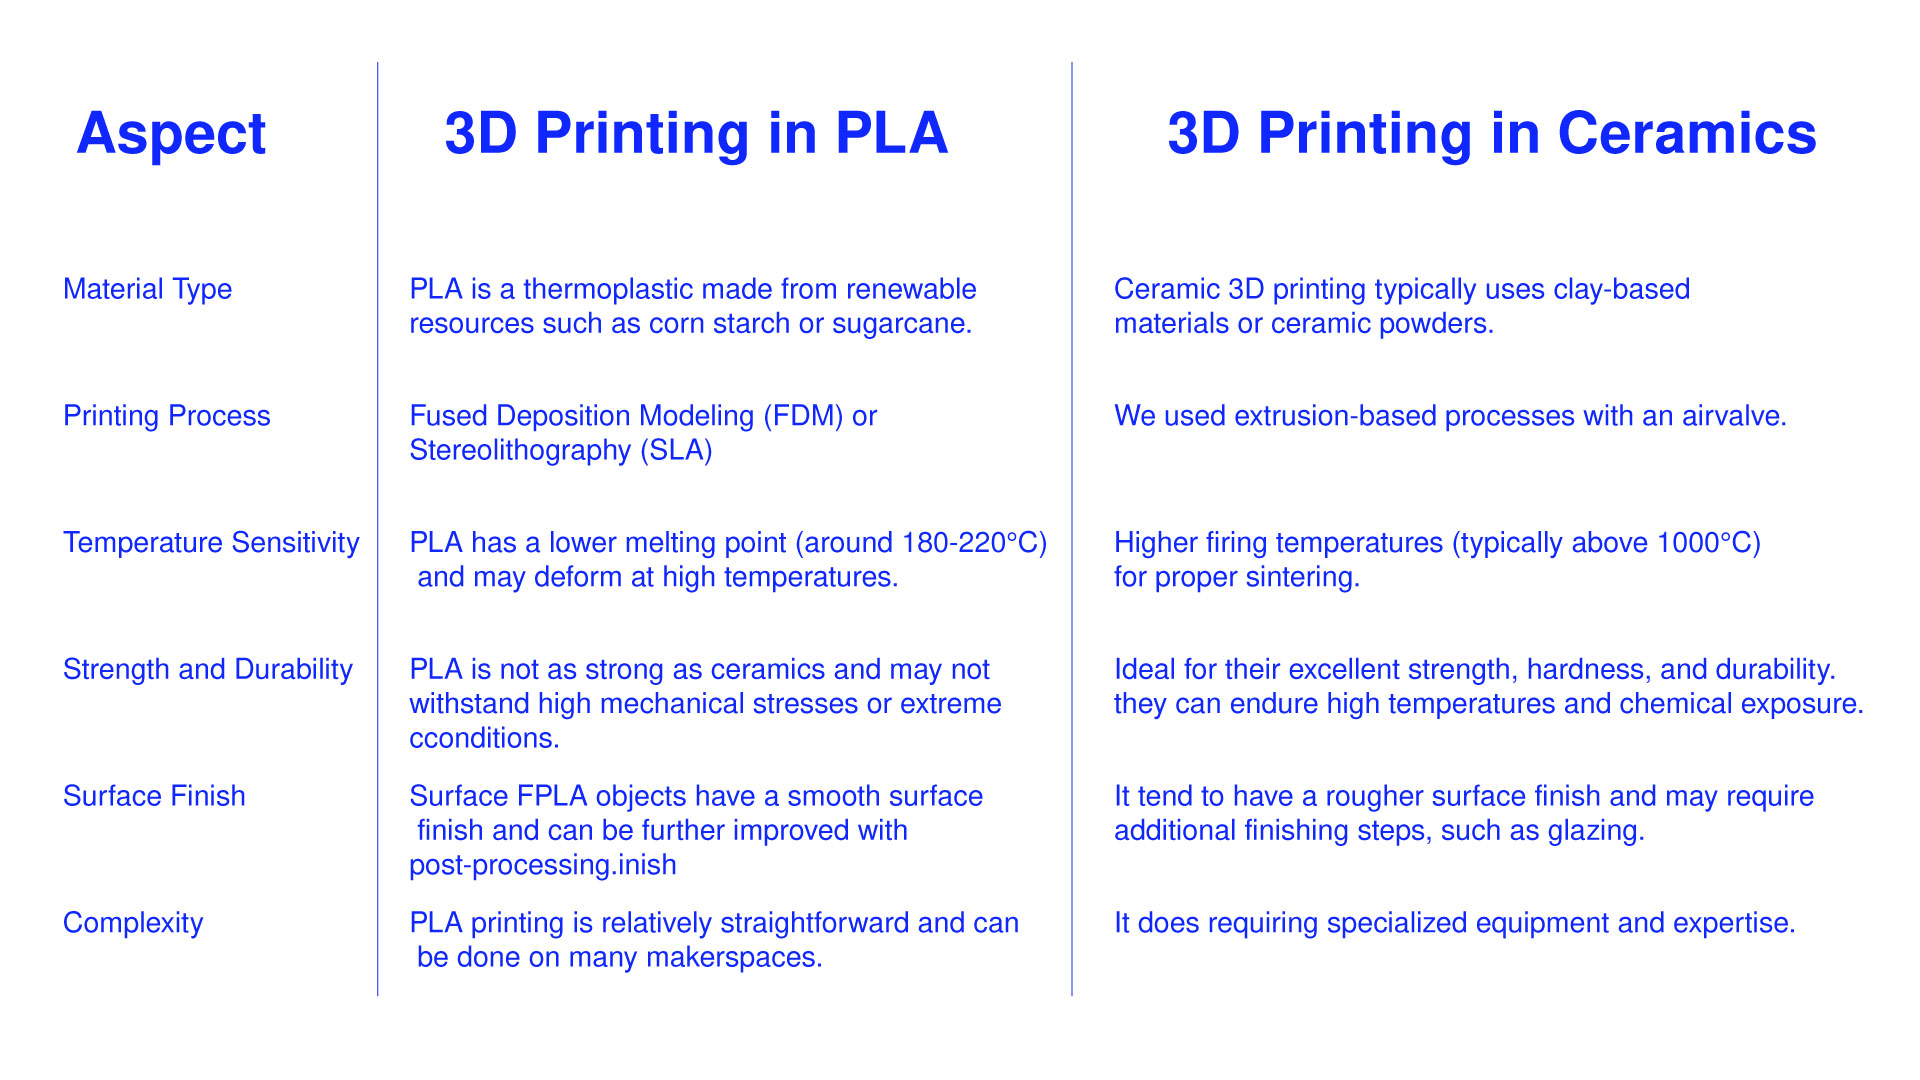
Up until this week, I had only worked with PLA in the past, so it was quite a challenge to understand the difference and similarities with plastic.


Exercise 02

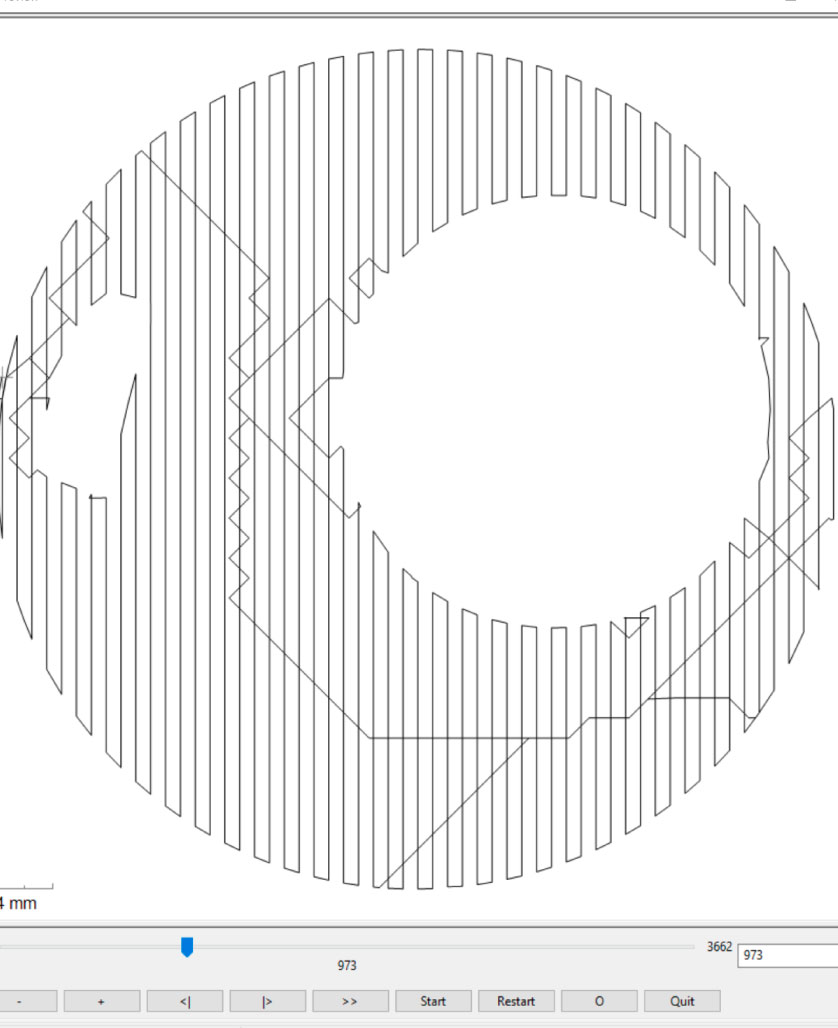
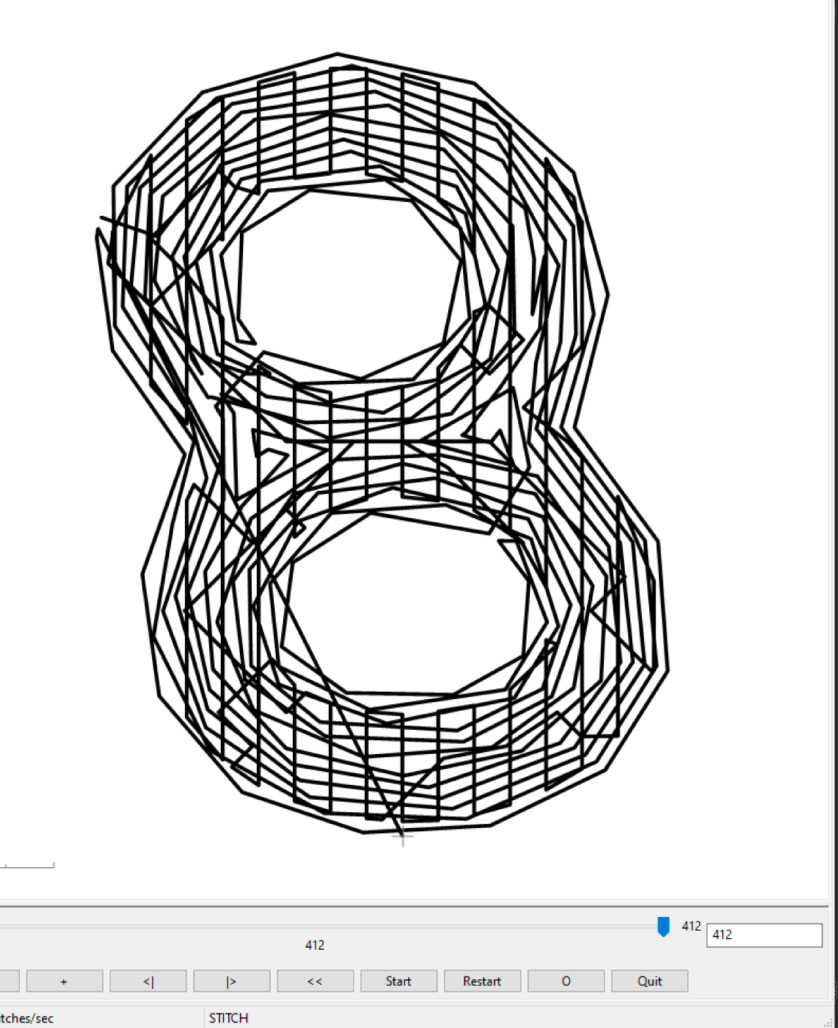
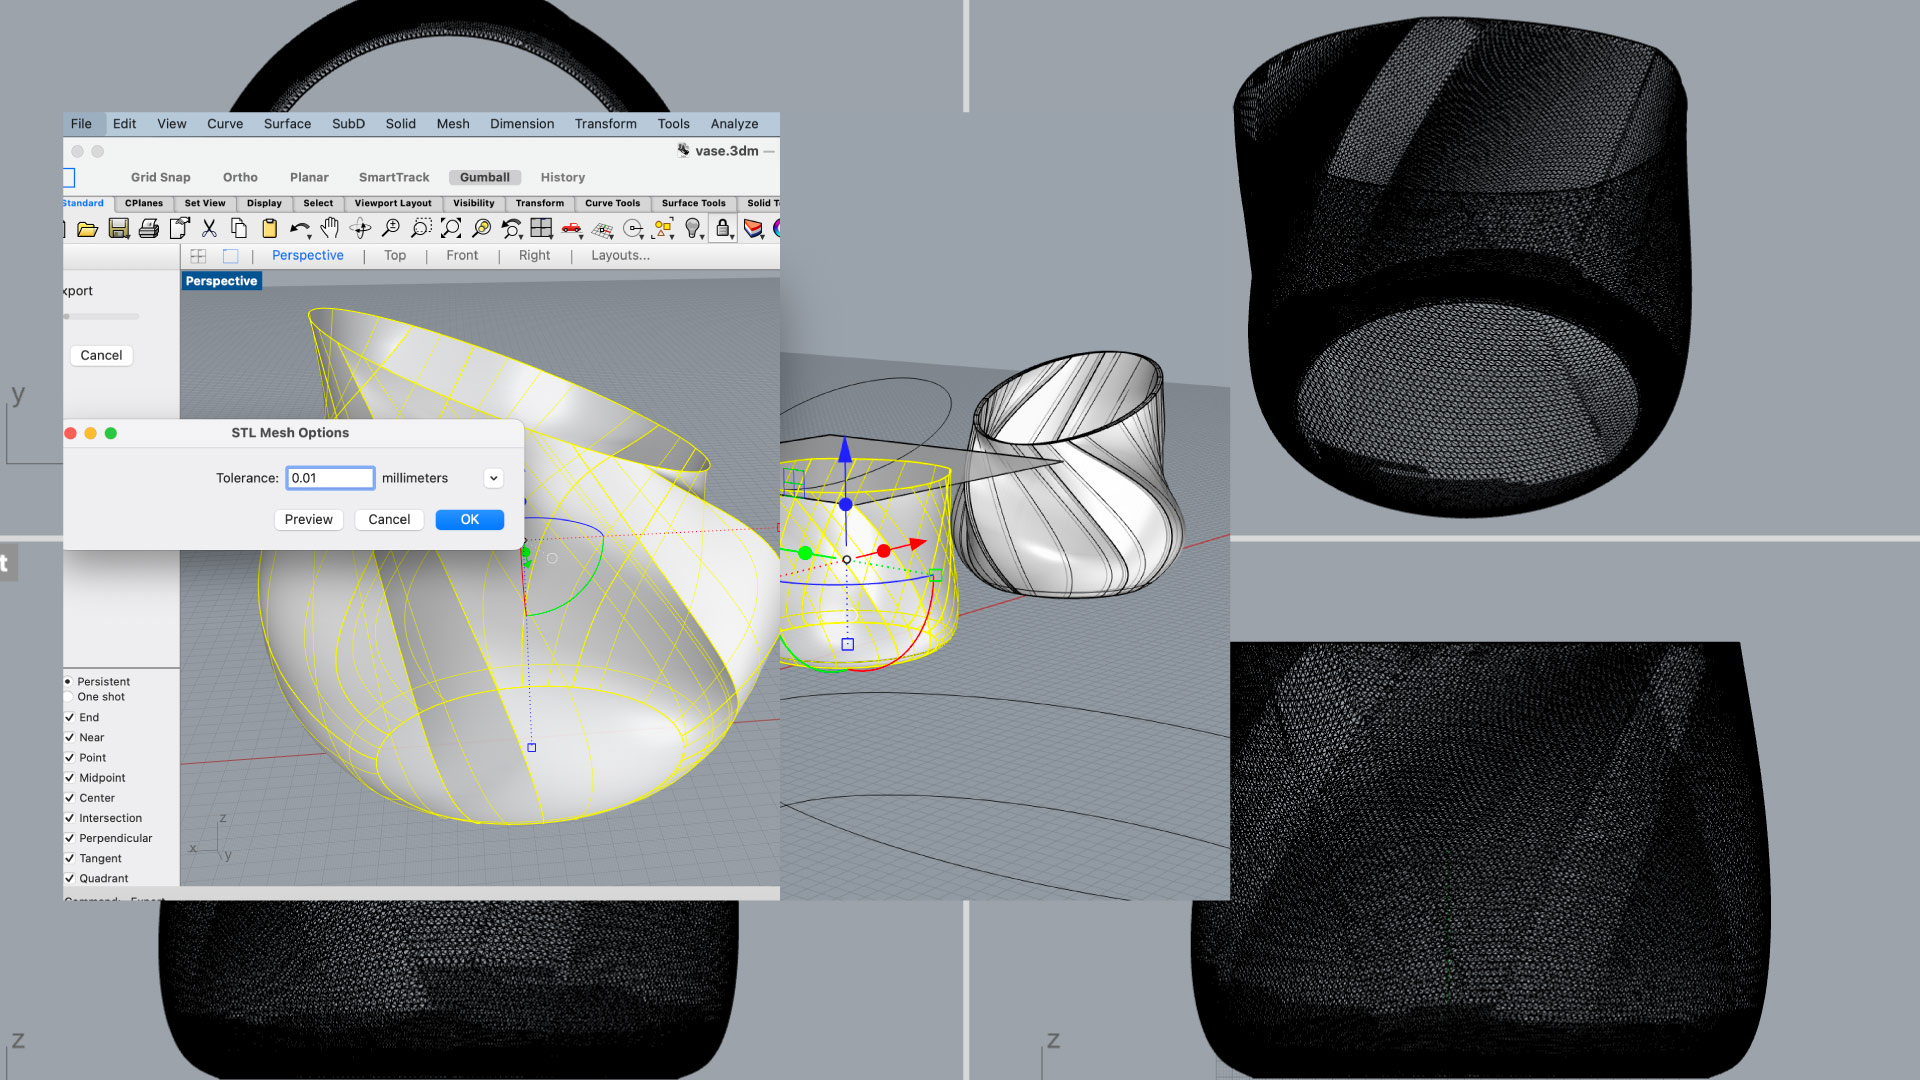
For this second test, I created on rhino a simple cylinder of 8x8cm using loft command and then export it into Cura, in Cura added the settings which were layer heigh 1.5mm, then 0.8 wall thickness, 20% infill and not supports. Then, slide the file to see how the 3d printed is going to extruded and when everything look right export the file.
Then, adding the file to the printer it had some problems because of the compressor screw and the nozzle, the second one had some dry clay from the day before and the base for the screw was not well fastened so we had to take it apart and check if it was going in the right direction to the right.


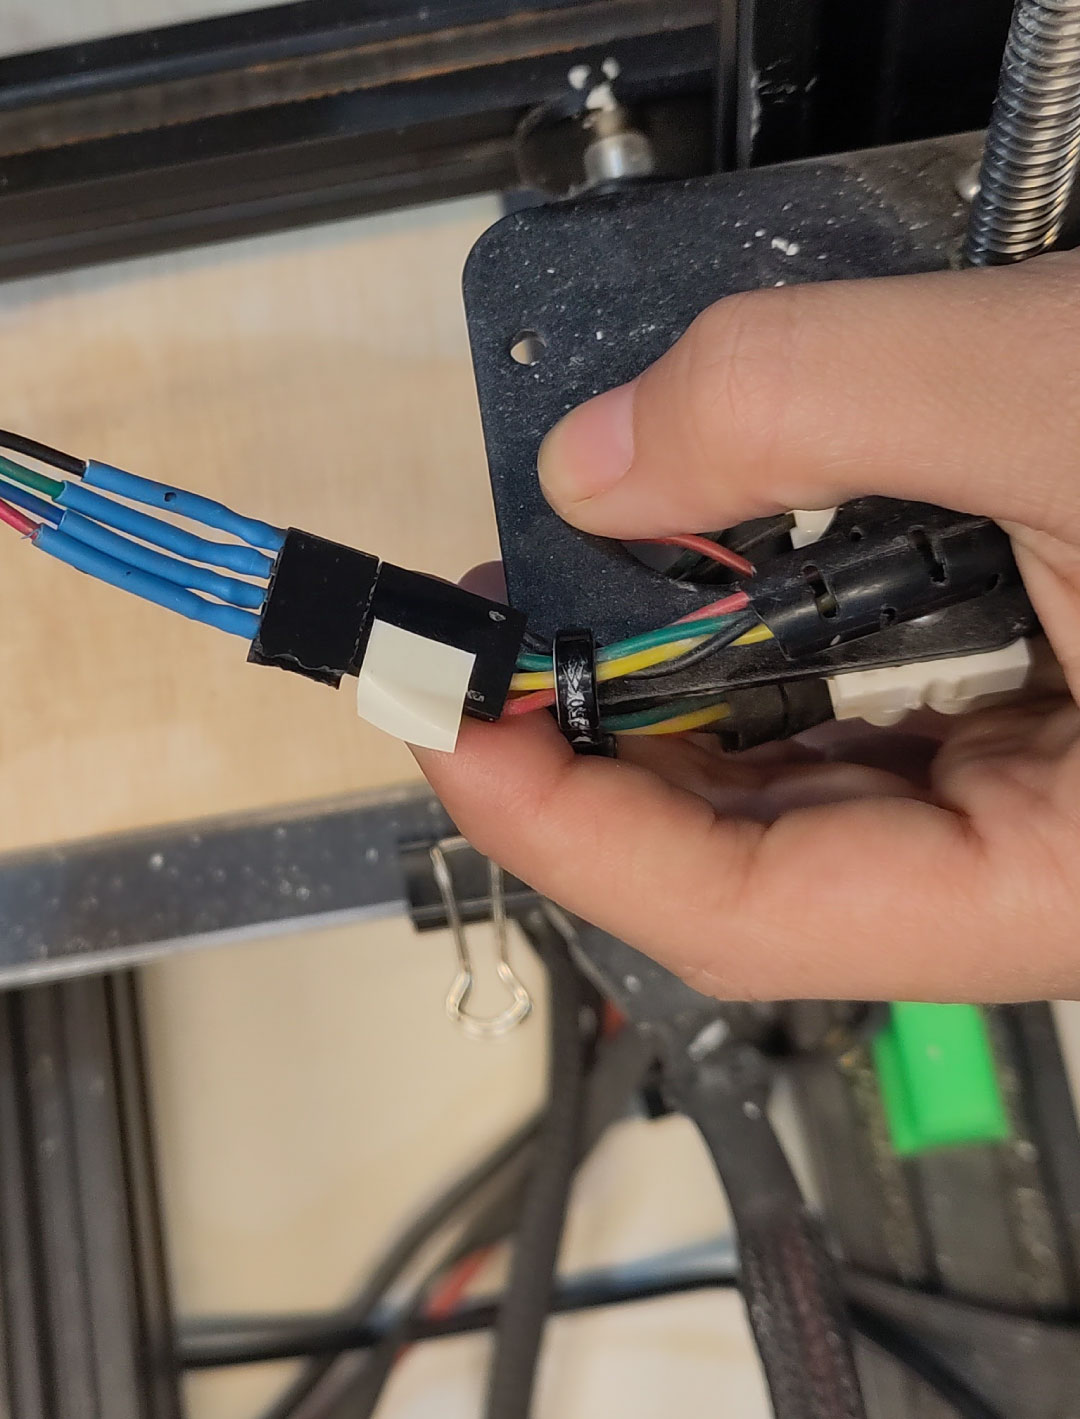
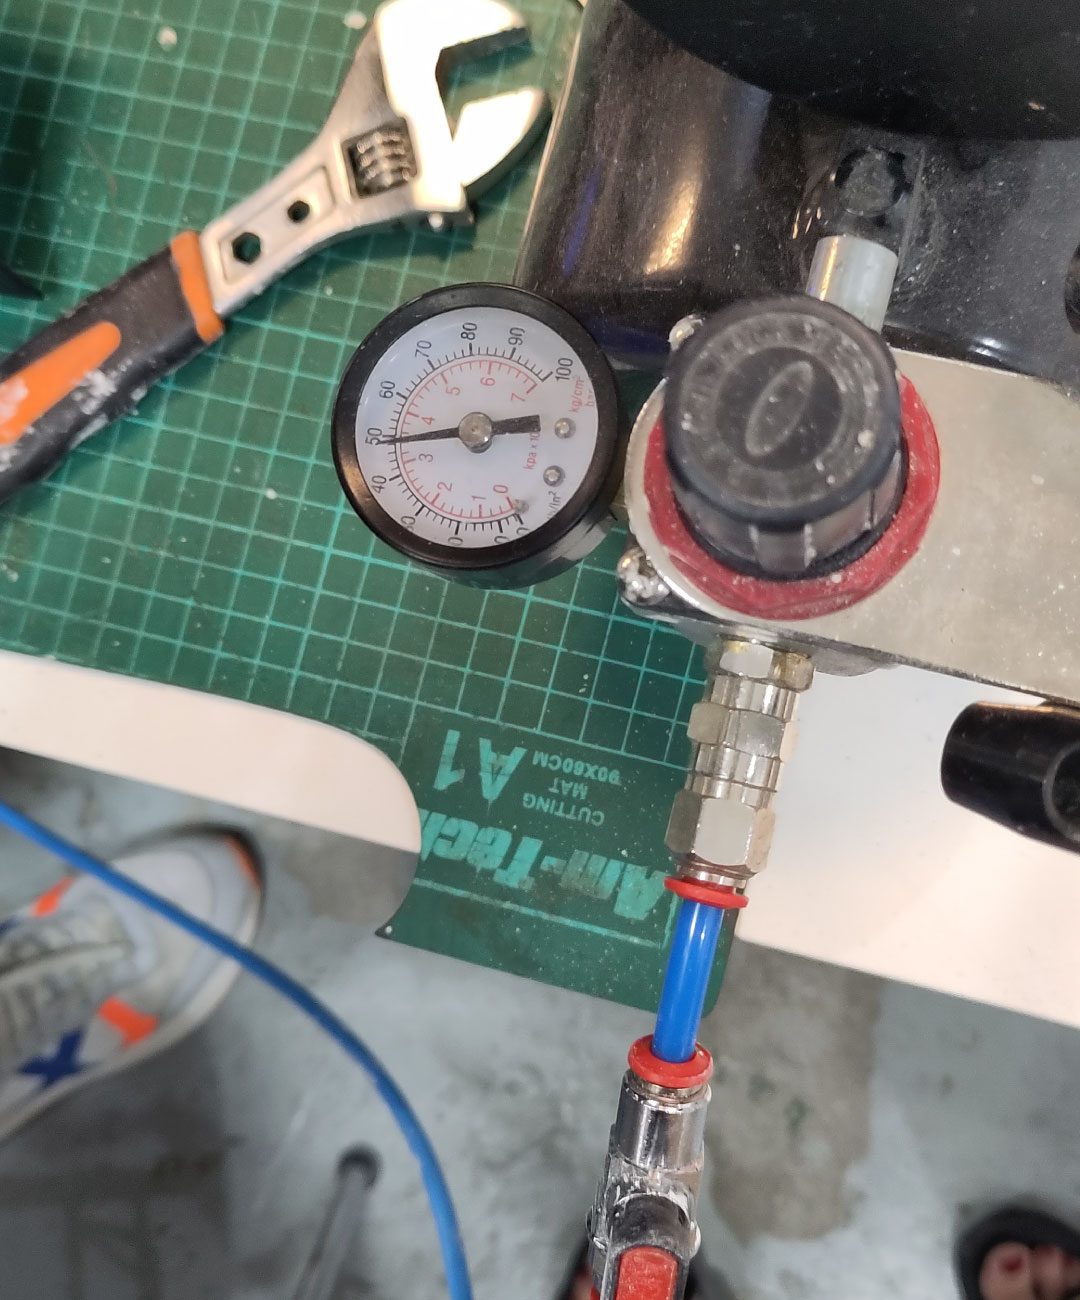
The third step was connecting again and opening slowly the air valve, check for the connections on the cable between the motor and the 3d printer (in our case is red cable-red cable for the motor to go opposite of clockwise).
When launching the file, there were some other adjustments to be made, in the option tune: first the flow for the base layer had to go from 100 to 800, this might change depending on the heigh of the layer, consistency of the paste. And then for the rest of the cylinder lower to 700. Then, also in tune, reduce the speed to 50%.
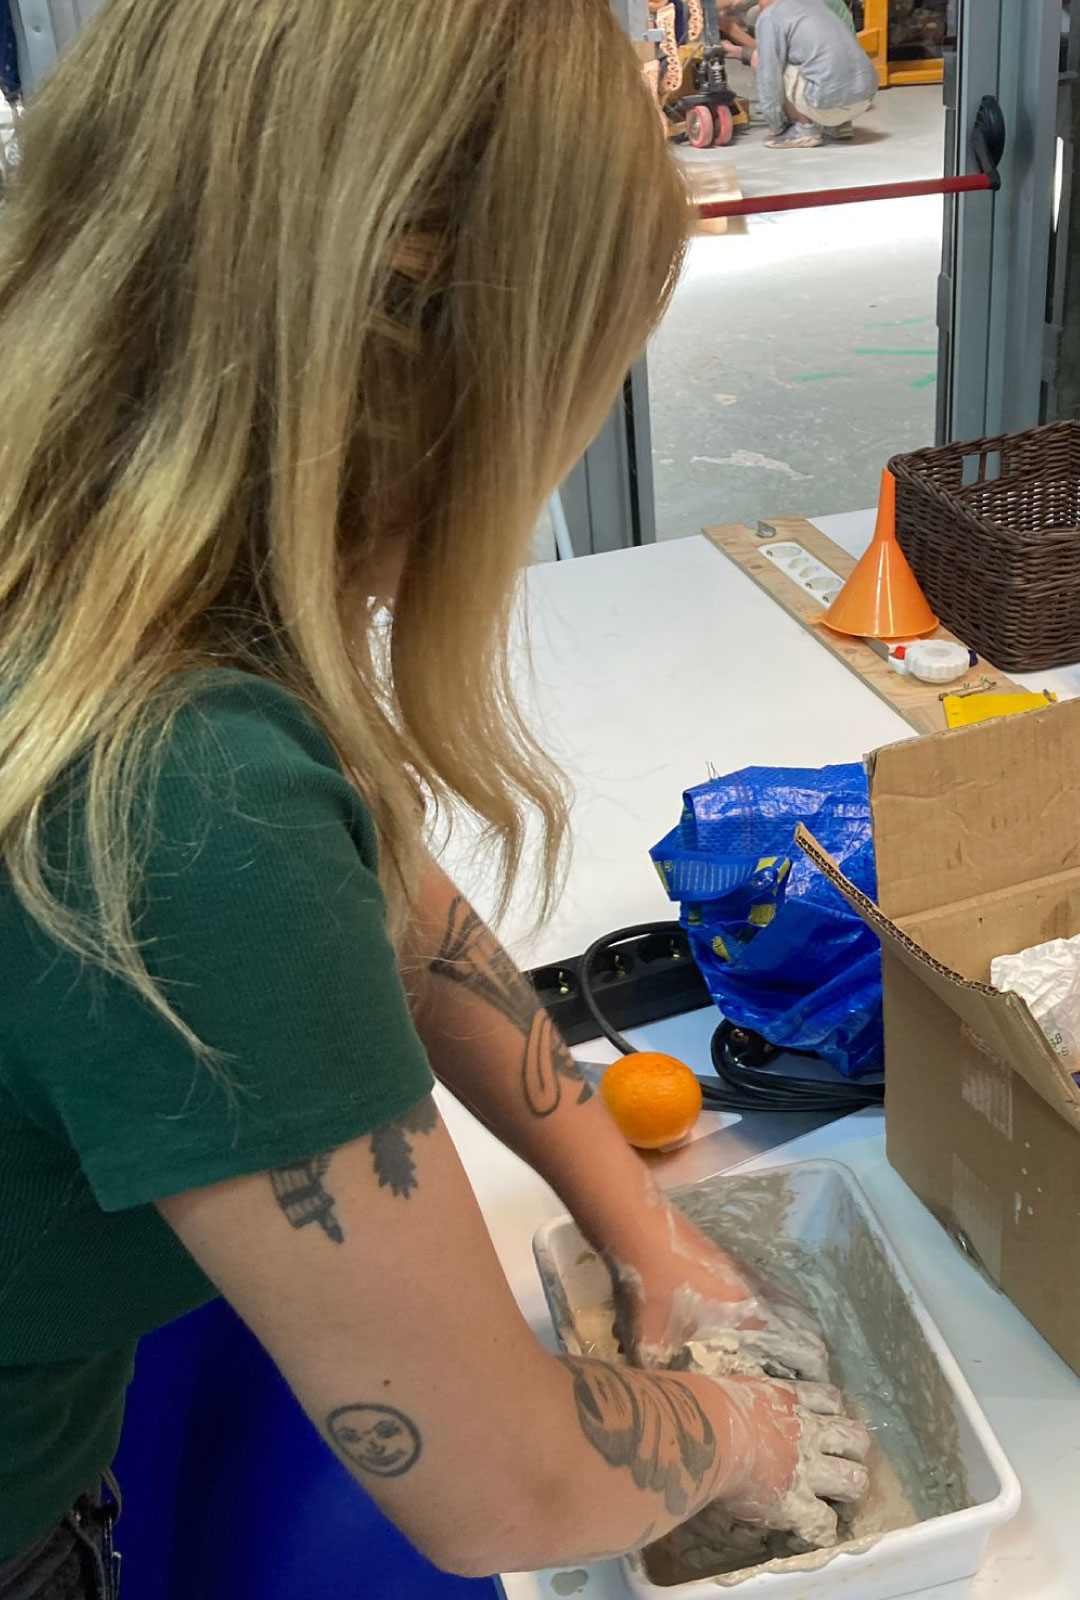
It took 30 mins to print the shape. Here is the
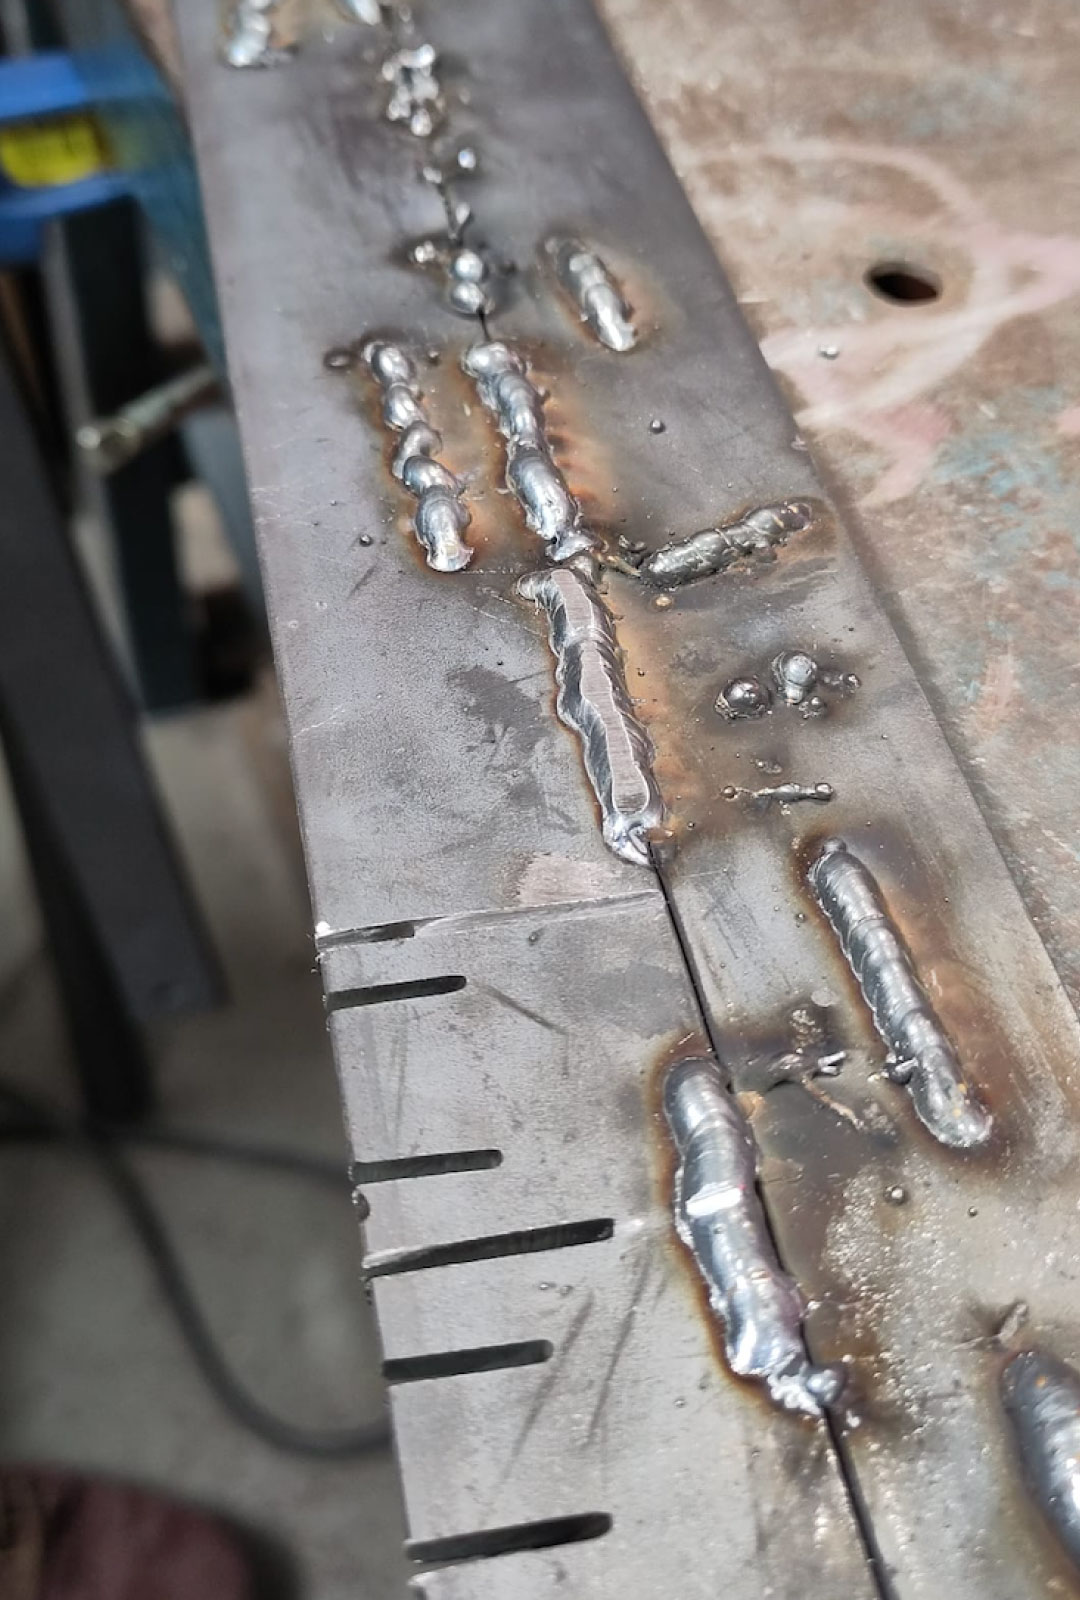
  • file


  • 02Welding


    Even if this one it is not consider part of the wildcard week, it was by far my favorite activity, welding is a process of joining two pieces of metal together. It works by using heat to make the metal pieces melt and become liquid. When the melted metal cools down, it becomes solid again and forms a strong bond between the two pieces. It's like using a hot glue gun to stick things together, but with metal instead of glue.
    The are a lot of tools and equiptment needed for this:

  • Welding machine: This is the main tool used for welding. It generates heat and electricity.
  • Filler material: This is a metal wire that is melted and added to the joint to create the weld to fuse the two pieces together.
  • Welding helmet: A mask to protect the face and eyes from the bright light, sparks, and harmful radiation.
  • Welding gloves: These are flame-resistant material to protect the hands and fingers from heat, sparks, and heated metal.
  • Welding curtain: A protective shield or curtain is used to create a safe working area by blocking the sparks and protecting people nearby from the bright light and heat.
  • Wire brush: After welding, a wire brush is used to clean the weld and remove any slag, like a wooden sand but for metal.


  • 01 Embroidery


    Step 01.
    Was to create the file, I used illustrator to create an eight ball from billard, simple design in 2D with only one color, the size was 6x6cm that I'm using to cover a coffee stain on a shirt. Then, exported it as svg from illustrator to inskape. This is because there is an extention called inkstich that we have in the lab in order to use our machine a Brother embroidery nv870.


    Step 02.
    Was to prepare the files for the machine. For doing so, first I click only on the ball shape (without the number 8, so i can apply different parameters to it) after opening the svg file on inkspace, on the top menu extensions → InkStitch → Params. This is a window with two parameters to check

  • Fillstich, in here, I choose the fill method as circular fill, so it would go more natural with the concentric shape, and then spacing between rows from 0.25 that was the default to 0.35 so it would look completely black.
  • Fill underlay, in here, I changed the inset to 0.3 so it will be hidden by the last stiches, keeping the shape more circular.


    Then, repeat the process with the shape of the number 8. In this one, the fill method I choose was contour fill and kept the rest of the presents the same way. Once everything is done, there is a way to simulate how is going to end up looking, and the results asimilates to the expected result, so I save it as .pes and exported into an usb to connect with the machine.


  • Step 03.
    Now the embroidery in the machine began. The first part was to set up the hoop frame with the shirt inside, this has two parts, so first dissasembling it, placing the shirt inside with Stabilizer paper on the back (this paper works as a glue for the stiches not to look fuzzy), and closing the frame, stretching the shirt enough not to have wrinkles, but not too much so the design will shrink onces is out of the frame.

    Then, I connected the usb to upload the file of the 8ball and before starting, there is two steps with the thread, there has to be a bobbin on the top and one on the bottom, both of them with enough thread, to load it into the machine there are some simple arrows with numbers to follow in order to have the thread inside of the needle.

    When everything is in place, the frame is rolled along a rail that has the machine on the left hand side, and the lock is turned.


    next project

    Molding & Casting