2D Cutting
In the third week the assignments were centered around vinyl cutting and laser cutting. Apart from introductions and recitations it of course started with modeling. Both machines are basicly plotters, positioning a pen, knife or laser in a XY-plane and turn them on or off. So a 2D vector design tool is what we need her. Note: the laser has also a “fill” function to fill areas, so it can be used to create 2-tone raster pictures.
I will first dive into the vinyl cutter and then address the laser.
Vinyl Cutter
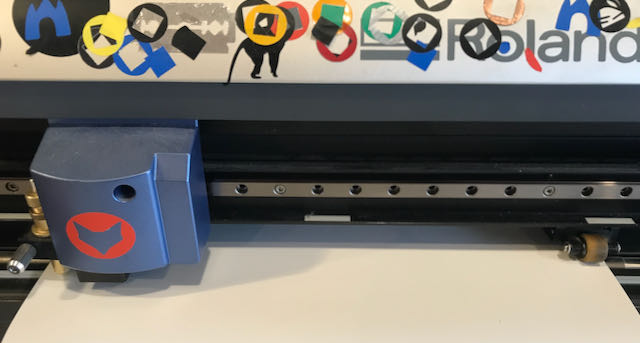
Below there’s an account of what I did. At De Waag we use the Roland GX-24 vinyl cutter. It’s a simple cutter with the x-axis on the knife actuator and the y-axis by moving the sheet forward and backward. It can handle sheets of appr. 600 mm wide (x-axis) and in length it can handle rolls.
For future use I made an overview of the settings in:
Overview – Machine Settings – Vinyl Cutter
First I turned to the Inkscape that should be able to drive the cutter directly. It’s not my favourite application, read my notes in the 2D tools section, but I had some reservations for using mods, that looks a bit too nerdy at first sight.
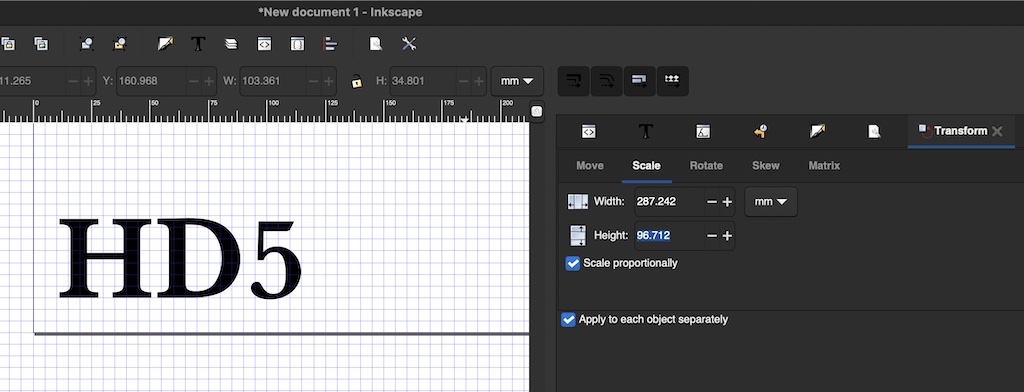
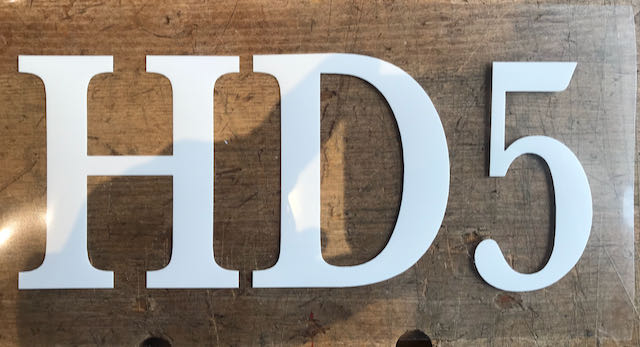
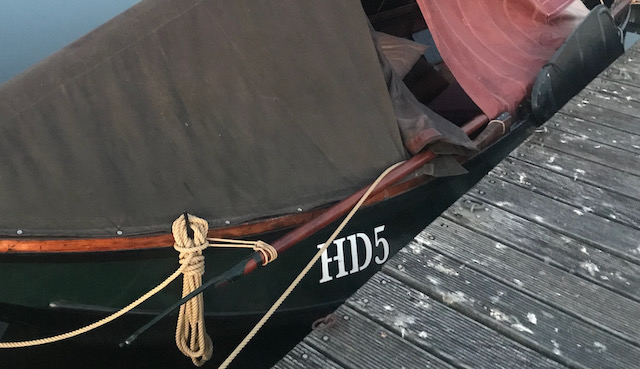
Basic idea was to make transfer for a T-shirt with the name of a friend’s boat. BTW: the same name I used to make some first trials on the laser cutter, but here for a spray mask. Making the transfer in Inkscape itself was simple, because the name of the boat uses only 3 characters and that’s it. Because the boat is from 1904, I used a typeface that was popular around that time: Baskerville.
The cutter runs from Inkscape directly, so piece of cake. At least, that’s what was told …
Setting the Cutter
Some important details have to be set before you’re able to cut. The knife has to be barely visible in the holder, about 1 mm or less. The holder screw has to be tight and the force has to be adjusted to the desired material. Then feed the material and the cutter will check the dimensions after selecting “roll” or “sheet”.
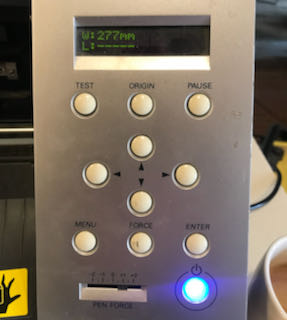
Because I wanted to use transfer for fabric, I had to raise the force a bit. My roll was set to 277 mm wide, but I discovered that the plotter uses the location of the pressure rolls to measure this. And another nasty detail is, that if the pressure roll is outside the white marks, the cutter will give an error.
Wrong Typeface
First issue was that the computer for the vinyl cutter had disabled or uninstalled the Baskerville typeface.
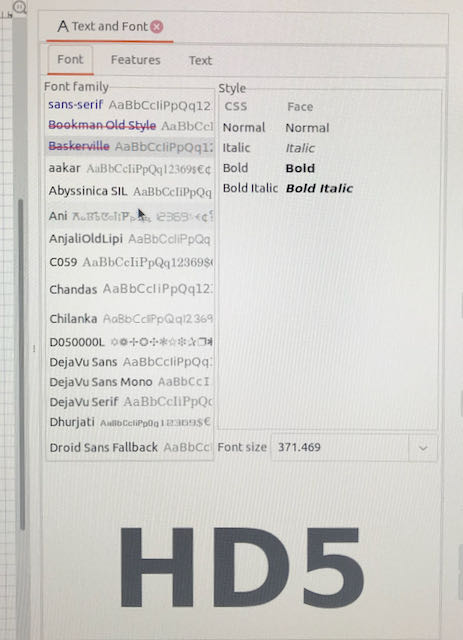
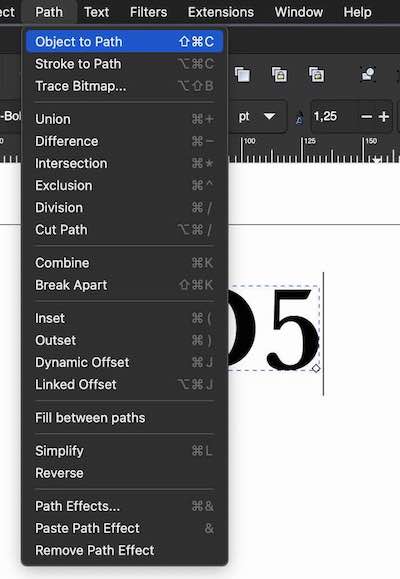
So how to solve that. Helpful tip from instructor Henk and in hindsight very obvious: make it a vector. Not too difficult in Inkscape:
Transport Lines
All seemed fine, test cut was good, but the next issue to solve - actually they occured simultaneously as you can see in the picture - was that when I finally hit the cut button, and checked the result, the cutter was not lifting the knife when moving from one endpoint to the next start point.
![]()
Even Henk was not able to figure out how that happened. But there is a solution. At first I thought you should be a nerd to make your own printer driver instead of using the one from the factory. And I hate to say it ;-P but in this case it’s the right thing to do, so we used Mods.
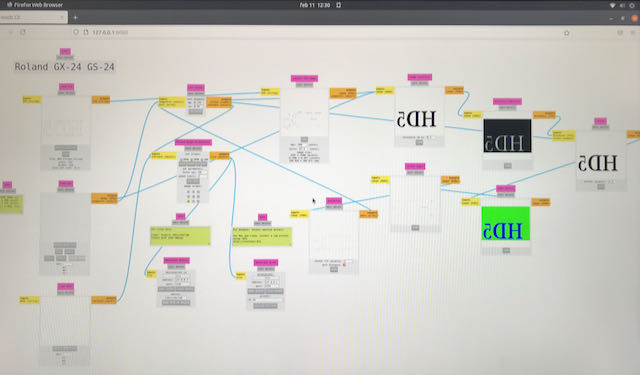
It looks a bit messy to me, but the logic is clear and after hitting “calculate” you can see the different stages of the cut file. BTW: it’s flipped because the transfer has to be cut from the back. If everything looks find you press “send file” and the cutter starts to do its job. All I have to do now is buy a T-shirt and iron this result on it.
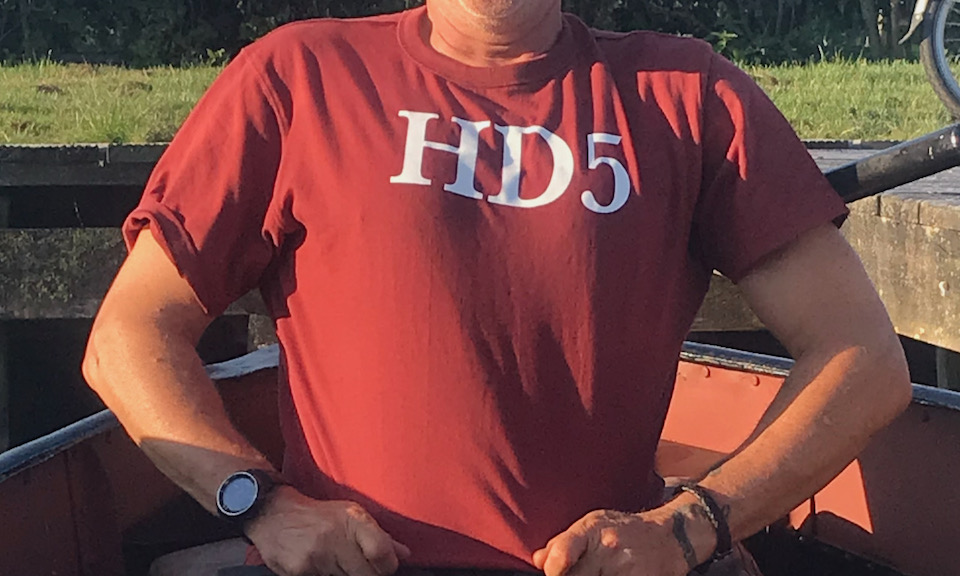
And here’s the final hero shot with the lucky owner after ironing the transfer on his T-shirt.
laser cutter
Spray Mask
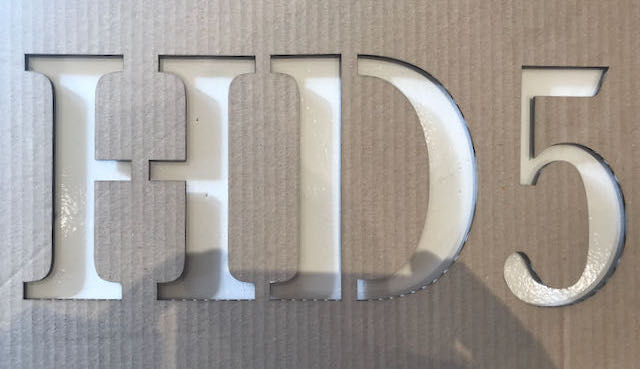
To try out a bit the laser settings, especially speed and power necessary I have cut a spray mask for the boat mentioned in the vinyl cutting assignment. BTW: for the group assignment we did also some tests with plywood that had a kerf of 0,08 mm. For the cardboard I would expect a higher value, but about that later.
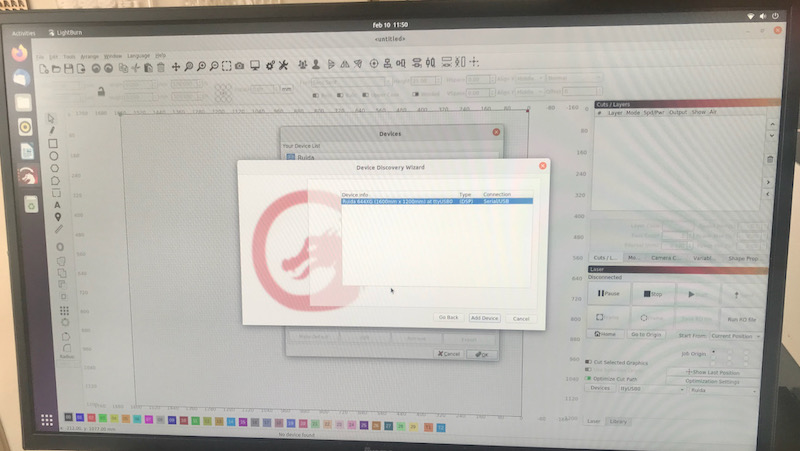
The laser cutter at De Waag is an old machine from BRMlasers that is not serviced anymore. To circumvent issues that have occured, Henk changed all electronics completely. The drivers can now easily be controlled by the Lightburn application that drives any laser cutter through G-code. Downside of this old machine is that the bed is not very flat. It varies in distance to the laser head with several mm.
| laser tube | laser control panel |
|---|---|
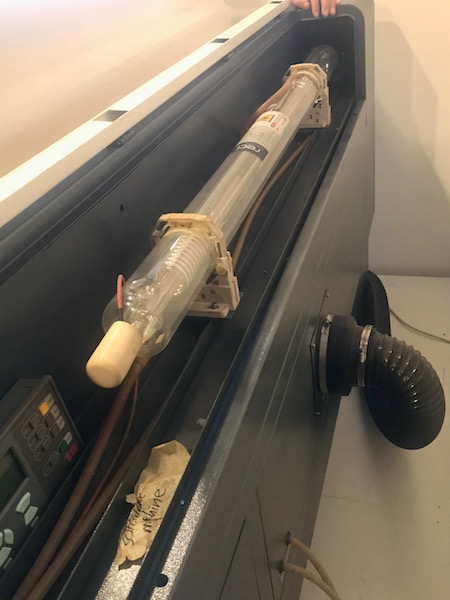 |
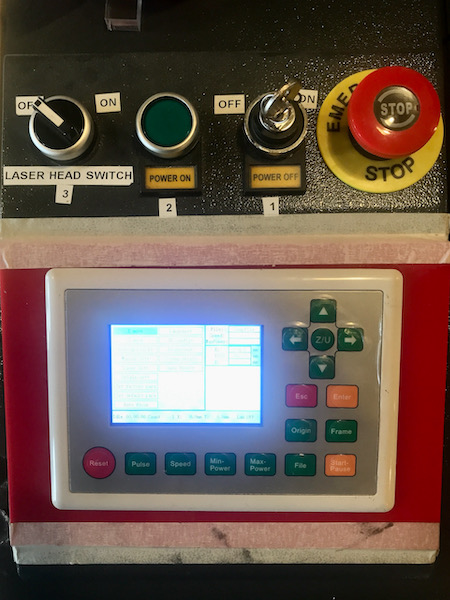 |
Setting up and cutting is easy. Most important issues to set up before hitting the button:
- Make sure the focus is right by adjusting the laser head height using the gauge block;
- Check what the cutting window is before you put paperweights on your material;
- Make sure to switch on the fume extractor, because it desn’t start automatically;
- Note the numbers on the control panel that define the order of switching the machine on.
Also for the laser cutter, there’s a settings overview on:
Overview – Machine Settings – Laser Cutter
At De Waag there’s a nice overview with different materials and the effect of different settings of speed and power. I derived from that information my specific setting for this cardboard and used a speed of 80%, 40% max power and 25% of minimum power for the corners. This went easy and the result will be used to repaint the name on my friends boat.
| spray mask | result |
|---|---|
 |
 |
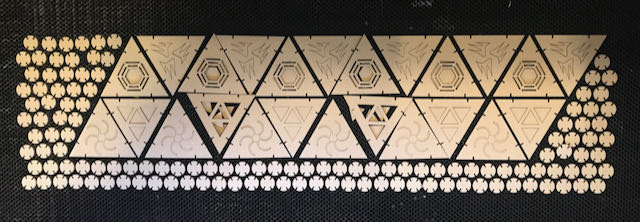
The desig files are nothing more than SVGs. They can be downloaded here:
Deltahedrons
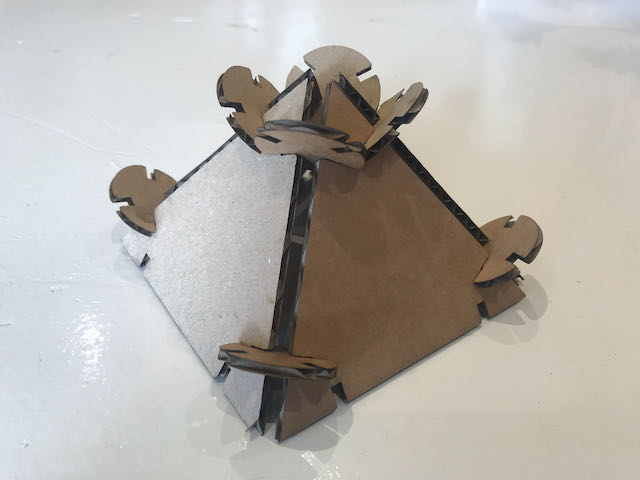
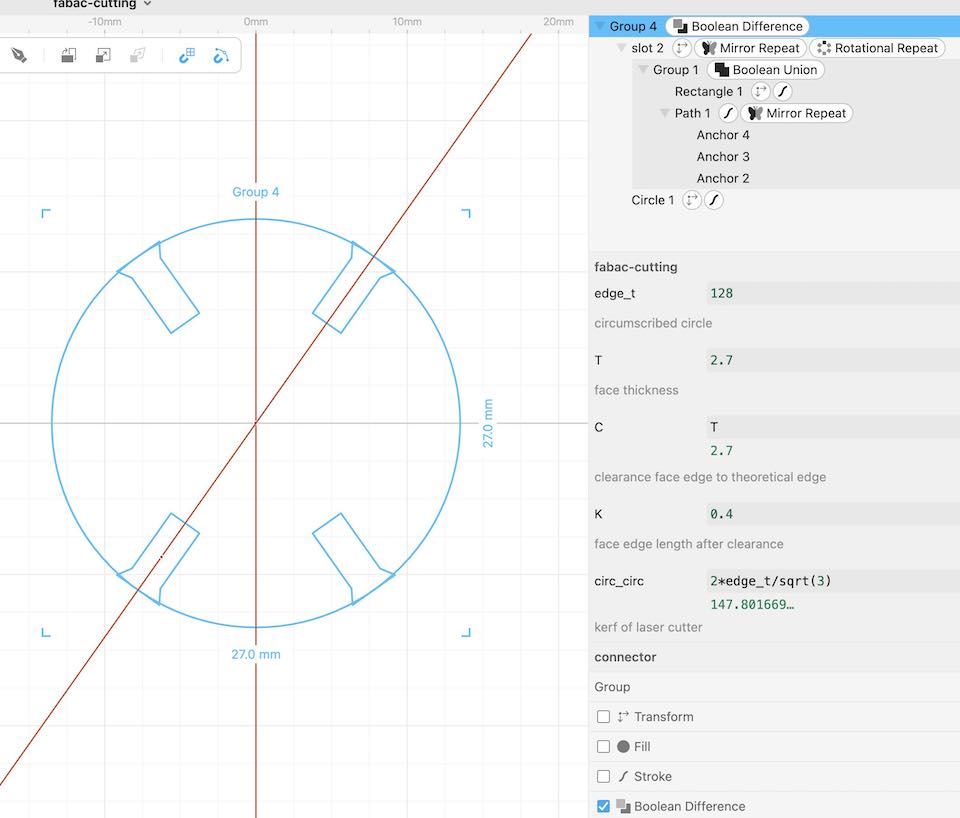
Inspired by Nadieh Bremer I wanted to also use Cuttle to make my design of a construction kit for deltahedrons. With tetrahedrons and octahedrons you can represent the closest packing of equal spheres. My greatest learning where on Cuttle, which I added to my 2D modeling page.
My first attempt was the half of a octahedron, but it had two issues:
- The slots were too wide, so the construction was not very solid;
- The connectors were to large in relation to the size of the triangle;
- The connectors were a bit too close to the edge, so assembly was quite difficult.
With parameters the dimensions are easily adjusted for both parts, the slot will automatically change in both the connector and the face.
Final Result
After adjusting the parameter of the both the slot and the dimension of the edge, the result was perfect. It has 4 different designs, one for each set of parallel planes.
Now the assembly works reasonably fine. I made a first one with a tetrahedron and an octahedron. The shape is extendable with more triangles.
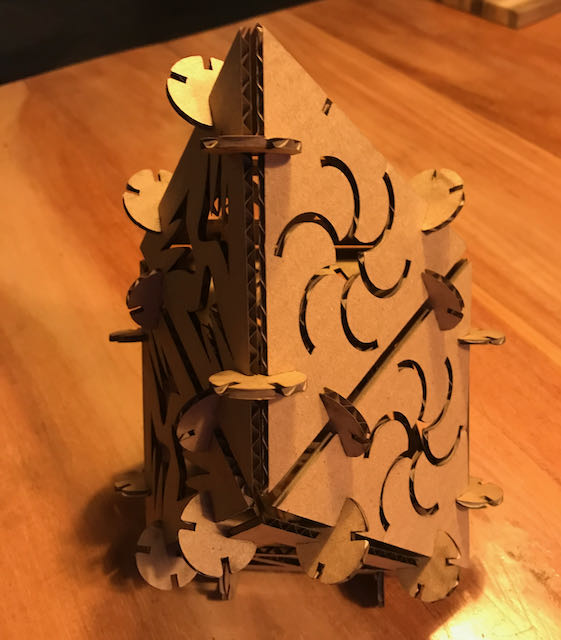
It needs a bit of refinement on the slots so they slide in a bit easier when connecting the last corners. And ultimate goal would be to make it in PMMA so you can see all the different planes and the structure.
The original design is in Cuttle and only available in their Cloud, but the SVGs used in the lasercutter can be downloaded here: