12. Machine week
The circumstances a.k.a. the excuses!
Machine week, which is extended with an easter break. A few months ago it was decided that my family and I would travel to Ísafjörður for these two weeks, where my wife would do contract work. We chose Ísafjörður so that I could try and spend some time with my instructor.
The start was rough, as I had caught the Influenza virus which pretty much knocked me out. Then it was the drive to Ísafjörður, just under 600kms with a toddler and the lingering effect of the virus. Grrrrreat start! /s

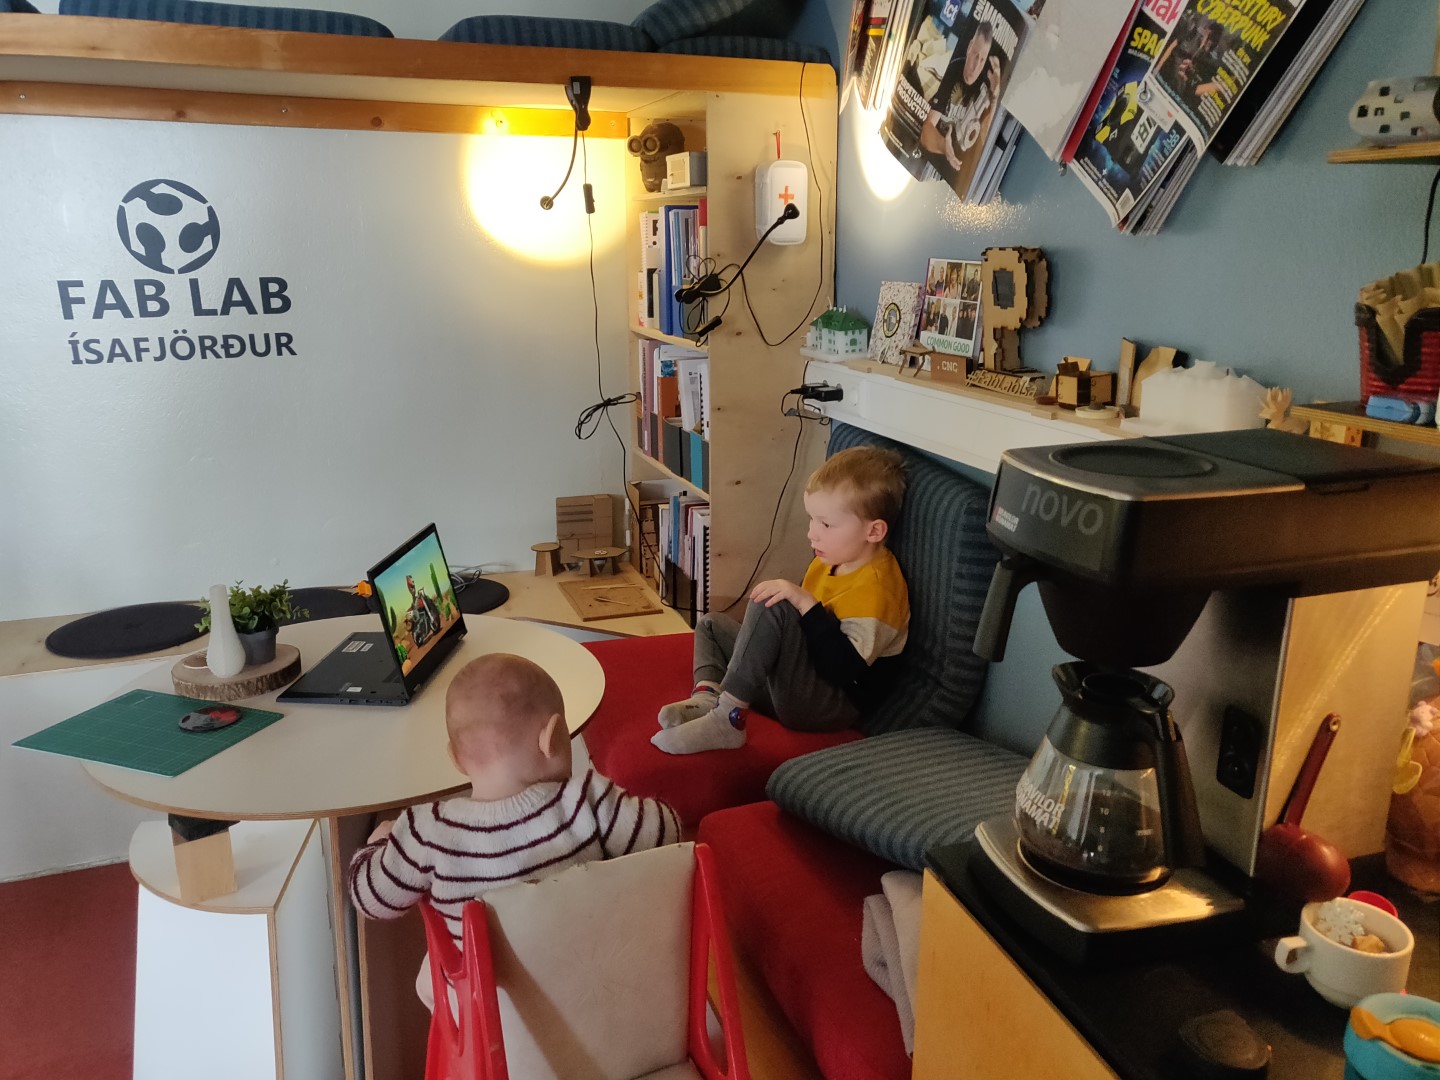
And it being easter time and there being a festival at Ísafjörður, it was quite busy for my wife, which meant I was quite busy with the children! (Video link 1 and 2 (possible geo-blocking, sorry!)).
Enough with the excuses, let’s get on with it.
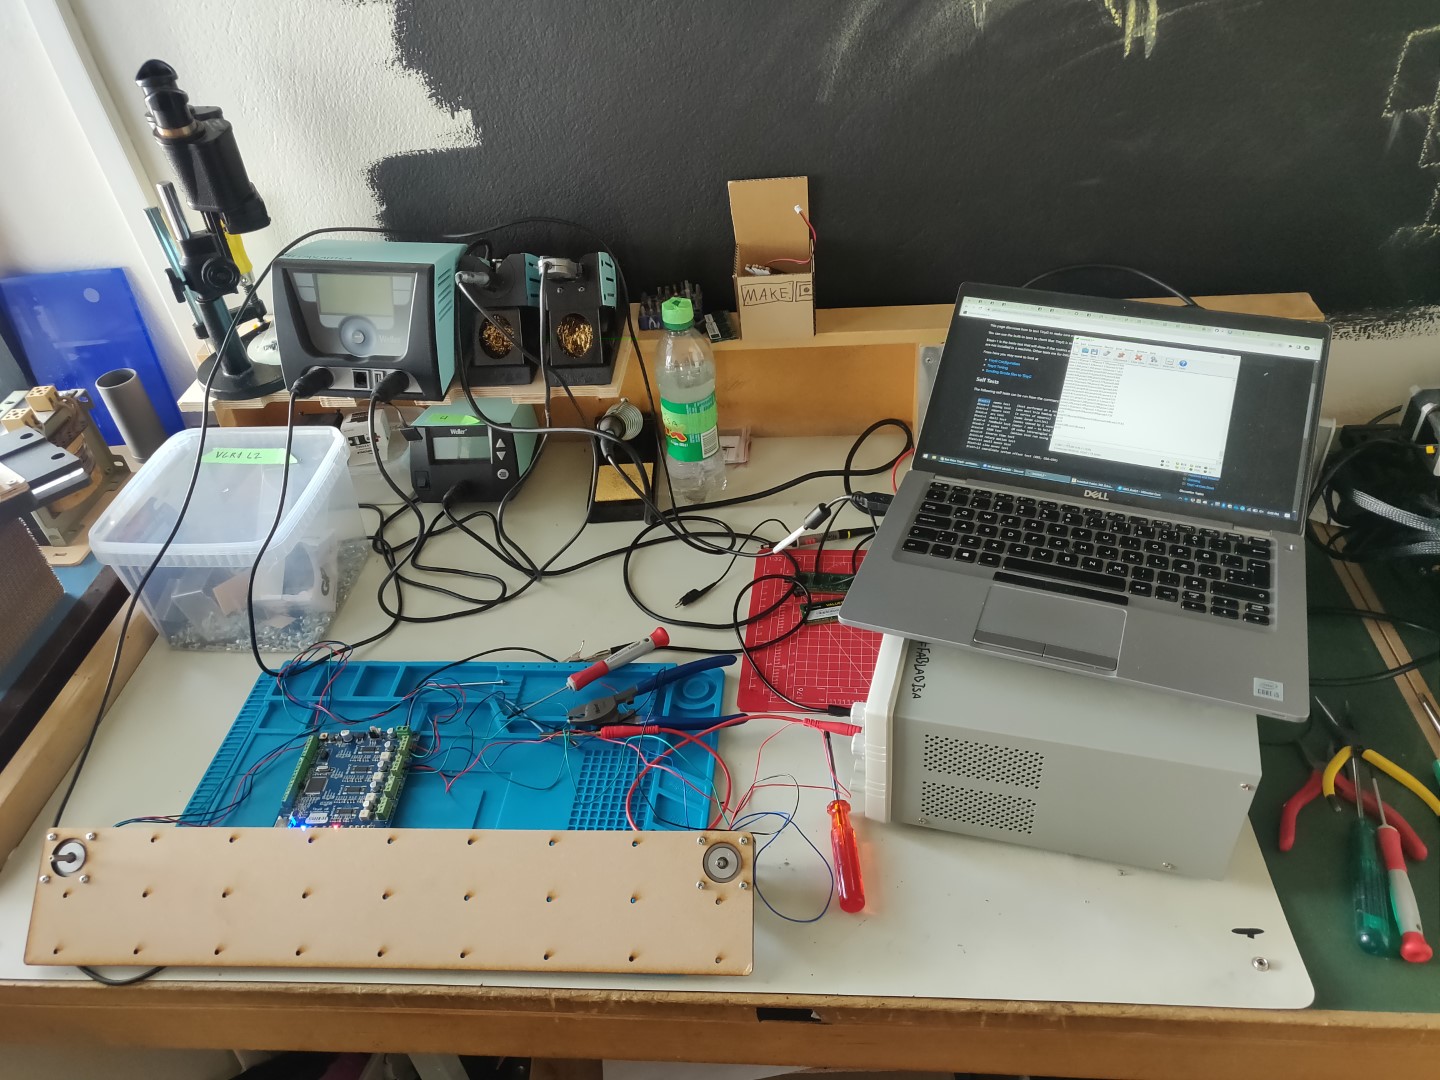
Before leaving Akureyri, I grabbed some stuff from my lab. Among those, Nema 17 stepper motors, a Tinyg module and some servos. Once I had arrived in Ísafjörður and had settled in a bit, I payed Mr. Doddi a visit at FabLab Ísafjörður. For the ones not on a nickname-knowing-level with Doddi, he is also known as Þórarinn Bjartur Breiðfjörð Gunnarsson, a.k.a. Mr. FabLabIsa and he is my lovely instructor!
First thing we did was to engage the hypnotic powers of Paw Patrol:
Then Mr. Doddi and I could discuss the mission at hand. Doddi being a hands-on type of guy, he showed me the basic idea behind a wall drawing plotter.
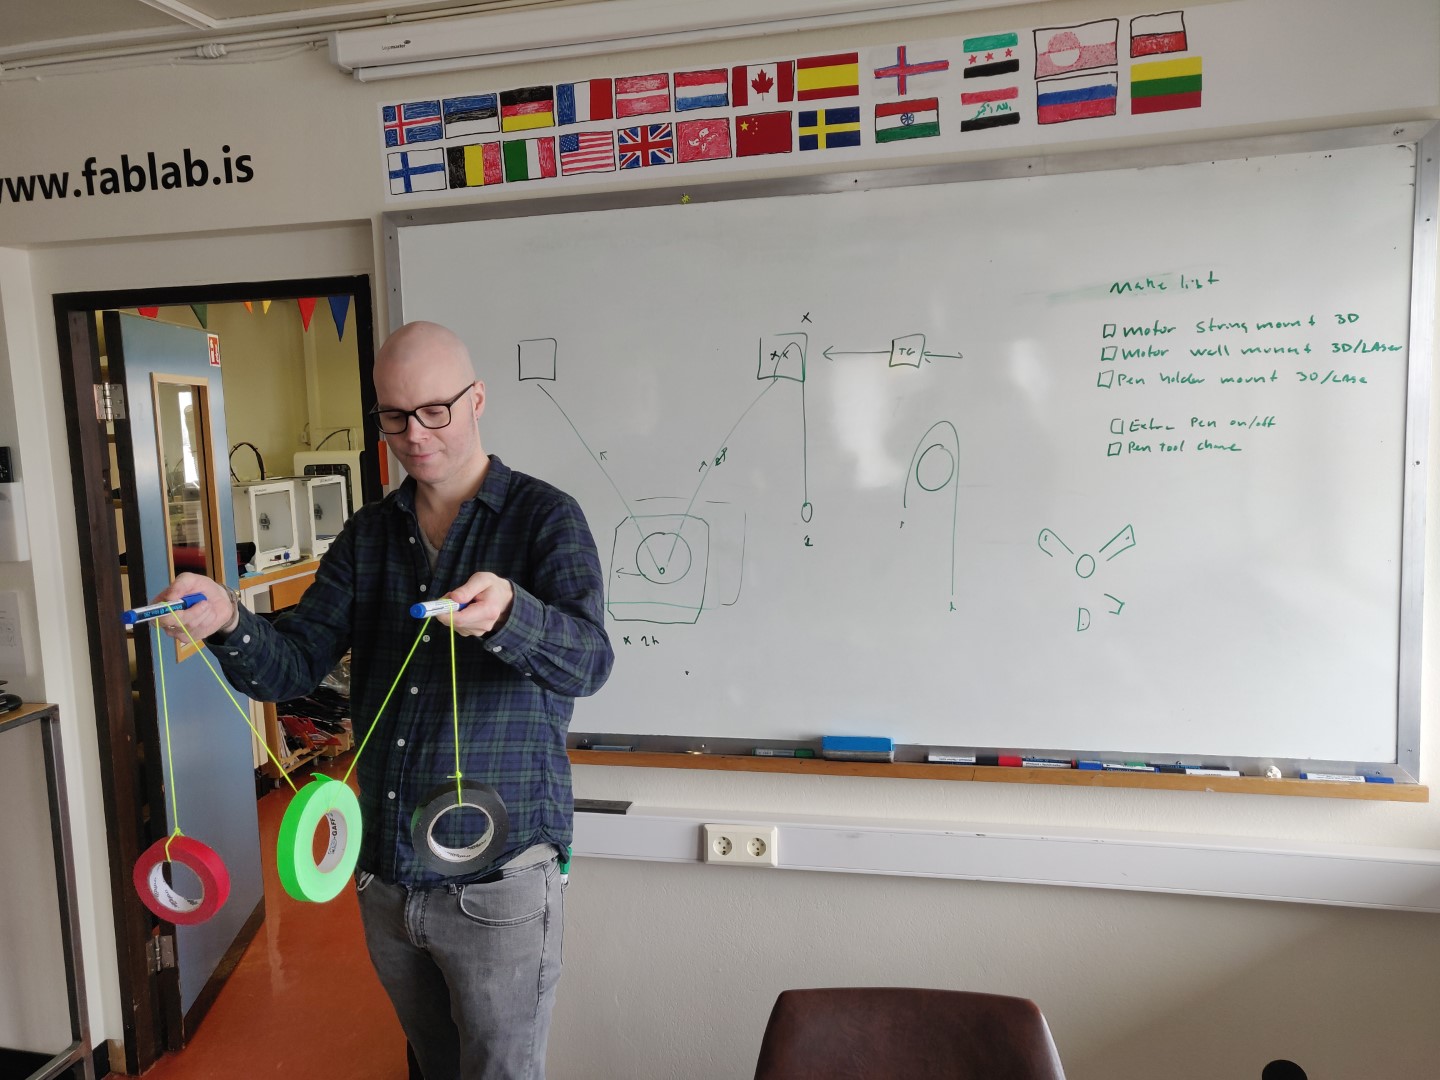
We decided to try and see if we could get the TinyG working and get the motors moving. Once the Paw Patrol powers started to dwindle, I ransacked the Fab Lab for equipment and back to my temporary dwelling where I set up my work area.
TinyG
I knew I needed a power supply to power the TinyG, but before getting a head of myself, I checked out the TinyG wiki.
Looking at the Connecting the TinyG part, they mention a few things.
- 12-30V supply, 24v being ideal.
- Check your polarities!
- CHECK YOUR POLARITIES!!!
- Make sure you have FTDI drivers installed.
- Setup a program called Coolterm
- Establish a serial connection to the TinyG and verify communication before wiring motors.
So that’s what I set out to do!
I double-checked my polarities and powered on the supply. Púúffff! The power went out! What! WHAT? I checked the apartments mains fuse box and one of the circuit breaker was tripped! Well hot damn!
I turned of the device, disconnected the wires reset the breaker. It turned on and all seemed well. I connected the TinyG again and powered it up. Now the circuit breaker held fine, but the TinyG was unresponsive.
Was it fried? I smelled nothing bad, nor was I able to spot anything.
Oh, tarnation!
Why must everything turn against me? Well, I contacted Doddi and he put the word out that we might be in the need of some stepper motor controllers. More on that later!
Design work
Have you heard of “Þetta reddast”? If not, just know that most often, it will reddast!
So, instead of throwing my self in a huge pit of despair and misery, I started a Fusion 360 session and made the following items:
- Mounting plate. MDF, to be lasercut
- Wheels for the stepper motors. To be 3D printed.
- Center piece, pen holder. To be 3D printed.
The mounting plate
I made the plate to a size that would fit the laser cutter, a width of 55cm.
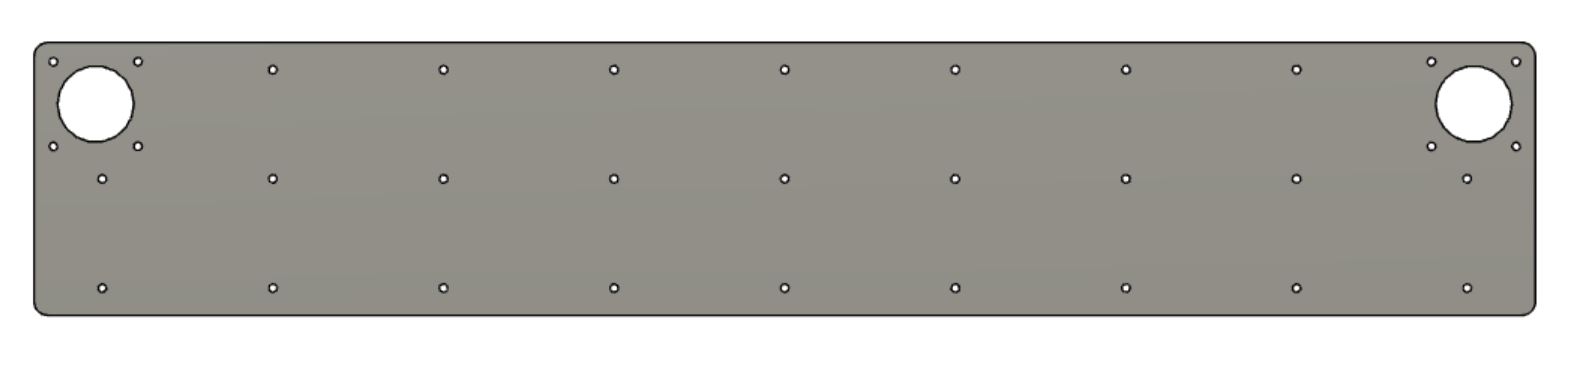
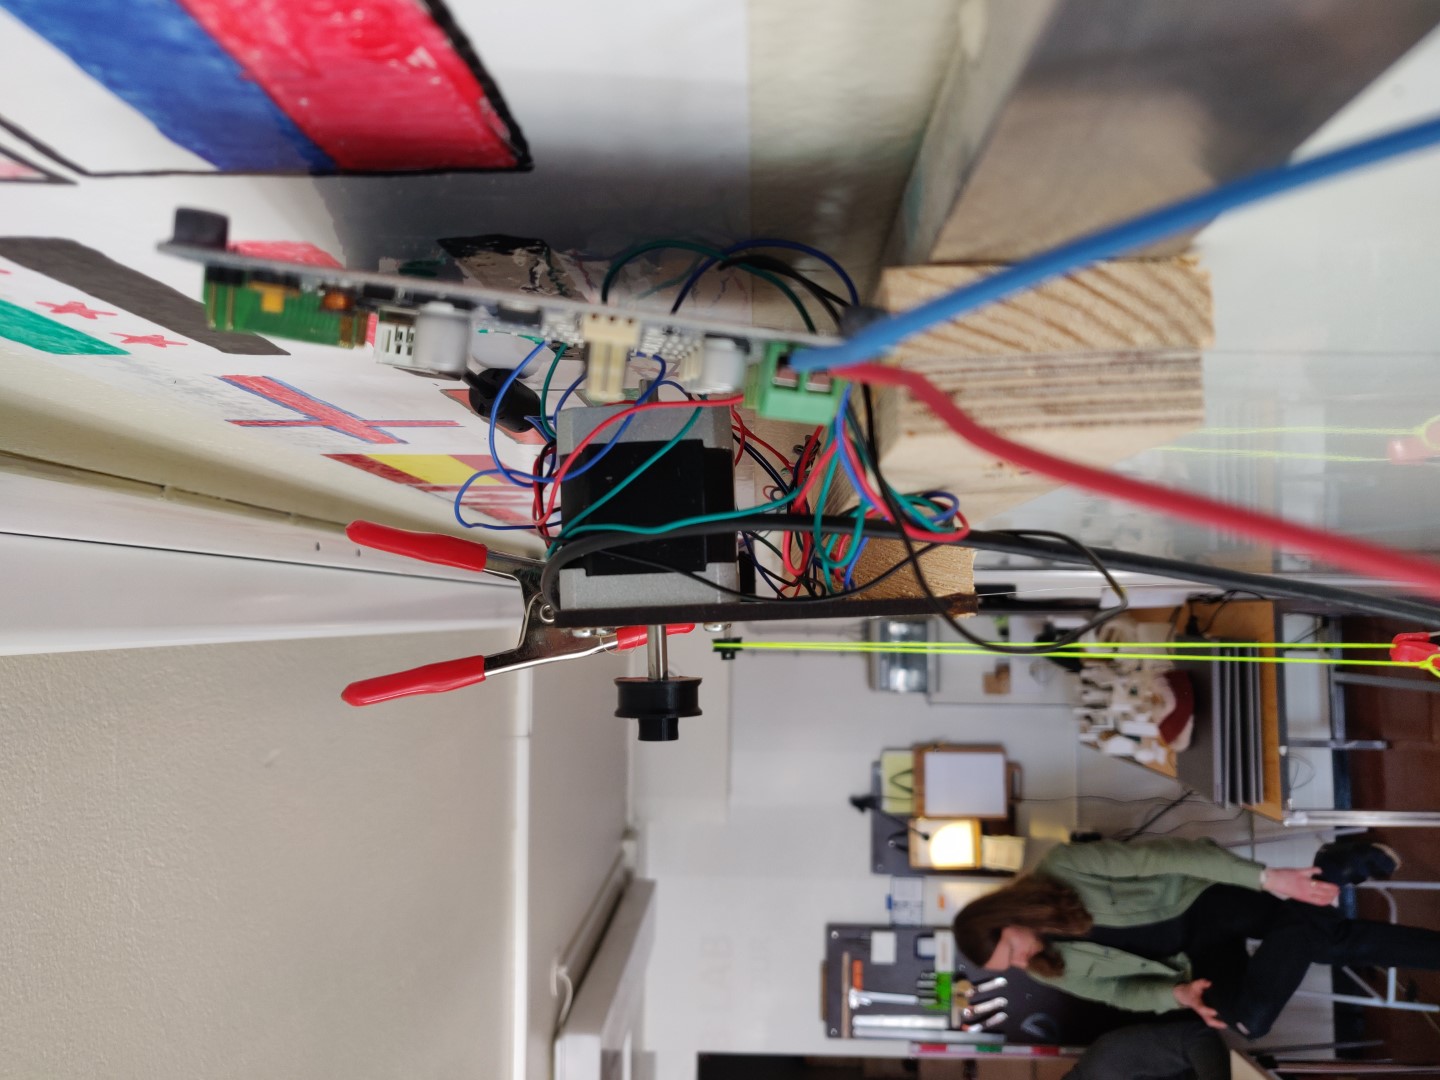
It has two mounts for the motors and plenty of other holes for various wall mounting possibilities.
The wheel
Here is the model I printed.

It’s not perfect. I made a guesstimate of the axle size so the center hole is too tight.
Also, the “walls” should be higher, as the string I used can slip over them.
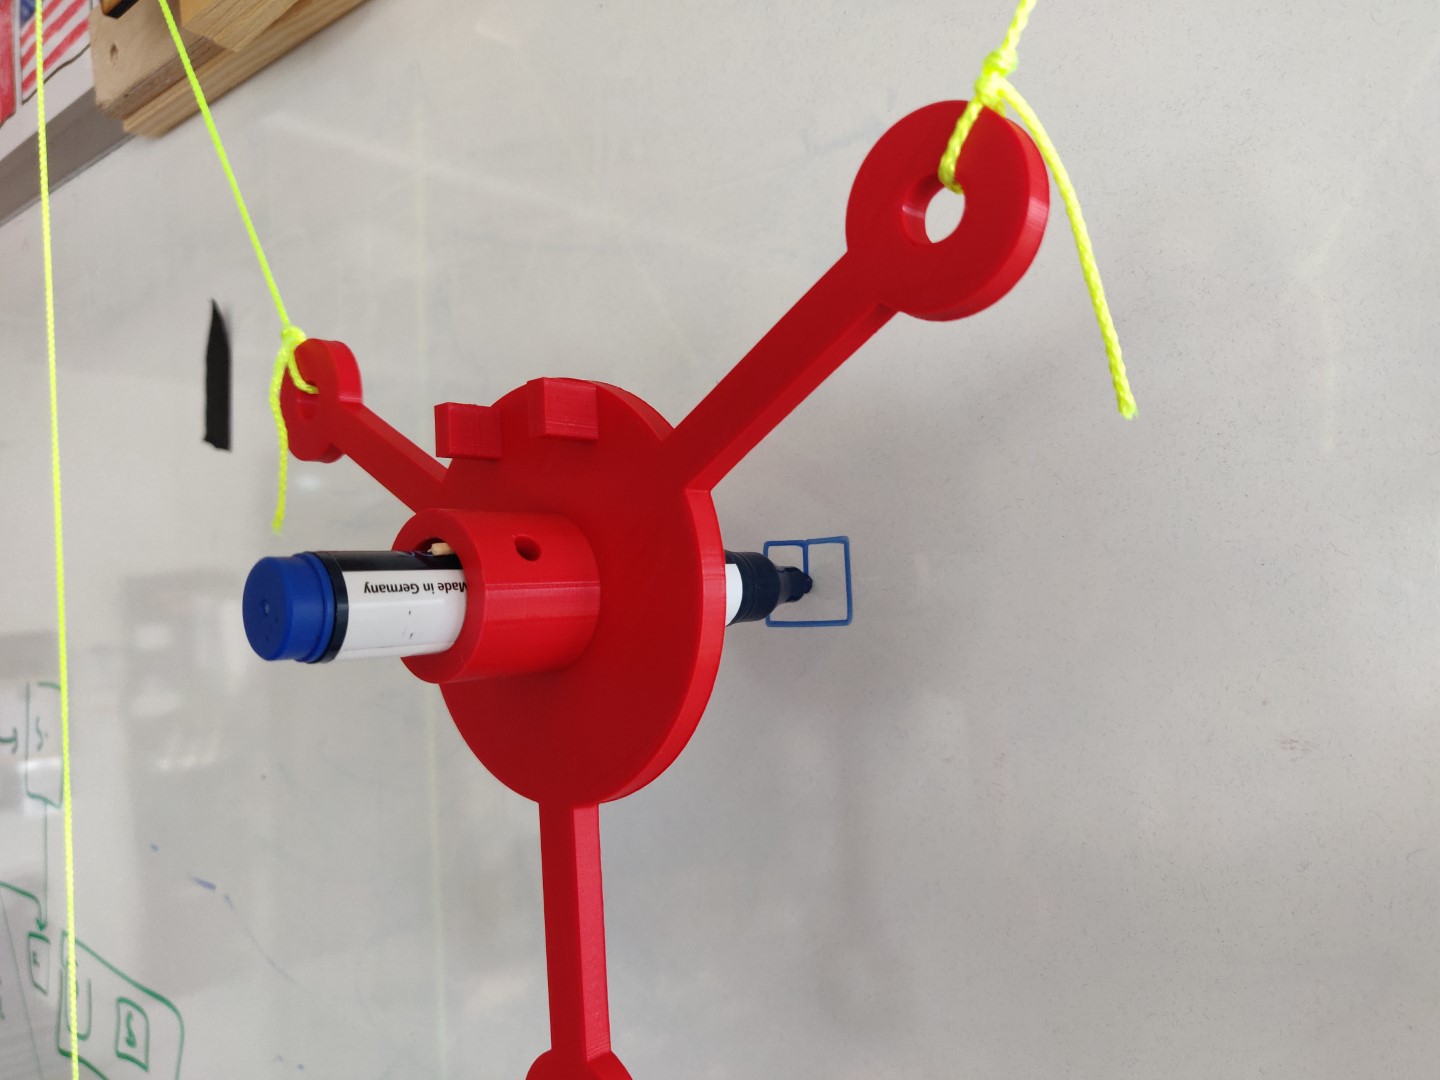
Center piece
Here I made another guesstimate. I basically just made a shape that I thought would be good. Also, being optimistic, I designed it with a servo holder!
 )
)
I used this model to make the servo mount.
It also has three holes in the center, which should take screws to hold the pen.
Files
| Item / Web link | stl/pdf/f3d |
|---|---|
| Plate | Plate |
| Wheel | Wheel |
| Center | Center |
| Servo | Servo |
Continuing the mission
Later, I brought the TinyG and the power supply back to the Fab Lab. I’m not joking, but I saw Doddi reciting a powerful incantation to the board, waving his right hand ever so slightly above it.
The Westfjords have a long history of magic, witchcraft and wizardry. And it still is, as I received a communication later that day from Mr. Doddi that the TinyG was perfectly fine, as was the power supply. All he did was that incantation…
...spooky!
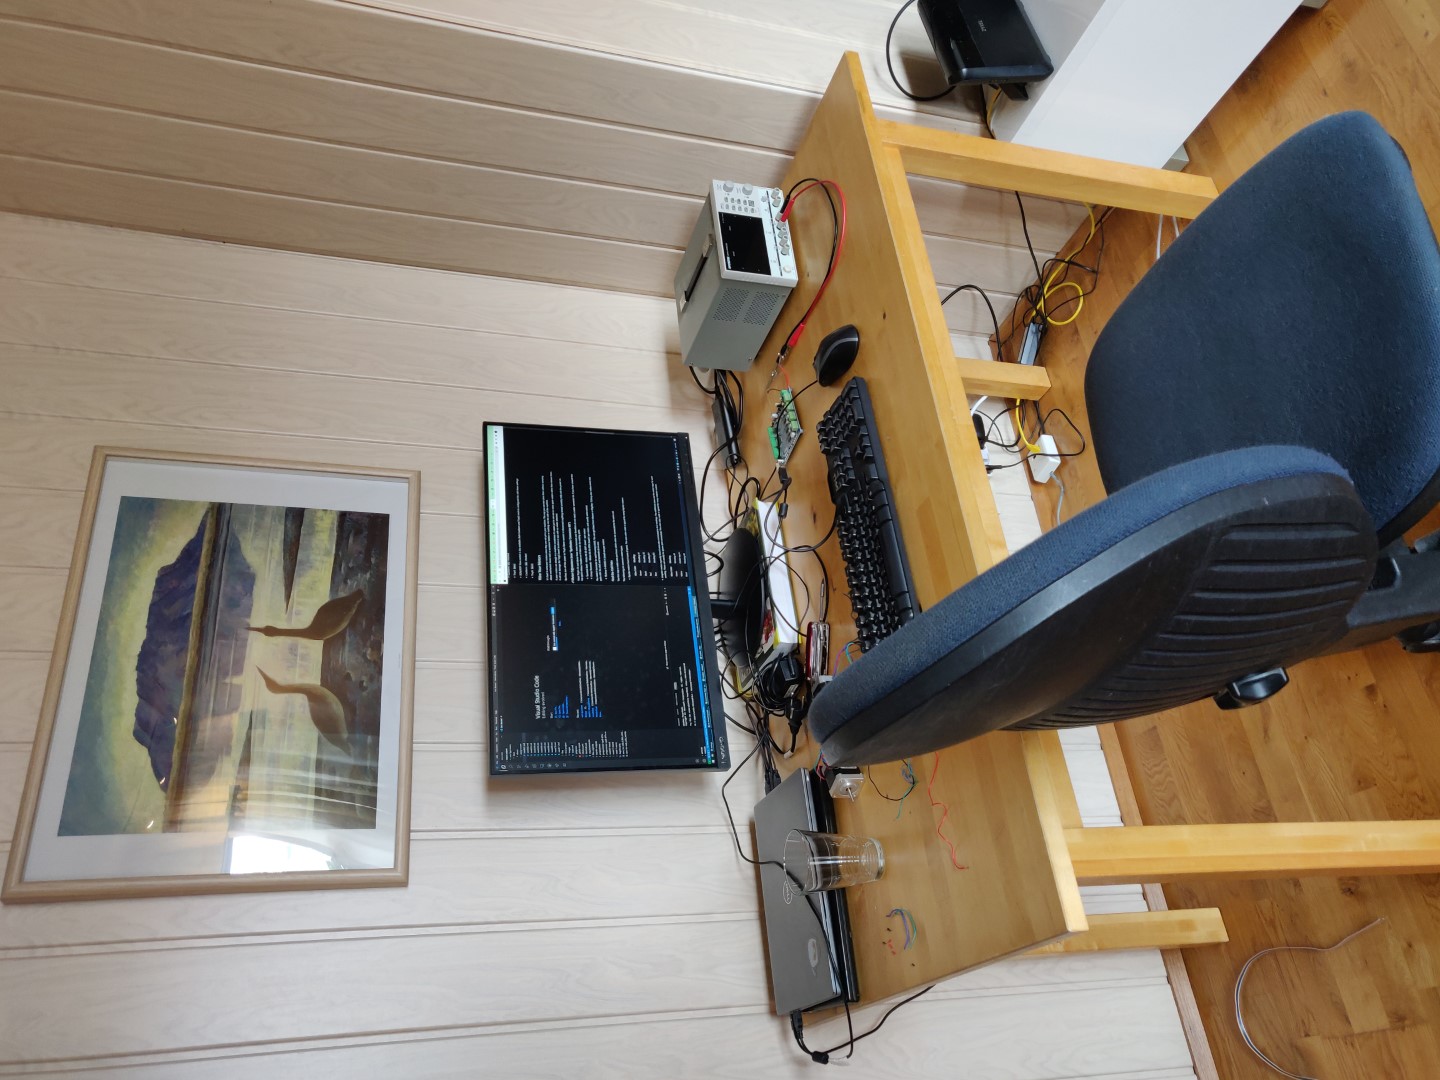
I started the 3D printing of the objects and mounted the motors to the plate, once cut. Following the TinyG wiki, linked above, I setup Coolterm and was able to connect to the TinyG!
Back at it at home, I made sure everything still worked. I found out that the power supply must create a surge of some sorts, as it once more tripped the circuit breaker. It only happened once again and then no more troubles. Maybe Mr. Doddi exorcised some bad spirits from the apartment?
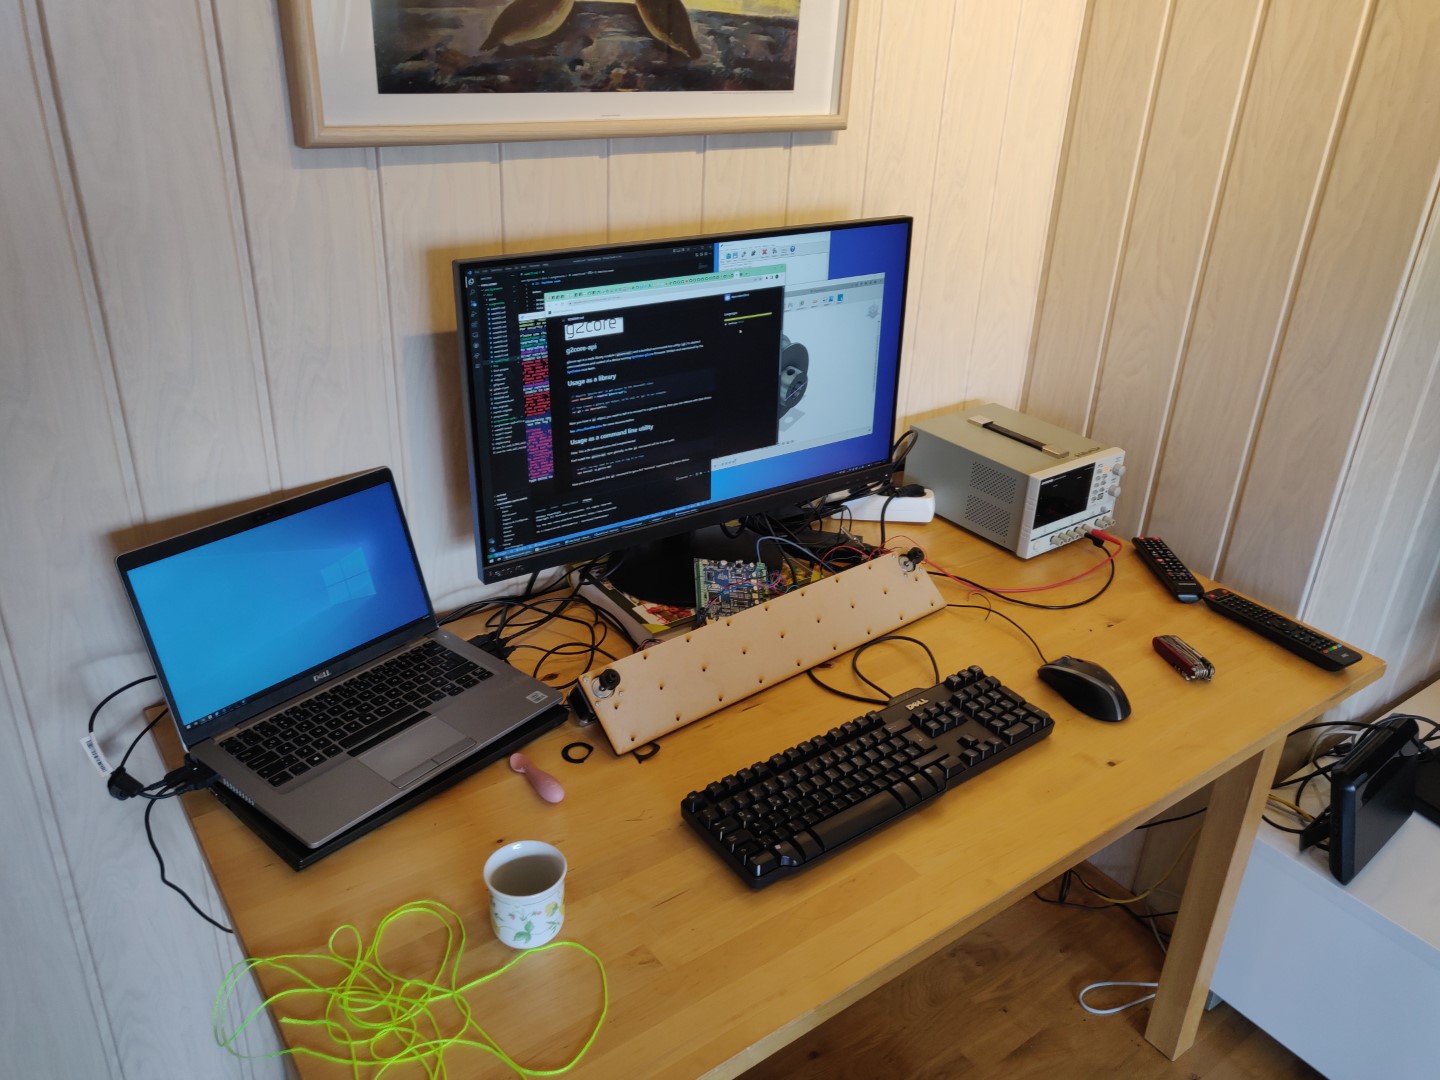
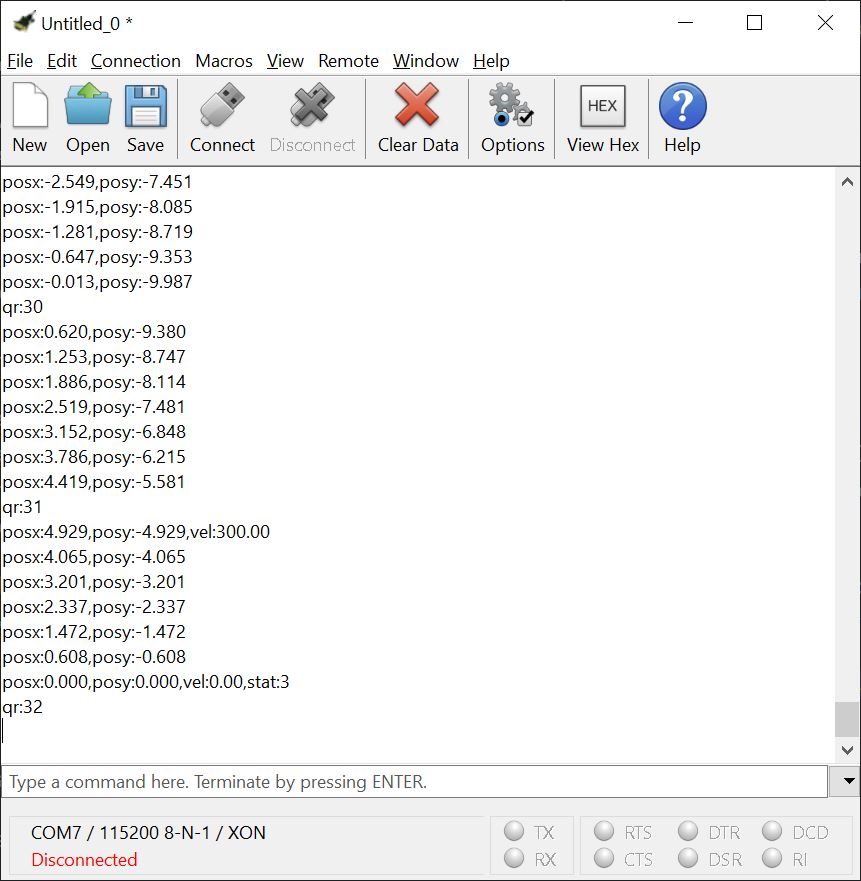
Experimenting with Coolterm, I got the motors spinning and I experimented with some G-code commands and stuff started working!
Of course I had to take plenty of breaks!
But it’s something!
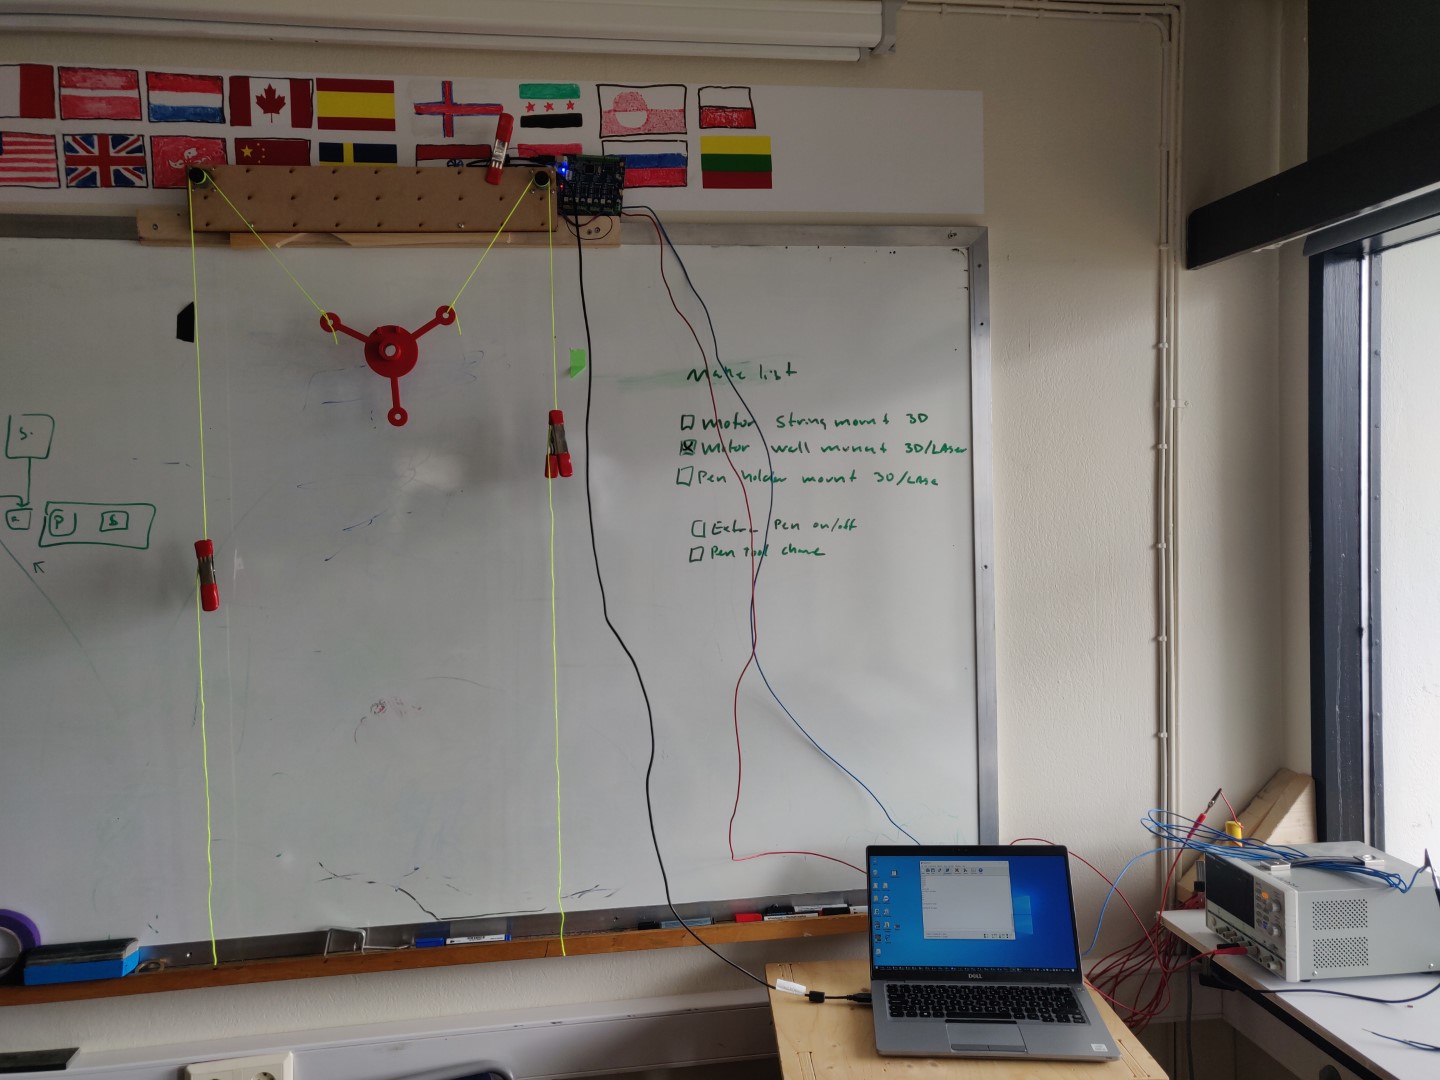
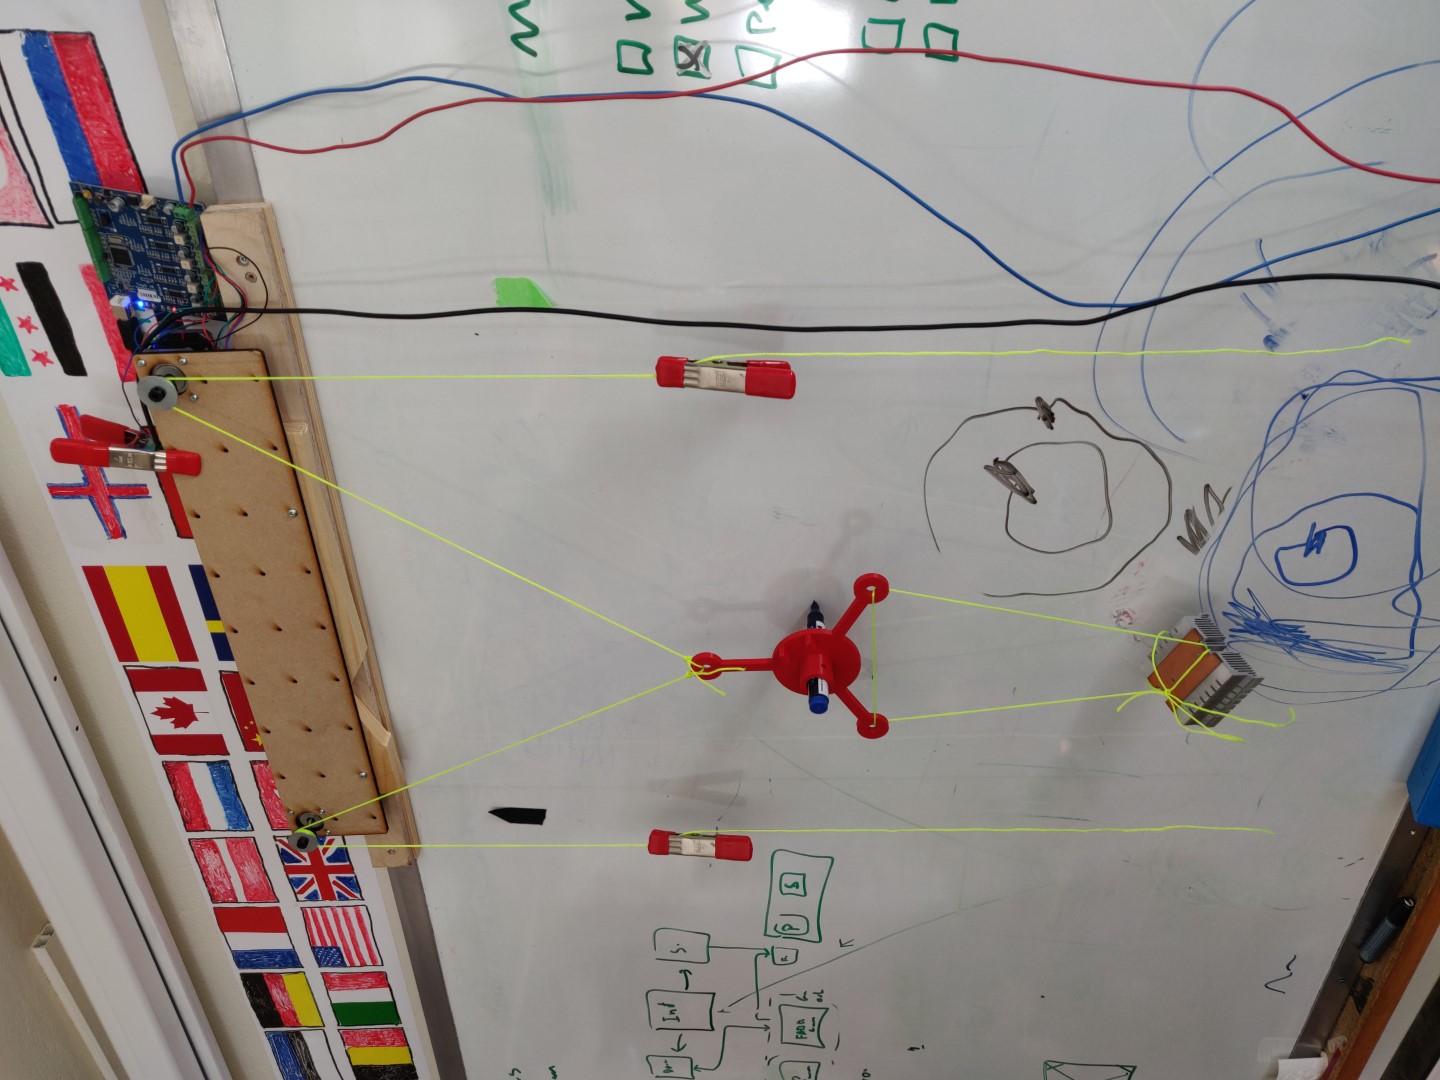
So, next thing was to mount it on the wall. I removed a picture frame and actually found a piece of fishing line which I used, with a couple of pens, to mount the thing to the wall (with no damage to the apartment!). I used a couple of spoons as counter-weights.

And then, running the following G-code commands:
g1 f400 x10, g1 f400 y-10
moves the center piece directly down as seen in the video below.
The G1 command is a linear movement command. It accepts a feedrate and a coordinate. The feedrate is the speed at which the motor moves. The coordinate is the distance to move.
G90 and G91 are also commands to keep in mind, they set the position mode to absolute or relative, respectively.
Plenty of good info on G-code here: G-code reference
I’ll be sticking to absolute mode for now.
This is something!
Interlude
We actually received an interesting piece of equipment to use, if we needed. A friend of the lab lent us his build which is a XY plotter using motors from CD-drives, arduino with GRBL firmware and a Aliexpress cnc board.

Over a couple of beers, we tested the plotter and it actually worked! I again used Coolterm to send G-codes to the device, which drew a nice little box for us!
We actually tried to make this board control our Nema 17 servos, but were unable get it working correctly. We tried flashing an extra Arduino we had with the current version of GRBL, double checked the wiring but no luck!

One of chips got real hot and we decided to call it a day, back to the TinyG!
Back to the TinyG
After a couple of days of intensive childcare, I entered the FabLab again and mounted my device to the wall above the whiteboard.
I mounted a whiteboard marker in the center piece and started testing Gcode commands. After a bit, I got it to draw a box for me.
// Center the marker
g1 f300 x0, g1 f300 y0

// Up, half the height
g1 f300 x5, g1 f300 y-5

// Top left corner
g1 f300 x10, g1 f300 y0

// Bottom left corner
g1 f300 x0, g1 f300 y10

// Right lower corner
g1 f300 x-10, g1 f300 y0

// Right top corner
g1 f300 x0, g1 f300 y-10

// Top center
g1 f300 x5, g1 f300 y-5

// Back to center
g1 f300 x0, g1 f300 y0
This results in this:
And the glorious action shot:
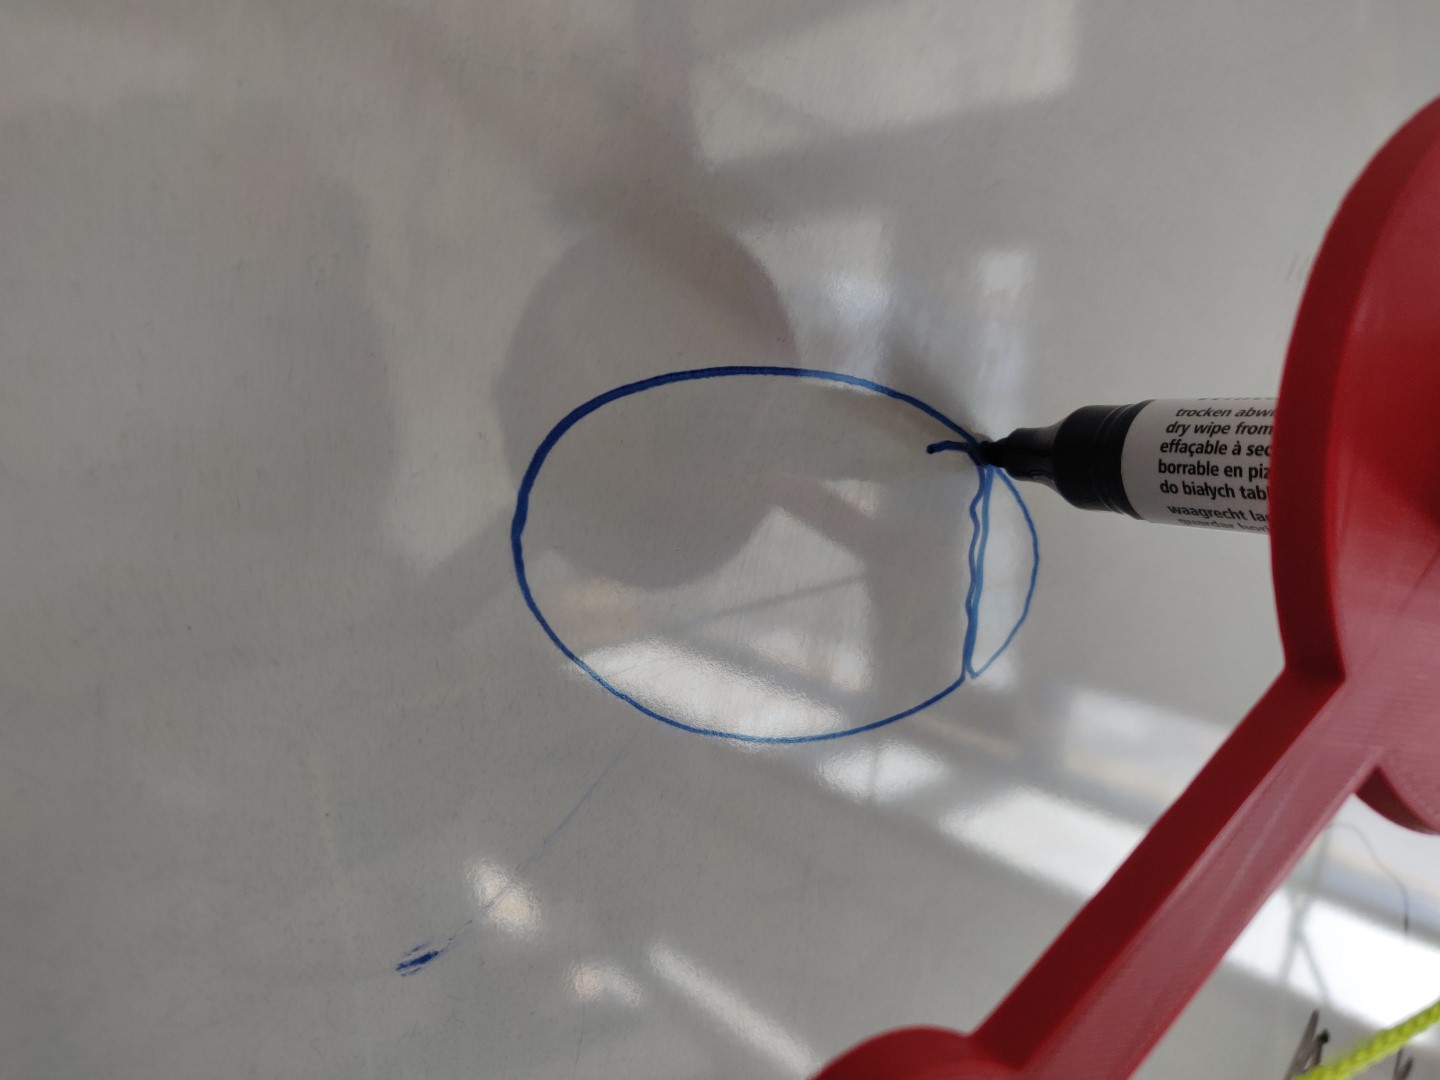
Next up, a circle?!
I Googled how to make a circle with G-Code and found this site.
Using it to generate some circular G-Code commands, I ended up with this:
G1 X-10 Y0 F300
G02 I10
G1 Z0.25 F300
G1 X0 Y0 F300
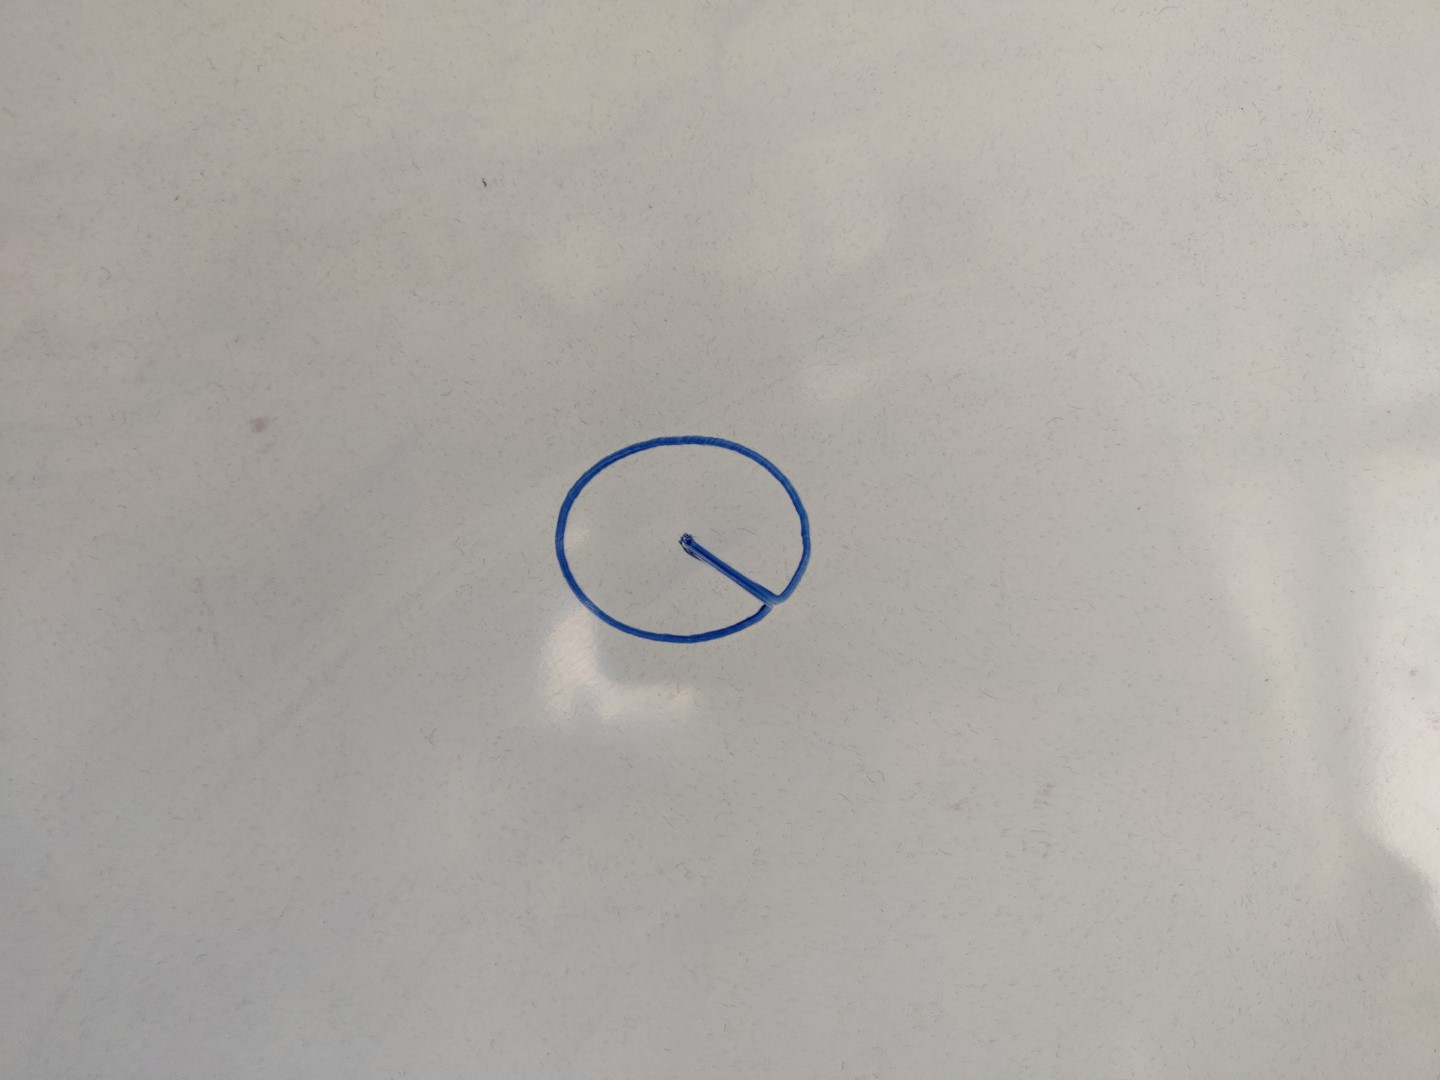
It results in this:
And another glorious action shot:
You can see how the starting line is drawn at a 45° degree angle. This is because in the code above, which runs in the video above, only the X axis is modified during the initial movement. The simple fix to this is to simply modify the Y axis as well, as seen in code below:
// X and Y axis now move, eliminating the funny angle
G1 X-10 Y10 F300
G02 I10
G1 Z0.25 F300
G1 X0 Y0 F300
Yeehaw!
Doing a bit more
I managed to squeeze in some more time in the lab today. I picked up where I had left off, and now I wanted to experiment some more with the setup.
Mitigating failures
As mentioned above, the “walls” of the wheels are too low, resulting in the string frequently dropping from the wheel. This problem was exacerbated by the fact that the entire thing is slightly tilting!
For increased sanity and productivity, it needed a quick-fix. A couple of washers on the outer rim of the wheels would secure the strings nicely.

As all experts know, the hot glue gun is a sign of failure. I’m a complete failure!
Further testing
I also noticed that the center piece started tilting when it moved closer to the edges. It seems as the arms I made were way to long, resulting in this behavior.
Here I have tied both strings to a single arm and attached a heatsink as weight.
This precise setup was not nice, since it jiggled a lot. The weight was to far away and swung around too much.
I wound up tieing the strings to the servo mounts, which are much closer to the center, and bolting metal scraps to the bottom arm. This proved more stable.
What is automation really?
Oxford Learner’s Dictionary defines automation as:
“the use of machines and computers to do work that was previously done by people”
Well. People used to write things on a blackboard. Then a whiteboard. And they still do. But now my machine can also do it! (Kind of, very badly though).
Moving from hand writing G-Codes.
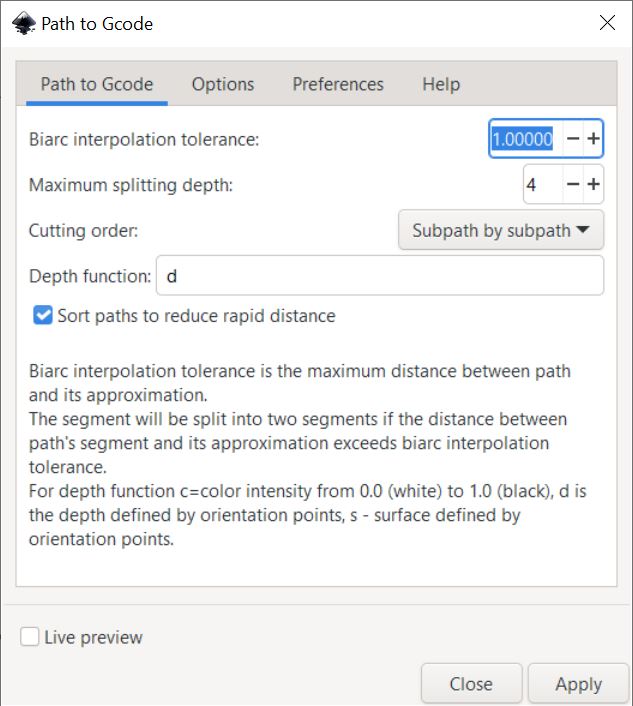
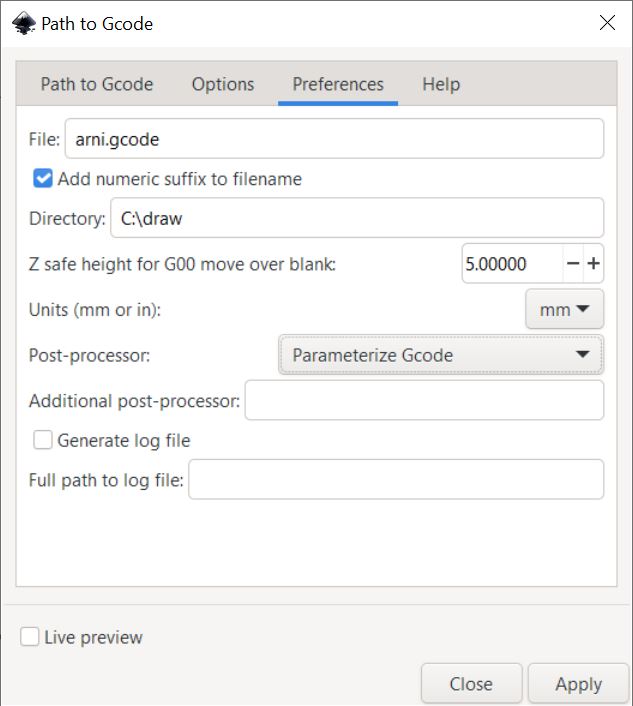
So, the missing step was to make this a bit more automated. After some Google-ing around, I found this addon for Inkscape: Repetier g-code plugin
I installed it per the instructions and after restarting Inkscape, I had a Gcode option in the Extensions menu!
I had to create the Extensions folder within the Inkscape folder, and just extracted the Repetier archive into it.
After that, I drew a small circle and opened the extension. I was presented with a dialog which I did not tamper much with, except selecting the output folder.
This resulted in a file which contained some Gcodes. I copied the contents into Coolterm and hit enter.
First thing the machine did, was to a large fast travel which upset my carefully rigged arm. Still, I let the program finish to see if would crash or catch fire. The strings got messed up so the result was a mess.
One thing I noted, was that it moved very slowly but I found no way of speeding it up within the extension.
I realized the program took the whole drawing area into consideration, so I adjusted the page size within Inkscape to just contain the circle and tried again.
IT WORKED!
It actually drew a circle, albeit a bit oval shaped, and very slowly!
I adjusted the setup a bit and tried it out again. This time, the circle was much better and my hopes were raised.
I then created another document, this time with my name. Again I exported the document to Gcode, and ran it through Coolterm… and slowly it started to do something…
After a while I figured out that it was actually drawing my name, it was just rotated!
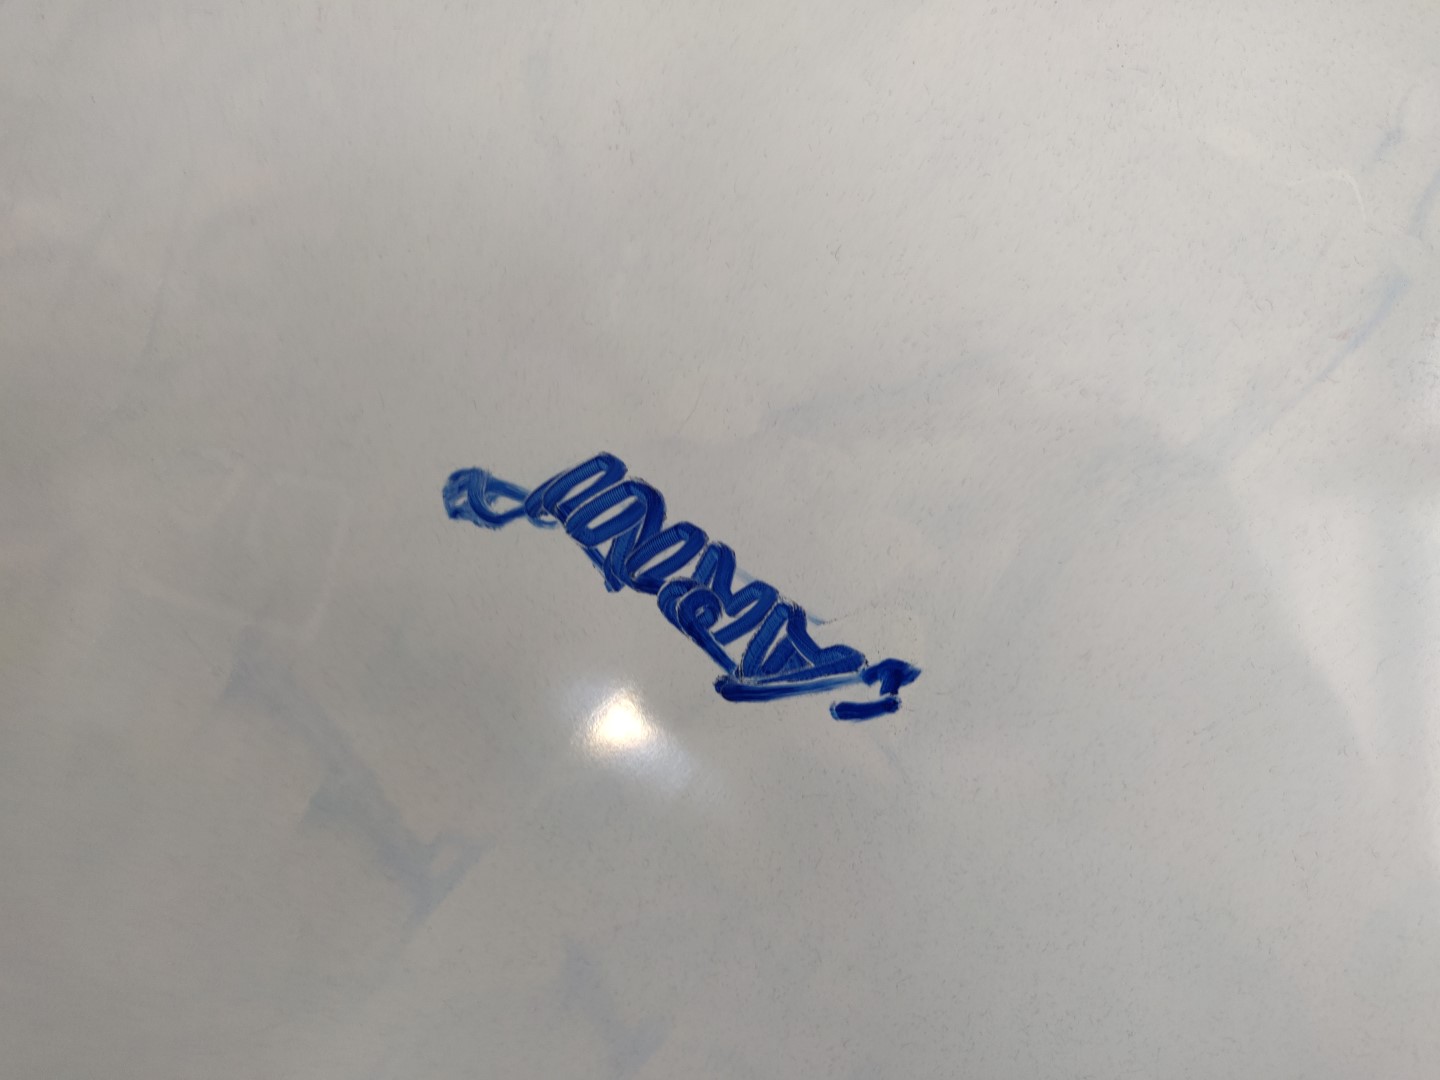
Now, we rotated the image 140° clockwise and it makes more sense!
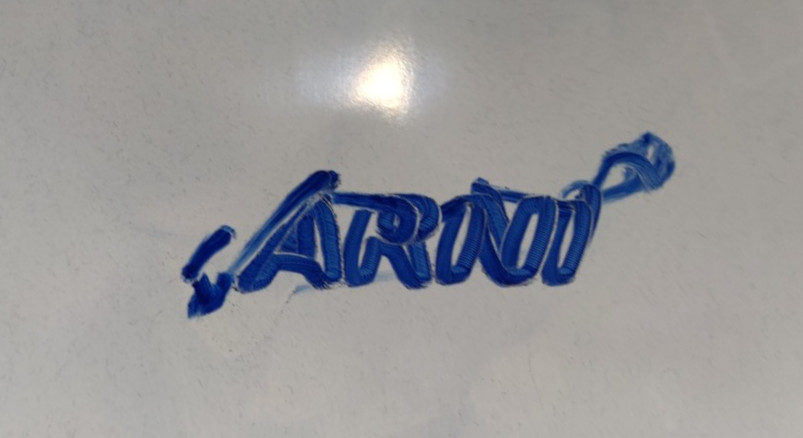
PRETTY NICE!
Unfortunately, my offsprings lost their patience just around that time and the extension crashed. Oh dear! I had to call it day.
| Files |
|---|
| SVG |
| Gcode |
Conclusion
Although this week was a bit of a mess, for multiple reasons, I believe I have learned a lot about the basics of machine work.
I have now worked directly with motion controllers, fiddled with manually editing G-Codes, generated G-codes with new program, built a (poorly) functioning plotter and finally, I learned the value of visiting my dear instructor and spending time in the Westfjords!
Notes
This week I did install and tried to work with a bunch of different software-tools.
When exploring options around the Arduino CNC board I borrowed, I found Polargraph and various guides on how to use it. I got the program running but unfortunately the output did not work for me.
I also wanted to try communications programming for the TinyG. There I ran into issues when installing the recommended node-g2core-api module. It seems to be outdated and unmaintained.
I had installed nodejs, whose current version is 18, but the module seemed to rely on packages only supported by Node version 6. I tried that but then was presented with different set of troubles. I tried on both Windows and Linux, but got the same results. At that point I decided that was enough.
Through this week I used Coolterm to communicate with the TinyG, as the maker recommended. There is also UGS or Universal G-Code Sender, which is something I’m yet to try. I’m sure it’s a good program and I’m sure I’ll test it one day.
Anyways, hope you had a nice Easter and had your share of chocolate, I know I did!

It’s currently being digested!